How to Paint a Misty Forest Landscape
Creating a misty forest landscape can feel like stepping into a dream. The ethereal quality of mist, combined with the rich textures of trees and foliage, invites viewers to lose themselves in your artwork. But how do you capture that magical essence? In this article, we'll explore techniques and tips for creating a captivating misty forest landscape in your artwork, focusing on color choices, brush techniques, and layering methods to achieve depth and atmosphere. Whether you're a seasoned artist or just starting, these insights will help you bring your vision to life.
Selecting the appropriate color palette is crucial for depicting a misty forest. The right colors not only set the mood but also evoke emotions that resonate with the viewer. For a misty forest, consider using a combination of cool and warm tones to create contrast and depth. Think about incorporating shades of blue, green, and gray to represent the coolness of the mist, while using earthy browns and warm yellows to add warmth and life to the trees.
Here’s a simple table to guide you in choosing your colors:
| Color | Purpose |
|---|---|
| Blue | Represents the mist and sky |
| Green | For foliage and trees |
| Gray | To depict fog and shadows |
| Brown | For tree trunks and earth |
| Yellow | To add warmth and light |
By thoughtfully selecting your colors, you can create a harmonious palette that brings your misty forest to life. Remember, the key is to balance cool and warm tones to achieve that magical depth.
The right brush techniques can create the ethereal quality of mist. Soft, blended strokes are essential for achieving that dreamy look. One effective method is to use a soft round brush for blending colors together. This allows you to create smooth transitions between shades, mimicking the way mist gently envelops everything in its path.
Another technique to consider is using a fan brush. This tool is perfect for creating texture in trees and foliage, adding a realistic touch to your landscape. With a fan brush, you can achieve a variety of effects, from delicate leaves to rough bark textures. Just gently tap and drag the brush to create the shapes you desire.
A fan brush can help create texture in trees and foliage. To effectively use a fan brush, start by loading it with your chosen green or brown paint. Lightly tap the brush onto your canvas to create the impression of leaves or branches. This technique allows you to build up layers of color, giving your trees a more realistic appearance. Don’t be afraid to experiment with different pressures and angles to find the look that suits your style.
Glazing is a technique that adds depth and luminosity to your painting. By layering transparent colors, you can create a misty effect that enhances the atmosphere of your forest landscape. Begin with a base layer of color, and once it’s dry, apply a thin glaze of a lighter or complementary color. This method not only adds complexity to your colors but also helps to unify the entire composition.
Dry brushing can add fine details and texture to your painting. This technique involves using a dry brush with very little paint on it to create a scratchy, textured effect. It’s perfect for depicting the rough surfaces of tree bark and foliage. To dry brush effectively, dip your brush into paint, then wipe off most of it on a paper towel. Lightly drag the brush across the surface of your painting, allowing the bristles to catch on the texture of the canvas.
Layering is essential for adding depth to your landscape. Start with your background colors and build up to the foreground, gradually adding more detail as you go. This technique not only creates a sense of distance but also helps to guide the viewer's eye through your painting. Remember, the background should be softer and less detailed, while the foreground should be more defined and vibrant.
Light and shadow play a vital role in setting the mood of your painting. They can transform a flat image into a dynamic scene filled with life. To depict light filtering through trees, consider the direction of your light source. Use lighter colors where the light hits and darker shades in the shadows to create contrast.
Using white paint strategically can create highlights that suggest light. Apply white or a very light color to areas where light would naturally fall, such as the tops of trees or the edges of leaves. This technique enhances the misty effect, making your forest landscape feel more alive and inviting.
Adding shadows is crucial for realism. Soft shadows that complement the mist can add depth to your painting. Use a slightly darker shade of your base color to create soft shadows underneath branches or along the forest floor. This not only grounds your elements but also adds a layer of complexity to your work.
- What type of paint is best for a misty forest landscape? Acrylics or oils are great choices as they allow for blending and layering.
- How do I create a misty effect? Use soft brush strokes and glazes to layer colors and create depth.
- Can I use a palette knife for this type of painting? Absolutely! A palette knife can add unique textures and details.
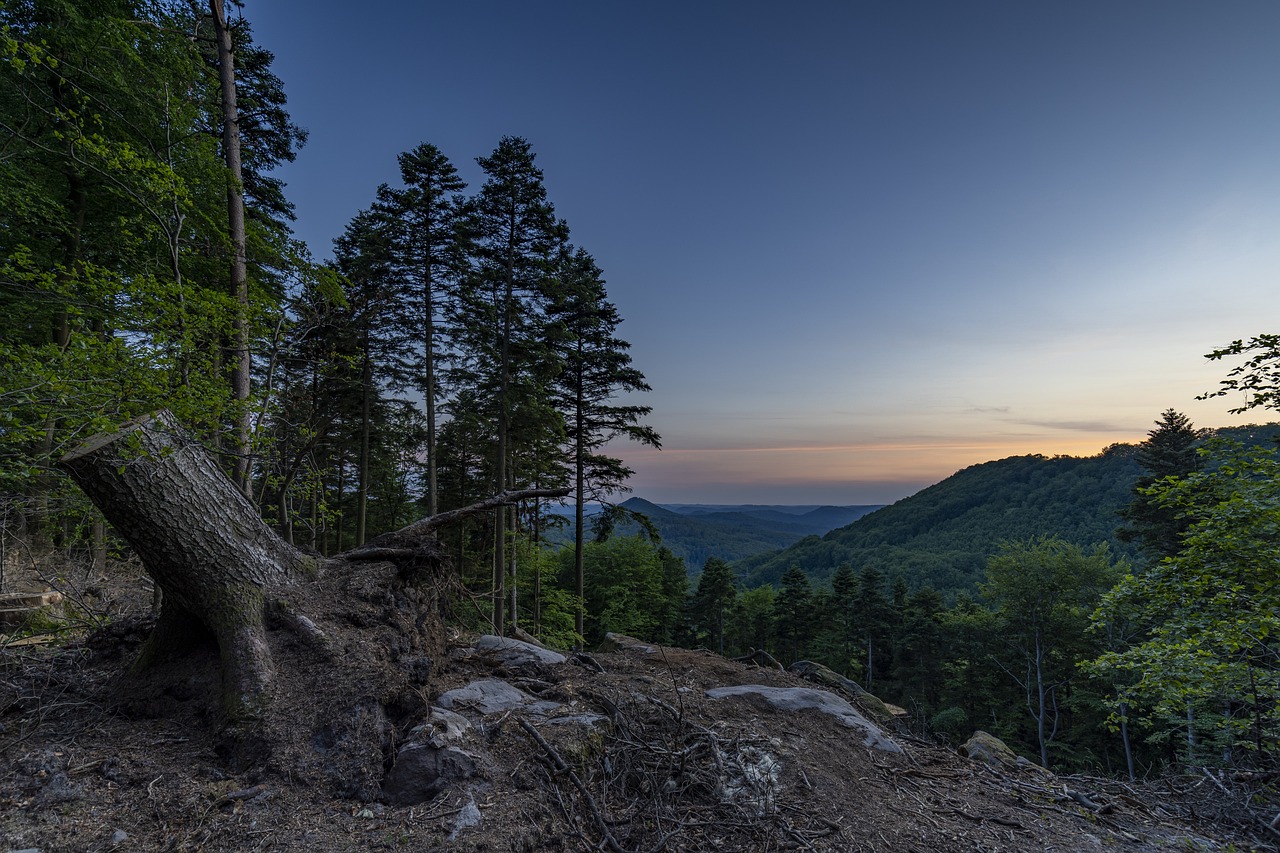
Choosing the Right Colors
When it comes to painting a misty forest landscape, is absolutely essential. The colors you select can make or break the mood of your artwork, transforming a simple scene into a captivating masterpiece. Think of your color palette as the emotional backbone of your painting; it sets the tone and invites viewers into your world. So, let’s dive into the colors that will help you achieve that enchanting misty effect.
First and foremost, consider using a cool color palette. Cool colors, such as blues, greens, and purples, can evoke a sense of calm and tranquility, which is perfect for a misty forest. For instance, a soft, muted blue can represent the mist itself, while a gentle green can depict the foliage. You might also want to incorporate shades of lavender or gray to enhance the ethereal quality of the mist. Here’s a quick breakdown of colors that work well:
| Color | Effect |
|---|---|
| Soft Blue | Creates a sense of calm and distance. |
| Muted Green | Represents lush foliage and life. |
| Lavender | Enhances the mystical atmosphere. |
| Gray | Adds depth and a sense of fog. |
In addition to these colors, don't shy away from using transparent layers of color. This technique allows you to build up the mist gradually, creating a more realistic effect. For example, applying a thin wash of gray over your base colors can simulate the look of fog rolling through the trees. Remember, the key is to layer your colors gently, allowing the underlying hues to peek through, thus creating a sense of depth.
Moreover, you can also experiment with warm colors to create contrast. A splash of warm tones like soft yellows or oranges can mimic sunlight filtering through the trees, adding a touch of warmth to the otherwise cool palette. Just a hint of these colors can make your painting pop and draw the viewer’s eye to specific areas, creating focal points that guide their journey through the landscape.
Ultimately, the right color choices will not only enhance the aesthetic appeal of your painting but also evoke emotions and tell a story. So, take your time to explore different combinations and see what resonates with you. Remember, art is about expression, and your color palette is a vital part of that expression.
As you embark on this colorful journey, keep in mind that practice makes perfect. Don’t hesitate to experiment and mix colors until you find the perfect balance that captures the essence of a misty forest. Happy painting!
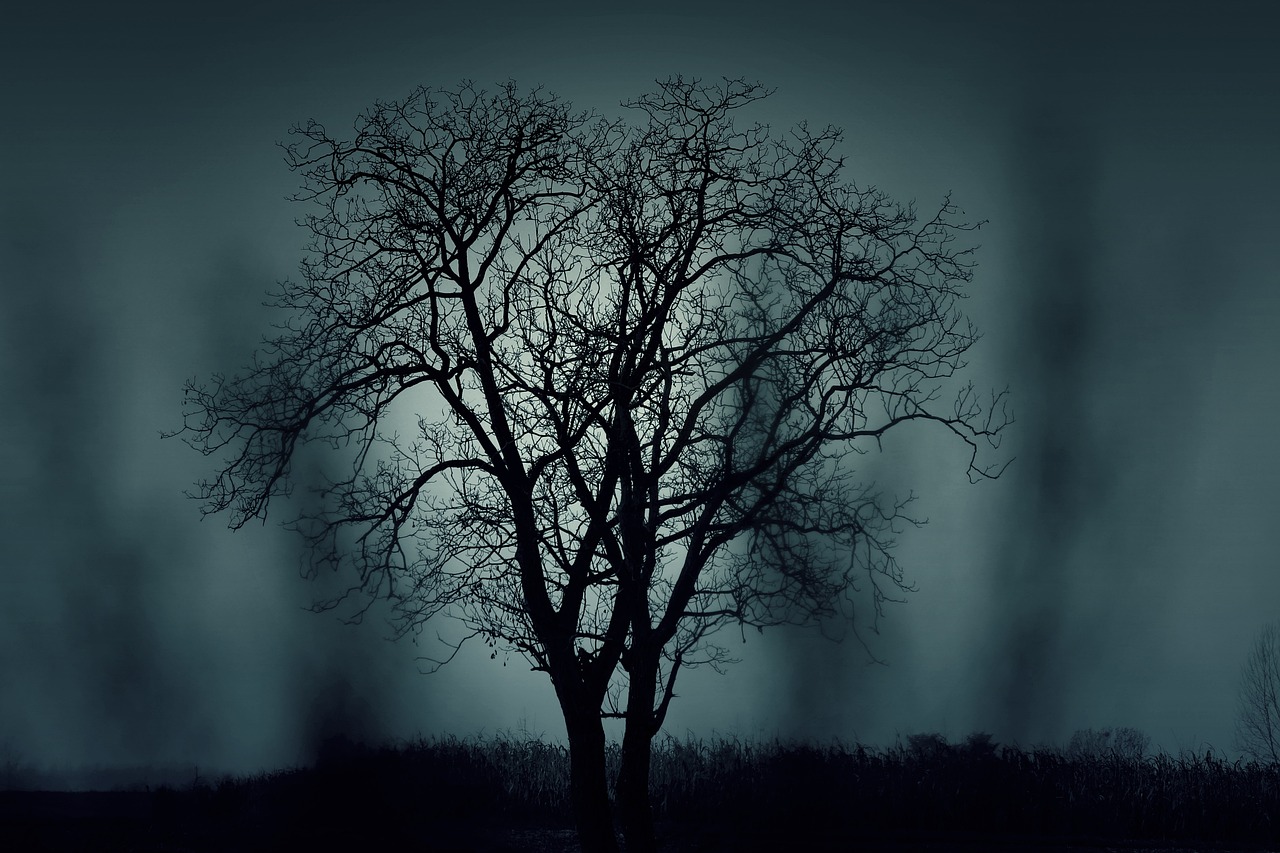
Brush Techniques for Softness
When it comes to painting a misty forest landscape, achieving that ethereal quality is all about brush techniques. The right strokes can transform your artwork from a simple depiction of trees into a dreamy, atmospheric scene that draws the viewer in. Imagine standing in a forest, where the air is thick with mist, and the soft outlines of trees fade into the background. That’s the kind of feeling you want to capture! So, let’s dive into some techniques that will help you create that soft, blended look.
One of the most effective tools for achieving softness is the fan brush. This brush, with its unique shape, is perfect for creating the delicate textures of foliage and the wispy edges of mist. To use a fan brush effectively, start by loading it with a mix of colors that represent the various greens and browns of your forest. Then, using a gentle, flicking motion, apply the paint to your canvas. This technique mimics the natural randomness of leaves and branches, giving your trees a more realistic appearance. Remember, less is more! A light touch will yield the best results.
Another fabulous technique is glazing. This involves applying thin, transparent layers of paint over dried layers to create depth and luminosity. For instance, after painting the base layer of your forest, you can add a soft blue or gray glaze to suggest mist. The key here is to allow each layer to dry before adding the next, ensuring that the colors blend seamlessly. This method not only enhances the atmosphere but also gives your painting a sense of dimension that is crucial for a misty effect.
Dry brushing is yet another technique that can add incredible texture to your landscape. By using a stiff-bristled brush with very little paint, you can create fine details that mimic the rough surfaces of tree bark and the delicate veins of leaves. To dry brush effectively, simply dip your brush into the paint, then wipe most of it off on a paper towel. With a light hand, drag the brush across your canvas to create subtle highlights and textures. This method is especially effective for depicting the ruggedness of tree trunks peeking through the mist.
To summarize, here are the key brush techniques to achieve softness in your misty forest landscape:
- Fan Brush: Ideal for creating realistic foliage and mist effects.
- Glazing: Adds depth and luminosity with transparent layers.
- Dry Brushing: Perfect for adding fine details and textures.
By mastering these techniques, you’ll be well on your way to creating a captivating misty forest landscape that feels alive with atmosphere. Remember to practice patience, as the beauty of your painting will emerge through layers and careful brushwork. So, grab your brushes, and let the magic of the mist guide your hand!
Q: What kind of paint is best for creating a misty effect?
A: Acrylics or oils are both excellent choices! Acrylics dry faster, while oils allow for more blending time.
Q: How can I make my mist look more realistic?
A: Focus on layering colors and using soft brush strokes. Glazing techniques can also enhance the misty effect.
Q: Can I use a regular brush instead of a fan brush?
A: Yes, but a fan brush is specifically designed to create textures that mimic nature, making it easier to achieve the desired effect.
Using a Fan Brush
The fan brush is a versatile tool that can be a game-changer when painting a misty forest landscape. With its unique shape, it allows for the creation of intricate textures that mimic the organic forms of trees and foliage. If you’ve ever tried to paint a forest scene, you know that capturing the essence of trees can be quite a challenge. But fear not! The fan brush is here to help you achieve those beautiful, wispy effects that bring your artwork to life.
To get started, you’ll want to select a fan brush that feels comfortable in your hand. They come in various sizes, so choose one that suits the scale of your painting. A smaller brush is great for detailing, while a larger one can help cover more area quickly. Now, let’s talk about technique. When you dip your fan brush into paint, make sure to load it evenly. This means not too much paint on the brush to avoid overwhelming your canvas, but enough to create the desired effect.
One effective method is to use a gentle flicking motion. This technique helps to create the illusion of leaves and branches without being overly precise. Think of your brush as an extension of your fingers, dancing across the canvas. You can layer different shades of green and brown to add depth and dimension. For instance, start with a darker base color to form the trunk and branches, then use lighter shades to create highlights that suggest sunlight filtering through the leaves.
Additionally, the fan brush is perfect for creating the soft edges of mist that envelop the trees. To achieve this, lightly drag the brush through a mixture of white and a hint of the underlying color. This will give you that ethereal quality that is characteristic of a misty forest. Remember, the key is to maintain a light touch; too much pressure can lead to harsh lines that detract from the softness you’re aiming for.
When using a fan brush, don’t hesitate to experiment with different techniques. Here are a few tips to enhance your painting:
- Vary Your Pressure: Light pressure will create delicate details, while firmer strokes can add texture.
- Mix Colors: Blend different shades on your palette before applying them to the canvas for a more natural look.
- Practice: Spend some time practicing on a scrap piece of paper to get comfortable with the brush before applying it to your masterpiece.
In conclusion, the fan brush is an essential tool for any artist looking to create a captivating misty forest landscape. Its unique shape allows for the creation of textures that mimic nature, and with a bit of practice, you’ll find that it opens up a world of possibilities in your artwork. So grab your fan brush and let your creativity flow as you bring the enchanting beauty of a misty forest to life on your canvas!
Q1: Can I use a fan brush for other types of paintings?
A fan brush is versatile and can be used for various styles, including landscapes, florals, and abstract art. Its unique shape allows for different textures, making it a valuable addition to your toolkit.
Q2: What type of paint works best with a fan brush?
Both acrylic and oil paints work well with a fan brush. However, acrylics may dry faster, so you might need to work quickly or use a slow-drying medium.
Q3: How do I clean my fan brush?
Cleaning your fan brush is essential for maintaining its shape. Use warm soapy water for acrylics and a solvent like turpentine for oils. Gently reshape the bristles after cleaning to keep them in good condition.
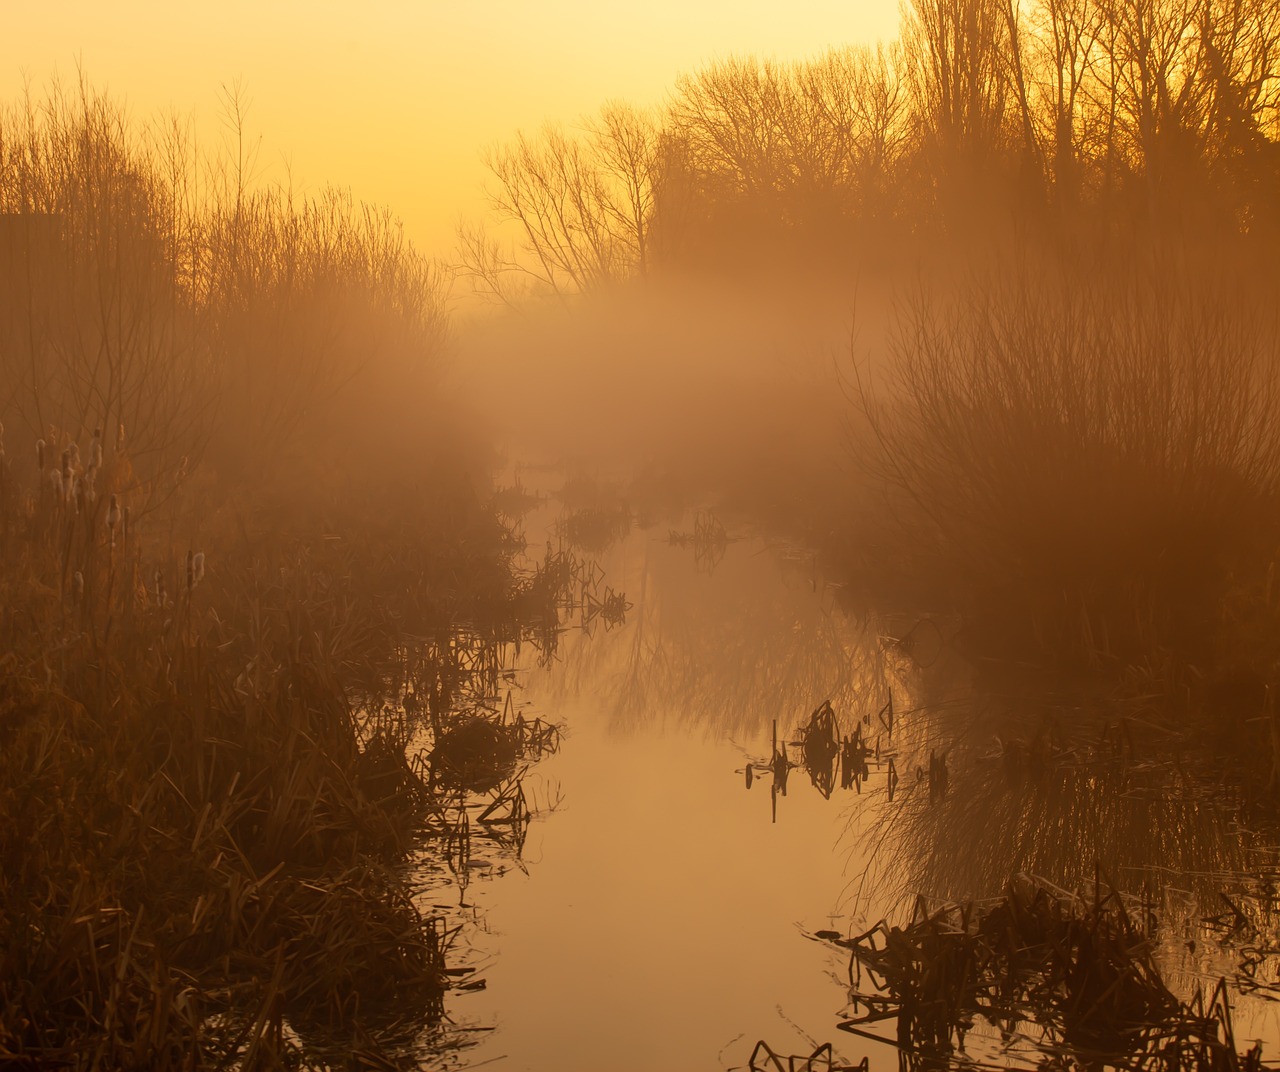
Layering with Glazes
Layering with glazes is one of the most enchanting techniques you can employ to achieve that dreamy, misty effect in your forest landscape. The beauty of glazing lies in its ability to build depth and luminosity without overwhelming your base layers. Imagine painting a sunset where each layer of color adds to the glow, creating an ethereal atmosphere that captivates the viewer. To get started, you’ll want to choose your colors wisely; transparent hues work best for this technique. Think of colors like ultramarine blue, phthalo green, or quinacridone rose, which can be mixed with a glazing medium to create a transparent wash.
When applying glazes, the key is to work from light to dark. Start with your lighter colors as your base, allowing them to dry completely before layering on darker tones. This method not only enhances the depth of your painting but also ensures that the lighter colors continue to shine through, creating that mesmerizing misty effect. A good rule of thumb is to apply thin layers, allowing each to dry before adding another. This patience will reward you with a painting that feels alive and full of dimension.
To illustrate the layering process, consider the following steps:
- Prepare your base: Start with an underpainting that captures the essence of your landscape.
- Choose your glazes: Mix your chosen colors with a glazing medium. This will help maintain transparency.
- Apply the first glaze: Use a soft brush to apply a thin layer of glaze, focusing on areas where you want to enhance the misty effect.
- Repeat: Once dry, add additional layers, gradually deepening the colors and building up the atmosphere.
It's essential to remember that glazing is not just about the application of color; it's also about understanding how light interacts with your layers. Each glaze you apply should be a thoughtful addition that contributes to the overall composition. For instance, a soft blue glaze can mimic the coolness of morning mist, while a warm yellow glaze can suggest sunlight filtering through the trees. This interplay of color not only enhances the realism of your landscape but also evokes an emotional response from the viewer, drawing them into the serene beauty of your misty forest.
In conclusion, layering with glazes is a powerful technique that can transform your painting from ordinary to extraordinary. By carefully choosing your colors and applying them in thin, transparent layers, you can create a sense of depth and atmosphere that captures the essence of a misty forest landscape. So grab your brushes, mix those glazes, and let your creativity flow!
Q: What is glazing in painting?
A: Glazing is a technique where transparent layers of paint are applied over dried layers to create depth and luminosity in artwork.
Q: Can I use any paint for glazing?
A: While you can use any paint, transparent colors mixed with a glazing medium work best for achieving the desired effect.
Q: How long should I wait between layers?
A: It’s best to wait until each layer is completely dry before applying the next one, which can take anywhere from a few minutes to several hours depending on the thickness of the glaze.
Q: What brushes are best for glazing?
A: Soft brushes, such as synthetic or sable, are ideal for glazing as they allow for smooth application and blending of colors.
Dry Brushing for Texture
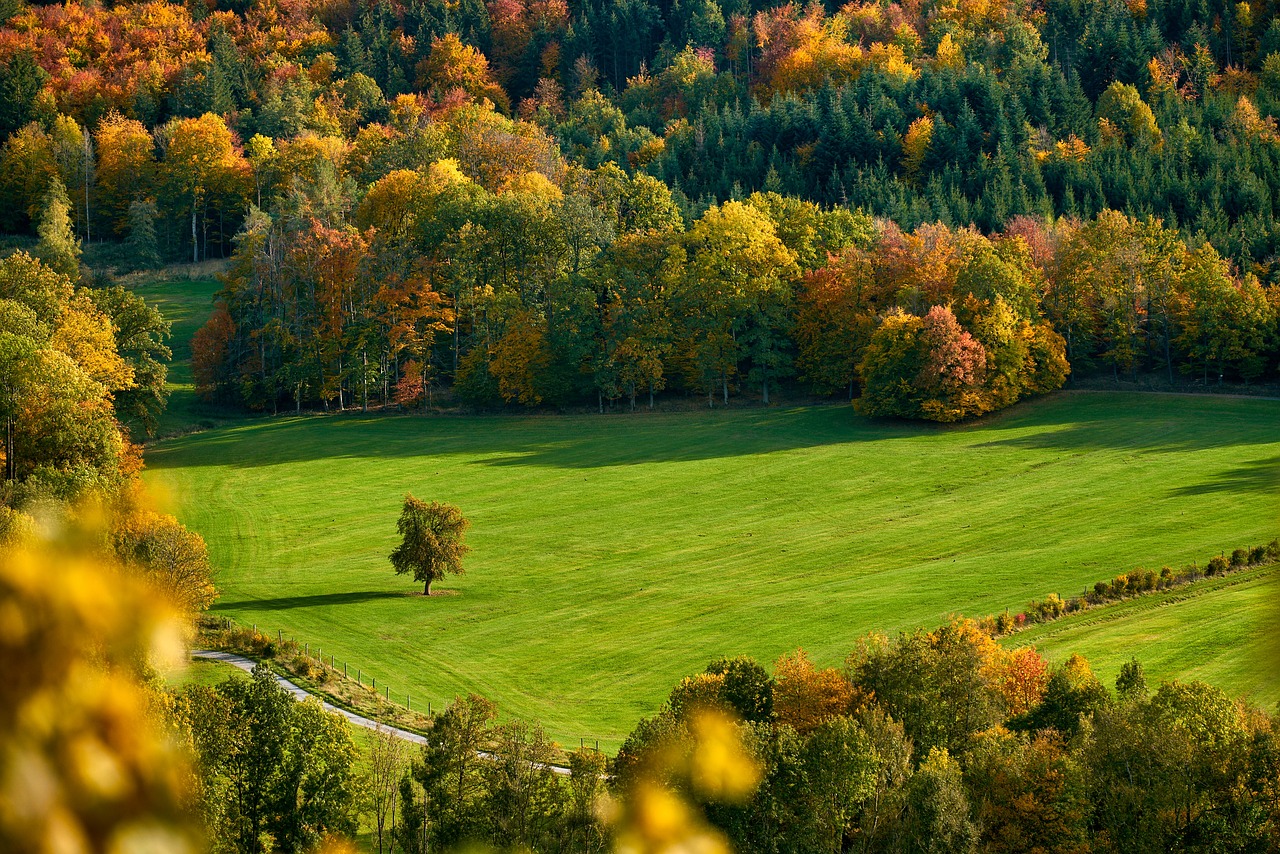
Dry brushing is a fantastic technique that can truly elevate your misty forest landscape by adding intricate details and texture. Imagine the rough bark of a tree or the delicate leaves swaying in the gentle breeze; dry brushing allows you to capture these nuances with ease. The beauty of this method lies in its simplicity and the stunning effects it can produce. To start, you'll want to choose a stiff-bristled brush and load it with a minimal amount of paint. The key here is to ensure that your brush is almost dry, hence the name "dry brushing."
Begin by lightly dragging the brush over the surface of your canvas. This technique allows the bristles to catch on the raised areas of your painting, leaving behind a subtle layer of color that mimics the texture of bark or foliage. You’ll notice that this method creates a beautiful, layered effect, making the trees in your landscape appear more three-dimensional. For instance, when painting tree trunks, use a darker base coat and then lightly brush on a lighter color to highlight the edges and crevices, creating a realistic bark texture.
Moreover, dry brushing can also be used to add highlights to the leaves and underbrush in your painting. By selecting a lighter shade of green or even a hint of yellow, you can create the illusion of sunlight filtering through the trees, which is essential for achieving that magical, misty atmosphere. As you apply the lighter paint, focus on the areas that would naturally catch the light, such as the tops of the leaves or the tips of the branches. This not only enhances the depth of your painting but also contributes to the overall mood of serenity and calmness that a misty forest embodies.
Here’s a quick guide on how to effectively implement dry brushing in your artwork:
- Choose the Right Brush: A stiff-bristled brush works best for this technique.
- Use Minimal Paint: Dip your brush lightly into paint and remove excess to keep it dry.
- Apply Light Strokes: Gently drag the brush over the canvas, allowing it to catch on textures.
- Layer Colors: Start with darker shades and build up to lighter tones for depth.
As you practice, you’ll find that dry brushing can be a versatile addition to your artistic toolkit. It can be used to create not only the textures of trees but also the soft, fuzzy look of distant foliage or even the fine details of underbrush. Just remember, the goal is to enhance your painting without overpowering it. With each stroke, you’ll be able to breathe life into your misty forest landscape, drawing viewers into a world where they can almost feel the cool mist on their skin and hear the rustle of leaves in the wind.
Creating Depth with Layers
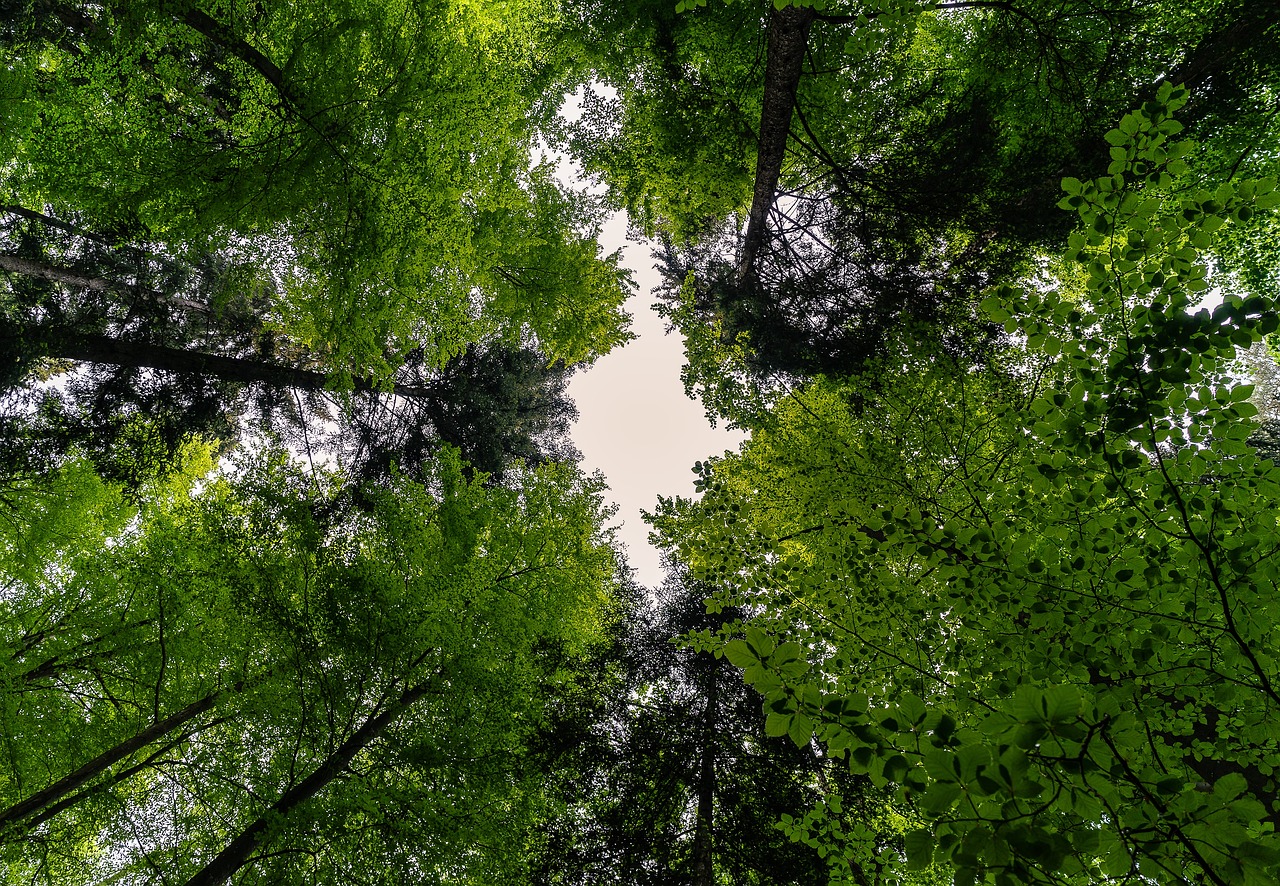
When it comes to painting a misty forest landscape, creating depth is one of the most crucial aspects to consider. Think of your painting as a three-dimensional space where you want the viewer to feel as if they can step right into the scene. To achieve this, layering is key. By building layers from the background to the foreground, you can create a sense of distance and dimension that draws the viewer in. The background should be more muted and less detailed, while the foreground can be richer and more vibrant, creating a natural progression of focus.
One effective method to establish depth is to use a gradient of colors. For instance, the colors in the background should be lighter and more subdued, while the colors in the foreground can be darker and more saturated. This technique not only enhances the atmospheric perspective but also creates a visual pathway that guides the viewer's eye through the painting. Consider using a palette that transitions from cool colors in the background—like soft blues and greens—to warmer tones in the foreground, such as deep greens and browns, to evoke the feeling of being enveloped by the forest.
Another essential aspect of layering is the application technique. Start with a thin wash of color for the background, allowing it to dry before adding more layers. This will help maintain the transparency that is so vital for a misty effect. As you move forward in your layers, gradually increase the opacity and detail. For example, you might begin with a wash of pale blue-gray to represent the mist, then layer on deeper greens and browns for the trees and foliage. This gradual build-up creates a rich tapestry of color that mimics the natural world.
Don't forget about the importance of texture in your layers. Different brush strokes can add visual interest and enhance the depth of your painting. For instance, using a stippling technique can create the illusion of leaves and foliage in the foreground, while smoother strokes can depict the soft mist that lingers in the background. The combination of these techniques will give your painting a dynamic quality that keeps the viewer engaged.
Finally, remember that patience is key when working with layers. Allow each layer to dry completely before adding the next to avoid muddying your colors. This way, you can maintain clarity and vibrancy throughout your painting. As you practice layering, you'll find your own rhythm and techniques that work best for you. So grab your brushes, and let your creativity flow as you transform a blank canvas into a captivating misty forest landscape!
- What materials do I need for painting a misty forest landscape? You will need high-quality paints, brushes (including fan brushes), a palette, canvas or paper, and optional glazing mediums.
- How do I create a misty effect? Use soft brush strokes, light colors, and layering techniques to build up the misty atmosphere in your painting.
- Can I use acrylics for this technique? Absolutely! Acrylic paints are versatile and can be used effectively for creating misty landscapes.
- What is glazing, and how does it help? Glazing involves applying thin, transparent layers of paint over dried layers to create depth and luminosity in your artwork.
Incorporating Light and Shadow
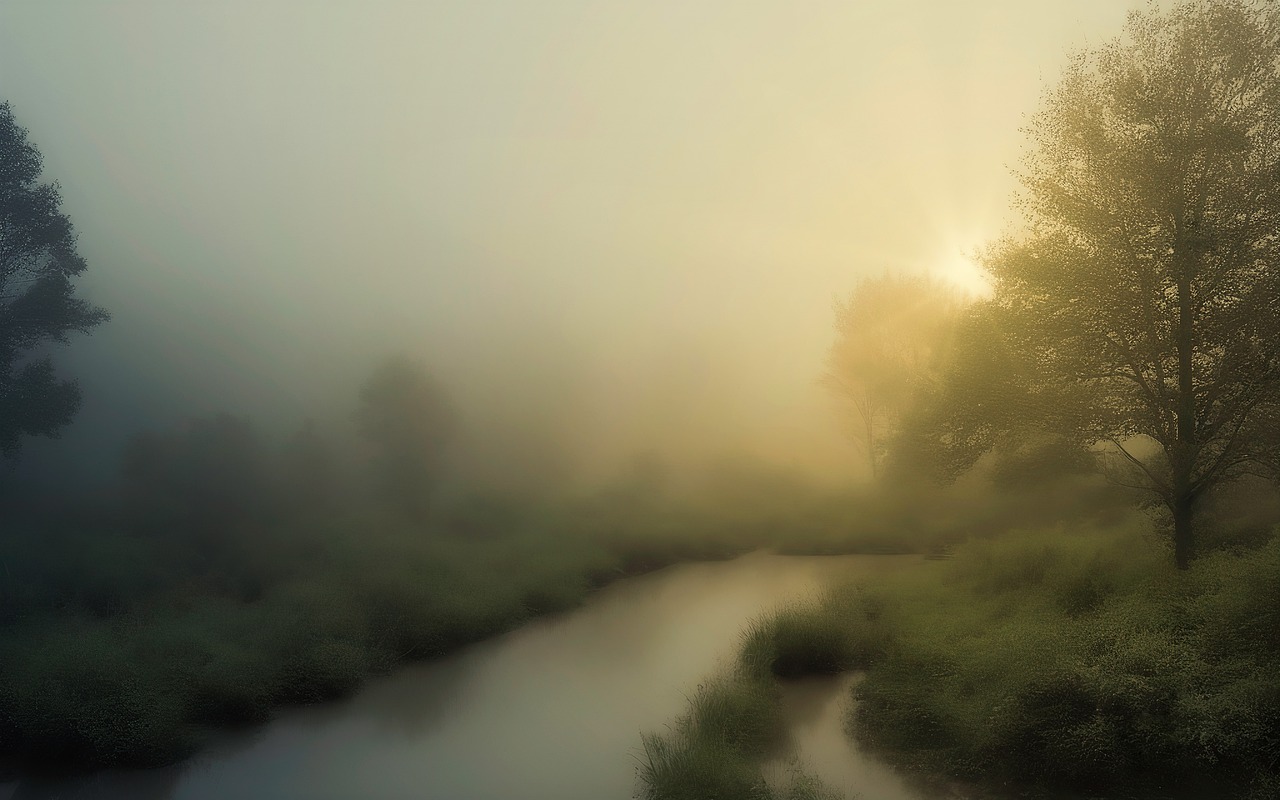
When it comes to painting a misty forest landscape, light and shadow are your best friends. They not only help to create a sense of depth but also set the mood of your artwork. Imagine walking through a forest where beams of sunlight filter through the canopy, casting soft shadows on the ground. This interplay of light and shadow can transform a flat painting into a vibrant, three-dimensional experience. To effectively incorporate these elements, you need to understand their role in your composition and how they can enhance the overall atmosphere.
One of the most effective ways to depict light in your painting is by using highlights. This involves applying white or a very light color to areas where the light would naturally hit. For instance, think about the tops of trees or the edges of leaves that catch the sunlight. By placing these highlights strategically, you can create a stunning contrast against the darker areas of your painting, which represent the shadows. It's like adding sparkle to your artwork, making it come alive!
Now, let’s talk about shadows. Shadows are crucial for adding realism to your misty forest landscape. They help to ground your elements and provide a sense of place. To create soft shadows that complement the mist, you can use a mix of dark grays and muted colors rather than pure black. This will ensure that your shadows feel natural and blend seamlessly with the misty atmosphere. Think of shadows as the whisper of the forest, subtly guiding the viewer's eye through your artwork.
When painting, consider the following techniques for effectively incorporating light and shadow:
- Observe Nature: Spend time in a real forest setting or study photographs to see how light interacts with trees and foliage.
- Layering Colors: Use transparent layers to build depth in your shadows, allowing the underlying colors to show through.
- Soft Edges: Blend your shadows gently into the surrounding areas to maintain the ethereal quality of the mist.
Additionally, you can create a mood table to visualize the relationship between light and shadow in your painting:
| Element | Light | Shadow |
|---|---|---|
| Tree Canopy | Bright highlights on leaves | Dark, soft shadows beneath branches |
| Forest Floor | Sunlit patches on the ground | Deep shadows from tree trunks |
| Misty Areas | Subtle light breaking through mist | Fading shadows that blend with mist |
By mastering the techniques of highlighting and shadowing, you can create a captivating misty forest landscape that draws viewers into your world. Remember, it’s not just about how much light or shadow you use, but rather how you balance them to create an atmosphere that feels alive. So grab your brushes and start experimenting with these techniques—your forest awaits!
- What colors should I use for shadows in a misty forest?
Use muted colors like dark greens, blues, or grays instead of pure black to create more natural-looking shadows.
- How do I create a misty effect in my painting?
Layering translucent colors and using soft brush strokes can help you achieve a misty effect.
- Can I use a palette knife for light and shadow?
Absolutely! A palette knife can create interesting textures and sharp highlights, adding another dimension to your work.
Highlighting with White Paint
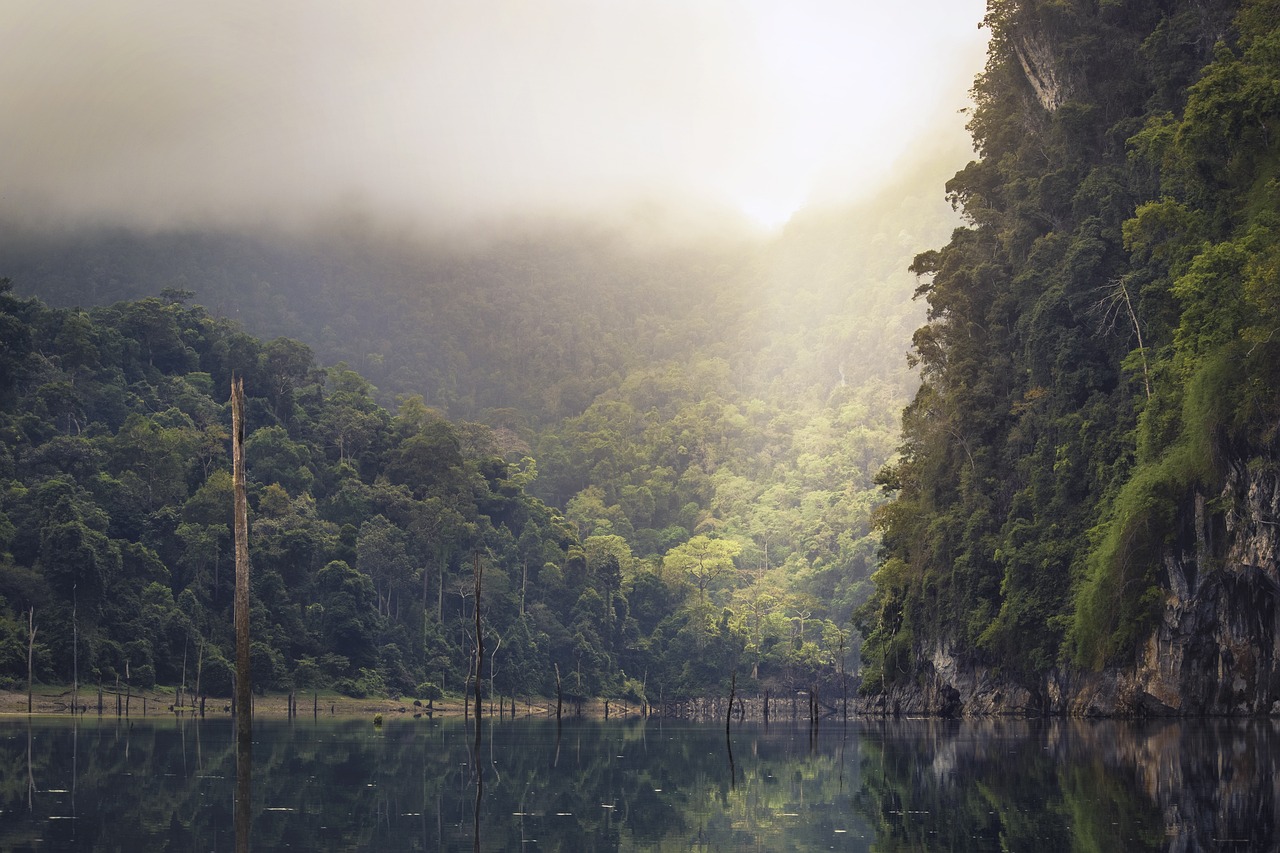
When it comes to painting a misty forest landscape, highlights are your secret weapon for creating that enchanting, ethereal glow. Using white paint effectively can transform your artwork from flat to fantastic, giving it a sense of life and depth that draws the viewer in. But how do you know where to place those highlights? It’s all about understanding light and how it interacts with the elements in your scene.
Imagine standing in a lush forest, the sun peeking through the dense canopy of trees. The light scatters, creating pockets of brightness on the forest floor and illuminating the edges of leaves. To replicate this effect in your painting, start by identifying the areas where light would naturally hit. Typically, these areas include:
- The tops of trees and branches
- Foliage that faces the light source
- Pathways or clearings that catch the light
- Any surfaces that are wet or reflective, such as leaves after a rain
Once you’ve pinpointed these areas, it’s time to grab your brush and get to work. A soft, dry brush is perfect for applying white paint in a gentle manner. Instead of slapping on a thick layer of white, think of it like dusting powdered sugar on a cake—less is often more! You want to build up the highlights gradually, allowing the underlying colors to show through. This layering technique not only adds depth but also keeps the misty atmosphere intact.
Another effective method is to mix your white paint with a touch of your background color. This creates a softer highlight that blends seamlessly into the misty environment. For instance, if you’re highlighting the tops of green trees, mix your white with a bit of green to create a lighter shade that harmonizes with the rest of your palette. This approach helps maintain the overall cohesiveness of your painting.
As you apply the highlights, consider the direction of your light source. Highlights should follow the natural flow of light, accentuating the three-dimensional quality of your trees and foliage. Don’t forget to step back occasionally and assess your work from a distance. This perspective can reveal whether your highlights are too stark or if they need more blending to achieve that soft, dreamy effect.
Lastly, remember that less is often more when it comes to highlighting. Overdoing it can lead to a jarring contrast that detracts from the serene beauty of your misty forest. Instead, aim for subtlety and let the highlights enhance the overall atmosphere of your painting. With practice, you’ll find the perfect balance that brings your misty forest landscape to life.
Q: How do I choose the right white paint for highlighting?
A: It's best to use a high-quality titanium white for its opacity and brightness. You can also try mixing it with other colors to create softer highlights.
Q: Can I use a different color for highlights instead of white?
A: Absolutely! You can use lighter shades of the colors already in your painting to create highlights that blend better with the overall scene.
Q: How can I avoid making my highlights too harsh?
A: Start with a small amount of paint and build up gradually. Use a dry brush technique to apply the highlights softly, and consider mixing with other colors for a more natural look.
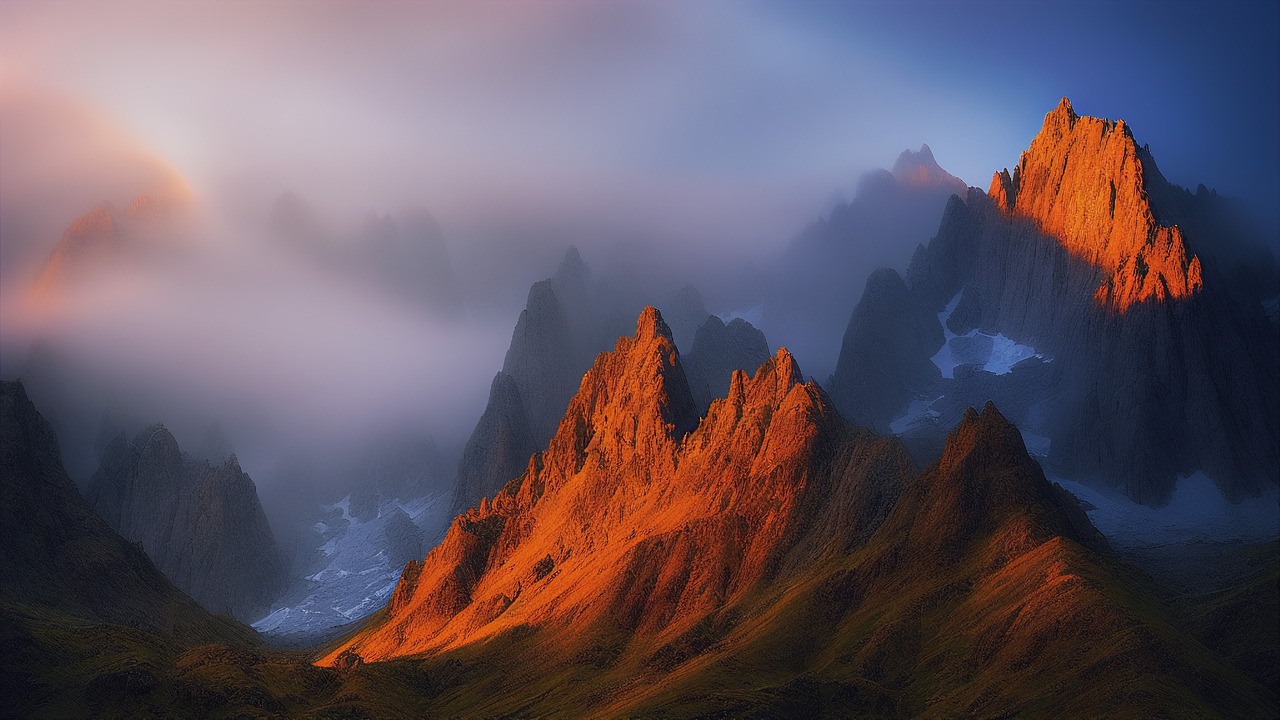
Shadows for Realism
When it comes to painting a misty forest landscape, shadows are your secret weapon. They add that essential touch of realism that can transform a simple scene into something truly captivating. Imagine walking through a lush forest where the dappled sunlight filters through the leaves, casting playful shadows on the ground. This is the effect you want to replicate in your artwork. Shadows not only define shapes but also create a sense of depth and atmosphere, making your painting feel alive.
To achieve realistic shadows, it’s important to consider the light source in your composition. Ask yourself: Where is the light coming from? Is it a soft, diffused light typical of a misty morning, or is it a more direct sunlight piercing through the fog? The direction and intensity of your light will dictate how you apply your shadows. For a misty forest, soft, diffused shadows work best. They should be gentle, almost ghostly, to complement the ethereal quality of the mist.
When applying shadows, use a darkened version of your base colors. This technique helps maintain harmony within your color palette. For instance, if your trees are a rich green, mix in a bit of blue or black to create a darker shade for the shadows. Remember, shadows are rarely just black; they often carry the colors of the objects casting them. You can also use a transparent glaze to layer shadows over your lighter colors, allowing the underlying hues to show through while still creating depth.
Here’s a quick guide to help you understand how to apply shadows effectively:
| Element | Shadow Color | Technique |
|---|---|---|
| Trees | Dark Green + Blue | Layer with Glaze |
| Ground | Brown + Black | Dry Brush Technique |
| Foliage | Light Green + Darker Green | Soft Blending |
As you paint, focus on creating soft edges for your shadows. Harsh lines can break the illusion of depth and atmosphere. Instead, use a clean, damp brush to gently blend the edges of your shadows into the surrounding area. This technique mimics the way shadows behave in nature, where they often fade into the background rather than ending abruptly.
Finally, don’t forget about the importance of contrast. The interplay between light and shadow is what gives your painting its dynamic quality. Make sure your highlights are bright enough to stand out against the darker areas. This contrast will not only enhance the realism but also draw the viewer’s eye into the scene, inviting them to explore your misty forest.
- What colors should I use for shadows in a misty forest? Use darker versions of your base colors, often mixed with blues or blacks for a natural look.
- How can I make my shadows look softer? Blend the edges of your shadows with a damp brush for a more natural, diffused appearance.
- Is it okay to use black for shadows? It’s best to avoid pure black; instead, use darker hues that complement your color palette.
- How important are shadows in landscape painting? Shadows are crucial as they add depth, realism, and help define the shapes within your landscape.
Frequently Asked Questions
- What colors should I use for a misty forest landscape?
When painting a misty forest, opt for soft, muted colors. Think of shades like light blues, grays, and soft greens to create that ethereal feel. You can also incorporate earthy browns and whites to add depth and contrast, enhancing the mood of your artwork.
- How can I achieve a soft, misty effect in my painting?
To create that dreamy misty effect, use blending techniques with a soft brush. Try employing glazing to layer transparent colors, which will help you build up the mist gradually. Remember, less is often more; start with light applications and build up to your desired look.
- What brush techniques are best for painting trees?
A fan brush is fantastic for creating texture in your trees and foliage. By using a stippling motion, you can mimic the look of leaves and branches effectively. Additionally, dry brushing can add fine details to the bark, giving your trees a realistic appearance.
- How do I create depth in my landscape painting?
Layering is key to creating depth. Start with your background colors and gradually build up to the foreground, using darker shades as you move closer to the viewer. This technique not only adds dimension but also creates a sense of distance, making your misty forest come alive.
- What role do light and shadow play in a misty forest painting?
Light and shadow are essential for setting the mood in your painting. By strategically placing highlights with white paint, you can suggest light filtering through the trees. Soft shadows will complement the mist, adding realism and depth to your artwork.
- Can I use any type of paint for this technique?
While you can use various types of paint, acrylics and oils are particularly effective for creating misty effects. Acrylics dry quickly, allowing for fast layering, while oils provide a longer blending time, perfect for achieving that soft, blended look.


