Beginning with Botanical Drawing: A Step-by-Step Guide
Botanical drawing is not just about replicating what you see; it's about capturing the essence of nature in a way that speaks to both the artist and the observer. Imagine standing in a lush garden, surrounded by vibrant colors and intricate shapes, and feeling the urge to immortalize that beauty on paper. This article explores the fundamentals of botanical drawing, providing a comprehensive step-by-step guide for beginners to develop their skills and appreciation for the beauty of plants through art. Whether you're an aspiring artist or simply someone who appreciates the delicate details of flora, this guide will help you embark on your journey into the world of botanical illustration.
So, what exactly is botanical drawing? At its core, it is a specialized art form that focuses on the detailed representation of plants. Unlike general drawing, which may prioritize style or abstraction, botanical drawing emphasizes accuracy and the intricate details of botanical subjects. This art form serves not only as a means of expression but also as a scientific documentation of plant species. Imagine a beautifully rendered flower that not only looks stunning but also provides valuable information about its anatomy and growth patterns. This dual purpose makes botanical drawing a unique and enriching experience for both artists and botanists alike.
To create stunning botanical illustrations, the right tools and materials are crucial. Think of your art supplies as the foundation of a house; without a solid base, everything else may crumble. Here, we will outline the essential items needed for beginners, including paper, pencils, and coloring mediums. Having the right tools will not only enhance your drawing experience but also allow you to express your creativity more effectively. Below is a quick overview of what you’ll need:
- Quality Paper: Smooth or textured, depending on your medium.
- Pencils: A range of hardness for different effects.
- Coloring Mediums: Watercolors, colored pencils, or markers.
The choice of paper can greatly affect the outcome of your botanical drawings. Think of it as the canvas for a painter; the type of paper you select will influence how colors blend and how fine details are captured. For beginners, a heavier weight paper, usually around 200-300 gsm, is recommended as it can handle various mediums without warping or bleeding. Additionally, consider the texture of the paper. A smooth surface is ideal for detailed pencil work, while a textured surface works well with watercolors, allowing for more depth and dimension in your illustrations.
Different pencils yield different results in botanical drawing. The hardness of the pencil is critical; softer pencils (like 4B or 6B) create darker, richer lines, while harder pencils (like H or 2H) are excellent for fine details and lighter strokes. It’s essential to have a range of pencils handy to achieve various effects. For instance, using a softer pencil for shading can create a more natural look, while a harder pencil is perfect for outlining and fine details. Experimenting with different grades will help you find what suits your drawing style best.
Coloring mediums can enhance your botanical illustrations, adding vibrancy and life to your work. Watercolors are a popular choice for their translucency and ability to blend seamlessly. Colored pencils offer more control and precision, making them ideal for detailed work. Markers can provide bold, saturated colors but require a steady hand to avoid bleeding. Each medium has its unique qualities and applications, so consider trying out a few to see which one resonates with your artistic vision.
Mastering basic drawing techniques is essential for beginners. Just like learning to ride a bike, you need to start with the fundamentals before you can tackle the more complex maneuvers. This subsection will introduce fundamental skills such as line work, shading, and proportion, which are vital for creating realistic botanical art. Begin by practicing simple shapes and gradually move on to more intricate designs. The more you practice, the more confident you will become in your abilities.
Developing strong observational skills is key to successful botanical drawing. Think of it as becoming a detective; you need to notice the small details that most people overlook. This section will provide tips on how to closely observe plants and translate their features onto paper. Take your time to look at the shapes, colors, and textures of the plants you wish to draw. Use a sketchbook to jot down notes and quick sketches to capture your initial impressions. The more you observe, the better your drawings will become.
Understanding the anatomy of plants can enhance your drawings significantly. Just as knowing the anatomy of the human body can help a doctor, understanding plant structures will improve your accuracy in botanical illustrations. Focus on key components such as leaves, stems, and flowers. Analyze how they connect and interact with one another. This deeper understanding will allow you to create more lifelike representations of your subjects.
Practicing with real plants allows for better observation and representation. When you draw from life, you can capture the nuances that photographs often miss. This section will offer advice on selecting plants for drawing and how to effectively study them for your artwork. Choose a variety of plants with different shapes, sizes, and textures to broaden your skills. Spend time observing them in different lighting conditions to see how shadows and highlights change throughout the day. This practice will not only improve your drawing but also deepen your appreciation for the beauty of nature.
Now that you have the tools and techniques, it’s time to create your first botanical drawing. This section will provide a step-by-step approach to guide you through the process. Remember, every artist starts somewhere, and your first drawing is just the beginning of an exciting journey.
Starting with a solid outline is crucial. It’s like laying the groundwork for a building; without a strong foundation, everything else may fall apart. This part will explain how to lightly sketch the basic shapes of your chosen plant before adding details. Use a light hand with your pencil to create the initial shapes, focusing on proportions and placement. Don't worry about making it perfect; this is just the first step in your botanical adventure.
Detailing and coloring bring your drawing to life. This section will cover techniques for adding texture, depth, and color to enhance your botanical illustration's realism. Take your time to observe the plant's features closely; notice how light interacts with the surfaces and how colors blend. Layer your colors gradually, building up to the desired intensity. Remember, patience is key in botanical drawing, and the results will be worth it!
Q: Do I need to have prior drawing experience to start botanical drawing?
A: No, you don't need prior experience! Botanical drawing is accessible to everyone, and with practice, you'll improve over time.
Q: What if I can't find real plants to draw?
A: You can use photographs as references, but drawing from life is encouraged for better observation skills.
Q: How long does it take to become proficient in botanical drawing?
A: Proficiency varies by individual, but regular practice will lead to noticeable improvement within a few months.
Q: Can I use digital tools for botanical drawing?
A: Absolutely! Digital tools can offer unique advantages, but the fundamentals of observation and technique still apply.
Understanding Botanical Drawing
Botanical drawing is not just a simple sketching of plants; it’s a specialized art form that intricately captures the beauty and complexity of the natural world. Unlike other forms of drawing that may emphasize abstraction or personal expression, botanical drawing focuses on the accurate representation of plant life. This art form serves a dual purpose: it is both a scientific tool and an artistic endeavor. Artists and scientists alike use it to document plant species, contributing to our understanding of biodiversity and ecology.
One of the key aspects that sets botanical drawing apart is its attention to detail. Artists often spend hours, even days, studying a single plant to capture its unique characteristics. This might include the texture of the leaves, the arrangement of petals, or the subtle variations in color. In doing so, botanical artists not only create visually stunning pieces but also provide valuable information that can aid in plant identification and conservation efforts.
Moreover, botanical drawing has a rich history that dates back centuries. Many famous artists, such as Maria Sibylla Merian and John James Audubon, have contributed to this genre, blending art with science. Their works have not only served as artistic expressions but also as critical documents that have helped scientists study and classify plants. Today, botanical drawing continues to evolve, embracing modern techniques while respecting traditional methods.
In essence, botanical drawing is a bridge between art and science. It invites artists to explore the intricate beauty of nature while encouraging a deeper appreciation for the environment. Whether you’re a budding artist or a seasoned professional, understanding the fundamentals of botanical drawing can enrich your skills and enhance your connection to the natural world.
As you embark on your journey into botanical drawing, keep in mind that this art form is not just about replicating what you see. It’s about observing, interpreting, and celebrating the beauty of plants. So grab your pencils and sketchbooks, and let the world of botanical illustration unfold before you!
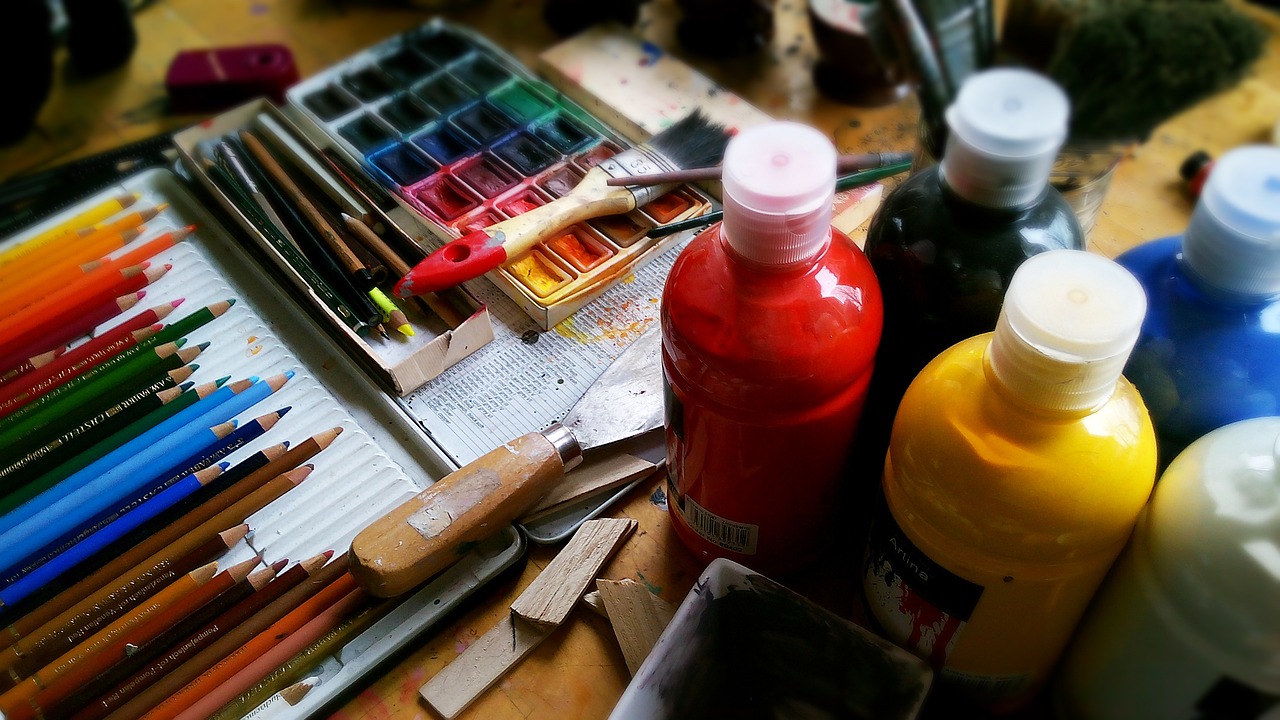
Essential Tools and Materials
To embark on your botanical drawing journey, having the right tools and materials is essential. Think of it as assembling your artist's toolbox—each item plays a crucial role in bringing your artistic vision to life. Whether you're just starting out or looking to refine your skills, understanding what you need can make all the difference. So, let’s dive into the essential items that will help you create stunning botanical illustrations.
First and foremost, you’ll need quality paper. The type of paper you choose can significantly affect the outcome of your drawings. For botanical illustrations, a heavier paper with a smooth surface is ideal, as it allows for fine details and prevents ink or pencil from bleeding through. Consider options like cold-pressed watercolor paper or bristol board for their durability and ability to handle various mediums.
When selecting paper, think about the techniques you plan to use. For instance, if you’re working with watercolors, opt for paper that can withstand moisture without warping. On the other hand, if you prefer colored pencils, a slightly textured surface can help grip the pigment better. Here’s a quick comparison of different paper types:
| Paper Type | Best For | Features |
|---|---|---|
| Cold-Pressed Watercolor Paper | Watercolors | Textured surface, absorbs water well |
| Bristol Board | Pencil and Ink | Smooth, heavy weight, great for fine details |
| Mixed Media Paper | Various Techniques | Versatile, can handle both wet and dry mediums |
Next up, let’s talk about pencils. The right pencils can make a world of difference in your botanical drawings. Generally, you’ll want a range of pencils with varying hardness. Softer pencils (like 2B or 4B) are excellent for shading and creating rich, dark lines, while harder pencils (like H or 2H) are perfect for fine details and lighter lines. Experimenting with different grades will help you discover what works best for your artistic style.
Here’s a quick guide to pencil hardness:
- H Grades: Hard pencils, great for fine lines.
- HB: Medium hardness, versatile for general use.
- B Grades: Soft pencils, ideal for shading and darker strokes.
Now, let’s not forget about coloring mediums. Adding color can elevate your botanical illustrations to a whole new level. There are several options to choose from, each offering unique qualities. Watercolors provide a beautiful transparency, allowing you to build layers and create depth. Colored pencils offer precision and control, perfect for intricate details. If you’re looking for something quick and vibrant, markers can deliver bold colors in no time. The choice of medium often depends on the effect you wish to achieve, so don’t hesitate to experiment!
Here’s a brief overview of popular coloring mediums:
- Watercolors: Great for layering, creates soft blends.
- Colored Pencils: Excellent for detailed work, easy to control.
- Markers: Fast application, vibrant colors.
In conclusion, investing in the right tools and materials is crucial for any budding botanical artist. Each element—from the paper you use to the pencils and coloring mediums—contributes to the overall quality of your artwork. So, gather your supplies, and let your creativity flourish!
Q: Do I need to invest in expensive materials to start?
A: Not at all! While high-quality materials can enhance your work, many affordable options are available that can still yield great results.
Q: Can I use regular sketch paper for botanical drawing?
A: Regular sketch paper can work for practice, but for finished pieces, it’s better to use specialized paper designed for your chosen medium.
Q: How do I choose the right coloring medium?
A: It depends on your personal preference and the style you wish to achieve. Experiment with different mediums to see which one resonates with you.

Choosing the Right Paper
When it comes to botanical drawing, the type of paper you choose can significantly influence the quality and impact of your artwork. Think of paper as the canvas for your creativity; it’s the foundation upon which your artistic vision will come to life. Different papers provide varying textures, weights, and finishes, all of which can enhance or detract from the details you aim to capture. So, how do you choose the right paper? Let’s dive into the key factors to consider.
First and foremost, you’ll want to select a paper that can handle the medium you plan to use. For instance, if you're working with watercolors, a heavier, textured paper designed for wet media will be essential. On the other hand, if you’re using colored pencils or graphite, a smoother, lighter weight paper might be more suitable. Here’s a quick overview of some popular paper types:
| Paper Type | Best For | Texture |
|---|---|---|
| Watercolor Paper | Watercolors | Rough or Cold Press |
| Drawing Paper | Graphite, Colored Pencils | Smooth to Medium Texture |
| Mixed Media Paper | Various Mediums | Varied |
Another vital aspect to consider is the weight of the paper, measured in grams per square meter (gsm). Heavier papers (around 200 gsm and above) tend to be more durable and can withstand multiple layers of media, while lighter papers (around 120 gsm) may buckle or tear under heavy application. As a beginner, you might want to experiment with a few different weights to see what feels right for you.
Additionally, the finish of the paper plays a crucial role in your drawing experience. A rough finish can add depth and texture to your illustrations, making it ideal for watercolor techniques, whereas a satin or smooth finish is perfect for fine detail work, allowing for crisp lines and subtle shading. Don’t hesitate to touch and feel the paper before committing; the tactile experience can greatly influence your comfort and creativity.
In summary, choosing the right paper for your botanical drawing is about understanding your medium and your personal style. Take the time to explore different types and find what resonates with you. Remember, the right paper can elevate your artwork from ordinary to extraordinary, so choose wisely!
- What type of paper is best for beginners? - Beginners often find that a good quality drawing paper or mixed media paper is versatile and forgiving.
- Can I use regular printer paper for botanical drawing? - While you can, it’s not ideal as it may not handle wet media well and could tear easily.
- How do I know if a paper is suitable for watercolor? - Look for papers labeled as “watercolor” with a weight of at least 200 gsm.
Pencil Selection
When it comes to botanical drawing, the right pencil can make all the difference in achieving the desired level of detail and precision. Selecting the appropriate pencil is akin to choosing the right brush for a painter; it can either elevate your work or limit your expression. In botanical art, where capturing the nuances of plant life is paramount, understanding pencil hardness and its applications is essential. Pencils are graded on a scale from H (hard) to B (soft), with F (fine point) in between. Here’s a quick breakdown:
| Pencil Grade | Characteristics | Best Uses |
|---|---|---|
| H | Harder leads produce lighter lines. | Fine details, light sketches. |
| F | Fine point, versatile for various techniques. | General drawing, outlines. |
| B | Softer leads create darker, richer lines. | Shading, texture work. |
For beginners, a set of pencils that includes a range of H and B grades is highly recommended. This way, you can experiment with both fine details and shading. For instance, using a 2H pencil for initial outlines allows for precise, light strokes that can be easily erased or modified. Once you’re ready to add depth, switching to a 2B or 4B pencil will enable you to create richer textures and darker shadows. Remember, the beauty of botanical drawing lies in the subtleties, and the right pencil can help you capture those intricate details with finesse.
Moreover, don’t overlook the importance of pencil quality. Investing in high-quality pencils can result in smoother application and better control, which is particularly beneficial when working on delicate botanical subjects. Brands like Faber-Castell and Derwent are popular among artists for their reliability and performance.
In summary, pencil selection is a fundamental aspect of botanical drawing. By understanding the different grades and their specific uses, you can enhance your ability to create stunning, detailed illustrations that truly reflect the beauty of the plant world. So next time you sit down to draw, consider your pencil choice carefully—it might just be the key to unlocking your artistic potential!
- What pencil grades are best for beginners in botanical drawing? A good starting point is to have a range of H and B pencils, such as 2H for outlines and 2B or 4B for shading.
- Can I use regular graphite pencils for botanical drawing? Yes, regular graphite pencils can be used, but high-quality artist-grade pencils will yield better results.
- How do I know which pencil to use for detailing? Use harder pencils (H grades) for fine details and softer pencils (B grades) for shading and texture.

Coloring Mediums
When it comes to bringing your botanical drawings to life, the choice of coloring mediums plays a pivotal role. Each medium has its own unique characteristics, allowing you to express your artistic vision while capturing the intricate details of plants. Let’s dive into the most popular options and explore how they can enhance your illustrations.
Watercolors are a favorite among botanical artists for their ability to create soft, transparent washes that mimic the delicate nature of plant life. They allow for layering, which means you can build up color gradually, creating depth and dimension. However, mastering watercolors requires practice, as controlling the water-to-pigment ratio can be tricky. If you’re looking for a medium that offers both flexibility and a gentle touch, watercolors may be your best bet.
Colored pencils offer another fantastic option, especially for beginners. They provide excellent control over detail and are great for creating fine lines and textures. With colored pencils, you can layer colors to achieve a rich, vibrant look, or blend them for softer transitions. One of the best things about colored pencils is that they are relatively mess-free compared to other mediums, making them perfect for artists who prefer a tidy workspace.
Another medium worth considering is markers. They come in various types, including alcohol-based and water-based markers. Alcohol-based markers are vibrant and can produce smooth, even strokes, making them ideal for bold illustrations. On the other hand, water-based markers allow for blending with water, similar to watercolors, providing versatility in your artwork. Markers are excellent for those who enjoy a more graphic style in their botanical art.
Here’s a quick comparison table to help you decide which medium might suit your needs best:
| Medium | Characteristics | Best For |
|---|---|---|
| Watercolors | Transparent, soft washes, requires water control | Creating delicate, layered effects |
| Colored Pencils | Controlled, detailed, mess-free | Fine details and textures |
| Markers | Vibrant colors, smooth strokes, blends well | Bold, graphic illustrations |
Ultimately, the choice of coloring medium will depend on your personal style and the effect you wish to achieve in your botanical drawings. Don’t hesitate to experiment with different mediums to discover what resonates with you. Each one offers a new way to express the beauty of plants, so grab your tools and let your creativity flourish!
As you embark on your botanical drawing journey, remember that practice makes perfect. Try out various coloring mediums and techniques to find your unique approach. The world of plants is vast and inspiring, and with the right tools and techniques, your illustrations can truly shine.
- What is the best medium for beginners? Colored pencils are often recommended for beginners due to their ease of use and control.
- Can I mix different mediums? Absolutely! Many artists combine mediums to achieve unique effects.
- How do I choose the right paper for my coloring medium? Consider the texture and weight of the paper; heavier paper is generally better for wet mediums like watercolors.
Basic Drawing Techniques
When it comes to botanical drawing, mastering is your stepping stone to creating stunning illustrations. Think of these techniques as the foundation of a house; without a solid base, everything else can crumble. So, let’s dive into some essential skills that will help you elevate your botanical art.
First off, line work is crucial. It’s all about capturing the essence of your subject with varying line weights. A fine line can represent delicate petals, while a thicker line can outline sturdy stems. The ability to manipulate line weight not only adds depth but also brings your drawing to life. You might want to practice drawing different types of lines—straight, curved, and even jagged—to see how each can convey different textures and forms.
Next is shading. This technique is what transforms a flat drawing into a three-dimensional masterpiece. By understanding light and shadow, you can create volume and depth. Start with a light touch and build up layers gradually. For instance, when shading a leaf, observe how the light hits it. The areas in direct light should remain lighter, while the shaded parts should be darker. The interplay of light and shadow can make your illustrations pop off the page.
Now, let’s talk about proportion. This is where observational skills come into play. Understanding the size relationships between different parts of a plant is vital. For example, the width of a flower relative to its stem can be quite telling. To practice proportion, you can use a simple technique called measuring with your pencil. Hold your pencil at arm's length and use it to gauge the dimensions of your subject. This method can help you maintain accurate proportions in your drawing.
Additionally, don't underestimate the power of texture. Adding texture can convey the unique characteristics of different plant surfaces. For instance, the smoothness of a petal can be depicted with soft, flowing lines, while the roughness of bark can be illustrated with jagged, erratic strokes. Experimenting with different techniques, such as cross-hatching or stippling, can help you discover how to represent various textures effectively.
Lastly, practice is key. Just like any other skill, the more you draw, the better you become. Don’t hesitate to sketch frequently. Set aside time each day to draw, even if it’s just a quick study of a leaf or a flower. Over time, you’ll notice your confidence and abilities grow. Remember, every artist was once a beginner, so embrace the journey!
In summary, mastering these basic drawing techniques—line work, shading, proportion, and texture—will set you on the path to becoming a skilled botanical artist. Each technique complements the others, creating a harmonious blend that leads to beautiful, lifelike illustrations. So grab your pencils, find a plant that inspires you, and start practicing these techniques!
- What is the best way to start botanical drawing?
Begin by observing real plants and practicing basic shapes and lines. Start with simple subjects and gradually move to more complex ones. - Do I need expensive materials to create good botanical drawings?
No, while quality materials can enhance your work, you can start with basic supplies and still produce beautiful illustrations. - How long does it take to improve my skills in botanical drawing?
Improvement varies from person to person, but consistent practice will yield noticeable results over time.
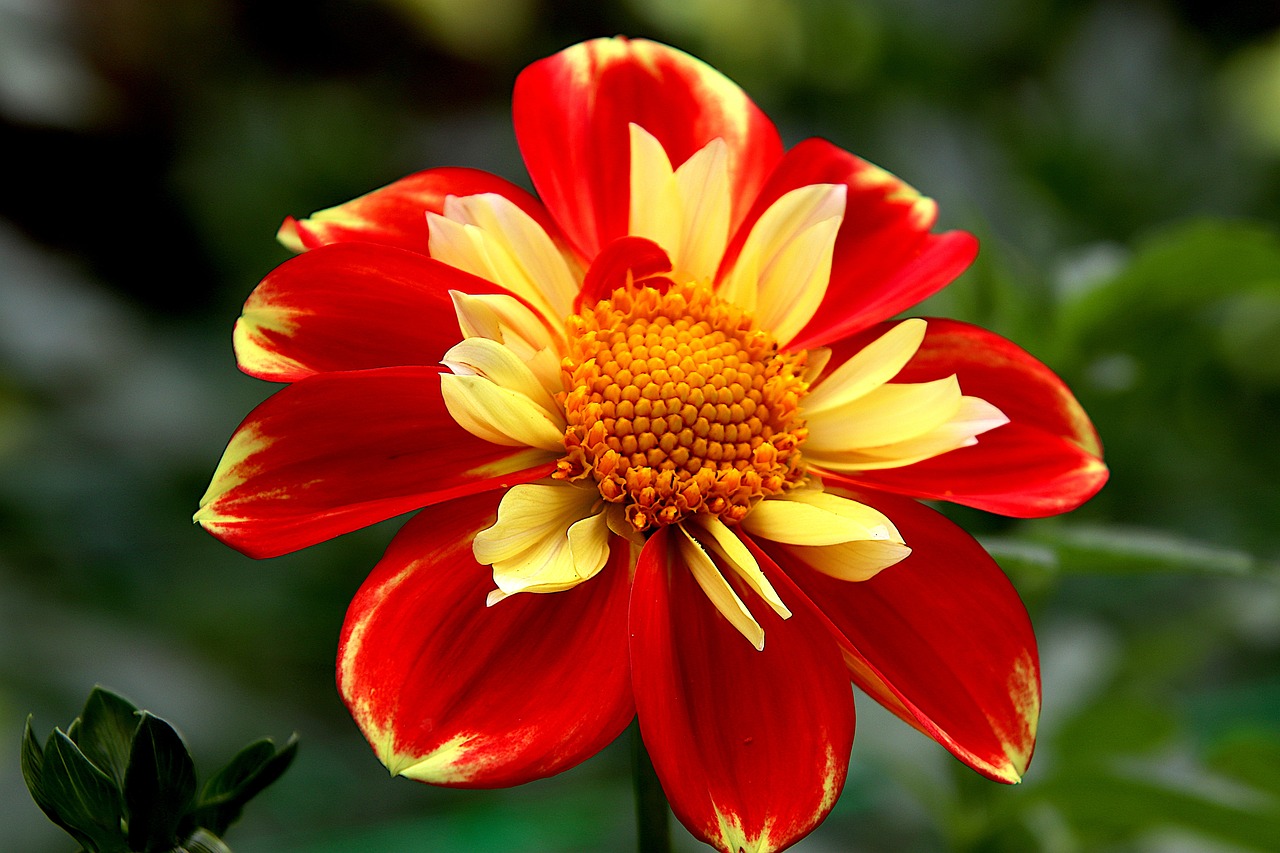
Observational Skills for Botanical Drawing
When it comes to botanical drawing, the ability to observe is just as important as having the right tools. Think of it as being a detective in the world of plants; you need to pay attention to the details that others might overlook. Observational skills are your secret weapon in translating the beauty of nature onto paper. So, how do you sharpen these skills? Let’s dive into some techniques that will help you become a keen observer of the plant world.
First and foremost, take your time. Rushing through your observation can lead to missing crucial details. Find a quiet spot where you can sit with your plant subject, whether it’s a vibrant flower or a sturdy leaf. Spend a few moments simply looking at it. Notice the colors, the shapes, and the textures. Is the leaf smooth or rough? Does the flower have multiple layers? By slowing down, you allow your brain to absorb the intricate details that make each plant unique.
Another effective technique is to use a sketchbook for quick studies. Don’t worry about perfection; the goal here is to capture what you see in a loose and informal way. You can create small sketches that focus on different aspects of the plant, such as its overall shape, leaf structure, or flower arrangement. This practice not only improves your drawing skills but also enhances your ability to notice subtle differences in plant anatomy.
Additionally, consider using a grid method when practicing your observational skills. This technique involves overlaying a grid on your reference image and then drawing a corresponding grid on your paper. By breaking the plant down into smaller sections, you can focus on one area at a time, making it easier to replicate the details accurately. This method is especially helpful for beginners who may feel overwhelmed by the complexity of botanical forms.
It’s also beneficial to analyze the plant structures in detail. For example, take a closer look at the venation patterns of leaves or the arrangement of petals in a flower. By understanding the anatomy of the plant, you can better represent its features in your drawings. Here’s a quick overview of some common structures to observe:
| Plant Structure | Description |
|---|---|
| Leaf | Observe the shape, size, and texture. Look for details like veins and margins. |
| Flower | Note the arrangement of petals, colors, and any intricate patterns. |
| Stem | Examine the thickness, texture, and any unique features like nodes or thorns. |
Practicing with real plants is another fantastic way to enhance your observational skills. Choose a variety of plants to draw, as this will expose you to different shapes, colors, and structures. When you sit down to draw, ask yourself questions about what you see. For instance, why does this leaf have a particular shape? What purpose do the colors serve? Engaging with your subject in this way can deepen your understanding and appreciation of the plant.
Finally, don’t forget to review and reflect on your work. After completing a drawing, take a moment to compare it with the actual plant. What did you capture well, and what could be improved? This self-assessment will help you identify areas to focus on in your next drawing session. Remember, the journey of mastering botanical drawing is filled with discovery and growth, so embrace the process!
- What materials do I need to start botanical drawing? You’ll need basic tools like pencils, erasers, and paper. As you progress, you can explore coloring mediums such as watercolors or colored pencils.
- Can I use photographs for reference? Yes, photographs can be helpful, but nothing beats drawing from real life. Observing plants in person allows you to notice details that photos might miss.
- How often should I practice? Consistency is key! Try to practice at least a few times a week to develop your skills effectively.
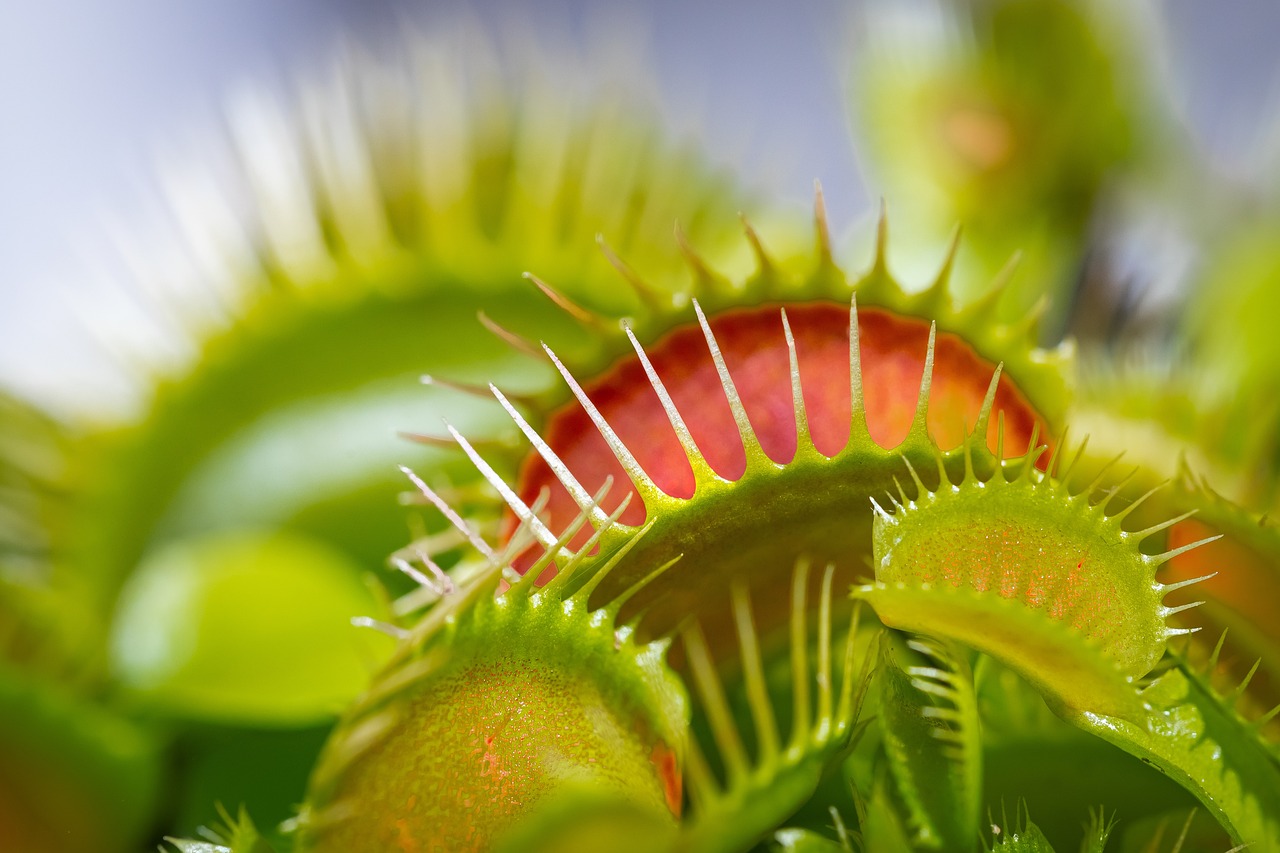
Analyzing Plant Structures
When it comes to botanical drawing, understanding the intricate structures of plants is essential. Just like a sculptor studies the contours of a statue before chiseling away at the stone, a botanical artist must delve deep into the anatomy of their subject. This exploration not only enhances your drawing skills but also enriches your appreciation for the beauty of nature. Let's break down the key components you should observe when analyzing plant structures.
First and foremost, leaves are a fundamental part of any plant. They come in various shapes, sizes, and textures. Take a moment to examine their edges—are they smooth or serrated? Do they have veins that run parallel or create a network? Each detail contributes to the overall character of the plant and should be reflected in your drawing. For instance, a maple leaf has a distinct lobed structure that sets it apart from the smooth, elongated leaves of a lily.
Next, consider the flowers. They are often the most vibrant and eye-catching part of a plant. Observe their symmetry, petal arrangement, and the way they open up to the sun. Some flowers, like the sunflower, have a radial symmetry, while others, such as the orchid, may have an asymmetrical beauty that is equally captivating. Pay attention to the details of the stamens and pistils, as these reproductive structures can add depth and interest to your illustrations.
Don’t forget about the stems and branches. They provide the structural support for the plant and often tell a story of growth and resilience. Are they thick and sturdy, or thin and delicate? The texture of the bark can vary widely, from the rough exterior of an oak tree to the smoothness of a willow. Capturing these features in your drawing can convey a sense of strength or fragility.
Lastly, the roots are just as important, although they may not always be visible in your drawing. Understanding how roots anchor a plant and absorb nutrients can inform your overall depiction of the plant's health and vitality. You might even consider sketching the root system if your composition allows for it, as it can add an intriguing layer to your artwork.
In summary, analyzing plant structures is all about observation and understanding. By focusing on the leaves, flowers, stems, and roots, you can create a more accurate and lifelike representation of the plant. Remember, the beauty of botanical drawing lies not just in replicating what you see, but in interpreting and expressing the essence of the plant through your art.
- What is the best way to start analyzing plant structures?
Begin by closely observing the plant from different angles. Take notes on its features and consider sketching them out to capture your observations. - Do I need to know the scientific names of plants to draw them?
While knowing the scientific names can enhance your understanding, it's not necessary. Focus on the characteristics that make each plant unique. - How can I improve my observational skills?
Practice regularly by drawing real plants. Spend time studying their details and try to replicate them on paper.
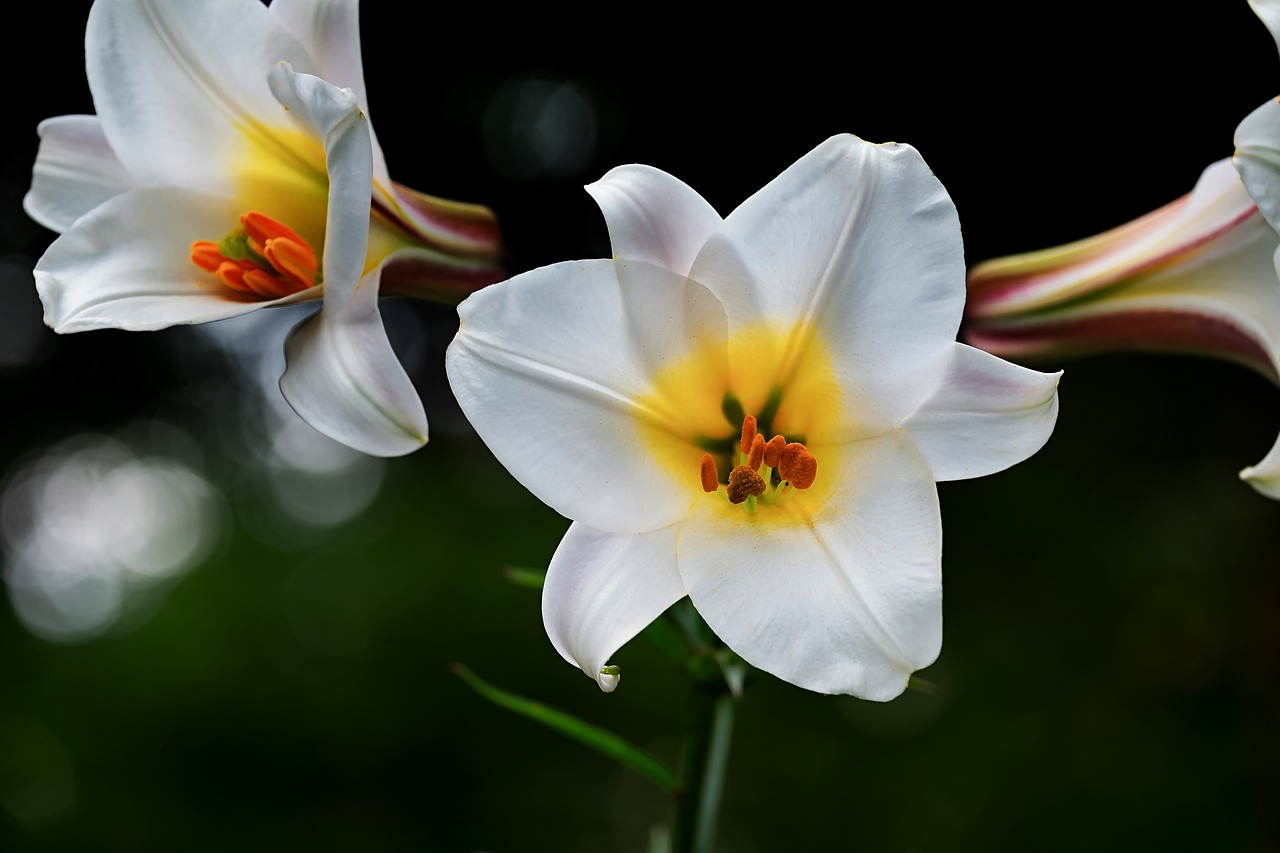
Practicing with Real Plants
When it comes to botanical drawing, nothing beats the experience of working with real plants. Imagine standing in a garden, surrounded by the vibrant colors and intricate shapes of nature. Practicing with real plants allows you to observe their unique features up close, which is essential for translating those details onto paper. It's like having a live model that doesn't move, providing endless opportunities to refine your skills and deepen your appreciation for the beauty of flora.
To get started, you might want to consider a few tips that can enhance your practice sessions. First, choose plants that inspire you—whether it’s a delicate flower, a sturdy leaf, or a complex stem. Pay attention to their textures, colors, and structures. Each plant tells a story, and your job is to capture that narrative through your art. You could even create a mini botanical garden at home with potted plants or cuttings, allowing for easy access whenever inspiration strikes.
Next, it’s crucial to observe the plants carefully. Look at the way light hits the leaves, casting shadows that create depth. Notice the subtle variations in color, the way petals overlap, and the intricate patterns on the surfaces. These details are what will make your drawing come alive. Try sketching directly from the plant, focusing on different angles and perspectives, which will help you understand its form better.
Don't forget to keep a sketchbook handy. Use it to jot down quick sketches or notes about the plants you encounter. This practice will not only improve your observational skills but also serve as a reference for future drawings. Remember, the goal is not perfection but progress. Every line you draw is a step toward becoming a better artist.
Additionally, consider the seasonal changes in plants. Different times of the year bring out different characteristics in flora, from blooming flowers to wilting leaves. By practicing with plants throughout the seasons, you can expand your understanding of their life cycles and how to depict them accurately in your drawings.
Finally, don’t hesitate to share your work with others. Join a local art group or an online community focused on botanical art. Sharing your experiences and receiving feedback can be incredibly beneficial. It’s like having a support system that encourages you to keep improving and exploring the world of botanical drawing.
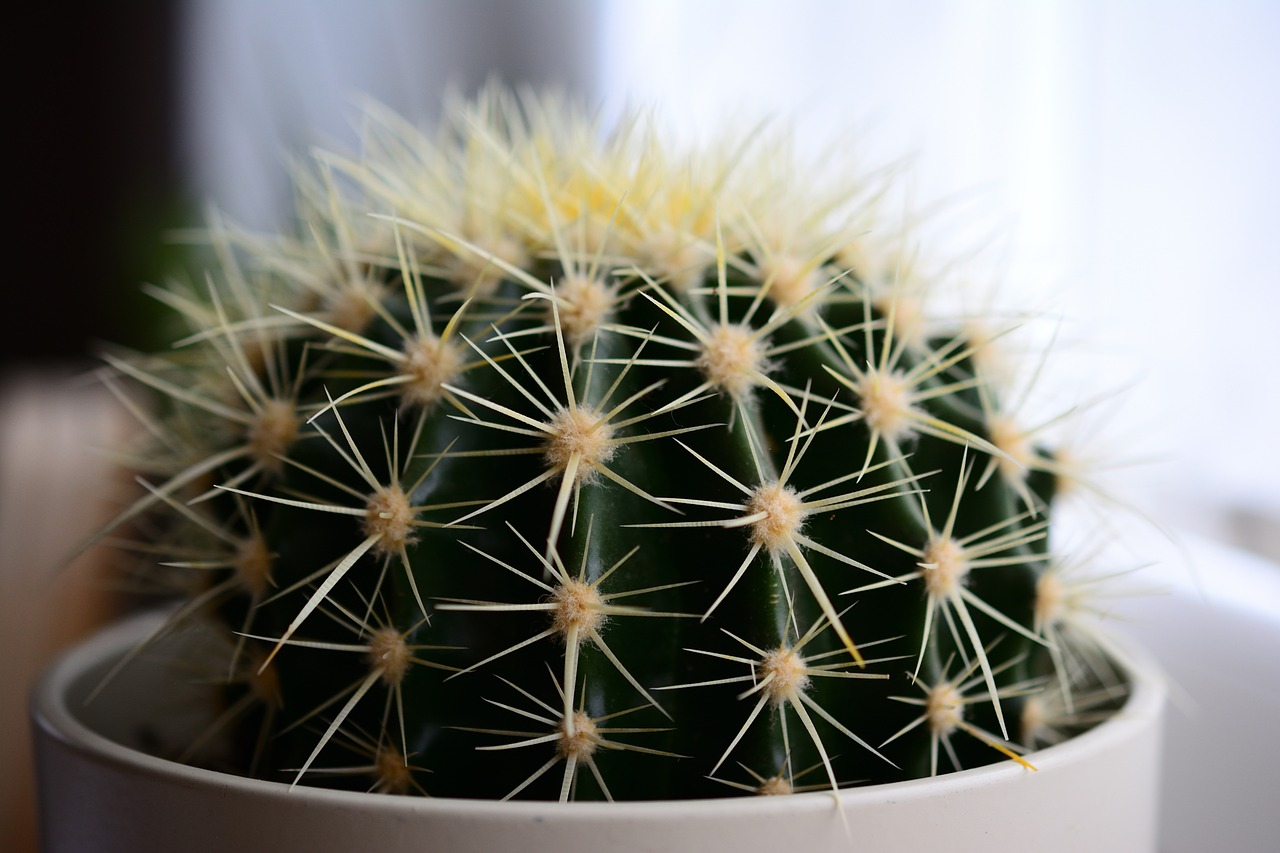
- What type of plants are best for beginners? Start with simple plants like succulents or daisies, which have clear shapes and features.
- How often should I practice? Aim for at least a few times a week; consistency is key to improvement.
- Can I use photographs instead of real plants? While photos can be helpful, nothing compares to the experience of drawing from life.
- What if I make mistakes in my drawing? Mistakes are part of the learning process! Embrace them and learn from each experience.
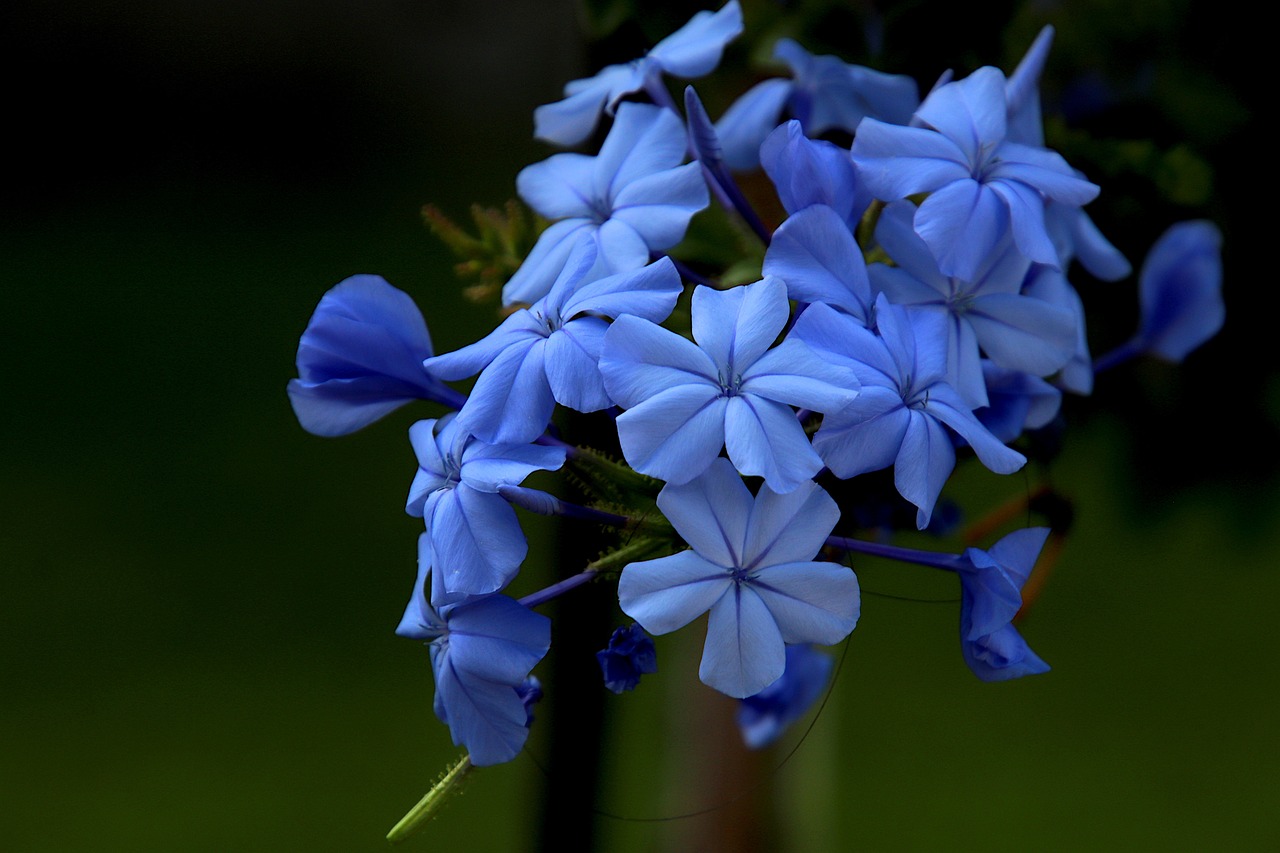
Creating Your First Botanical Drawing
Now that you've gathered your tools and honed your skills, it’s time to dive into the exciting world of botanical drawing! Creating your first piece can feel a bit daunting, but don’t worry; we’ll break it down into manageable steps. Just like planting a seed and nurturing it to bloom, your drawing will flourish with patience and practice. So, grab your sketchbook and let’s get started!
The first step in your botanical drawing journey is to sketch the outline. This is where you lay the foundation for your artwork. Begin by selecting a plant that fascinates you—perhaps a vibrant flower or a unique leaf. Observe it closely and lightly sketch the basic shapes using a pencil. Don’t worry about making it perfect; this is just a rough outline. Think of it like tracing the silhouette of a beautiful landscape—you're capturing the essence without getting bogged down in the details just yet.
As you sketch, pay attention to the proportions and relationships between different parts of the plant. Are the leaves larger than the flowers? How do the stems connect? These observations are crucial for creating a realistic representation. You might find it helpful to use a grid method to maintain accurate proportions. Simply draw a grid over your reference image and replicate the sections onto your paper. This technique can help keep everything in balance.
Once you’re satisfied with your outline, it’s time to add details and color. This is where the magic happens! Start by refining your lines and adding intricate details—veins in the leaves, textures on the petals, and any unique features of the plant. Take your time with this part; it’s all about capturing the plant’s personality. Use different pencil pressures to create varying line thicknesses, which can add depth and interest to your drawing.
After detailing, it’s time to bring your drawing to life with color. Depending on your chosen medium—be it watercolors, colored pencils, or markers—experiment with layering techniques. For instance, if you’re using colored pencils, start with lighter shades and gradually build up to darker tones for shadowing. This technique creates a more realistic effect. Remember, the goal is to mimic the natural colors of the plant, so don’t shy away from mixing shades to achieve that vibrant look.
As you work, take breaks to step back and view your drawing from a distance. This will help you see the overall composition and make adjustments as needed. And don’t forget to enjoy the process! Botanical drawing is not just about the final product; it’s about immersing yourself in the beauty of nature and expressing it through your art.
In summary, creating your first botanical drawing is an exciting journey that combines observation, technique, and creativity. By starting with a solid outline, adding intricate details, and layering colors, you can transform a simple plant into a stunning piece of art. So keep practicing, and soon enough, you’ll be amazed at how your skills develop!
- What is the best plant to start with for beginners? Choose a simple plant with distinct features, like a succulent or a flower with clear petals.
- How do I improve my observational skills? Spend time studying plants in nature or at a local botanical garden; sketch them from different angles.
- Can I use digital tools for botanical drawing? Absolutely! Digital drawing tools can offer flexibility and ease in editing your work.
Sketching the Outline
Starting your botanical drawing with a solid outline is not just a good practice; it's the foundation that will support the entire artwork. Think of it as the skeleton of your drawing, providing structure and guidance as you build upon it. To create a successful outline, you should first choose a plant that inspires you. Whether it's a delicate flower or a robust leaf, the subject should spark your creativity and enthusiasm.
Once you've selected your subject, take a moment to observe its overall shape and proportions. This is where your keen observational skills come into play. You might want to consider the following points while sketching:
- Proportions: Pay attention to the size relationships between different parts of the plant. How long is the stem compared to the leaves? Are the petals evenly spaced?
- Basic Shapes: Break down the plant into simple geometric shapes. For example, a flower might be represented as a circle with smaller circles or ovals for the petals.
- Placement: Think about where the plant will sit on your paper. Centering it or placing it off to one side can dramatically change the composition.
Using a light hand, begin sketching the basic shapes of your chosen plant. It's crucial to keep your lines faint at this stage; you don’t want them to overpower your final details. A good tip is to use a pencil with a harder lead (like 2H or 4H) for this initial outline, as it will allow you to make corrections easily without leaving heavy marks. As you sketch, remember to continuously step back and evaluate your work. This will help you maintain a fresh perspective and ensure that your proportions and composition are on point.
After you’ve established the basic outline, it’s time to refine your drawing. This is where you can start adding more intricate details. Look closely at the textures and patterns on the leaves and petals. Are there any veins that you should include? Do the edges have a serrated or smooth finish? Incorporating these elements will enhance the realism of your drawing. Don’t hesitate to erase and adjust your lines as needed; this is all part of the creative process.
Finally, as you wrap up your outline, ensure that it is clean and clear. You want to create a strong foundation that will support the next stages of your botanical illustration, such as adding color and depth. Remember, the outline is not just a preliminary step; it’s a crucial part of your artistic journey that will guide you in capturing the beauty of the plant on paper.
Q1: What type of pencil should I use for sketching the outline?
A1: It's best to use a harder pencil, such as 2H or 4H, for the initial outline. These pencils create lighter lines that can be easily erased or modified.
Q2: How can I improve my observational skills?
A2: Practice regularly by drawing from real plants. Take your time to observe their shapes, textures, and proportions closely. The more you draw, the better your observational skills will become.
Q3: Is it necessary to follow the outline strictly?
A3: While the outline serves as a guide, feel free to deviate from it as you add details and colors. Art is about personal expression, so make it your own!

Adding Details and Color
Once you've sketched the outline of your botanical drawing, it's time to breathe life into your artwork by . This phase is where your initial sketch transforms into a vibrant representation of nature. To achieve stunning results, you need to focus on a few key elements: texture, shading, and color application.
Firstly, let's talk about texture. Texture gives your drawing a sense of realism and depth. To create texture, you can use various techniques such as cross-hatching, stippling, or even gentle smudging. For instance, if you're drawing a leaf, observe the surface closely. Is it smooth or rough? Does it have veins? By incorporating these details, you can make your drawing more lifelike. Remember, every plant has its unique characteristics, so take the time to study them closely.
Next, we move on to shading. Shading is crucial for adding dimension to your drawing. It helps define the light source and creates shadows that make your plant appear three-dimensional. Start by identifying where the light hits your subject. Use a lighter hand for areas that are illuminated and apply more pressure for the shadowed regions. This technique can vary based on the medium you choose, so experiment with different pencils or brushes to find what works best for you.
Now, let’s dive into the exciting world of color application. The medium you select will greatly influence your color choices. For instance, if you're using watercolors, consider layering your colors to achieve a translucent effect. Start with lighter shades and gradually build up to darker tones. This technique mimics the natural color variations found in plants. On the other hand, if you're using colored pencils, you can blend colors directly on the paper to create smooth transitions. Remember to keep your colors vibrant but also realistic; nature often has subtle hues that can be easily overlooked.
As you add color, don’t forget to step back and assess your work from a distance. Sometimes, viewing your drawing from afar can reveal areas that need more attention or adjustments. Also, consider using a color wheel to help you choose complementary colors that will enhance your artwork. For example, greens and reds are complementary, and using them together can create a striking effect.
In summary, adding details and color to your botanical drawing is an exciting and rewarding process. By focusing on texture, shading, and careful color application, you can elevate your artwork from a simple sketch to a stunning piece of botanical art. So grab your tools, observe the beauty around you, and let your creativity flow!
- What tools do I need for adding color to my botanical drawings?
You'll need quality coloring mediums such as watercolors, colored pencils, or markers, along with brushes or blending tools depending on your chosen medium. - How do I choose the right colors for my drawing?
Observe the plant closely and consider using a color wheel to find complementary colors that enhance your illustration. - Can I use digital tools for botanical drawing?
Absolutely! Digital tools can offer a wide range of colors and effects, making it easier to experiment with your artwork. - How can I improve my shading technique?
Practice is key! Study light and shadow in real-life plants and try different pencil pressures to see what works best for you.
Frequently Asked Questions
- What is botanical drawing?
Botanical drawing is a specialized art form that focuses on capturing the intricate details of plants. Unlike other forms of drawing, it aims for scientific accuracy while also embracing artistic expression, making it a unique blend of art and science.
- Do I need special tools for botanical drawing?
While you don’t need to break the bank, having the right tools can make a world of difference. Essential items include high-quality paper, a range of pencils (different hardness), and coloring mediums like watercolors or colored pencils. These tools help you achieve the detail and vibrancy that botanical art demands.
- How do I choose the right paper for my drawings?
Choosing the right paper is crucial for achieving the best results. Look for papers that are smooth for detailed work or textured for a more natural look. Watercolor paper is great for wet mediums, while drawing paper is perfect for pencil work. Experiment to find what works best for your style!
- What basic techniques should I master first?
Start with fundamental skills like line work, shading, and understanding proportions. These techniques are the building blocks of botanical drawing and will help you create realistic representations of plants. Practice makes perfect, so don’t hesitate to start small!
- How can I improve my observational skills?
Improving your observational skills comes down to practice. Spend time closely examining plants in their natural settings or even in a garden. Take notes on their shapes, colors, and textures, and try to translate those observations onto paper. The more you observe, the better your drawings will become!
- What should I consider when selecting plants to draw?
Choose plants that intrigue you or those with unique features. Consider their shapes, colors, and textures. It’s also helpful to select a variety of plants to practice with, as this will enhance your skills in capturing different botanical elements.
- Can I use photographs as references for my drawings?
Absolutely! Using photographs can be a great way to practice, especially if you can’t access live plants. Just be sure to choose high-quality images that showcase the details you want to replicate. However, nothing beats the experience of drawing from life!
- How do I start my first botanical drawing?
Begin by lightly sketching the basic shapes of your chosen plant. Once you’re satisfied with the outline, gradually add details and color. Don’t rush the process; take your time to observe and replicate the plant’s unique characteristics.
- What techniques can I use to add color to my drawings?
There are various techniques to add color, such as layering watercolors for depth or using colored pencils for fine details. Experiment with blending and shading to bring your illustrations to life. Remember, practice is key to mastering these techniques!


