How to Paint a Waterfall: A Complete Guide
Welcome to your ultimate guide on painting a waterfall! Whether you are a seasoned artist or just starting, capturing the beauty of cascading water can be both exciting and challenging. Imagine standing before a majestic waterfall, feeling the mist on your face and hearing the powerful rush of water. Your goal is to translate that experience onto canvas, and this guide will walk you through every step of the process. From selecting the right materials to mastering color mixing, you’ll discover tips and techniques that will help you create a stunning and realistic depiction of a waterfall. So, grab your brushes and let’s dive into the world of waterfall painting!
Before you start painting, it’s essential to gather the right materials. The quality of your paints, brushes, and canvas can make a huge difference in the final outcome of your artwork. For beginners, I recommend starting with acrylic paints, as they are easy to work with and dry quickly. If you’re more experienced, consider using oil paints for their rich texture and longer drying time, which allows for more blending. Here’s a quick rundown of what you’ll need:
| Material | Recommended Type |
|---|---|
| Paints | Acrylic or Oil |
| Brushes | Flat, Round, and Fan Brushes |
| Canvas | Stretched Canvas or Canvas Board |
Don’t forget about other tools like a palette for mixing colors, a water container for cleaning brushes, and paper towels for quick fixes. Having the right materials will set you up for success as you begin your waterfall masterpiece.
Now that you have your materials, let’s talk about composition. Composing your waterfall scene is crucial for creating a captivating painting. Think about the perspective you want to achieve. Are you painting from a distance, showcasing the grandeur of the waterfall, or are you up close, focusing on the intricate details of the flowing water? Consider the following elements:
- Focal Points: Decide where you want the viewer’s eye to be drawn. Is it the waterfall itself, or perhaps the surrounding landscape?
- Surrounding Elements: Include trees, rocks, and wildlife to create a more dynamic scene.
- Flow and Movement: The direction of the water can guide the viewer’s gaze throughout the painting.
By carefully planning your composition, you’ll create a more engaging and visually appealing waterfall painting.
Before diving into painting, take the time to sketch your layout. This preliminary sketch is like a roadmap for your painting. It helps you establish the basic shapes and flow of the waterfall. Use light pencil strokes so that they won’t show through your paint. Focus on the contour of the waterfall and the surrounding landscape. Remember, this is your chance to play around with different ideas before committing to paint!
Reference images can be your best friend when it comes to painting. They provide a visual guide that can enhance the realism of your work. Look for high-quality photographs of waterfalls that inspire you. Pay attention to the colors, textures, and light reflections in the water. Use these images as a benchmark for your own artistic choices, but don’t be afraid to add your personal touch!
Creating depth and perspective in your waterfall painting is vital for achieving a three-dimensional look. To make the waterfall appear as if it's rushing towards the viewer, consider using lighter colors in the foreground and darker shades in the background. This technique tricks the eye into perceiving distance. Additionally, overlapping elements—like rocks or trees—can further enhance the sense of depth.
Layering paint is essential for depicting the movement and texture of water. Start with a base layer of color to establish the overall tone of your waterfall. Then, gradually build up layers, adding highlights and shadows to create depth. Use a fan brush for soft, flowing strokes that mimic the movement of water. Remember, the key to a dynamic waterfall effect is to vary your brushwork and allow some of the underlayers to peek through.
Understanding color theory is crucial for capturing the essence of water in your painting. Waterfalls are not just blue; they contain a myriad of colors that reflect their surroundings. Mixing colors can help you achieve the perfect hue for your waterfall. Start by selecting a base blue and then mix in greens, whites, and even hints of purple or grey to add complexity. This blending will give your water a more realistic look.
The shades of blue and green you choose will significantly impact the mood of your painting. For a tranquil scene, opt for soft, pastel blues and greens. If you want to convey the power of a rushing waterfall, go for deeper, more vibrant colors. Experiment with different combinations until you find the palette that resonates with your vision.
Effective highlighting and shading can bring your waterfall to life. Use a lighter color to create highlights where the light hits the water, and darker shades to form shadows in the crevices. This contrast will give your painting depth and dimension. Remember to blend your highlights and shadows smoothly to mimic the natural flow of water.
Q: What type of canvas should I use for painting a waterfall?
A: For beginners, a stretched canvas or canvas board works well. If you’re experienced, you might prefer a heavier canvas that can handle multiple layers of paint.
Q: Can I paint a waterfall using watercolor?
A: Absolutely! Watercolors can create beautiful, ethereal effects that are perfect for capturing the softness of water.
Q: How do I know when to stop painting?
A: A good rule of thumb is to step back and look at your painting from a distance. If it feels balanced and visually appealing, you may be done!
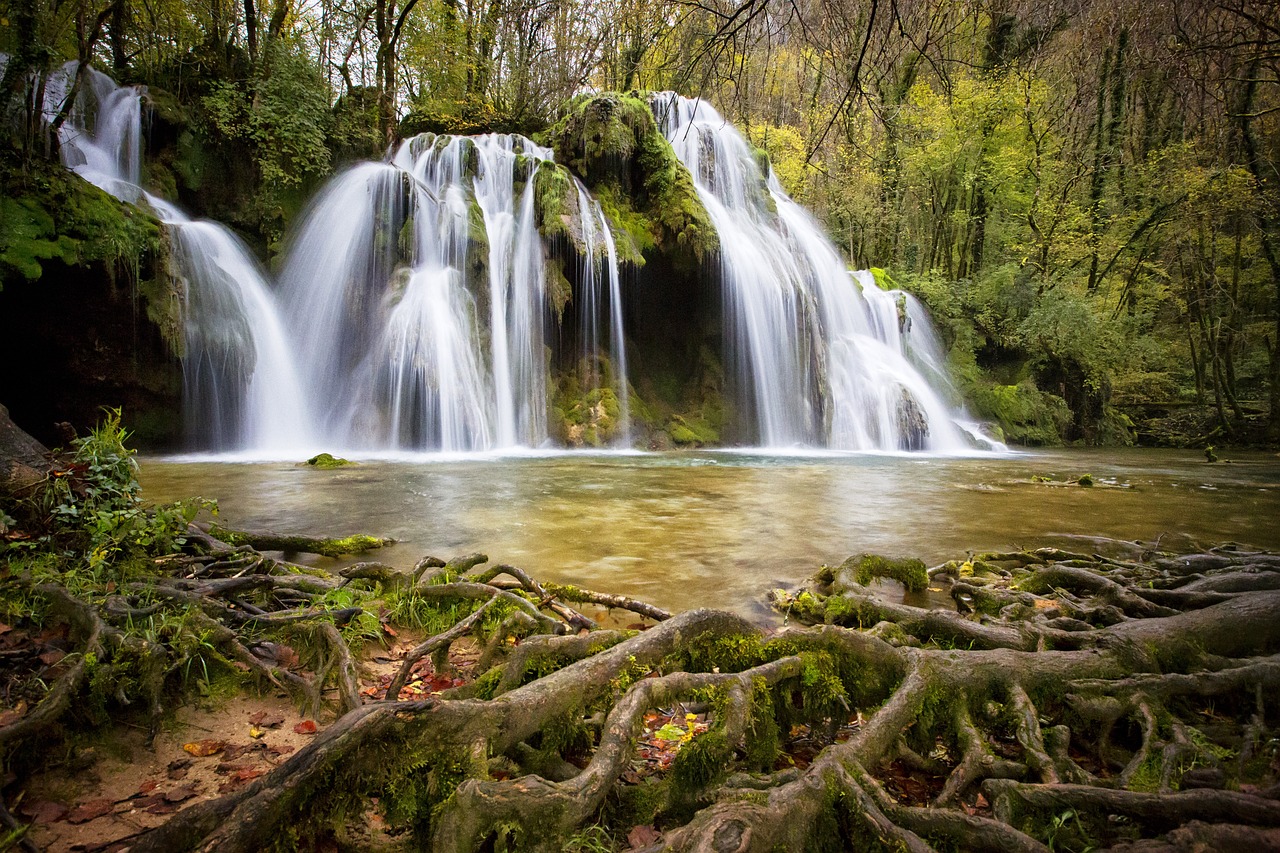
Choosing the Right Materials
When it comes to painting a waterfall, the materials you choose can make all the difference between a mediocre piece and a stunning masterpiece. Whether you're a beginner or an experienced artist, understanding the right tools for the job is essential. Let's dive into the world of paints, brushes, and canvases, ensuring you have everything you need to create a breathtaking waterfall.
First off, let's talk about paints. For waterfall paintings, you typically want to use acrylics or oils. Acrylics are fantastic for beginners due to their quick drying time and versatility. They allow for vibrant colors and can be easily blended. On the other hand, oil paints offer a richness and depth that can truly bring your waterfall to life, but they require more drying time and a bit more skill to manage. Consider your experience level and the effect you want to achieve when selecting your paint type.
Next up are brushes. The right brushes can help you capture the flow and movement of water. A variety of brush shapes and sizes will serve you well. For instance, a flat brush can be used for broad strokes and background work, while a round brush is perfect for detailing the intricate patterns of flowing water. Don't forget about fan brushes! They can create stunning textures that mimic the frothy edges of a waterfall. Here's a quick overview of essential brushes:
| Brush Type | Use |
|---|---|
| Flat Brush | Broad strokes and backgrounds |
| Round Brush | Detailing and fine lines |
| Fan Brush | Textures and frothy water effects |
Now, let’s not forget about the canvas. The surface you choose can greatly influence the final look of your painting. A stretched canvas is a popular choice, providing a sturdy surface that can handle multiple layers of paint. If you prefer something more affordable, canvas boards are also an excellent option. They are lightweight and easy to transport, making them perfect for outdoor painting sessions. Just remember, the texture of your canvas can affect how your paint adheres and flows, so opt for a medium or coarse texture for capturing the movement of water.
In addition to these essential materials, consider using a palette for mixing colors and a spray bottle filled with water to keep your paints moist while you work. A good easel will also help you maintain the right angle for your painting, especially for those sweeping waterfall scenes. Ultimately, the key is to experiment with different materials until you find the combination that feels right for you. Remember, every artist has their unique style, and the tools you choose should enhance that creativity.
In summary, selecting the right materials is crucial for your waterfall painting journey. By investing in quality paints, brushes, and canvases, you'll set yourself up for success. So gather your supplies, and let your imagination flow as freely as the water in your artwork!
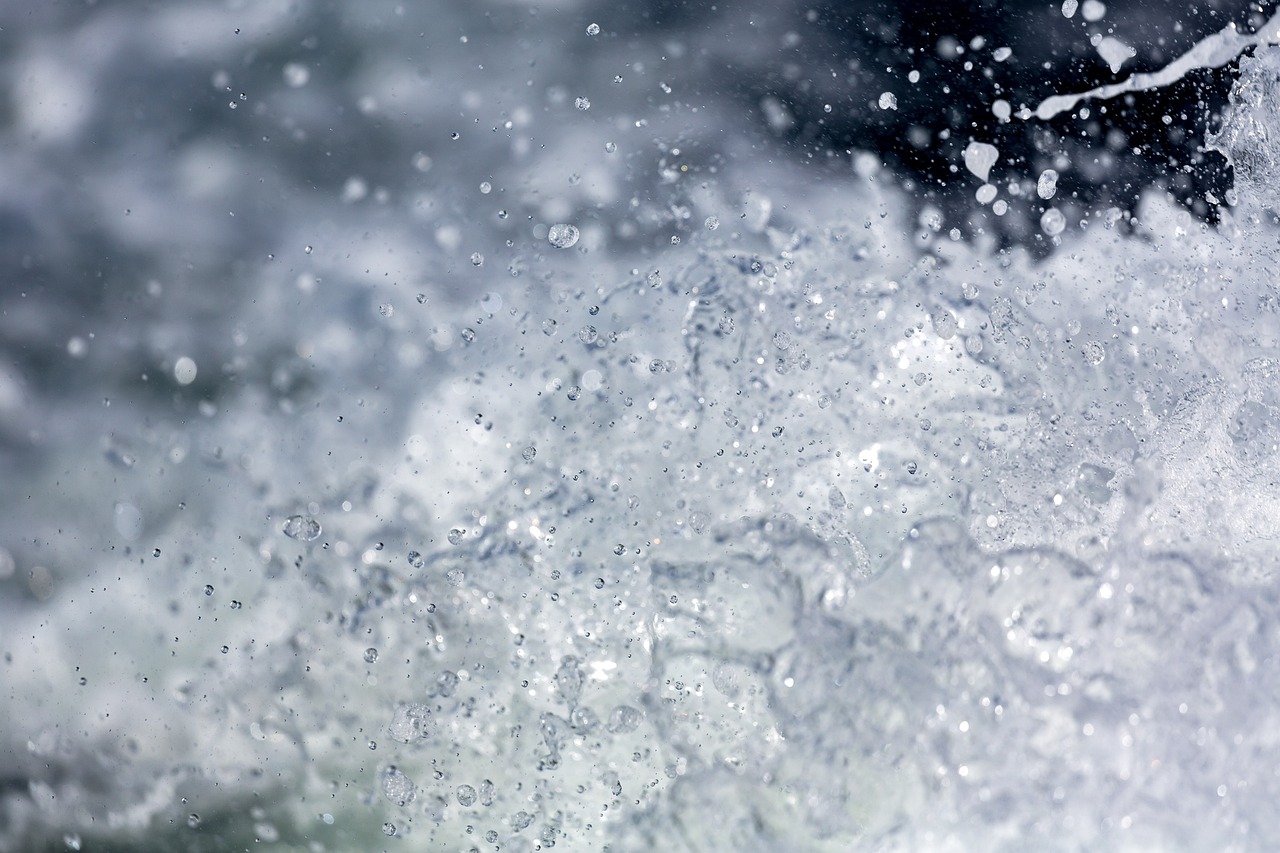
Understanding Waterfall Composition
When it comes to painting a waterfall, understanding composition is like having a roadmap for a journey. It guides you through the creative process and helps you make decisions that enhance the overall visual impact of your artwork. Think of composition as the backbone of your painting; without it, the piece may lack direction and harmony. To create a captivating waterfall scene, you need to consider several key elements: perspective, focal points, and the surrounding landscape. Each of these components plays a vital role in crafting a balanced and engaging composition.
First, let’s talk about perspective. This refers to how you depict the depth and distance in your painting. A well-thought-out perspective can draw viewers into your scene, making them feel as if they could step right into the landscape. For instance, if you position your waterfall slightly off-center and incorporate elements like rocks or trees in the foreground, it creates a sense of depth. This technique invites the eye to travel through the painting, enhancing the experience. Remember, perspective isn't just about the waterfall itself; it’s about how it interacts with other elements in your composition.
Next, consider your focal point. This is the area of your painting that you want to attract the viewer's attention first. In a waterfall scene, the focal point is typically the waterfall itself, but you can enhance this by including other elements that lead the viewer's gaze. For example, you might include a winding path or a cluster of vibrant flowers that guide the eye toward the cascading water. By strategically placing these elements, you can create a natural flow that enhances the overall composition.
Now, let’s not forget the surrounding landscape. The area around your waterfall can significantly influence the mood of your painting. A lush, green forest can convey a sense of tranquility, while a rugged, rocky terrain might evoke feelings of adventure and wildness. Think about how the environment interacts with your waterfall. Are there boulders splashed with water? Is there mist rising in the air? These details add richness to your composition and help tell a story. To illustrate this, consider the following table that outlines different landscape elements and their emotional impacts:
| Landscape Element | Emotional Impact |
|---|---|
| Lush Greenery | Tranquility and Peace |
| Rocky Terrain | Adventure and Wildness |
| Sunlight Filtering Through Trees | Warmth and Joy |
| Dark Clouds | Drama and Tension |
In summary, understanding waterfall composition is essential for creating a stunning piece of art. By paying attention to perspective, establishing a strong focal point, and thoughtfully incorporating the surrounding landscape, you can craft a painting that captivates and resonates with viewers. It’s like setting the stage for a grand performance; every element must work together to create a beautiful symphony of visuals. So grab your brushes and start planning your masterpiece!
- What are the best colors to use for painting waterfalls? The best colors typically include various shades of blue and green, along with whites and grays for highlights.
- Do I need to use special brushes for painting water? While you can use regular brushes, fan brushes and palette knives can help create texture and movement in the water.
- How can I make my waterfall look more realistic? Focus on layering your paint, using reference images, and paying attention to light and shadow effects.
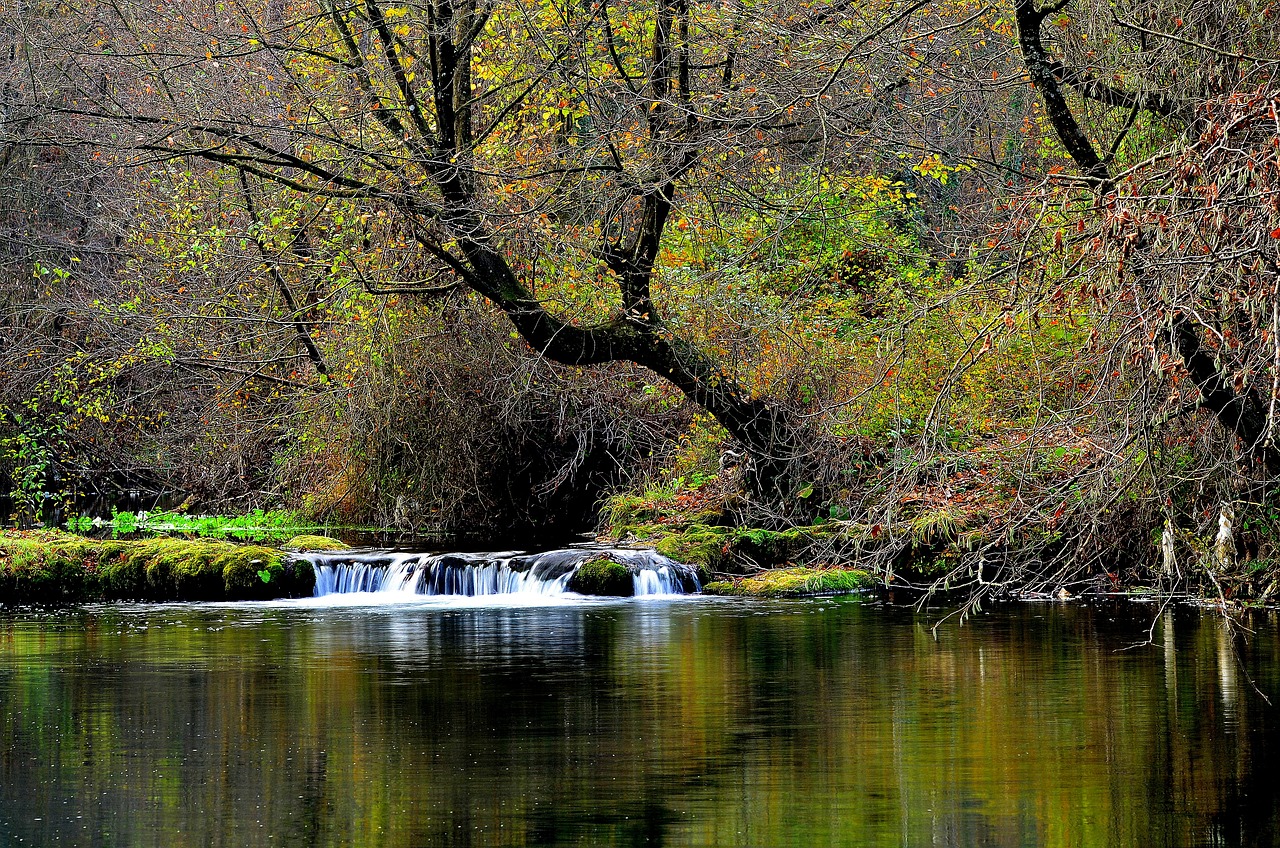
Sketching Your Layout
When it comes to painting a waterfall, is a crucial step that sets the foundation for your masterpiece. Think of your sketch as the blueprint of a building; without it, the entire structure could come crashing down. Start by visualizing the composition of your waterfall scene. Where will the water flow? What surrounding elements will complement the cascading water? Taking the time to answer these questions will help you create a more engaging and dynamic piece of art.
Begin with light pencil strokes to outline the basic shapes and flow of the waterfall. This allows you to make adjustments easily without committing to any permanent marks. Consider the rule of thirds while sketching; this technique involves dividing your canvas into three equal parts both horizontally and vertically. Place your waterfall along these lines or at their intersections to create a more balanced and visually appealing composition.
As you sketch, pay attention to the perspective of your waterfall. Is it a distant waterfall, cascading down a rocky cliff, or a close-up view of the water splashing over smooth stones? Adjusting the size and shape of the elements in your sketch will help convey the sense of depth and distance. For instance, larger rocks in the foreground can create a sense of scale, while smaller elements in the background can enhance the feeling of distance.
Don't forget to include surrounding landscapes in your sketch. Trees, rocks, and wildlife can add context and richness to your painting. A well-placed tree can frame your waterfall beautifully, drawing the viewer's eye to the focal point. Use light, flowing lines to represent the movement of water, and add texture to the rocks and foliage to give your sketch more life.
Once you’re satisfied with your layout, take a step back and evaluate your work. This is the perfect time to ask yourself: Does my sketch convey the emotion and energy of the waterfall? Is there a clear focal point? If you find areas that need improvement, don’t hesitate to make changes. Remember, this is your artistic journey, and every adjustment brings you closer to your vision.
In summary, sketching your layout is not just about getting the shapes right; it’s about capturing the essence of the waterfall and its surroundings. By taking the time to create a thoughtful and detailed sketch, you set yourself up for success in the painting process. So grab your pencil and paper, and let your creativity flow like the water you’re about to paint!
- What materials do I need for sketching my waterfall layout? A simple pencil and eraser will suffice, although you may also want to use sketching paper or a sketchbook for convenience.
- How detailed should my sketch be? Your sketch doesn't need to be overly detailed. Focus on the basic shapes and flow to guide your painting process.
- Can I use digital tools for sketching? Absolutely! Many artists use digital tablets and software for sketching, which can be easily adjusted and erased.
- Is it okay to change the layout while painting? Yes! Many artists find that their initial sketches evolve as they paint, and that's perfectly normal.

Using Reference Images
When it comes to painting a waterfall, can be a game changer. Imagine trying to capture the essence of cascading water without ever having seen it up close; it’s like trying to describe a color you’ve never experienced! Reference images provide a visual guide that can help you understand the intricacies of water movement, light reflections, and the surrounding landscape. So, how do you effectively use these images in your artistic process?
First, it’s essential to choose high-quality images that showcase different aspects of waterfalls. Look for photos that highlight various angles, lighting conditions, and times of day. This way, you can see how the water interacts with its environment—whether it’s a sunlit scene that sparkles or a moody, shadowy waterfall in a dense forest. You might consider gathering a collection of images that inspire you, much like an artist’s mood board. This collection can serve as a source of inspiration and a practical guide for your painting.
Next, pay close attention to the details in your reference images. Notice how the light hits the water, creating highlights and shadows. Observe the colors in the water and surrounding rocks; they can range from deep blues and greens to earthy browns and grays. These details are crucial for adding depth and realism to your painting. For instance, if you see a bright reflection on the water’s surface, think about how you can replicate that effect with your brush strokes and color choices.
Additionally, consider how you can use reference images to inform your composition. While you don’t need to replicate a photo exactly, you can borrow elements from multiple images to create a unique scene. Maybe you love the waterfall from one photo but prefer the lush greenery from another. Combining these elements can lead to a more dynamic and visually appealing composition. Remember, the goal is to capture the essence of what you see, not to create a carbon copy.
Lastly, don’t be afraid to step away from your reference images once you’ve gathered your ideas. While they are incredibly useful, relying too heavily on them can stifle your creativity. Use them as a guide, but allow your imagination to flow freely as you paint. After all, art is about expression, and sometimes the most beautiful waterfalls emerge from the depths of your creativity rather than from a photograph.
- Do I need to use reference images to paint a waterfall? While it’s not mandatory, reference images can significantly enhance the realism and detail in your painting.
- Where can I find good reference images? Websites like Unsplash, Pexels, and even social media platforms like Instagram are great places to find high-quality images.
- Can I use multiple reference images for one painting? Absolutely! Combining elements from different images can help create a more unique and interesting composition.
- How do I avoid copying a reference image too closely? Use reference images as inspiration rather than a strict guide. Allow your creativity to take over once you’ve gathered your ideas.
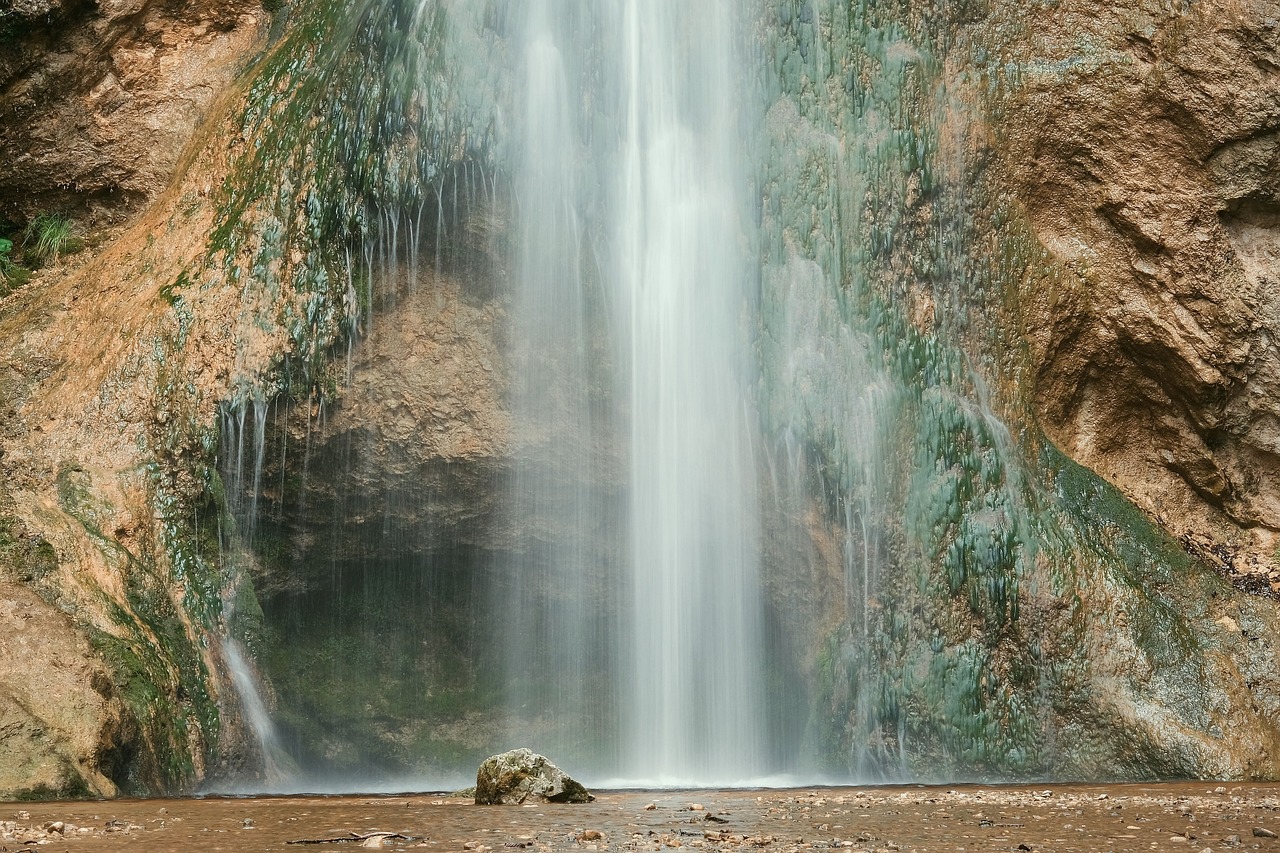
Creating Depth and Perspective
When it comes to painting a waterfall, depth and perspective are your best friends. They can transform a flat canvas into a breathtaking scene that feels alive and immersive. Imagine standing before a real waterfall, feeling the mist on your face and hearing the roar of the water. Your painting should evoke that same sensation. So, how do you achieve this in your artwork? Let’s dive into some techniques that can help you create that captivating sense of depth.
First off, consider the foreground, middle ground, and background. This classic technique is like layering a delicious cake. The foreground is where the action happens; it’s the part that grabs your viewer’s attention. You can place bold, detailed elements here, such as rocks or plants that are close to the waterfall. In the middle ground, you might depict the waterfall itself, cascading down with beautiful motion. Finally, the background can feature distant trees or mountains that provide context and scale. This layering creates a natural progression that guides the viewer's eye through the painting.
Another crucial aspect is atmospheric perspective. This technique involves using color and clarity to suggest distance. As objects recede into the background, they tend to lose their sharpness and become lighter in color. Think about how mountains appear hazy and blue as they fade into the horizon. You can apply this principle to your waterfall painting by making distant elements less detailed and cooler in color, while keeping the foreground elements vibrant and sharp. This contrast enhances the illusion of depth.
Additionally, overlapping elements can also create a sense of depth. When one object overlaps another, it naturally suggests that one is closer to the viewer. For instance, if you paint a tree partially obscuring the waterfall, it instantly gives the viewer a sense of where the waterfall is in relation to the tree. This simple trick can add layers of interest to your composition.
Don’t forget about light and shadow. The way light interacts with water is crucial in creating a three-dimensional effect. Use soft highlights on the water where the sunlight hits and darker shades in the areas that are shaded. This contrast not only adds realism but also enhances the dynamic movement of the water. Remember, the way you depict light can dramatically alter the mood of your painting.
Lastly, consider the angle from which you're depicting the waterfall. A low angle can make the waterfall appear more imposing and dramatic, while a higher angle can give a broader view of the landscape. Experimenting with different viewpoints can lead to surprising results and help you find the most effective way to convey depth.
In summary, creating depth and perspective in your waterfall painting involves a combination of layering, atmospheric effects, overlapping elements, and the strategic use of light and shadow. By incorporating these techniques, you'll be well on your way to crafting a stunning piece that captures the essence of nature's beauty.
- What materials do I need to start painting a waterfall? You’ll need quality paints, brushes, a canvas, and possibly some reference images to guide your work.
- How can I make my waterfall look more realistic? Focus on depth, perspective, and the way light interacts with water. Layering colors and using highlights and shadows effectively can also help.
- Is it necessary to use a reference image? While it’s not mandatory, reference images can significantly enhance the realism of your painting by providing a clear guide for shapes, colors, and textures.
- Can I use digital tools for painting waterfalls? Absolutely! Digital painting allows for easy adjustments and experimentation with colors and layers, making it a great option for artists.
Layering Techniques
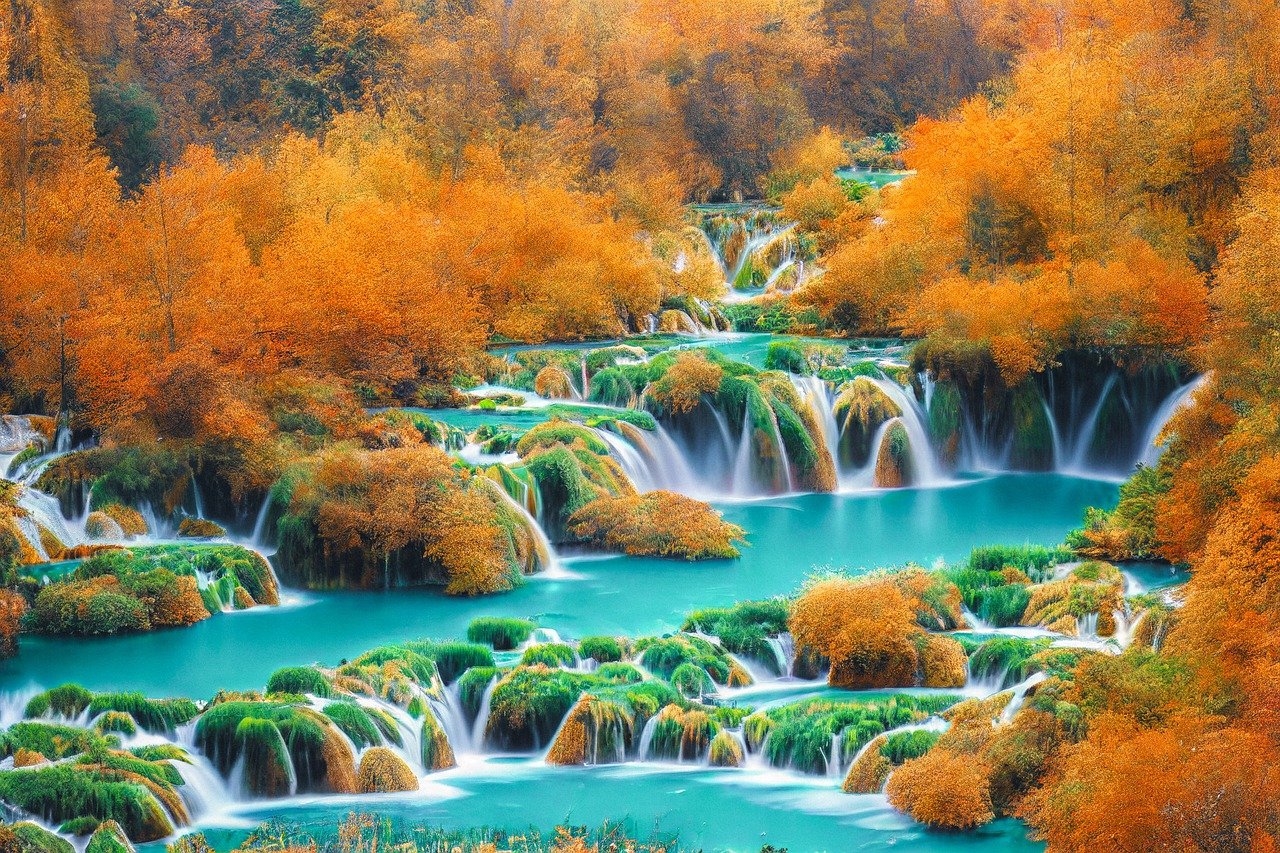
When it comes to painting a waterfall, are your best friends. Think of layering as building a sandwich; each layer adds flavor and texture, making the final product more delicious and complex. In the world of painting, layering helps create a sense of movement and depth that is essential for capturing the essence of cascading water. The key to mastering this technique lies in understanding how to apply each layer effectively, allowing the colors and textures to blend seamlessly.
Start with a solid foundation by using a base layer of paint that sets the tone for your waterfall. This initial layer should be a light blue or green, depending on the look you want to achieve. Once this layer dries, you can begin to add more colors to create depth. Remember, water is not just blue; it reflects the colors of its surroundings. So, as you add layers, think about the environment around your waterfall. Are there trees nearby? Perhaps the sunlight is casting warm hues onto the water's surface? Incorporating these elements will enhance the realism of your painting.
As you progress, use a technique called glazing to build up color and texture. Glazing involves applying thin, transparent layers of paint over dried layers. This technique allows the colors underneath to shine through while adding richness and complexity. To create the effect of moving water, consider using a fan brush or a palette knife to apply your paint in a way that mimics the flow of the water. By dragging the brush or knife in the direction of the waterfall, you can create the illusion of movement, making your painting come alive.
Another essential aspect of layering is the use of highlights and shadows. After establishing your base and mid-tones, it’s time to add highlights to represent the sunlight glistening off the water. Use a lighter shade of your base color, or even a touch of white, to create these highlights. Apply them sparingly, focusing on areas where the light would naturally hit the water. On the other hand, shadows can be created using darker shades of blue or green. These shadows will add depth and dimension, making your waterfall appear more three-dimensional.
Don't forget to step back from your painting periodically. This will help you see the overall composition and assess whether the layers are working harmoniously together. Sometimes, you may need to add more layers or adjust the existing ones to achieve the desired effect. Remember, art is a journey, and each layer is a step towards creating a stunning waterfall that captivates your audience.
In summary, mastering layering techniques is crucial for any artist looking to depict a waterfall realistically. By focusing on building a strong foundation, using glazing methods, and incorporating highlights and shadows, you can create a dynamic and engaging waterfall painting that draws the viewer in. So grab your brushes, and let your creativity flow!
- What type of paint is best for layering techniques? Acrylics and oils are both excellent choices for layering due to their versatility and drying times.
- How do I know when to stop layering? A good rule of thumb is to stop when you feel the painting has achieved a sense of depth and movement without looking overworked.
- Can I use a hairdryer to speed up the drying process? Yes, a hairdryer can be used, but be cautious with the heat as it can affect the paint's texture.
Color Mixing for Waterfalls
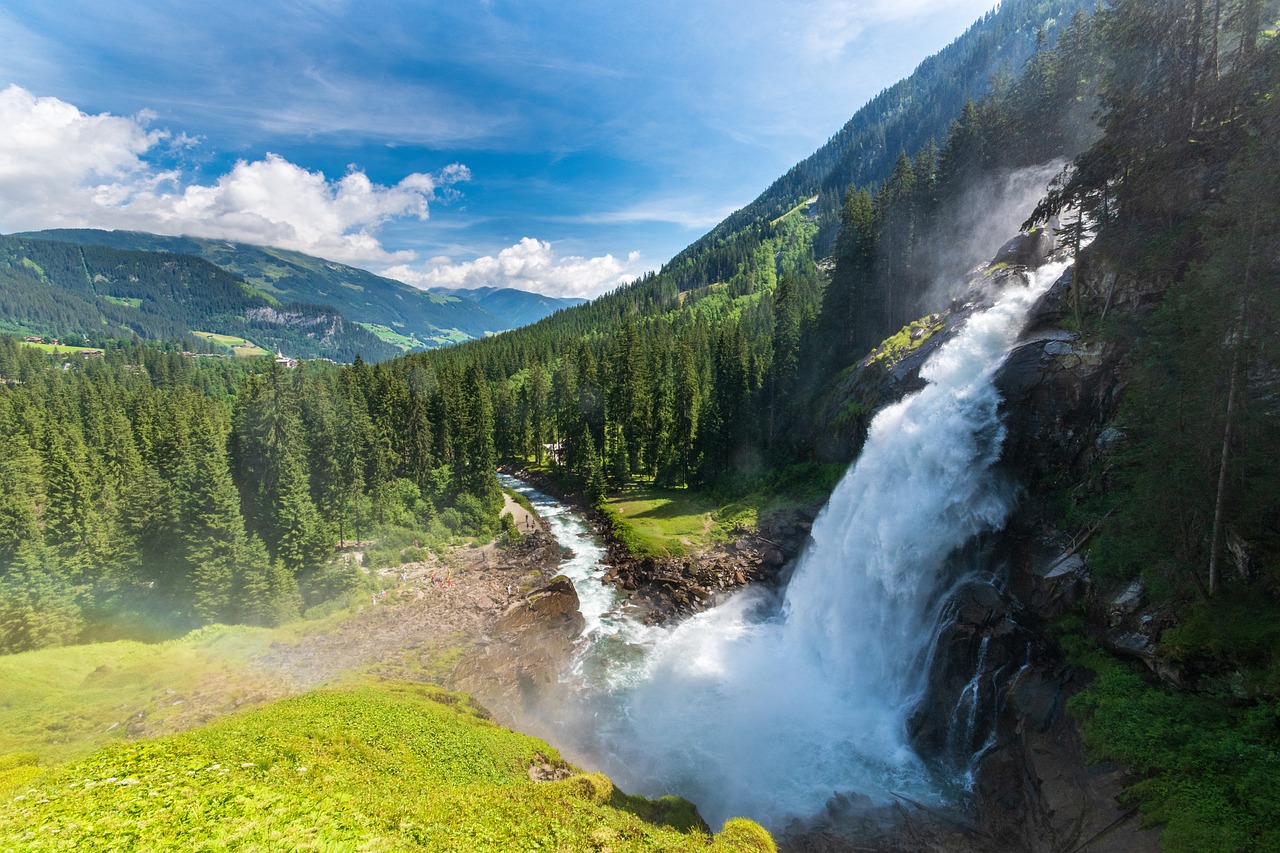
When it comes to painting a waterfall, color mixing is a fundamental skill that can elevate your artwork from ordinary to extraordinary. The colors you choose are not just about aesthetics; they convey emotion and depth, making your waterfall come alive on canvas. Think of color mixing as the secret ingredient in a recipe—it can make or break the final dish. So, let’s dive into the world of color and discover how to blend the perfect hues for your waterfall masterpiece.
First, it’s essential to understand the color wheel and how colors interact with one another. The primary colors—red, blue, and yellow—can be mixed to create secondary colors like green, orange, and purple. For a waterfall, you’ll primarily be working with shades of blue and green, but don’t forget about the subtle touches of white and gray that can add dimension and realism. Imagine the water cascading down the rocks; it’s not just blue but a symphony of colors reflecting light and shadow.
Here’s a quick guide to mixing the right shades:
| Color | Mixing Instructions | Use In Waterfall |
|---|---|---|
| Turquoise | Mix blue with a touch of green and white | For shallow water and highlights |
| Deep Blue | Use a darker blue with a hint of black | For deeper areas of the waterfall |
| Emerald Green | Combine green with a touch of yellow | For lush surroundings and reflections |
| Gray | Mix black with white | For shadows and rocks |
As you mix your colors, keep in mind the lighting in your painting. Water is reflective, so the colors you see are influenced by the environment. If your waterfall is set in a sunlit area, you’ll want to use lighter, brighter colors. Conversely, if it’s in a shaded area, darker and more muted tones will create a more realistic effect. The interplay of light and shadow is what gives your waterfall its dynamic quality.
Another tip to remember is to layer your colors. Start with a base layer of your primary color, then gradually add lighter or darker shades to create depth. This technique not only enhances the three-dimensionality of the water but also captures the fluid motion of cascading falls. Think of it as sculpting with paint; you’re building up the layers to create a vibrant, living scene.
Lastly, don’t shy away from experimenting! Mixing colors is as much about intuition as it is about technique. Try different combinations, and don’t be afraid to make mistakes. Each mix can lead you to unexpected and beautiful results. Just like in life, sometimes the best discoveries come from taking a leap of faith and trying something new.
In conclusion, mastering color mixing for your waterfall painting is a journey filled with exploration and creativity. By understanding the basics of color theory, paying attention to lighting, layering your paints, and embracing experimentation, you’ll be well on your way to creating a stunning and realistic depiction of a waterfall that captivates your audience.
- What colors should I use for a realistic waterfall? Focus on various shades of blue and green, along with whites and grays for highlights and shadows.
- How can I make my waterfall look more dynamic? Use layering techniques and mix your colors thoughtfully to create depth and movement.
- Is it necessary to use a reference image? While not mandatory, reference images can greatly enhance the realism of your painting and guide your color choices.
Choosing the Right Blues and Greens
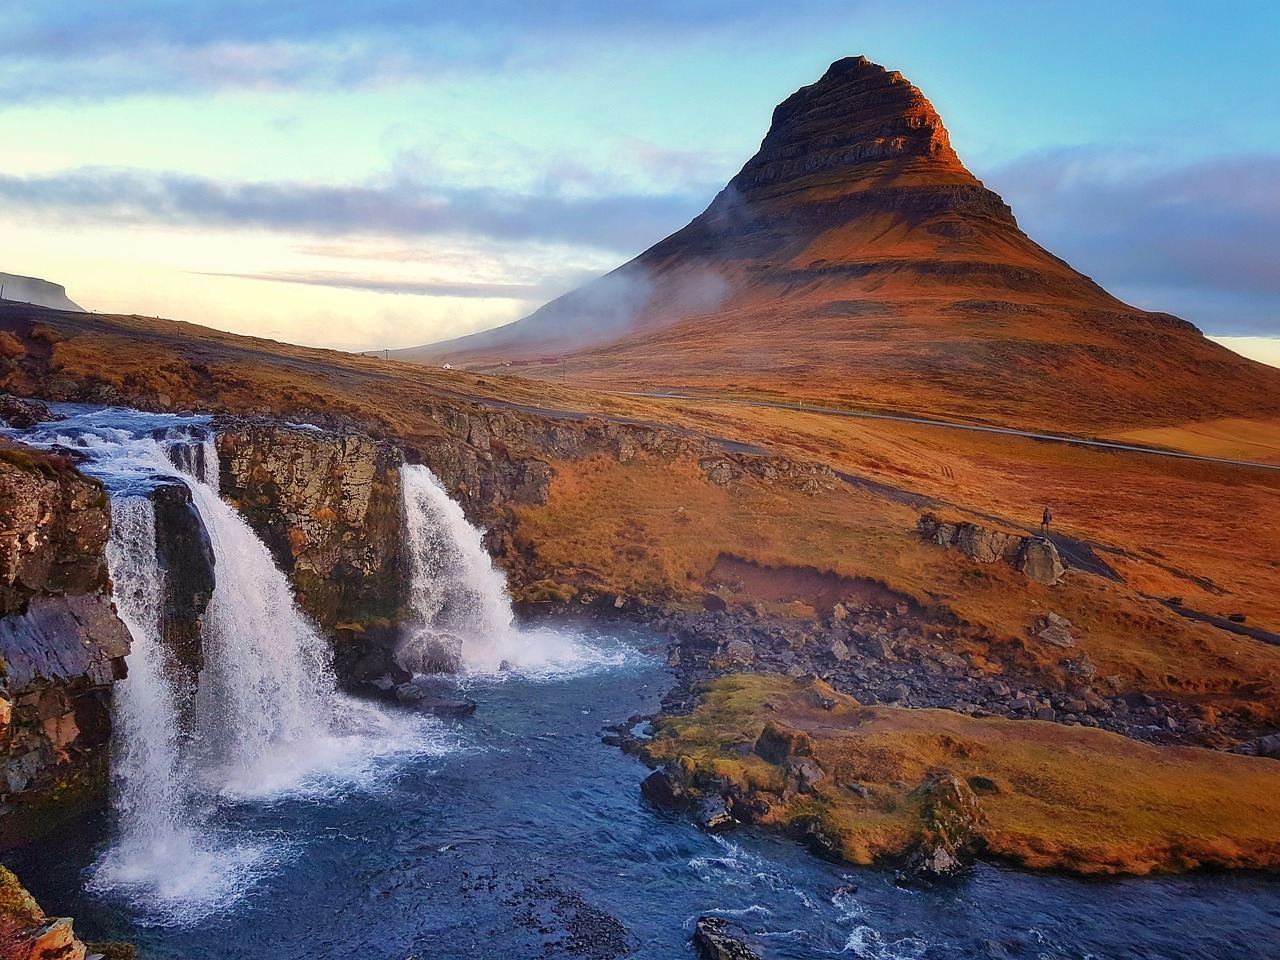
When it comes to painting a waterfall, the colors you choose play a pivotal role in conveying the right mood and atmosphere. Imagine standing beside a real waterfall; the vibrant blues and greens dance with light, creating a mesmerizing spectacle. To capture this essence in your artwork, you need to select the right shades that not only reflect the water's movement but also harmonize with the surrounding landscape.
First and foremost, let's talk about blues. The color blue can evoke a range of emotions, from calmness to excitement. In a waterfall scene, the blues can vary from deep, rich tones to lighter, more translucent shades. For instance, a deep ultramarine can be used to depict the deeper parts of the water, where shadows play, while a cerulean blue can create the illusion of sunlight glinting off the surface. Mixing these shades can provide a sense of depth and dimension, making your waterfall more lifelike.
Next, we have the greens. Waterfalls often cascade over lush, verdant surroundings, and the greens you choose can significantly affect the overall composition. Consider using a mix of emerald green and sap green to represent the foliage. These shades can be blended to create a natural gradient that mimics the way light filters through leaves. Don’t forget to incorporate some yellow-green hues to highlight areas where sunlight hits the foliage, adding vibrancy and life to your painting.
To make your selection process easier, here’s a simple color mixing guide for blues and greens:
| Color | Usage |
|---|---|
| Ultramarine Blue | For deep water shadows |
| Cerulean Blue | To depict sunlight on water |
| Emerald Green | For vibrant foliage |
| Sap Green | For natural landscapes |
| Yellow-Green | To highlight sunlit areas |
As you mix your colors, remember that balance is key. Too much blue can make the scene feel cold, while excessive green can overwhelm the viewer. Strive for a harmonious blend that captures the essence of a tranquil yet powerful waterfall. Don’t shy away from experimenting; sometimes, the best shades come from unexpected combinations. For instance, adding a touch of white can lighten your blues, creating a frothy effect that mimics the cascading water.
In conclusion, choosing the right blues and greens is essential for creating a stunning waterfall painting. By carefully selecting your colors and understanding their emotional impact, you can breathe life into your artwork. So grab your brushes, mix those colors, and let your creativity flow like the water you’re about to paint!
- What is the best type of paint for waterfall paintings? Acrylics and oils are popular choices due to their versatility and vibrancy.
- How do I create a realistic water effect? Focus on layering and blending colors to mimic the natural flow and movement of water.
- Can I use watercolor for painting waterfalls? Absolutely! Watercolors can create beautiful, translucent effects that are perfect for depicting water.
Highlighting and Shading Techniques
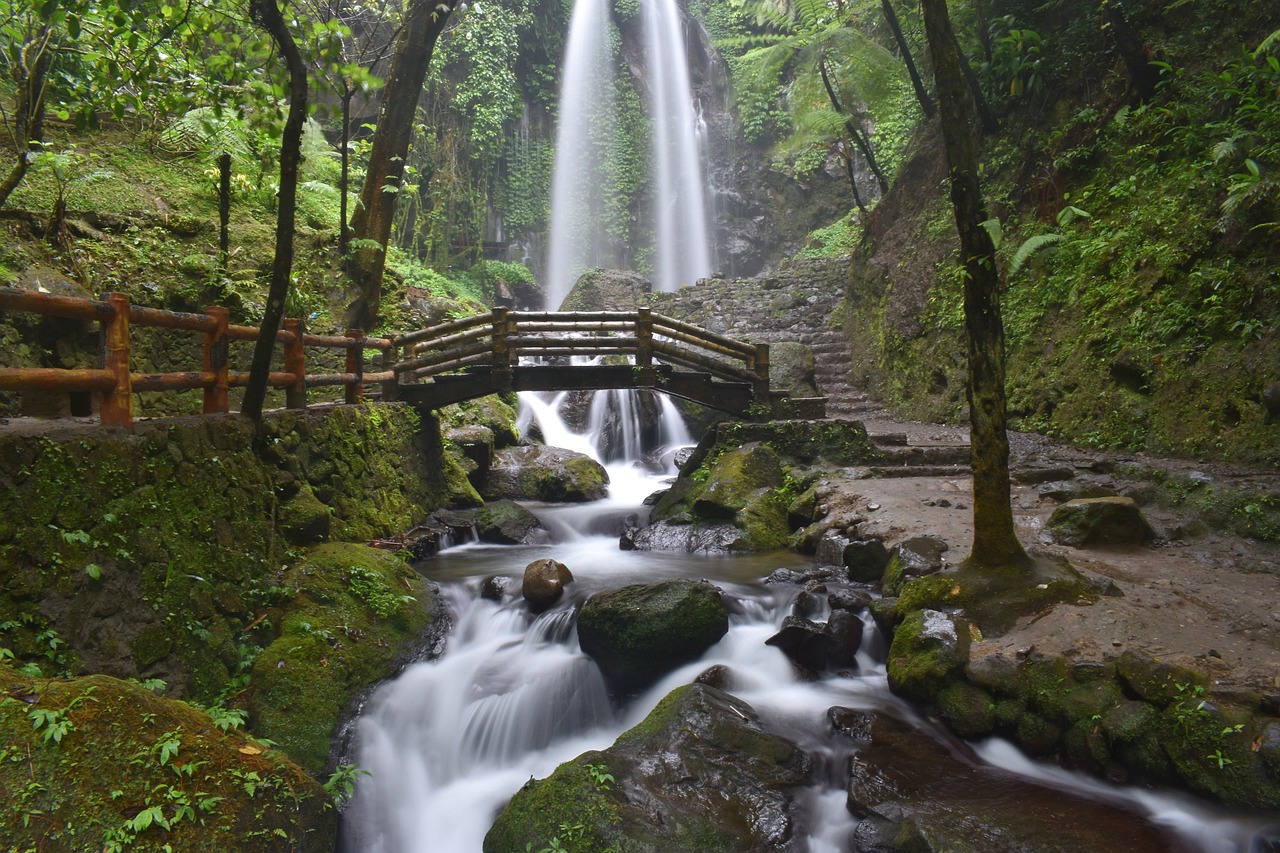
When it comes to painting a waterfall, highlighting and shading are crucial techniques that can transform your artwork from flat to fabulous. Think of these techniques as the seasoning in a dish; they bring out the flavors and depth, making your painting more appealing and realistic. The way light interacts with water creates stunning reflections and shadows that can mesmerize the viewer, so let’s dive into how to master these essential skills.
First and foremost, understanding the source of light in your painting is key. Is the sun shining brightly, casting a warm glow on the water? Or is it a moody, overcast day, where shadows play a significant role? This will dictate how you approach highlighting and shading. For instance, if you’re painting a sunlit waterfall, you’ll want to use brighter colors for highlights and deeper tones for shadows to create that contrast that makes the water appear to shimmer.
To create highlights, you can start with a lighter shade of the base color of your water. For example, if your waterfall is primarily a deep blue, mix in a bit of white or a lighter blue to create a vibrant highlight. Apply this lighter color where the water catches the light, typically at the crest of the falls and where the water splashes against rocks or other surfaces. Using a dry brush technique can be particularly effective here; simply dip your brush in the lighter color and lightly brush it over the surface, allowing some of the darker base color to show through. This creates a sense of texture and movement.
Shading, on the other hand, requires a more thoughtful approach. You’ll want to use darker colors to define areas where the water recedes or where shadows fall. This could be beneath overhanging rocks or in the depths of the pool at the bottom of the waterfall. A good rule of thumb is to think about where the light is coming from and apply your darker shades accordingly. For instance, if the light is coming from the left, the right side of the waterfall will naturally be darker. You might want to use a mix of blues and greens, perhaps with a touch of gray, to create those shadowy areas.
Another technique to enhance depth is to use glazing. This involves applying a thin, transparent layer of paint over your existing colors. It can add richness and complexity to both highlights and shadows. For example, if you’ve painted a shadowy area, glazing with a thin layer of blue can enhance the depth without losing the underlying texture. Similarly, a light glaze of yellow or white over your highlights can give them a luminous quality that mimics the way sunlight reflects off moving water.
Finally, remember to step back and observe your work from a distance. Sometimes, what looks perfect up close can appear different from afar. Adjust your highlights and shadows as needed to ensure they contribute to the overall composition of your waterfall. Painting is a journey, and every brushstroke brings you closer to capturing the beauty of nature.
In summary, mastering highlighting and shading techniques is essential for creating a stunning waterfall painting. By understanding light sources, using the right colors, and applying techniques like dry brushing and glazing, you can achieve a dynamic and realistic effect. So grab your brushes, let your creativity flow, and watch as your waterfall comes to life on the canvas!
- What colors should I use for highlighting water?
Use lighter shades of your base color, such as adding white or a lighter blue to create bright highlights.
- How do I create depth in my waterfall painting?
Use darker shades for shadows and consider using glazing techniques to enhance the richness of colors.
- Can I use acrylics for highlighting and shading?
Absolutely! Acrylic paints are versatile and can be layered effectively for both highlighting and shading.
Frequently Asked Questions
- What materials do I need to paint a waterfall?
To create a stunning waterfall painting, you'll need high-quality acrylic or oil paints, a variety of brushes (including flat and round brushes), a canvas or watercolor paper, a palette for mixing colors, and a container for water or solvent. Don't forget some paper towels for quick clean-ups!
- How do I sketch the layout for my waterfall painting?
Start by lightly sketching the basic shapes of your waterfall and surrounding landscape with a pencil. Focus on the flow of the water and the overall composition. It's helpful to visualize how the water cascades and interacts with rocks or trees. Remember, this sketch is just a guideline, so feel free to adjust as you paint!
- Can I use reference images for my painting?
Absolutely! Reference images are fantastic for capturing realism. Look for photos that inspire you and help you understand the movement of water. Use them to guide your color choices, shapes, and how light interacts with the water. Just make sure to add your own artistic flair!
- What techniques can I use to create depth in my waterfall painting?
To create depth, consider using lighter colors for distant elements and darker shades for those closer to the viewer. Layering is key—apply multiple layers of paint to build texture and dimension. Additionally, using a blurred effect for background elements can enhance the sense of distance.
- How do I mix colors for a realistic waterfall?
Understanding color theory is crucial! For water, you'll typically want to mix various shades of blue and green. Experiment with adding white for highlights and a touch of gray or brown for shadows. The goal is to capture the natural hues of water in different lighting conditions.
- What are some effective highlighting and shading techniques?
For highlighting, use a lighter shade of your base color and apply it where the light hits the water. A dry brush technique can create soft highlights. For shading, use darker tones under the water's surface and around rocks to suggest depth. Blending these techniques will really bring your waterfall to life!


