Drawing Portraits: A Step-By-Step Guide for Beginners
Are you ready to embark on an artistic journey that will transform blank sheets of paper into stunning representations of human emotion and personality? Drawing portraits is not just about putting pencil to paper; it's about capturing the essence of a person, their stories, and their unique features. Whether you're a complete novice or someone with a bit of experience, this guide is designed to equip you with essential techniques and tips to master the art of portrait drawing. By breaking down the process into manageable steps, we’ll explore everything from understanding facial proportions to advanced shading techniques. So, grab your sketchbook and let’s dive into the world of portrait drawing!
Grasping the fundamental proportions of the human face is crucial for accurate portrait drawing. The human face is a complex structure, but breaking it down into basic shapes can make it easier to understand. Typically, the face can be divided into thirds: the top third from the hairline to the eyebrows, the middle third from the eyebrows to the bottom of the nose, and the bottom third from the nose to the chin. This simple method helps in positioning the features correctly.
Key measurements and ratios play a significant role in achieving a realistic likeness. For instance, the eyes are generally positioned halfway down the head, and the width of one eye is roughly equal to the space between the eyes. Understanding these proportions will not only aid in accuracy but also in creating a more balanced and harmonious portrait.
Choosing the right tools can significantly impact your drawing experience. The world of drawing instruments is vast, but for portrait drawing, a few essentials can make all the difference. Here, we’ll explore the various pencils, papers, and accessories that are best suited for portrait drawing.
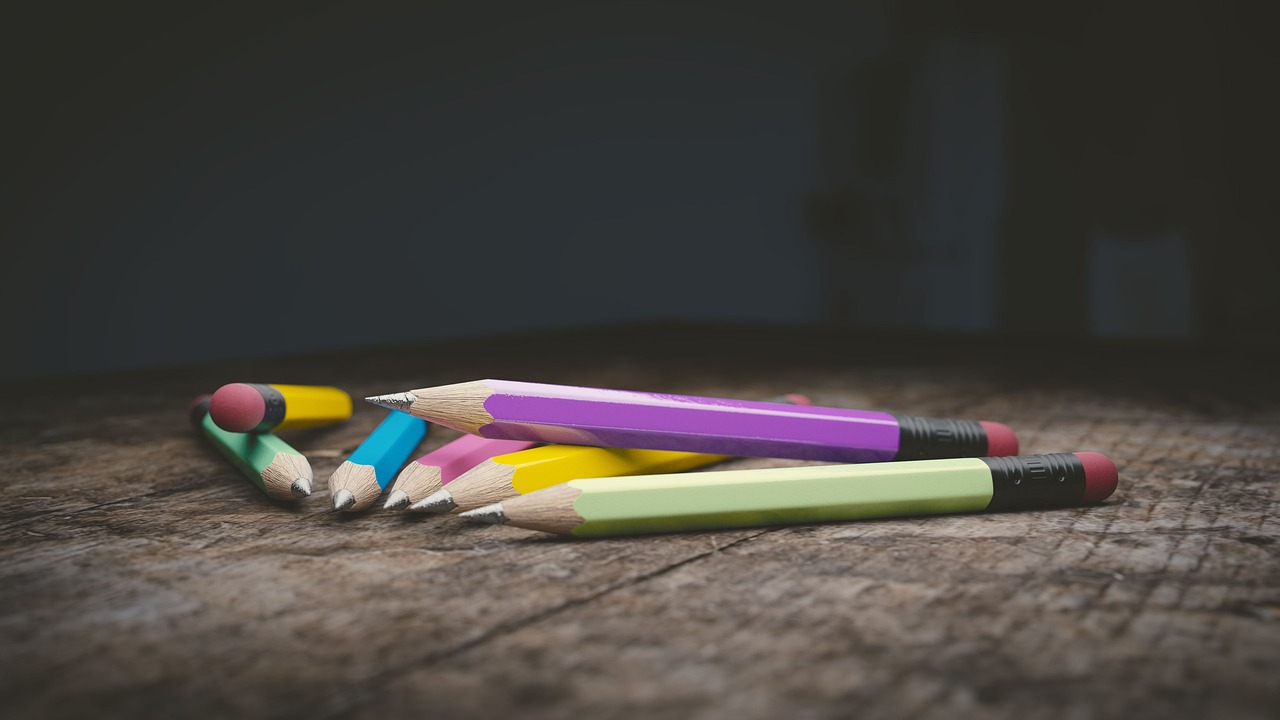
Different pencil types offer varying degrees of hardness and softness, affecting the lines and shading in your portraits. For beginners, it's advisable to start with a range of pencils, typically graded from H (hard) to B (soft). A good set might include:
- H Pencils: Ideal for fine lines and initial sketches.
- B Pencils: Perfect for shading and adding depth.
- 2B to 6B Pencils: Great for darker areas and rich textures.
By experimenting with these different pencils, you’ll discover which ones suit your style and preferences best.
When it comes to choosing between graphite and charcoal, each medium has unique properties that can enhance your drawings. Graphite is excellent for precision and detail, allowing for smooth, clean lines. On the other hand, charcoal provides a rich, velvety texture that can create dramatic effects. If you’re looking to explore different styles, try both mediums and see which resonates with you more.
The type of paper you use can influence the final outcome of your portrait. For pencil drawings, a smooth surface is often preferred, as it allows for fine details. However, if you’re working with charcoal, a textured paper can help grip the medium better. Here are some recommended paper types:
| Paper Type | Best For |
|---|---|
| Smooth Bristol | Graphite drawings |
| Cold Press Watercolor | Charcoal and mixed media |
| Sketch Paper | Initial sketches and practice |
Mastering sketching techniques is vital for laying the groundwork of your portrait. Start by lightly sketching the basic shapes of the head and features. Use simple geometric forms to map out the face before diving into details. This method helps maintain proportions and allows for adjustments as you go. Remember, the initial sketch is just a foundation; don’t be afraid to erase and refine your lines!
Shading brings depth and realism to your portraits. It’s like adding a pinch of salt to a dish; it enhances the flavors and makes everything pop! Various shading techniques, such as hatching, cross-hatching, and blending, can be employed to create texture in hair, skin, and clothing. Experiment with these techniques to find what works best for you.
Understanding light and shadow is essential for realistic portraits. Observe how light interacts with the face, creating highlights and shadows. This observation helps you replicate light sources in your drawings. Remember, the more you practice observing light, the better you’ll become at depicting it on paper.
Adding depth to your portraits enhances their three-dimensional quality. Techniques for blending and layering can achieve a more lifelike appearance. Use a blending stump or your fingers to smooth out harsh lines and create seamless transitions between light and shadow.
The final touches can elevate your portrait from good to great. Take a step back and assess your work. Are there areas that need more detail? Perhaps some highlights need to be reinforced? Once you’re satisfied, consider how you want to present your artwork. Whether framing it or sharing it online, the presentation can make a significant impact on how your work is perceived.
Q: What if my portrait doesn’t look like the person?
A: Don’t be discouraged! Portrait drawing is a skill that takes time to develop. Focus on practice and understanding proportions, and you’ll see improvement.
Q: How long does it take to get good at portrait drawing?
A: Everyone learns at their own pace. Regular practice and studying facial features will help you progress faster.
Q: Can I use color in my portraits?
A: Absolutely! Once you feel comfortable with black and white, experimenting with color can add another dimension to your portraits.

Understanding Facial Proportions
Grasping the fundamental proportions of the human face is crucial for accurate portrait drawing. The human face is a complex structure, but once you break it down into manageable parts, it becomes much easier to replicate. To start, think of the face as a series of basic shapes—ovals, rectangles, and triangles. By understanding these basic shapes, you can better visualize the proportions and placements of facial features.
One of the most common methods for measuring facial proportions is the Rule of Thirds. Imagine dividing the face vertically and horizontally into thirds. The horizontal lines will help you position the eyes, nose, and mouth correctly. For instance, the eyes typically sit on the upper third line, while the bottom of the nose aligns with the middle line, and the mouth rests near the lower third. This simple technique can significantly improve the accuracy of your portraits.
In addition to the Rule of Thirds, another vital aspect to consider is the symmetry of the face. While no face is perfectly symmetrical, understanding the average distances between features can help you create a more realistic likeness. For example, the distance between the eyes is usually about one eye-width apart, and the ears generally align with the eyes and the bottom of the nose. Keeping these measurements in mind as you sketch will aid in achieving a balanced portrait.
Here’s a quick reference table to help you visualize these proportions:
| Feature | Position | Distance |
|---|---|---|
| Eyes | Upper third line | One eye-width apart |
| Nose | Middle third line | Aligns with the inner corners of the eyes |
| Mouth | Lower third line | Aligns with the center of the eyes |
| Ears | Align with the eyes and bottom of the nose | Varies by individual |
As you practice, take note of how different faces may have unique proportions. Some individuals may have wider cheekbones or a more prominent jawline, which can affect the overall structure. It’s essential to remain flexible in your approach and adapt to the specific features of the person you are drawing. This adaptability will not only enhance your skill but also enrich your artistic expression.
Lastly, remember that the proportions are just a guideline. The beauty of portrait drawing lies in its ability to capture the essence of a person, and sometimes that essence comes from imperfections. Embrace the quirks and unique features of your subjects, and let them shine through in your work. With time and practice, your understanding of facial proportions will deepen, allowing you to create stunning and lifelike portraits that resonate with viewers.
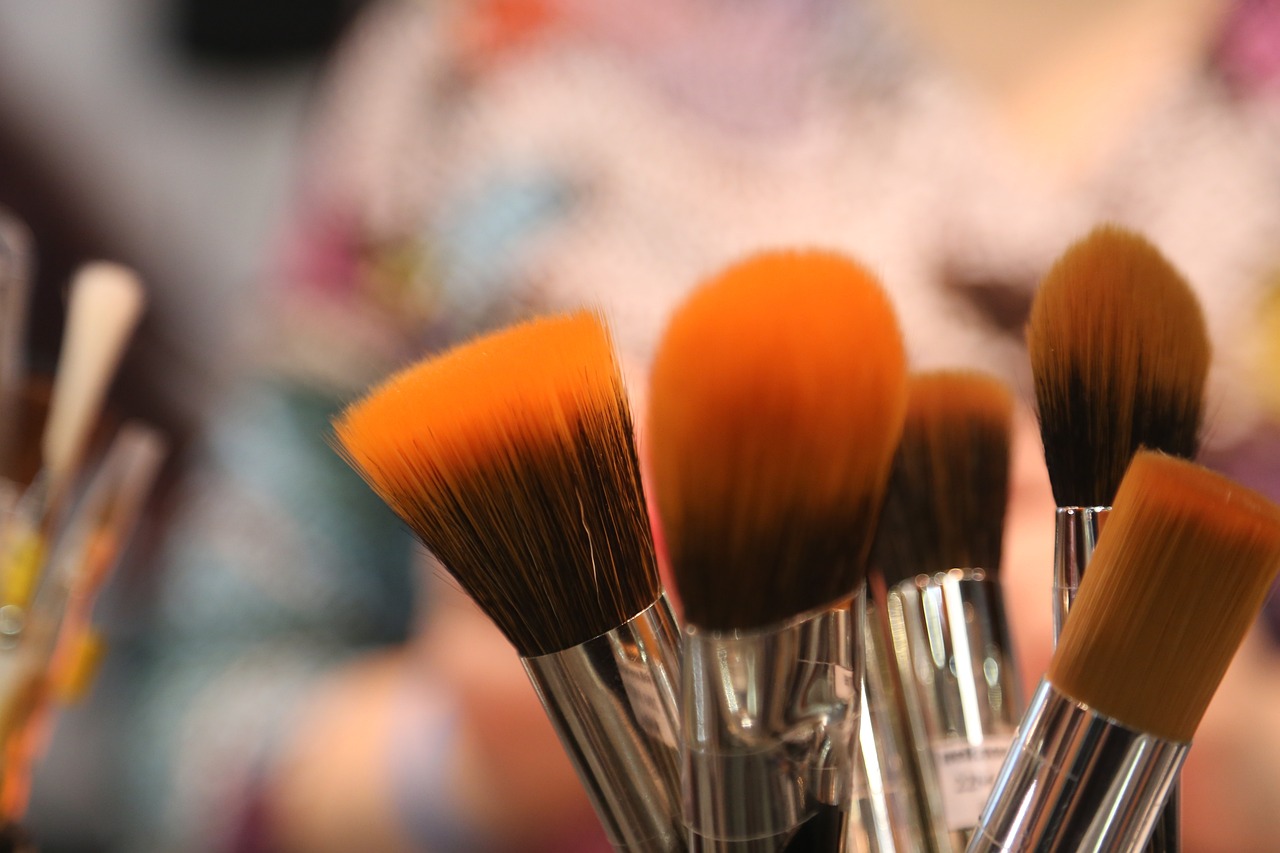
Essential Drawing Tools
When it comes to portrait drawing, having the right tools can make all the difference in your artistic journey. Imagine trying to cook a gourmet meal without the proper utensils; it just wouldn’t work, right? Similarly, the tools you choose can either enhance your creativity or hinder your progress. So, let’s dive into the essential drawing tools that every beginner should consider. You’ll find that investing in quality materials not only boosts your confidence but also elevates the quality of your artwork.
First and foremost, pencils are your best friends. But not just any pencils! Understanding the different types of pencils is crucial. For portrait drawing, you’ll want to explore a range of graphite pencils, typically graded from H (hard) to B (soft). The H pencils are great for fine lines and details, while the B pencils allow for richer, darker shading. A good starter set might include:
| Pencil Type | Use |
|---|---|
| H (Hard) | Fine lines and details |
| HB | General purpose |
| B (Soft) | Shading and darker lines |
In addition to graphite, charcoal is another medium worth considering. It offers a unique texture and depth that can really make your portraits pop. However, it can be messier than graphite, so be prepared with a good set of blending tools and a fixative spray to preserve your work. Think of charcoal as the bold spice in your artistic pantry; it can add a rich flavor to your portraits.
Next up is paper. The surface you choose can drastically affect the outcome of your drawing. For portraits, look for paper that has a bit of texture, like cold-pressed watercolor paper or drawing paper with a medium tooth. These types of paper will hold your pencil and charcoal better, allowing for smoother blending and shading. It’s like choosing the right canvas for a painting; the wrong choice can lead to frustration and less-than-stellar results.
To create those stunning textures and details, you'll also want to invest in some accessories. A good eraser is essential—both a kneaded eraser for gentle lifting of graphite and a vinyl eraser for more stubborn marks. Blending stumps can help you achieve soft transitions between dark and light areas, giving your portraits that three-dimensional quality. And don’t forget about a sharpener! Keeping your pencils sharp is crucial for precision work.
Finally, consider your workspace. A well-lit area can make a world of difference. Natural light is ideal, but if that’s not available, a good desk lamp with adjustable brightness can help you see the details clearly. Remember, your environment plays a significant role in your creativity. A cluttered space might lead to a cluttered mind, while an organized setup can inspire you to create.
In summary, the right tools can set the stage for your portrait drawing success. By investing in quality pencils, charcoal, paper, and accessories, you’re not just buying materials; you’re equipping yourself with the essentials to express your artistic vision. So, gather your tools, find a comfortable spot, and let your creativity flow!
- What type of paper is best for portrait drawing? A medium-tooth drawing paper or cold-pressed watercolor paper is ideal for holding pencil and charcoal.
- How many pencils should I start with? A basic set of H, HB, and B pencils should suffice for beginners.
- Is charcoal better than graphite for beginners? It depends on your style! Charcoal offers depth but can be messier; graphite is easier to handle.
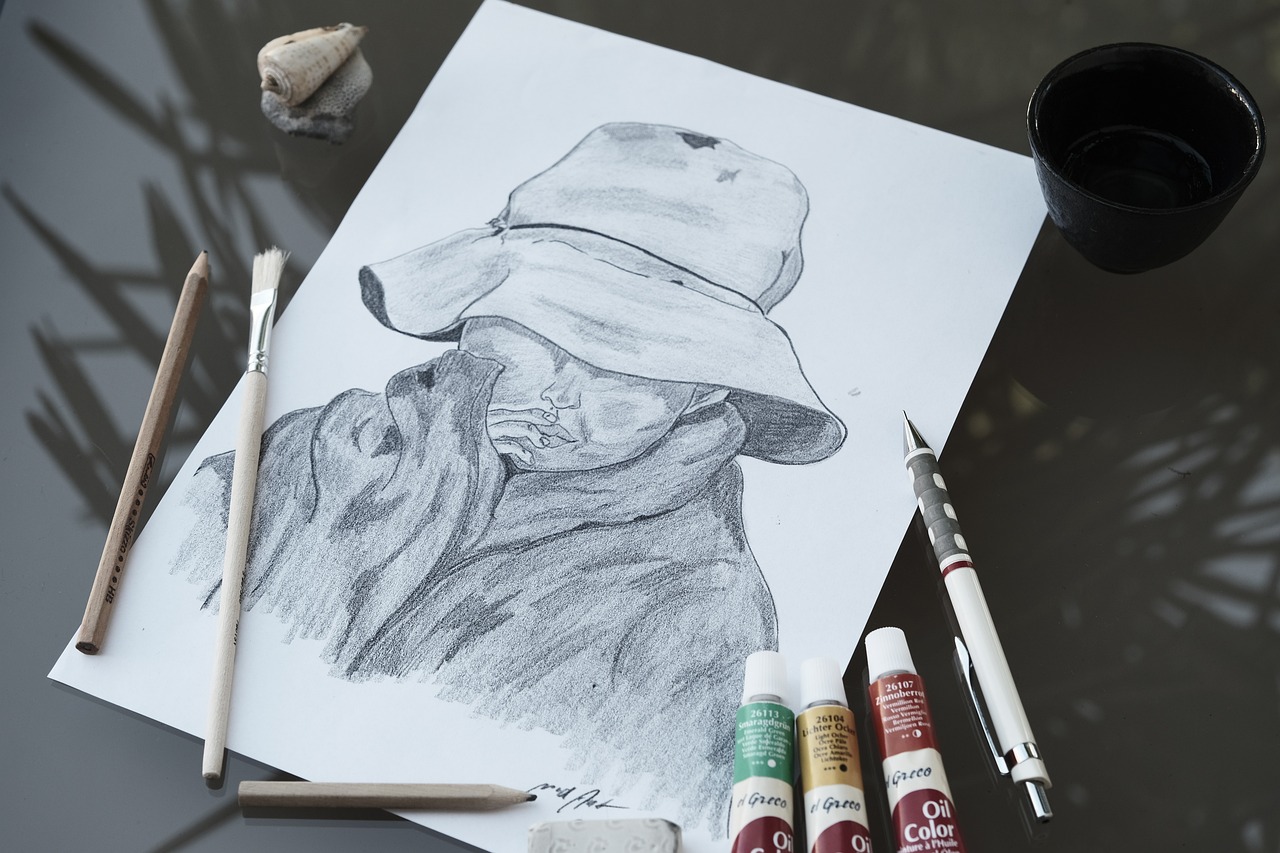
Types of Pencils
When it comes to portrait drawing, the choice of pencil can make a world of difference. Each type of pencil offers its own unique qualities, influencing not just the lines you create but also the shading and texture of your artwork. As a beginner, understanding the various types of pencils available will empower you to make informed decisions that enhance your drawing experience.
Pencils are typically categorized by their hardness or softness, which is represented on the pencil itself by a grading scale. This scale ranges from H (hard) to B (black), with HB sitting comfortably in the middle. The H pencils produce lighter lines and are ideal for fine details, while the B pencils create darker, bolder lines, perfect for shading. Here’s a quick breakdown:
| Pencil Type | Characteristics | Best Use |
|---|---|---|
| H (Hard) | Produces fine, light lines | Detail work and fine lines |
| HB (Medium) | Balanced hardness and darkness | General sketching |
| B (Black) | Produces dark, rich lines | Shading and bold outlines |
As you start your journey in portrait drawing, you might find yourself leaning towards graphite pencils for their versatility. Graphite is great for beginners because it allows for easy corrections and adjustments. However, don’t overlook the allure of charcoal pencils. Charcoal can add a dramatic flair to your portraits, providing rich blacks and a softer texture. The choice between graphite and charcoal often comes down to personal preference and the style you wish to achieve.
For those who want to experiment further, consider investing in a set of colored pencils. While they may not be the traditional choice for portraiture, colored pencils can add a unique twist to your artwork, allowing you to explore different skin tones and vibrant backgrounds. Remember, the best pencil for you is the one that feels comfortable in your hand and aligns with your artistic vision.
In conclusion, the right pencil can elevate your portrait drawing from basic to breathtaking. As you practice, don’t hesitate to try different types of pencils to discover which ones resonate with your style. Each stroke you make with a pencil is a step toward mastering the art of portrait drawing, so choose wisely and enjoy the creative process!
- What is the best type of pencil for beginners? - Generally, an HB pencil is a good starting point as it provides a balance between hardness and darkness.
- Can I use colored pencils for portrait drawing? - Absolutely! Colored pencils can add a unique dimension to your portraits, especially when exploring skin tones.
- Is charcoal better than graphite for portraits? - It depends on your style! Graphite is versatile and easy to work with, while charcoal offers rich textures and depth.
Graphite vs. Charcoal
When it comes to portrait drawing, the choice between graphite and charcoal can significantly influence your artistic journey. Each medium has its own unique characteristics, advantages, and challenges, which can affect the final outcome of your artwork. Let's dive into the fascinating world of these two popular drawing tools and see how they stack up against each other.
Graphite is perhaps the most common medium for beginners, thanks to its availability and ease of use. It comes in various hardness levels, ranging from H (hard) to B (soft), allowing artists to create a variety of line qualities and shading effects. Graphite is fantastic for fine details and offers a smooth application, making it ideal for those who enjoy precision in their work. Additionally, it's less messy compared to charcoal, which can be a significant advantage for artists who prefer a cleaner workspace.
On the other hand, charcoal is known for its rich, deep blacks and expressive qualities. It's often favored by artists looking to create dramatic contrasts and bold strokes. Charcoal can be easily manipulated, allowing for a range of textures and effects that can bring your portraits to life. However, it does come with its own set of challenges; it can smudge easily, which may require a bit more care during the drawing process. The messiness of charcoal can also be a double-edged sword—while it allows for expressive techniques, it may leave your hands and workspace looking like a creative battlefield!
To help you decide which medium suits you best, here's a quick comparison:
| Feature | Graphite | Charcoal |
|---|---|---|
| Line Quality | Fine, precise | Bold, expressive |
| Shading | Smooth gradients | Rich blacks, dramatic |
| Messiness | Less messy | Can be very messy |
| Ease of Use | Beginner-friendly | Requires practice |
Ultimately, the choice between graphite and charcoal boils down to personal preference and the specific effects you wish to achieve in your portraits. Experimenting with both mediums can be a rewarding experience, allowing you to discover which one resonates with your artistic style. Don't hesitate to switch it up—sometimes, mixing the two can lead to stunning results!
In conclusion, whether you lean towards the precision of graphite or the expressive nature of charcoal, both mediums offer unique opportunities for creativity. Embrace the learning process, and remember that every stroke is a step towards mastering the art of portrait drawing.
- Can I use both graphite and charcoal in the same portrait? Absolutely! Many artists combine the two to leverage the strengths of each medium.
- Which medium is better for beginners? Graphite is often recommended for beginners due to its ease of use and cleaner application.
- How can I prevent smudging with charcoal? Use fixative sprays and work with a light touch to minimize smudging.
Paper Selection
When it comes to portrait drawing, the choice of paper can make a **significant difference** in the outcome of your artwork. Selecting the right paper isn't merely a matter of preference; it can affect the texture, shading, and overall feel of your portrait. So, how do you choose the best paper for your needs? Let's dive into the essential factors to consider.
First, consider the **weight** of the paper. Heavier paper (usually measured in grams per square meter, or GSM) can handle more layers of pencil or charcoal without warping or tearing. For portrait drawing, a weight of at least **200 GSM** is recommended, as it provides a sturdy surface that can withstand various drawing techniques. On the other hand, lighter paper may buckle or tear under pressure, especially when using wet mediums.
Next, you’ll want to think about the **texture** of the paper. There are generally three types of paper textures that artists often use:
- Smooth Paper: Ideal for fine details and precision work, smooth paper allows for clean lines and minimal texture interference. It's perfect for graphite drawings where you want to achieve a polished look.
- Medium Texture Paper: This type strikes a balance between smooth and rough. It’s versatile and can accommodate both detailed work and broader strokes, making it suitable for various styles of portrait drawing.
- Rough Paper: If you're looking to create a more expressive style, rough paper can add a unique texture to your work. It's great for charcoal and pastels, as the texture helps to hold the medium in place.
Another important aspect to consider is the **color** of the paper. While many artists default to white paper, colored paper can add depth and mood to your portraits. For instance, using a toned paper can help you create a more dramatic effect, especially when working with highlights and shadows. If you choose colored paper, ensure that it complements the skin tones and overall palette of your portrait.
Lastly, don’t forget about **specialty papers** designed specifically for drawing. These can include papers with unique finishes or surfaces that enhance your drawing experience. Some brands even offer paper with built-in texture or grain, which can add an intriguing element to your work.
In summary, the right paper can greatly enhance your portrait drawing experience. Pay attention to the weight, texture, color, and specialty options to find the perfect match for your artistic style. Remember, experimenting with different types of paper can lead to surprising results and help you discover what truly resonates with your artistic vision!
Q: What weight of paper is best for beginners?
A: For beginners, a paper weight of 200 GSM is a good starting point as it provides a sturdy surface for various drawing techniques.
Q: Can I use regular printer paper for portrait drawing?
A: While you can use printer paper, it's not ideal due to its low weight and smoothness, which may not hold up well under multiple layers of medium.
Q: Is colored paper suitable for all types of portraits?
A: Colored paper can add depth and mood to portraits, but it may not be suitable for all styles. It's best to experiment and see what works for your specific artistic vision.
Q: How do I know if a paper is suitable for charcoal?
A: Look for papers that are specifically labeled for charcoal use. These papers typically have a textured surface that helps grip the medium.
Sketching Techniques
When diving into the world of portrait drawing, mastering is your first step towards creating stunning artwork. Think of sketching as the foundation of a house; without a solid base, everything else can crumble. The initial sketch is where you establish the proportions, angles, and overall composition of your portrait. So, how do you ensure your sketch is both accurate and expressive? Let’s explore some essential techniques that will help you lay down a strong groundwork.
First and foremost, start with basic shapes. Before diving into details, break down the face into simple geometric forms. A circle for the head, ovals for the cheeks, and rectangles for the jawline can help you visualize the structure. This method is akin to building a Lego model; you need to connect the blocks correctly before adding the intricate details. Once you've outlined these shapes, you can gradually refine them into more recognizable features.
Another technique to consider is the grid method. This involves drawing a grid over your reference photo and then replicating that grid on your drawing paper. By focusing on one square at a time, you can accurately capture the proportions and placements of facial features. This approach is especially useful for beginners as it reduces the overwhelming feeling of trying to capture the entire likeness at once. However, remember that while grids are helpful, they should not become a crutch. As you gain confidence, challenge yourself to draw freehand!
Next, practice the line drawing technique. Use light, fluid strokes to sketch the outlines of the face and features. Avoid pressing too hard with your pencil; the goal is to create a sketch that you can easily adjust. Think of it as a dance—your pencil glides across the paper, capturing the essence of the subject without committing to every detail right away. Once you’re satisfied with the basic outline, you can go back and refine it, adding more definition where needed.
Finally, don’t forget to incorporate gesture drawing into your practice routine. This technique focuses on capturing the essence and movement of the subject in a short amount of time, often just a few minutes. Gesture drawing helps you develop a keen eye for proportion and flow, which is essential in portraiture. It’s like learning to play an instrument; the more you practice, the more natural it becomes. You can set a timer for one to five minutes and quickly sketch the main features, allowing your hand to move freely and fluidly.
In summary, sketching techniques are the backbone of portrait drawing. By focusing on basic shapes, utilizing the grid method, practicing line drawing, and engaging in gesture drawing, you’ll build a solid foundation for your portraits. Remember, every artist has their unique style, so don’t hesitate to experiment and find what works best for you. With time and practice, your sketches will evolve into breathtaking portraits that capture the essence of your subjects.
- What materials do I need to start sketching portraits? You’ll need a set of pencils, erasers, and sketch paper. Optional tools include blending stumps for shading and a ruler for grid methods.
- How long should I spend on my initial sketch? It varies, but typically 15-30 minutes is a good starting point. Focus on getting the proportions right before adding details.
- Can I use references for my sketches? Absolutely! Using references can greatly enhance your accuracy and help you understand facial structures better.
- How do I improve my sketching skills? Regular practice is key. Try different techniques and don’t be afraid to make mistakes; they’re part of the learning process!
Shading and Texturing
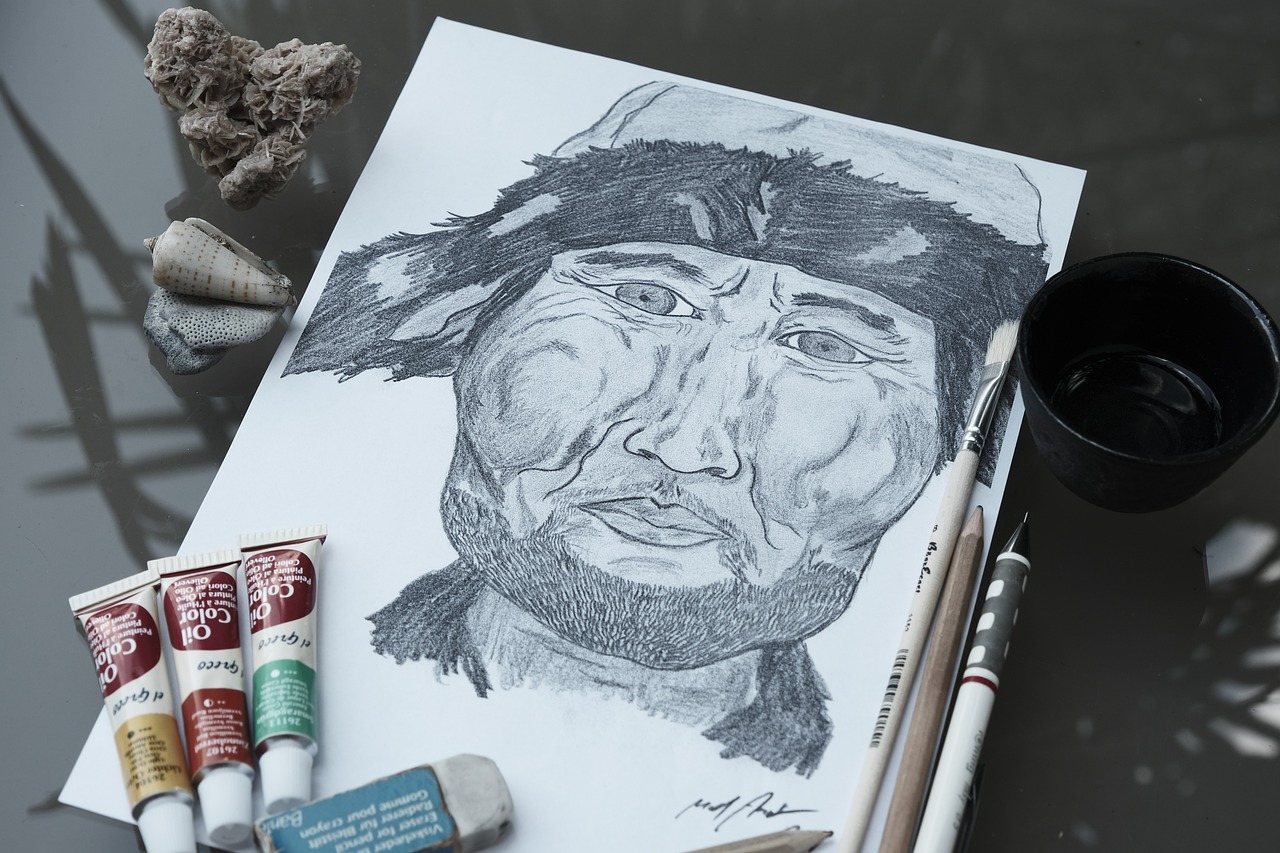
Shading is where the magic happens in portrait drawing; it’s what transforms a flat sketch into a lifelike representation. If you think of your portrait as a sculpture, shading is the chiseling that reveals depth and form. It’s not just about filling in dark areas; it’s about understanding how light interacts with the surfaces of the face. In this section, we’ll dive deep into various shading techniques and explore how to create texture in hair, skin, and clothing.
To get started, let’s talk about the role of light and shadow. Every object, including the human face, is affected by light sources. When you’re drawing, you need to consider where the light is coming from. Is it natural light from a window, or is it artificial light from a lamp? This will affect how you shade your portrait. For instance, if the light is coming from the left, the right side of the face will be darker. Understanding this can help you create a more realistic look.
Next, let’s explore the different shading techniques you can employ. The most common methods include:
- Hatching: This involves drawing closely spaced parallel lines. The closer the lines, the darker the area appears.
- Cross-hatching: Similar to hatching, but you layer lines in different directions to build up depth.
- Blending: This technique uses a blending stump or your fingers to smooth out pencil strokes for softer transitions.
Each technique can be used to create different effects, so experimenting is key. You might find that you prefer one method over another, or perhaps a combination works best for you. Remember, shading is not just about adding darkness; it’s about creating dimension and texture.
When it comes to texture, think about how different surfaces react to light. For instance, skin has a unique texture that requires a different approach than hair or clothing. To create realistic skin tones, use a combination of light and dark shades, and don’t shy away from using subtle colors. You can also use a technique called stippling, where you create texture by making small dots with your pencil. This can add a beautiful softness to your portraits.
Hair can be particularly challenging, but it’s also an opportunity to showcase your skills. Use long, flowing strokes to mimic the direction of hair growth, and vary your pressure to create highlights and shadows. Remember, the key to realistic hair is layering; build up your shades gradually to create depth.
Finally, clothing should also reflect the same attention to detail. Different fabrics have different textures—think about how light would bounce off silk compared to denim. Use your shading techniques to convey these differences. For example, softer fabrics may require smoother shading, while rougher materials could benefit from more pronounced hatching or cross-hatching.
In summary, mastering shading and texturing is essential for elevating your portrait drawings. By understanding light and shadow, experimenting with various techniques, and paying attention to the unique textures of skin, hair, and clothing, you can create portraits that not only look realistic but also convey emotion and personality. Keep practicing, and don’t be afraid to make mistakes; each one is a stepping stone toward becoming a better artist.
Q: What is the best pencil for shading?
A: Generally, a range of pencils from H (hard) to B (soft) is ideal. Softer pencils (like 2B or 4B) are great for shading, while harder pencils work well for fine details.
Q: How do I know where to shade?
A: Observe your reference closely. Look for areas where the light hits and where shadows fall. You can also use a simple rule: light comes from a source, and shadows fall away from it.
Q: Can I use colored pencils for shading?
A: Absolutely! Colored pencils can add depth and richness to your portraits. Just remember to layer your colors for the best effect.
Q: How do I avoid smudging my work?
A: Use a clean sheet of paper under your hand as you draw to prevent smudges. Additionally, consider using fixative sprays to set your work once you're finished.
Light and Shadow
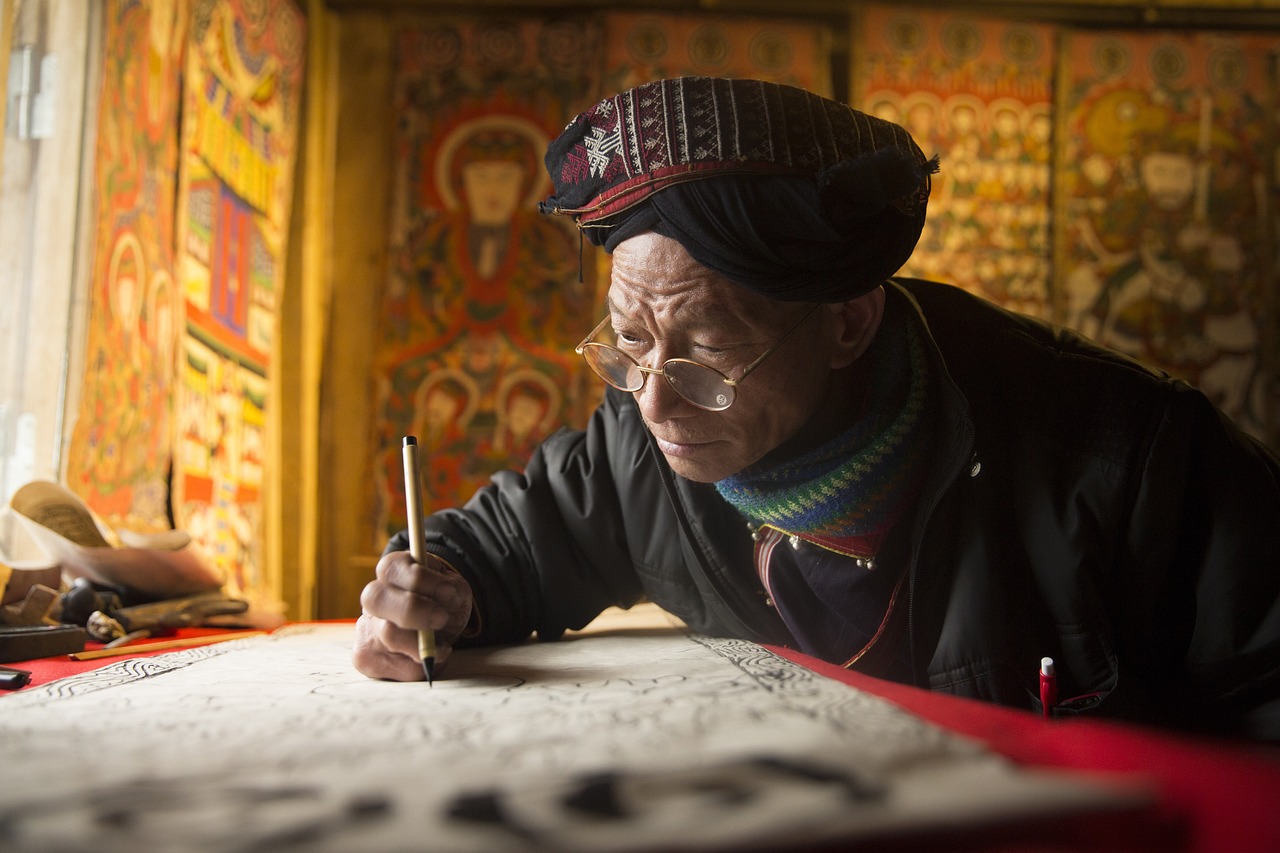
Understanding is essential for creating realistic portraits that leap off the page. Think of light as the artist's brush and shadow as the canvas; together, they form the masterpiece. When you observe how light interacts with the face, you'll notice that it creates highlights and shadows that define the structure and form. These elements not only add depth but also bring life to your drawings. Have you ever looked at a portrait and felt like the subject was staring right back at you? That magic often comes from a well-executed play of light and shadow.
To master this technique, start by identifying the light source. Is it natural light from a window, or is it artificial light from a lamp? Understanding the direction and intensity of light will help you determine where to place your highlights and shadows. For instance, if the light is coming from the left, the right side of the face will naturally be darker. This is where you can use your pencil to create a contrast that makes your portrait pop.
When sketching, it’s crucial to pay attention to the shapes that light and shadow create. Instead of thinking of them as separate entities, consider them as parts of a whole. For example, the oval shape of the face can be broken down into smaller shapes where light hits and where shadows fall. This approach makes it easier to visualize the three-dimensional quality of the face. You can use a simple diagram to illustrate this:
| Feature | Light Area | Shadow Area |
|---|---|---|
| Forehead | Bright highlight on the left | Soft shadow on the right |
| Cheekbone | Bright highlight on the top | Deep shadow underneath |
| Jawline | Subtle highlight along the edge | Dark shadow underneath |
As you practice, try to observe and replicate how light behaves on different surfaces. The skin, for instance, has a different texture compared to hair or clothing. This is where blending techniques come into play. Use your fingers or a blending stump to soften the edges of your shadows, creating a more realistic transition between light and dark areas. Remember, the goal is to make the viewer feel the warmth of the light and the coolness of the shadows.
Incorporating these elements effectively will not only enhance the realism of your portraits but also evoke emotion. A well-placed shadow can add mystery, while a bright highlight can convey joy. As you continue to explore the interplay of light and shadow, you'll find that your portraits will become more dynamic, engaging the viewer in ways you never thought possible. So grab your pencils, pay attention to the light, and let your creativity shine!
- What is the best way to practice light and shadow in portrait drawing? Start by using simple shapes and gradually work your way up to complex forms. Observing real-life subjects or photographs can also help.
- How do I choose a light source for my portraits? Natural light is often the most forgiving and can create beautiful highlights and shadows. Experiment with different sources to see which you prefer.
- Can I use colored pencils for light and shadow? Absolutely! Colored pencils can add another layer of depth and emotion to your portraits when used effectively.
Creating Depth
Creating depth in your portraits is like adding a secret ingredient to a recipe; it transforms a flat dish into a culinary masterpiece. When you look at a well-drawn portrait, you might feel as if the subject could step right off the page. To achieve this illusion, you need to master a few essential techniques that will breathe life into your artwork.
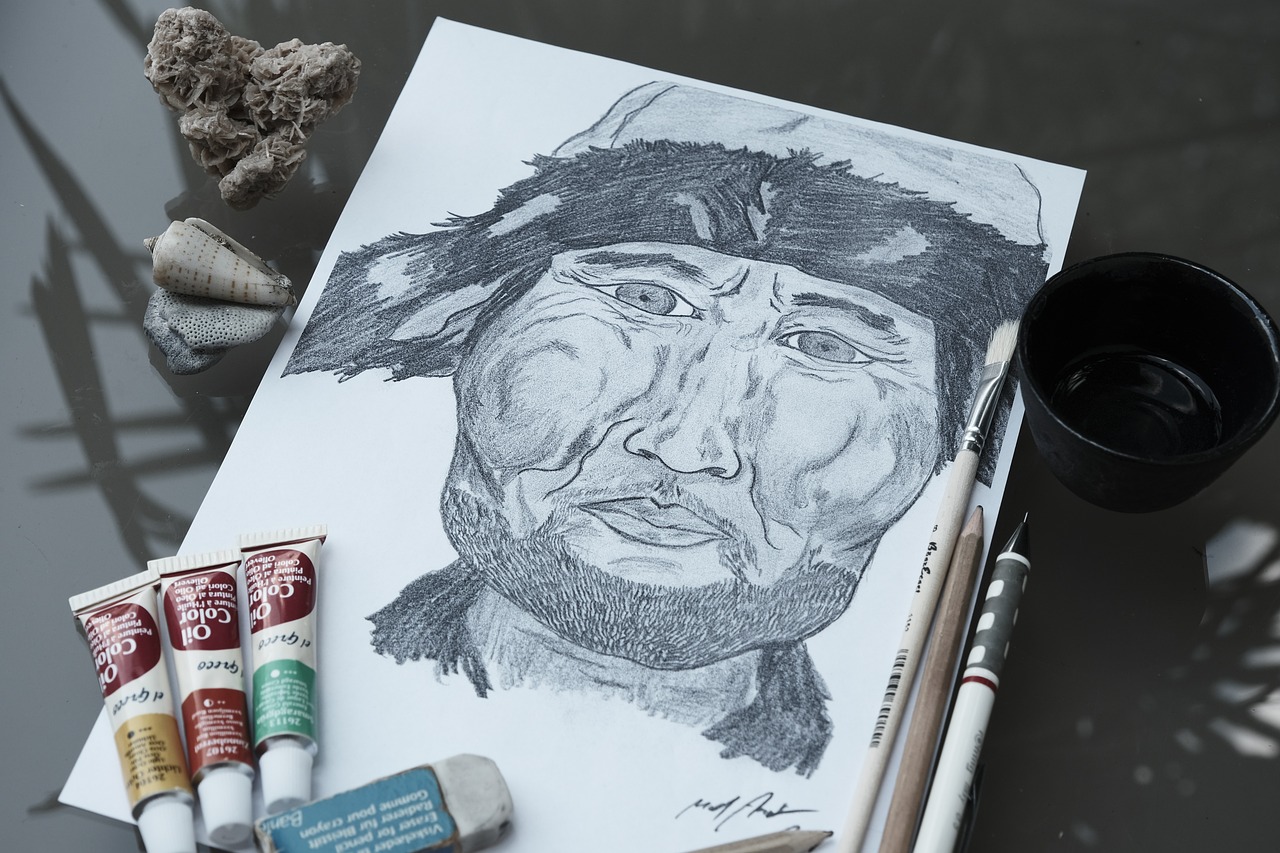
One of the most effective ways to create depth is through blending. This technique involves smoothly transitioning between different tones and shades, which can give your portrait a more three-dimensional appearance. Start by applying a base layer of your mid-tone color, then gradually add darker shades in the areas where shadows naturally fall. Use a blending stump or your finger to gently smooth out the transitions. Remember, the goal is to avoid harsh lines; instead, aim for soft gradients that mimic how light interacts with the surface of the skin.
Another critical aspect of creating depth is the use of layering. This technique allows you to build up your drawing gradually, adding more detail and complexity as you go. Begin with a light sketch, then layer on additional details, such as highlights and shadows. Don’t be afraid to go back and forth between layers; sometimes, you might need to darken an area or lighten a spot to achieve the perfect balance. Think of layering like building a cake—each layer adds flavor and texture, culminating in a deliciously rich final product.
Additionally, understanding perspective is vital for creating depth. When drawing a portrait, consider the angle from which you are viewing the subject. For example, if you are drawing someone looking slightly upwards, the features of their face will appear different than if they were looking straight ahead. Pay attention to how the proportions change based on perspective, and adjust your drawing accordingly. This attention to detail will enhance the realism of your portrait and make it feel more dynamic.
Lastly, don’t underestimate the power of contrast. By juxtaposing light and dark areas within your portrait, you can create a striking visual effect that draws the viewer's eye. Use darker shades to emphasize the contours of the face and lighter shades to highlight prominent features like the cheekbones and forehead. This push and pull between light and shadow not only adds depth but also guides the viewer’s gaze, making your portrait more engaging.
In summary, creating depth in your portraits involves a combination of blending, layering, understanding perspective, and using contrast effectively. Each of these techniques contributes to an overall sense of three-dimensionality that can elevate your artwork from ordinary to extraordinary. So grab your pencils, practice these methods, and watch as your portraits come to life!
- What is the best way to practice creating depth in my portraits? Start by focusing on blending and layering techniques. Use reference images to study how light interacts with the face.
- Can I use colored pencils to create depth? Absolutely! Colored pencils can be blended and layered just like graphite, allowing for vibrant and deep portraits.
- How do I know if my portrait has enough depth? Step back and look at your drawing from a distance. If it appears flat, consider adding more shading and highlights.
Final Touches and Presentation
When you reach the final stages of your portrait drawing, it’s time to take a step back and really assess your work. This is where the magic happens, transforming your piece from merely good to absolutely stunning. The final touches are like the icing on the cake; they can elevate the entire experience of your artwork. So, how do you ensure your portrait stands out? Let’s dive into some essential techniques!
First and foremost, refining your details is crucial. Look closely at the facial features—are the eyes expressive enough? Does the mouth convey the right emotion? Sometimes, just a subtle adjustment can make a world of difference. Use a sharp pencil to enhance the highlights in the eyes or add a little more definition to the cheekbones. These small tweaks can bring your portrait to life!
Next, consider the background. A well-thought-out background can complement your subject beautifully. Whether it's a simple gradient, a textured wash, or even a detailed scene, the background should enhance—not overpower—your portrait. For instance, if you’ve drawn a warm, inviting face, a soft pastel background can amplify that warmth. On the other hand, a stark, contrasting background might work wonders for a more dramatic piece.
Once you’re satisfied with the details and background, it’s time for some final touches. This can include:
- Blending: Use a blending stump or your finger to smooth out any harsh lines. This technique can help create a more cohesive look.
- Highlights: Add highlights with a white pencil or gel pen to create a sense of light reflecting off the skin or hair.
- Signature: Don’t forget to sign your work! A small, unobtrusive signature can make your artwork feel complete.
Finally, when it comes to presentation, how you display your portrait is just as important as the drawing itself. Consider framing your artwork in a way that complements its style. A simple frame can often allow the portrait to shine without distractions. If you're planning to share your work online, make sure to take high-quality photographs in good lighting to showcase the details and textures you've worked so hard on.
In conclusion, the final touches and presentation of your portrait drawing are vital steps in the artistic process. By refining the details, thoughtfully considering the background, and presenting your work beautifully, you can ensure that your portrait not only captures the likeness of your subject but also resonates with those who view it. Remember, every artist has their unique touch, so embrace it and let your personality shine through your work!
Q: How can I improve my portrait drawing skills?
A: Practice is key! Regularly sketching from life or photographs can help you understand proportions better. Additionally, studying the work of other artists can provide valuable insights.
Q: What should I do if I make a mistake in my drawing?
A: Mistakes are part of the learning process. You can lightly erase the area and try again, or sometimes, you can incorporate the mistake into your artwork to create something unique!
Q: Is it necessary to use expensive materials for portrait drawing?
A: Not at all! While quality materials can enhance your work, you can achieve great results with affordable supplies. What's most important is your skill and creativity!
Frequently Asked Questions
- What are the basic proportions of the human face?
Understanding facial proportions is crucial for accurate portrait drawing. Typically, the face can be divided into equal thirds: the top third from the hairline to the eyebrows, the middle third from the eyebrows to the bottom of the nose, and the bottom third from the nose to the chin. Additionally, the eyes are usually positioned halfway down the head, and the width of the face is approximately five eyes wide.
- What drawing tools do I need as a beginner?
As a beginner, you don't need an extensive collection of tools. A basic set of pencils (ranging from H to B grades), a good quality sketchbook, and an eraser are essential. You might also want to include blending stumps for shading and a sharpener to keep your pencils in tip-top shape!
- Should I use graphite or charcoal for portrait drawing?
It really depends on your style and preference! Graphite is great for fine details and smooth shading, while charcoal offers rich, deep blacks and a more expressive quality. If you're just starting out, you might want to experiment with both to see which one resonates with you more.
- How can I improve my sketching techniques?
Improving your sketching techniques takes practice and patience. Start by practicing basic shapes and forms, then gradually move to more complex structures. Always remember to use light strokes for your initial sketches, allowing you to adjust and refine as you go. Don’t hesitate to draw from life or photographs for better accuracy!
- What are some effective shading techniques?
Shading can truly bring your portraits to life! Techniques like hatching, cross-hatching, and blending can create depth and dimension. Experiment with different pressure levels on your pencil to achieve varying tones, and don't forget to observe how light interacts with the subject to replicate realistic shadows.
- How do I create depth in my portraits?
Creating depth involves layering and blending your shades effectively. Start with a light base layer and gradually build up darker tones. Use a blending stump or your finger to soften transitions between light and shadow, giving your portrait a three-dimensional feel.
- What are the final touches I should consider?
Final touches can make all the difference! Consider adding highlights to the eyes or hair to create a focal point, and refine any rough edges. If you plan to display your work, think about framing it or presenting it on high-quality paper to enhance its overall appearance.


