Drawing Animals: Tips and Techniques
Have you ever gazed at a stunning animal drawing and thought, "Wow, I wish I could create something like that!"? Well, you're in luck! This article explores essential tips and techniques for drawing animals, providing insights into anatomy, proportions, and styles to enhance your artistic skills and bring your animal sketches to life. Whether you're a beginner or an experienced artist, understanding the nuances of animal drawing can elevate your artwork to new heights. So, grab your sketchpad and let’s dive into the wild world of animal artistry!
A solid grasp of animal anatomy is crucial for realistic drawings. Just like a sculptor needs to understand the material they’re working with, artists must familiarize themselves with the skeletal and muscular structures of the animals they wish to depict. Each species has unique anatomical features, from the graceful curve of a horse’s neck to the sturdy build of a bear. By studying these structures, you can create more lifelike representations in your art.
For instance, consider the skeletal structure as the framework of your drawing. It’s essential to understand how bones connect and move, as this knowledge will inform your depiction of posture and movement. Similarly, the muscular structure adds volume and shape, giving your drawings a sense of life and dynamism. Observing real animals or studying anatomy books can significantly enhance your understanding and help you apply this knowledge in your sketches.
Accurate proportions can make or break an animal drawing. Imagine trying to draw a cat with the legs of a giraffe; it just wouldn’t work! Here, we discuss methods for measuring and scaling animals to maintain correct dimensions in your artwork. One effective technique is to use a grid system. By dividing your reference image into smaller squares, you can replicate the proportions in your drawing more accurately.
Another method is to use comparative measurements. This involves measuring one part of the animal and using that measurement to gauge the size of other parts. For example, if you know the length of the head, you can determine the length of the body in relation to it. This approach ensures that your animal drawings retain their natural proportions and appear realistic.
Reference images are invaluable tools for artists. They serve as guides, helping you capture accurate details and understand the nuances of animal forms. Learn how to effectively utilize photographs and illustrations to inform your drawings. When selecting reference images, look for high-quality photos that showcase the animal in various poses and lighting conditions. This variety will give you a well-rounded understanding of the subject.
Selecting appropriate reference images can enhance your understanding of animal features. Look for images that highlight the animal's anatomy, texture, and color patterns. Websites like Unsplash or Pixabay offer a plethora of high-quality images that can be used freely. When choosing references, consider the following:
- Resolution: Higher resolution images provide more detail.
- Angles: Choose images from different angles to understand the 3D form.
- Lighting: Good lighting reveals textures and shapes that are crucial for realistic drawing.
Understanding the details in your reference images is key. This part emphasizes techniques for breaking down complex features into manageable parts for easier drawing. For example, instead of trying to draw the entire animal at once, focus on one section, such as the head or the paws, and gradually build from there. Use lines to outline basic shapes before adding details. This step-by-step approach allows you to capture intricate features without feeling overwhelmed.
This section introduces various sketching techniques that can improve your animal drawings, including line work, shading, and texture application for more depth and realism. Experimenting with different pencil strokes can create a range of effects, from soft fur to sharp claws. For instance, using short, quick strokes can mimic the texture of fur, while longer, smoother lines can represent the sleekness of a bird's feathers.
Different artistic styles can dramatically change the representation of animals. Explore various styles, from realistic to abstract, and how they can influence your drawings. Each style has its own charm and can evoke different emotions. Realism captures the essence of the animal as it exists in nature, while abstract art may focus on shapes and colors, allowing for more personal expression.
Understanding the difference between realism and stylization helps artists choose their approach. Realism aims to replicate the animal as accurately as possible, while stylization allows for creative interpretation. This subsection delves into the pros and cons of each style and when to use them. For example, if you want to convey a sense of awe or majesty, realism might be the way to go. On the other hand, if you're looking to express emotion or a narrative, a stylized approach could be more effective.
Infusing your unique artistic voice into animal drawings can set your work apart. Learn strategies for developing and incorporating personal style into your creations. This could involve experimenting with colors, shapes, or even the medium you choose to work with. Perhaps you love bright, bold colors that bring a whimsical feel to your art, or maybe you prefer muted tones that evoke a sense of calm. Whatever your preference, embracing your style will make your artwork truly yours.
Q: How do I start drawing animals?
A: Begin by studying animal anatomy and observing real animals. Practice sketching from reference images to build your skills.
Q: What materials do I need for animal drawing?
A: Basic materials include pencils, erasers, sketch paper, and optionally, colored pencils or markers for adding color.
Q: How can I improve my animal drawing skills?
A: Regular practice, studying anatomy, and experimenting with different styles will help you improve over time.
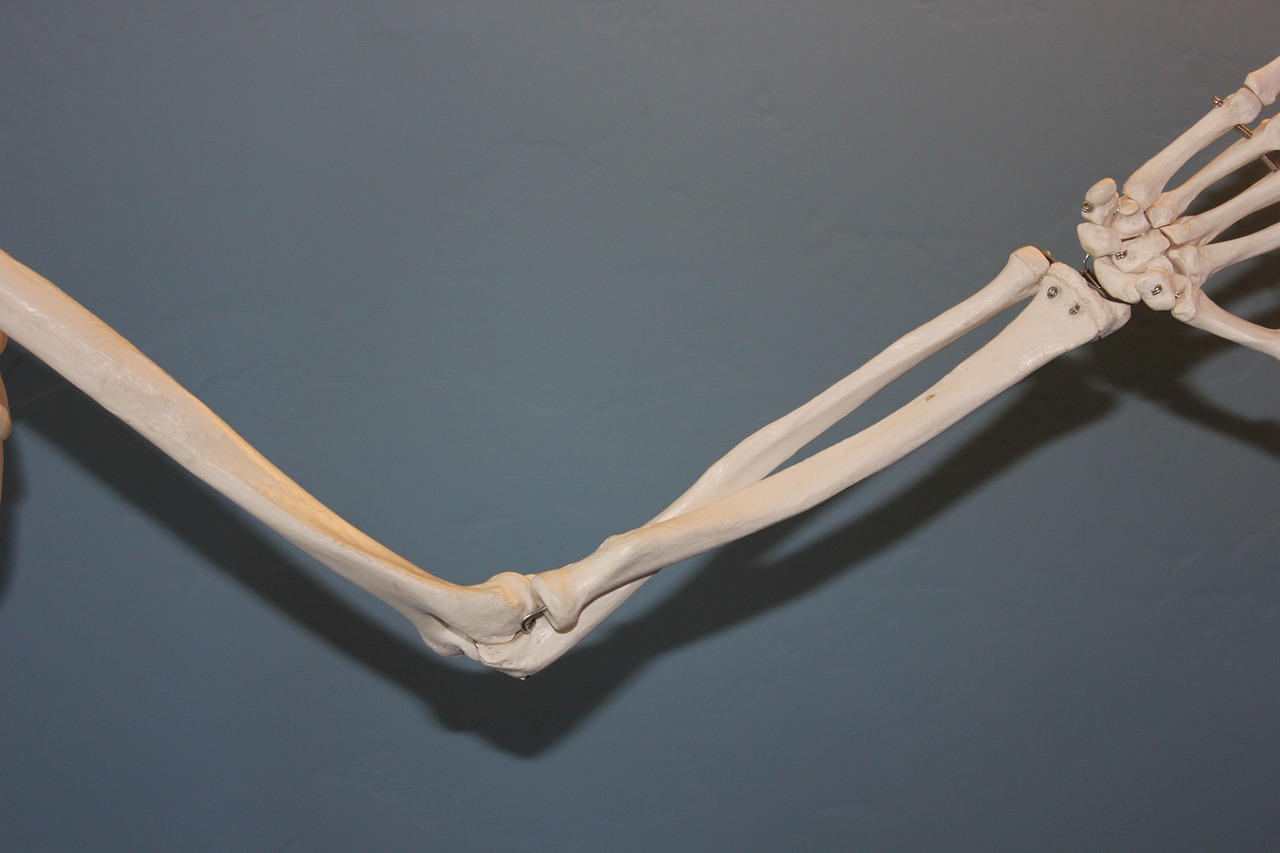
Understanding Animal Anatomy
When it comes to drawing animals, understanding their anatomy is like having the keys to a treasure chest of artistic potential. Just as a musician must know their instrument inside and out, an artist must grasp the intricacies of animal structure to create lifelike representations. Anatomy encompasses the skeleton and muscular system, which form the foundation of any creature. By studying these elements, you can better depict movement, posture, and the unique characteristics of various species.
Let’s break it down further. The skeletal structure provides the framework for the animal's body. It dictates the shape and proportion of the animal, influencing how it stands, sits, or runs. For instance, a horse's long legs and strong back allow it to gallop gracefully, while a cat's flexible spine enables agile movements. Understanding these differences can help you portray each animal accurately. Here’s a quick overview of key skeletal components:
| Animal | Key Skeletal Features |
|---|---|
| Dog | Strong limbs, flexible spine |
| Bird | Lightweight bones, fused collarbone for flight |
| Elephant | Massive legs, large skull for trunk support |
Now, let’s talk about muscles. Muscles bring life to the skeleton, allowing for movement and expression. They are the engine behind an animal's actions, from the powerful strokes of a bird’s wings to the subtle flick of a cat’s tail. When drawing, consider how muscles attach to bones and how they contract and relax. This knowledge will help you create more dynamic poses and convey emotion through your art.
Moreover, different animals have distinct muscle groups that contribute to their unique appearances. For example, a cheetah has well-defined leg muscles for explosive speed, while a sloth has more developed shoulder muscles for hanging. By observing how these muscles work together, you can add realism and depth to your drawings.
To truly capture the essence of an animal, it’s beneficial to study live subjects or high-quality reference images. These resources allow you to see how the anatomy translates into real life, providing insight into the subtleties of fur, skin, and movement. Remember, every detail counts! The way light hits the muscles or the way fur lays against the body can make or break your drawing.
Ultimately, understanding animal anatomy is not just about memorizing bones and muscles; it’s about developing a deeper connection with your subject. When you appreciate the complexity of an animal's structure, you can translate that understanding into your art, resulting in drawings that resonate with viewers. So, take your time, observe, and let your fascination with animal anatomy guide your artistic journey!
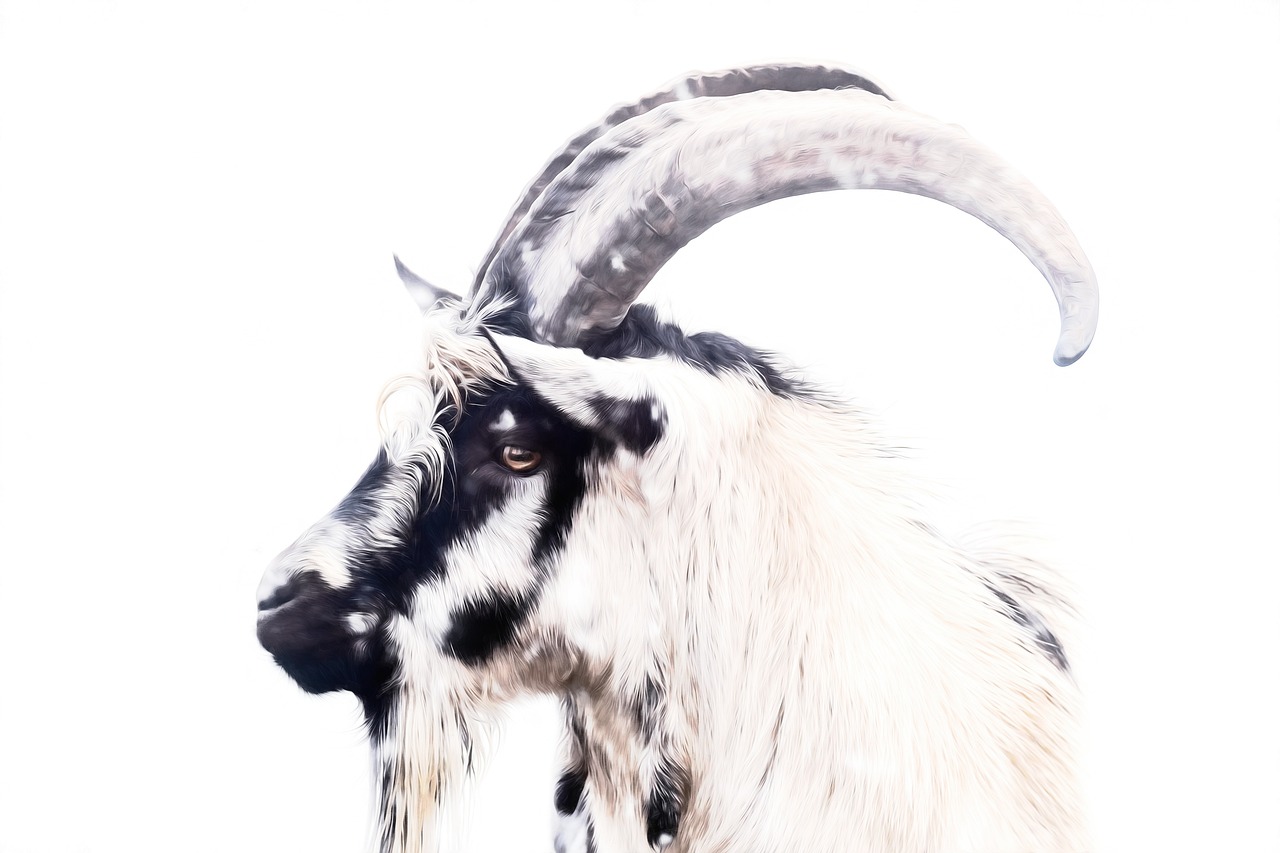
Proportions and Measurements
When it comes to drawing animals, accurate proportions can truly make or break your artwork. Imagine trying to sketch a majestic horse, but its legs are too short or its body too bulky. It simply won't look right, will it? This is why understanding animal proportions is essential for any aspiring artist. To get started, you need to familiarize yourself with the basic proportions of different animals, as each species has its own unique measurements and characteristics. For instance, a cat's body is much more elongated compared to a bulldog, whose stocky frame gives it a completely different silhouette.
One effective method for achieving accurate proportions is to use a grid system. By overlaying a grid on your reference image and on your drawing surface, you can break down the image into smaller, manageable sections. This technique allows you to focus on one square at a time, ensuring that the elements within each square are proportionate to each other. As you transfer the details, you can maintain the overall scale of the animal.
Another technique involves using measuring tools, such as a pencil or a ruler. Hold your pencil at arm’s length and use it to measure the height and width of the animal in your reference image. This method not only helps you gauge the dimensions but also aids in comparing the lengths of various body parts. For example, the length of the head compared to the body or the distance between the eyes can provide crucial insights into the animal's proportions.
In addition to these techniques, it’s also beneficial to understand the basic shapes that make up an animal's form. Most animals can be broken down into simple geometric shapes like circles, ovals, and rectangles. For instance, envision a dog as a combination of a circle for the head, an oval for the body, and rectangles for the legs. By starting with these basic shapes, you can create a solid foundation for your drawing, allowing you to refine the details as you go.
To further illustrate how proportions work, consider the following table that outlines the average proportions of different animals:
| Animal | Body Length (inches) | Leg Length (inches) | Head Length (inches) |
|---|---|---|---|
| Cat | 18 | 8 | 6 |
| Dog (Bulldog) | 24 | 10 | 7 |
| Horse | 72 | 24 | 10 |
| Elephant | 120 | 40 | 15 |
By keeping these proportions in mind, you can create more realistic and lifelike representations of animals. Remember, practice makes perfect! Spend time sketching different animals, using these techniques to refine your skills. As you develop your understanding of proportions, you'll find that your drawings become increasingly accurate and visually appealing.
In conclusion, mastering proportions and measurements is a vital part of animal drawing that can significantly enhance your artistic abilities. It's like learning the rules of a game before you can play it well. So, grab your pencil and get started on your journey to creating stunning animal art!
- How do I measure proportions accurately? Use a pencil or ruler to compare the length of different body parts while keeping your reference image in view.
- What is the grid method? The grid method involves overlaying a grid on your reference image and drawing surface to help break down the image into manageable sections.
- Why are proportions important in animal drawing? Accurate proportions ensure that your drawings look realistic and lifelike, capturing the essence of the animal.
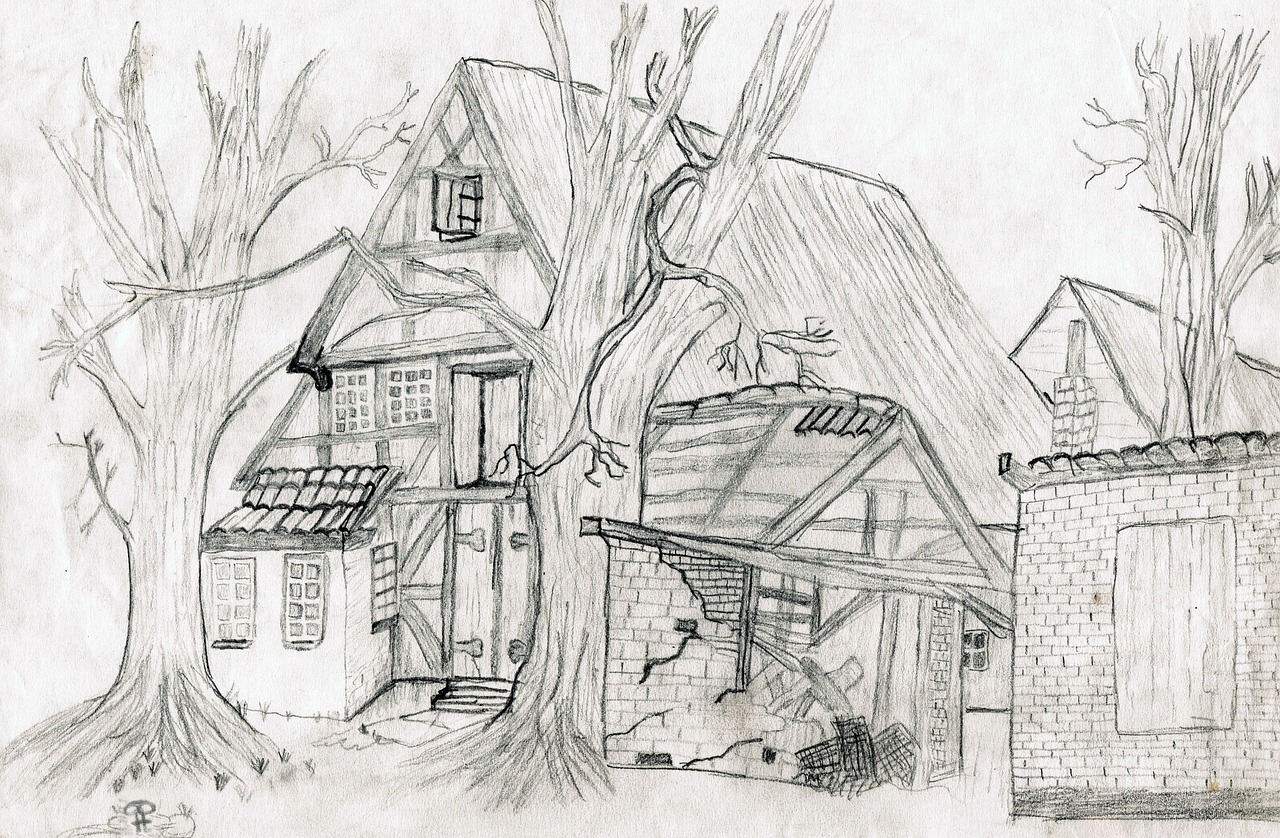
Using Reference Images
When it comes to drawing animals, reference images are like a treasure map leading you to artistic gold. They provide a visual guide that can help you capture the intricate details and unique characteristics of various species. Imagine trying to draw a lion without seeing its majestic mane or the way its muscles ripple under the sun—it's a daunting challenge, right? That's why using reference images is essential for artists of all skill levels.
First off, the beauty of reference images lies in their ability to provide clarity. They allow you to observe the animal's anatomy, posture, and even the texture of its fur or feathers. For instance, consider the difference between a photograph of a running horse and a still image. The dynamic pose of the horse in motion can teach you about tension and movement, which is crucial for making your drawings come alive. So, don’t shy away from using various types of images, whether they are photographs, illustrations, or even videos. Each medium offers unique insights into the animal's form.
But how do you choose the right reference images? It's not just about picking any random photo you find online. You need to consider several factors:
- Quality: High-resolution images will provide more detail, making it easier to capture textures and subtle features.
- Angle: Look for images that showcase the animal from different angles. This helps you understand its three-dimensional form.
- Lighting: Good lighting can highlight the contours and shadows of the animal, which is crucial for shading and depth in your drawing.
Once you have your reference images, it's time to analyze them. This step is about breaking down the complexity of the animal into digestible parts. For example, if you're drawing a bird, focus first on its overall shape and proportions before diving into the details of its feathers or beak. You might even want to create a grid system on your reference image and your drawing paper to help maintain proportions and ensure accuracy.
In summary, reference images are invaluable tools that can elevate your animal drawings from good to extraordinary. They not only provide essential details but also inspire creativity and ensure that your work is grounded in reality. So, next time you sit down to sketch, remember to gather a variety of reference images and take the time to study them closely. Your art will thank you!
- What types of reference images are best for animal drawing? High-quality photographs, illustrations, and videos that showcase the animal from multiple angles and in various poses are ideal.
- How can I ensure accurate proportions while using reference images? Consider using a grid system to break down the reference image into smaller sections, helping you maintain accurate proportions in your drawing.
- Is it okay to use multiple reference images for one drawing? Absolutely! Using multiple references can provide a more comprehensive understanding of the animal's anatomy and features.
Choosing the Right References
When it comes to drawing animals, the choice of reference images can significantly impact the quality and accuracy of your artwork. You wouldn’t try to build a house without a blueprint, right? Similarly, having the right references is like having a roadmap that guides you through the intricate details of animal anatomy and movement. So, how do you choose the right references? Let’s dive into some key considerations!
First and foremost, seek out high-resolution images. The clearer the image, the better you can discern the details that make each animal unique. Look for photographs that showcase the animal in various poses and lighting conditions. This variety allows you to understand how light interacts with their fur, feathers, or skin, and helps you grasp the subtleties of their form. Websites like Unsplash, Pexels, and even specialized animal photography sites can be treasure troves for finding high-quality references.
Next, consider the context of the image. Does the reference show the animal in its natural habitat, or is it posed in a studio? Context can provide valuable insights into the animal's behavior and movement. For example, a lion lounging in the savannah conveys a sense of relaxation, while one mid-roar during a hunt can inspire a dynamic and powerful drawing. Understanding these nuances can breathe life into your sketches.
Additionally, don’t overlook the importance of anatomical references. Books and online resources that focus on animal anatomy can serve as excellent guides. They often break down the skeletal and muscular structures, which are crucial for achieving accurate proportions. A great resource is “The Artist’s Guide to Animal Anatomy”, which not only provides diagrams but also real-life examples to illustrate how anatomy influences movement and posture.
Lastly, remember to consider your own artistic style when choosing references. If you lean towards a more stylized approach, you might not need hyper-realistic images. Instead, seek out references that inspire you and resonate with your artistic voice. Sometimes, a whimsical illustration can ignite your creativity more than a realistic photograph. The key is to find references that not only inform your work but also inspire you to push your creative boundaries.
In summary, selecting the right references is a blend of quality, context, anatomical accuracy, and personal style. By paying attention to these factors, you’ll be well-equipped to create stunning animal drawings that capture the essence of your subjects. So, go ahead and explore the vast world of animal imagery, and let your creativity soar!
- What type of reference images should I use for drawing animals? High-resolution images that showcase various poses and lighting conditions are ideal.
- Where can I find good animal reference images? Websites like Unsplash, Pexels, and specialized animal photography sites are excellent resources.
- How important is anatomical knowledge for drawing animals? Understanding anatomy is crucial for achieving accurate proportions and realistic movement in your drawings.
- Can I use illustrations as references? Absolutely! Illustrations can provide inspiration and help you develop your unique style.
Analyzing Reference for Details
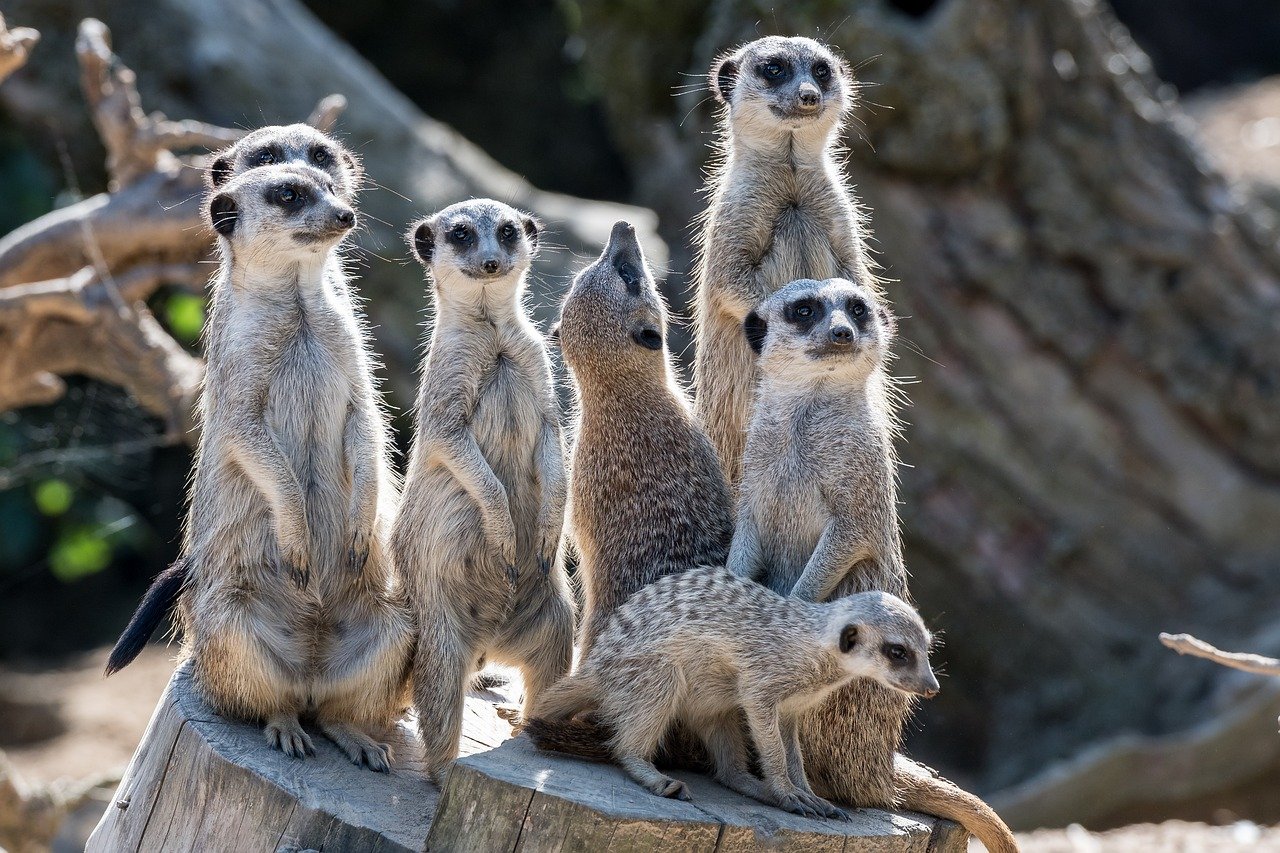
When it comes to drawing animals, the devil is truly in the details. Analyzing reference images effectively can make all the difference between a mediocre sketch and a stunningly lifelike representation. Start by focusing on the key features of the animal you are drawing. Whether it’s the texture of the fur, the shape of the ears, or the unique characteristics of the eyes, each element plays a pivotal role in conveying the essence of the creature.
One effective technique is to break down the animal into manageable parts. For instance, instead of trying to capture the entire animal at once, isolate specific areas such as the head, paws, or tail. This approach allows you to concentrate on the intricate details without feeling overwhelmed. As you analyze your reference, consider the following aspects:
- Texture: Observe how light interacts with the animal's fur or skin. Notice the variations in texture and how they contribute to the overall appearance.
- Form: Pay attention to the animal's shape and structure. Understanding how the muscles and bones form the silhouette will help in achieving accurate proportions.
- Color: Look closely at the colors present in your reference. Animals often exhibit a wide range of hues that can enhance the realism of your drawing.
Additionally, consider the lighting in your reference images. Natural light can create fascinating shadows and highlights that add depth to your work. By analyzing how light falls on the animal, you can replicate these effects in your drawing, making it more dynamic and engaging.
Another tip is to utilize zoomed-in views of your reference images when studying fine details. This can help you capture the subtleties of the animal’s features, such as the patterns in their fur or the unique markings on their skin. Remember, the goal is to not just replicate what you see but to understand how each detail contributes to the animal's overall character.
In conclusion, analyzing reference images for details is an essential skill for any animal artist. By breaking down the drawing process into smaller components and focusing on texture, form, color, and lighting, you can create more accurate and lifelike representations of the animals you love to draw. So grab your sketchbook, choose a reference, and start dissecting those details!
Q1: How do I choose the best reference images for drawing animals?
A1: Look for high-quality images that clearly showcase the animal’s features. Ideally, the reference should capture the animal from multiple angles and in good lighting to highlight textures and colors.
Q2: Is it okay to draw from photographs?
A2: Absolutely! Drawing from photographs is a common practice among artists. Just ensure you are using them as a guide rather than copying them directly, which can help you develop your style.
Q3: How can I improve my ability to analyze details in my references?
A3: Practice is key. Regularly sketching from reference images will sharpen your observational skills. Try to focus on different aspects each time you draw, such as texture one day and lighting the next.
Sketching Techniques
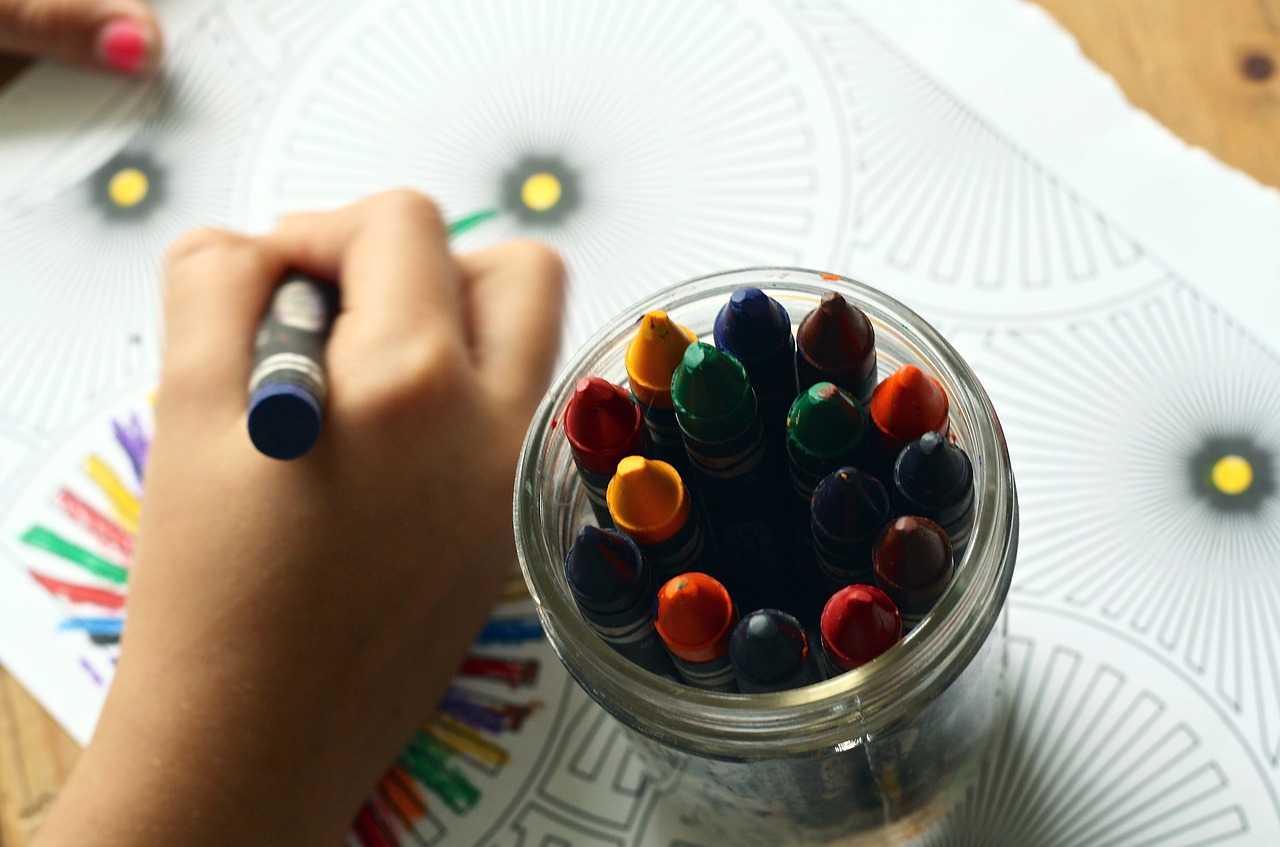
When it comes to drawing animals, mastering the right sketching techniques can be the difference between a lifeless doodle and a vibrant, dynamic representation of your subject. One of the first techniques to consider is line work. This involves using various line weights and styles to create depth and dimension in your sketches. For instance, using thicker lines for the contours of an animal can help define its shape, while thinner lines can suggest finer details like fur texture or delicate features. Think of line work as the framework of a house; it holds everything up and gives it structure.
Another essential technique is shading. Shading adds volume and realism to your drawings, making them appear three-dimensional. To achieve effective shading, consider the light source in your drawing. Are you depicting a sunlit scene, or is your animal in shadow? By applying different shading techniques such as hatching, cross-hatching, or stippling, you can create a range of textures and tones. For example, a fluffy animal like a rabbit may require soft, blended shading to convey its fur, while a reptile might benefit from sharper contrasts to highlight its scales.
Texture is also a critical aspect of animal drawing. Applying texture effectively can transform a flat image into a lifelike portrayal. This can be achieved through various methods, such as using different pencil strokes to mimic the unique surface of an animal. For instance, the rough texture of a lion’s mane can be depicted with jagged, short strokes, while the smooth skin of a dolphin may require longer, fluid lines. Experimenting with different tools, like charcoal, pastels, or ink, can further enhance the textural quality of your work.
Finally, don’t underestimate the power of gesture drawing. This technique focuses on capturing the essence and movement of an animal rather than getting bogged down in details. Quick sketches that emphasize the animal's posture and motion can help you understand its form better. Think of it as a dance; you’re not just observing the steps, but feeling the rhythm and flow of movement. Set a timer for a few minutes and try to capture the animal’s pose in a few swift strokes. This practice not only warms up your drawing skills but also helps develop your ability to see and interpret movement.
To summarize, here are some key techniques to enhance your animal sketches:
- Line Work: Vary line weights for depth.
- Shading: Consider light sources to create volume.
- Texture Application: Use different strokes to mimic surfaces.
- Gesture Drawing: Capture movement and essence quickly.
By integrating these techniques into your practice, you’ll not only improve your technical skills but also develop a deeper connection with your subject matter. Remember, drawing is as much about observation as it is about technique. So, grab your sketchbook, find a comfortable spot, and start bringing those animal forms to life!
Q: What materials do I need to start sketching animals?
A: You can start with basic materials like pencils, erasers, and sketch paper. As you progress, consider experimenting with charcoal, pastels, or ink.
Q: How can I improve my animal drawing skills?
A: Practice is key! Regularly sketch from life or reference images, and try to incorporate various techniques like shading and texture.
Q: Should I focus on realism or stylization in my animal drawings?
A: It depends on your artistic goals! Both styles have their merits, so feel free to explore and find what resonates with you.
Styles of Animal Drawing
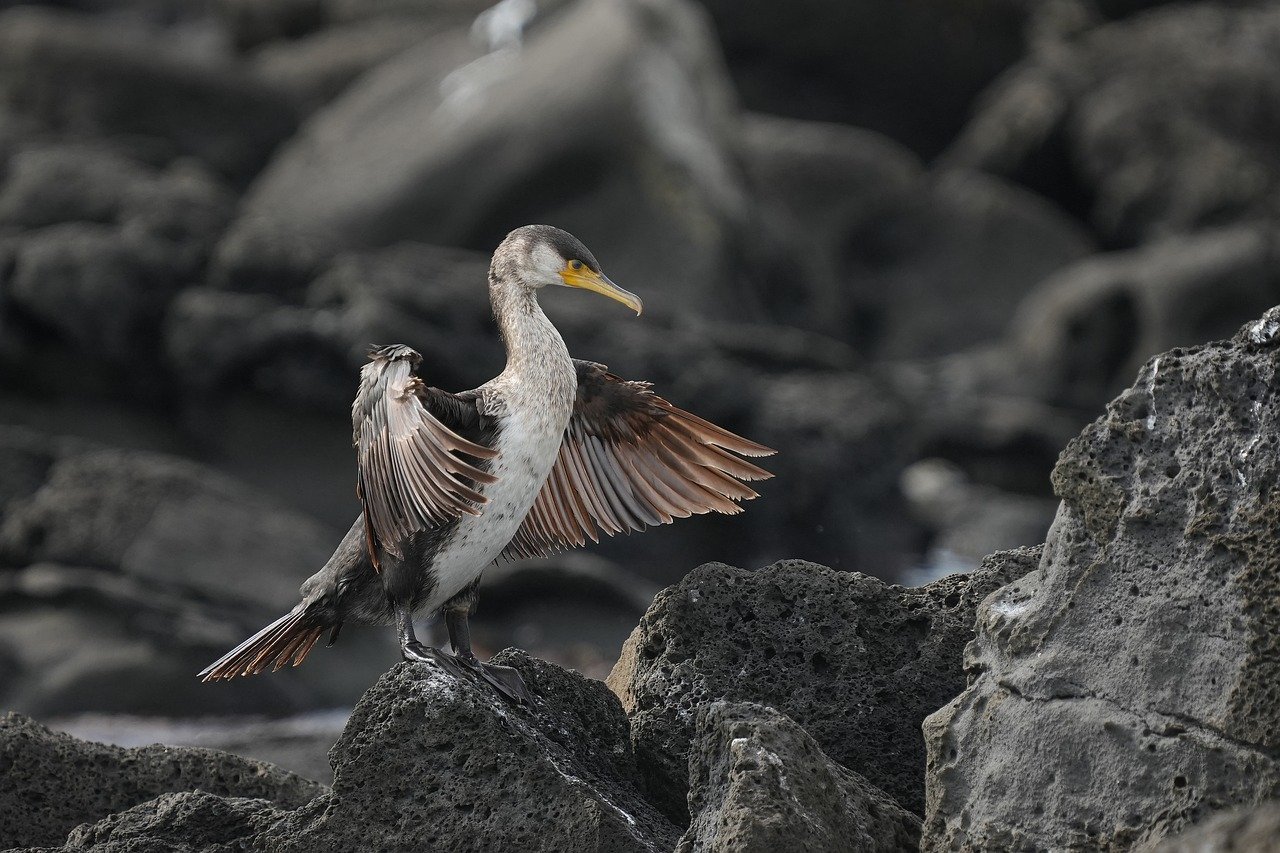
When it comes to drawing animals, the style you choose can significantly impact how your artwork is perceived. Artistic styles can range from the incredibly realistic to the whimsically abstract, and each approach brings its own flavor to your creations. Think of styles as different lenses through which you can view the world of animals; each lens highlights unique features and emotions. Whether you're aiming to capture the majestic grace of a horse or the playful spirit of a kitten, the style you choose will guide your artistic journey.
One of the most popular styles is realism, where artists strive to depict animals as they appear in nature. This style requires a keen eye for detail, an understanding of anatomy, and a commitment to accuracy. Realism can evoke a sense of awe and admiration, drawing viewers into the lifelike representation of the subject. However, it can also be quite challenging, as it demands a high level of skill and practice. Artists often spend years honing their techniques to achieve the desired level of detail.
On the other hand, we have stylization, which allows for more creative freedom. In this approach, artists may exaggerate certain features or simplify forms to convey emotion or a specific message. Think of cartoon animals with oversized heads and tiny bodies, or abstract representations that focus on colors and shapes rather than realistic details. Stylization can be incredibly fun and liberating, allowing you to express your personal interpretation of the animal world. It’s like taking a snapshot of your imagination and translating it onto paper.
As you explore different styles, consider how each can influence your artistic voice. For instance, you might find that a combination of realism and stylization resonates with you. Perhaps you love the intricate details of a realistic drawing but want to inject a bit of whimsy into your work. This fusion can lead to a unique style that reflects your personality and artistic vision.
To help you navigate the world of animal drawing styles, here’s a quick comparison:
| Style | Description | Pros | Cons |
|---|---|---|---|
| Realism | Focuses on lifelike representation of animals. | High detail, evokes strong emotions. | Time-consuming, requires advanced skills. |
| Stylization | Exaggerates or simplifies features for artistic effect. | Creative freedom, fun to experiment with. | May lack realism, can be misunderstood. |
| Abstract | Uses shapes, colors, and forms to represent animals. | Encourages imagination, can be visually striking. | May be difficult for viewers to interpret. |
As you embark on your journey of animal drawing, remember that there are no strict rules. The beauty of art lies in its diversity, and your style can evolve over time. Don’t be afraid to experiment with various techniques and approaches. After all, every great artist starts as a beginner, and the more you practice, the more you’ll discover your unique voice.
- What is the best style for beginners? Many beginners find that starting with realism helps them understand anatomy and proportions, while stylization allows for creative expression.
- Can I combine different styles? Absolutely! Many artists blend realism with stylization to create a unique look that reflects their personality.
- How do I find my personal style? Experiment with various techniques, observe other artists, and practice regularly. Over time, your preferences will emerge naturally.
Realism vs. Stylization
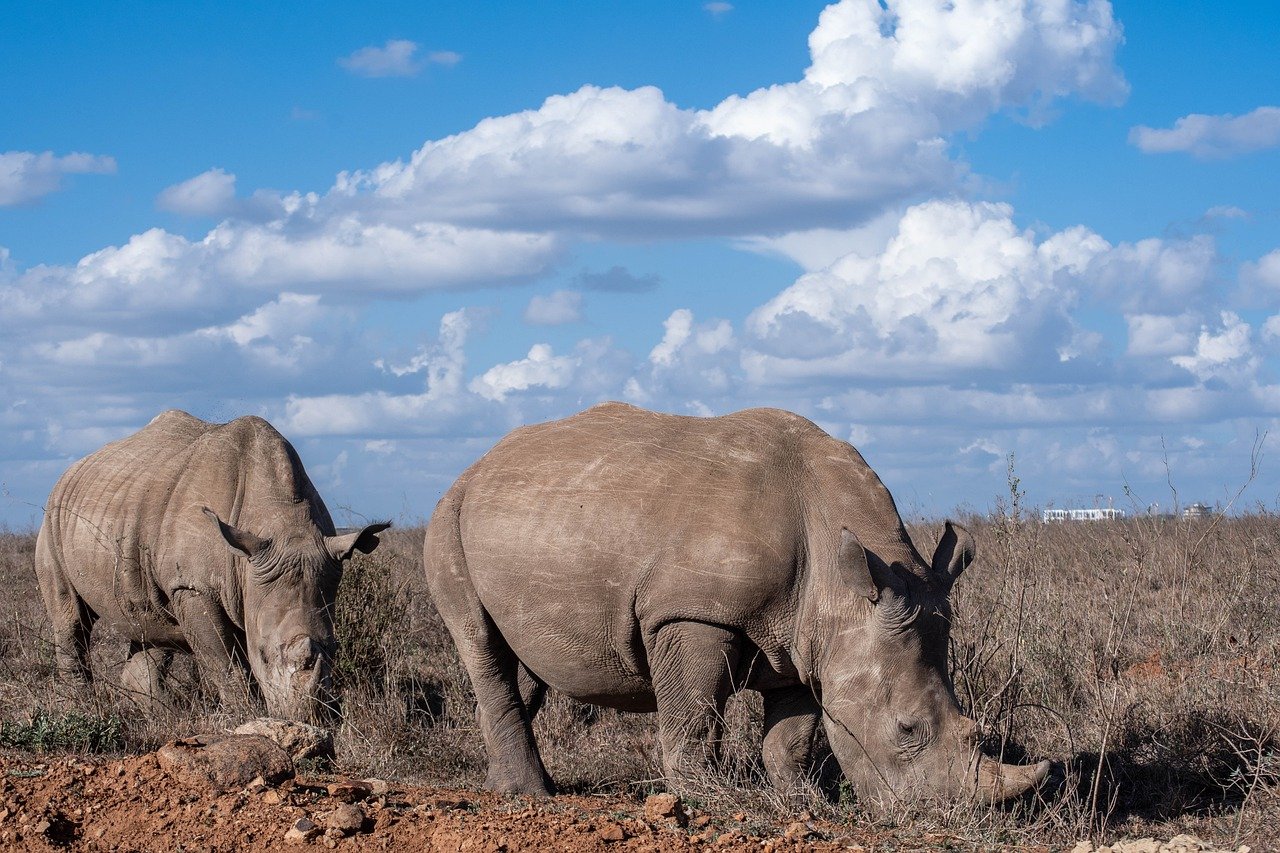
When it comes to drawing animals, one of the most fascinating debates among artists is the contrast between realism and stylization. These two approaches can lead to vastly different outcomes, and understanding their nuances can enrich your artistic journey. Realism aims to capture the world as it is, focusing on intricate details, accurate proportions, and lifelike textures. Think of it as a photograph coming to life on paper. When you draw realistically, every muscle, fur strand, and shadow is meticulously observed and replicated. This approach is ideal for artists who want to convey the true beauty and essence of their subjects.
On the other hand, stylization allows for more creative freedom. It’s like taking a snapshot of an animal and then filtering it through your imagination. In stylized art, the artist often exaggerates certain features or simplifies shapes to convey emotion or a particular mood. For instance, a dog might be drawn with oversized ears and a playful expression, capturing its personality rather than its anatomical accuracy. This method can lead to a more whimsical representation and can be incredibly engaging for the viewer.
So, how do you decide which approach to take? Here are a few considerations:
- Purpose of the Artwork: Are you aiming to educate, entertain, or express an emotion? Realism might be better for educational purposes, while stylization can evoke feelings.
- Personal Style: What resonates with you? If you find joy in capturing the minute details, realism may be your calling. Conversely, if you love to play with shapes and colors, stylization could be your forte.
- Intended Audience: Consider who will be viewing your artwork. Children might appreciate the fun and exaggerated forms of stylized animals, while adults may prefer the sophistication of realism.
Ultimately, both styles hold their own unique value. Many artists find joy in blending the two, creating pieces that are both realistic and infused with personal flair. This fusion can lead to stunning results that capture the viewer's imagination while still respecting the essence of the animal being portrayed. So, whether you're sketching a majestic lion or a playful kitten, consider how you can merge realism and stylization to create something truly special.
Q: Can I combine realism and stylization in my animal drawings?
A: Absolutely! Many artists successfully blend both styles to create unique representations of animals. Experimenting with different techniques can help you find your personal style.
Q: Which style is easier for beginners?
A: Generally, stylization can be more forgiving for beginners since it allows for creative expression without strict adherence to anatomical accuracy. However, practicing realism can significantly enhance your skills and understanding of form.
Q: Are there specific mediums better suited for realism or stylization?
A: While any medium can be used for both styles, realism often benefits from detailed tools like pencils or paint, while stylization can thrive with markers, digital art, or even collage techniques that emphasize color and form.
Incorporating Personal Style
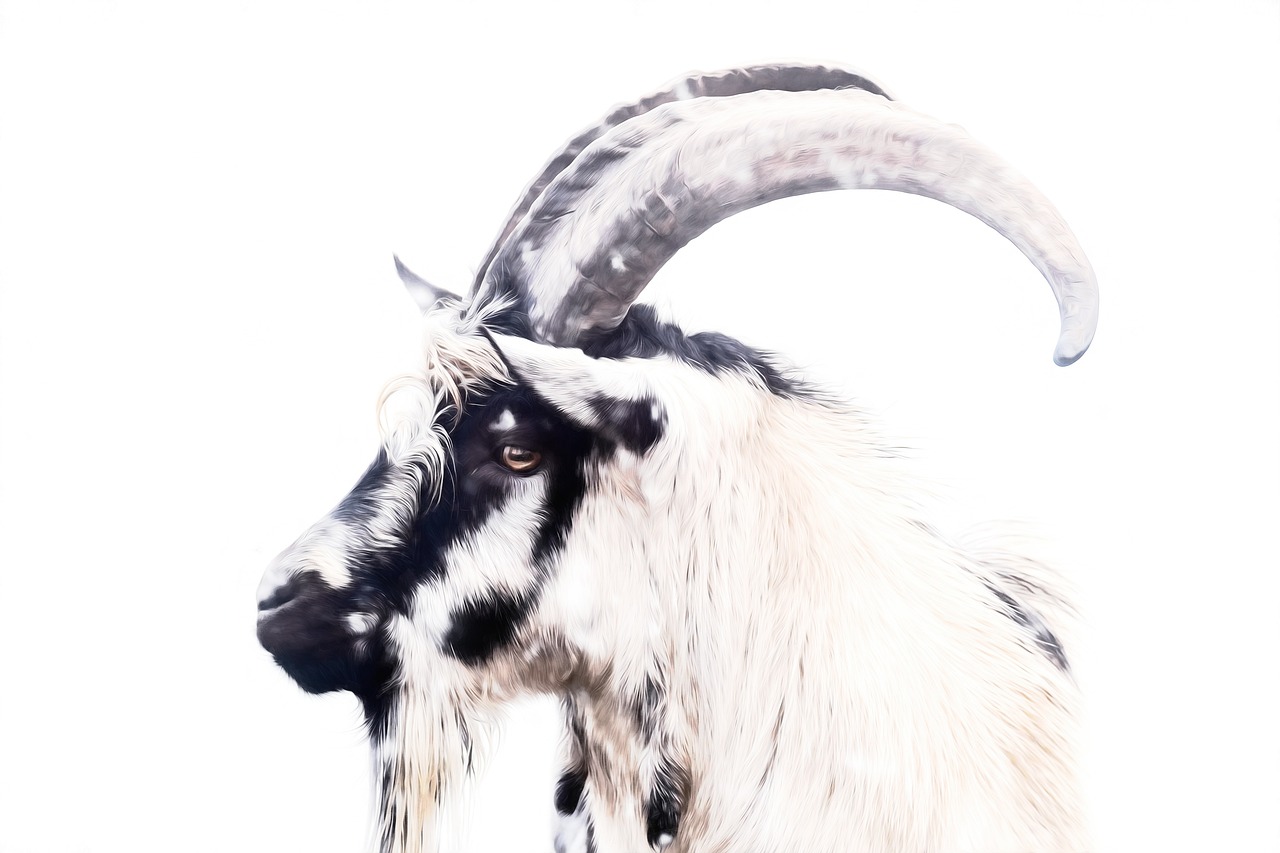
When it comes to drawing animals, one of the most exciting aspects is the opportunity to incorporate your personal style. This is where your unique artistic voice shines through, allowing your work to stand out in a sea of similar sketches. Think about it: just like musicians have their own sound, artists have their own visual language. But how do you develop and express this style in your animal drawings?
First and foremost, exploration is key. Don’t be afraid to experiment with different techniques and mediums. Try using watercolors, colored pencils, or even digital tools to see what resonates with you. Each medium can evoke a different emotion and can influence how you depict your subjects. For instance, using vibrant colors in a digital format might lend a playful tone to your animal sketches, while charcoal may bring out a more dramatic, moody feel.
Another important aspect of developing your personal style is studying other artists. Look at the work of those you admire and analyze what draws you to their style. Is it their use of color, the way they capture movement, or perhaps their unique interpretations of animal anatomy? Take notes on the elements that inspire you, and think about how you can integrate these elements into your own work without copying them directly. Remember, inspiration is different from imitation!
Moreover, consider the emotional connection you want to create with your audience. What feelings do you want to evoke when someone looks at your drawing? Are you aiming for a sense of joy, tranquility, or perhaps a hint of wildness? Tailoring your style to reflect these emotions can significantly enhance the impact of your artwork. For example, if you want to convey playfulness, you might use exaggerated proportions or bright, cheerful colors. Alternatively, if you’re aiming for realism, focus on capturing the intricate details of fur, feathers, and expressions.
As you continue to practice, don't shy away from embracing imperfections. Sometimes, the quirks in your style can become your signature. Maybe it’s a particular way you draw eyes or the way you stylize fur. These unique traits can make your work instantly recognizable and can foster a stronger connection with your audience. The key is to keep drawing and allow your style to evolve naturally over time.
Finally, consistency is crucial. Once you’ve identified elements that resonate with you, try to incorporate them into your animal drawings regularly. This doesn’t mean you should become stagnant; rather, it’s about finding a balance between experimenting and maintaining a recognizable style. Over time, your personal style will become more defined, and you will see how it influences your artistic journey.
- How can I find my personal style in animal drawing? Start by experimenting with different techniques and studying artists you admire. Take note of what you love and try to incorporate those elements into your own work.
- Is it okay to be inspired by other artists? Absolutely! Inspiration is a natural part of the artistic process. Just be sure to put your own spin on it and avoid direct imitation.
- What if I don’t feel like I have a style yet? That’s perfectly normal! Developing a personal style takes time and practice. Keep drawing and exploring until you find what resonates with you.
Frequently Asked Questions
- What are the essential tips for drawing animals?
To draw animals effectively, start by understanding their anatomy. Familiarize yourself with the basic skeletal and muscular structures. This knowledge will help you capture realistic proportions and movements. Additionally, practice using reference images to enhance your sketches and bring more life to your drawings.
- How important is understanding animal anatomy?
Understanding animal anatomy is crucial for creating realistic drawings. It allows you to accurately depict the form and movement of animals. When you grasp how muscles and bones interact, your drawings will have more depth and authenticity, making them visually appealing.
- What techniques can I use for better proportions in my drawings?
To achieve accurate proportions, try using measurement techniques like the grid method or comparative measuring. These methods help you maintain correct dimensions while sketching. Additionally, breaking down the animal into basic shapes can simplify the process and improve your overall accuracy.
- How can reference images improve my animal drawings?
Reference images serve as invaluable tools for artists. They provide a visual guide to understand details, textures, and colors. By analyzing high-quality photographs or illustrations, you can capture specific features and nuances that will elevate your artwork.
- What should I look for when choosing reference images?
When selecting reference images, look for high-resolution photos that clearly show the animal's features. Consider images that depict the animal in various poses and angles. This variety will help you understand their anatomy better and provide a more comprehensive reference for your drawings.
- What sketching techniques can enhance my animal drawings?
Incorporating techniques such as line work, shading, and texture application can significantly enhance your animal drawings. Experimenting with different styles of shading can add depth and dimension, while effective line work can create a strong outline that defines your subject.
- How do different styles affect animal representation?
Different artistic styles can dramatically change how animals are represented. Realistic styles focus on accurate depictions, while abstract styles allow for more creativity and interpretation. Understanding these differences can help you choose the right approach for your artwork based on your artistic goals.
- What are the benefits of realism versus stylization in animal drawing?
Realism offers a detailed and accurate portrayal, which can be rewarding but challenging. Stylization, on the other hand, allows for more freedom and creativity, enabling you to express your unique artistic voice. Each approach has its pros and cons, so consider your objectives when deciding which style to use.
- How can I develop my personal style in animal drawing?
Developing your personal style involves experimentation and practice. Try different techniques, mediums, and approaches to find what resonates with you. Over time, infusing your unique perspective into your animal drawings will set your work apart and create a signature style that reflects your artistic identity.


