
How to Draw a Bowl of Fruit: Step-By-Step Guide
Welcome to the colorful world of drawing! If you’ve ever found yourself gazing at a bowl of fruit and thought, “Wow, I’d love to capture that beauty on paper,” then you’re in the right place. This article provides a comprehensive guide on drawing a bowl of fruit, covering techniques, materials, and tips to enhance your artistic skills while creating a vibrant still life. Whether you’re a beginner or looking to refine your skills, this step-by-step guide will help you transform simple shapes into a stunning piece of art.
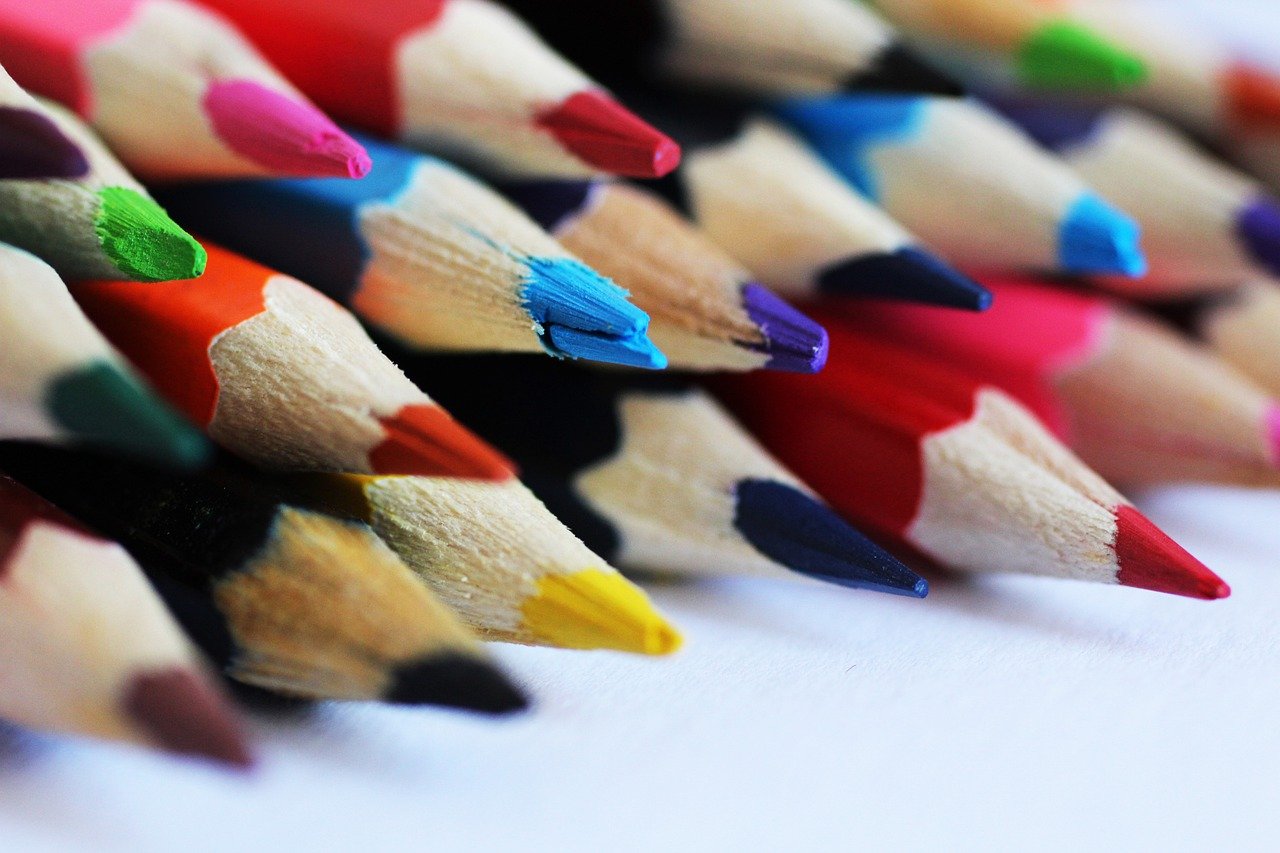
Before you even pick up a pencil, let’s talk about the importance of selecting the right materials. Think of your drawing tools as the instruments of a musician; the better the tools, the more beautiful the music. For drawing a bowl of fruit, you’ll need:
- Pencils: A range of pencils from H (hard) to B (soft) will allow you to create a variety of lines and textures.
- Paper: Choose a medium-textured drawing paper that can handle erasing and layering.
- Colors: Colored pencils or watercolors can add vibrancy to your fruits.
Having the right materials can significantly enhance your drawing experience and the final outcome. So, gather your supplies and get ready to unleash your creativity!
Now that you’ve got your materials, let’s break down the drawing process. Before diving into details, it’s essential to grasp the basic shapes that make up different fruits. Think of it this way: every fruit can be simplified into basic geometric forms. For instance:
| Fruit | Basic Shape |
|---|---|
| Apple | Sphere |
| Banana | Cylinder |
| Orange | Sphere |
| Grapes | Cluster of spheres |
By simplifying complex forms into manageable shapes, you can create a strong foundation for your drawing. This approach not only makes the process easier but also boosts your confidence as you start sketching.
Let’s get into the fun part—sketching the bowl! Start by outlining the bowl's shape, focusing on proportion and perspective. Imagine the bowl as a three-dimensional object; it’s not just a flat line. A well-drawn bowl sets the foundation for a successful fruit composition. Pay attention to how the bowl curves and how it sits on a surface. Use light, loose lines to map out the shape before committing to darker strokes.
Understanding the bowl's curvature is vital for realism. To portray depth and dimension effectively, observe how light interacts with the surface. Light creates highlights and shadows that give the bowl its form. Try tilting your head slightly to see how the curvature changes; this perspective can help you capture the bowl’s essence on paper.
Texturing the bowl adds realism and character. Think of it like putting on the final touches of makeup—just a little can go a long way! Learn methods to create reflections and shadows that enhance the three-dimensional effect. Use a blending stump or your fingers to soften pencil lines and create smooth gradients, mimicking the shiny surface of a ceramic bowl.
Composition plays a key role in your drawing. Arrange the fruits harmoniously within the bowl, considering their size, shape, and color. Think of it as arranging a bouquet of flowers; you want a balance that draws the eye. Place larger fruits at the bottom and smaller ones on top to create a natural look. Remember, your goal is to create a visually appealing still life that captures the viewer's attention.
Once the basic shapes are in place, it’s time to add details. This is where your fruits will start to come alive! Focus on the unique characteristics of each fruit. For example, the dimpled skin of an orange or the smooth surface of a banana. Pay attention to the light source and how it affects each fruit’s appearance. Adding these details brings your drawing to life and adds depth.
Coloring can bring your drawing to life. Explore different coloring methods, including blending and shading, to achieve vibrant fruit tones. Consider using complementary colors to make your fruits pop. For instance, a bright yellow banana against a rich blue background can create a striking contrast that draws the eye.
Adding finishing touches can elevate your artwork. Discover tips for highlights, shadows, and corrections that will make your drawing pop. Don’t be afraid to step back and assess your work; sometimes, a fresh perspective can reveal areas that need a little more love. Remember, art is a journey, and every piece you create is a step towards mastering your craft.
Q: What if I make a mistake while drawing?
A: Mistakes are part of the learning process! Use an eraser gently or incorporate the mistake into your drawing as a unique feature.
Q: How can I improve my fruit drawing skills?
A: Practice regularly! Try drawing different types of fruit, and don't hesitate to experiment with styles and techniques.
Q: What should I do if I get stuck during the drawing process?
A: Take a break! Sometimes stepping away for a moment can provide clarity and inspiration.
Choosing the Right Materials
When it comes to drawing a bowl of fruit, the materials you choose can significantly impact the final outcome of your artwork. Think of your materials as the foundation upon which your masterpiece will be built. The right tools can enhance your creativity and help you express your artistic vision more effectively. So, what should you consider when selecting your drawing materials?
First and foremost, let's talk about pencils. You don’t want just any pencil; you need a variety that allows for different shading techniques. Graphite pencils come in various grades, from hard (H) to soft (B). A good starting point is to have a range from 2H for fine lines to 4B for darker, richer tones. This variety will help you capture the subtle nuances of the fruits’ textures and shadows.
Next, consider the paper you’ll be using. The texture and weight of the paper can greatly affect how your pencil interacts with it. A smooth paper is excellent for detailed work, while a textured paper can add an interesting effect, especially for softer shading. If you’re planning to use colored pencils or watercolors, look for paper that can handle moisture without warping. Here’s a quick comparison:
| Paper Type | Best For |
|---|---|
| Smooth Paper | Detailed pencil work |
| Textured Paper | Shading and mixed media |
| Watercolor Paper | Watercolor and wet techniques |
Now, let’s not forget about colors. If you’re going to add color to your drawing, you’ll want to invest in a good set of colored pencils or watercolors. High-quality colored pencils will allow for better blending and layering, which is essential for achieving the vibrant tones of fruits. When choosing colors, think about the color wheel to help you select complementary shades that will make your fruits pop off the page.
Additionally, having a good eraser and a sharpener is crucial. A kneaded eraser is fantastic for lifting graphite without damaging the paper, while a precision sharpener will keep your pencils at their best. Remember, a well-maintained pencil can mean the difference between a smooth line and a jagged edge.
Lastly, consider investing in some blending tools such as tortillons or blending stumps. These tools can help you achieve smooth transitions and gradients, especially when working with colored pencils. The right materials can make your drawing process not just easier but also more enjoyable, allowing your creativity to shine.
In summary, selecting the right materials is a crucial step in preparing to draw a bowl of fruit. From choosing the right pencils and paper to considering colors and blending tools, each component plays a vital role in your artistic journey. So gather your supplies, and let’s get ready to create something beautiful!
Understanding Basic Shapes
Before you dive headfirst into the vibrant world of fruit drawing, it's essential to understand the basic shapes that make up the different fruits. Think of it like building a house; you wouldn’t start with the roof before laying the foundation, right? By simplifying complex forms into manageable shapes, you set yourself up for success. This approach not only makes drawing less intimidating but also enhances your overall artistic skills.
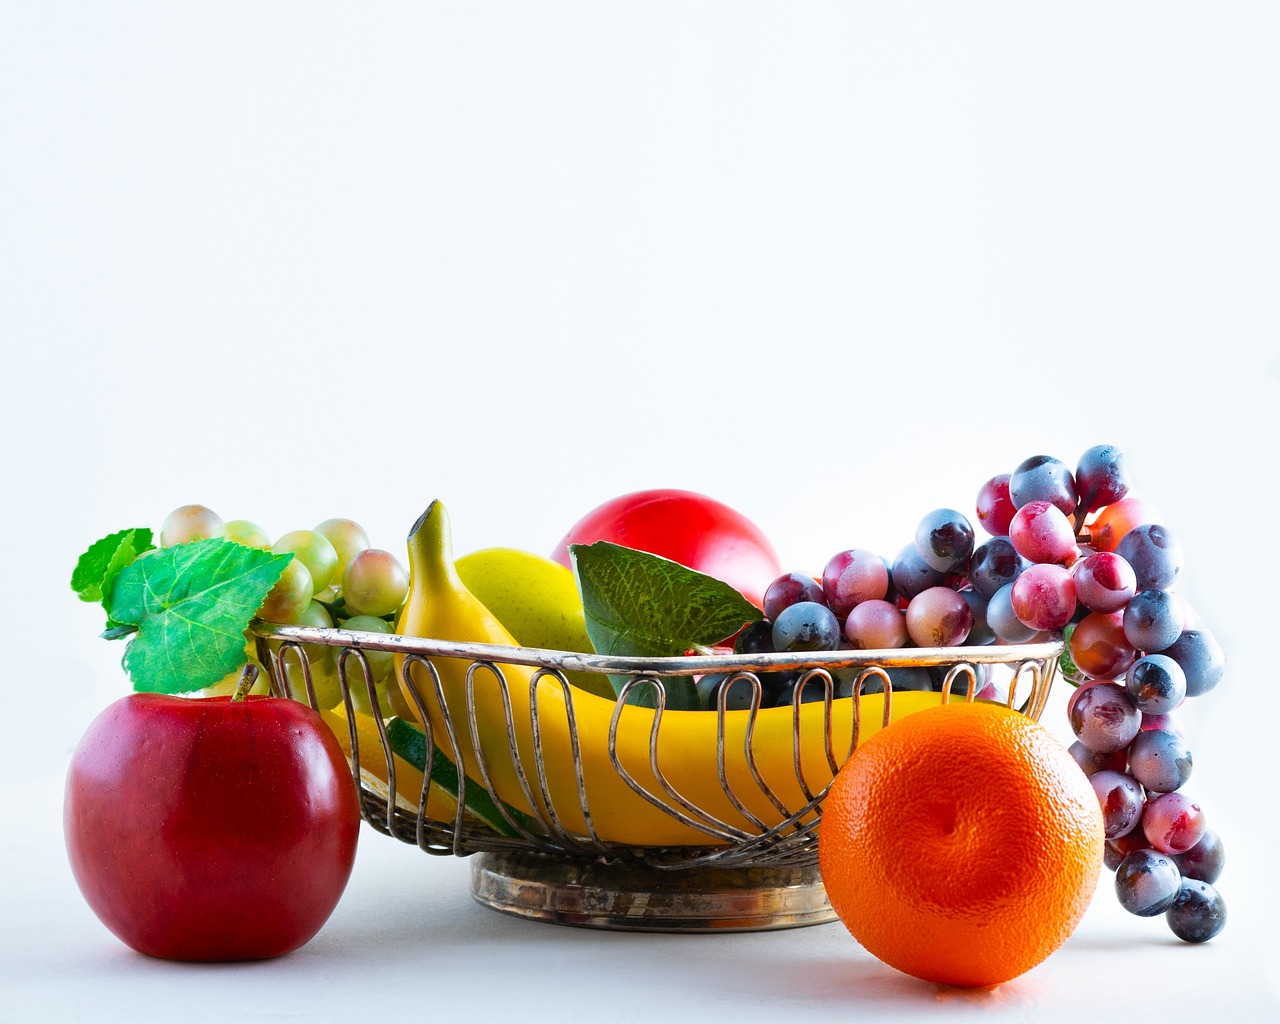
Most fruits can be broken down into a few fundamental shapes. For instance:
- Apples - Generally round, they can be represented as simple circles or spheres.
- Bananas - These are elongated and curved, resembling a crescent moon.
- Oranges - Like apples, they are round but often have a slightly textured surface, which can be represented by adding some irregularities to the circle.
- Grapes - These can be depicted as small circles grouped together, almost like a cluster of balloons.
By identifying these shapes, you can sketch the outline of each fruit with ease. Start with light, loose strokes to capture the essence of the fruit. Don't worry about perfection at this stage; it’s all about getting the proportions right. Imagine you're a sculptor chiseling away at a block of marble—you're simply removing the unnecessary bits to reveal the beautiful fruit beneath!
Once you have the basic shapes down, you can begin to refine them. This is where you can add details that make each fruit unique. Take an apple, for example. After sketching the basic circle, you might want to add a slight indentation at the top where the stem attaches. For a banana, you can emphasize its curve by exaggerating the shape slightly. These small adjustments will add character and realism to your drawing.
Moreover, understanding how light interacts with these shapes is crucial. When you think about how light hits a sphere, for instance, you can visualize the highlights and shadows that give the fruit its three-dimensional appearance. This understanding will serve you well as you progress to more detailed aspects of your drawing.
To summarize, mastering basic shapes is your first step toward creating a stunning bowl of fruit. It’s like learning the notes of a song before you can play it beautifully on an instrument. Once you grasp these fundamental shapes, you’ll find yourself more confident and ready to tackle the next stages of your drawing journey!
Sketching the Bowl
When it comes to drawing a bowl of fruit, the first step is to sketch the bowl itself. Think of the bowl as the stage where your fruits will perform; it needs to be well-defined to showcase the vibrant colors and shapes of the fruit. Start by lightly outlining the shape of the bowl. Use a pencil to create a rough sketch, focusing on the proportion and perspective. Remember, the bowl should not be just a simple oval; it has depth and curves that add character to your drawing.
To achieve a realistic look, imagine the bowl as a three-dimensional object. Consider the following aspects:
- Proportion: Ensure that the size of the bowl is appropriate in relation to the fruits you plan to add. A large bowl can dwarf small fruits, while a tiny bowl may look overwhelmed by larger fruits.
- Perspective: If you're drawing from a specific angle, adjust the curvature of the bowl accordingly. A bowl viewed from above will have a different shape than one seen from the side.
- Placement: Think about where the bowl will sit on your paper. It should have enough space around it to allow for the fruits to be arranged attractively.
Once you have the basic outline, refine the shape of the bowl. Pay close attention to its curvature. A bowl isn't just a flat surface; it has a rounded edge that gives it depth. You can achieve this by drawing two curved lines that taper towards the bottom. This will create the illusion of a rounded object. To further enhance the realism, consider the light source in your drawing. Shadows can create a sense of volume, so think about where the light hits the bowl and where it casts shadows.
Next, let's talk about texture. The surface of the bowl—whether it’s ceramic, glass, or wood—will have different textures that can be conveyed through your sketch. For instance, a ceramic bowl may have a glossy finish, while a wooden bowl might show grain patterns. Use short, light strokes to indicate these textures, and don't forget to add reflections if you're drawing a shiny bowl. This will help to create a more dynamic and engaging piece.
In conclusion, sketching the bowl is more than just drawing a simple shape; it’s about creating a foundation for your still life. By focusing on proportion, perspective, and texture, you set the stage for the fruits to shine. Remember, practice makes perfect. Don't hesitate to sketch multiple bowls until you find the one that feels just right for your composition!
Q: How do I choose the right angle for my bowl sketch?
A: Consider your overall composition. An overhead view can offer a unique perspective, while a side view can showcase the curvature beautifully. Experiment with different angles to see what works best for your arrangement.
Q: Should I use colored pencils for the bowl?
A: While you can certainly use colored pencils, starting with a graphite pencil allows you to focus on the shapes and textures without the distraction of color. You can always add color later once you're satisfied with the form.
Q: How can I improve my bowl sketching skills?
A: Practice is key! Try sketching bowls of different shapes and sizes. Study real-life bowls and observe how light interacts with their surfaces. The more you draw, the more confident you'll become!
Defining the Bowl's Curvature
When it comes to drawing a bowl of fruit, one of the most critical elements is capturing the curvature of the bowl itself. The curvature not only adds depth but also brings a sense of realism to your artwork. Imagine the bowl as a three-dimensional object; its curves can create shadows and highlights that enhance its form. To define the bowl's curvature effectively, you need to consider a few key aspects:
- Perspective: The angle from which you view the bowl will greatly influence its curvature. Is it facing you directly, or is it slightly tilted? Adjusting your lines to reflect this perspective will help create a more realistic representation.
- Line Variation: Use varying line weights to depict the bowl's edges. Thicker lines can suggest the bowl's outer rim, while thinner lines can illustrate the inner curves. This technique adds depth and dimension to your drawing.
- Shading: To enhance the curvature, apply shading along the sides of the bowl. Light typically hits the top edge, creating highlights, while the sides will be darker. This contrast is crucial for achieving a rounded look.
To practice defining the bowl's curvature, start with simple shapes. Use a pencil to sketch a basic oval or circle for the top view of the bowl. Then, draw the sides with gentle curves, tapering them as they descend to the base. Remember, practice makes perfect. Don’t hesitate to erase and redraw until you achieve the desired curvature.
Furthermore, consider using reference images to understand how light interacts with different surfaces. Look at real bowls and observe how their shapes change based on the light source. This understanding will allow you to mimic those effects in your drawing. You might even find it helpful to set up a still life with a bowl and some fruits, allowing you to see firsthand how the curvature looks in real life.
In summary, defining the bowl's curvature is all about observation and practice. By paying attention to perspective, using line variation, and applying effective shading techniques, you can create a bowl that not only looks realistic but also serves as a stunning foundation for your fruit composition.
Q: How can I improve my understanding of curvature in drawing?
A: Practice with various objects and study their shapes. Use reference images and try sketching from life to develop your skills.
Q: What materials are best for practicing bowl drawings?
A: Start with a good quality sketchbook and a range of pencils (from HB to 6B). Charcoal can also be beneficial for shading.
Q: Should I focus on details or overall shapes first?
A: It's best to start with overall shapes to establish proportions before adding details. This approach will help maintain the correct perspective.
Adding Texture to the Bowl
When it comes to drawing a bowl of fruit, one of the most captivating aspects is the texture of the bowl itself. Adding texture not only enhances the visual appeal but also brings a sense of realism that can make your artwork truly stand out. Think of texture as the skin of your drawing; it adds depth and character, much like how the roughness of an orange's skin contrasts with the smoothness of a banana. So, how do you go about achieving this effect?
First, consider the material of the bowl you're drawing. Is it ceramic, glass, or wood? Each material has its own unique texture and reflective qualities. For instance, a ceramic bowl might have a glossy finish, which can be depicted through careful shading and highlights, while a wooden bowl may require a more matte approach with subtle grain lines. To effectively represent these textures, you can use a combination of hatching, cross-hatching, and stippling. These techniques allow you to create different effects:
| Technique | Description | Best For |
|---|---|---|
| Hatching | Drawing parallel lines to create shading. | Soft, smooth surfaces. |
| Cross-Hatching | Layering lines at different angles for depth. | Complex textures and shadows. |
| Stippling | Using dots to create shading and texture. | Detailed and intricate designs. |
Next, to add a sense of depth and dimension to your bowl, focus on the light source in your drawing. Where is the light coming from? Is it natural sunlight or a warm lamp? Understanding the light source will help you determine where to place your highlights and shadows. For instance, if the light is coming from the left, the right side of the bowl will be darker, and you can use a darker pencil or more pressure on your existing pencil to create that shadow. Conversely, the left side should have lighter strokes to represent the light reflecting off the surface.
To further enhance the three-dimensional effect, consider adding subtle reflections. If your bowl is made of glass, you might notice the fruit inside being slightly distorted. This can be achieved by lightly sketching the outlines of the fruit with a softer pencil, allowing for a translucent effect. Remember, reflections should be soft and not overpowering, as they are merely hints of what lies beneath.
Lastly, don't forget the importance of blending. Using a blending stump or your finger, gently blend the edges of your shading to create a smoother transition between light and dark areas. This technique can help to soften the look of the bowl and give it that polished finish. Just like a chef garnishes a dish to make it more appealing, these finishing touches will elevate your bowl of fruit drawing to a whole new level.
- What materials do I need to add texture to my drawing? You’ll need a variety of pencils (HB, 2B, 4B), blending tools, and good quality paper.
- Can I use color to enhance texture? Absolutely! Color can add another layer of depth. Consider using colored pencils or watercolors for that extra pop.
- How do I know if my textures look realistic? Step back and observe your drawing from a distance. If it feels lifelike and the textures are convincing, you’re on the right track!
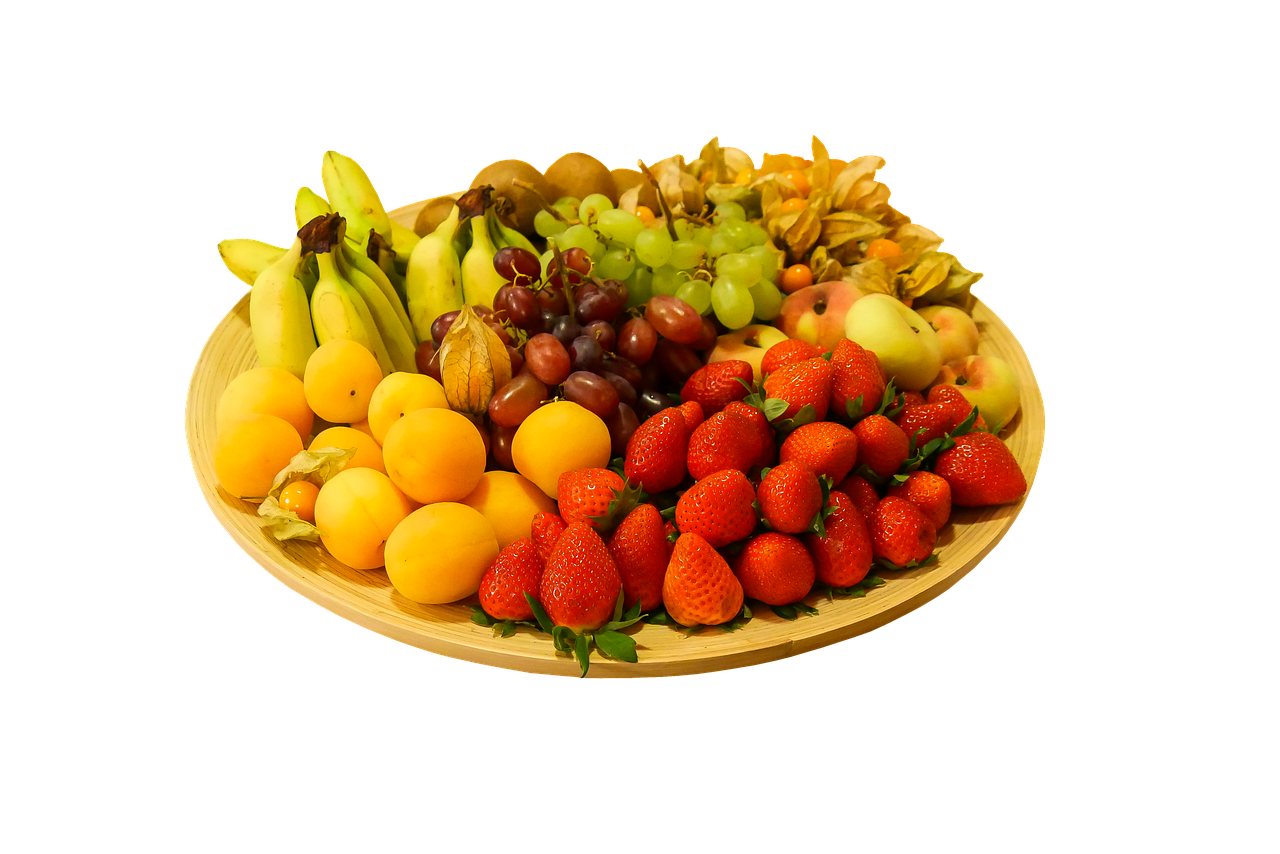
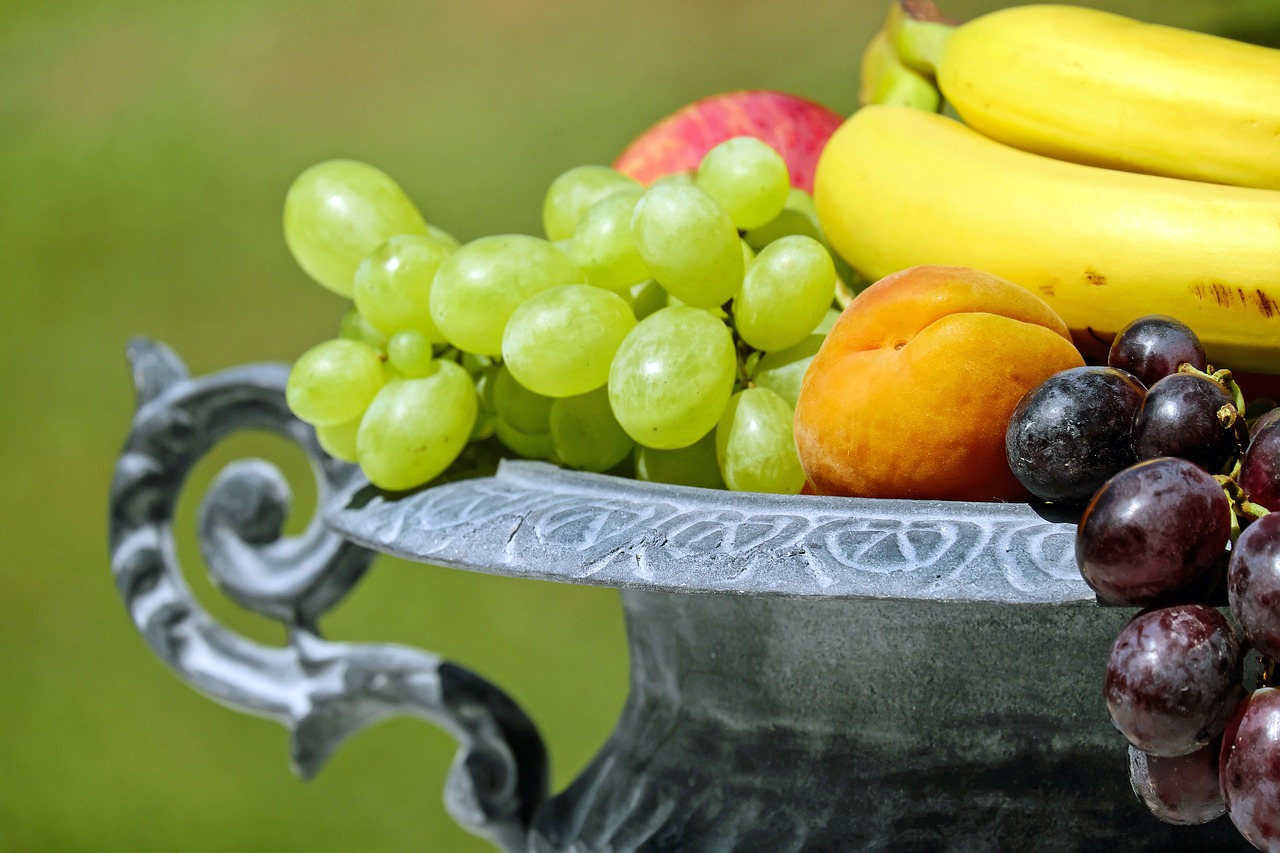
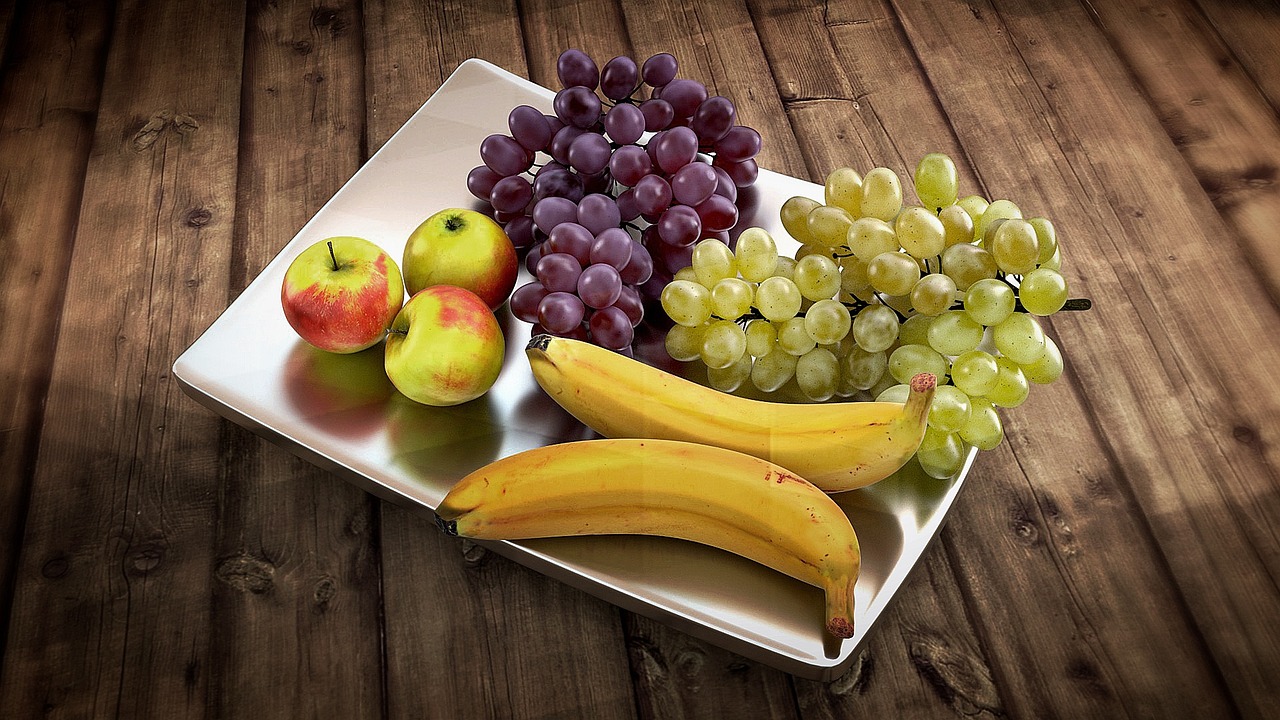
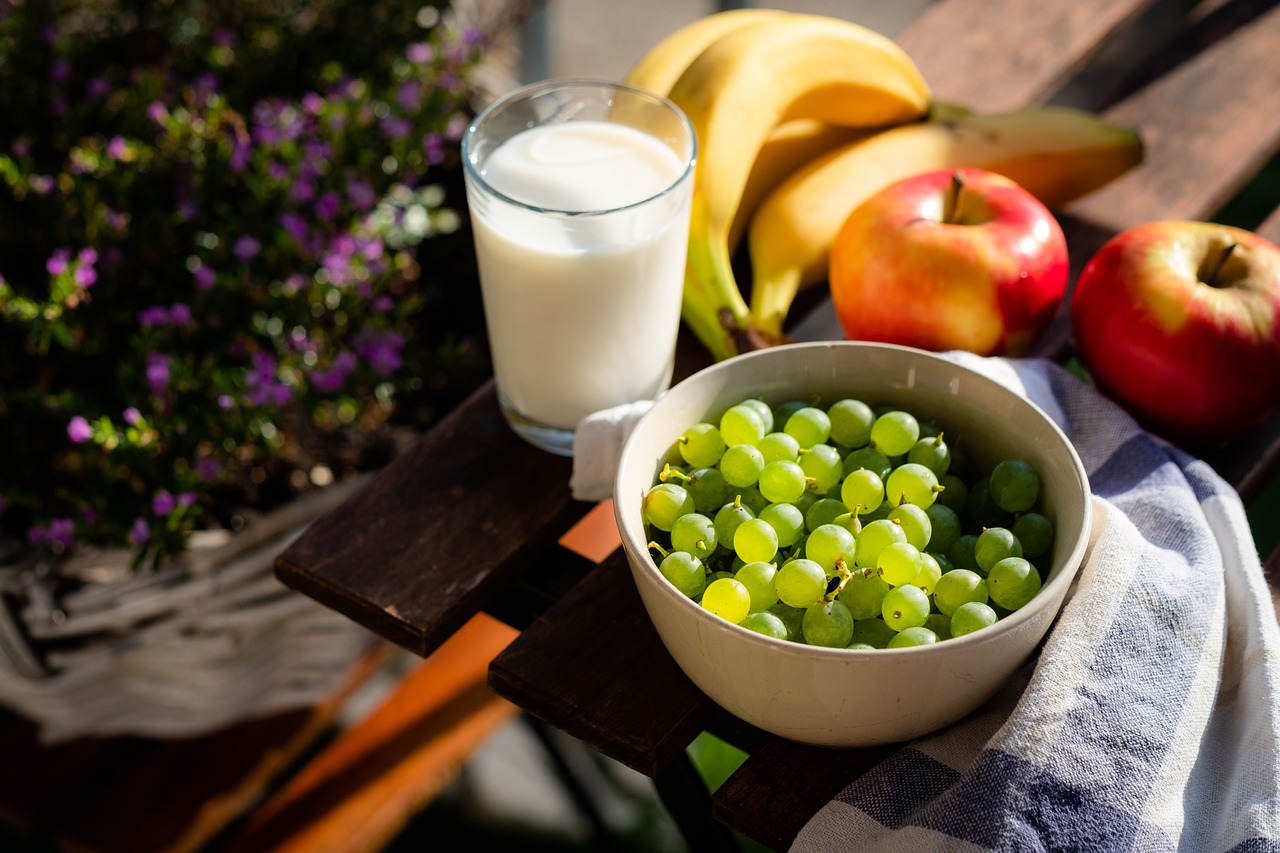
Arranging the Fruits
Arranging the fruits in your bowl is like setting the stage for a vibrant performance. Each piece of fruit has its own character, and how you place them can dramatically change the overall effect of your drawing. To create a visually appealing composition, consider the following tips:
First, think about the balance of shapes and colors. You don’t want all the apples clustered together while the bananas are off in a corner, feeling lonely. Instead, aim for a mix that draws the eye around the bowl. For example, if you have a bright red apple, pair it with a yellow banana and a green pear. This arrangement not only creates a color contrast but also helps in forming a harmonious visual flow.
Next, consider the height and size of the fruits. Larger fruits like melons can serve as anchors for your composition, while smaller fruits can be placed around them to create layers. Think of it like a tiered cake; the larger fruits form the base, and the smaller ones add delightful details on top. When arranging, keep in mind the perspective from which you’ll be drawing. A higher viewpoint might require you to stack fruits more vertically, while a lower viewpoint could allow for a more spread-out arrangement.
Another essential aspect is the spacing. Avoid placing fruits too close together, which can lead to a cluttered look. Instead, leave some negative space, allowing the eye to rest and appreciate each piece. This technique can also enhance the shadows and highlights, making the fruits appear more three-dimensional. Remember, the goal is to create a natural look, as if someone just placed the bowl on the table for everyone to enjoy.
As you finalize your arrangement, step back and take a look at the overall composition. Does it feel balanced? Are there any awkward gaps? Sometimes, it helps to take a photo of your setup or sketch a quick thumbnail to visualize how everything works together. Adjust the positioning as needed before committing to your final drawing.
In summary, arranging fruits in your bowl is an art in itself. By focusing on balance, height, size, spacing, and perspective, you can create a stunning still life that will not only be a joy to draw but also a feast for the eyes. So grab your fruits, play around with their arrangement, and let your creativity shine!
- What fruits are best for a still life drawing?
Choose a variety of fruits with different shapes, colors, and textures, such as apples, bananas, oranges, and grapes, to create an interesting composition.
- How do I achieve a realistic look in my fruit drawing?
Focus on the details, such as shadows and highlights, and use a variety of shading techniques to give depth and dimension to your fruits.
- Can I use digital tools for drawing fruits?
Absolutely! Digital tools can enhance your drawing experience, allowing for easy adjustments and experimentation with colors and textures.
Detailing the Fruits
Once you have the basic shapes of your fruits outlined, it’s time to dive into the exciting world of detailing. This stage is where your drawing truly comes to life! Think of it as the moment when a chef adds the final touches to a dish, transforming it from simple ingredients into a masterpiece. Detailing requires patience and a keen eye, but the results are incredibly rewarding.
Start by examining the unique characteristics of each fruit. For instance, consider the texture of an apple versus a banana. Apples often have a smooth skin with a slight sheen, while bananas have a more matte finish with subtle markings. By paying attention to these differences, you can give each fruit its own personality in your drawing.
When detailing, focus on the following aspects:
- Color Variations: Fruits are rarely one solid color. Observe how light interacts with the surface of each fruit. For example, a ripe peach might have a gradient from a deep orange to a lighter yellow. Use this knowledge to blend your colors smoothly, creating a realistic appearance.
- Shadows and Highlights: Shadows add depth, while highlights bring out the shiny surfaces. Think of the way sunlight glints off a ripe cherry or how shadows fall beneath a cluster of grapes. Use a softer pencil or blending tool to create these effects, making sure to transition smoothly.
- Details and Imperfections: Remember, perfection is overrated! Fruits often have blemishes, spots, or even slight imperfections. These details can add authenticity to your drawing, making it more relatable and engaging.
As you start to add these details, don't forget to step back occasionally and view your work from a distance. This technique helps you see any areas that might need more attention or adjustment. Just like a photographer reviewing their shots, you’ll be able to spot what’s working and what isn’t.
Another useful tip is to use a reference photo. This can serve as a guide for color and texture, ensuring that your fruits look as realistic as possible. While drawing from life is ideal, a well-chosen photo can provide clarity and inspiration.
To further enhance your understanding of detailing fruits, consider the following table that highlights common fruits and their specific detailing characteristics:
| Fruit | Texture | Color Variations | Common Imperfections |
|---|---|---|---|
| Apple | Smooth, shiny | Red to green gradients | Small blemishes |
| Banana | Soft, slightly textured | Yellow with brown spots | Bruises |
| Orange | Bumpy, dimpled | Bright orange with darker patches | Peeling skin |
| Grapes | Plump, smooth | Green to purple hues | Wrinkles or spots |
In conclusion, detailing the fruits in your bowl is an essential step that can elevate your artwork from basic to breathtaking. With careful observation and practice, you’ll find that your ability to capture the essence of each fruit improves significantly. So grab your pencils, put on your artistic hat, and let your creativity flow!
Q: What is the best pencil to use for detailing fruits?
A: A range of pencils from 2H for light lines to 6B for deep shadows will give you versatility. Experiment with different grades to find what works best for you!
Q: How can I make my colors more vibrant?
A: Layering colors and using blending techniques can enhance vibrancy. Try applying a base color and then adding layers of different shades for depth.
Q: Should I draw from real life or a photo?
A: Both methods have their merits! Drawing from life offers a dynamic experience, while photos can provide clarity and detail that might be missed in real-time.
Coloring Techniques
Coloring your bowl of fruit can truly transform your drawing from a simple sketch into a vibrant masterpiece. To achieve this, it’s essential to understand the various that can bring depth and life to your artwork. Whether you’re using colored pencils, watercolors, or markers, the right approach can make all the difference. Let’s dive into some exciting methods that will help you create stunning fruit illustrations!
One of the most effective techniques is blending. This involves smoothly transitioning between colors to create a more realistic appearance. For instance, when coloring an apple, you might start with a base of red and gently blend in some yellow or green at the edges to depict light reflecting off its surface. To achieve a seamless blend, you can use a blending stump or even your finger, but be cautious not to smudge too much. Remember, practice makes perfect!
Another technique to consider is shading. This adds dimension and depth to your fruits. Imagine you’re drawing a banana; to make it look three-dimensional, you’d want to shade one side darker than the other. This can be achieved by applying more pressure with your pencil or using a darker color on the shadowed side. Shadows typically fall on the opposite side of the light source, so think about where your light is coming from as you shade.
When it comes to layering, this technique allows you to build up color gradually. Start with a light base coat, and then layer additional colors on top to create richness and complexity. For example, with grapes, you might begin with a light purple and then add deeper purples and even hints of green to create a more realistic effect. This method is particularly effective with colored pencils, as each layer can enhance the vibrancy of the colors.
Don’t forget about highlights. These are crucial for making your fruits look juicy and fresh. To create highlights, leave some areas white or use a very light color to mimic the reflection of light. A shiny orange, for instance, should have bright spots that catch the eye. You can also use a white gel pen or a white colored pencil to add these highlights after you’ve completed your coloring.
Lastly, consider the use of complementary colors. This technique involves using colors that are opposite each other on the color wheel to create contrast and vibrancy. For example, if you’re drawing a bowl of fruit that includes oranges and blue grapes, the orange will pop against the blue background, making your drawing more dynamic and engaging. It’s like having a party on your paper where each fruit gets to shine!
In summary, mastering these coloring techniques can significantly enhance your bowl of fruit drawing. Blending, shading, layering, highlights, and complementary colors are all tools in your artistic arsenal that can help you create a visually stunning piece. So grab your materials, experiment with these techniques, and watch your artwork come to life!
- What type of paper is best for coloring fruit drawings?
Using smooth, heavyweight paper is ideal for colored pencils, while watercolor paper works best for watercolors. - Can I use markers for coloring?
Absolutely! Just be mindful of the paper type, as markers can bleed through thinner papers. - How can I fix mistakes in my coloring?
For colored pencils, you can often erase light marks. For markers, consider using a white gel pen to cover small errors. - Is it necessary to use a color wheel?
While not necessary, a color wheel can help you understand color relationships and enhance your palette choices.
Final Touches and Enhancements
Now that you've dedicated time and effort to sketching your bowl of fruit, it's time to add those final touches that will elevate your artwork from good to extraordinary. Think of this stage as the icing on the cake; it’s where your drawing truly comes to life! You want to ensure that every detail is polished and that the overall composition feels cohesive.
First and foremost, highlights are essential in creating a sense of realism. When you look at fruits, they often have shiny surfaces that catch the light. Use a white pencil or a gel pen to add small highlights on the fruits and the bowl. Position these highlights based on your light source. This will not only enhance the three-dimensional effect but also draw the viewer's eye to the focal points of your drawing.
Next, don't forget about shadows. Shadows are the unsung heroes of any still life. They provide depth and context, grounding your objects in reality. Use a darker shade of the fruit colors or a soft gray to create shadows under each piece of fruit and along the edges of the bowl. This technique will help define the shapes and make them appear as if they are resting naturally in the bowl.
Another aspect to consider is the background. A well-thought-out background can enhance your composition significantly. A simple gradient or a soft wash of color can create a pleasing contrast with the vibrant colors of your fruits. Avoid overly busy backgrounds that might distract from your main focus. Instead, think of it as a stage where your bowl of fruit is the star performer!
As you approach the final stages, step back and assess your artwork. Sometimes, a fresh perspective can reveal areas that need a little more attention. You might find that certain fruits need more detail or that the bowl could use a bit more texture. Don't hesitate to make adjustments; this is all part of the artistic process!
Lastly, consider signing your work. Just like a painter puts their signature on a canvas, you should do the same. It adds a personal touch and signifies that this piece is uniquely yours. Choose a discreet spot where it won’t detract from the composition but will still be visible.
In summary, the final touches and enhancements are crucial for making your bowl of fruit drawing pop. By focusing on highlights, shadows, background, and overall composition, you'll create a piece that not only looks realistic but also captures the viewer's attention. So grab your pencils, take a deep breath, and let your creativity flow!
- What type of paper is best for drawing fruits?
For detailed drawings, a medium to heavy-weight paper with a smooth surface is ideal. It allows for better blending and shading.
- How do I choose colors for my fruit drawing?
Observe real fruits and use a color wheel to select complementary colors. Blending different shades can also add depth.
- Can I use colored pencils for shading?
Absolutely! Colored pencils are great for shading as they allow for precise control and layering of colors.
- What if I make a mistake while drawing?
Don’t worry! Mistakes can often be corrected by blending or adding more layers. Embrace the process and keep going!
Frequently Asked Questions
- What materials do I need to draw a bowl of fruit?
To create a stunning bowl of fruit, you'll want to gather a few essential materials. Start with a good set of pencils, ranging from HB for sketching to softer pencils like 2B or 4B for shading. A smooth drawing paper is ideal, along with colored pencils or watercolors for adding vibrant hues. Don't forget an eraser and a blending tool, as they can help refine your work and create smooth transitions!
- How do I simplify the shapes of different fruits?
Understanding the basic shapes is key to drawing fruits accurately. Start by breaking down each fruit into simple geometric forms. For instance, an apple can be seen as a sphere, while a banana resembles a curved cylinder. By visualizing these shapes, you can sketch more confidently and focus on details later without feeling overwhelmed!
- What techniques can I use to add texture to the bowl?
Adding texture to your bowl can bring it to life! You can achieve this by using cross-hatching or stippling techniques to create shadows and reflections. Pay attention to the light source and use lighter strokes where light hits the bowl and darker ones in the shadows. This contrast will give your bowl depth and make it look more realistic!
- How should I arrange the fruits in the bowl?
Composition is crucial when arranging your fruits. Aim for a balanced look by varying the sizes and shapes of the fruits. Place larger fruits at the bottom and smaller ones on top to create a sense of depth. You can also consider overlapping fruits slightly to make the arrangement more dynamic and visually interesting!
- What coloring techniques can enhance my fruit drawing?
Coloring can truly bring your artwork to life! Experiment with blending colors to create smooth transitions and gradients. Use layering techniques to build up color intensity gradually. For a more vibrant look, try wet-on-wet techniques with watercolors, or use colored pencils to add rich tones and highlights. Remember, practice makes perfect!
- What are some final touches I can add to my drawing?
Finishing touches can make a huge difference! Consider adding highlights to your fruits to give them a shiny appearance. Shadows can add depth, so don’t shy away from darkening areas where fruits overlap or where they touch the bowl. Finally, step back and assess your work; sometimes, a little adjustment is all it takes to make your drawing pop!


