
How to Use Watercolor Pencils for Beginners
Welcome to the vibrant world of watercolor pencils! If you're a beginner eager to dive into this delightful medium, you're in for a treat. Watercolor pencils are like the best of both worlds, combining the precision of traditional colored pencils with the fluidity and charm of watercolors. Imagine being able to sketch with a pencil and then transform your artwork into a beautiful watercolor painting with just a splash of water! Sounds magical, right? In this article, we'll guide you through everything you need to know to get started on your watercolor pencil journey. From understanding the unique properties of these pencils to essential tools, techniques, and even common pitfalls to avoid, we've got you covered. So, grab your pencils, and let's unleash your creativity!
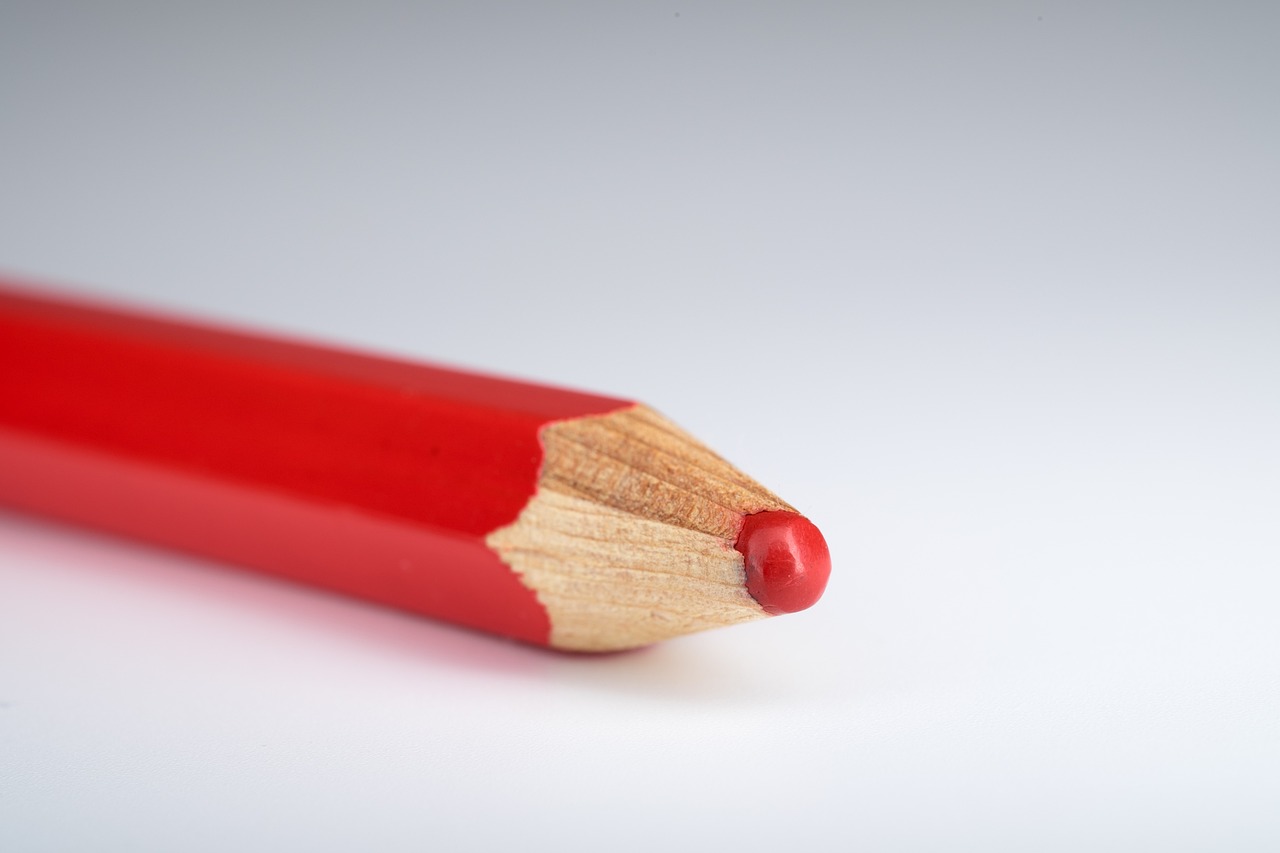
Watercolor pencils are unique tools that allow artists to achieve stunning effects that are difficult to replicate with regular colored pencils alone. These pencils contain water-soluble pigments, which means that when you apply water, the colors dissolve and blend seamlessly, creating the soft, flowing effects typical of watercolor paintings. One of the biggest advantages of watercolor pencils is their versatility. You can use them dry for precise lines and details or add water for a completely different look. This flexibility makes them perfect for artists of all skill levels.
Before you start your artistic adventure, it's crucial to gather the right tools. Here’s a quick rundown of essential materials you’ll need:
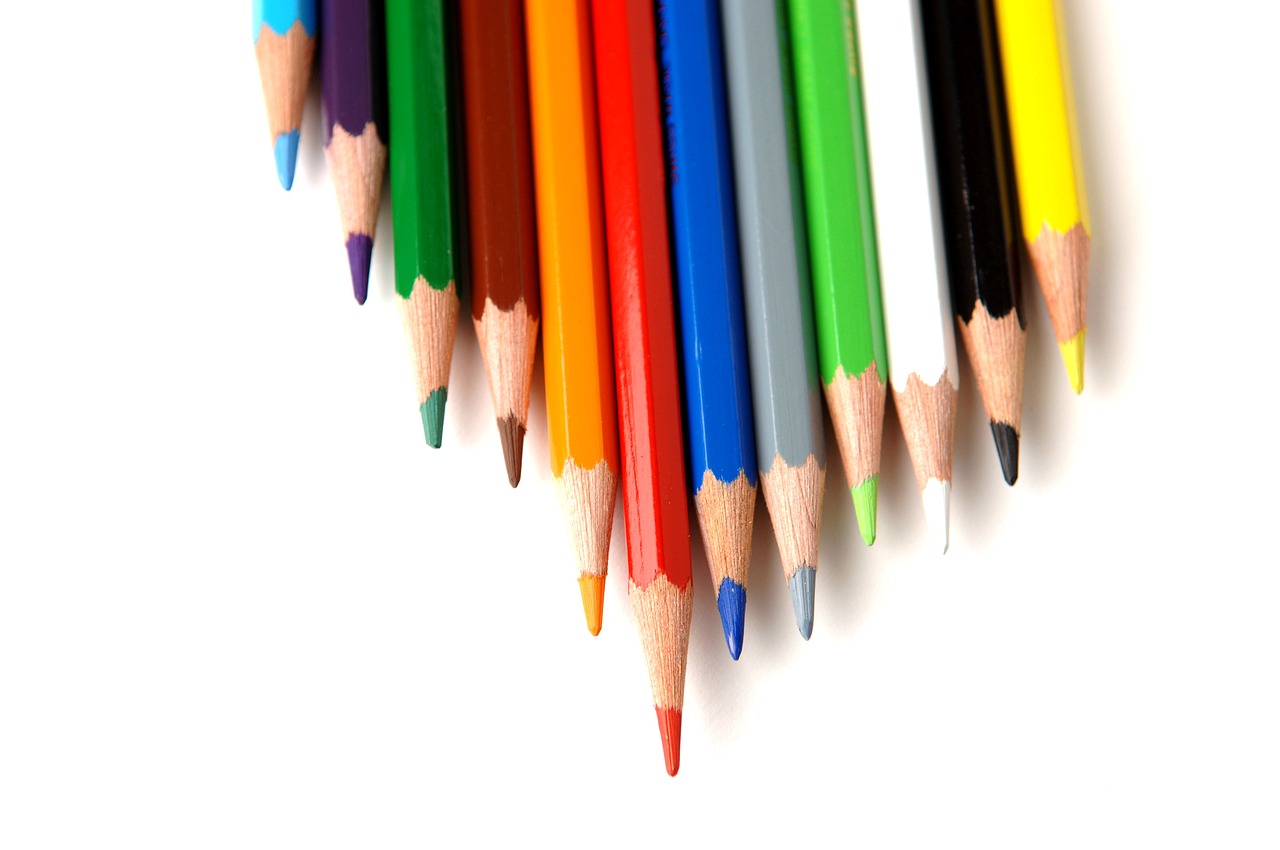
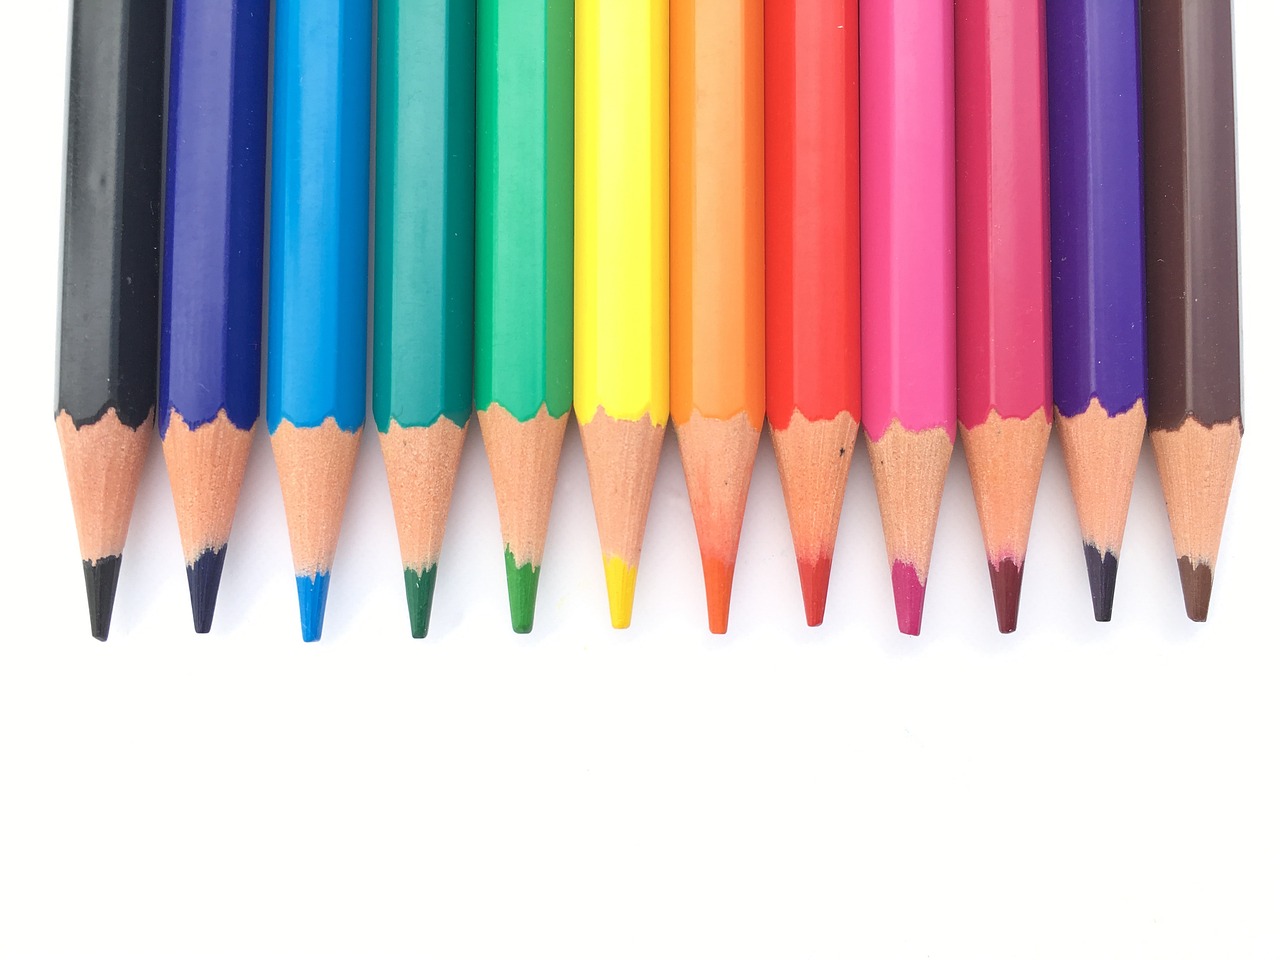
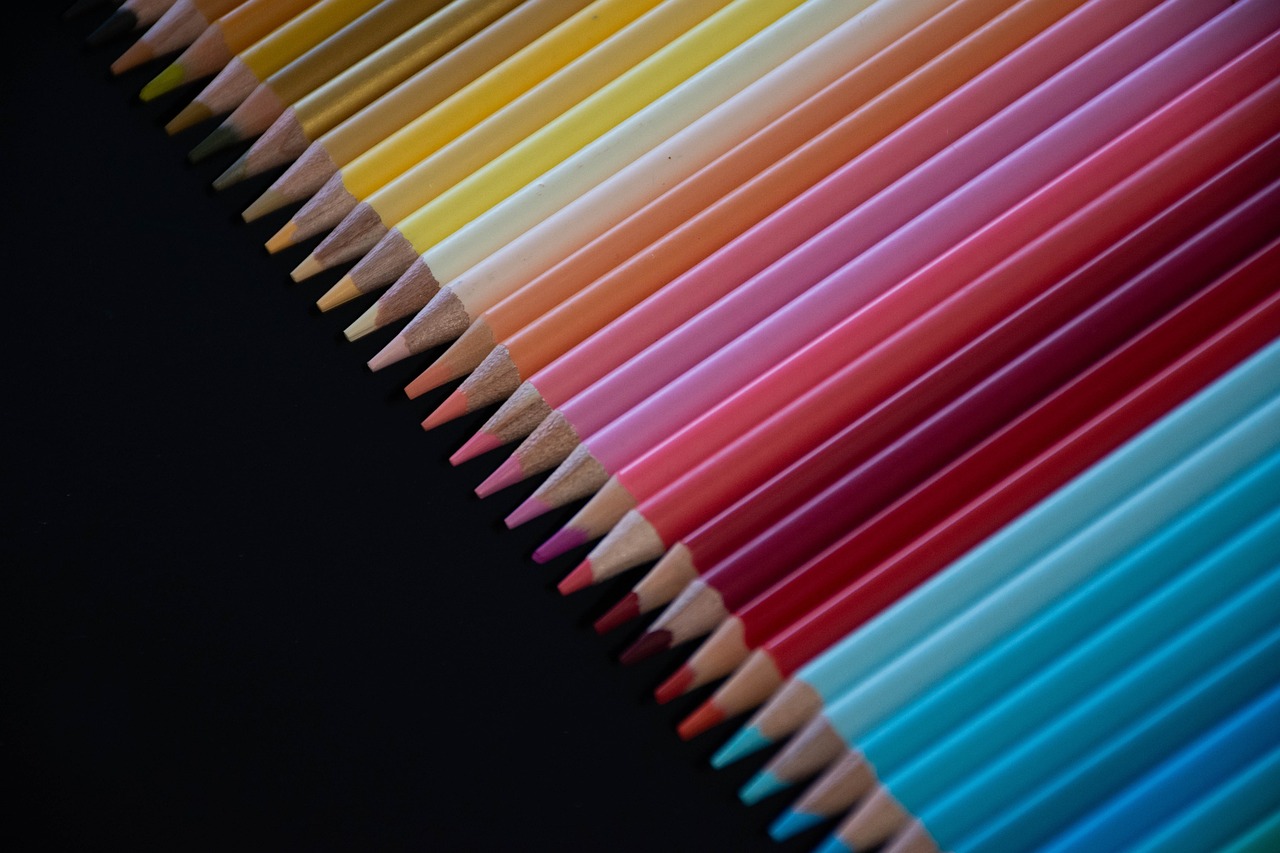
- Watercolor Pencils: Choose a set that feels comfortable and has a good range of colors.
- Watercolor Paper: Opt for thick, textured paper designed for wet media to prevent warping.
- Brushes: A variety of brushes, including round and flat, will help you manipulate the water and colors easily.
- Water Container: Keep a clean cup of water handy for your brushes.
- Paper Towels: Useful for blotting excess water or cleaning brushes.
Having the right tools will make your watercolor pencil experience much more enjoyable and productive!
Now that you have your materials ready, let’s dive into some basic techniques. One of the most popular methods is the wet-on-wet technique, where you apply water to the paper before adding your pencil strokes. This creates a beautiful, blended effect that mimics traditional watercolor. On the other hand, the wet-on-dry technique involves drawing on dry paper and then using a wet brush to blend the colors. This technique allows for more control over the outcome, making it perfect for fine details. Experimenting with both methods will help you discover what works best for your style and preferences.
Blending colors is an essential skill that enhances the depth and vibrancy of your artwork. There are several techniques you can use to achieve smooth transitions between colors:
- Dry Blending: Simply layer colors on top of each other and use a blending stump or your finger to smooth them out.
- Using Water: Apply your first color, then wet your brush and gently blend the edges into the second color to create a seamless transition.
Remember, practice makes perfect! Don't be afraid to experiment with various color combinations and blending techniques.
Textures can add a whole new dimension to your watercolor pencil artwork. Techniques like layering, stippling, and using different tools (like sponges or plastic wrap) can create unique effects. For instance, layering involves applying multiple colors in different areas and then using water to blend them together, resulting in rich, textured surfaces. Stippling, on the other hand, involves making small dots with your pencil to create texture without blending. Each technique offers a way to express your creativity and bring your artwork to life!
Every beginner makes mistakes, and that’s perfectly okay! Here are some common pitfalls to watch out for:
- Using the wrong paper: Always opt for watercolor paper to avoid warping.
- Overworking the colors: Sometimes less is more; don’t drown your artwork in water.
- Neglecting to clean your brushes: Dirty brushes can muddy your colors, so keep them clean!
By being aware of these mistakes, you can ensure a smoother creative process and enjoy your artistic journey even more.
Finding inspiration is crucial for creativity. Here are some project ideas to get your creative juices flowing:
- Create a nature scene, focusing on blending greens and blues.
- Try your hand at abstract art by layering colors and experimenting with textures.
- Recreate your favorite photo using watercolor pencils for a unique twist.
Don’t hesitate to explore various subjects and styles; the more you experiment, the more you'll develop your unique artistic voice!
Proper care for your tools extends their lifespan. To maintain your watercolor pencils, store them in a cool, dry place, and keep them in a protective case to prevent breakage. Regularly sharpen your pencils to ensure a clean point for detailed work. If you notice any wear on your brushes, replace them to maintain the quality of your artwork. With a little care, your watercolor pencils will be ready for all your creative endeavors!
1. Can I use regular colored pencils instead of watercolor pencils?
While you can use regular colored pencils, they won’t provide the same water-soluble effects that watercolor pencils do. Watercolor pencils are specifically designed to dissolve in water, allowing for unique blending and painting techniques.
2. How do I know which watercolor pencils to choose?
Look for brands that offer a good range of colors and high-quality pigments. It’s also helpful to read reviews or try out a few different brands to see which ones you prefer.
3. What type of paper should I use?
Always opt for watercolor paper, as it is designed to handle water without warping. Choose a weight of at least 200 gsm for best results.
4. Can I use watercolor pencils without water?
Absolutely! You can use them just like regular colored pencils for detailed drawings and sketches. The real fun begins when you add water!
5. How can I improve my blending skills?
Practice is key! Try different blending techniques, and don’t hesitate to experiment with various color combinations to see what works best for you.
Understanding Watercolor Pencils
Watercolor pencils are a fascinating blend of two artistic mediums, bringing together the precision of colored pencils and the fluidity of watercolors. Imagine having the ability to draw with a pencil and then transform your artwork into a watercolor masterpiece with just a splash of water! This unique combination makes watercolor pencils an excellent choice for both beginners and seasoned artists alike. Unlike traditional colored pencils, which rely solely on wax or oil-based pigments, watercolor pencils contain water-soluble pigments. This means that when you apply water, the colors dissolve and blend seamlessly, creating stunning washes and gradients.
One of the primary benefits of using watercolor pencils is their versatility. You can use them dry, just like regular colored pencils, allowing for detailed line work and shading. Then, with a touch of water, you can turn those lines into soft, flowing colors. This two-in-one functionality makes them a favorite among artists who love to experiment. Additionally, watercolor pencils are portable and easy to use, making them ideal for on-the-go sketching or plein air painting. Just imagine sitting in a park, capturing the beauty of nature with your pencils and a small water brush!
So, how do watercolor pencils differ from traditional watercolors? While both mediums can produce beautiful results, watercolor pencils offer a level of control that can be particularly beneficial for beginners. With watercolors, it can be challenging to manage the flow and intensity of the paint. In contrast, watercolor pencils allow you to build up color gradually, giving you the chance to refine your work as you go. To illustrate the differences, here's a simple comparison:
| Feature | Watercolor Pencils | Traditional Watercolors |
|---|---|---|
| Application | Dry application, then activated with water | Applied directly with a brush and water |
| Control | High control over color placement and intensity | Less control, as water can spread unpredictably |
| Portability | Very portable, easy to carry | Requires more supplies (paints, brushes, palette) |
| Learning Curve | Gentler learning curve for beginners | Steeper learning curve due to fluidity |
This comparison highlights why watercolor pencils can be an excellent starting point for those new to the world of watercolor art. They allow you to experiment without the fear of making irreversible mistakes, making the creative process much more enjoyable. Whether you're sketching a quick study or working on a detailed piece, watercolor pencils can help you achieve beautiful results.
In conclusion, understanding the unique properties and advantages of watercolor pencils can significantly enhance your artistic journey. They are not just tools; they are gateways to creativity, offering endless possibilities for expression. So grab a set, find your inspiration, and let your imagination flow!
Essential Tools and Materials
Before diving into the vibrant world of watercolor pencils, it's crucial to gather the right tools and materials that will set you up for success. Think of this as your artist's toolkit, where each item plays a vital role in bringing your creative visions to life. So, what do you need to get started?
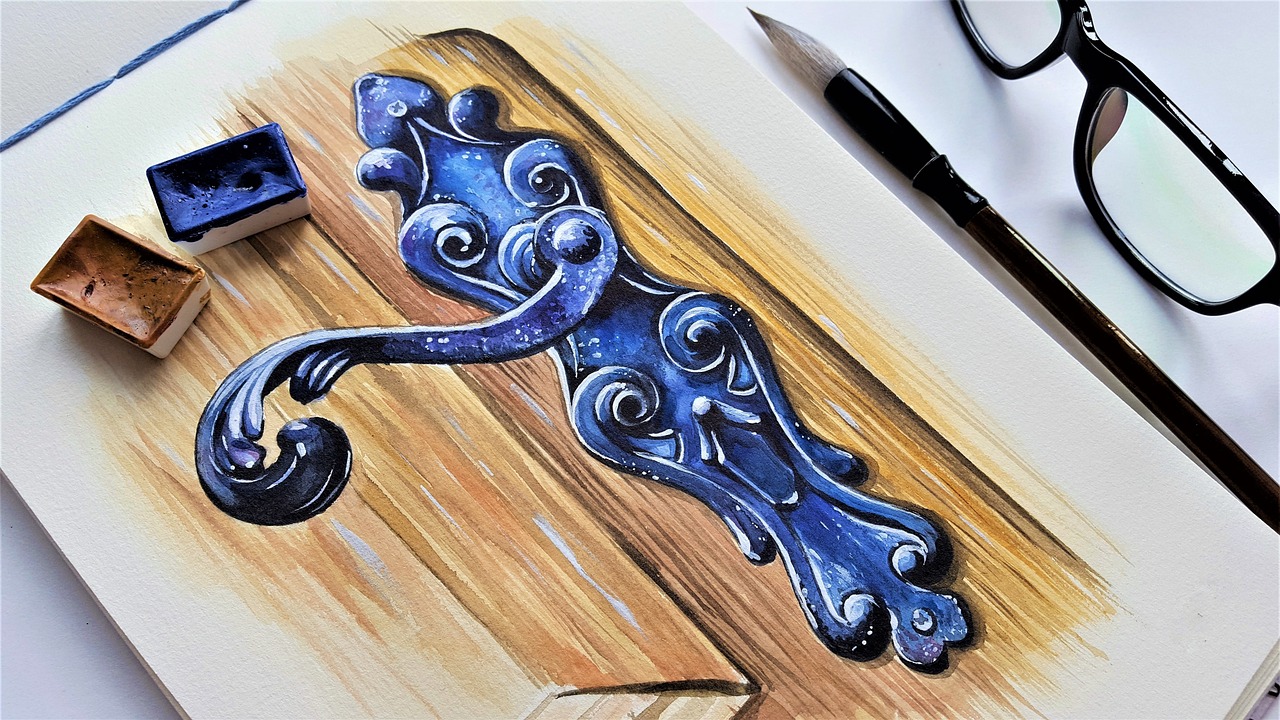
First and foremost, you'll need a good set of watercolor pencils. These special pencils are designed to be used both dry and wet, offering a unique versatility that traditional colored pencils simply can’t match. Brands like Faber-Castell and Prismacolor are popular choices among artists for their rich pigmentation and smooth application. Investing in a quality set can make a significant difference in your artistic journey.
Next, let’s talk about paper. Not all paper is created equal when it comes to watercolor techniques. You’ll want to choose paper that can withstand moisture without warping. Look for watercolor paper that has a weight of at least 200 gsm (grams per square meter). This type of paper is specifically designed to absorb water and allow for blending without falling apart. You can find both cold-pressed (textured) and hot-pressed (smooth) options, each offering different effects.
Now, you can't forget about brushes. A couple of good quality brushes will help you manipulate the colors and create stunning effects. A flat brush is fantastic for broad strokes and washes, while a round brush is perfect for details and finer lines. Make sure to have a few different sizes on hand. Additionally, a water container and a paper towel are essential for cleaning your brushes and controlling the amount of water you use.
Another handy tool is a palette. While you can use the side of your watercolor pencil to create color mixes, a traditional palette allows you to experiment with different color combinations more easily. You can either purchase a palette or simply use a white plate or a clean plastic container. The goal is to have a surface where you can blend colors and create new shades.
Lastly, consider adding some accessories to your toolkit. Items like a pencil sharpener, eraser, and a fixative spray can help you maintain your pencils and artwork. A kneaded eraser is particularly useful for lifting color without damaging the paper, allowing for corrections and highlights.
In summary, here’s a quick overview of the essential tools and materials you’ll need:
| Item | Purpose |
|---|---|
| Watercolor Pencils | For creating vibrant colors that can be blended with water. |
| Watercolor Paper | To withstand moisture and allow for blending. |
| Brushes | For applying water and blending colors. |
| Palette | For mixing and experimenting with colors. |
| Accessories | To maintain your tools and artwork. |
With these tools in hand, you’re well on your way to exploring the beautiful and expressive world of watercolor pencils. Remember, every artist has their preferences, so don’t hesitate to experiment and find what works best for you. Happy creating!
Q: Can I use regular colored pencils instead of watercolor pencils?
A: While you can use regular colored pencils, they won't give you the same watercolor effects. Watercolor pencils are specially designed to dissolve in water, allowing for blending and washes.
Q: Do I need special paper for watercolor pencils?
A: Yes, using watercolor paper is recommended as it can handle the water without warping or tearing, providing a better surface for your artwork.
Q: How do I clean my brushes after using watercolor pencils?
A: Simply rinse your brushes in clean water and gently wipe them on a paper towel to remove any excess pigment. Make sure to reshape the bristles for future use.
Basic Techniques for Beginners
When it comes to using watercolor pencils, mastering the basic techniques is crucial for unleashing your creativity. Think of these techniques as the building blocks of your artistic journey. They are the foundation upon which you can create stunning artworks that truly reflect your unique style. So, let’s dive into some essential methods that will help you get started!
One of the most fundamental techniques is wet-on-dry. This method involves applying your watercolor pencil directly onto dry paper. It allows for precise control over your lines and details, making it perfect for outlining or adding intricate details to your artwork. Imagine sketching with a regular colored pencil but with the added benefit of being able to blend it with water later. You can create vibrant colors that pop off the page!
On the flip side, we have the wet-on-wet technique, which is all about fluidity. Here, you start by wetting your paper with a brush or spray bottle before applying the watercolor pencil. This technique creates beautiful, soft edges and allows colors to blend seamlessly. It’s like watching a watercolor painting come to life! Just remember, the more water you use, the more the colors will spread, so experiment to find the right balance for your desired effect.
Another exciting method to explore is layering. This technique involves applying multiple layers of color to build depth and richness in your artwork. Start with lighter colors and gradually add darker shades. Think of it like layering different flavors in a cake; each layer adds complexity and makes the final result more delicious! Keep in mind that patience is key here; allow each layer to dry before adding the next to avoid muddying your colors.
For those looking to create unique textures, stippling is a fantastic technique. This involves making small dots or strokes with your pencil to create a textured effect. It’s like adding sprinkles on top of your cake—small details that can make a big impact! You can also combine stippling with wet techniques to enhance the texture even further.
To help you visualize these techniques, here’s a quick comparison table:
| Technique | Description | Best For |
|---|---|---|
| Wet-on-Dry | Applying pencil on dry paper for detailed lines. | Outlining, intricate details. |
| Wet-on-Wet | Applying pencil on wet paper for soft blending. | Backgrounds, soft transitions. |
| Layering | Building up colors in layers for depth. | Richness, depth in colors. |
| Stippling | Creating texture with small dots or strokes. | Textured effects, details. |
As you practice these techniques, remember that experimentation is key. Don’t be afraid to try new things, mix techniques, or even use unconventional tools like sponges or brushes to see what effects you can create. The beauty of watercolor pencils lies in their versatility, so embrace the journey and let your imagination run wild!
In conclusion, mastering these basic techniques will set you on the path to becoming a confident watercolor pencil artist. Each technique offers a unique way to express your creativity, allowing you to explore different styles and effects. So grab your pencils, some paper, and let’s create some magic!
Q: Can I use regular colored pencils with watercolor techniques?
A: While you can use regular colored pencils, watercolor pencils are specifically designed to blend with water, giving you more fluidity and vibrant effects.
Q: What type of paper should I use?
A: It’s best to use watercolor paper or mixed media paper that can handle water without warping.
Q: How do I clean my brushes after using them with watercolor pencils?
A: Simply rinse them under running water and gently reshape the bristles. Avoid using soap unless necessary, as it can affect the brush's performance.
Color Blending Techniques
When it comes to watercolor pencils, mastering the art of color blending is essential for creating stunning and dynamic artworks. Blending colors effectively can transform your simple sketches into vibrant masterpieces, making the experience more enjoyable and rewarding. So, how do you achieve that perfect blend? Let's dive into some techniques that will elevate your skills and unleash your creativity!
One of the most popular methods is the wet-on-wet technique. This involves applying water directly to your paper before using your watercolor pencils. By doing this, you allow the colors to flow and merge seamlessly, creating soft gradients and beautiful washes. Imagine painting a sunset where the colors of orange, pink, and purple melt into one another, evoking a sense of tranquility. To use this technique, simply:
- Start by wetting your brush with clean water.
- Apply the water to the area you wish to color.
- Use your watercolor pencil to draw directly onto the wet surface.
- Watch as the colors blend and spread, creating a dreamy effect!
On the other hand, the wet-on-dry technique is another fantastic approach, especially for those who prefer more control over their colors. This method involves applying your watercolor pencil to dry paper and then using a wet brush to blend the colors afterward. This technique is perfect for adding details and creating sharper edges. Think of it as sculpting with colors; you get to define the shapes and forms precisely. To achieve this, follow these steps:
- Draw your desired shapes or patterns with the watercolor pencil on dry paper.
- Dip your brush in water and gently blend the edges of your drawing.
- Experiment with the amount of water to see how it affects the blending.
Another effective technique is dry blending. This method is particularly useful for creating smooth transitions between colors without using water. It involves layering different colors directly on top of each other and using a blending tool, like a blending stump or your finger, to mix them together. Imagine creating a lush green forest where the various shades of green blend together to give depth and dimension. To dry blend effectively:
- Layer your colors one at a time, starting with the lighter shades.
- Use a blending tool to smooth out the transitions.
- Continue layering until you achieve your desired effect.
Don't forget about color lifting, a technique that can also enhance your blending skills. If you find that you’ve applied too much color or want to lighten an area, you can lift the color by using a damp brush or a wet paper towel. This technique allows you to correct mistakes and create highlights in your work. It's like having an eraser for your watercolor pencils!
Incorporating these blending techniques into your practice will not only improve your artwork but also boost your confidence as an artist. Remember to experiment and have fun with your colors! Each stroke is an opportunity to express yourself, and the more you play with blending, the more unique your style will become. So grab those watercolor pencils, and let your imagination take flight!
Q: Can I use regular colored pencils instead of watercolor pencils for blending?
A: While you can use regular colored pencils, they won’t give you the same watercolor effect. Watercolor pencils are specifically designed to dissolve in water, allowing for the beautiful blending techniques we discussed.
Q: How do I know which technique to use for my artwork?
A: It really depends on the effect you're trying to achieve. If you want soft, flowing colors, go for wet-on-wet. For more defined edges, wet-on-dry is your best bet. Don’t hesitate to experiment with all techniques to see which one resonates with your style!
Q: What type of paper should I use for watercolor pencils?
A: It's best to use watercolor paper, as it can handle the water application without warping. Look for paper that is thick enough (at least 200gsm) to absorb water and allow for blending.
Creating Textures and Effects
When it comes to watercolor pencils, one of the most exciting aspects is the ability to create stunning textures and effects that can bring your artwork to life. Imagine your piece transforming from a flat image to a vibrant scene that draws the viewer in. This transformation is all about understanding the techniques and tools at your disposal. By playing with different methods, you can add depth and interest to your work, making it not just a picture but an experience.
One popular technique for creating texture is layering. This involves applying multiple layers of color to build up richness and dimension. Start with a light base layer, allowing it to dry before adding darker shades on top. This gradual buildup can create a beautiful gradient effect, reminiscent of a sunset or a lush landscape. You can also use the wet-on-dry technique to add sharper lines and defined edges, perfect for details like leaves or architectural features.
Another effective method is stippling, where you apply small dots of color to create texture. This technique is fantastic for depicting organic elements like grass or foliage. When you combine stippling with a wet brush, the colors can blend softly, resulting in a more natural look. The beauty of stippling lies in its versatility; you can adjust the density of your dots to create varying levels of texture, from delicate to bold.
Using various tools can also enhance your textural effects. For instance, try using a palette knife or a sponge to apply color. These tools can create unique textures that brushes simply cannot replicate. A palette knife can scrape and spread color, while a sponge can dab and lift, allowing for a more spontaneous approach to your artwork. Experimenting with these tools can lead to unexpected and delightful results.
Don't forget about the power of water! Water can be your best friend when it comes to achieving stunning effects. By wetting the paper before applying your pencils, you can create soft washes that blend beautifully. Alternatively, if you apply water to your colored pencil marks after drawing, you can achieve a painterly effect that enhances the depth of color. Always remember, the amount of water you use will drastically change the outcome, so don't be afraid to experiment!
To summarize, creating textures and effects with watercolor pencils is all about exploration and practice. Don't hesitate to dive into different techniques, whether it's layering, stippling, or using tools. Each method offers a new way to express your creativity and can lead to exciting discoveries in your artwork. So grab your pencils, get a little messy, and let your imagination run wild!
Q: Can I use watercolor pencils on regular drawing paper?
A: While you can use watercolor pencils on regular drawing paper, it's best to use watercolor paper for optimal results. Watercolor paper is designed to handle moisture without warping, allowing for better blending and layering.
Q: How do I fix mistakes made with watercolor pencils?
A: Mistakes can often be corrected by lifting color with a damp brush or sponge. If the color is too dark, you can also layer lighter colors on top to soften the effect.
Q: Do I need special brushes for watercolor pencils?
A: While you don’t need special brushes, using soft brushes can help achieve smoother blends. A variety of brush sizes can also assist in creating different effects.
Common Mistakes to Avoid
When diving into the world of watercolor pencils, it's easy to get caught up in the excitement and overlook some fundamental aspects that can make or break your artwork. One of the most common mistakes beginners make is not understanding the importance of proper paper choice. Using the wrong type of paper can lead to frustrating results, such as colors bleeding too much or not blending well. Always opt for watercolor paper or thick mixed media paper to give your creations the best chance to shine.
Another common pitfall is overworking the colors. It's tempting to keep layering and blending, but this can lead to a muddy appearance. Instead, try to embrace the beauty of spontaneity. Start with light washes and gradually build up your layers. Remember, less is often more in the world of watercolor. If you find yourself stuck, take a step back and assess your work. Sometimes, a little distance can help you see the areas that need more attention or those that are just fine as they are.
Many beginners also struggle with water control. Too much water can cause your colors to lose their vibrancy, while too little can make blending nearly impossible. A good rule of thumb is to start with a damp brush and gradually add more water as needed. Think of it like cooking; just as you wouldn’t drown your dish in salt right away, you want to add water in moderation to achieve the perfect flavor in your artwork.
Additionally, neglecting to experiment with color combinations can limit your creativity. Don't be afraid to mix and match colors on your palette before applying them to your paper. This can lead to unexpected and beautiful results. If you're unsure where to start, consider creating a color chart to see how different hues interact with one another when wet and dry. This simple exercise can save you from making uninspired choices in your artwork.
Lastly, one major mistake is not taking the time to properly clean your brushes and tools. Watercolor pencils can leave residue, and if you don’t clean your brushes after each use, you might end up with unwanted colors in your next project. Make it a habit to rinse your brushes thoroughly and reshape the bristles after each session. Your tools are your allies in this creative journey, and taking care of them will ensure they serve you well for years to come.
By avoiding these common mistakes, you'll find that your journey with watercolor pencils becomes much more enjoyable and productive. Remember, every artist has been there, making mistakes is part of the learning process. Embrace it, learn from it, and most importantly, have fun!
Here are some common questions beginners have when starting with watercolor pencils:
- Can I use regular colored pencils instead of watercolor pencils? No, watercolor pencils are specifically designed to be activated with water, allowing for blending and washes that regular colored pencils cannot achieve.
- What type of paper is best for watercolor pencils? Watercolor paper or thick mixed media paper is ideal as it can handle the moisture without warping or tearing.
- How do I fix mistakes made with watercolor pencils? You can lift some color off with a damp brush or a clean paper towel, but it's best to embrace imperfections as part of the artistic process.
- Do I need to use a special brush? While any brush can work, using a soft watercolor brush will give you better control and results when blending.
Inspiration and Project Ideas
Finding inspiration can sometimes feel like searching for a needle in a haystack, especially when you're just starting out with watercolor pencils. But fear not! Inspiration is all around you, waiting to be discovered. Whether it's the vibrant colors of a sunset, the intricate patterns of leaves, or even the simple beauty of a cup of coffee, everyday life offers a treasure trove of ideas. To kickstart your creativity, consider exploring the following project ideas that will not only help you practice your skills but also allow you to express your unique artistic voice.
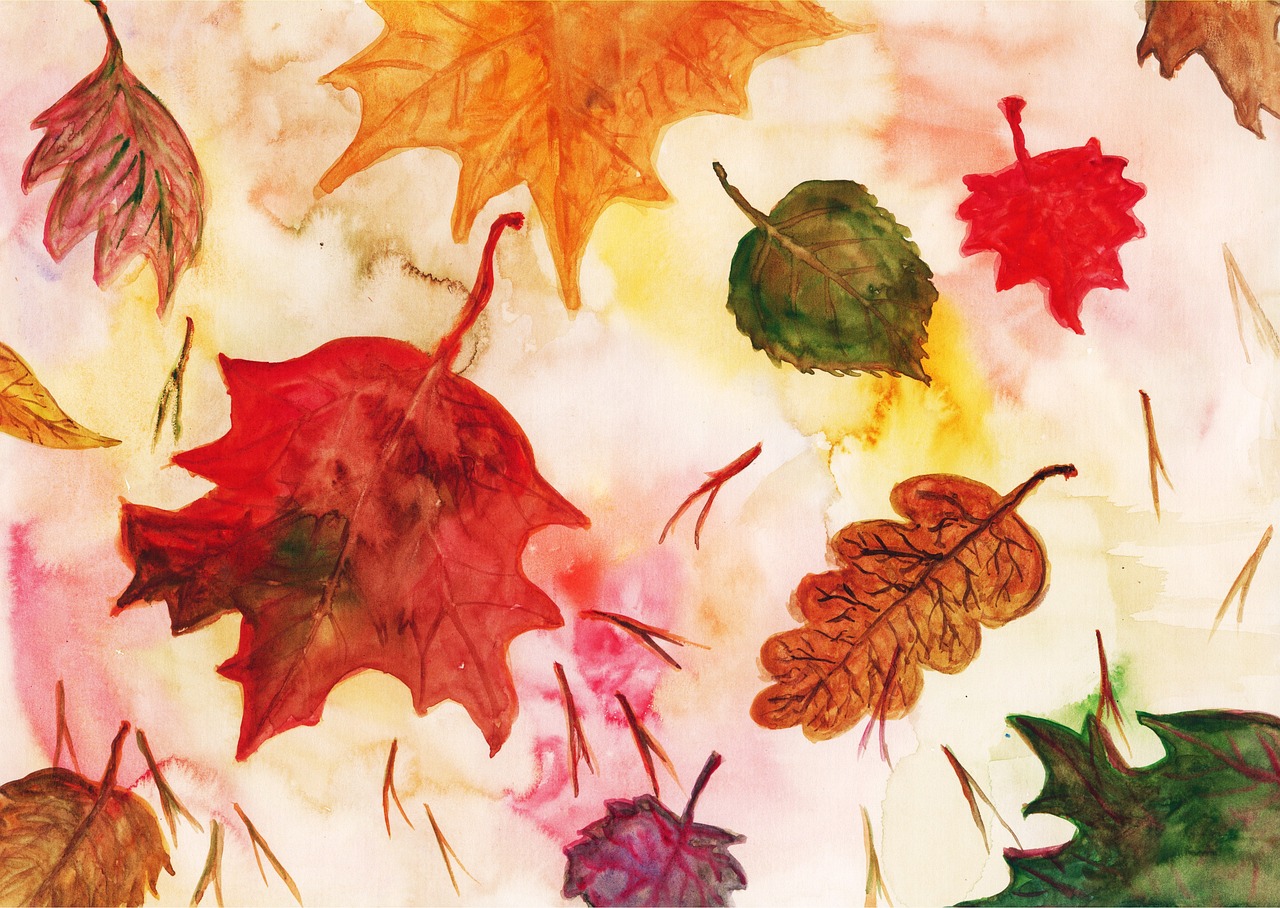
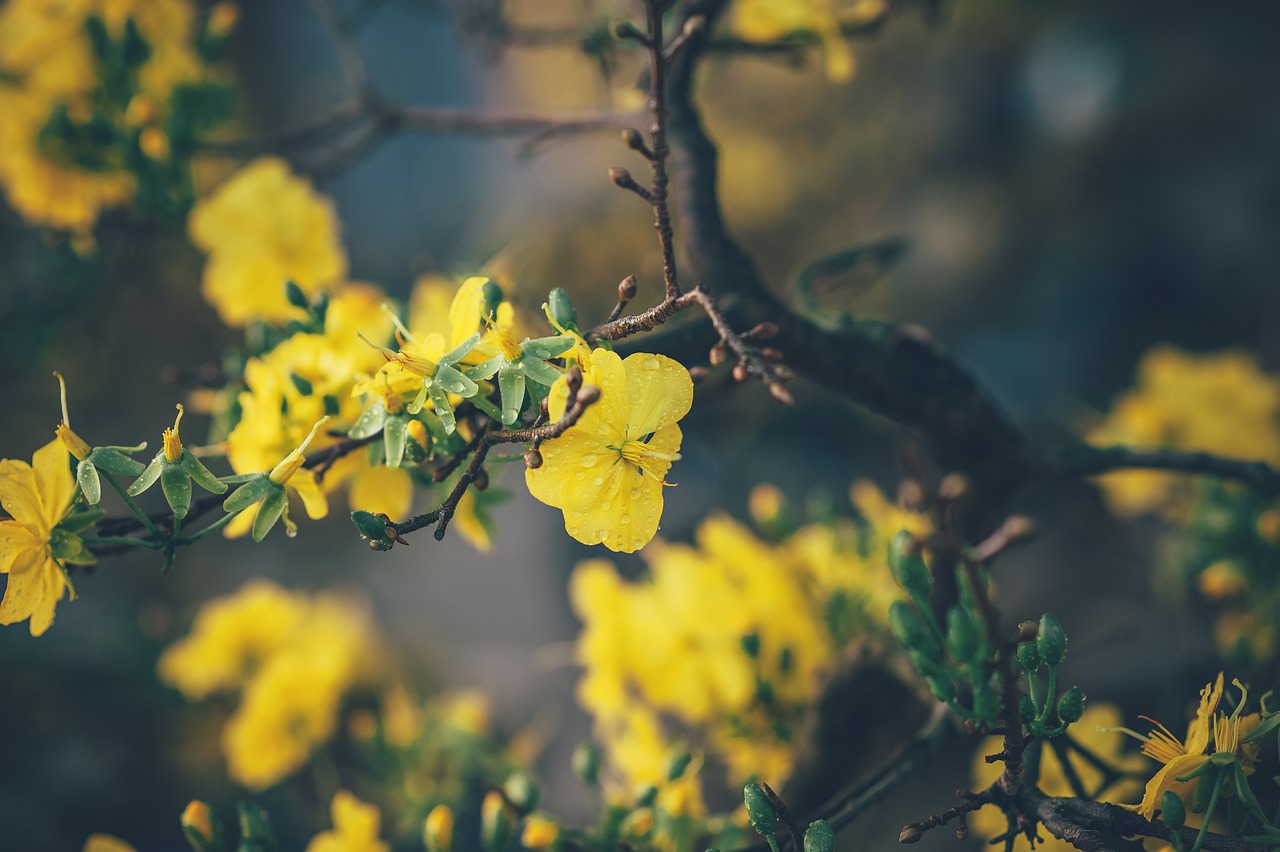
One fantastic way to spark your imagination is by creating a nature-inspired series. You can start by sketching flowers, leaves, or landscapes that catch your eye. Try focusing on a single type of flower, such as a rose or sunflower, and experiment with different color combinations to see how they change the mood of your artwork. Additionally, you might want to take a stroll in a nearby park or garden, capturing the essence of the natural world through your watercolor pencils. Don't forget to bring your sketchbook along!
Another exciting project idea is to create a themed still life. Gather a few objects that resonate with you—a vintage teapot, colorful fruits, or even your favorite books—and arrange them in a way that tells a story. This not only hones your observational skills but also allows you to play with light, shadow, and color blending techniques. You can challenge yourself by using a limited color palette or incorporating various textures to add depth to your composition.
If you're looking for something a bit more whimsical, why not try your hand at fantasy illustrations? Let your imagination run wild as you create mythical creatures, enchanting landscapes, or even your own version of a fairy tale scene. Use vibrant colors and playful shapes to bring your ideas to life. This is a great way to experiment with different techniques and let your personality shine through your art.
Lastly, consider joining an art challenge online. Platforms like Instagram and Pinterest often host monthly challenges that encourage artists to create based on a specific theme or prompt. This not only provides structure but also connects you with a community of fellow artists who can offer support and feedback. You might find that the camaraderie and shared experiences inspire you to push your boundaries and try new things.
Remember, the key to unlocking your creativity is to keep experimenting and trying new ideas. Don't be afraid to make mistakes; they often lead to the most beautiful discoveries. So grab your watercolor pencils, let your imagination soar, and dive into these projects with enthusiasm!
Q: What are some easy beginner projects for watercolor pencils?
A: Some easy projects include simple floral studies, abstract patterns, or small landscapes. Start with subjects that interest you and gradually increase the complexity as you gain confidence.
Q: How can I find inspiration for my artwork?
A: Inspiration can come from various sources such as nature, photography, art books, or even everyday objects. Keep a sketchbook to jot down ideas or draw things that catch your eye.
Q: Can I mix watercolor pencils with other mediums?
A: Absolutely! Watercolor pencils can be combined with traditional watercolors, ink, or even colored pencils for unique effects. Experimenting with different mediums can enhance your artwork.
Q: How do I care for my watercolor pencils?
A: To maintain your watercolor pencils, store them in a cool, dry place, and avoid exposing them to extreme temperatures. Regularly sharpen them to keep a fine point for detailed work.
Maintaining Your Watercolor Pencils
Just like any artist's tools, watercolor pencils require some love and care to keep them performing at their best. Imagine trying to paint a masterpiece with dull brushes or dried-out paints—frustrating, right? Well, the same goes for your watercolor pencils. Proper maintenance not only extends their lifespan but also ensures that every stroke you make is vibrant and smooth. So, let’s dive into some essential tips to keep your watercolor pencils in tip-top shape!
First off, always store your pencils in a cool, dry place. Extreme temperatures can warp the wood or affect the pigment quality. A pencil case or a dedicated art supply box is ideal for keeping them organized and protected. If you have a large collection, consider using a pencil wrap or a tray with compartments to avoid any accidental breakage. After all, nobody wants to reach for their favorite color only to find it shattered into pieces!
Next, sharpening your watercolor pencils is crucial. Unlike regular colored pencils, these beauties can be a bit more delicate. Use a handheld sharpener instead of an electric one to maintain the integrity of the core. When sharpening, do it gently and gradually to avoid breaking the lead. If you notice the pencil is getting too short, don’t fret! You can still use the stubs for smaller details or even for blending techniques.
Another important aspect of maintenance is keeping the tips clean. Sometimes, pigment can build up on the tips, which can affect how the colors lay down on the paper. A simple solution is to wipe the tips with a damp cloth or a paper towel after each use. This ensures that you’re always working with a clean slate, allowing for smoother application and better color mixing.
Additionally, be mindful of the paper you use. Watercolor pencils perform best on watercolor paper or mixed media paper that can handle moisture. Using the right paper not only enhances the vibrancy of your colors but also reduces the risk of damaging your pencils. If you’re unsure which paper to choose, look for options that are labeled as “cold press” or “hot press” as they are specifically designed for watercolor techniques.
Lastly, if you notice any of your pencils are becoming too dry or losing their vibrancy, consider using a water brush to revive them. Just a little water can help bring back that luscious pigment. Remember, the goal is to keep your pencils performing at their best, so don’t hesitate to experiment with techniques that can enhance their usability.
In summary, maintaining your watercolor pencils is all about being proactive. Store them properly, sharpen them with care, keep the tips clean, choose the right paper, and don’t hesitate to use a little water to keep them fresh. By following these simple steps, you’ll not only extend the life of your pencils but also enhance your overall artistic experience.
- How often should I sharpen my watercolor pencils? It depends on your usage. Generally, sharpen them when you notice a dull tip or when you need a fine point for details.
- Can I use watercolor pencils on regular sketch paper? While you can, it’s recommended to use watercolor or mixed media paper for the best results.
- What should I do if a pencil breaks? If it breaks, try to sharpen it carefully or use the stub for smaller details. You can also glue the pieces together if the break is clean.
Frequently Asked Questions
- What are watercolor pencils?
Watercolor pencils are unique art supplies that combine the precision of colored pencils with the versatility of watercolors. They can be used dry like regular colored pencils or activated with water to create beautiful watercolor effects, making them perfect for artists looking to explore different techniques.
- Do I need special paper for watercolor pencils?
While you can use regular drawing paper, it's best to use watercolor paper or mixed media paper designed to handle water. This type of paper is thicker and more absorbent, preventing warping and allowing for better blending and layering of colors.
- How do I activate watercolor pencils with water?
To activate watercolor pencils, simply draw with them on your paper, then use a wet brush to apply water over the pencil marks. The colors will dissolve and blend, creating a soft, watercolor-like effect. You can control the intensity of the color by adjusting the amount of water you use.
- Can I blend colors with watercolor pencils?
Absolutely! Blending is one of the key techniques when using watercolor pencils. You can blend colors while they are dry by layering them, or you can use a wet brush to mix and merge colors for a smooth transition. Experimenting with different blending methods can really enhance your artwork!
- What common mistakes should I avoid when using watercolor pencils?
Some common mistakes include using too much water, which can cause the paper to buckle, or not allowing layers to dry before adding more color. It's also easy to press too hard with the pencils, making it difficult to blend. Take your time and practice to avoid these pitfalls!
- How can I maintain my watercolor pencils?
To keep your watercolor pencils in top shape, store them in a cool, dry place and avoid exposing them to extreme temperatures. Regularly sharpen them to maintain a fine point, and consider using a protective case to prevent breakage. Proper care will help them last longer and perform better!
- What are some project ideas for beginners?
For beginners, simple projects like creating a color wheel, painting a landscape, or illustrating a favorite quote can be great starting points. You can also try experimenting with different textures and blending techniques to see what effects you can create. Don’t be afraid to let your creativity flow!


