Exciting Art: Discover Drawing with Charcoal
Are you ready to dive into the mesmerizing world of charcoal drawing? This captivating medium has been a favorite among artists for centuries, and for good reason! Charcoal offers a unique ability to create stunning contrasts, rich textures, and expressive lines that can bring your artistic visions to life. Whether you're a complete novice or a seasoned artist looking to expand your skills, this article will guide you through the essentials of charcoal drawing, from understanding the medium itself to mastering various techniques that will elevate your artwork.
Charcoal is not just a simple tool; it’s a gateway to creativity. Imagine the feeling of a soft, velvety line gliding across your paper, or the thrill of blending shades to create depth and dimension. With its rich history and versatility, charcoal has been used by famous artists throughout the ages. From the dramatic sketches of the Renaissance to contemporary abstract pieces, the possibilities are endless. So, why not embark on this artistic journey and discover what charcoal can do for you?
In this article, we’ll explore the different types of charcoal, the essential tools you need to get started, and effective techniques that will help you create breathtaking art. Plus, we’ll share tips specifically designed for beginners to help you overcome any hurdles you might face along the way. By the end of this guide, you’ll not only understand the fundamentals of charcoal drawing but also feel inspired to pick up a piece of charcoal and let your creativity flow!
Charcoal is a fascinating medium with a rich history that dates back to prehistoric times when it was used for cave paintings. What makes charcoal so appealing is its versatility and the range of effects it can produce. Unlike graphite, which can often feel rigid and controlled, charcoal allows for a more spontaneous and expressive approach to drawing. This section will delve into the properties of charcoal, the different types available, and how it differs from other drawing materials, providing you with a solid foundation to build upon.
To create stunning charcoal artworks, having the right tools is essential. You’ll need to gather a few key supplies to enhance your drawing experience. Here’s a quick overview of the must-have items:
- Charcoal Types: Vine, compressed, and charcoal pencils.
- Paper Choices: Textured, smooth, and heavyweight options.
- Accessories: Blending stumps, erasers, and fixatives.
These tools will not only help you create beautiful pieces but also allow you to experiment and find your unique style. Each type of charcoal offers different qualities, and understanding these can significantly impact your work.
When it comes to charcoal, there are several types you can choose from, each with its own unique characteristics:
| Type | Characteristics | Best For |
|---|---|---|
| Vine Charcoal | Soft, easy to blend | Sketching and initial outlines |
| Compressed Charcoal | Rich, dark lines | Detailed work and shading |
| Charcoal Pencils | Precise and controlled | Fine details and intricate designs |
Understanding these differences will help you choose the right type of charcoal for your artistic needs, allowing you to create stunning works of art that reflect your personal style.
Now that you've got your tools and understanding of charcoal, it’s time to learn some techniques that will take your drawing to the next level. Mastering various methods is crucial for creating compelling charcoal art. From shading to blending, each technique plays a vital role in enhancing your artwork.
Shading is what transforms flat drawings into lifelike images. Techniques like hatching, cross-hatching, and smudging can add depth and dimension to your work. These methods allow you to play with light and shadow, creating a more dynamic and engaging composition. Imagine how a simple change in shading can bring a drawing to life!
Blending and smudging are techniques that create smooth transitions and soft edges, giving your drawings a polished finish. Using tools like blending stumps or your fingers can help you achieve that dreamy, soft look that charcoal is known for. The key is to practice and experiment until you find the methods that work best for you.
If you're just starting with charcoal drawing, don't worry! We've got some practical tips to help you navigate the challenges that come with this medium:
- Start with vine charcoal for easier blending.
- Use a heavier paper to prevent tearing.
- Practice shading techniques on scrap paper before applying them to your artwork.
- Don’t be afraid to make mistakes; they can lead to unexpected creativity!
With these tips in mind, you'll build confidence in your artistic journey and discover the joy of creating with charcoal.
Q: What is the best type of charcoal for beginners?
A: Vine charcoal is often recommended for beginners due to its softness and ease of blending, making it perfect for practice.
Q: Can I use regular paper for charcoal drawing?
A: While you can use regular paper, it’s best to choose paper specifically designed for charcoal, as it will hold the medium better and prevent smudging.
Q: How do I fix my charcoal drawings?
A: Use a fixative spray to seal your charcoal drawings and prevent smudging. Make sure to apply it in a well-ventilated area.
Ready to unleash your creativity with charcoal? Grab your tools, and let’s get drawing!
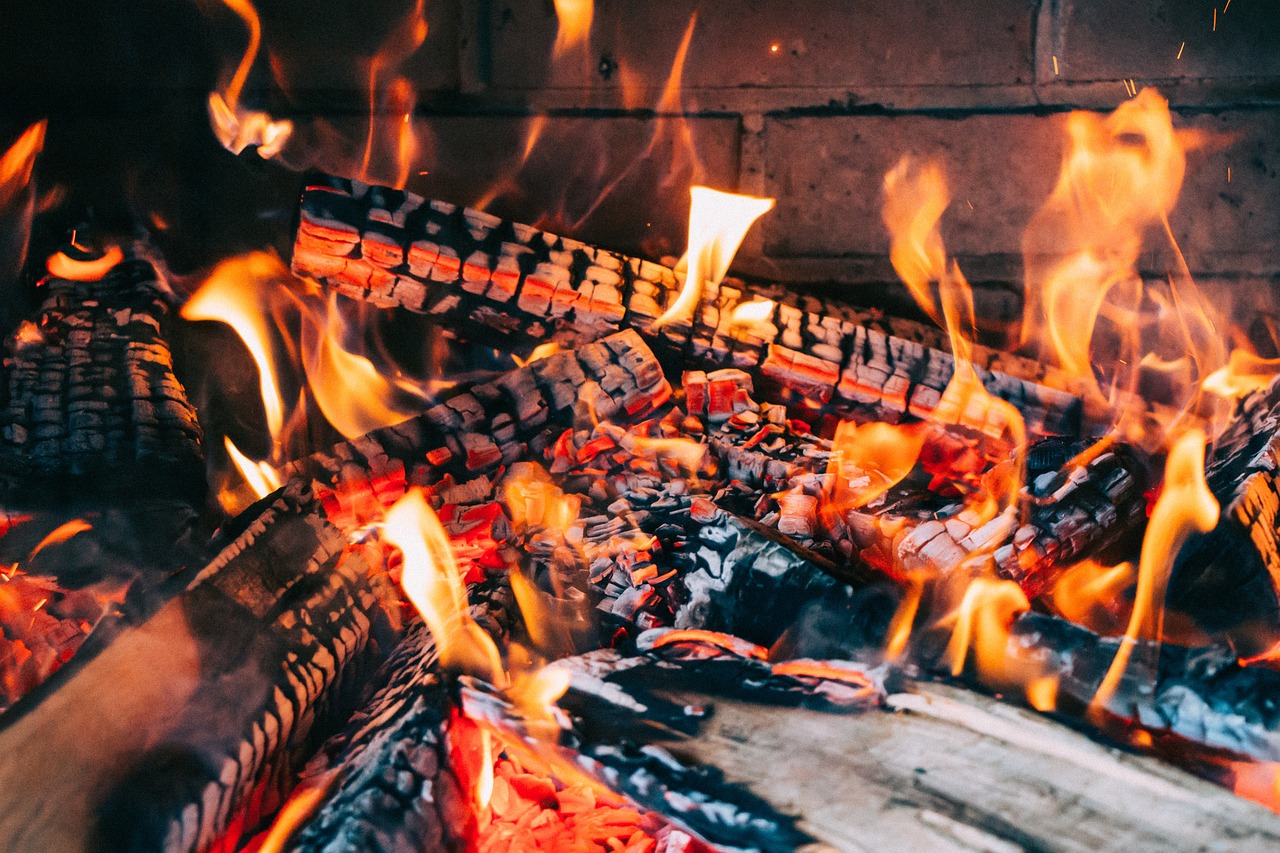
Understanding Charcoal as a Medium
Charcoal is not just a tool for drawing; it's a gateway to artistic expression that has captivated artists for centuries. With its rich, deep blacks and soft, smudgable edges, charcoal invites you to explore the nuances of light and shadow like no other medium. But what exactly makes charcoal so special? Let’s dive into its properties, types, and how it stands out from other drawing materials, giving you a solid foundation to enhance your artistic journey.
At its core, charcoal is made from burnt organic materials, typically wood, which gives it its unique texture and appearance. Unlike graphite, which has a slick, shiny surface, charcoal offers a matte finish that absorbs light, creating a more dynamic range of tones. This quality allows artists to achieve stunning contrasts in their work, making it a popular choice for both sketches and finished pieces.
There are several types of charcoal, each with its unique characteristics. Understanding these differences can help you choose the right type for your project:
- Vine Charcoal: Made from thin twigs, vine charcoal is soft and easy to blend, making it perfect for beginners and expressive sketches.
- Compressed Charcoal: This type is denser and produces darker lines, ideal for detailed work and rich shading.
- Charcoal Pencils: These offer precision and control, perfect for fine details and intricate designs.
The versatility of charcoal doesn't just lie in its types; it also extends to the range of surfaces it can be used on. Unlike some mediums that require specific papers, charcoal can be applied to various surfaces, from textured watercolor paper to smooth bristol board. However, the choice of paper is crucial, as it can significantly affect the outcome of your drawing. A paper that is too smooth may not hold the charcoal well, while overly textured paper can make blending challenging.
As you embark on your charcoal drawing journey, it’s essential to appreciate the rich history behind this medium. Artists like Leonardo da Vinci and Rembrandt used charcoal to create some of their most famous sketches, showcasing its enduring appeal. Today, charcoal remains a staple in art education, allowing students to grasp fundamental concepts of form and shading before moving on to more complex mediums.
In summary, understanding charcoal as a medium is about more than just the materials; it's about embracing the freedom and creativity it offers. Whether you're a seasoned artist or a curious beginner, charcoal invites you to experiment, express, and explore your artistic potential. So grab your charcoal, choose your paper, and let your imagination run wild!
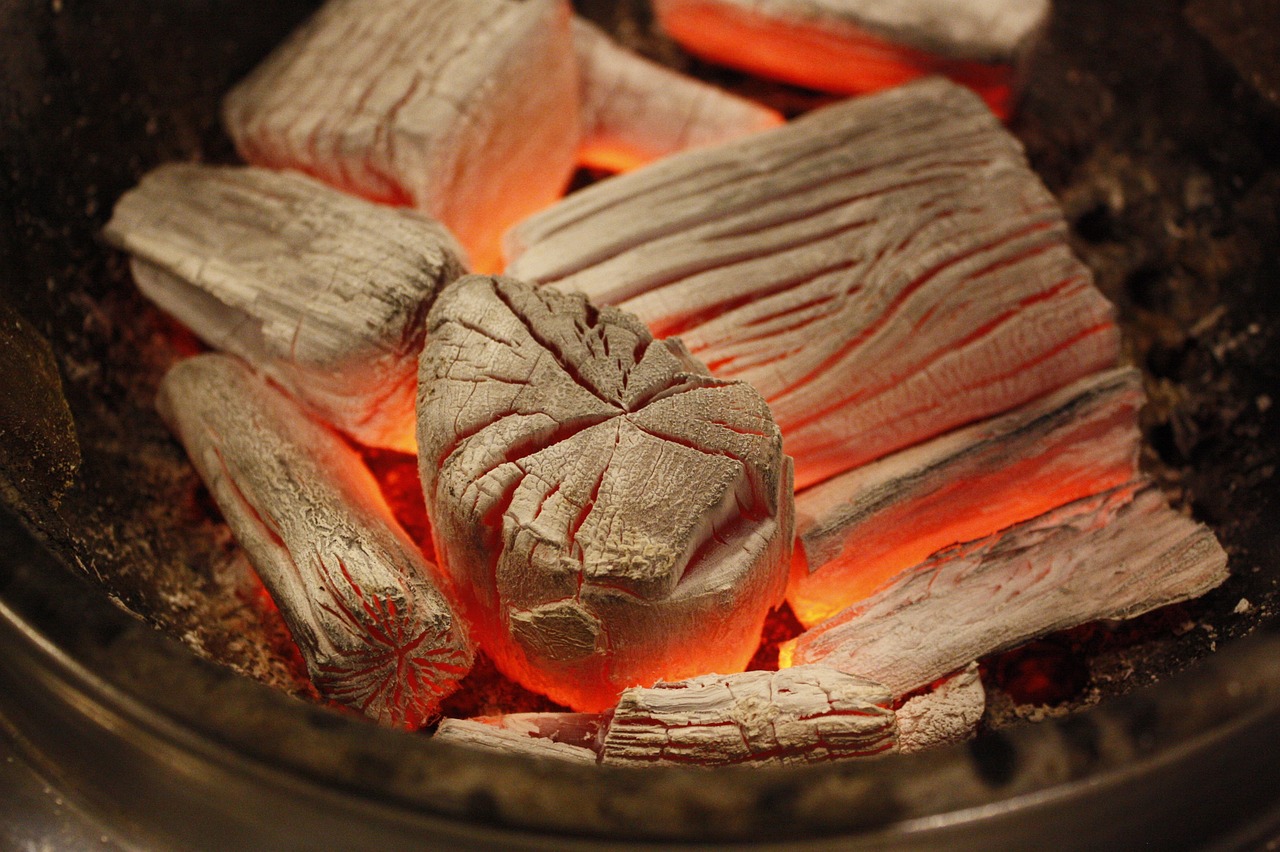
Essential Tools for Charcoal Drawing
When it comes to creating stunning charcoal artworks, having the right tools can make all the difference. Imagine stepping into an artist's studio, surrounded by a variety of supplies that beckon creativity. To embark on your charcoal drawing journey, you'll need to equip yourself with specific essentials that not only enhance your drawing experience but also help you achieve the results you desire. First and foremost, let's talk about the different types of charcoal available. Each type brings its own unique qualities to the table, and understanding these differences is crucial for any artist.
Among the most popular options is vine charcoal, which is known for its softness and ability to blend seamlessly. This type of charcoal is perfect for creating soft lines and subtle shading, making it a favorite among many artists. On the other hand, compressed charcoal offers a richer, darker line that can be ideal for detailed work. If you want to achieve bold contrasts in your drawings, this is the way to go. Lastly, there’s charcoal pencils, which combine the convenience of a pencil with the rich texture of charcoal. They are perfect for precise details and are often easier to control, especially for beginners.
Now, let’s not forget about the paper! The choice of paper can significantly impact the outcome of your charcoal drawings. You’ll want to select a paper that can handle the unique properties of charcoal. Look for textured papers that allow for good grip and blending. A weight of at least 80 lbs is ideal, as it can withstand the pressure of your drawing without warping. Some artists prefer toothed paper for its ability to hold onto the charcoal, while others might opt for a smoother surface for more delicate work.
In addition to charcoal and paper, there are several accessories that can enhance your drawing experience. A good quality blending stump is essential for achieving smooth transitions and soft edges. These handy tools allow you to blend and smudge the charcoal, giving your artwork a polished finish. An eraser—specifically a kneaded eraser—is also a must-have. It can be used not only for correcting mistakes but also for creating highlights by lifting charcoal off the paper. Lastly, consider investing in a quality fixative to preserve your finished artwork, preventing smudging and ensuring longevity.
To summarize, the essential tools for charcoal drawing include:
- Vine Charcoal - Soft and easy to blend.
- Compressed Charcoal - Rich, dark lines for detailed work.
- Charcoal Pencils - Convenient for precise details.
- Textured Paper - Ideal for holding charcoal.
- Blending Stump - For smooth transitions and edges.
- Kneaded Eraser - For corrections and highlights.
- Fixative - To preserve your artwork.
By gathering these essential tools, you’ll be well on your way to creating breathtaking charcoal drawings. Remember, the right supplies can inspire you and elevate your artistic journey, so choose wisely and allow your creativity to flourish.
Q: What kind of paper is best for charcoal drawing?
A: The best paper for charcoal drawing is typically textured and at least 80 lbs in weight. This allows the charcoal to grip the surface and prevents warping.
Q: Can I use regular pencils for charcoal drawing?
A: While regular pencils can be used, they do not provide the same rich texture and depth that charcoal offers. Charcoal pencils are specifically designed for this purpose and are recommended for best results.
Q: How do I preserve my charcoal drawings?
A: To preserve your charcoal drawings, use a fixative spray to protect them from smudging and fading. Make sure to apply it in a well-ventilated area and follow the manufacturer's instructions.
Types of Charcoal
When it comes to charcoal drawing, the type of charcoal you choose can dramatically influence your artistic output. Each type has its own unique characteristics that cater to different styles and techniques. Understanding these differences can help you make informed choices that elevate your artwork. Let's dive into the three primary types of charcoal: vine charcoal, compressed charcoal, and charcoal pencils.
Vine charcoal is often the go-to choice for beginners due to its softness and ease of use. Made from burnt grape vines, this type of charcoal is lightweight and can be easily manipulated. It allows for smooth blending, making it ideal for creating soft lines and subtle shading. The beauty of vine charcoal lies in its ability to erase easily, giving you the freedom to experiment without the fear of making permanent mistakes. You can create delicate sketches or bold strokes depending on how much pressure you apply. This versatility makes it perfect for both quick studies and detailed work.
On the other hand, compressed charcoal offers a different experience altogether. It is denser and produces much darker lines, which makes it suitable for detailed and defined work. Compressed charcoal is made by mixing charcoal powder with a binder and compressing it into sticks. Because of its richness, it can be a bit more challenging to blend compared to vine charcoal, but it allows for striking contrast in your artwork. Artists often use compressed charcoal for creating dramatic effects or deep shadows, adding a layer of intensity to their pieces.
Lastly, we have charcoal pencils. These are essentially compressed charcoal encased in wood, making them easy to handle and control. They offer precision similar to traditional pencils, which is great for detailed work or fine lines. Charcoal pencils are perfect for artists who prefer a more controlled approach to their drawings. They can be used for both outlining and shading, and they come in various hardness levels, allowing you to choose the right pencil for your needs.
In summary, each type of charcoal serves a distinct purpose in the world of drawing. Whether you’re looking for the soft, blendable qualities of vine charcoal, the rich darkness of compressed charcoal, or the precision of charcoal pencils, understanding these differences can help you choose the right tools for your artistic endeavors. Experimenting with each type can also lead to exciting discoveries in your drawing style. So grab some charcoal, and let your creativity flow!
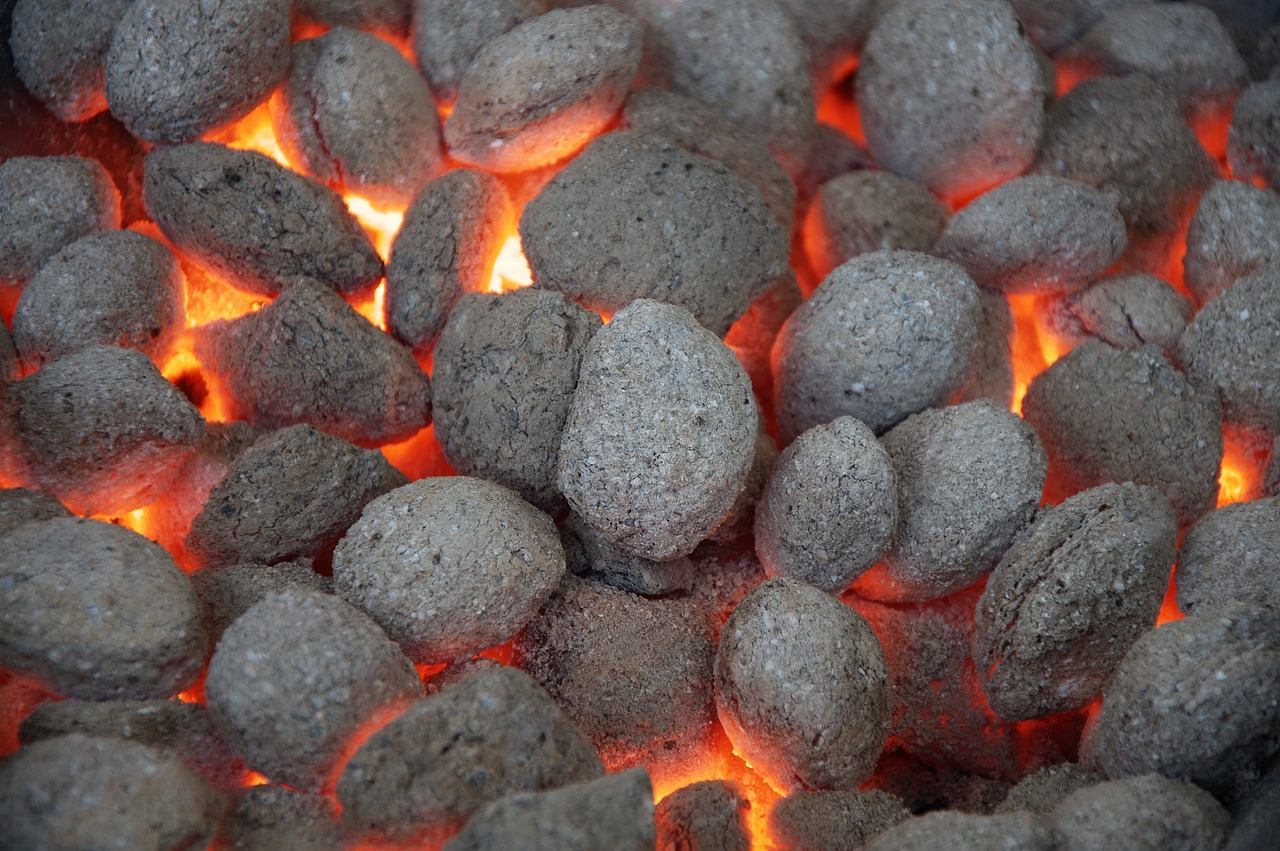
Vine Charcoal
Vine charcoal is a beloved choice among artists, particularly for those who enjoy the tactile experience of drawing. Known for its softness and ease of blending, vine charcoal allows for a wide range of expressive techniques. Unlike its compressed counterpart, vine charcoal is made from burnt twigs, which gives it a lighter, more delicate quality. This characteristic makes it perfect for sketching and creating preliminary outlines before diving into more detailed work.
One of the most significant advantages of vine charcoal is its versatility. Artists can use it to create everything from soft, ethereal sketches to bold, dramatic lines. The ability to easily erase and manipulate vine charcoal means that artists can experiment freely without the fear of making permanent mistakes. This makes it an ideal medium for beginners who are still finding their artistic voice. Furthermore, its natural texture allows for beautiful blending techniques, resulting in soft transitions that can elevate any drawing.
When working with vine charcoal, it’s important to consider the following techniques to maximize your results:
- Blending: Use your fingers or a blending stump to smooth out lines and create gradients.
- Layering: Start with light strokes and gradually build up darker areas to add depth.
- Erasing: A kneaded eraser can lift off charcoal to create highlights or correct mistakes.
In terms of application, vine charcoal is particularly effective for creating dynamic portraits or landscape drawings. Artists often appreciate how it can capture the essence of a subject with minimal strokes, making it a fantastic medium for those who favor a more spontaneous approach to their art. To get started with vine charcoal, it’s best to practice on textured paper, which grips the charcoal better and allows for more expressive marks.
In summary, vine charcoal is an exceptional medium for artists of all levels. Its unique properties not only facilitate a broad range of artistic expressions but also invite experimentation and creativity. Whether you’re sketching a quick idea or working on a detailed piece, vine charcoal can be your trusty companion, helping you translate your vision onto paper with ease and finesse.
Compressed Charcoal
When it comes to charcoal drawing, stands out as a favorite among artists for its ability to create rich, dark lines that can bring depth and intensity to any artwork. Unlike vine charcoal, which is softer and more delicate, compressed charcoal is made from charcoal dust that is bound together, resulting in a denser stick that can produce striking contrasts on paper. This unique property allows artists to achieve a variety of effects, from bold strokes to intricate details, making it an essential tool in any artist's arsenal.
One of the most appealing aspects of compressed charcoal is its versatility. It can be used to create everything from dramatic shadows to fine details, allowing for a broad range of expression in your work. Whether you’re sketching a quick study or working on a detailed portrait, compressed charcoal can help you achieve the desired effect. Additionally, it is available in various degrees of hardness, which gives artists the flexibility to choose the right stick for their specific needs. For instance, softer compressed charcoal produces darker marks and is great for shading, while harder sticks are ideal for fine lines and detailed work.
Using compressed charcoal effectively requires a bit of technique. Here are some tips to get you started:
- Layering: Start with lighter strokes and gradually build up to darker ones. This approach allows you to control the darkness of your lines without overwhelming the paper.
- Blending: Use a blending stump or your fingers to smooth out harsh lines and create soft transitions. This technique can give your drawing a more polished and realistic appearance.
- Erasing: Don't be afraid to use an eraser to lift off charcoal and create highlights. A kneaded eraser works particularly well for this purpose, as it can be shaped to fit any area.
Moreover, the application of compressed charcoal can vary depending on the desired outcome. For instance, if you're aiming for a more textured look, you might choose to use the side of the stick for broader strokes, whereas the tip of the stick is perfect for detailed work. This flexibility allows you to experiment and discover your unique style.
In summary, compressed charcoal is a powerful medium that can elevate your drawing skills to new heights. With its ability to produce deep, rich tones and fine details, it is no wonder that many artists prefer it for their projects. So grab a stick of compressed charcoal and start exploring the endless possibilities it offers!
Choosing the Right Paper
When it comes to charcoal drawing, the choice of paper is not just a mere afterthought; it's a critical factor that can make or break your artwork. Imagine trying to paint a masterpiece on a surface that doesn't hold the color well or smudges too easily. The right paper can enhance your drawing experience, allowing your creativity to flow seamlessly. So, let's dive into the different types of paper that are best suited for charcoal, ensuring you select the perfect canvas for your next artistic endeavor.
Charcoal drawing requires a paper that can handle the unique properties of charcoal. Unlike graphite, which can glide smoothly across any surface, charcoal needs a textured paper to grip the medium effectively. This texture allows for better blending and shading, creating the depth and richness that charcoal is known for. Here are some factors to consider when choosing your paper:
- Texture: Look for papers with a toothy or textured surface. This texture helps the charcoal particles adhere better, allowing for more pronounced lines and smoother blends.
- Weight: Heavier papers (around 150-300 gsm) can withstand the pressure of charcoal without tearing. Lighter papers may buckle or tear, especially when blending.
- Color: While white paper is standard, consider using toned paper for a different effect. Toned papers can provide a mid-tone base, allowing you to build highlights and shadows more effectively.
Here’s a quick comparison of popular paper types for charcoal drawing:
| Paper Type | Texture | Best Use |
|---|---|---|
| Newsprint | Low tooth | Practice and sketches |
| Sketch Paper | Moderate tooth | General use, quick studies |
| Watercolor Paper | High tooth | Detailed work, blending |
| Pastel Paper | Textured | Charcoal and pastel combinations |
When selecting your paper, consider the technique you plan to use. For instance, if you're focusing on detailed work with compressed charcoal, a smoother, heavier paper might be ideal. On the other hand, if you're experimenting with blending and soft transitions, a textured paper will serve you better. Ultimately, it's about finding the right balance between texture and weight to complement your style.
Don't be afraid to experiment! Try different papers and see how they interact with your charcoal. You might discover that a certain type of paper enhances your technique or brings out qualities in your work that you didn't know were possible. Remember, the journey of discovering the right paper is just as important as the art you create on it.
Q: Can I use regular printer paper for charcoal drawing?
A: While you can use printer paper, it's not recommended because it lacks the texture needed to hold charcoal effectively. It may also tear easily under pressure.
Q: What is the best weight for charcoal paper?
A: A weight of 150-300 gsm is ideal for charcoal drawing, as it can withstand the medium without buckling or tearing.
Q: Is colored paper suitable for charcoal drawing?
A: Yes! Toned or colored paper can add a unique dimension to your artwork, allowing you to play with highlights and shadows creatively.
Techniques for Mastering Charcoal Drawing
When it comes to charcoal drawing, mastering various techniques is not just a skill; it’s an essential part of expressing your creativity on paper. Think of charcoal as your voice in the art world, and the techniques you learn are the words that help you convey your thoughts. Whether you’re a budding artist or have been sketching for years, understanding these techniques can elevate your work from simple sketches to breathtaking pieces of art. Let’s dive into some of the fundamental techniques that will help you create stunning charcoal drawings.
One of the most crucial techniques to grasp is shading. Shading is what breathes life into your drawings, transforming flat images into three-dimensional representations. It’s like adding depth to a conversation; without it, everything feels one-dimensional. You can employ various shading methods, including hatching, cross-hatching, and smudging. Hatching involves drawing parallel lines that vary in thickness and spacing, while cross-hatching involves intersecting lines to create darker areas. Smudging, on the other hand, is a technique that softens the edges and creates smooth transitions between light and dark areas. This technique is particularly effective in creating realistic textures, such as skin or fabric.
Next, let’s talk about blending. Blending is where the magic happens! It’s the process of merging different shades together to create a seamless transition. This technique can be achieved using your fingers, a blending stump, or even a soft cloth. Each tool offers a different finish, so it’s worth experimenting to see what works best for you. For example, using your fingers can give a more organic feel, while a blending stump allows for precision. When you blend effectively, your artwork gains that polished, professional look that can truly impress viewers.
Another technique that can significantly enhance your charcoal drawings is erasing. Yes, you read that right! Erasing isn’t just about correcting mistakes; it’s a technique in its own right. Using an eraser can help you create highlights and bring out details in your work. By gently lifting charcoal from the paper, you can create stunning contrasts that make your drawing pop. This technique can be particularly useful in areas where light hits, such as the glint in an eye or the reflection on a shiny surface.
To help you visualize these techniques, here’s a quick comparison of their applications:
| Technique | Application | Best For |
|---|---|---|
| Shading | Creating depth and dimension | Realistic portraits and landscapes |
| Blending | Smoothing transitions between tones | Soft textures like skin and clouds |
| Erasing | Creating highlights and correcting mistakes | Adding detail and contrast |
Finally, as you master these techniques, remember that practice is key. Don’t be afraid to experiment and make mistakes; they are often the best teachers. Each stroke of charcoal on paper tells a story, and with each drawing, you’ll find your own unique voice. So grab your charcoal, let your creativity flow, and enjoy the process!
1. What is the best type of charcoal for beginners?
Vine charcoal is often recommended for beginners due to its softness and ease of blending. It allows for greater control and is less intimidating than compressed charcoal.
2. Can I use regular paper for charcoal drawing?
While you can use regular paper, it's best to choose paper specifically designed for charcoal. This paper has a texture that holds the charcoal better and allows for more effective blending.
3. How do I fix mistakes in my charcoal drawing?
You can use an eraser to lift out mistakes or blend them into the surrounding areas. Additionally, layering more charcoal can help to cover unwanted marks.
4. What should I do if my charcoal drawing looks too dark?
If your drawing appears too dark, you can use a kneaded eraser to lift some of the charcoal off the paper, softening the areas that are too intense.
Shading Techniques
Shading is the secret sauce that transforms a flat, lifeless drawing into a vibrant, three-dimensional masterpiece. When you think about it, shading is like the magic wand of the artist; with just a few strokes, you can create depth, volume, and realism. Imagine standing in front of a beautiful landscape painting. What grabs your attention? It’s likely the way the light dances across the surfaces, the shadows that give form to the objects, and the subtle gradations that make everything feel alive. In charcoal drawing, mastering shading techniques is essential to achieving that effect.
One of the most basic yet effective shading techniques is hatching. This involves drawing a series of parallel lines close together to create a shadowed area. The closer the lines are, the darker the area appears. It’s like building a fence; the more slats you add, the less light can pass through. On the flip side, you can use cross-hatching, where you layer another set of parallel lines over the first at an angle. This technique enriches the texture and adds complexity to your shadows, making them appear more dynamic.
Another popular technique is smudging, which involves using your fingers, a blending stump, or a cloth to soften the edges of your charcoal marks. This can create smooth transitions between light and dark areas, mimicking the way light naturally diffuses. Think of it like frosting a cake; you want it to be smooth and even, creating a pleasing visual effect. However, be careful not to overdo it! Too much smudging can lead to a muddy appearance, so practice moderation.
Here’s a quick overview of some effective shading techniques:
| Technique | Description | Best For |
|---|---|---|
| Hatching | Drawing parallel lines to create shadows. | Simple shapes and textures. |
| Cross-Hatching | Layering lines at angles for depth. | Complex shadows and textures. |
| Smudging | Blending charcoal for smooth transitions. | Soft edges and realistic effects. |
As you explore these techniques, remember that practice is key. Try experimenting with different pressures on your charcoal; lighter strokes can create delicate highlights, while heavier strokes can produce rich, dark shadows. Don’t hesitate to mix and match these techniques to find your unique style. Just like a chef combines flavors to create a signature dish, you’ll develop a distinctive approach to shading that reflects your artistic voice.
In conclusion, shading techniques in charcoal drawing are not just about creating shadows; they’re about telling a story through your art. Each stroke, each layer, adds to the narrative of your piece. So grab your charcoal, experiment with these techniques, and watch as your drawings come to life!
- What is the best way to start shading with charcoal? Begin with light pressure and gradually build up layers. Practice hatching and cross-hatching to get comfortable with different techniques.
- Can I use my fingers for blending? Absolutely! Many artists prefer using their fingers for a more natural blend, but blending stumps or cloths can also be effective.
- How do I avoid making my charcoal drawings look muddy? Use clean blending tools and avoid over-smudging. Keep your charcoal sharp for finer details and lighter strokes for highlights.

Blending and Smudging
When it comes to charcoal drawing, blending and smudging are essential techniques that can elevate your artwork from ordinary to extraordinary. Imagine the way a soft breeze can transform a still pond into a shimmering canvas of reflections; that’s the magic blending can bring to your charcoal pieces. By mastering these techniques, you can create smooth transitions, soft edges, and a sense of depth that makes your drawings come alive.
Blending is all about creating a seamless gradient between different shades of charcoal. It allows you to soften harsh lines and create a more realistic representation of light and shadow. On the other hand, smudging is the act of manipulating the charcoal on the paper to achieve a desired effect. Both techniques can be used in tandem to produce stunning results, but each requires a bit of practice to perfect.
To get started with blending, you’ll need a few tools. Here’s a quick list of supplies that can help you achieve that smooth finish:
- Blending Stumps: These are tightly rolled paper tools that help you blend charcoal without applying too much pressure.
- Fingers: Sometimes, the best tool is your own fingers! Just make sure they are clean to avoid unwanted smudges.
- Soft Cloth: A soft cloth can be used to gently wipe or drag charcoal across the paper.
- Q-tips: These are great for small areas where precision is needed.
When blending, start with a light touch. Apply the charcoal lightly to the paper, and then use your blending stump or fingers to gently rub the area, working in circular motions. This will help to distribute the charcoal evenly. Remember, less is often more; it’s easier to add more charcoal than to take it away!
Now, let’s talk about smudging. Unlike blending, which focuses on creating gradients, smudging can add texture and depth to your drawings. It’s particularly useful for areas that require a softer look, such as skin tones or clouds. To smudge effectively, apply a bit of pressure with your tool of choice and move in the direction of the form you’re creating. For instance, when drawing a face, follow the contours of the cheekbones and jawline to maintain the natural shape.
However, be mindful of over-smudging. Just like adding too much salt to a dish can ruin the flavor, excessive smudging can muddy your artwork. It’s all about balance! A well-placed smudge can enhance the beauty of a piece, while too much can detract from it.
One of the most exciting aspects of charcoal is its versatility. You can use blending and smudging in various ways to achieve different styles. For example, if you’re going for a more dramatic look, try using compressed charcoal for rich, dark areas, then blend them into lighter sections for contrast. On the flip side, if you prefer a softer, more ethereal feel, stick with vine charcoal and focus on gentle smudging to create a dreamlike quality.
In conclusion, blending and smudging are two powerful techniques that can transform your charcoal drawings. With practice, you’ll find your unique style and discover how to manipulate these techniques to express your creativity fully. So grab your charcoal, experiment, and don’t be afraid to make a mess—it’s all part of the artistic journey!
Q: Can I use my fingers to blend charcoal?
A: Absolutely! Your fingers can be a great tool for blending, just make sure they are clean to avoid unwanted marks.
Q: What type of paper is best for blending and smudging?
A: A heavier paper with a bit of texture works best, as it can hold up to the pressure of blending and smudging without tearing.
Q: How do I avoid over-smudging?
A: Start with a light touch and gradually build up the intensity. It's easier to add more than to take away!
Tips for Beginners
Starting your journey into the world of charcoal drawing can be both exciting and a bit daunting. But don't worry! With the right mindset and a few practical tips, you can quickly overcome the initial hurdles and begin creating stunning artworks. First off, embrace the mess. Charcoal can be a bit messy, and that's part of its charm! Make sure to have a dedicated workspace where you can freely explore your creativity without worrying about making a mess. Lay down some newspaper or an old cloth to catch stray charcoal dust, and you're good to go!
Next, practice regularly. Like any skill, drawing with charcoal improves with practice. Set aside time each week to draw, even if it's just for 30 minutes. This consistent practice will help you develop your hand-eye coordination and get comfortable with the medium. Don't be afraid to experiment! Try drawing different subjects, from still life to portraits, and don't shy away from making mistakes. Remember, every artist was once a beginner!
When starting, it’s also essential to focus on the basics. Begin with simple shapes and forms before diving into more complex subjects. This foundational practice will help you understand light, shadow, and form, which are crucial when working with charcoal. As you grow more confident, you can gradually introduce more intricate details and techniques into your work.
Another important tip is to use a variety of charcoal types. Each type of charcoal has its unique qualities, and experimenting with them can significantly enhance your drawing experience. For instance, using vine charcoal for sketching allows for easy corrections, while compressed charcoal can help you achieve deep, rich blacks. Get to know each type, and you'll find your personal favorites!
Don't forget about your choice of paper. The texture and weight of your paper can dramatically affect your results. For beginners, a medium-textured paper is a great choice because it allows for both smooth and textured strokes. Try different papers to see which one feels right for your style. And remember, practice on scrap paper first before committing to your final piece!
Lastly, consider joining a community or taking a class. Sharing your work with others can provide valuable feedback and inspiration. Whether it's online forums or local art classes, connecting with fellow artists can motivate you to push your boundaries and try new techniques. Plus, you’ll make some great friends along the way!
Here are some common questions beginners often have about charcoal drawing:
| Question | Answer |
|---|---|
| Can I use regular paper for charcoal drawing? | While you can use regular paper, it's best to choose paper specifically designed for charcoal to achieve the best results. |
| How do I fix my charcoal drawings? | Using a fixative spray can help preserve your charcoal drawings and prevent smudging. |
| Is charcoal drawing suitable for all ages? | Absolutely! Charcoal drawing can be enjoyed by artists of all ages, from children to adults. |
| What should I do if I make a mistake? | Don't stress! Charcoal is forgiving. You can easily erase or blend mistakes to create a new effect. |
Frequently Asked Questions
- What is charcoal drawing?
Charcoal drawing is an artistic technique that uses charcoal as the primary medium to create expressive and dynamic artworks. It's known for its rich blacks and ability to produce a wide range of tones, making it a favorite among artists.
- What types of charcoal should I use?
There are several types of charcoal, including vine charcoal, compressed charcoal, and charcoal pencils. Vine charcoal is soft and great for blending, while compressed charcoal offers darker lines and is perfect for detailed work. Charcoal pencils provide precision and control for fine details.
- What kind of paper is best for charcoal drawing?
The best paper for charcoal drawing typically has a textured surface to hold the charcoal better. Look for paper specifically designed for charcoal or drawing, with a weight of at least 80 lb (130 gsm) to prevent tearing and smudging.
- How do I achieve different shading techniques in charcoal?
To master shading in charcoal, you can use techniques like hatching, cross-hatching, and smudging. Hatching involves drawing parallel lines, while cross-hatching uses intersecting lines to build depth. Smudging can create soft transitions between tones, enhancing the realism of your drawing.
- Are there any tips for beginners in charcoal drawing?
Absolutely! Start with soft vine charcoal for easy blending and practice on textured paper. Don't be afraid to experiment with different techniques, and remember that mistakes can lead to unique outcomes. It's all about enjoying the process and building your confidence!
- Can I erase charcoal easily?
Yes, one of the great things about charcoal is that it can be easily erased or adjusted. Use a kneaded eraser for gentle lifting of charcoal without damaging the paper. Just remember to work lightly at first, so you have more flexibility to make changes!
- What accessories do I need for charcoal drawing?
Essential accessories include blending stumps, kneaded erasers, and fixatives. Blending stumps help create smooth transitions, while kneaded erasers can lift charcoal without smudging. A fixative spray can be used to preserve your finished artwork and prevent smudging.


