Creating A Summer Mood With Pastel Painting
Ah, summer! The season that brings warmth, joy, and a burst of color to our lives. Have you ever tried to capture that vibrant essence through art? If not, pastel painting might just be your new favorite way to express those sunny vibes! Pastel painting is all about softness, blending, and creating a dreamy atmosphere that can transport viewers to sunlit fields or blooming gardens. In this article, we’ll dive into the world of pastel painting, exploring various techniques and tips to help you evoke that delightful summer mood. Whether you’re a seasoned artist or just starting out, there’s something here for everyone to enjoy and learn from!
Selecting the perfect pastel colors is crucial for setting a summer mood. Think about the warm, inviting hues that embody the essence of the season. Colors like soft yellows, warm pinks, and gentle blues can create a stunning palette that reflects the beauty of summer. To help you understand how to choose these colors effectively, let’s take a quick look at color theory:
| Color | Emotion | Usage |
|---|---|---|
| Soft Yellow | Happiness | Sunshine, flowers |
| Warm Pink | Joy | Sunsets, blossoms |
| Gentle Blue | Calm | Skies, water |
When choosing your colors, consider how they interact with one another. Complementary colors can create balance, while analogous colors can provide harmony. Play around with different combinations until you find the perfect mix that speaks to you!
Blending techniques can significantly enhance the soft, dreamy quality of pastel paintings. The beauty of pastels lies in their ability to create smooth transitions between colors, which is perfect for capturing the essence of summer landscapes. One popular method is to use your fingers or a blending stump to gently smudge the colors together. This technique allows you to achieve a soft gradient that mimics the way light interacts with the environment.
Another technique is to layer different colors on top of each other. Start with a base color and gradually add lighter or darker shades to create depth. This layering approach not only enhances the richness of your artwork but also adds a three-dimensional quality to your summer scenes.
Layering is an essential technique in pastel painting. By building layers effectively, you can create depth and dimension, making your summer scenes more vivid and engaging. Begin with a light touch, applying your first layer with a gentle hand. Gradually increase the pressure as you add subsequent layers, allowing each one to dry slightly before applying the next. This method will help you achieve a beautiful, textured finish that captures the essence of summer.
Applying fixatives can help preserve your pastel artwork. Fixatives come in various types, including workable and final fixatives. A workable fixative allows you to continue layering without disturbing your previous work, while a final fixative secures your artwork for display. To use them correctly, hold the can about 12 inches away from your painting and spray lightly in a sweeping motion. This will ensure an even application without saturating the pastels.
Texture adds interest to your paintings. You can create unique textures in your pastel works by using various tools and methods. For instance, try using a palette knife to scrape or apply color in a more controlled manner. Alternatively, you can experiment with sponges or brushes to achieve different effects. Each technique can enhance the overall summer atmosphere in your artwork, making it feel more alive and dynamic.
Nature is a rich source of inspiration for summer-themed pastel paintings. Look around you! The vibrant colors of flowers, the endless blue skies, and the lush green landscapes all provide endless opportunities for creativity. Take a stroll in a garden or a park, and observe how the light dances on the leaves and petals. Jot down your ideas or take reference photos to ignite your creativity when you sit down to paint.
Now that you have your colors and techniques down, let’s focus on composing a cohesive summer scene using pastels. Start by sketching a rough outline of your scene, considering the arrangement of elements like trees, flowers, and skies. Pay attention to perspective; this will help guide the viewer’s eye through your artwork. Think of your focal points—what do you want to stand out? Use contrasting colors and sharper details to draw attention to these areas.
Understanding light and shadow is vital for realism in your artwork. To depict sunlight and shadows effectively, observe how they interact in real life. Notice how light can create warm highlights on surfaces while casting cooler shadows in the recesses. Use lighter pastels for highlights and darker shades for shadows, blending them seamlessly to give your painting depth and dimension.
The finishing touches can elevate your artwork from good to stunning. Once you’re satisfied with your painting, step back and evaluate it. Are there areas that need more detail? Perhaps a few extra highlights or shadows? After adding your final details, consider how to present your pastel paintings effectively. Framing them behind glass can protect your work while showcasing its beauty, allowing the vibrant colors to shine through.
- What materials do I need for pastel painting? You will need soft pastels, pastel paper, blending tools, and fixatives.
- Can I use pastels on canvas? Yes, but it's recommended to use a textured surface for better adhesion.
- How do I clean my pastels? Use a soft brush to gently remove dust and debris from your pastels.

Choosing the Right Pastel Colors
When it comes to pastel painting, the colors you choose can make all the difference in evoking that vibrant summer mood. Think of pastel colors as the palette of summer itself; they should reflect the warmth of the sun, the coolness of the ocean breeze, and the lush greenery of nature. To achieve this, it’s essential to understand some basic principles of color theory and how different hues can impact the feelings your artwork conveys.
Start by considering the color wheel. The colors that remind us of summer are typically bright and warm, such as yellows, oranges, and pinks. These shades can evoke feelings of joy and warmth, much like a sunny day at the beach. On the other hand, cooler colors like blues and greens can represent refreshing elements like water and foliage. Mixing these colors can create stunning contrasts that mimic the vibrant scenery of summer.
Here’s a quick guide to some essential pastel colors that can help you capture the essence of summer:
| Color | Emotion/Energy | Usage |
|---|---|---|
| Sunny Yellow | Happiness, Energy | Sunlight, Flowers |
| Coral Pink | Warmth, Comfort | Sunsets, Skin Tones |
| Sky Blue | Calm, Serenity | Skies, Water |
| Leaf Green | Life, Growth | Grass, Trees |
When selecting your colors, think about the mood you want to create. Do you want your painting to feel lively and energetic, or soft and tranquil? A good practice is to create a color palette before starting your painting. This can be a simple swatch of the colors you plan to use, allowing you to visualize how they will work together. Remember, the key is to experiment! Don’t be afraid to mix colors to find that perfect shade that captures the spirit of summer.
As you paint, consider the context of your scene. If you're painting a beach scene, you might want to use brighter colors to reflect the lively atmosphere. However, if you're depicting a quiet garden at twilight, softer pastels can create a more serene feeling. The interplay between warm and cool colors can also help you achieve depth and dimension in your artwork.
In conclusion, choosing the right pastel colors is not just about picking what looks pretty; it’s about understanding how those colors can work together to evoke emotions and tell a story. So grab your pastels, explore the colors of summer, and let your creativity flow!
Techniques for Blending Pastels
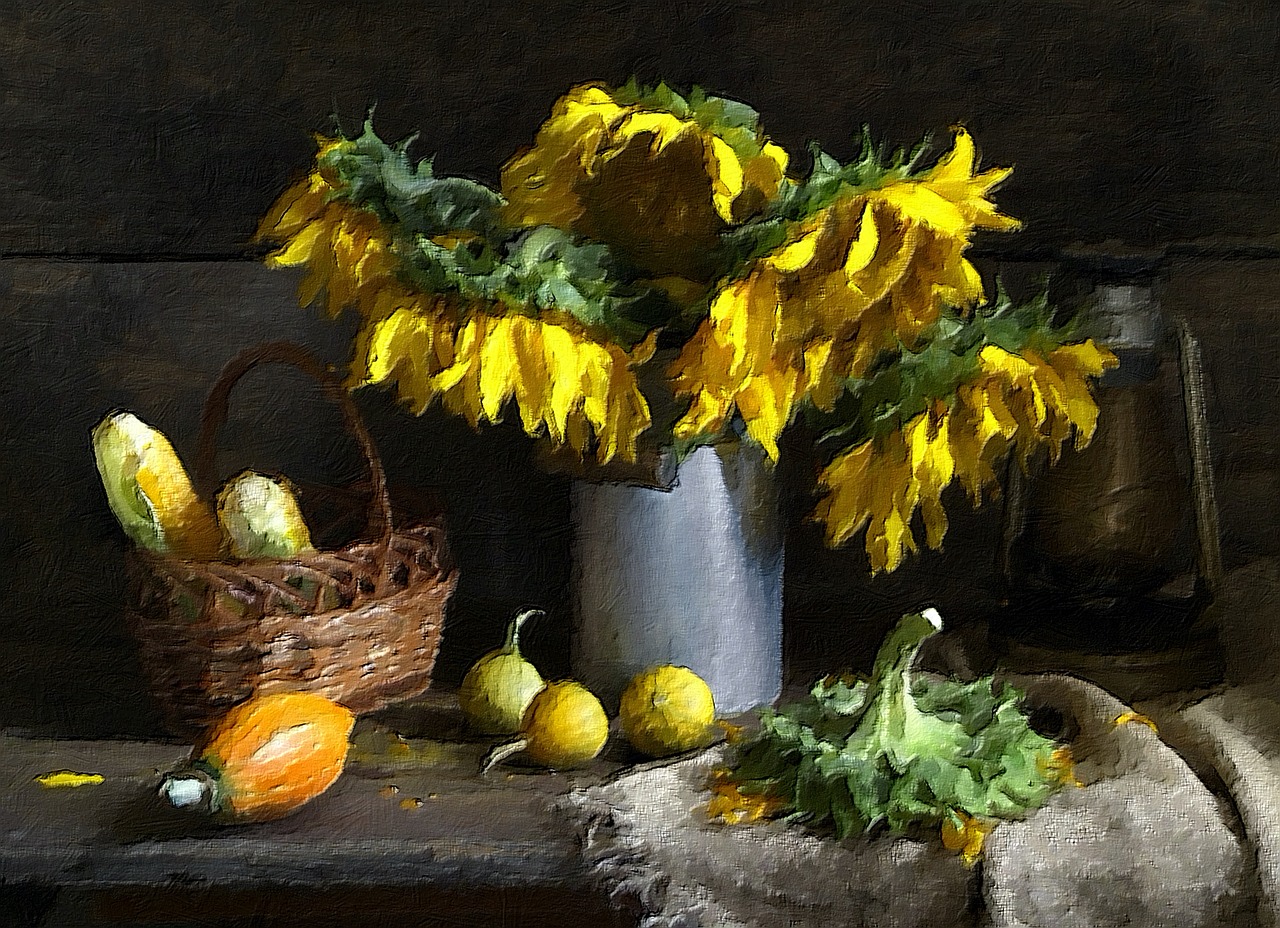
Blending pastels is like mixing the perfect cocktail; it requires the right ingredients and a little finesse. If you want to achieve that soft, dreamy quality that makes pastel paintings so enchanting, mastering blending techniques is essential. Whether you're a novice or an experienced artist, understanding how to blend pastels effectively can transform your artwork into a vibrant summer scene that captures the essence of the season.
One of the most popular methods for blending pastels is using your fingers. Yes, those handy tools at the end of your hands can create beautiful transitions between colors. Simply apply a light touch and use circular motions to merge colors seamlessly. However, be cautious; too much pressure can smudge your work, so gentle, deliberate movements are key. If you prefer a more refined approach, consider using blending stumps or tortillons. These tools are perfect for achieving precise blends, especially in detailed areas of your painting.
Another technique worth exploring is the use of a soft cloth or sponge. By lightly rubbing the pastel with a cloth, you can create a soft gradient that mimics the gentle transitions found in nature. This method is particularly effective when working on larger areas, like skies or fields, where a smooth blend is desired. Remember, the goal is to evoke that warm, sunlit feeling of summer, and blending is your secret weapon!
It's important to note that layering can also play a significant role in your blending techniques. Start with a base layer of color and gradually build up additional layers, blending as you go. This not only adds depth but also allows for more vibrant color combinations. Don't be afraid to experiment; layering different colors can yield stunning results that capture the lively spirit of summer.
For those looking to add a little more texture to their paintings, consider using a technique called "scrumbling." This involves applying a layer of pastel in a circular motion, creating a textured effect that can resemble the soft petals of summer flowers or the rippling waves of a sunny beach. The beauty of pastels lies in their versatility, and scrumbling is just one way to explore that.
Lastly, don’t forget about the importance of color theory when blending pastels. Understanding how colors interact with each other can elevate your artwork to new heights. For instance, complementary colors can create striking contrasts, while analogous colors can produce harmonious blends. Here’s a quick reference table to help you visualize some color combinations:
| Color Scheme | Example Colors | Effect |
|---|---|---|
| Complementary | Blue & Orange | Vibrant contrast that pops |
| Analogous | Yellow, Yellow-Green, Green | Harmonious and soothing |
| Triadic | Red, Yellow, Blue | Balanced and dynamic |
In conclusion, blending pastels is an art form in itself, requiring practice and a willingness to experiment. By incorporating these techniques into your pastel painting routine, you can evoke the vibrant essence of summer in your artwork. So grab your pastels, let your creativity flow, and don’t be afraid to get a little messy along the way!
- What type of pastels are best for blending? Soft pastels are generally preferred for blending due to their smooth texture and rich pigmentation.
- Can I use water with pastels for blending? While some artists experiment with water, it’s typically not recommended as it can alter the texture and integrity of the pastels.
- How can I fix my pastel artwork after blending? Applying a fixative spray can help preserve your artwork without disturbing the blended colors.
Layering for Depth
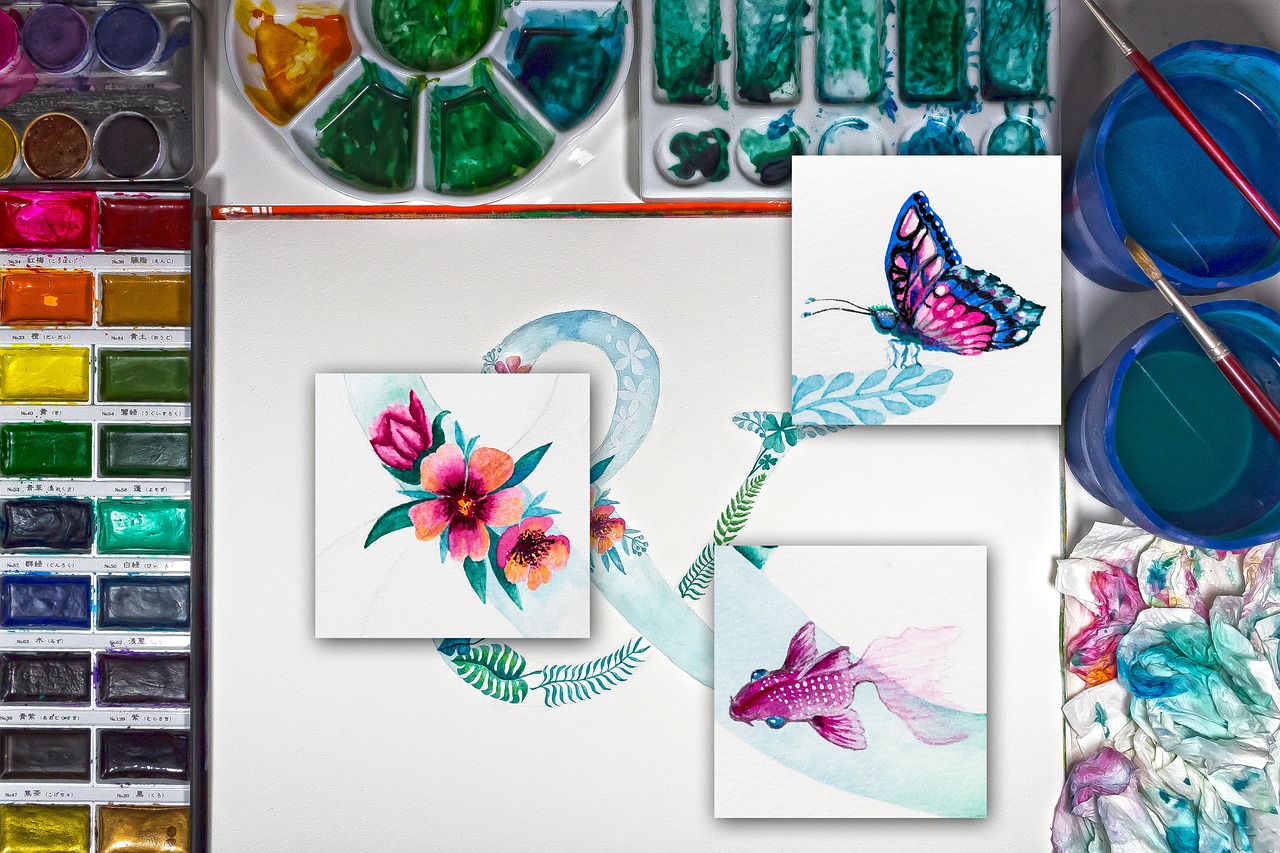
When it comes to pastel painting, layering is not just a technique; it’s a magical process that transforms your artwork into a vibrant masterpiece. Imagine building a cake, where each layer adds flavor and texture, creating a delightful experience with every bite. Similarly, layering with pastels allows you to achieve a depth that draws the viewer in and evokes the essence of summer. The key is to start with a light touch and gradually build up your colors. This approach not only enhances the richness of your hues but also allows for seamless transitions between shades.
To effectively layer your pastels, consider the following steps:
- Start Light: Begin with the lighter shades to lay a foundation for your painting. This will help the subsequent layers to blend more easily.
- Build Gradually: Use a gentle hand and apply more pressure as you add darker shades. This gradual build-up will create a natural depth.
- Blend Between Layers: Don’t be afraid to blend colors as you layer. This technique can create beautiful gradients that mimic the soft, hazy feel of a summer day.
- Use Different Tools: Experiment with various tools like your fingers, blending stumps, or even soft cloths to manipulate the pastels and create unique textures.
- Don’t Rush: Layering takes time and patience. Allow each layer to dry or set before adding the next, ensuring that your colors remain vibrant and true.
One of the most rewarding aspects of layering is the ability to create atmospheric effects. For instance, if you’re painting a sunset, you can start with a light yellow base, gradually adding oranges and pinks, and finally deepening the sky with purples and blues. This method not only adds depth but also captures the fleeting beauty of a summer sunset, making your painting truly come alive.
Remember, layering is about **exploration** and **expression**. Don’t hesitate to experiment with different techniques and see what resonates with your artistic vision. Each layer you add is a step closer to capturing that vibrant summer mood, so embrace the process and enjoy the journey!
Q: How many layers should I apply to my pastel painting?
A: There’s no strict rule on the number of layers, but typically, 3-5 layers can create a rich depth. Just ensure you allow each layer to dry before adding more.
Q: Can I use fixatives between layers?
A: Yes, using a light fixative can help to set layers and prevent smudging. However, be cautious, as too much fixative can alter the texture and vibrancy of your pastels.
Q: What if my layers become muddy?
A: If your colors start to look muddy, try using a lighter touch and avoid mixing too many colors together. It’s often helpful to step back and assess your work from a distance to see how the colors interact.

Using Fixatives
When it comes to pastel painting, one of the most crucial steps in preserving your artwork is the application of fixatives. These sprays or liquids help to secure the pastel pigments to the surface, preventing smudging and fading over time. Imagine putting your heart and soul into a beautiful summer landscape, only to have it ruined by a simple touch or a passing breeze! That’s where fixatives come to the rescue.
There are two main types of fixatives: workable fixatives and final fixatives. Workable fixatives are designed to be used during the painting process, allowing you to layer additional pastels without disturbing the previous layers. They provide a light hold, which is perfect for artists who want to keep building up their artwork without losing the soft, dreamy quality that pastels are known for. On the other hand, final fixatives are used once your artwork is complete. They offer a stronger hold, ensuring that your masterpiece remains intact for years to come.
When using fixatives, it's essential to follow a few key tips to achieve the best results:
- Choose the Right Fixative: Not all fixatives are created equal. Some may alter the color of your pastels, while others may leave a sheen. Always test on a small area first.
- Distance is Key: Hold the spray can about 12-18 inches away from the artwork. This distance allows for an even application without saturating the surface.
- Light Coats: Apply several light coats rather than one heavy coat. This technique helps to maintain the texture and vibrancy of your pastels.
- Ventilation: Always work in a well-ventilated area. The chemicals in fixatives can be strong, so keeping the air fresh is vital for your health.
After applying the fixative, give your artwork ample time to dry before handling it. This waiting period allows the fixative to set properly, ensuring that your pastel painting remains as stunning as the day you completed it. Remember, the goal is to preserve that joyful essence of summer that you’ve captured on your canvas.
In summary, using fixatives is not just an optional step; it's an essential part of the pastel painting process that can make a significant difference in the longevity and quality of your artwork. By choosing the right fixative and applying it correctly, you can ensure that your summer-inspired pieces shine brightly for years to come.
Q: What is the best fixative for pastel paintings?
A: The best fixative often depends on personal preference, but workable fixatives are great for layering, while final fixatives are ideal for preserving completed works. Always test different brands to find one that suits your style.
Q: Can I use hairspray as a fixative?
A: While some artists have used hairspray, it is not recommended as a professional fixative. Hairspray can yellow over time and may not provide the same level of protection as dedicated art fixatives.
Q: How often should I apply fixative to my pastel artwork?
A: It’s best to apply fixative after completing each layer of your artwork. This practice helps to secure the pastels and allows for further layering without disturbing previous work. A final coat should be applied once the artwork is completed.
Experimenting with Texture
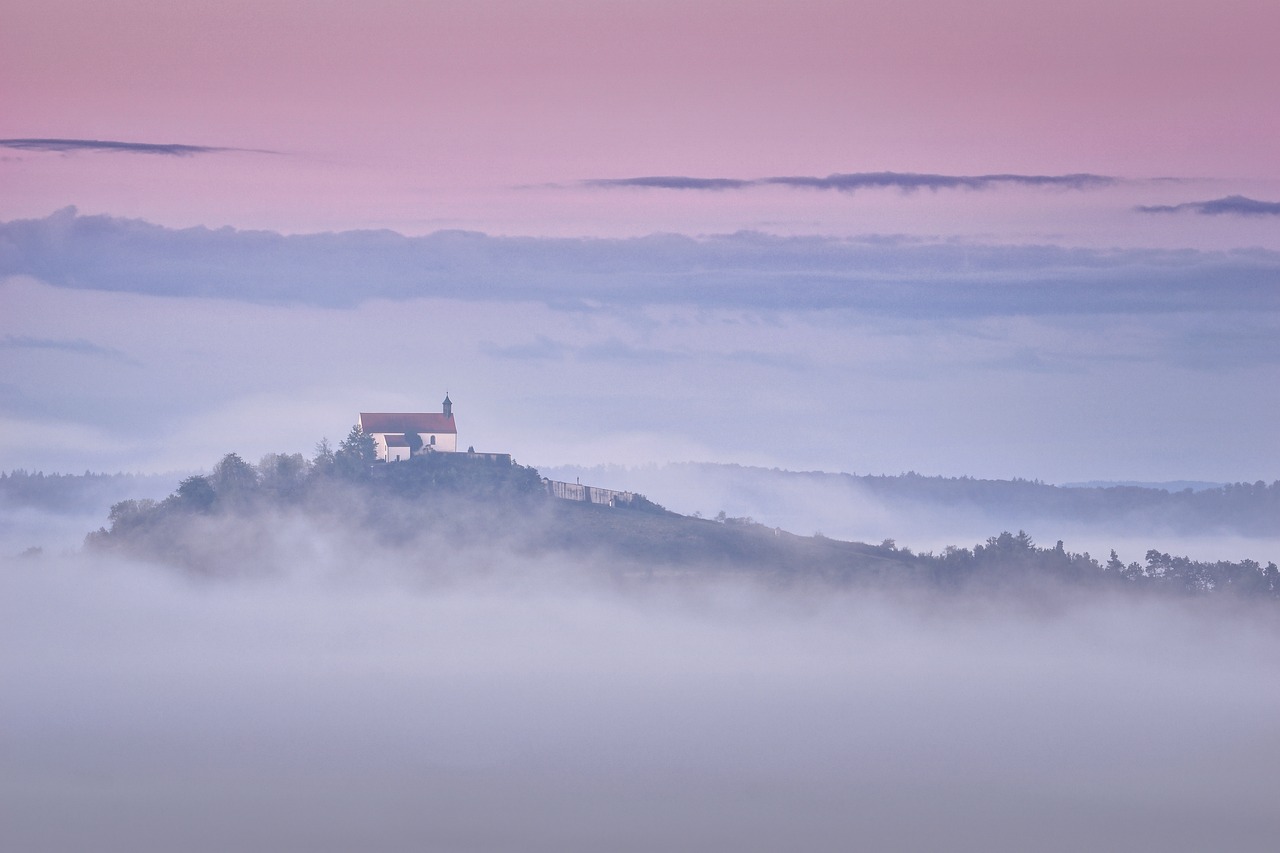
When it comes to pastel painting, texture is your secret weapon. It’s like seasoning in cooking; the right amount can elevate your dish from bland to gourmet. In the context of summer-themed artwork, texture can evoke the feel of a sun-drenched beach or the softness of blooming flowers. But how do you achieve that luscious texture? Let’s dive into some techniques that can help you explore this fascinating aspect of pastel painting.
One of the most effective ways to add texture is through the use of various tools. While your fingers may be the most natural tool, don’t underestimate the power of other instruments. Consider using sponges, brushes, or even palette knives to create unique effects. Each tool interacts with the pastels differently, allowing you to achieve a diverse range of textures. For instance, a sponge can help you create a soft, cloud-like effect, perfect for those dreamy summer skies, while a palette knife can produce sharp, defined lines that mimic the jagged edges of rocky cliffs.
Another exciting technique is layering different colors to create a textured effect. By applying one color over another, you can create depth and complexity. Imagine painting a vibrant sunset; the layers of oranges, pinks, and purples can blend seamlessly to create a rich tapestry of color, giving the illusion of movement and warmth. As you layer, don’t be afraid to experiment with different pressure levels. Pressing harder will produce a more intense color, while a lighter touch can create a softer, more ethereal look.
Additionally, consider incorporating mixed media into your pastel work. Using materials like charcoal, ink, or even watercolor can add an unexpected twist to your summer scenes. For example, you could use watercolor as a base to create a wash of color, then layer pastels on top for added texture and vibrancy. This combination can help you capture the essence of summer in a way that is both unique and visually striking.
Don’t forget about the surface you choose to work on. Different papers have varying textures, which can significantly impact the final outcome of your artwork. A textured paper can grip the pastel more effectively, allowing for more pronounced strokes and a richer texture. On the other hand, a smoother paper can yield a soft, delicate finish. Experiment with different surfaces to find what best suits your artistic vision.
Lastly, remember that texture is not just about the physical surface; it’s also about the emotional response it evokes. Think about what summer feels like to you. Is it the gentle caress of a warm breeze? The roughness of sand between your toes? Use these feelings as inspiration to guide your textural choices. The more personal your approach, the more your artwork will resonate with viewers.
- What tools can I use to create texture in pastel paintings? You can use a variety of tools such as sponges, brushes, and palette knives to achieve different textures.
- Can I mix other media with pastels? Yes! Incorporating materials like charcoal, ink, or watercolor can enhance the texture and depth of your pastel artwork.
- Does the type of paper affect the texture of my painting? Absolutely! Different papers have unique textures that can influence how pastels adhere and appear in your artwork.
- How do I know if I’ve achieved the right texture? Trust your instincts! If the texture evokes the feeling you want to convey, then you’ve likely achieved the right effect.
Inspiration from Nature
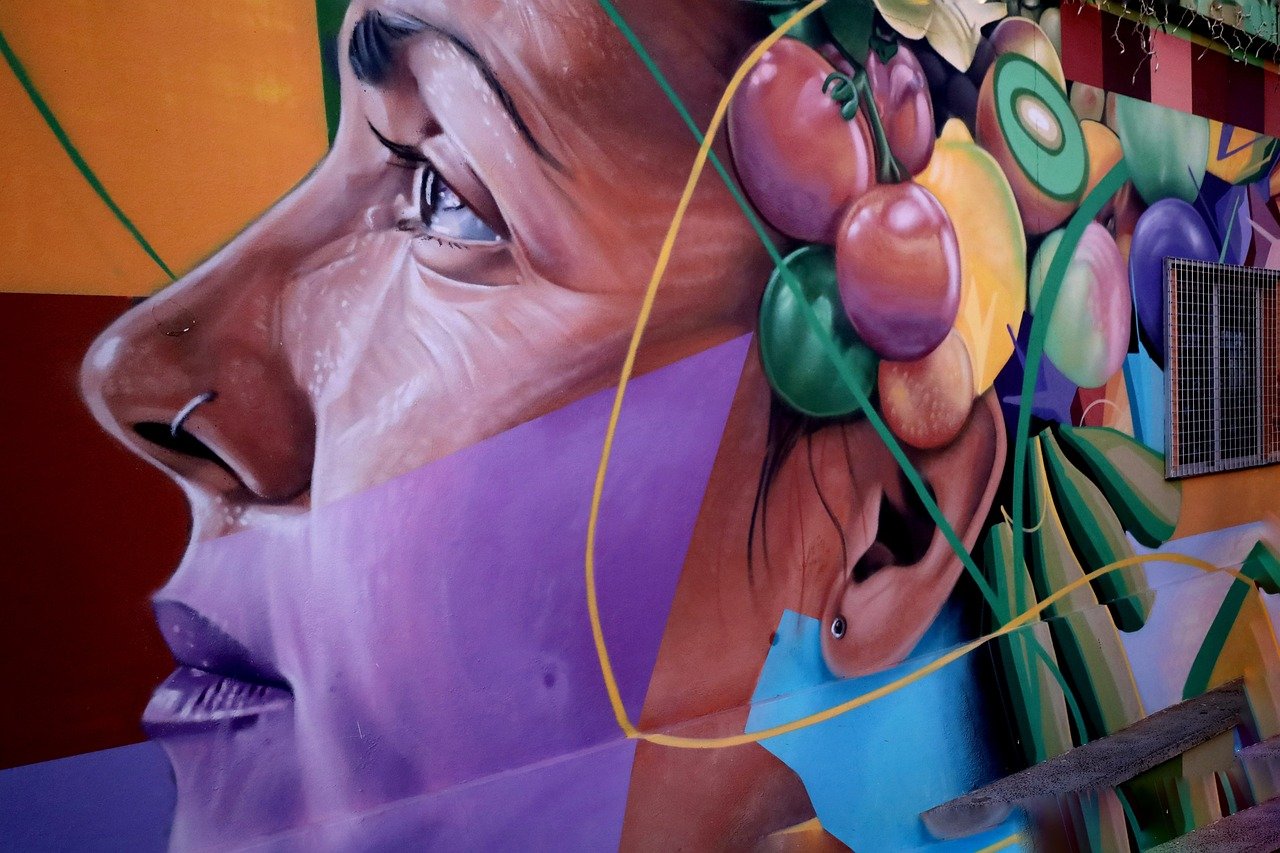
When it comes to capturing the essence of summer in pastel paintings, nature serves as the ultimate muse. Imagine standing in a sun-drenched meadow, surrounded by vibrant wildflowers swaying in the gentle breeze. The colors you see are not just hues; they are the heartbeats of summer, each shade telling a story. From the rich greens of lush grass to the soft blues of a clear sky, nature offers an endless palette that can ignite your creativity.
One of the most inspiring aspects of summer is the way light interacts with the environment. Think about how sunlight filters through the leaves of a tree, casting playful shadows on the ground. This interplay of light and shadow can be a powerful element in your artwork. To capture this, pay attention to the time of day you choose to paint. Early mornings and late afternoons provide a golden glow that can enhance the warmth of your summer scenes.
Another incredible source of inspiration is the flora and fauna that flourish during the summer months. Consider the following natural elements:
- Flowers: Sunflowers, daisies, and lavender can add vibrant pops of color to your paintings.
- Sky: The transition from a bright blue to a soft pink at sunset can create stunning backgrounds.
- Landscapes: Rolling hills, sandy beaches, and serene lakes all evoke a sense of tranquility and joy.
As you explore these elements, remember to observe closely. Take a moment to sit outside and really look at the world around you. Notice how colors blend and change in different lighting conditions. This practice can deepen your understanding of how to translate what you see onto your canvas. Don't be afraid to take photographs or make quick sketches to capture fleeting moments that inspire you.
Moreover, consider incorporating textures that reflect the natural world. For instance, the roughness of tree bark or the delicate petals of a flower can add a tactile quality to your artwork. You might even experiment with different tools to create these textures, like using a palette knife for a rough finish or your fingers for a softer touch.
Ultimately, the key to drawing inspiration from nature is to immerse yourself in it. Whether it's a walk in the park or a day at the beach, let the sights, sounds, and smells of summer fuel your artistic journey. By doing so, you'll not only create beautiful pastel paintings but also capture the very spirit of the season.
Q: What are the best pastel colors to use for summer landscapes?
A: Bright yellows, soft blues, and vibrant greens are excellent choices. They evoke the warmth and liveliness of summer.
Q: How can I preserve my pastel artwork?
A: Use fixatives to protect your work from smudging. Make sure to apply them in a well-ventilated area.
Q: Can I mix pastels with other mediums?
A: Yes! Many artists enjoy combining pastels with watercolors or acrylics for added depth and texture.
Q: What should I focus on when painting summer scenes?
A: Pay attention to light and shadow, as well as the arrangement of elements to create a cohesive composition.
Creating a Summer Scene
Creating a summer scene with pastels is like painting a dream that captures the essence of sunshine, warmth, and vibrant colors. It’s about more than just slapping some colors on a canvas; it’s about crafting a moment that feels alive and inviting. To start, consider the composition of your scene. Think of it as setting the stage for a beautiful summer day. You want to guide the viewer's eye through your painting, allowing them to experience the warmth of the sun and the gentle rustle of leaves in a summer breeze.
When arranging elements in your painting, think about the rule of thirds. This classic technique suggests dividing your canvas into three equal parts both horizontally and vertically, creating a grid. Positioning key elements along these lines or at their intersections can create a more dynamic composition. For instance, you might place a sun-drenched meadow in one section, with a vibrant blue sky stretching across the top, and a cluster of colorful flowers in another. This not only adds interest but also invites the viewer to explore every corner of your artwork.
Perspective is another critical factor in creating a convincing summer scene. Whether you're depicting a vast landscape or a cozy backyard, understanding how to manipulate perspective can add depth and realism. For instance, objects that are closer to the viewer should appear larger and more detailed, while those further away should be smaller and less distinct. This technique can help convey the feeling of space and distance, making your scene feel more expansive and inviting.
Don’t forget about focal points! Every great scene has a main attraction that draws the viewer in. This could be a bright sun setting on the horizon, a vibrant flower patch, or even a playful child splashing in a pool. Use contrasting colors and sharper details to make your focal point stand out. For example, if your background is a soft pastel blue, a bright yellow sun will pop, capturing the viewer's attention immediately.
Finally, consider the emotional tone of your painting. What feeling do you want to evoke? Is it the carefree joy of a summer picnic or the serene beauty of a quiet sunset? Incorporating elements that resonate with your emotional intent can help your audience connect with the scene on a deeper level. Think about the colors you choose, the shapes you create, and the overall atmosphere you wish to convey. A soft, warm palette can evoke feelings of calm and happiness, while bolder colors can express excitement and energy.
In summary, creating a summer scene with pastels is an art form that combines technical skill with personal expression. By focusing on composition, perspective, focal points, and emotional resonance, you can create a vibrant and inviting masterpiece that captures the essence of summer. So grab your pastels, let your imagination soar, and don’t be afraid to experiment. After all, the beauty of art lies in its ability to transport us to a different time and place, much like a sunny summer day.
- What materials do I need for pastel painting? You will need soft pastels, pastel paper, blending tools, and fixative spray.
- Can I mix pastel colors? Yes, you can blend and layer pastel colors to create new shades and effects.
- How do I preserve my pastel artwork? Use a fixative to prevent smudging and fading, and store your work in a protective sleeve.
- Is pastel painting suitable for beginners? Absolutely! Pastels are user-friendly and forgiving, making them a great choice for artists of all levels.
Capturing Light and Shadow
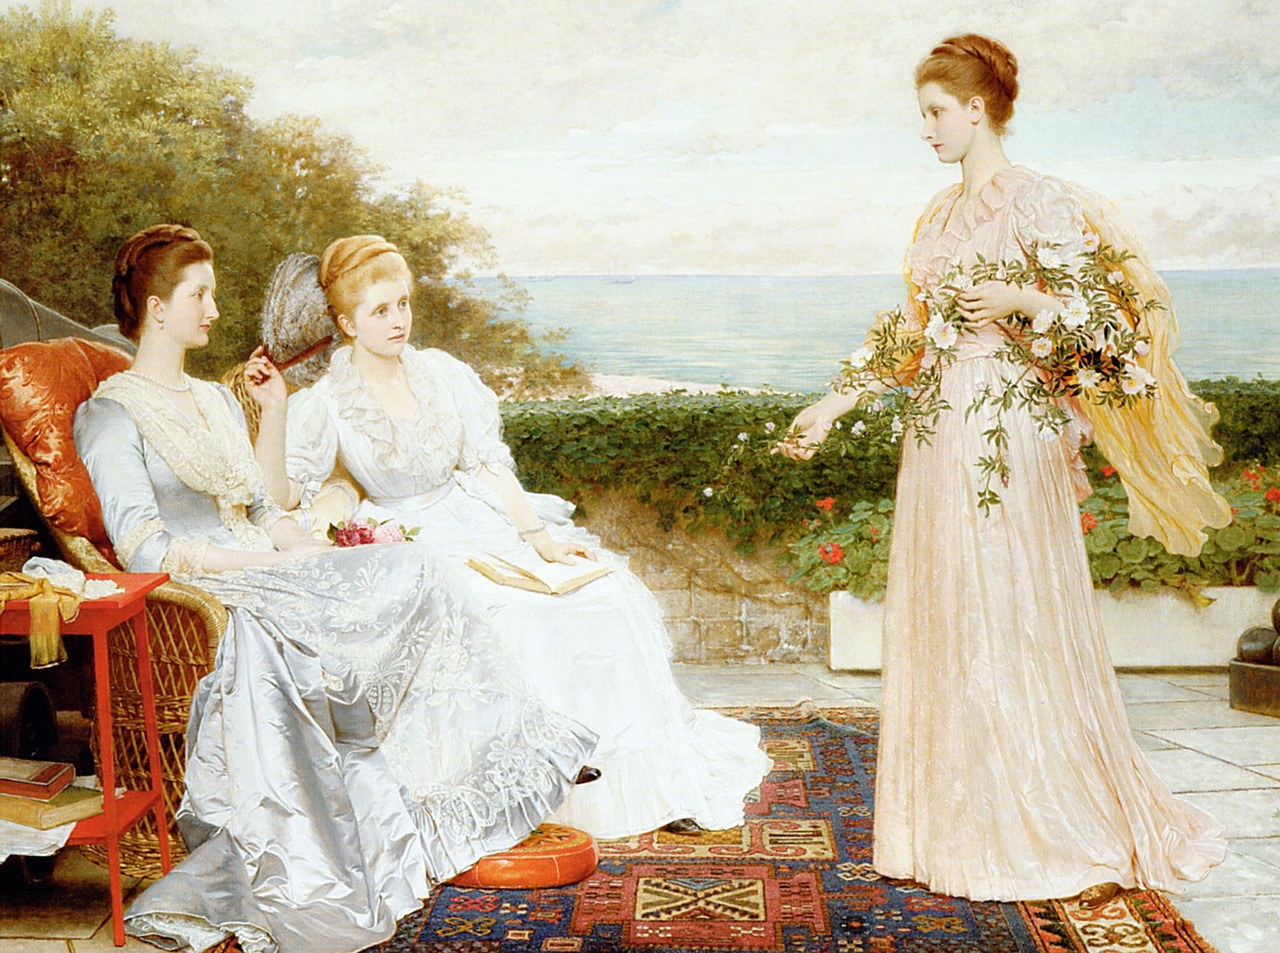
When it comes to pastel painting, is essential for creating depth and realism in your artwork. Think of light as the brush that paints the world around us, illuminating colors and creating contrasts that breathe life into your scenes. Just like a sunny day can transform a dull landscape into a vibrant paradise, mastering the interplay of light and shadow can elevate your pastel paintings to new heights.
To begin, it's crucial to understand the direction of light. Is it coming from above, casting long shadows, or is it diffused through clouds, creating a soft glow? Observing the source of light will help you determine how it interacts with objects in your composition. For example, if you're painting a summer beach scene, the sun's rays might create sharp shadows under beach umbrellas while illuminating the sand with a warm, golden hue.
One effective technique for depicting light is to use a light-to-dark approach. Start by applying lighter pastel colors where the light hits, gradually layering darker hues in shadowed areas. This method not only enhances the three-dimensionality of your subjects but also mimics the natural gradients found in real life. For instance, when painting a sunset, blend soft pinks and yellows at the horizon, transitioning into deeper purples and blues as you move upwards. This gradient creates a stunning visual effect that captures the essence of a summer evening.
Don't forget to pay attention to the color temperature of light as well. Warm colors, such as yellows and oranges, evoke feelings of warmth and joy, reminiscent of sunny summer days, while cool colors like blues and greens can create a sense of calm and serenity. By strategically placing warm and cool tones next to each other, you can enhance the contrast between light and shadow, making your paintings more dynamic.
Another tip is to observe how shadows behave in different environments. For example, shadows on a sandy beach will appear softer and more diffused compared to the sharp, defined shadows cast by trees in a park. To practice, you might want to set up a simple still life with objects that have varying textures and colors. Experiment with how the light interacts with each object, and try to replicate that in your artwork.
Finally, remember that highlighting is just as important as shadowing. After establishing your shadows, go back in with lighter pastels to add highlights that catch the light. This could be the glimmer of sunlight on water or the sparkle of dew on grass. The contrast between light and shadow, combined with these highlights, will give your painting a polished and lively finish.
- What types of pastels are best for capturing light and shadow? Soft pastels are ideal for blending and achieving soft transitions, while harder pastels can be used for detailed highlights.
- How can I practice capturing light and shadow effectively? Set up a still life with a strong light source and observe how light interacts with different objects. Practice sketching these observations.
- Should I use reference photos? Yes! Reference photos can provide valuable insights into how light and shadow play across various subjects.
Final Touches and Presentation
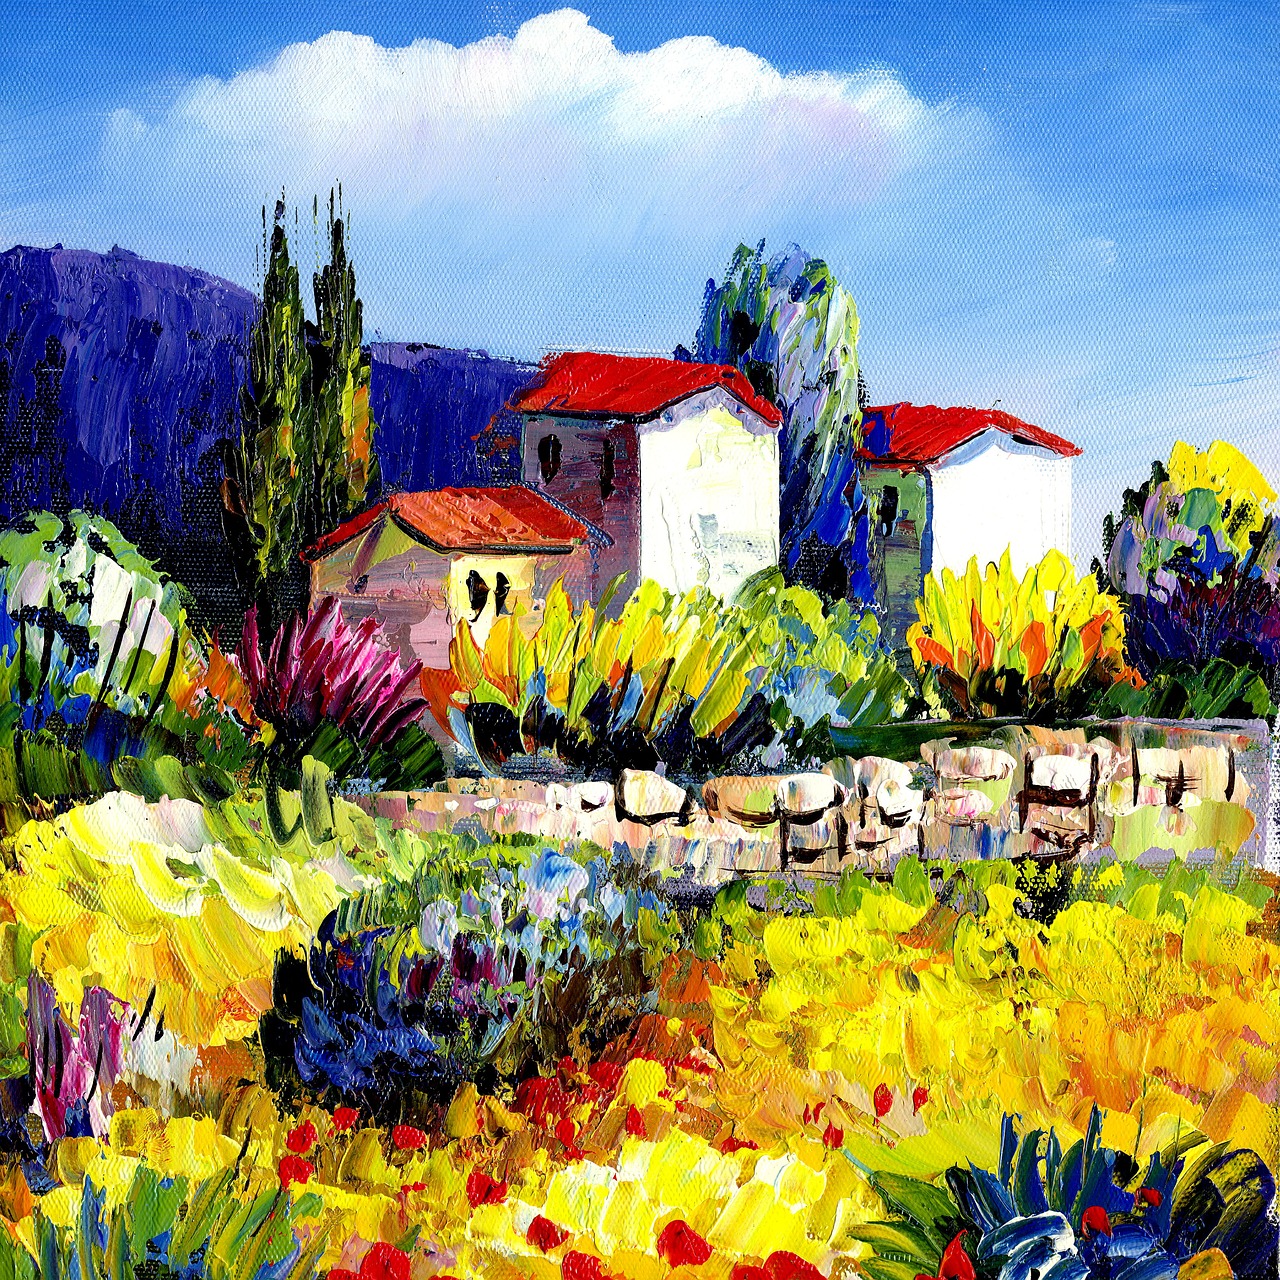
When it comes to pastel painting, the final touches can truly make or break your artwork. You've poured your heart and soul into capturing the essence of summer, and now it's time to ensure that your piece reflects all that warmth and vibrancy. Think of this stage as the cherry on top of your artistic sundae—without it, the whole thing might feel incomplete. So, how do you go about adding those essential finishing touches?
First and foremost, take a step back and view your artwork from a distance. This will help you see any areas that may need a little more definition or color enhancement. Sometimes, the best adjustments come from simply observing your work from a new perspective. You might notice that a particular section needs a bolder hue or perhaps a softer transition. Don't be afraid to get in there and make those changes!
Next, consider the importance of presentation. The way you showcase your pastel paintings can significantly influence how they are perceived. A beautifully framed piece can elevate the entire aesthetic, drawing viewers in and making them appreciate your work even more. When selecting a frame, opt for one that complements the colors and mood of your artwork. For example, a light, airy frame can enhance a summer scene, while a darker frame might add a dramatic flair.
Additionally, using a mat board can add a professional touch. It not only provides a buffer between the artwork and the frame but also helps to protect your pastels from smudging. Make sure to choose a mat color that harmonizes with the colors in your painting. This small detail can make a big difference in the overall presentation.
Don’t forget about the protective measures! Applying a fixative is crucial to preserving your artwork’s integrity. There are various types of fixatives available, and understanding how to use them correctly is key. A workable fixative allows you to layer without disturbing previous work, while a final fixative provides a protective layer against dust and smudging. Just remember to spray in a well-ventilated area and follow the manufacturer’s instructions for the best results.
Lastly, consider how you want to display your artwork. Whether you choose to hang it in your home, enter it into an exhibition, or even share it online, the method of presentation can greatly affect how your art is received. If you're sharing online, make sure to take high-quality photographs that accurately represent the colors and details of your pastel painting. Good lighting and a clean background can help your artwork shine in the digital space.
In summary, the final touches and presentation of your pastel painting are just as important as the painting process itself. With careful attention to detail and a focus on how your work is displayed, you can ensure that your summer-inspired pieces not only capture the essence of the season but also resonate with viewers for years to come.
- What is the best way to frame pastel paintings?
Using a frame that complements your artwork and adding a mat board can enhance the presentation. Ensure the frame is appropriate for the size and style of your painting.
- How do I prevent my pastels from smudging?
Applying a fixative after completing your painting can help protect it. Always use fixatives in a well-ventilated area.
- Can I use regular spray fixatives on pastels?
Yes, but make sure to select a fixative specifically designed for pastels to avoid altering the colors or texture of your artwork.
- How can I photograph my pastel paintings for online sharing?
Use natural light and a neutral background to capture the true colors and details of your artwork. Avoid direct sunlight to prevent glare.
Frequently Asked Questions
- What pastel colors are best for creating a summer mood?
When it comes to capturing that vibrant summer essence, think of warm yellows, soft pinks, and bright blues. These colors not only evoke warmth but also bring to mind sunny skies and blooming flowers. Mixing in some pastel greens can add a refreshing touch, reminiscent of lush summer landscapes.
- How do I blend pastels effectively?
Blending pastels is all about technique! You can use your fingers, blending stumps, or even a soft cloth to gently mix colors on your canvas. Start with light pressure and build up to achieve those dreamy transitions. Remember, it's all about layering smoothly to create that soft, summer glow!
- What is the best way to layer pastels for depth?
Layering is key to adding dimension to your artwork. Begin with a base layer of lighter colors and gradually build up darker shades on top. This technique not only enhances depth but also allows for more vibrant colors to shine through. Just like building a summer sunset, start soft and work your way to bold!
- How do fixatives work with pastel paintings?
Fixatives are like a protective shield for your artwork! They help to preserve the vibrancy of your pastels and prevent smudging. Make sure to apply them in light, even coats from a distance to avoid altering the colors. It's a crucial step to keep your summer scenes looking fresh and lively.
- What tools can I use to create texture in my pastel paintings?
Texture can bring your summer scenes to life! Try using tools like palette knives, sponges, or even old toothbrushes to create unique effects. Each tool can produce different textures, adding interest and depth to your artwork, much like the varied landscapes of summer.
- Where can I find inspiration for summer-themed pastel paintings?
Nature is your best friend when seeking inspiration! Take a stroll through a garden, visit a beach, or simply look up at the sky. Pay attention to colors, shapes, and light. Snap some photos or make sketches to capture those summer vibes that will fuel your creativity.
- How can I effectively capture light and shadow in my paintings?
Understanding light and shadow is crucial for realism. Observe how sunlight interacts with objects in your surroundings. Use lighter pastels for areas hit by light and darker shades for shadows. This contrast will help create depth and dimension, making your summer scenes pop!
- What are some final touches I should consider for my pastel artwork?
Final touches can make all the difference! Consider adding highlights with a white pastel or a touch of fixative to enhance vibrancy. Framing your artwork can also elevate its presentation, making it feel complete and ready to showcase the joyful spirit of summer.


