How to Improve Your Painting Skills with Dry Brushing
Are you ready to take your painting to the next level? If you've ever felt that your artwork lacks that special *oomph*, then dry brushing might just be the magical technique you need! This article explores the technique of dry brushing in painting, offering tips and insights to enhance your skills and achieve stunning effects in your artwork. Imagine being able to add texture and depth effortlessly to your pieces, making them pop with life and vibrancy. Dry brushing can help you achieve just that, allowing you to transform simple strokes into breathtaking details.
So, what exactly is dry brushing? In essence, it's a technique that involves using a brush with very little paint on it, allowing you to create a range of textures and effects that can elevate your artwork. This technique has a rich history, dating back to ancient times when artists sought innovative ways to depict light and shadow. By using a dry brush, you can achieve a soft, feathery touch that can evoke a sense of realism or even a dreamy quality in your paintings.
To master dry brushing, specific tools are essential. You can't just grab any old brush and expect to create magic! The right tools can make all the difference in your results. Here, we will discuss the types of brushes, paints, and surfaces that work best for this technique. Trust me, investing in quality materials will pay off in spades.
Selecting the appropriate brushes is crucial for effective dry brushing. Not all brushes are created equal, and the type you choose can significantly impact the final outcome of your work. You’ll want to consider various options:
When it comes to brushes, you have two main categories: natural and synthetic. Natural brushes, made from animal hair, tend to hold more paint and provide a softer touch, which can be great for blending. On the other hand, synthetic brushes are often more durable and can work well with thicker paints. Ultimately, the choice between these two depends on your personal style and the effects you want to achieve.
The shape and size of your brushes can also alter the texture you create. Flat brushes are excellent for broad strokes and filling in larger areas, while round brushes can help you achieve fine details. Experimenting with different shapes can lead to surprising results. For instance, a fan brush can create unique textures that mimic natural elements like grass or fur.
Choosing the right paint is vital for achieving desired effects. Acrylics are often favored for dry brushing due to their quick drying time and versatility. Oil paints, while slower to dry, can also work beautifully, allowing for richer textures. It's essential to think about the consistency of your paint; you want it to be thick enough to create texture but not so thick that it clogs your brush.
Now that you have your tools, let’s dive into the techniques that will help you master dry brushing. Remember, practice makes perfect! The more you experiment, the more you'll discover the nuances of this technique.
Layering is key to successful dry brushing. Start with a base layer and gradually build up your texture. Think of it like building a cake; each layer adds depth and flavor. By applying multiple thin layers, you can create a rich, dimensional effect that draws the viewer in.
Texture adds interest to your artwork. You can create various textures using the dry brushing technique by varying your brush strokes and the amount of paint on your brush. Try using a stippling technique for a rougher texture or a sweeping motion for smoother surfaces. The possibilities are endless!
Even experienced artists can make mistakes. It’s all part of the learning process, but being aware of common pitfalls can save you time and frustration. Here are a couple of things to watch out for:
One common mistake is overloading the brush with paint. This can lead to a muddy effect, ruining the delicate textures you’re trying to achieve. Instead, dip your brush lightly into the paint and remove excess paint before applying it to your canvas.
Proper surface preparation is essential for dry brushing success. Make sure your canvas or surface is clean and primed. A well-prepared surface allows the paint to adhere better and can significantly enhance the final look of your artwork.
- What is the best type of paint for dry brushing? Acrylic paint is often recommended due to its quick drying time and versatility.
- Can I use dry brushing on any surface? Yes, but it's best to use a surface that is primed and suitable for the type of paint you are using.
- How do I clean my brushes after dry brushing? Clean your brushes immediately after use with soap and water, or the appropriate solvent for the paint type.
Understanding Dry Brushing
Dry brushing is a fascinating painting technique that has been around for centuries, yet it continues to captivate artists of all skill levels. At its core, dry brushing involves using a brush that is relatively dry, meaning it has little to no paint on it, to apply a small amount of paint to a surface. This method creates a beautiful texture and depth that can transform a flat painting into a vivid masterpiece. Imagine stroking a brush lightly over a canvas, allowing the bristles to catch on the raised areas of the surface, revealing the color underneath while leaving the recesses untouched. The result is a stunning contrast that adds interest and dimension to your artwork.
The origins of dry brushing can be traced back to traditional painting techniques used by masters throughout history. Artists discovered that by manipulating the amount of paint on their brushes, they could create a variety of effects, from subtle highlights to bold textures. This technique has evolved over time, finding its place not only in fine arts but also in crafts like furniture painting and decorative arts. Today, dry brushing is celebrated for its versatility, allowing artists to express their creativity in unique ways.
One of the most appealing aspects of dry brushing is its ability to produce a range of effects. For instance, when applied lightly, it can create a soft, ethereal look, perfect for landscapes or delicate subjects. Conversely, a more vigorous application can result in a rugged, textured appearance, ideal for subjects like rocks or tree bark. The choice of colors and the way they interact with each other can further enhance the overall impact of the painting.
To truly appreciate dry brushing, it's important to understand the unique effects it can produce. Here are some key characteristics:
- Texture: Adds a tactile quality to the artwork.
- Depth: Creates a sense of three-dimensionality.
- Contrast: Highlights and shadows can be accentuated.
As you embark on your journey to master dry brushing, keep in mind that practice is essential. The more you experiment with different brush types, paint consistencies, and surfaces, the more you'll discover the endless possibilities this technique offers. So, grab your brushes, and let’s dive into the vibrant world of dry brushing!
Essential Tools for Dry Brushing
When it comes to mastering the art of dry brushing, having the right tools is absolutely essential. Think of your tools as the instruments of a musician; without them, your masterpiece might not hit the right notes. The primary tools you'll need include brushes, paints, and surfaces that complement this unique technique. Each of these elements plays a pivotal role in achieving the stunning effects that dry brushing can offer.
First and foremost, let’s talk about brushes. The type of brush you choose can dramatically affect the outcome of your artwork. For dry brushing, you typically want a stiff-bristled brush that can hold just a bit of paint while still allowing for that lovely, textured finish. Brushes come in various shapes and sizes, and understanding which to use can be a game-changer. For instance, flat brushes are great for creating broad strokes, while round brushes can help you achieve more intricate details.
Next up is paint selection. Not all paints are created equal when it comes to dry brushing. Acrylic paints are a popular choice due to their quick drying time and versatility. They can be easily manipulated to achieve a range of effects. However, oil paints can also be used if you prefer a more extended working time, allowing for more intricate layering. The key is to ensure that the paint is not too watery; otherwise, you risk losing the texture that makes dry brushing so appealing.
Finally, let’s not overlook the importance of your painting surface. Whether you’re working on canvas, wood, or paper, the texture of your surface will influence the final look of your work. A rougher surface can enhance the textural quality of your dry brushing, while a smoother surface may yield a more subtle effect. Experimenting with different surfaces can lead to delightful surprises in your artwork.
In summary, the essential tools for dry brushing include:
- Brushes: Stiff-bristled, flat, and round brushes are ideal.
- Paint: Acrylics for quick drying or oils for longer working time.
- Surface: Choose between canvas, wood, or textured paper based on your desired effect.
By carefully selecting these tools, you set the stage for creating breathtaking textures and depth in your paintings. Remember, the right tools not only enhance your technique but also inspire your creativity. So, gather your supplies and get ready to unleash your artistic potential!
Q: Can I use any type of brush for dry brushing?
A: While you can experiment, stiff-bristled brushes work best for dry brushing as they hold the right amount of paint without overloading.
Q: Is dry brushing suitable for beginners?
A: Absolutely! Dry brushing is a fantastic technique for beginners to learn about texture and layering in painting.
Q: What surfaces are best for dry brushing?
A: Textured surfaces like canvas or wood are ideal, but you can also experiment with different types of paper to see what effects you can achieve.
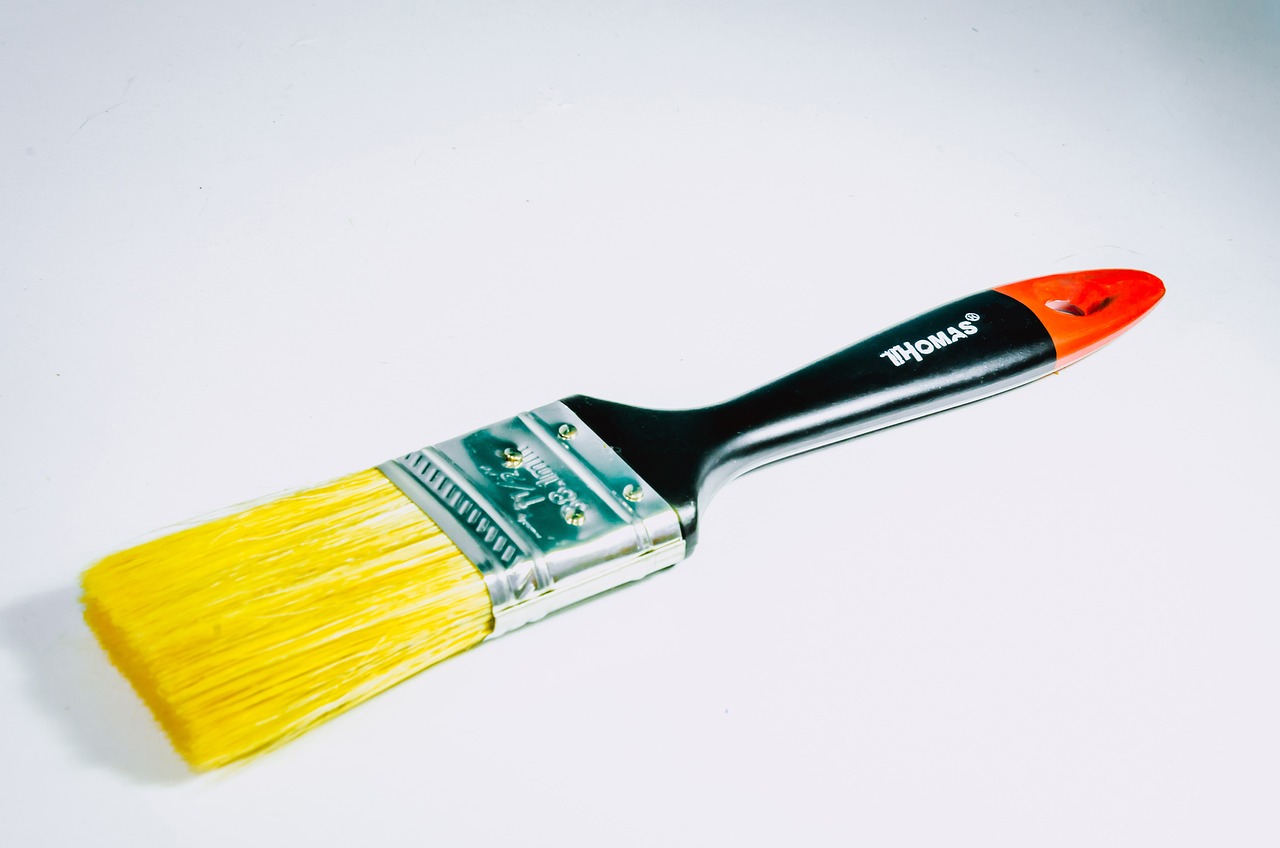
Choosing the Right Brushes
When it comes to mastering the art of dry brushing, the choice of brushes can make all the difference. Think of brushes as the instruments of a musician; the right tool can create beautiful melodies on your canvas. So, how do you choose the right brushes for dry brushing? Well, let’s break it down.
First and foremost, you need to consider the type of bristles. Brushes come with either natural or synthetic bristles, and each has its own unique characteristics that can affect your painting style. Natural bristles, made from animal hair, tend to be softer and can hold more paint, making them ideal for blending and layering. On the other hand, synthetic brushes are usually stiffer and can provide more control, which is essential for the precise application that dry brushing demands.
Next, let’s talk about the shape of the brush. The shape can significantly influence the texture and effect you achieve in your artwork. For instance:
- Flat Brushes: Great for broad strokes and filling large areas.
- Round Brushes: Perfect for detailed work and creating fine lines.
- Filbert Brushes: A hybrid of flat and round, ideal for blending and soft edges.
- Fan Brushes: Excellent for creating foliage or textures like grass.
Now, let’s not forget about size! The size of your brush will also impact the outcome of your dry brushing technique. A larger brush may cover more area quickly, while a smaller brush allows for detailed work. It’s often beneficial to have a variety of sizes at your disposal, so you can switch between them as needed. Think of it like having a toolbox; each tool serves a specific purpose, and having the right one can save you time and frustration.
Finally, remember that the quality of the brush matters. Investing in a good set of brushes can elevate your painting game. While it might be tempting to go for the cheapest option, high-quality brushes will last longer and provide better results. They can handle the rigors of dry brushing without losing their shape or shedding bristles, ensuring that your artwork maintains its integrity.
In summary, when choosing the right brushes for dry brushing, consider the following:
| Brush Type | Best Use |
|---|---|
| Natural | Soft blending, holds more paint |
| Synthetic | Control and precision |
| Flat | Broad strokes |
| Round | Detail work |
| Filbert | Blending and soft edges |
| Fan | Texture creation |
By thoughtfully selecting your brushes, you’ll set yourself up for success in your dry brushing endeavors. Remember, the right brush can help translate your creative vision onto the canvas, making your artwork not just a painting, but a stunning masterpiece.
Q: Can I use any brush for dry brushing?
A: While you can technically use any brush, the best results come from using brushes specifically designed for dry brushing. Look for stiff bristles that can create the desired texture.
Q: How do I clean my brushes after dry brushing?
A: It’s important to clean your brushes thoroughly after use to maintain their shape and longevity. Use warm water and mild soap, and reshape the bristles before letting them dry.
Q: Is dry brushing suitable for all types of paint?
A: Dry brushing works best with acrylics and oil paints. Watercolors may not yield the same effects due to their fluid nature.
Natural vs. Synthetic Brushes
When diving into the world of dry brushing, one of the most crucial decisions you'll face is whether to use natural or synthetic brushes. Each type has its own set of characteristics that can significantly impact your painting experience and the results you achieve. Let's break it down!
Natural brushes are typically made from animal hair, such as sable, squirrel, or hog bristle. These brushes are renowned for their ability to hold a substantial amount of paint, which can be beneficial when you want to create rich textures and layers. The softness of natural hairs allows for smooth application, making them ideal for blending and softening edges. However, they can be on the pricier side and may require more maintenance to keep them in good shape.
On the flip side, we have synthetic brushes, which are crafted from man-made fibers. These brushes have come a long way in terms of quality and versatility. They are generally more affordable and can be designed to mimic the properties of natural hair. Synthetic brushes are often more durable and easier to clean, which can be a significant advantage when working with heavier paints or mediums. Moreover, they are perfect for artists who are concerned about animal welfare, as they offer a cruelty-free alternative.
When choosing between natural and synthetic brushes for dry brushing, consider the following:
- Technique: If you prefer a softer touch and smoother finishes, natural brushes might be your go-to. However, if you enjoy more control and durability, synthetic brushes could be the better choice.
- Budget: Natural brushes can be more expensive, so if you're just starting out, synthetic options might be more budget-friendly.
- Maintenance: Natural brushes require more care, while synthetic brushes are generally easier to clean and maintain.
In the end, the choice between natural and synthetic brushes often comes down to personal preference and the specific effects you want to achieve in your artwork. Don't hesitate to experiment with both types to see which one feels best in your hand and produces the results you desire. After all, the right brush can be a game-changer in your painting journey!
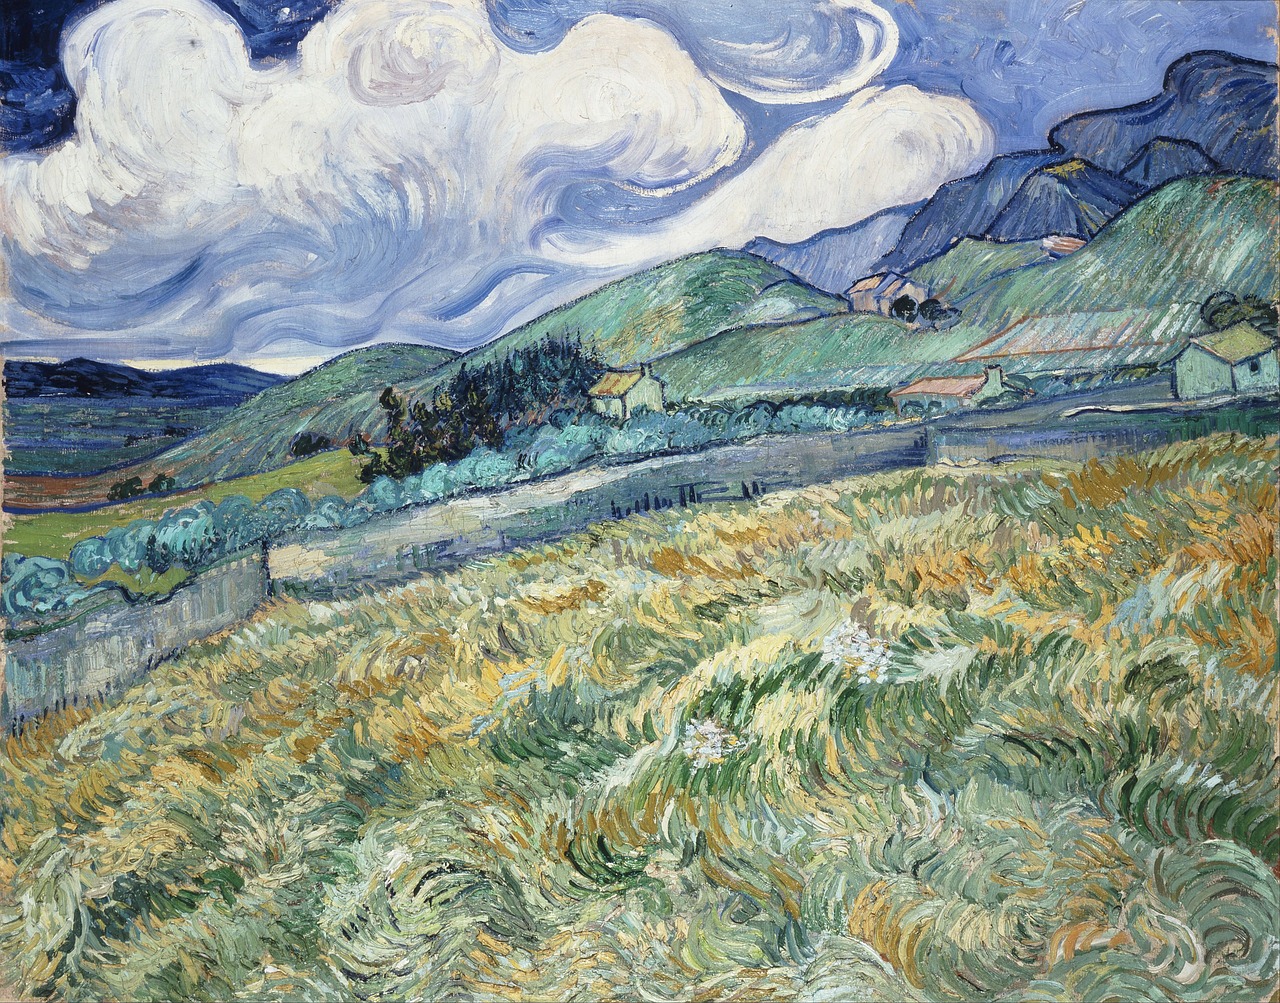
Brush Shapes and Sizes
When it comes to dry brushing, the shape and size of your brush can dramatically influence the outcome of your artwork. Think of your brush as a magic wand; the right one can bring your creative visions to life, while the wrong choice can lead to frustration and unsatisfactory results. Different shapes and sizes allow for a variety of effects, so understanding their unique characteristics is essential for any artist looking to master the dry brushing technique.
For instance, flat brushes are fantastic for covering larger areas and creating bold strokes. Their wide bristles can hold a good amount of paint, making them ideal for laying down a base layer before you start adding texture. On the other hand, round brushes are perfect for detailed work. Their pointed tips allow for precision, making it easier to get into tight spaces or to create fine lines. If you're aiming for a more organic look, a fan brush can be your best friend. This shape is excellent for creating foliage or other natural textures, giving your artwork a sense of depth and realism.
Size also plays a pivotal role in the effects you can achieve. Larger brushes are great for broad strokes and can help you cover more ground quickly, but they can also lead to a loss of detail if you're not careful. Smaller brushes, while great for intricate work, can require more time and patience. It's often beneficial to have a variety of sizes on hand, allowing you to switch between them as your painting evolves. Experimenting with different shapes and sizes is key; sometimes, the unexpected combinations can yield the most stunning results.
To illustrate the impact of brush shapes and sizes, consider the following table:
| Brush Type | Best For | Effect Achieved |
|---|---|---|
| Flat Brush | Large areas, bold strokes | Even coverage, strong lines |
| Round Brush | Detail work, fine lines | Precision, intricate designs |
| Fan Brush | Natural textures, foliage | Organic shapes, depth |
| Detail Brush | Small details, highlights | Fine details, highlights |
In conclusion, the choice of brush shapes and sizes is not merely a matter of preference; it significantly affects your ability to create the textures and effects you desire in your paintings. So, next time you pick up a brush, think about what you want to achieve and choose wisely. After all, the right brush can be the difference between a good piece of art and a truly stunning masterpiece!
- What is dry brushing? Dry brushing is a painting technique that uses a dry brush with very little paint to create texture and depth.
- Can I use any type of paint for dry brushing? While you can experiment with various paints, acrylics and oil paints are commonly used due to their consistency and drying times.
- How do I clean my brushes after dry brushing? It's important to clean your brushes thoroughly with soap and water or a suitable solvent, depending on the type of paint used.
- Is dry brushing suitable for beginners? Absolutely! Dry brushing is a great technique for beginners to learn about texture and layering in painting.
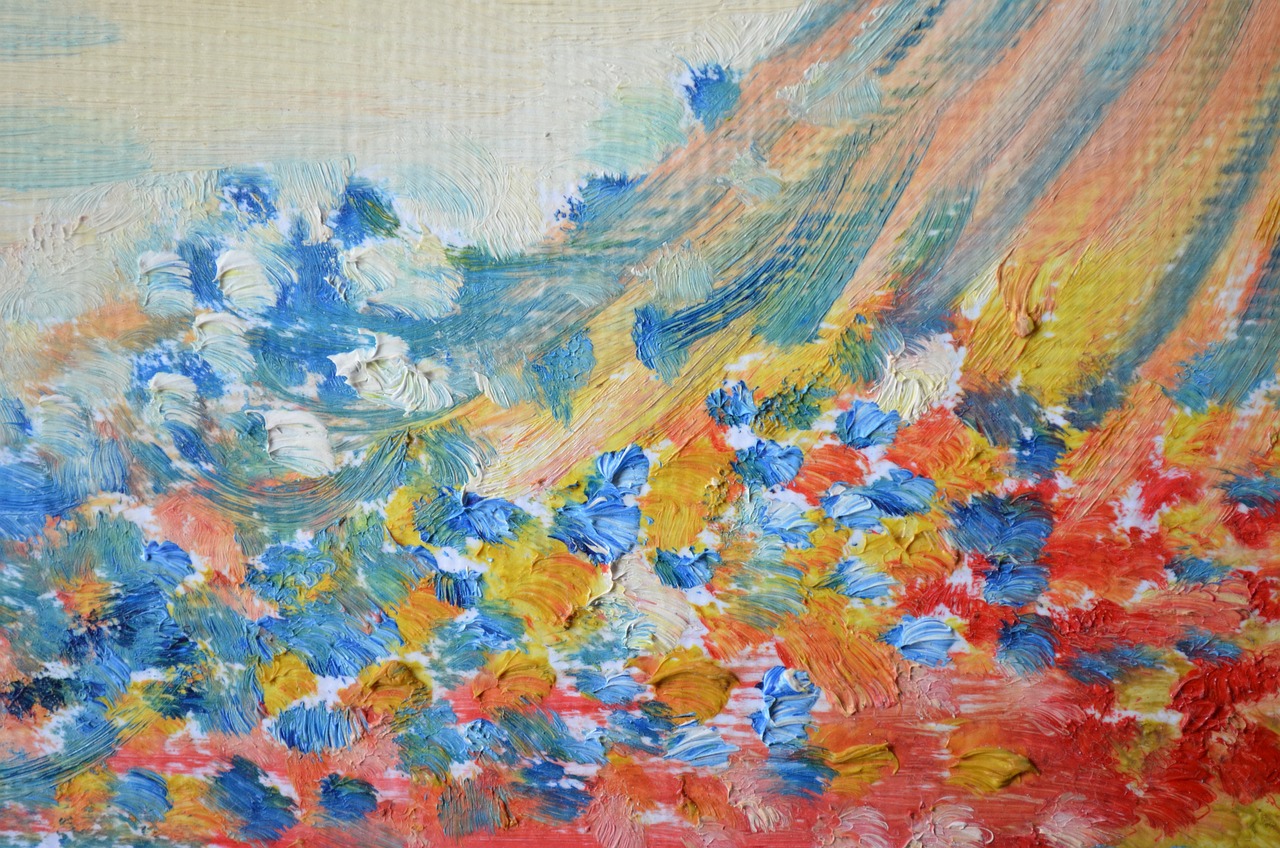
Paint Selection
Choosing the right paint is vital for achieving the desired effects when utilizing the dry brushing technique. Not all paints are created equal, and understanding the characteristics of different types can significantly enhance your artwork. Generally, artists gravitate towards two main categories of paint: acrylics and oil paints. Each type brings its own unique qualities that can either complement or hinder your dry brushing efforts.
Acrylic paints are often favored for dry brushing due to their fast-drying properties and versatility. They can be thinned with water or mediums to achieve a range of consistencies, which is particularly useful in dry brushing. When using acrylics, you can create vibrant layers and textures that stand out. However, it's essential to note that acrylics can dry quickly on the palette, so be prepared to work swiftly!
On the other hand, oil paints offer a more extended working time, allowing for smoother application and blending. This can be beneficial for artists who prefer to take their time to layer and build textures. However, oil paints typically require solvents for thinning, which can complicate the dry brushing process. If you choose to work with oils, ensure you're using a palette that accommodates the slower drying times and be mindful of the potential for a greasy finish if too much medium is applied.
When selecting paint for dry brushing, consider the following:
- Opacity: Choose paints that have good opacity for better layering effects.
- Consistency: A thicker consistency generally works best for dry brushing, as it holds its shape and texture.
- Color Selection: Opt for colors that complement each other; lighter shades can enhance textures when dry brushed over darker hues.
Another important aspect is the surface preparation. The type of surface you paint on can affect how the paint adheres and how the textures appear. For instance, a primed canvas or a smooth wooden panel can yield different results compared to a rough-textured surface. Experimenting with various surfaces can lead to exciting discoveries in your dry brushing technique.
In summary, the paint you choose for dry brushing can make a world of difference in your artwork. Whether you opt for acrylics or oils, understanding their properties and how they interact with your chosen surfaces will elevate your skills and results. So, gather your supplies, experiment with different paints, and let your creativity flow!
1. Can I use watercolor paints for dry brushing?
While watercolors are typically not recommended for dry brushing due to their transparent nature, you can experiment with them on specific surfaces. However, the texture and effects will differ significantly from acrylics or oils.
2. How do I know if my paint is too thick for dry brushing?
If the paint feels overly heavy and doesn't glide smoothly across the surface, it may be too thick. Ideally, you want a consistency that allows for a light application without clumping.
3. What's the best surface for dry brushing?
A smooth, primed canvas or a wood panel is ideal for dry brushing, but textured surfaces can also yield interesting results. Experiment with different surfaces to find what works best for your style!
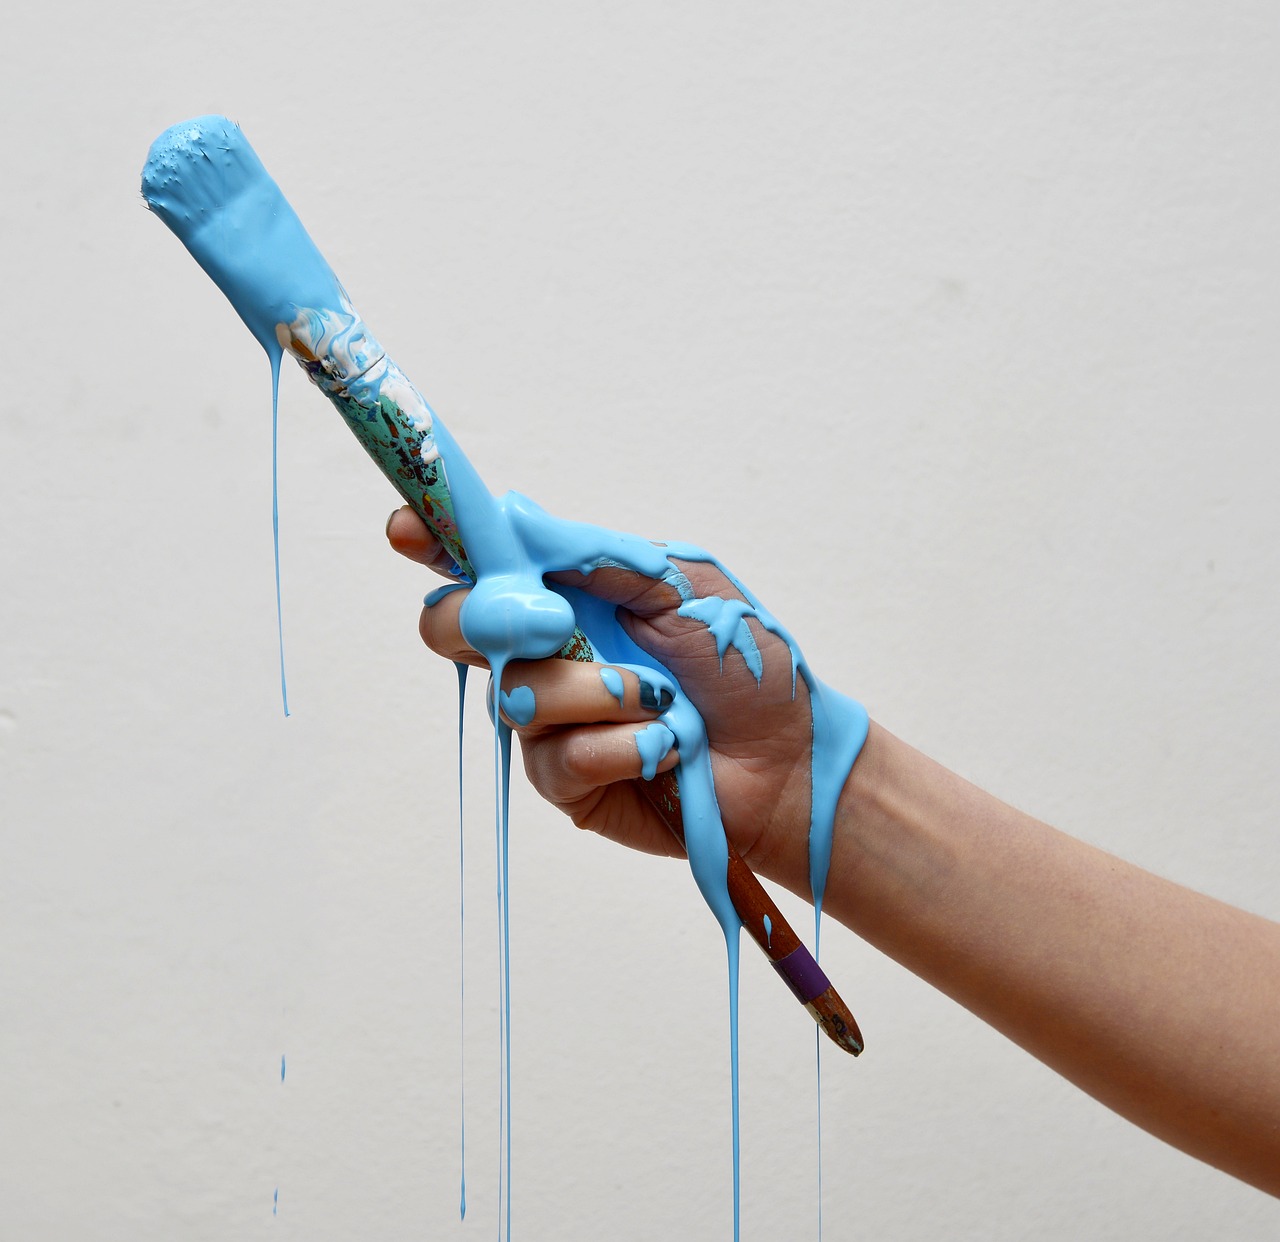
Techniques for Effective Dry Brushing
Mastering the art of dry brushing is not just about picking up a brush and slapping some paint on the canvas; it's a delicate dance of technique and finesse. To truly elevate your painting skills, you need to embrace a few essential methods that will help you achieve those stunning effects you desire. Let's dive into some of the most effective techniques that can transform your artwork from ordinary to extraordinary.
First and foremost, layering is the cornerstone of successful dry brushing. Think of it like building a cake; each layer adds flavor and texture. Start with a base coat of paint that sets the tone for your piece. Once it dries, you can begin to add layers of color, using your dry brush to gently sweep over the surface. This not only adds depth but also creates a beautiful interplay of colors that can bring your artwork to life. Remember, patience is key here—allow each layer to dry before applying the next, ensuring that you don’t disturb your previous work.
Another crucial technique is creating texture. This is where dry brushing truly shines! By varying the pressure and angle of your brush strokes, you can create a multitude of textures that can enhance your painting. For instance, a light touch can produce soft, feathery effects, while a firmer stroke can yield more pronounced textures. Experiment with different surfaces too; rougher canvases can absorb paint differently and lead to unique results. Try using your dry brush to mimic natural elements like grass, bark, or clouds—this can add a dynamic quality to your work.
Don't forget about the importance of color selection. Choosing the right hues can dramatically affect the outcome of your dry brushing technique. Opt for colors that complement each other and create a sense of harmony in your artwork. You might want to consider using a color wheel to help you select shades that work well together. Additionally, mixing your paints can lead to unexpected and delightful results. Just remember to keep your palette limited to avoid overwhelming your canvas with too many colors.
As you practice these techniques, keep in mind that dry brushing is all about subtlety. The beauty of this technique lies in its ability to create soft transitions and delicate effects. If you find yourself struggling, don’t hesitate to take a step back and observe your work from a distance. Sometimes, a little perspective can help you see areas that need adjustment or enhancement.
Finally, always remember to clean your brushes thoroughly after each session. This not only prolongs the life of your tools but also ensures that you don’t mix unwanted colors into your next project. A clean brush is a happy brush, and a happy brush is essential for achieving those stunning dry-brushed effects!
- What is dry brushing? Dry brushing is a painting technique that involves using a dry brush with minimal paint to create texture and depth in artwork.
- Can I use any type of paint for dry brushing? While acrylics and oils are commonly used, it's best to choose paints that have a thicker consistency for optimal results.
- How do I know when to stop layering? Trust your instincts! If the layers begin to look muddled or lose definition, it may be time to step back and assess.
- Is dry brushing suitable for beginners? Absolutely! With practice, anyone can master dry brushing techniques and create beautiful artwork.
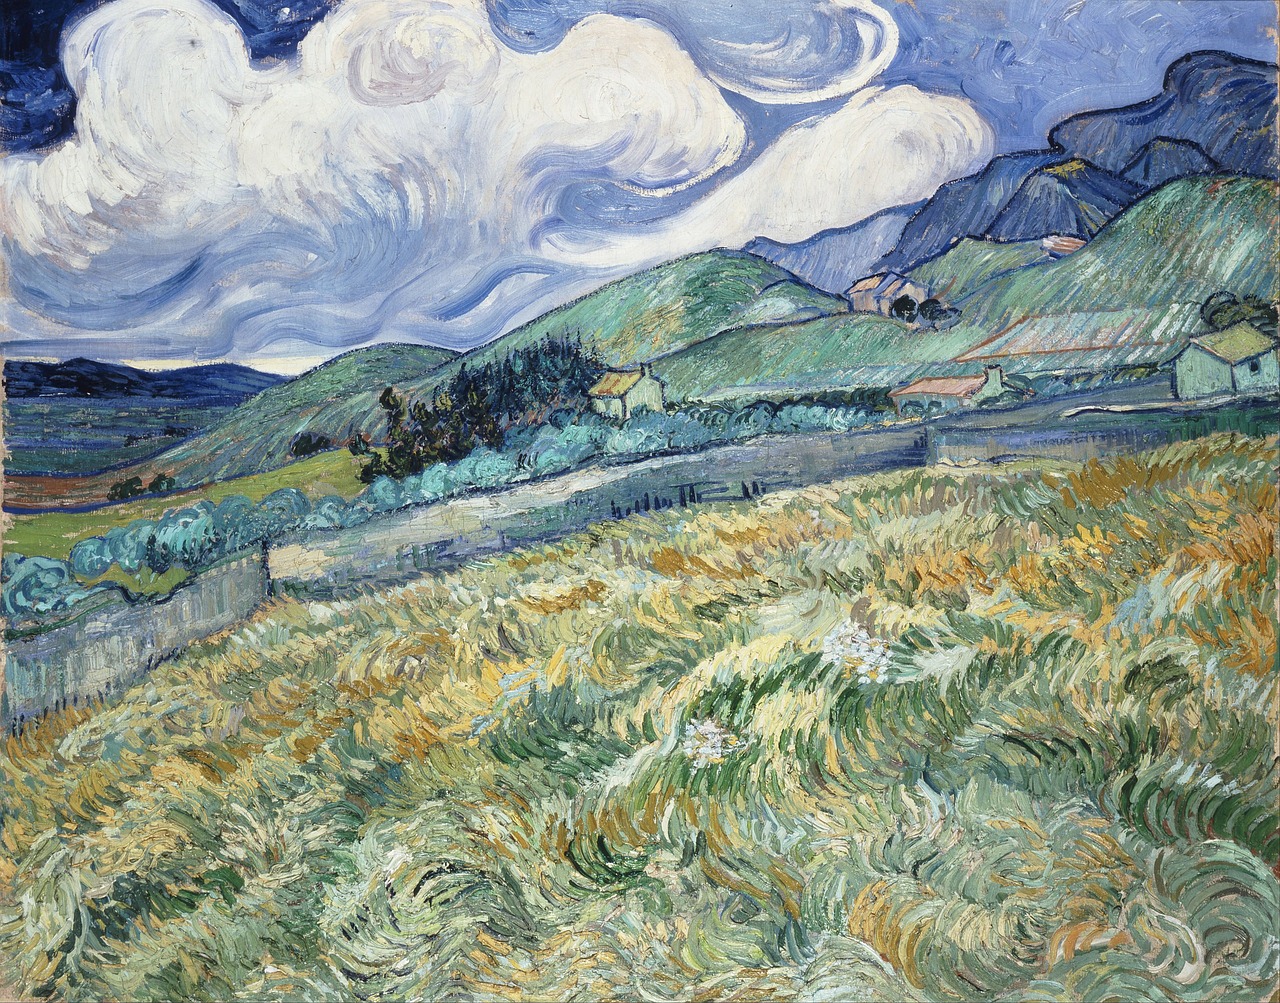
Layering Techniques
Layering is the secret sauce that can elevate your dry brushing game from good to absolutely stunning! Imagine constructing a beautiful cake; each layer adds flavor and texture, making the final product mouth-watering. Similarly, in painting, layering allows you to build depth and dimension, creating artworks that truly pop. The key is to start with a solid base and gradually add more layers, each one enhancing the overall effect.
To begin, choose a base color that will serve as the foundation for your artwork. This color can be applied using a traditional brush technique, ensuring a smooth and even coat. Once your base layer is dry, it’s time to bring out the magic of dry brushing! This technique involves using a brush that’s barely loaded with paint, allowing you to gently sweep across the surface. The result? A whisper of color that highlights the texture underneath.
As you layer, consider the transparency of the paint. Using semi-transparent or transparent paints can help to achieve a more nuanced effect, allowing the colors beneath to show through. Think of it like glazing in the world of photography, where light filters through layers to create a captivating image. You can also experiment with different colors in your layers. For instance, if your base is a soft blue, try dry brushing a light white or even a hint of gold over it for a shimmering effect.
When layering, it’s essential to let each layer dry completely before applying the next one. This prevents the colors from muddling together and allows for a more defined look. A good rule of thumb is to wait at least 15-30 minutes between layers, depending on the thickness of the paint. You can also speed up this process with a hairdryer on a low setting, but be cautious not to overheat the surface.
Another technique to enhance your layering is to vary the pressure you apply while dry brushing. Light pressure can create soft, feathery effects, while a bit more pressure can yield bolder strokes. This variability adds richness to your painting, much like the different shades of a sunset. Remember, practice makes perfect! So, don’t hesitate to experiment with various brushes and techniques until you find what resonates with your artistic vision.
In summary, layering in dry brushing is about building up color and texture gradually. It’s a dance between patience and creativity, and the results can be truly breathtaking. So, grab your brushes and start layering; your masterpiece awaits!
- What is dry brushing? Dry brushing is a painting technique that involves using a brush with very little paint to create texture and highlights.
- Can I use any type of paint for dry brushing? While acrylics are commonly used, you can also experiment with oils and watercolors, but the technique may vary slightly.
- How do I know when to stop layering? Trust your instincts! If you feel the depth and texture are where you want them, it’s time to stop. You can always add more later if needed.
- What surfaces work best for dry brushing? Textured surfaces like canvas, wood, or even thick paper can enhance the effects of dry brushing.
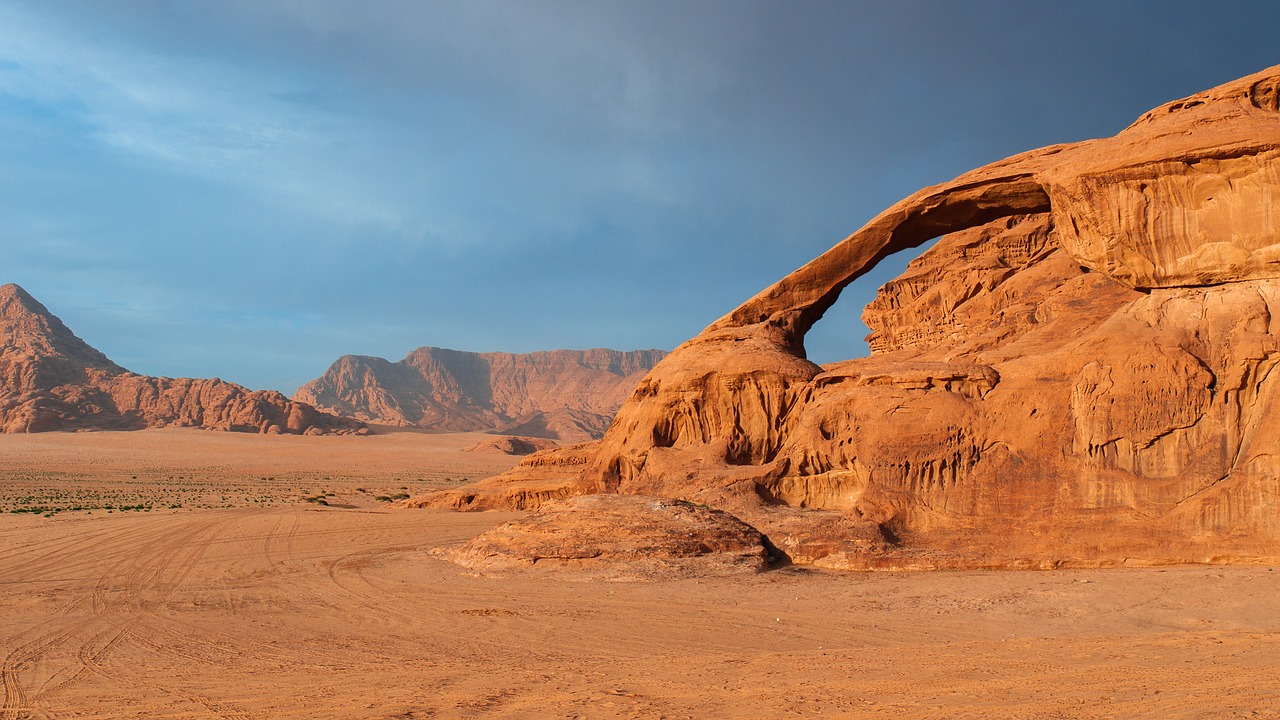
Creating Texture
Creating texture in your artwork using the dry brushing technique can transform a flat surface into a dynamic visual experience. Think of it like sculpting with paint; each stroke has the potential to evoke depth and emotion. The beauty of dry brushing lies in its ability to mimic various natural textures, making your paintings come alive. Whether you want to replicate the roughness of tree bark or the softness of a cloud, dry brushing can help you achieve those effects with ease.
To start, it's essential to understand that the amount of paint on your brush greatly influences the texture you create. A lightly loaded brush will yield a more delicate texture, while a heavily loaded brush can produce bolder, more pronounced effects. Experimentation is key! Try using different amounts of paint to see how it alters your results. For instance, when painting a rocky landscape, a dry brush with very little paint can create a subtle, grainy texture that mimics the uneven surfaces of stones.
Another critical aspect of creating texture is the direction and pressure of your brush strokes. By varying these elements, you can achieve different results. For example:
- Light pressure can create soft, feathery textures, perfect for skies or delicate flowers.
- Firm pressure can produce sharper, more defined textures, ideal for rugged terrains or rough surfaces.
Additionally, consider the type of surface you’re painting on. Textured canvases or boards can enhance the dry brushing technique, allowing the paint to catch and reflect light in unique ways. For instance, using a canvas with a pronounced texture can create a stunning effect when dry brushing over it, as the paint will settle into the grooves, adding depth to your artwork.
Finally, don’t forget to layer! Layering is a powerful technique in dry brushing that can significantly enhance the texture of your work. Start with a base layer of color and allow it to dry completely before applying subsequent layers with your dry brush. This method builds dimension and can create a beautiful interplay of colors that adds richness to your painting.
In summary, creating texture with dry brushing is about experimentation and understanding the materials at your disposal. By adjusting your brush pressure, the amount of paint, and the type of surface, you can unlock a world of possibilities in your artwork. So grab your brushes, unleash your creativity, and watch as your paintings transform into textured masterpieces!
- What is dry brushing? Dry brushing is a painting technique that involves using a dry brush with very little paint to create texture and depth.
- What types of brushes are best for dry brushing? Both natural and synthetic brushes can be used, but stiff bristle brushes are often preferred for their ability to create texture.
- Can I use any type of paint for dry brushing? While acrylics are commonly used, oil paints can also work well. Just ensure the paint is not too runny.
- How do I avoid overloading my brush? Dip your brush lightly into the paint and then wipe most of it off on a paper towel before applying it to your canvas.
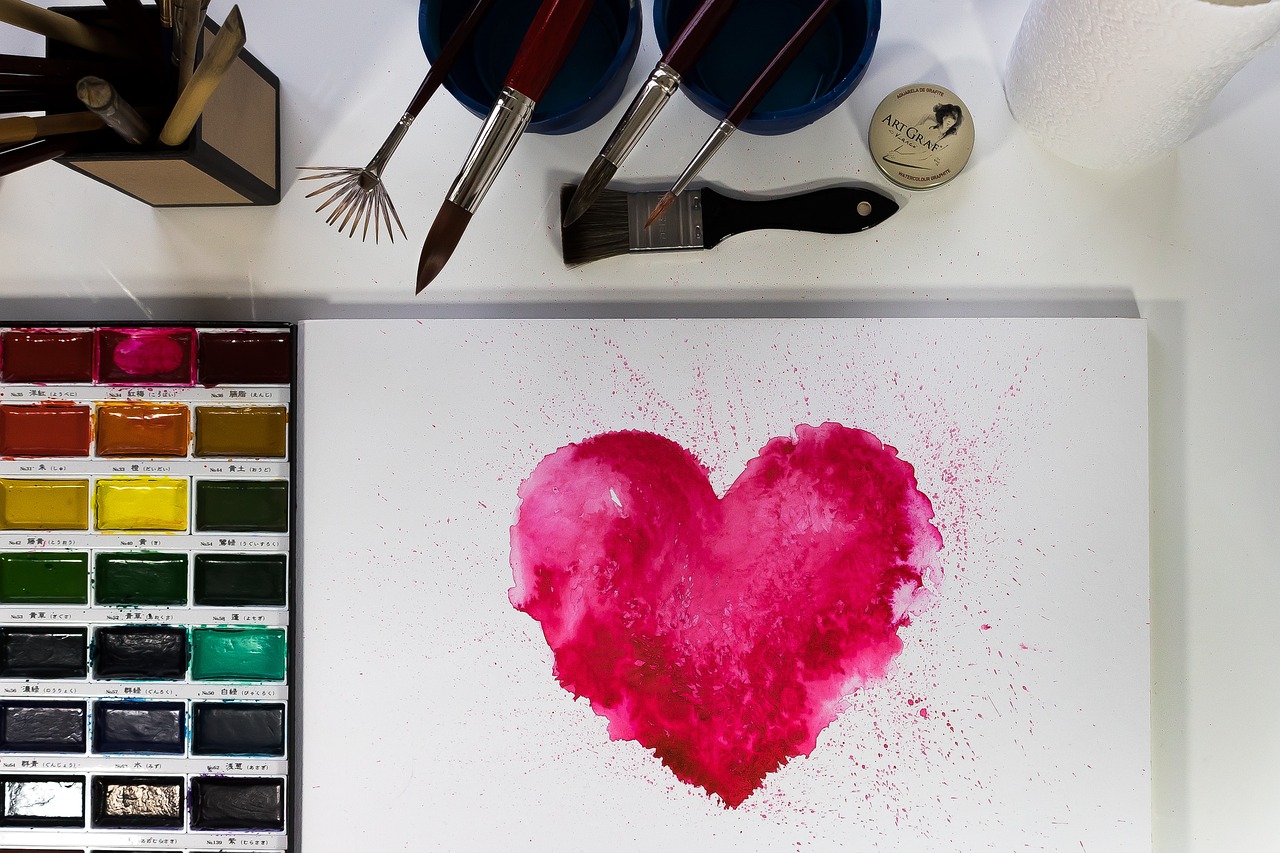
Common Mistakes to Avoid
Even the most seasoned artists can fall prey to a few common pitfalls when it comes to the dry brushing technique. Recognizing these mistakes can save you time, effort, and frustration. One of the most frequent errors is overloading the brush with paint. It’s tempting to dip your brush into a pool of vibrant color, but doing so can lead to a heavy application that defeats the purpose of dry brushing. Instead, aim for a light touch. Think of it like applying frosting to a cake; you want just enough to enhance the flavor without overwhelming the base. To avoid this, gently tap your brush on a paper towel after dipping it in paint. This will help remove excess paint and leave you with just the right amount to create those beautiful, textured strokes.
Another critical mistake is neglecting surface preparation. The surface you choose to paint on plays a significant role in how well your dry brushing will turn out. A rough or unprimed surface can absorb too much paint, resulting in a muddied look rather than the crisp texture you’re aiming for. Always ensure your canvas or surface is clean and primed. Think of it like setting the stage for a performance; a well-prepared canvas allows your artwork to shine. If you’re working on wood or another porous material, consider applying a layer of gesso to create a smooth, workable surface.
Additionally, many artists underestimate the importance of color selection. Choosing colors that are too similar can lead to a lack of contrast, making your artwork appear flat and lifeless. Instead, opt for a range of hues that complement each other but also provide enough variation to create depth. For instance, if you’re painting a landscape, consider using various shades of green, from deep emerald to soft sage, to convey the richness of the foliage. Mixing colors on your palette before applying them to the canvas can also help you visualize how they will interact.
Lastly, it’s crucial to avoid rushing the process. Dry brushing is an art that requires patience and practice. If you’re too eager to see the final result, you might skip essential steps or rush through layering, which can compromise the overall quality of your work. Take your time and enjoy the journey of creating. Remember, art is not just about the end product; it’s about the experience and the joy of expressing yourself.
- What is dry brushing? Dry brushing is a painting technique that involves using a dry brush to apply paint in a way that creates texture and depth.
- Can I use any type of paint for dry brushing? While acrylics and oils are commonly used, it’s best to choose paints that have a thicker consistency for better results.
- How do I clean my brushes after dry brushing? Clean your brushes thoroughly with soap and water to remove any residual paint, especially if you plan to switch colors.
- Is dry brushing suitable for beginners? Absolutely! Dry brushing can be a great way for beginners to explore texture and develop their painting skills.
Overloading the Brush
When it comes to dry brushing, one of the most common pitfalls that artists encounter is with paint. This mistake can lead to disastrous results, transforming what should be a delicate layering technique into a muddy mess. Imagine trying to sprinkle powdered sugar on a cake, but instead, you dump the entire bag on top—what was meant to enhance the sweetness only ends up overwhelming the flavor. Similarly, in dry brushing, using too much paint can obscure the fine details that make your artwork shine.
So, what happens when you overload your brush? First, the excess paint can create heavy, clumpy strokes that defeat the purpose of dry brushing, which is to achieve a light, feathery texture. Instead of adding depth and dimension, you risk flattening your work and losing the subtle nuances that bring your piece to life. To avoid this, it’s essential to understand the right amount of paint to use. Here are some tips to help you maintain the perfect balance:
- Start with a small amount: Dip your brush into the paint and then wipe off most of it on a paper towel. You want the brush to be barely loaded, almost dry.
- Build gradually: It’s easier to add more paint than to remove it. Start with a light application and gradually layer on more if needed.
- Test your technique: Before applying to your main canvas, practice on a scrap piece of paper or canvas to see how the paint behaves.
By mastering the art of not overloading your brush, you’ll find that your dry brushing technique becomes more refined and effective. Remember, it’s all about the subtlety. The beauty of dry brushing lies in its ability to create soft transitions and textures that draw the eye without overwhelming it. So, the next time you reach for your brush, pause for a moment, and think about the amount of paint you’re using. Your artwork will thank you for it!
Q: What should I do if I accidentally overload my brush?
A: If you find that you've over-applied paint, you can try to soften the effect by using a clean, dry brush to gently blend the area. Alternatively, you can use a damp cloth to wipe away excess paint, but be careful not to disturb the underlying layers.
Q: How can I tell if my brush is overloaded?
A: An overloaded brush will feel heavy and may leave thick, uneven strokes on your surface. If the paint seems to be glopping rather than gliding, it's a sign that you've added too much.
Q: Can I use this technique with any type of paint?
A: While dry brushing is most commonly associated with acrylics and oils, you can experiment with other mediums. Just remember that the paint should be relatively thick and not too fluid to achieve the desired effect.
Neglecting Surface Preparation
When it comes to dry brushing, one of the most critical steps often overlooked is surface preparation. You might think that grabbing a brush and some paint is all it takes, but trust me, a well-prepared surface can make all the difference in your artwork. Imagine trying to build a house on shaky ground; it just won’t hold up, right? The same principle applies here. A properly prepared surface ensures that your paint adheres correctly, allowing you to achieve those stunning textures and effects you’re aiming for.
So, what exactly does surface preparation entail? First off, you need to consider the type of surface you’re working on. Whether it’s canvas, wood, or a textured paper, each surface has its own quirks that can affect your painting. For instance, a smooth canvas may require a layer of gesso to create a more suitable texture for dry brushing. Gesso acts as a primer, giving your paint something to grip onto, which is essential for achieving those intricate details.
Another aspect of surface preparation is ensuring that your surface is clean. Dust, dirt, and oils from your hands can all interfere with how the paint adheres. A simple wipe down with a damp cloth can work wonders. Additionally, if you’re using a previously painted surface, make sure to sand it down lightly. This not only removes any imperfections but also creates a rough texture that can enhance the dry brushing technique.
Here’s a quick checklist to keep in mind for effective surface preparation:
- Choose the right surface material (canvas, wood, etc.)
- Apply a layer of gesso if necessary
- Ensure the surface is clean and free of debris
- Sand down any previously painted surfaces to create a suitable texture
By taking these steps, you set yourself up for success. Neglecting surface preparation can lead to uneven paint application, a lack of depth, and ultimately, a disappointing final product. Remember, your artwork is a reflection of your effort and attention to detail, so don’t skip this vital step!
Q: Why is surface preparation so important for dry brushing?
A: Surface preparation is crucial because it ensures that the paint adheres properly, allowing for better texture and effects in your artwork. A well-prepared surface prevents issues like uneven application and peeling paint.
Q: What type of surface is best for dry brushing?
A: The best surface can vary depending on your project. Canvas and wood are popular choices, but textured paper can also work well. Just make sure to prepare the surface accordingly, like using gesso on canvas.
Q: Can I dry brush on a previously painted surface?
A: Yes, but it’s essential to sand the surface lightly to create a good texture for the new paint to adhere to. Cleaning it thoroughly is also important to remove any dust or oils.
Q: How do I know if my surface is ready for dry brushing?
A: Your surface should feel smooth yet slightly textured after preparation, and it should be clean and dry. If you can run your fingers over it without feeling any grit or residue, you’re good to go!
Frequently Asked Questions
- What is dry brushing in painting?
Dry brushing is a painting technique that involves using a dry brush with minimal paint to create texture and depth. It’s a fantastic way to add subtle details and highlights to your artwork, giving it a unique visual appeal.
- What tools do I need for dry brushing?
To effectively use the dry brushing technique, you’ll need a few essential tools, including a selection of brushes (both natural and synthetic), appropriate paint (acrylics or oils work well), and a suitable surface like canvas or wood.
- How do I choose the right brush for dry brushing?
Choosing the right brush is crucial. Look for stiff-bristled brushes, as they will hold less paint and create better texture. Different shapes, like flat or angular brushes, can also produce varied effects, so experiment to find what works best for you.
- Can I use any type of paint for dry brushing?
While you can technically use any paint, acrylics and oil paints are the most popular for dry brushing due to their thickness and texture. They allow for better layering and help achieve the desired effects more easily.
- What are some common mistakes to avoid when dry brushing?
One common mistake is overloading your brush with paint, which can lead to a messy application. Another pitfall is neglecting surface preparation; a well-prepared surface is essential for achieving the best results in dry brushing.
- How can I create texture using dry brushing?
To create texture, focus on layering your paint. Apply multiple thin layers, allowing each to dry before adding the next. You can also vary the pressure and angle of your brush strokes to achieve different textures.
- Is dry brushing suitable for beginners?
Absolutely! Dry brushing is a great technique for beginners. It allows for experimentation without the pressure of achieving perfection right away. Plus, it’s a fun way to learn about layering and texture in painting.
- How do I clean my brushes after dry brushing?
Cleaning your brushes is essential to maintain their shape and longevity. Use warm soapy water for synthetic brushes and a suitable solvent for natural brushes. Make sure to thoroughly rinse and reshape them after cleaning!


