How to Paint a Stunning Clear Sky
This article explores techniques and tips for creating a breathtaking clear sky in your artwork, covering color selection, brush techniques, and layering methods for achieving depth and realism.
When it comes to painting a clear sky, the first step is to select the appropriate colors. The hues you choose can make or break your artwork, so it’s essential to understand the best shades for depicting a realistic sky. Generally, you’ll want to start with a palette that includes various shades of blue, from deep navy to soft cerulean. But don’t stop there! Mixing in a touch of white can help you achieve that soft, airy look that characterizes a clear sky. You might also consider adding a hint of yellow or pink for those moments when the sun is low in the sky, casting a warm glow.
To mix colors effectively, try using a palette knife or a flat brush. This technique allows you to blend colors without muddying them. Start with a base color and gradually add small amounts of other hues until you reach the desired shade. Remember, less is often more—add colors incrementally to maintain control over the final outcome!
Light is a crucial element in how we perceive the sky. It can transform a simple blue canvas into a breathtaking masterpiece. Understanding how atmospheric conditions influence your color choices is vital for capturing the mood of your painting. For instance, a clear sky on a bright sunny day will have a different hue compared to a clear sky just before sunset. The angle of the light, the time of day, and even the season can all affect the colors you choose.
The sky changes dramatically throughout the day, and capturing these nuances can elevate your artwork to new heights. Let’s break it down:
Morning skies are often characterized by soft pastels and gentle light. Think of the serene beauty of dawn—pinks, soft blues, and light yellows come together to create a tranquil scene. When painting morning skies, use a light hand and blend your colors to achieve that dreamy effect. You might want to consider using a fan brush to create soft transitions between colors.
On the other hand, evening skies are vibrant and rich, offering a stunning palette of colors. As the sun sets, the sky can explode with oranges, purples, and deep blues. To showcase these dramatic colors effectively, start with a darker base and gradually layer on brighter hues. This technique will help you create that eye-catching contrast that draws viewers in.
Painting cloudless skies can seem deceptively simple, but achieving a smooth gradient while maintaining depth can be challenging. To create that seamless look, start with a base wash of your lightest blue. Then, gradually add darker shades at the top of the canvas, blending downwards to create that natural gradient. Don’t forget to step back occasionally to assess your work from a distance—this will help you see if the transitions are smooth and if the depth feels right.
The right brush techniques can elevate your sky painting significantly. One of the most effective methods is blending. When blending colors, use a clean, dry brush and make gentle, circular motions to combine the colors smoothly. This technique is particularly useful for creating soft transitions in your sky. Another method is stippling, which involves using the tip of your brush to create small dots of color. This can add texture and interest to your sky, mimicking the natural variations found in the atmosphere.
Blending is essential for achieving a seamless sky. One effective method is to layer your colors, starting with the lightest shade and gradually adding darker colors. Use a clean brush to gently mix the edges where the colors meet. This creates a soft transition that mimics the natural gradients of the sky.
Adding texture can enhance the visual interest of your sky. You can achieve this by using a dry brush technique or by sponging on paint for a more organic feel. These subtle textures can mimic the natural appearance of the atmosphere, making your painting feel more dynamic and alive.
Layering is a powerful technique for creating depth in your sky paintings. Start by establishing a solid base layer with your lightest color. Once this layer is dry, you can begin to build additional layers, gradually adding darker shades to create dimension. This technique helps to achieve a three-dimensional look that draws the viewer's eye into the painting.
Establishing a solid base layer is vital for any painting, especially a sky. Apply your foundational colors with broad strokes, ensuring that the colors blend well. This base will set the stage for the rest of your painting, so take your time to get it right.
Lastly, adding final touches can bring your sky to life. Highlights are essential; they can be achieved by using a lighter shade of your base color or even white. These highlights should be applied sparingly and strategically to enhance realism in your artwork.
- What colors should I use for a clear sky? It's best to use a range of blues, from light to dark, and consider adding hints of white, yellow, or pink for depth.
- How can I create depth in my sky painting? Layering colors and using blending techniques will help you achieve a three-dimensional effect.
- What brush techniques are best for painting the sky? Blending and stippling are excellent techniques for creating soft transitions and adding texture.

Choosing the Right Colors
When it comes to painting a stunning clear sky, color selection is not just important—it's absolutely crucial. The hues you choose can make or break the realism of your artwork. Imagine standing under a vast blue sky; the colors you perceive are a blend of subtle variations that come together to create that breathtaking view. To achieve this in your painting, you need to carefully consider the shades and tones that will best represent the sky at different times of the day.
Start with a base of blue, the most dominant color of a clear sky. However, not all blues are created equal. You'll want to experiment with different shades, such as ultramarine, cerulean, and cobalt blue. Each of these blues serves a different purpose and can convey various feelings. For instance, ultramarine can give a sense of depth, while cerulean tends to evoke a feeling of tranquility.
Mixing colors effectively is another skill that can elevate your sky painting. A simple palette can include:
- Ultramarine Blue
- Cerulean Blue
- White
- Cadmium Yellow
- Alizarin Crimson
By mixing these colors, you can create a spectrum that mimics the natural variations of the sky. For instance, adding a touch of white to your blue can create lighter shades that resemble the sky during the day, while a hint of yellow can warm up your palette for those beautiful sunset hues.
Don't forget about the importance of undertones. The sky isn't just blue; it has layers of color that shift with the light and atmosphere. For instance, during the early morning or late evening, the sky can take on warm tones—think pinks, oranges, and purples. To capture this, consider adding a few drops of cadmium yellow or alizarin crimson to your blue mix. This technique will not only add realism but also depth to your painting.
Lastly, remember that practice makes perfect. Spend some time observing the sky at different times of the day and note the color variations. Take photographs or sketch what you see. This observational practice will help you develop a more intuitive understanding of how to mix your colors effectively. By doing so, you'll gain the confidence to experiment and create a sky that truly captivates your audience.
Understanding Light and Atmosphere
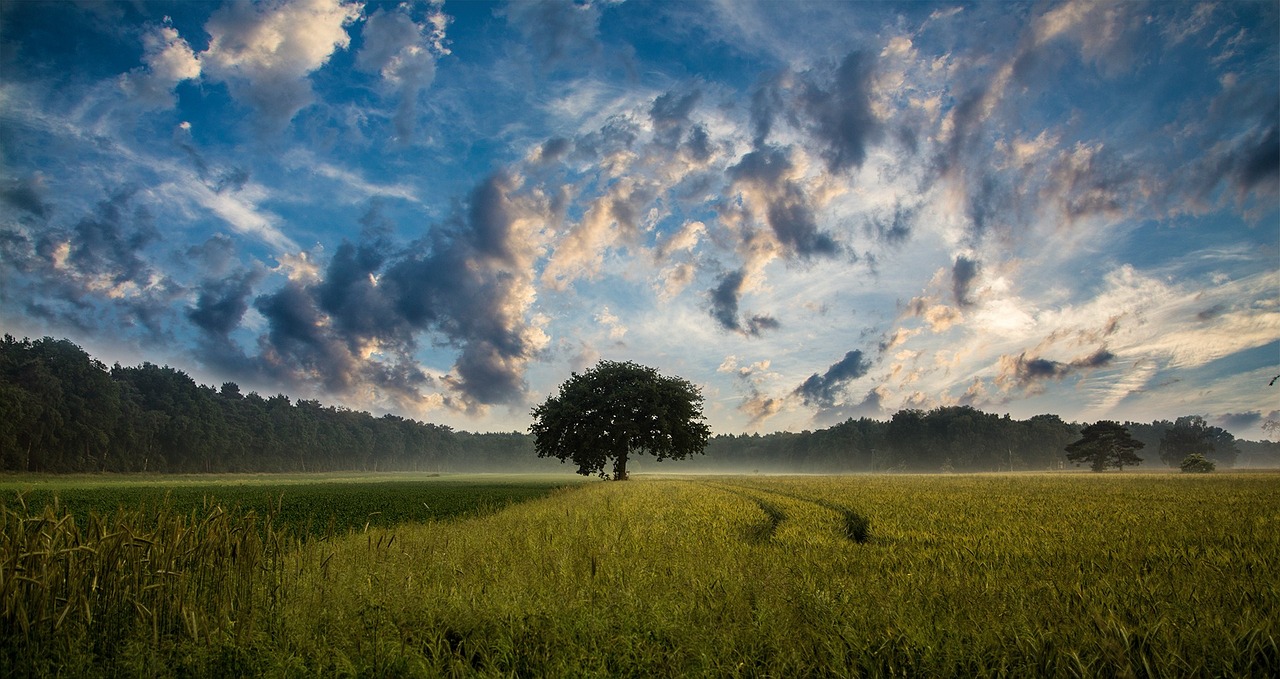
When it comes to painting a stunning clear sky, one of the most critical factors to consider is the interplay of light and atmosphere. The sky is not just a flat expanse of blue; it is a dynamic canvas that changes with the time of day, weather conditions, and even your geographical location. Understanding how these elements influence your color choices and the overall mood of your painting can dramatically enhance the realism of your artwork.
Light is the artist's best friend, and it can transform a mundane sky into a breathtaking masterpiece. Think about how the sun's position affects the colors you see. During the day, the sun's light is bright and direct, creating vibrant hues that can be quite intense. In contrast, during dawn or dusk, the light is softer and more diffused, resulting in a palette filled with pastel shades and rich, warm tones. This is where your understanding of light becomes essential.
Atmospheric conditions also play a vital role in how we perceive the sky. For example, a clear sky on a sunny day will appear much different from a sky filled with haze or pollution. The presence of particles in the air scatters light, which can create a range of colors and effects. Here are a few atmospheric conditions to consider:
- Clear Days: Expect a vibrant blue with minimal variation.
- Hazy Conditions: Colors become muted, with a softening of edges.
- Polluted Skies: The sky may take on a grayish hue, affecting the vibrancy of your colors.
Additionally, think about the emotional impact of your chosen colors. A bright, clear sky can evoke feelings of joy and serenity, while a more muted sky may convey a sense of calm or melancholy. By paying attention to these nuances, you can create a sky that not only looks realistic but also resonates with the viewer on an emotional level.
To truly master the art of painting skies, consider the effects of time of day on light and atmosphere. Morning, noon, and evening each offer unique opportunities for artistic expression. For instance, the golden hour—just before sunset—is renowned for its warm, glowing light that can create stunning contrasts and depth in your painting. Understanding these variations will allow you to select the right colors and techniques to capture the essence of the sky at any given moment.
In conclusion, grasping the relationship between light and atmosphere is fundamental to painting a stunning clear sky. By observing how these elements interact, you can make informed choices about color and technique, ultimately leading to a more compelling and realistic portrayal of the heavens above. So, the next time you pick up your brush, take a moment to consider the light and atmosphere in your scene—your artwork will thank you for it!
- What colors should I use for a clear sky? A mix of blues, whites, and subtle hints of yellows or pinks can create a realistic clear sky.
- How does the time of day affect my painting? Different times of day offer varying light qualities and colors; mornings often have soft pastels, while evenings are richer and more vibrant.
- Can I use a palette knife for sky painting? Yes, a palette knife can create interesting textures, especially for clouds or atmospheric effects.
Effects of Time of Day
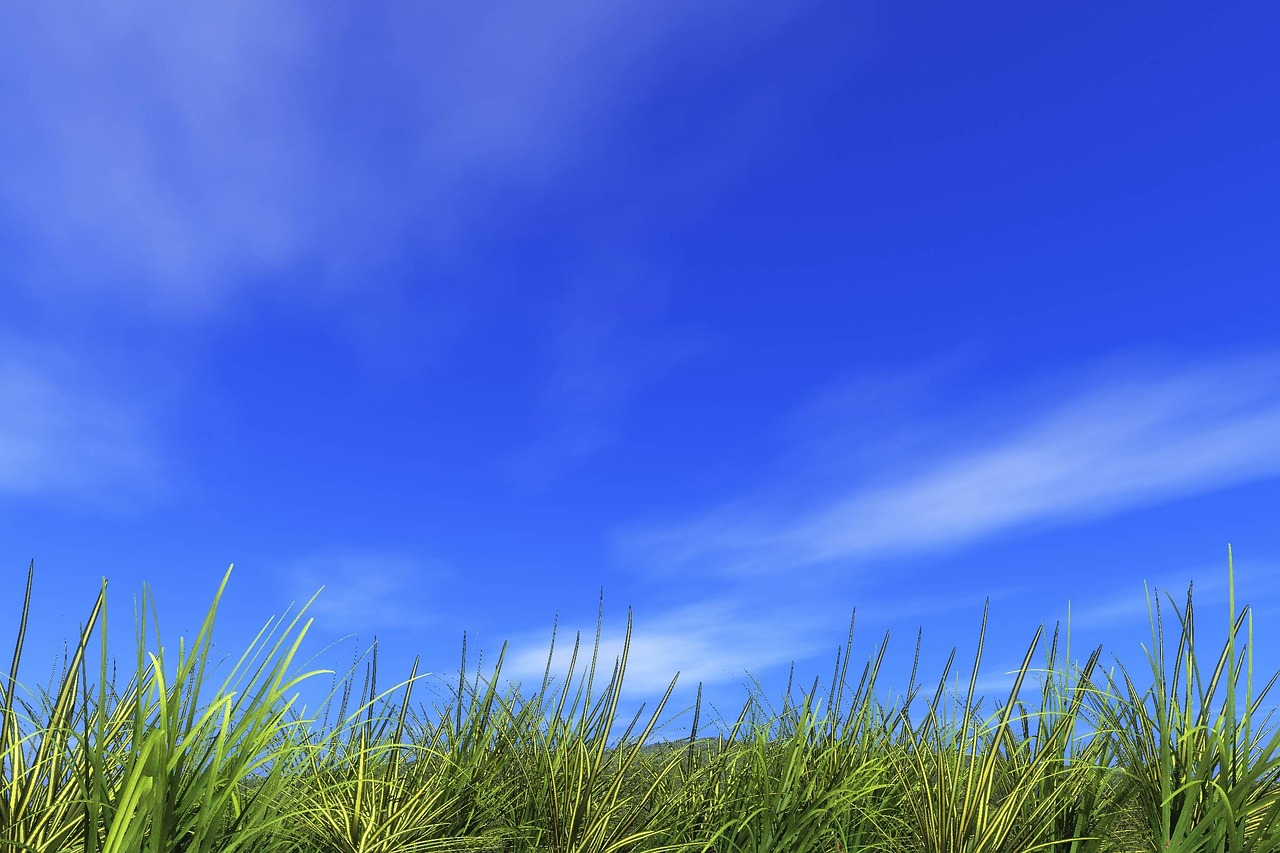
When it comes to painting a stunning clear sky, understanding the is essential. The sky is a dynamic canvas that transforms dramatically from dawn to dusk, each moment offering a unique palette of colors and moods. Have you ever noticed how the sky looks different in the morning compared to the evening? This variation can be attributed to the angle of the sun, atmospheric conditions, and the interplay of light and color. By mastering these nuances, you can elevate your artwork to new heights.
In the morning, the sky often greets us with a soft embrace of pastel hues. Think of gentle pinks, light blues, and soft yellows that blend together like a delicate watercolor painting. This serene atmosphere invites feelings of calm and renewal, making it a perfect time to capture the essence of dawn. To depict morning skies effectively, consider using a light touch with your brush. The key here is to create a smooth gradient that reflects the tranquility of the early hours.
As the day progresses to noon, the sky typically brightens, revealing a vibrant blue that almost seems to stretch infinitely. This is where you can play with bolder colors, using deeper blues and hints of white to represent the sun's bright glare. The challenge lies in balancing the intensity of light without overwhelming the viewer. Here, a technique called glazing can be particularly useful, allowing you to layer transparent colors to achieve that radiant effect.
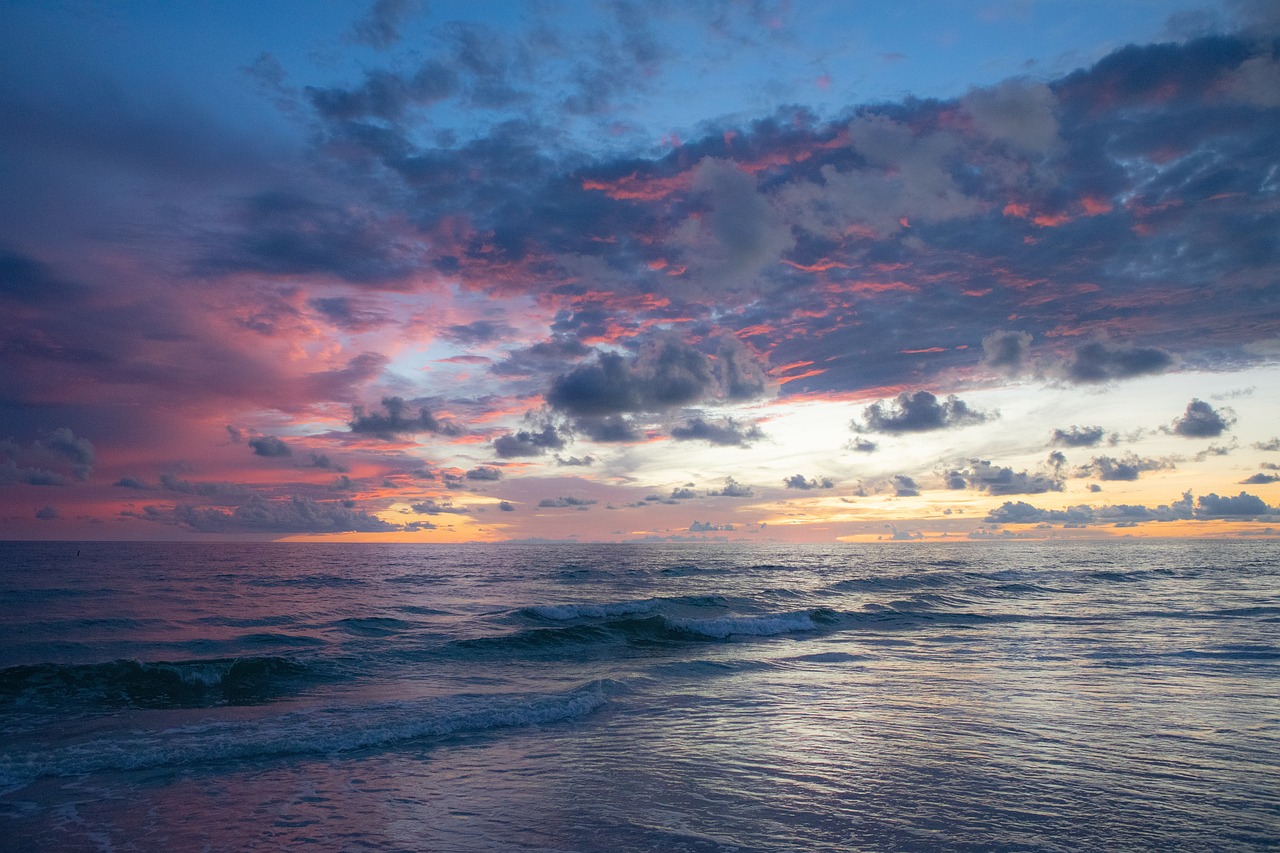
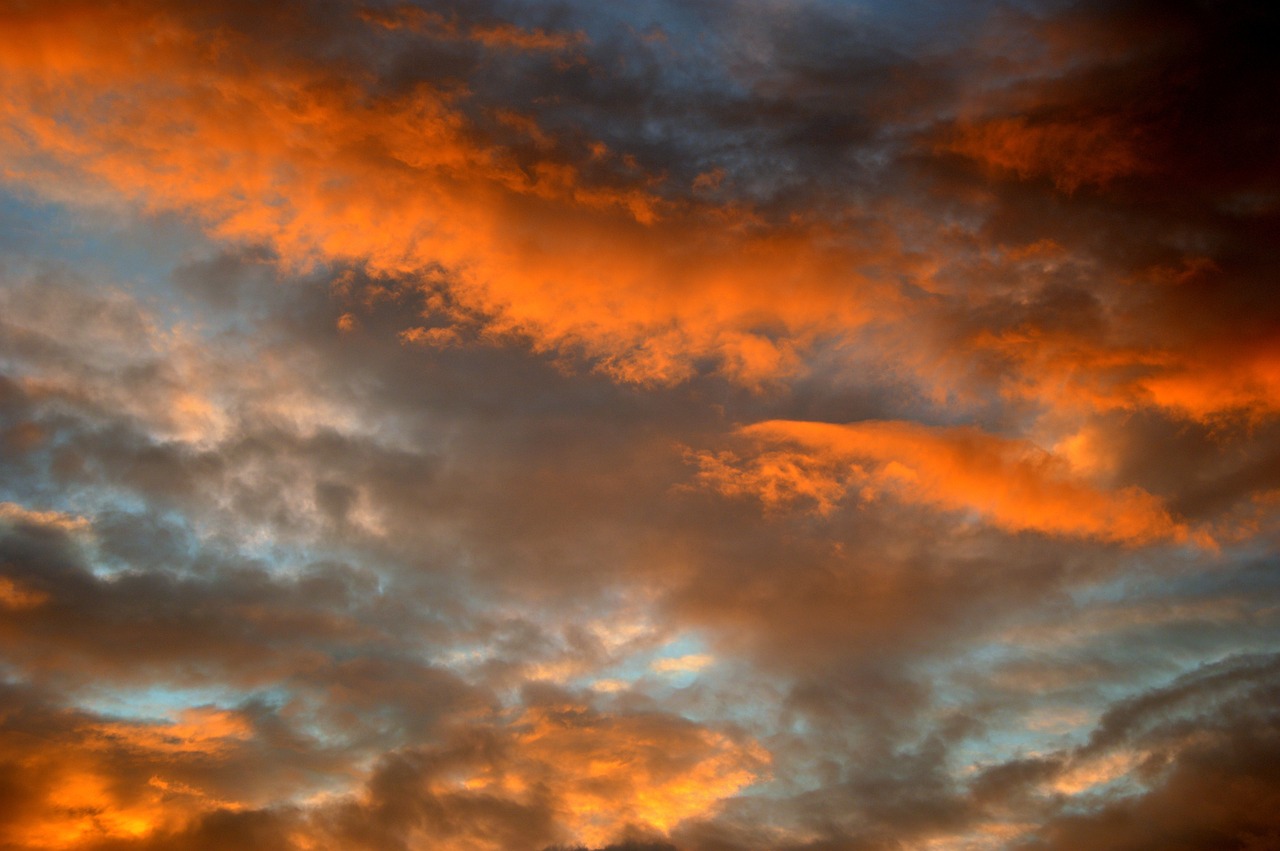
When evening rolls around, the sky transitions yet again, showcasing a magnificent display of rich colors. Think fiery oranges, deep purples, and dramatic reds that blend seamlessly into one another. This is the time for bold strokes and vibrant contrasts. To capture the essence of a sunset, you might want to use a larger brush to allow for sweeping motions that mimic the fluidity of the changing sky. The evening sky is a celebration of color, and your artwork should reflect that exuberance.
To help you visualize these differences, here’s a quick summary:
| Time of Day | Color Palette | Emotional Tone |
|---|---|---|
| Morning | Soft pastels (pinks, light blues, yellows) | Calm, serene |
| Noon | Bright blues, hints of white | Vibrant, energetic |
| Evening | Rich oranges, deep purples, reds | Warm, dramatic |
In conclusion, each time of day offers a unique opportunity for artists to explore and express the beauty of the sky. By paying close attention to these shifts in color and mood, you can create artwork that not only captures the essence of a clear sky but also resonates with viewers on a deeper level. So, the next time you pick up your brush, consider the time of day and let it guide your creative journey!
- What colors should I use for a morning sky? Use soft pastels like pinks, light blues, and yellows to create a calm atmosphere.
- How can I achieve a vibrant noon sky? Focus on bright blues and hints of white, using glazing techniques to balance the intensity of light.
- What techniques work best for painting evening skies? Utilize bold strokes and vibrant colors like oranges and purples to convey the drama of a sunset.

Morning Skies
Morning skies are a delightful canvas of soft pastels and gentle light, often evoking a sense of tranquility and renewal. When you think of a beautiful dawn, what comes to mind? Perhaps it’s the delicate blend of pinks, blues, and oranges that gradually emerge as the sun begins its ascent. Capturing this serene beauty in your artwork requires not just the right colors but also a keen understanding of how to apply them effectively.
To start, consider the color palette for your morning sky. You’ll want to focus on lighter shades that evoke the calm of early daybreak. Think about using colors like soft pinks, pale yellows, and light blues. A good mix might look like this:
| Color | Hex Code | Use |
|---|---|---|
| Soft Pink | #FFC0CB | Base layer for sunrise |
| Pale Yellow | #FFFACD | Highlights where the sun touches |
| Light Blue | #ADD8E6 | Background for the sky |
Once you have your colors selected, the next step is to focus on technique. Begin by applying a base layer with a broad brush to cover the canvas. This initial layer should be a smooth wash of light blue, providing a serene backdrop. As you work, gradually introduce the soft pink and pale yellow to create a gradient. The goal is to mimic the natural transition of colors that occurs in the morning sky.
One effective method for creating this gradient is the wet-on-wet technique. Here’s how you can do it:
- Start with a wet canvas by applying clean water over the area you want to paint.
- While the canvas is still wet, gently blend your chosen colors together using a soft brush.
- Keep your strokes light and airy to maintain the ethereal quality of morning light.
Another essential aspect of painting morning skies is to capture the atmospheric effects. The air is often clearer in the morning, giving the sky a crisp look. To achieve this, consider adding a touch of white or very light blue at the top of your canvas to simulate the higher atmosphere. This will create a sense of depth and distance, making your painting more realistic.
Finally, don’t forget to add the finishing touches. A few delicate brush strokes can represent clouds or the faintest hint of sunlight breaking through. These subtle details can elevate your painting from good to truly stunning. Remember, the key to mastering morning skies is practice and patience. Don’t be afraid to experiment with your colors and techniques until you find the perfect combination that resonates with you.
Q: What colors should I use for a morning sky?
A: Soft pastels like pinks, yellows, and light blues work best to create a serene morning sky.
Q: How can I create a smooth gradient?
A: Use the wet-on-wet technique by applying water to your canvas before blending colors together.
Q: Should I include clouds in my morning sky?
A: While clouds can add interest, the focus should be on the soft colors of dawn. A few light strokes can suggest clouds without overwhelming the scene.

Evening Skies
Ah, the evening sky—a canvas of vibrant colors that can take your breath away! As the sun dips below the horizon, the sky transforms into a masterpiece of rich hues, from fiery oranges to deep purples. Capturing this dramatic display in your artwork can truly elevate your painting skills. So, how do you translate this stunning spectacle onto your canvas? Let's dive into some techniques that will help you showcase the radiance of evening skies.
First off, it's essential to understand the color palette that defines evening skies. Unlike the soft pastels of dawn, evening skies often feature a more intense and varied array of colors. Here are some key hues to consider:
- Warm Oranges and Reds: These colors can create a sense of warmth and vibrancy, mimicking the last rays of sunlight.
- Cool Purples and Blues: As the sun sets, these cooler tones can contrast beautifully against the warm colors, adding depth and drama.
- Soft Pinks: These can serve as a transitional color, softening the harshness of the vibrant reds and oranges.
When mixing these colors, remember that the key is to achieve a balance that reflects the natural beauty of the evening. Start with a base of warm colors, then gradually add cooler tones to create a gradient effect. This layering technique is crucial for achieving the depth that evening skies are known for.
Next, let’s talk about brush techniques. To effectively capture the fluidity of evening skies, consider using a large, flat brush for the initial application of color. This allows for broad strokes that can cover larger areas quickly. Once you have your base down, switch to a round brush for finer details and blending. The goal here is to create a smooth transition between colors, so don’t be afraid to overlap your strokes slightly. A little bit of blending can go a long way in making your sky feel cohesive.
Another technique to consider is the use of glazing. This involves applying a thin, transparent layer of paint over your dried base layer. Glazing can intensify the colors and add a luminous quality to your evening sky. For instance, a glaze of deep blue can enhance the shadows of your clouds, making the warm colors pop even more. Remember to let each layer dry before applying the next to maintain clarity and vibrancy.
Finally, don’t forget about the final touches. Once your painting is nearly complete, take a step back and assess your work. Look for areas that might need a little extra love. Adding highlights—perhaps a touch of bright yellow or white—can simulate the last glimmers of sunlight reflecting off the clouds. These small details can make a significant difference in the overall impact of your painting.
In summary, painting evening skies is all about embracing the contrast and vibrancy of the moment. With the right colors, brush techniques, and attention to detail, you can create a stunning representation that captures the essence of this beautiful time of day. So grab your brushes, and let your creativity soar as you paint the breathtaking beauty of evening skies!
- What colors should I use for evening skies? Aim for a mix of warm oranges, reds, and cool purples and blues to capture the dramatic effect.
- What brush techniques work best for painting skies? Use a large flat brush for base layers and a round brush for details and blending.
- How can I add depth to my evening sky painting? Layering colors and using glazing techniques can help create a three-dimensional look.

Cloudless Skies
Painting may seem like a straightforward task, but achieving that perfect, serene look requires a keen eye and a bit of technique. The beauty of a clear sky lies in its simplicity, yet it's the nuances that can make your artwork truly pop. Think of a cloudless sky as a vast canvas, waiting for you to fill it with vibrant hues and smooth gradients. It’s like capturing a moment in time, where the sky is a brilliant blue, inviting and endless.
When you start painting a cloudless sky, the first thing to consider is the gradient. This is crucial for creating depth and realism. You want to transition smoothly from a deeper blue at the top of the canvas to a lighter, almost white hue closer to the horizon. This gradient mimics the way the atmosphere scatters light, creating that stunning visual effect we often take for granted.
Here are some tips to help you achieve a beautiful cloudless sky:
- Choose Your Palette Wisely: Use a mix of blues, from deep ultramarine to soft cerulean. Don’t forget to add a touch of white for highlights and to create a sense of luminosity.
- Use Water or Medium: When working with acrylics or oils, consider thinning your paint with water or a medium. This will allow for smoother application and blending.
- Layering Technique: Start with a base layer of your chosen blue, then gradually add lighter shades to create that gradient effect.
One effective method for painting a cloudless sky is to use a large, soft brush. Begin by applying a base coat of your darkest blue at the top of the canvas. Then, using a clean brush, lightly blend the edges downwards into a lighter blue. This technique helps to create a soft transition that mimics the natural sky. Remember, less is often more; you can always add more paint, but it's hard to take it away once it's there!
Another important aspect to consider is the atmospheric perspective. As you move closer to the horizon, the colors should become lighter and less saturated. This effect is due to the scattering of light in the atmosphere and can be depicted by adding more white to your paint as you approach the horizon line. This subtle shift in color not only adds realism but also draws the viewer's eye into the painting, creating a sense of depth.
Finally, don't underestimate the power of highlights. A few well-placed strokes of white or very light blue can suggest the glint of sunlight hitting the atmosphere, adding a touch of vibrancy to your sky. These highlights can be applied sparingly to maintain the overall softness of a cloudless sky while still providing that necessary pop.
In conclusion, painting a cloudless sky is about more than just slapping on some blue paint. It's about understanding the interplay of light and color, and how to replicate that on your canvas. With the right techniques and a bit of practice, you can create a stunning clear sky that captivates your audience and adds a breathtaking backdrop to your artwork.
Q: What colors should I use for a cloudless sky?
A: A mix of blues, including ultramarine and cerulean, along with white for highlights, works best for a realistic cloudless sky.
Q: How can I create depth in my sky painting?
A: Use a gradient technique, transitioning from darker blues at the top to lighter shades near the horizon, and consider atmospheric perspective.
Q: What brush techniques are best for painting skies?
A: A large, soft brush is ideal for blending colors smoothly. Consider using a stippling technique for added texture.
Brush Techniques for Sky Painting
When it comes to painting a stunning clear sky, the right brush techniques can make all the difference. It’s not just about slapping some blue paint on a canvas; it’s about understanding how to manipulate your tools to create the illusion of depth and atmosphere. Think of your brush as an extension of your imagination—each stroke can evoke feelings of tranquility, wonder, or even drama. Let’s dive into some essential techniques that will elevate your sky painting to new heights!
One of the most fundamental techniques in sky painting is blending. This method is crucial for achieving that smooth transition of colors that you often see in nature. Imagine the way the sky shifts from a deep blue at the zenith to lighter hues near the horizon. To achieve this, you can use a large, soft brush to mix your colors directly on the canvas. Start with a base color, and then gradually add lighter shades, using circular motions or gentle strokes. This technique helps create a seamless gradient, imitating the way light diffuses in the atmosphere.
Another technique to consider is stippling. This method involves using a stiff brush or a sponge to create small dots of color on the canvas. It’s perfect for adding texture to your sky, especially when depicting the subtle variations in color that occur during different times of the day. For instance, a stippled approach can beautifully represent the soft, fluffy clouds of a clear day or the shimmering glow of a sunset. The key is to vary the pressure and angle of your brush to achieve different effects, making your sky feel alive and dynamic.
Here’s a quick comparison of the two techniques:
| Technique | Best For | Tools Needed |
|---|---|---|
| Blending | Smooth transitions and gradients | Large, soft brushes |
| Stippling | Adding texture and detail | Stiff brushes or sponges |
Don’t forget about the importance of layering in your brush techniques. Layering allows you to build up the colors gradually, adding depth and complexity to your sky. Start with your lightest colors at the bottom and work your way up to darker shades. This not only mimics the natural progression of light in the sky but also helps to create a more visually appealing piece. Each layer should be allowed to dry before adding the next, ensuring that your colors remain vibrant and distinct.
Finally, final touches can be the secret ingredient that brings your sky painting to life. Once you have your base and layered colors down, step back and assess your work. Are there areas that could use a bit of highlight? A small touch of white or a light yellow can create the illusion of sunlight breaking through, enhancing the overall realism of your sky. Use a fine brush for these details, and don’t be afraid to experiment with different colors to see what resonates best with your vision.
Q: What type of paint is best for sky painting?
A: Acrylic and oil paints are both excellent choices. Acrylics dry quickly and are easy to blend, while oils allow for longer working times and rich textures.
Q: Can I use a palette knife for sky painting?
A: Absolutely! A palette knife can create unique textures and effects, especially for clouds or rougher skies.
Q: How do I clean my brushes after painting?
A: Clean your brushes immediately after use with warm, soapy water for acrylics or a solvent for oils to keep them in good condition.
Blending Techniques
When it comes to painting a stunning clear sky, mastering is essential. Blending allows you to create smooth transitions between colors, mimicking the soft gradients found in the natural world. Imagine standing outside on a perfect day, looking up at the sky where hues of blue gradually shift to lighter tones. That’s the kind of effect you want to achieve in your artwork!
One of the most effective methods for blending is the wet-on-wet technique. This involves applying wet paint onto wet paint, which helps the colors merge seamlessly. Start by laying down a base layer of your lightest color, like a soft sky blue. While this layer is still wet, gently add a slightly darker shade to the edges. Use a clean brush to softly stroke the two colors together, allowing them to blend naturally. This technique is particularly effective for creating the illusion of depth and atmosphere in your sky.
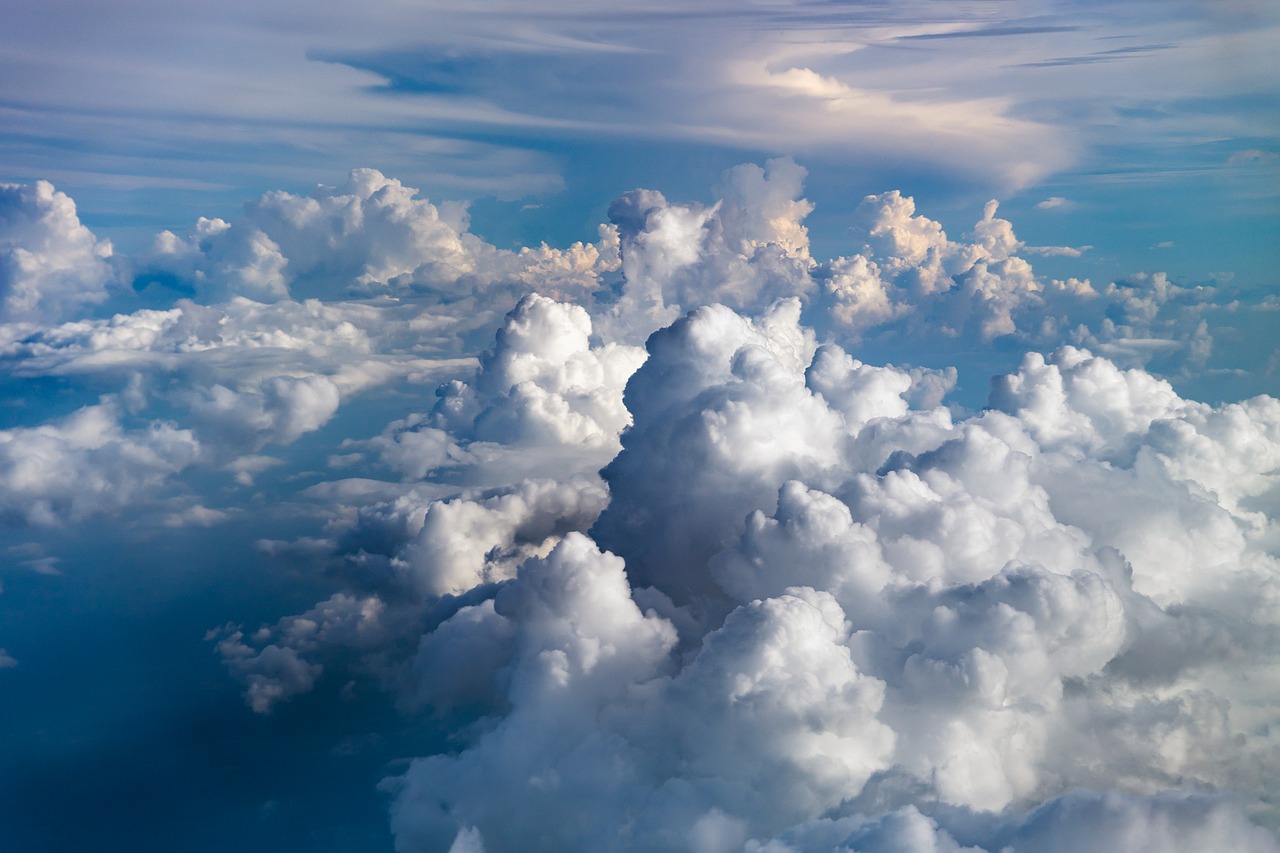
Another approach is the dry brushing technique. This method involves using a dry brush to apply paint on top of a dry layer. It’s perfect for adding subtle variations and textures to the sky. For instance, if you want to depict the soft, wispy clouds often seen in a clear sky, lightly drag a dry brush across the surface with a very light touch. This will create a soft, feathered effect, capturing the delicate nature of clouds without overwhelming the canvas.
To further enhance your blending skills, consider using a blending stump or your fingers. A blending stump, which is a tightly rolled piece of paper, can help you smooth out harsh lines and create beautiful gradients. Alternatively, your fingers can serve as an excellent blending tool when you want a more organic feel. Just be sure to clean your fingers between colors to maintain the integrity of your palette.
Additionally, don’t underestimate the power of layering colors. For instance, start with a base of light blue, then layer on a slightly darker blue followed by hints of lavender or pink, especially if you are painting during sunrise or sunset. This layering effect can create a mesmerizing depth that draws viewers into your painting. Remember, the key to successful blending is patience; take your time and allow each layer to dry if needed before adding more colors.
Lastly, always step back and evaluate your work from a distance. Sometimes, what looks like a rough transition up close can appear beautifully blended when viewed from afar. This perspective can help you make adjustments and ensure that your sky painting captures the breathtaking beauty of a clear sky.
- What is the best paint to use for blending skies? Acrylics and oils are both excellent choices for blending due to their workability and range of colors.
- Can I use a palette knife for blending? Yes, a palette knife can be used for blending, especially for creating texture and sharp lines in the sky.
- How do I fix mistakes in blending? If you find that your blending isn’t working, you can gently scrape off the paint with a palette knife or use a wet brush to rework the area.
Texturing the Sky
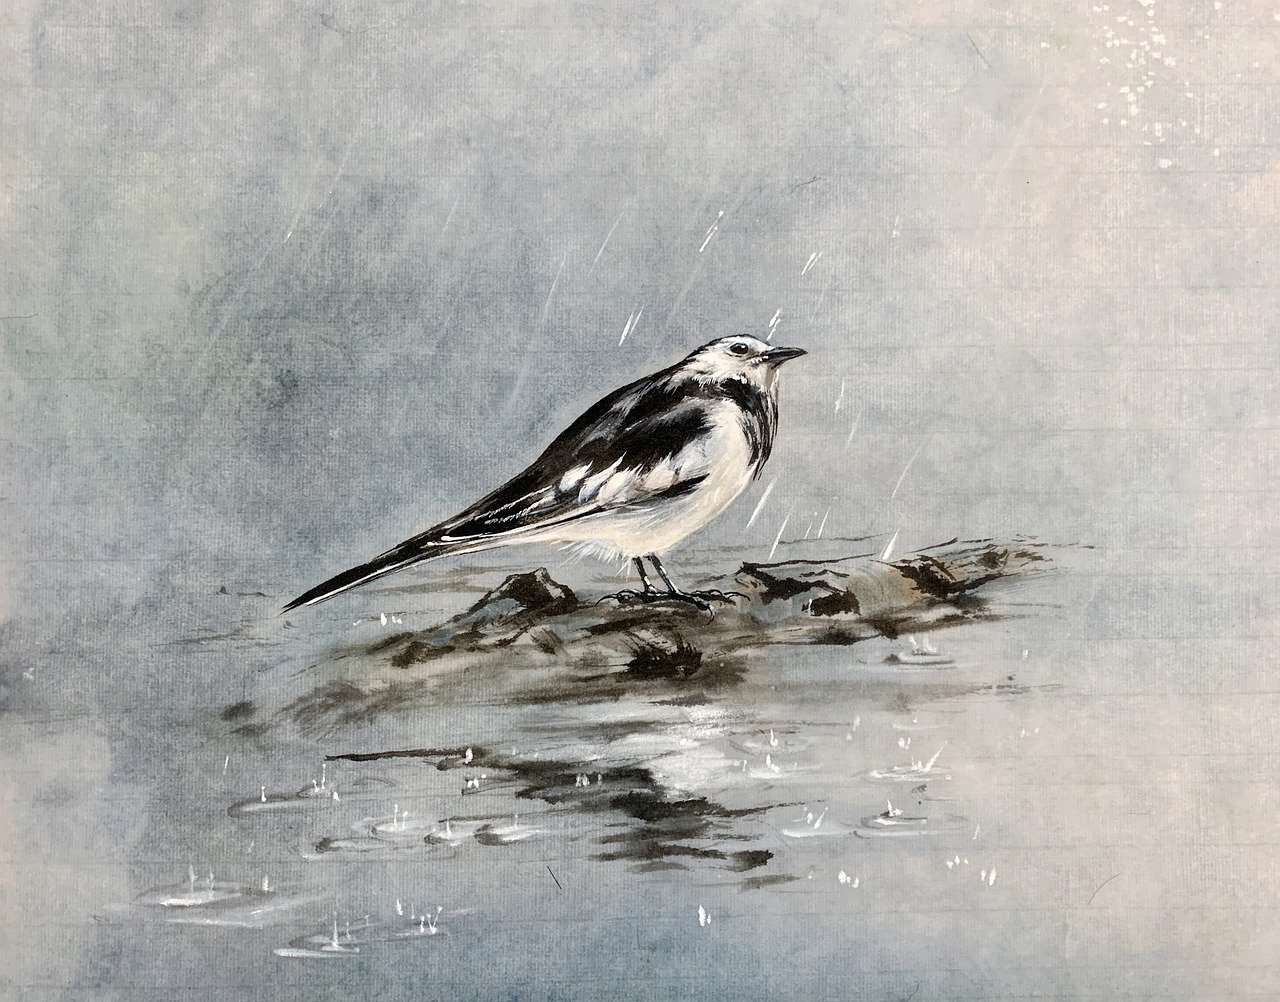
When it comes to painting a stunning clear sky, one of the most overlooked aspects is texture. Just like a chef adds spices to enhance the flavor of a dish, adding texture to your sky painting can elevate it from ordinary to extraordinary. Texture provides visual interest and can mimic the subtle variations found in the atmosphere. So, how do you achieve this? Let’s dive into some effective techniques!
First off, it's essential to understand that the sky is not just a flat expanse of color; it has depth and character. To create texture, you can use various tools and techniques. For instance, a dry brush technique can be incredibly effective. By using a stiff-bristled brush and minimal paint, you can create a stippled effect that mimics the soft, airy quality of the atmosphere. This technique is particularly useful for adding hints of clouds or atmospheric haze without overwhelming the canvas.
Another method is sponging. Using a natural sponge, you can dab on lighter colors to create a soft, cloud-like appearance. This technique allows for a more organic feel, as the sponge creates random patterns that resemble the natural randomness of the sky. Remember, the key is to use a light touch and build up layers gradually. Too much pressure will create harsh lines, which we want to avoid.
Additionally, consider using a palette knife for an entirely different approach. With a palette knife, you can scrape and layer paint, creating a unique texture that adds dimension. This technique is excellent for depicting the roughness of a distant mountain range or the subtle undulations of the horizon. However, be cautious with this method; it’s easy to go overboard and lose the softness characteristic of a clear sky.
Moreover, don’t forget about the importance of color variation. By using slightly different shades of blue, you can create an illusion of depth. For example, a lighter blue at the horizon gradually transitioning to a deeper blue at the top of the canvas can give the impression of a vast, open sky. You can even introduce touches of other colors, like soft pinks or yellows, to suggest the warmth of sunlight filtering through the atmosphere.
Lastly, remember that practice makes perfect. Experimenting with different techniques and tools will help you find your unique style. Whether you prefer the delicate touch of a brush or the spontaneity of a sponge, the goal is to create a sky that feels alive. So grab your paints, let your imagination soar, and don’t be afraid to make mistakes along the way. Each stroke is a step closer to mastering the art of sky painting!
- What materials do I need to texture the sky? You can use brushes, sponges, palette knives, and even your fingers to create different textures.
- Can I use acrylics for texturing the sky? Absolutely! Acrylics are versatile and can be manipulated easily for various textures.
- How do I know when my sky has enough texture? Step back and look at your painting from a distance. It should feel dynamic but not overwhelming.
Layering for Depth
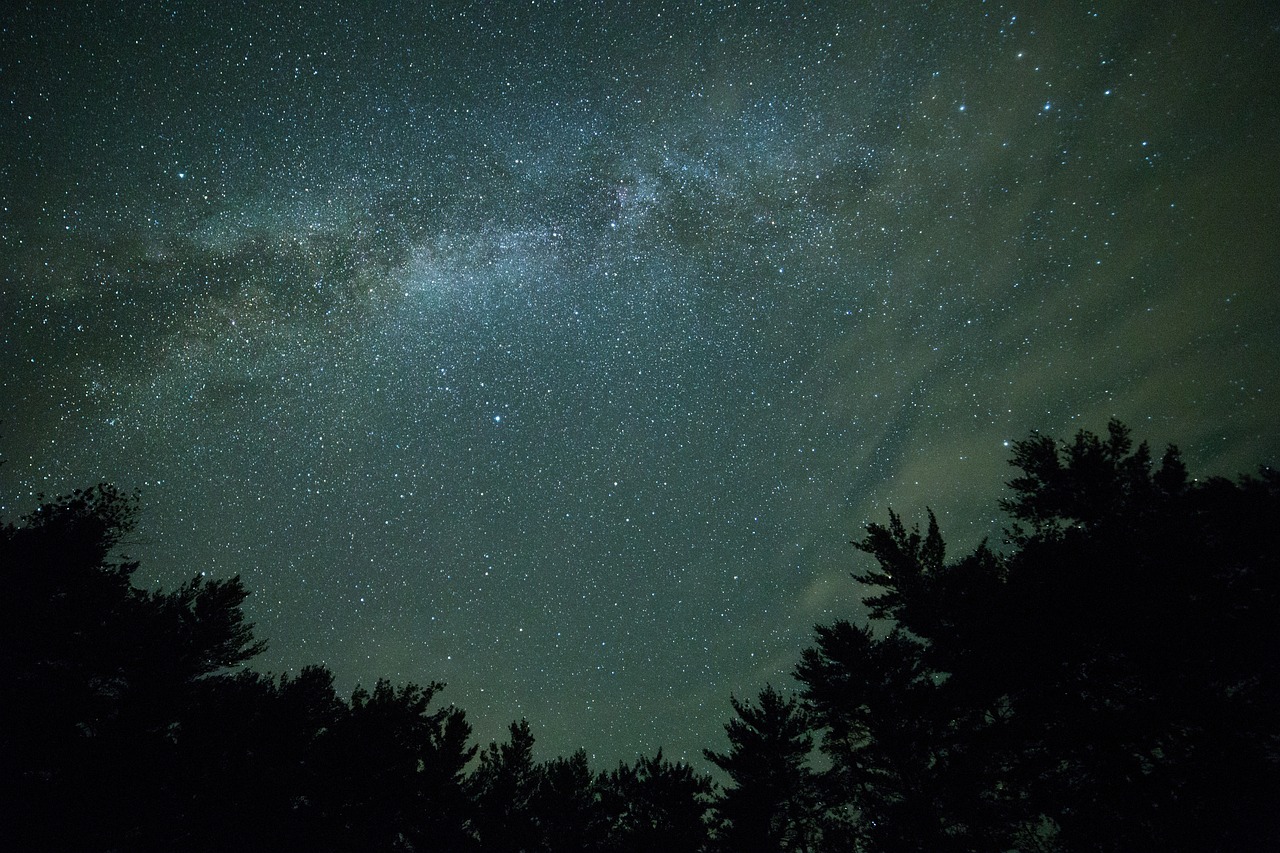
When it comes to painting a stunning clear sky, layering is an essential technique that can transform a flat canvas into a vibrant masterpiece. The idea behind layering is simple: it allows you to build up colors and textures gradually, creating a sense of depth that mimics the natural sky. Imagine how the atmosphere shifts throughout the day; it’s not just about a single hue but a spectrum of colors that interact with one another. By layering your paints, you can replicate that complexity, making your artwork feel alive.
To start with, establish a solid base layer. This is the foundation of your sky, and it sets the tone for everything that follows. Use a large brush to apply a light wash of color—perhaps a soft blue or a gentle gradient of pastels. This base layer should be smooth and even, as it will allow subsequent layers to blend seamlessly. Think of it as the underpainting of a portrait; it’s the groundwork that will support the details you add later.
Once your base is dry, it’s time to add more layers. Here’s where you can get creative! Layering is not just about adding more paint; it’s about enhancing the depth and dimension of your sky. You might want to consider the following tips:
- Use transparent paints: Transparent colors allow the layers beneath to show through, creating a richer effect.
- Vary your brush strokes: Different strokes can create a variety of textures. Try using a fan brush for cloud-like effects or a sponge for soft gradients.
- Adjust your colors: As you layer, tweak your colors slightly. Adding a bit of white can lighten a shade, while a touch of darker blue can create shadows.
As you build layers, remember to let each layer dry before applying the next. This will prevent muddying your colors and ensure that each layer retains its vibrancy. Think of it like building a cake; each layer needs to be set before you can add the delicious frosting on top. Additionally, layering allows you to create highlights and shadows that add to the realism of your sky. For instance, after applying a mid-tone blue, you can add lighter shades at the top of the canvas to simulate the sun’s rays hitting the atmosphere.
Finally, don’t forget the final touches. Once you’ve achieved the desired depth through layering, take a step back and assess your painting. Are there areas that need a little more light or shadow? Perhaps a few delicate brush strokes of white to represent the sun’s reflection or hints of pink to capture the warmth of a sunset? These final details can elevate your painting from good to breathtaking, making the sky feel as if it could stretch beyond the canvas.
Q: How many layers should I apply for a clear sky?
A: There’s no strict rule, but typically, 3-5 layers should suffice to create depth and richness. Adjust based on your desired effect.
Q: Can I use acrylics for layering?
A: Absolutely! Acrylics are great for layering due to their quick drying time and versatility. Just make sure to use transparent or semi-transparent colors for the best results.
Q: What if I make a mistake while layering?
A: Mistakes are part of the process. You can either paint over the area once it’s dry or use a wet cloth to wipe away fresh paint if you catch it early.
Building Base Layers
This article explores techniques and tips for creating a breathtaking clear sky in your artwork, covering color selection, brush techniques, and layering methods for achieving depth and realism.
Selecting the appropriate colors is crucial for depicting a clear sky. This section discusses the best hues and shades to use for a realistic effect, including tips on mixing colors effectively.
Light plays a significant role in how we perceive the sky. Here, we explore how atmospheric conditions influence color choices and the overall mood of your painting.
The sky changes dramatically throughout the day. This subheading examines how to capture the nuances of morning, noon, and evening skies in your artwork.
Morning skies often feature soft pastels and gentle light. Learn techniques for depicting the serene beauty of dawn in your paintings.
Evening skies are vibrant and rich. Discover how to showcase the dramatic colors of sunset in your artwork for maximum impact.
Cloudless skies can be deceptively simple to paint. This section provides tips for achieving a smooth gradient and maintaining a sense of depth in your work.
The right brush techniques can elevate your sky painting. This section outlines various methods, including blending and stippling, to create realistic sky textures.
Blending is essential for achieving a seamless sky. Here, we detail effective blending methods that help create a smooth transition between colors.
Adding texture can enhance the visual interest of your sky. This subheading explores techniques for adding subtle textures that mimic the natural appearance of the atmosphere.
Layering is a powerful technique for creating depth in your sky paintings. This section discusses how to build layers effectively to achieve a three-dimensional look.
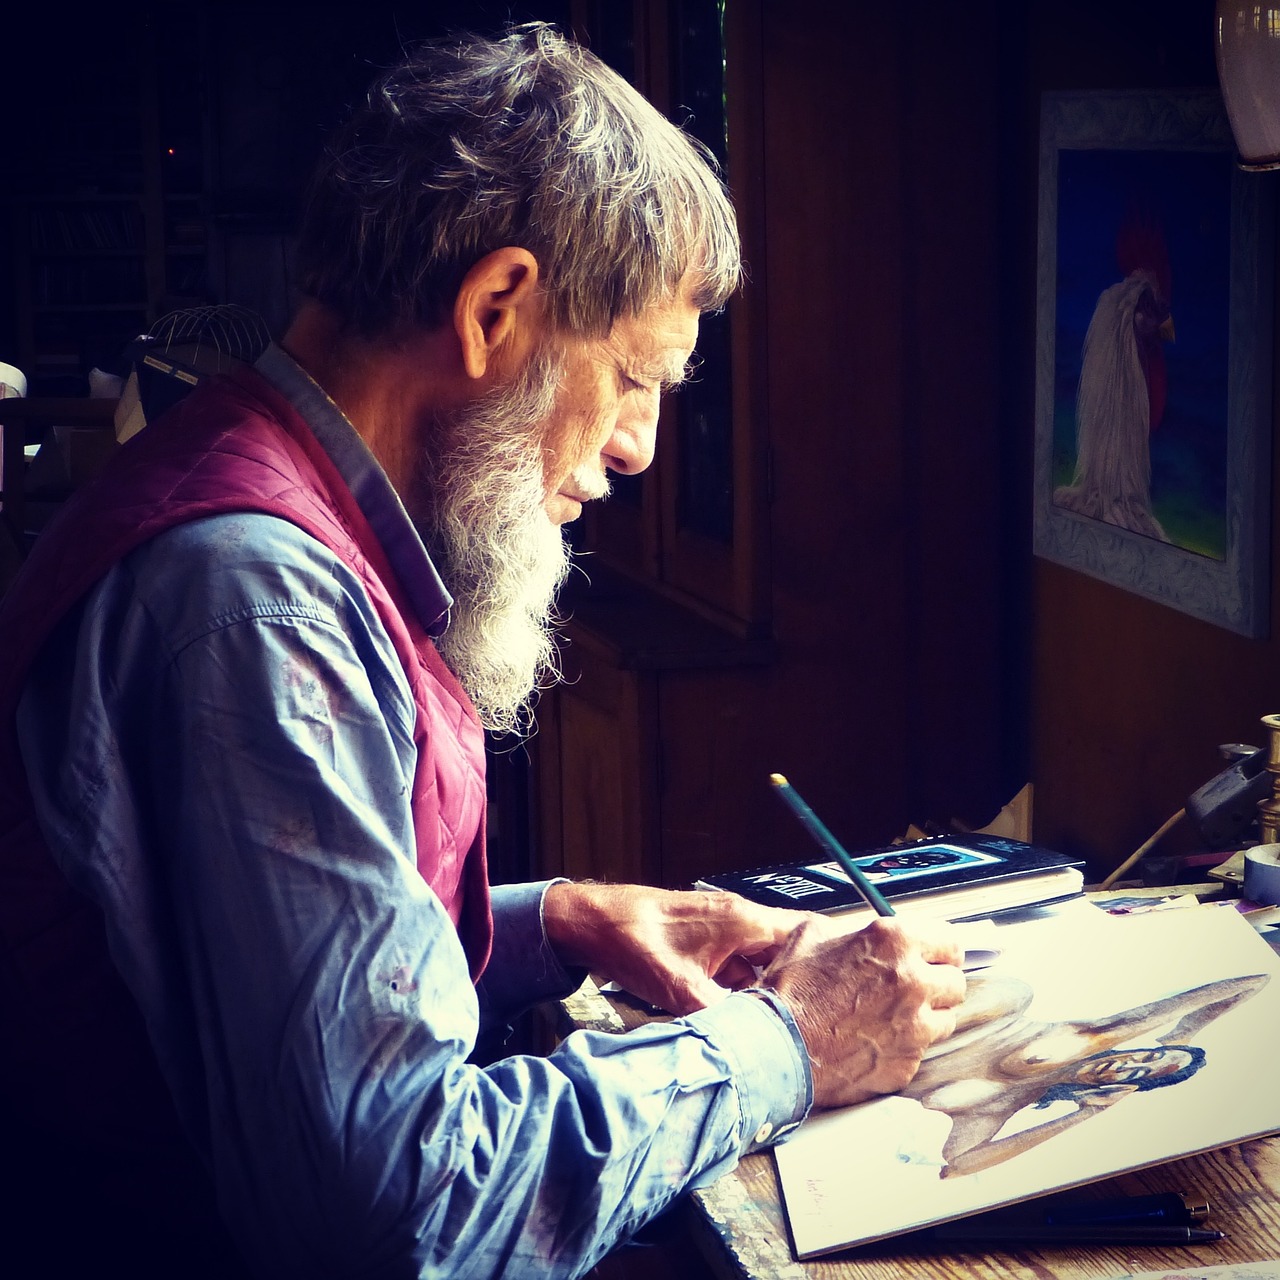
Establishing a solid base layer is vital when painting a clear sky. Think of this base as the foundation of a house; without it, everything else will crumble. Start by selecting a few key colors that represent the overall tone of your sky. For instance, you might choose a soft blue for a daytime sky or a warm orange for a sunset. The trick is to use a large brush to apply these colors in broad strokes across your canvas. This not only sets the stage but also allows for a smooth transition to the subsequent layers.
As you apply your base layer, consider the gradient effect. You can achieve this by using a technique called wet-on-wet, where you apply wet paint onto wet paint. This method allows for a beautiful blending of colors, giving your sky that natural look. Remember, the key is to keep your strokes light and airy; think of painting as if you're gently caressing the canvas rather than attacking it.
Once your base layer is dry, you can start adding more colors to build depth. This is where you can play with different shades and hues. For example, if you're painting a morning sky, you might layer a soft pink or lavender over your blue base to create that early dawn effect. The layering process is all about experimenting and observing how colors interact with one another.
To help you visualize the process, consider the following table that outlines the steps for building base layers:
| Step | Description |
|---|---|
| 1 | Select your key colors for the base layer. |
| 2 | Use a large brush to apply the base color in broad strokes. |
| 3 | Utilize the wet-on-wet technique for smooth blending. |
| 4 | Allow the base layer to dry before adding additional colors. |
| 5 | Experiment with different shades to create depth. |
In conclusion, building a solid base layer is about patience and practice. Don't rush the process; allow each layer to dry fully before moving on to the next. This way, you’ll create a sky that not only looks beautiful but also feels alive. Remember, every brushstroke counts, and with each layer, you bring your canvas closer to the breathtaking sky you envision.
- What colors should I use for a clear sky? Choose soft blues and whites for daytime, and warm oranges and purples for sunsets.
- How do I achieve a smooth gradient? Use the wet-on-wet technique and a large brush for the best results.
- Can I use acrylics for sky painting? Absolutely! Acrylics are versatile and great for layering.
- How long should I let each layer dry? It usually depends on the thickness of the paint, but a few hours is generally sufficient.
Final Touches
When it comes to painting a stunning clear sky, the can truly make all the difference. These last steps are where your artwork transforms from a simple depiction to a breathtaking representation of nature. It's essential to focus on highlights and details that will enhance the realism of your sky. Think of these final touches as the icing on the cake; they add flavor and depth, making your piece more enticing to the viewer.
One of the most effective ways to add those finishing touches is through the use of highlights. Consider where the light is coming from in your painting. For instance, if you're depicting a midday sky, the sun will cast a bright light that creates stark contrasts. You might want to use a lighter shade of blue or even white to add small highlights to the edges of your clouds or the horizon. This technique not only draws the eye but also creates a sense of luminosity that is vital for a realistic sky.
Moreover, don't underestimate the power of details. While a clear sky might seem simple, incorporating subtle variations can bring your painting to life. For example, you can add tiny specks of white or very pale blue to suggest distant birds or the faint shimmer of sunlight reflecting off the atmosphere. These minute details can significantly enhance the overall effect of your artwork, making it feel more dynamic and engaging.
Another crucial aspect of the final touches is ensuring that your colors are well-blended, especially at the edges where different hues meet. This can be achieved by using a soft brush to gently blend the colors together, creating a smooth transition that mimics the natural gradients found in the sky. Remember, the goal is to create a harmonious look that feels both inviting and serene.
Finally, consider stepping back from your painting to assess the overall composition. Sometimes, a fresh perspective can reveal areas that need a little more attention or adjustment. Don’t be afraid to experiment; sometimes, adding a slight glaze over your painting can unify the colors and enhance the depth of your sky. This technique can also help to soften any harsh lines or contrasts that may have developed during the painting process.
In summary, the final touches in your sky painting are essential for achieving a stunning and realistic effect. By focusing on highlights, details, and blending techniques, you can elevate your artwork to new heights. Remember, these last steps are where your creativity shines, so take your time and enjoy the process!
- What colors should I use for a clear sky?
For a clear sky, shades of blue are essential, ranging from light cerulean to deeper cobalt. Mixing in a bit of white can help create a lighter, airy feel. - How do I create depth in my sky painting?
Layering colors and using varying brush techniques can help establish depth. Start with a base layer and gradually add more colors to create dimension. - What is the best brush for painting skies?
A soft, wide brush is ideal for blending colors smoothly. A fan brush can also be useful for adding texture to clouds or atmospheric effects. - How can I depict different times of day in my sky paintings?
Adjust your color palette based on the time of day; for example, use warm oranges and pinks for sunsets, and cooler blues and whites for midday skies.
Frequently Asked Questions
- What colors should I use for painting a clear sky?
When painting a clear sky, opt for a palette that includes various shades of blue, white, and hints of yellow or pink for added depth. Light blues work well for the daytime, while deeper shades can help you capture the richness of the evening sky. Mixing these colors can create a more realistic effect.
- How does the time of day affect my sky painting?
The time of day dramatically influences the colors and mood of your sky. Morning skies are often soft and pastel, while noon skies can be bright and vibrant. Evening skies tend to display rich, warm tones. Understanding these nuances can help you choose the right colors and techniques for your painting.
- What brush techniques are best for painting skies?
Blending and stippling are two effective brush techniques for creating realistic sky textures. Blending helps achieve smooth transitions between colors, while stippling can add texture and interest. Experimenting with different brush sizes and shapes can also enhance your artwork.
- How can I create depth in my sky paintings?
Layering is key to achieving depth in sky paintings. Start with a solid base layer of color and gradually build up additional layers, allowing each to dry before adding the next. This technique creates a three-dimensional look and enhances the overall realism of your sky.
- What are the final touches I should add to my sky painting?
Final touches can make a significant difference in your artwork. Adding highlights and subtle details, such as the glimmer of sunlight or the soft glow of clouds, can bring your sky to life. Don't forget to step back and assess your work to ensure balance and harmony.


