Keys to Successful Still Life Painting
Still life painting is an incredible way to explore your creativity and express your artistic vision. But what makes a still life truly successful? It's not just about throwing a few objects together on a table and calling it art. It involves a deep understanding of various elements, including composition, color, and lighting. In this article, we will dive into the essential techniques and tips that can help you master the art of still life painting. Whether you're a beginner or an experienced artist, there's always something new to learn that can enhance your skills and elevate your artwork.
Composition is the backbone of any successful still life painting. Think of it as the blueprint of your artwork—it sets the stage for everything that follows. Balance is crucial; you want to create a visual harmony that draws the viewer's eye across the canvas. One effective way to achieve this is by using the rule of thirds. Imagine dividing your canvas into a grid of nine equal sections. By placing your focal points along these lines or at their intersections, you create a more dynamic and engaging composition.
Another essential aspect is establishing a clear focal point. This is the area where you want your viewers to direct their attention first. You can achieve this through contrast, color, or by positioning it strategically within your composition. Remember, a well-composed still life is like a well-told story; it guides the viewer through the narrative of your painting.
Now that you have a grasp of composition, let's talk about the objects you choose to paint. The right subjects can ignite your creativity and convey a powerful message or theme. When selecting objects, consider what resonates with you personally. Are you drawn to the vibrant colors of fruits, the delicate beauty of flowers, or perhaps the intricate details of man-made items? Each choice brings its own set of challenges and rewards.
When it comes to still life, you can choose between natural objects, like fruits and flowers, and man-made items, such as ceramics or tools. Each type offers unique experiences. Natural objects often provide rich textures and vibrant colors, but they can also be unpredictable in terms of decay and lighting. On the other hand, man-made objects allow for more control over your composition and can introduce interesting shapes and reflections.
One of the keys to a captivating still life is the attention to textures and details. Think of your painting as a window into a world of intricate surfaces. Whether it's the smooth skin of an apple or the rough texture of a burlap sack, capturing these details can elevate your artwork to new heights. Techniques such as stippling, glazing, and dry brushing can help you achieve the desired effect, making your subjects feel almost tangible.
Color harmony is another vital element in still life painting. Understanding the basics of color theory can help you create a cohesive palette that enhances your overall composition. Consider using complementary colors to create contrast or analogous colors for a more harmonious feel. The right color choices can evoke emotions, set the mood, and draw the viewer into your artwork.
The way you light your still life setup can dramatically affect the mood and depth of your painting. Experimenting with different lighting setups can lead to exciting results. Natural light often creates soft shadows and highlights, while artificial lighting can produce dramatic contrasts. Play around with angles and intensities to see how they transform your subjects. Remember, lighting can be your best friend or your worst enemy, so embrace it!
Understanding the right brushes and tools can significantly enhance your painting process. Different brushes can create various effects, from fine details to broad strokes. For instance, a flat brush is excellent for laying down large areas of color, while a round brush is perfect for intricate details. Additionally, don't underestimate the power of palette knives and sponges—they can add unique textures and dimensions to your still life.
Layering and glazing are essential techniques that can add depth and richness to your still life paintings. By applying multiple layers of paint, you can create a sense of volume and realism. Glazing, which involves applying a thin, transparent layer of paint over dried layers, can also enhance color vibrancy and luminosity. Mastering these techniques takes practice, but the results are worth the effort!
The final details can make or break a still life painting. It's in these finishing touches that your artwork comes to life. Take the time to refine edges, add highlights, and ensure a polished finish. Consider stepping back frequently to assess your work from a distance; sometimes, the smallest adjustments can lead to the most significant improvements.
- What materials do I need to start painting still life? You will need a canvas, brushes, paints, and a selection of objects to arrange as your still life.
- How can I improve my still life compositions? Practice the rule of thirds, experiment with different arrangements, and focus on creating a strong focal point.
- Is it better to paint from life or photographs? Both methods have their advantages. Painting from life can help you understand light and texture better, while photographs can provide convenience and flexibility.
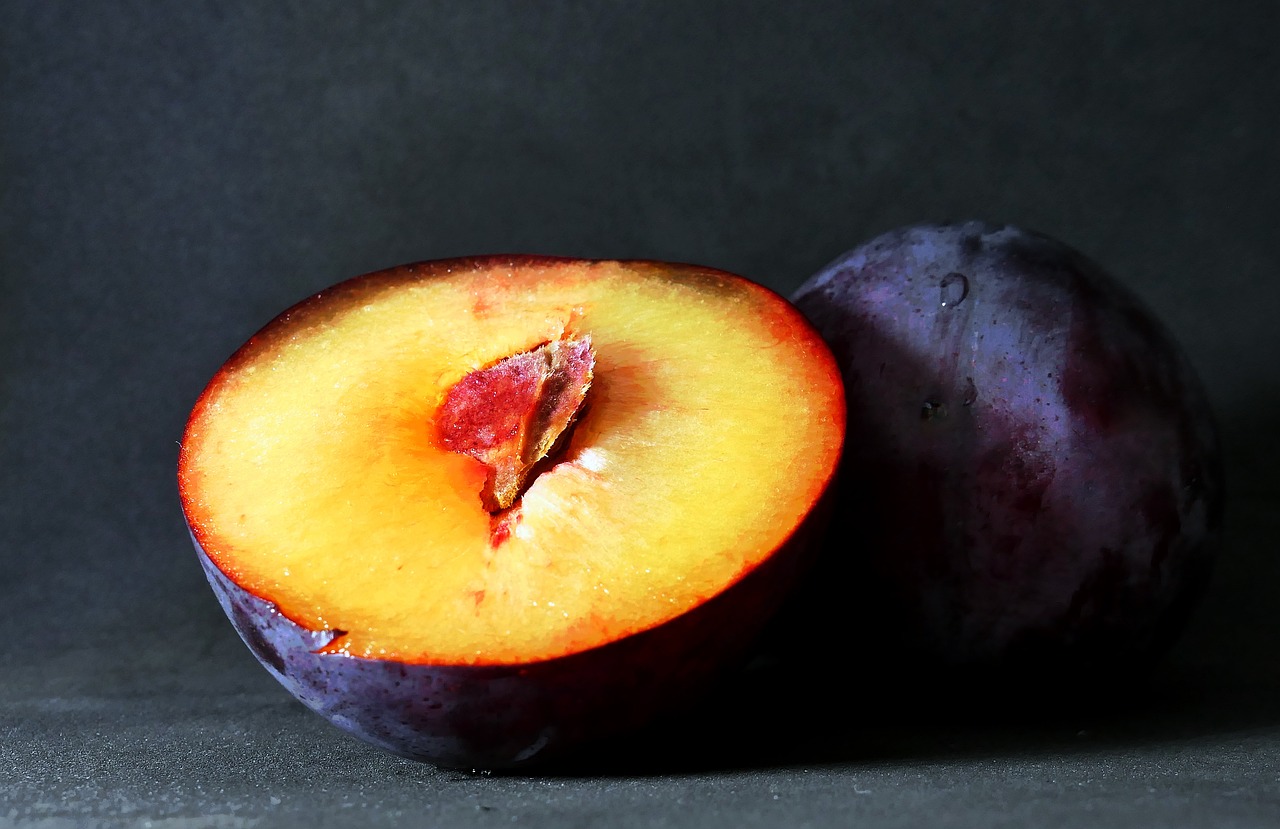
Understanding Composition
Composition is the backbone of any successful still life painting. It’s like the secret recipe that transforms a simple arrangement of objects into a captivating piece of art. When you think about composition, consider it as the way you arrange your subjects within the canvas. A well-composed painting draws the viewer in and guides their eye across the artwork, creating a visual journey that feels both balanced and harmonious. But how do you achieve this balance? Let's dive into some key elements that can help you master composition in your still life paintings.
One of the most critical aspects of composition is balance. Imagine walking on a tightrope; if one side is heavier than the other, you’re likely to topple over. The same principle applies to your painting. You can create balance by distributing visual weight evenly across the canvas. This doesn’t mean that every object has to be the same size or shape, but rather that the arrangement feels stable. For instance, if you have a large fruit on one side, consider placing a cluster of smaller items on the opposite side. This will create a sense of equilibrium that is pleasing to the eye.
Another essential concept is the focal point. This is the star of your show—the object that you want the viewer to notice first. It could be a vibrant piece of fruit, a beautiful vase, or even a striking flower. To establish a focal point, you can use techniques like contrast, color, or placement. For example, placing your focal object at the intersection of the rule of thirds can create a natural draw for the viewer’s attention. The rule of thirds divides your canvas into a grid of nine equal parts, and placing your focal point along these lines or at their intersections can make your composition more dynamic.
Speaking of the rule of thirds, let’s explore why it’s such a crucial tool for artists. When you divide your canvas into three equal horizontal sections and three equal vertical sections, you create a grid that helps you position your subjects in a way that feels balanced and engaging. Here’s a simple breakdown of how to use it:
| Grid Section | Placement Tips |
|---|---|
| Top Left | Ideal for placing lighter objects or highlights |
| Top Right | Great for darker objects or shadows |
| Bottom Left | Use for grounding elements like a table or surface |
| Bottom Right | Perfect for adding depth with overlapping objects |
Lastly, don’t forget about negative space. This refers to the empty areas around your subjects. It might seem counterintuitive, but negative space is just as important as the objects you’re painting. It helps to define shapes and gives your composition room to breathe. Think of it as the silence in a beautiful piece of music; it enhances the notes that are played. By allowing for negative space in your still life, you can create a more impactful and engaging composition.
In summary, mastering composition in still life painting involves understanding balance, establishing a focal point, utilizing the rule of thirds, and appreciating the role of negative space. By keeping these principles in mind, you can elevate your artwork from ordinary to extraordinary, captivating viewers and leaving a lasting impression. Now, let’s explore how to choose the right subjects for your still life masterpieces!
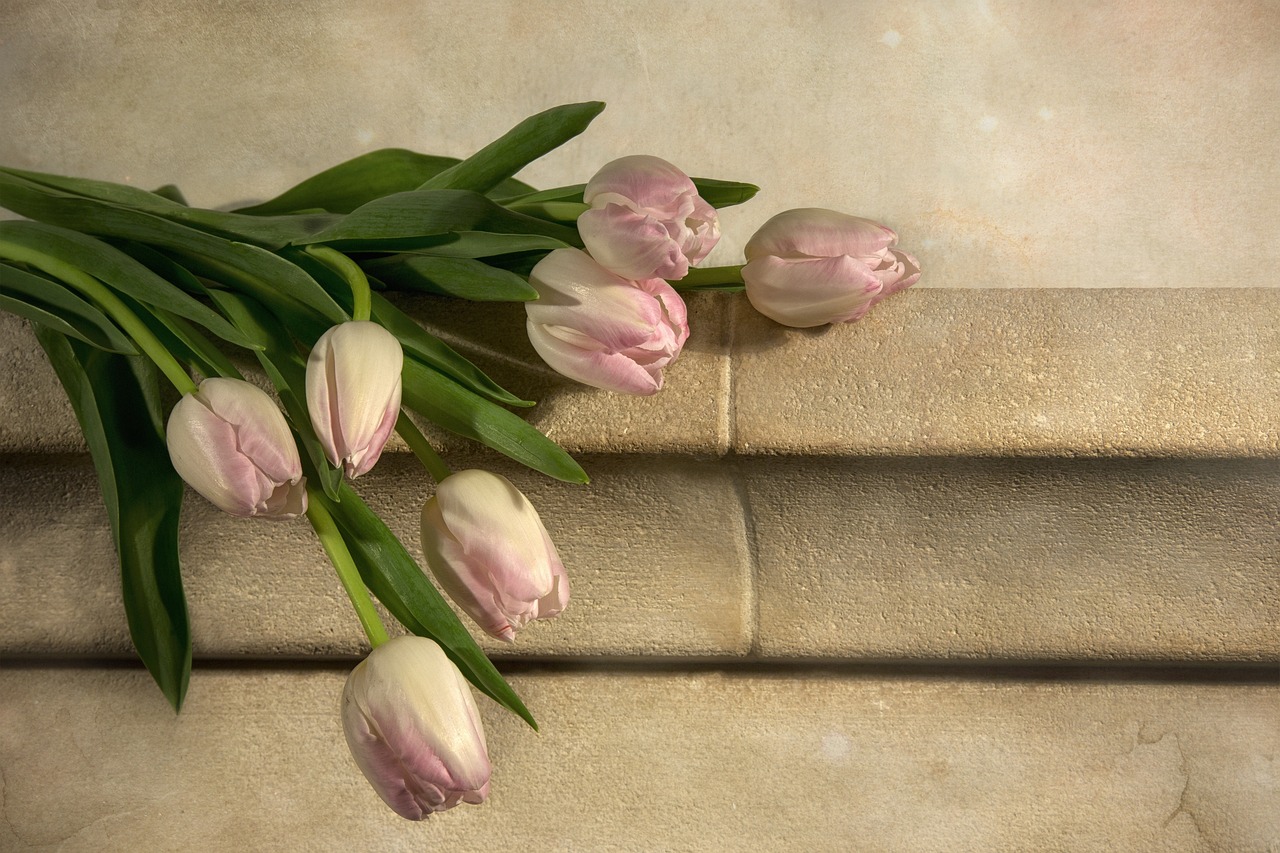
Choosing the Right Subjects
When it comes to still life painting, the objects you choose to depict are not just mere items; they are the very essence of your artistic expression. Selecting the right subjects can ignite your creativity and set the tone for your entire piece. Think of your still life as a story waiting to be told, where every object plays a part in conveying a message or theme. So, how do you go about choosing these subjects? Well, it all starts with inspiration. Look around you—your kitchen, garden, or even your living room can provide a treasure trove of potential subjects. The key is to select objects that resonate with you personally, as this connection will shine through in your work.
Consider the emotions you want to evoke. Are you aiming for a sense of calm and tranquility? Perhaps soft, natural objects like fruits and flowers would be ideal. On the other hand, if you’re looking for something more dynamic and energetic, man-made objects such as glassware or metallic items can create striking contrasts. Each choice you make contributes to the overall narrative of your painting, so take your time and let your intuition guide you.
Another important aspect to consider is the theme you wish to convey. Are you focusing on the beauty of nature, the elegance of everyday objects, or maybe a more abstract concept? Your subjects should work together to create a cohesive message. For example, if you choose to paint a rustic bread basket, consider pairing it with a vintage knife and some wildflowers. This combination not only tells a story but also creates a visual harmony that draws the viewer in.
When selecting your subjects, it’s also crucial to think about composition. How will these objects interact with each other within the frame? Arranging them in a way that leads the viewer’s eye throughout the painting can make a significant difference. You might want to sketch a few layouts before committing to your final arrangement. Remember, the rule of thirds can be a helpful guideline in achieving balance and interest in your composition.
If you're still unsure about what to choose, here are some popular categories of subjects that many artists find inspiring:
- Natural Objects: Fruits, flowers, vegetables, and plants.
- Man-Made Items: Glassware, ceramics, utensils, and fabrics.
- Everyday Objects: Books, tools, or personal belongings that tell a story.
Ultimately, the right subjects will resonate with your artistic vision and inspire you to create something truly captivating. Don't be afraid to experiment! Sometimes, the most unexpected combinations can lead to the most stunning results. Let your imagination run wild, and remember that each painting is a new opportunity to express yourself.
Q: How do I find inspiration for my still life subjects?
A: Inspiration can come from anywhere! Look around your home, visit local markets, or even take a walk in nature. Keep a sketchbook handy to jot down ideas as they come to you.
Q: Should I stick to traditional objects for still life painting?
A: Not at all! While traditional objects like fruits and flowers are popular, feel free to explore modern or unconventional items. Your unique perspective can create a fresh take on still life.
Q: How do I arrange my subjects for the best composition?
A: Experiment with different arrangements and consider the rule of thirds for balance. Take photos of your setups to see what works best before you start painting.
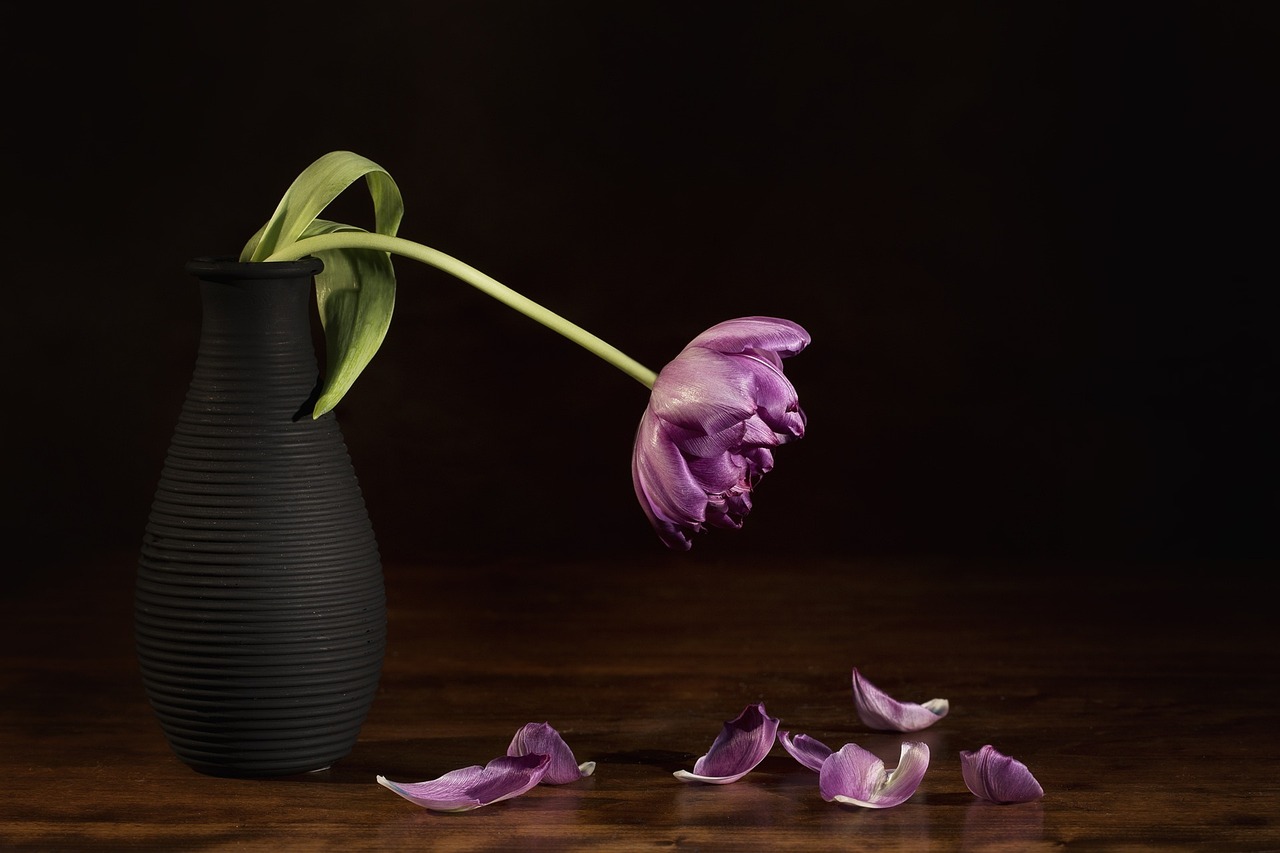
Natural vs. Man-Made Objects
When diving into the world of still life painting, one of the most intriguing choices an artist faces is whether to depict natural or man-made objects. Each category offers its unique set of challenges and rewards that can significantly influence the final outcome of your artwork. Natural objects, such as fruits, flowers, and landscapes, are often celebrated for their organic beauty and vibrant colors. They allow artists to explore the subtleties of light and shadow, as well as the intricate details found in nature. Imagine the way sunlight dances on the surface of a ripe apple or how the petals of a flower gently unfurl; these elements can inspire a sense of life within your painting.
On the other hand, man-made objects, like ceramics, glassware, and everyday items, present a different kind of allure. They often come with their own textures and forms that can be equally captivating. For instance, the smoothness of a glass vase can create stunning reflections that challenge the artist to capture not just the object itself but the light interacting with it. In this way, painting man-made items can be like solving a puzzle; each stroke must consider how the object interacts with its environment, adding layers of complexity to your work.
When deciding between natural and man-made subjects, consider the following:
- Emotional Impact: Natural objects often evoke feelings of tranquility and connection to the earth, while man-made objects can elicit nostalgia or provoke thought about modern life.
- Technical Skills: Painting natural forms may require a keen eye for detail and a strong understanding of organic shapes, whereas man-made objects may demand precision in depicting hard edges and reflections.
- Theme and Message: The choice of subjects can significantly alter the narrative of your painting. A bouquet of wildflowers may tell a story of simplicity and beauty, while a composition featuring vintage tools might speak to craftsmanship and history.
Ultimately, the choice between natural and man-made objects in still life painting is a personal one and can be influenced by your own artistic goals. Some artists prefer to blend both types, creating a dialogue between the organic and the crafted. This approach can lead to a more dynamic composition, inviting viewers to explore the relationship between nature and humanity. So, whether you find inspiration in a lush garden or a cluttered workshop, embrace the unique qualities of your chosen subjects and let them guide your artistic journey.
Q: What are the benefits of painting natural objects?
A: Painting natural objects allows artists to explore organic forms and vibrant colors, capturing the beauty and intricacies of nature. It often evokes emotional connections and a sense of tranquility.
Q: How do man-made objects differ in terms of painting techniques?
A: Man-made objects require a focus on precision and detail, especially in rendering reflections and sharp edges. They can also introduce themes of nostalgia and commentary on modern life.
Q: Can I mix natural and man-made objects in one composition?
A: Absolutely! Combining both types can create a more dynamic and engaging still life, allowing for interesting contrasts and narratives within your artwork.
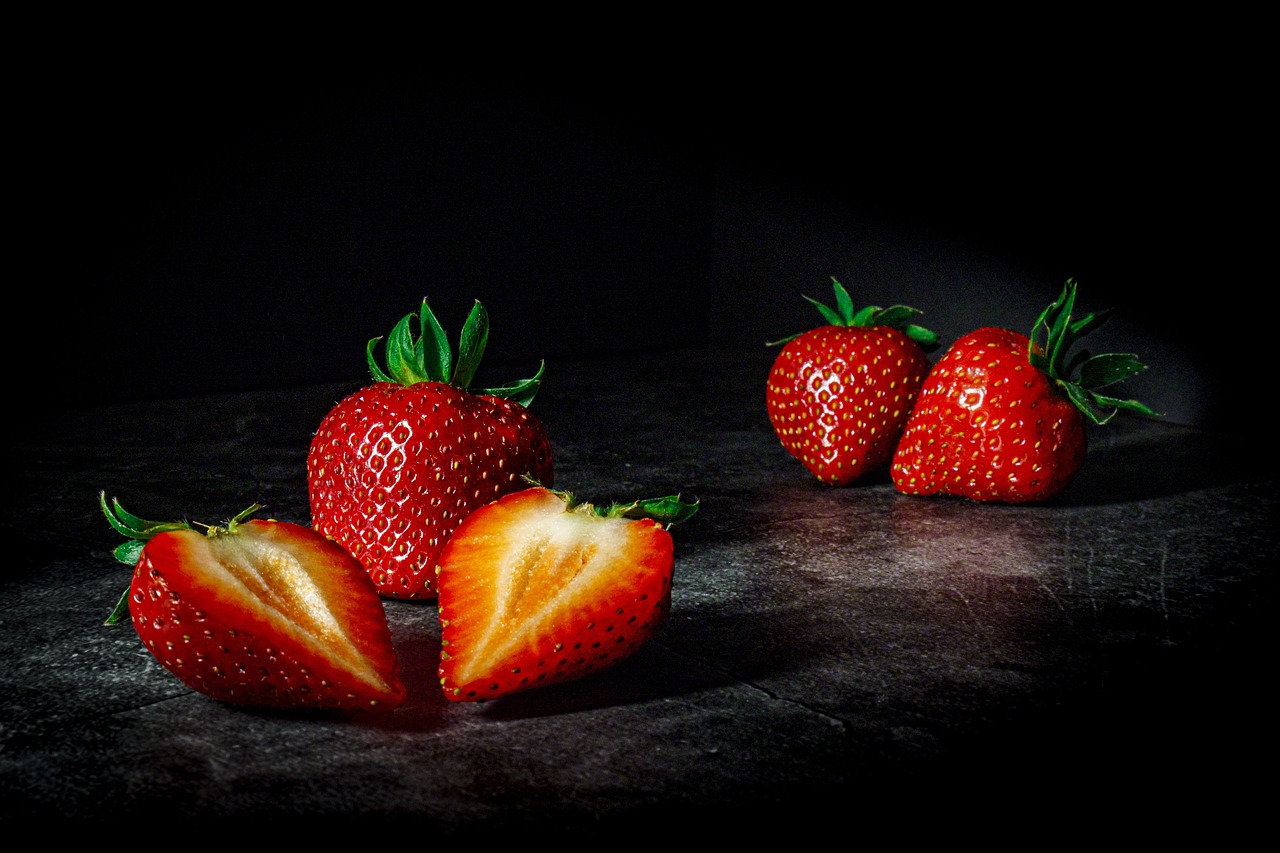
Textures and Details
When it comes to still life painting, are not just embellishments; they are the lifeblood of your artwork. Imagine walking through an art gallery and being drawn to a painting that seems to leap off the canvas. What is it that captures your attention? Often, it's the way the artist has skillfully rendered textures, creating a tactile quality that invites the viewer to reach out and touch the scene. By focusing on textures, you can transform a simple arrangement of objects into a dynamic visual experience.
To begin with, understanding the unique characteristics of the objects you choose is essential. For instance, the smooth, reflective surface of an apple is vastly different from the rough, fibrous texture of a coconut. Each surface has its own story to tell, and as an artist, your job is to convey that story through your brushwork. You might find yourself experimenting with various techniques to achieve the desired effect. For example, using a dry brush technique can create a scratchy, textured feel, perfect for capturing the roughness of a burlap sack, while a soft blending technique can help you achieve the smooth sheen of a polished vase.
Moreover, the details you choose to emphasize can significantly alter the viewer's perception of your work. Consider the play of light on a textured surface. The way shadows fall and highlights catch can add a layer of depth and realism. To effectively capture these details, you might want to use a layering technique. Start with a base layer of color, then gradually build up with lighter colors to create highlights, and darker shades for shadows. This method not only adds dimension but also allows you to explore the interplay of different textures within your composition.
Additionally, don't shy away from incorporating mixed media elements into your still life paintings. Adding materials like sand or fabric can enhance the tactile quality of your artwork. For instance, if you're painting a still life that includes a piece of cloth, consider gluing a small swatch of the actual fabric onto your canvas. This technique not only adds realism but also engages the viewer on a sensory level, inviting them to not just look at your painting but to experience it.
In conclusion, paying attention to textures and details in your still life paintings can elevate your work from ordinary to extraordinary. By exploring various techniques and being mindful of the characteristics of your subjects, you can create captivating pieces that resonate with viewers. Remember, it’s not just about what you paint, but how you paint it. So grab your brushes, experiment, and let your creativity flow!
- What materials are best for capturing textures in still life painting? Acrylics and oils are excellent choices, as they allow for a range of techniques from glazing to impasto to create varying textures.
- How can I practice capturing details in my still life paintings? Start with simple objects and focus on one texture at a time. Use a magnifying glass to study the details closely before attempting to paint them.
- Should I always aim for realism in my still life paintings? Not necessarily! While realism can be captivating, feel free to explore abstract interpretations of textures and details to express your unique artistic voice.
Color Harmony
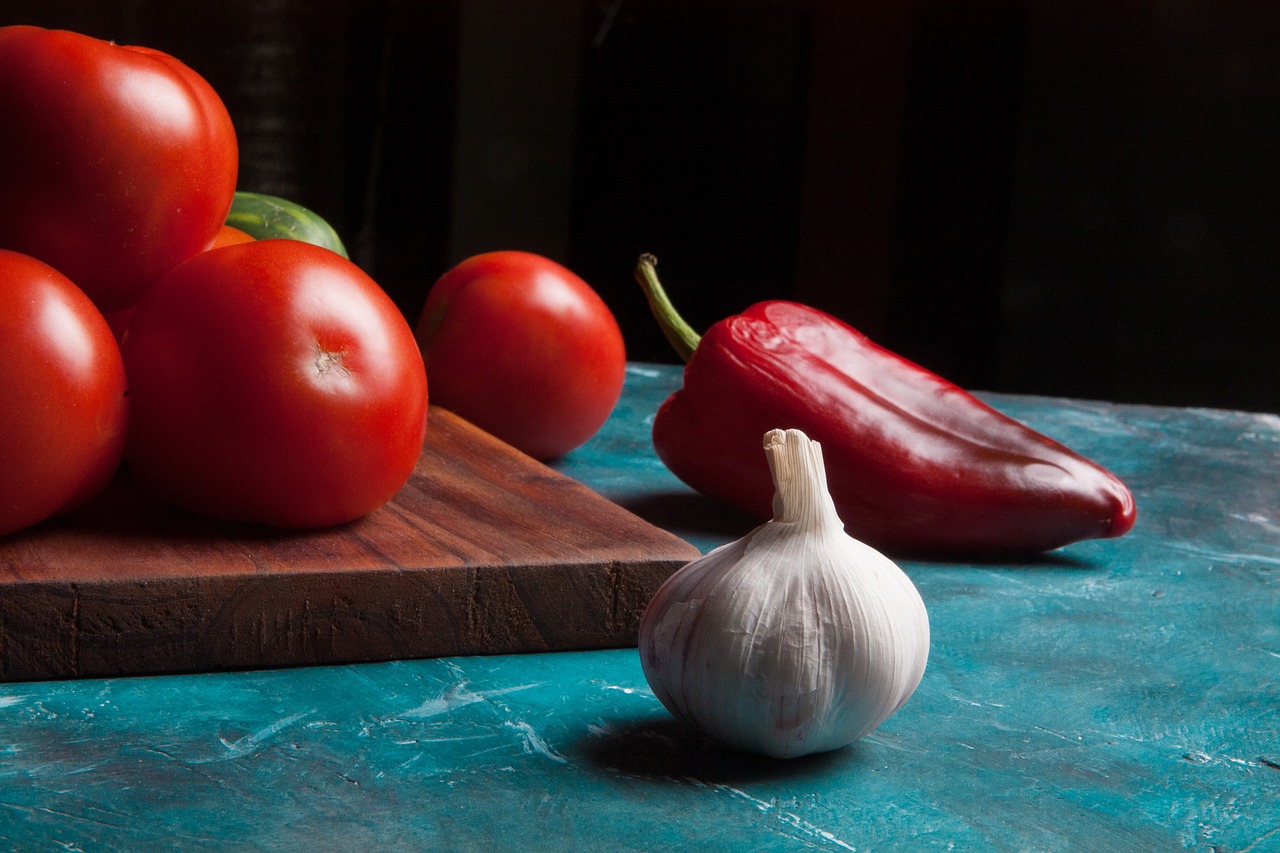
When it comes to still life painting, is more than just a pretty palette; it's the secret ingredient that can transform your artwork from ordinary to extraordinary. Imagine stepping into a room filled with vibrant hues that dance together, creating a symphony of visual delight. That's what color harmony does—it unites different colors to evoke emotions and guide the viewer's eye throughout the composition. But how do you achieve this magical balance in your paintings?
First, understanding the color wheel is essential. The color wheel is a circular diagram that showcases the relationships between colors, making it easier to identify complementary, analogous, and triadic color schemes. Complementary colors, which are located opposite each other on the wheel, create striking contrasts that can add drama to your still life. For instance, pairing a deep red apple with a lush green leaf can create a vibrant focal point that draws attention instantly.
On the other hand, analogous colors—those that sit next to each other on the wheel—can provide a sense of harmony and tranquility. Think of a still life featuring shades of blue and green, reminiscent of a serene ocean scene. This approach can evoke a calming atmosphere, perfect for conveying a peaceful message through your art.
Another vital aspect of color harmony is the value of colors. Value refers to how light or dark a color is, and it plays a crucial role in creating depth and interest. A painting with a wide range of values can captivate viewers, guiding them through the various elements of your composition. For example, a bright yellow banana against a dark background can create a stunning contrast, emphasizing the banana's form and texture.
To further enhance your understanding of color harmony, consider creating a color palette before you begin painting. This palette can serve as a roadmap, helping you visualize how different colors will interact. You can create a physical palette using actual paint or a digital one using design software. Regardless of the method, having a reference point can ensure that your colors work together seamlessly.
Lastly, don’t be afraid to experiment! Some of the most captivating still life paintings come from unexpected color combinations. Try introducing a splash of an unusual color into your arrangement. For instance, adding a touch of purple to a traditional fruit bowl can breathe new life into a classic subject. The key is to trust your instincts and let your creativity flow.
In summary, achieving color harmony in your still life painting involves understanding the relationships between colors, their values, and how they can evoke different emotions. By carefully selecting your color palette and being open to experimentation, you can create captivating artworks that resonate with viewers on a deeper level.
- What is color harmony? Color harmony refers to the pleasing arrangement of colors in a composition, creating a sense of balance and unity.
- How can I create a color palette for my still life painting? You can create a color palette by selecting colors that complement or contrast with each other, based on the color wheel, and testing them together before starting your painting.
- What are complementary colors? Complementary colors are pairs of colors that are opposite each other on the color wheel, such as blue and orange, which create a striking visual contrast.
- Why is the value of colors important? The value of colors determines how light or dark they appear, which helps create depth and interest in your painting.
Lighting Techniques
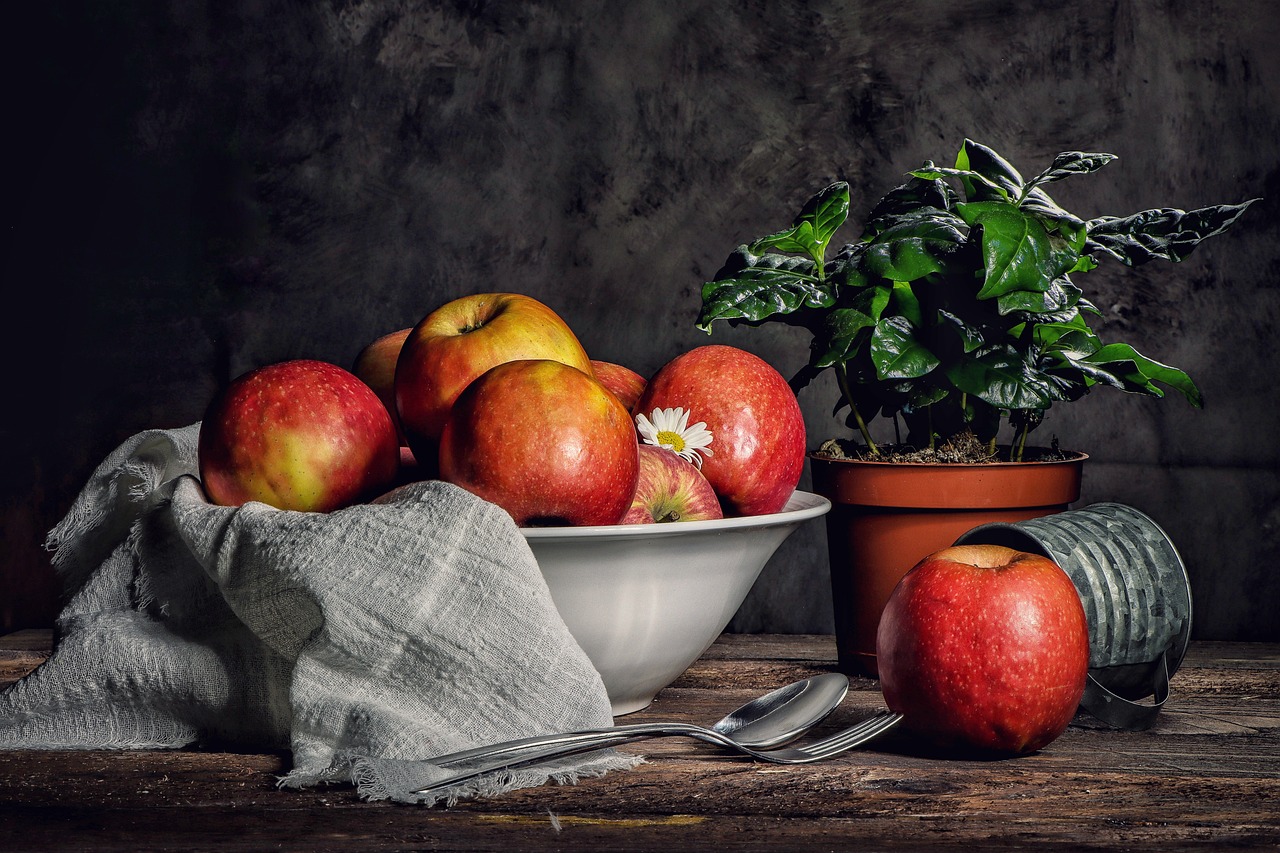
When it comes to still life painting, lighting is your secret weapon. It can transform a mundane setup into a captivating masterpiece. Think of lighting as the stage director of your artwork, setting the mood and drawing attention to the elements you want to showcase. In this section, we’ll delve into various lighting setups that can dramatically affect the mood, depth, and overall impact of your still life paintings.
First off, let’s talk about natural light. This type of lighting is often favored by many artists because it creates a soft, diffused effect that can enhance the colors and textures of your subjects. Imagine setting up your still life near a window where the sunlight gently pours in, casting soft shadows and illuminating the surfaces. However, keep in mind that natural light changes throughout the day, so you may need to adapt your painting schedule to capture the perfect moment.
On the other hand, artificial lighting can offer more control over your setup. Using lamps or studio lights allows you to create consistent lighting conditions, regardless of the time of day. You can experiment with different types of bulbs—warm, cool, or daylight—to see how they affect the colors in your painting. For instance, a warm light can make your subjects feel cozy and inviting, while a cool light can create a more dramatic and moody atmosphere.
One effective technique is the use of directional lighting. This involves positioning your light source at an angle to your subjects, which creates dynamic shadows and highlights. By doing this, you can add depth and dimension to your painting. Imagine painting a cluster of fruits; if you light them from one side, the shadows will give them a three-dimensional appearance, making them almost pop off the canvas.
Another approach to consider is backlighting. This technique involves placing your light source behind your subjects, which can create a stunning halo effect. It’s particularly effective with translucent objects, like a glass vase or a piece of fruit. The light filtering through can enhance the colors and create an ethereal quality in your work. However, be cautious with this method, as it can sometimes wash out details if not managed properly.
To further refine your lighting techniques, consider the three-point lighting setup, commonly used in photography and film. This involves three light sources: the key light, fill light, and back light. Here’s a quick breakdown:
| Light Type | Purpose |
|---|---|
| Key Light | Main light source that creates the primary illumination and shadows. |
| Fill Light | Softens shadows created by the key light, providing balance. |
| Back Light | Adds depth by creating a rim of light around the subject. |
This setup can help you achieve a well-rounded illumination that enhances the overall composition of your still life painting. Remember, the goal of using these lighting techniques is not just to illuminate your subjects but to also evoke emotions and tell a story through your artwork. Play around with different setups and see how they affect the mood of your painting.
In conclusion, mastering lighting techniques is essential for creating stunning still life paintings. Whether you choose natural light or artificial sources, the key is to experiment and find what works best for your style and subjects. Keep in mind that every painting is an opportunity to learn and grow as an artist. So, don’t shy away from trying new things—embrace the light, and let it guide your brush!
- What is the best time of day for natural lighting? Early morning or late afternoon offers the best soft light.
- Can I use regular household lamps for painting? Absolutely! Just ensure they're the right color temperature for your desired effect.
- How do I avoid harsh shadows? Use diffusers or reflectors to soften the light.

Brush Techniques and Tools
When it comes to still life painting, the brush techniques and tools you choose can significantly influence the outcome of your artwork. Just like a chef relies on specific utensils to prepare a gourmet meal, an artist must select the right brushes and tools to bring their vision to life. Understanding the variety of brushes available and how to use them effectively is essential for achieving the desired effects in your still life compositions.
First off, let’s talk about the different types of brushes. Each brush serves a unique purpose, and knowing when to use them can be a game-changer. Here’s a quick rundown of some common brush types:
| Brush Type | Features | Best For |
|---|---|---|
| Round Brush | Pointed tip; versatile | Detail work and thin lines |
| Flat Brush | Square shape; great for edges | Broad strokes and filling in |
| Filbert Brush | Oval-shaped; soft edges | Blending and softening details |
| Fan Brush | Fanned bristles; unique texture | Creating textures and foliage |
Now that you have a grasp of the types of brushes, let’s dive into some techniques that can elevate your still life paintings. One fundamental technique is scumbling, which involves using a dry brush to apply a thin layer of paint over a dry base layer. This technique adds depth and texture, giving your painting a more dynamic feel. Imagine a beautiful apple that not only looks red but also has the texture of its skin captured through careful scumbling.
Another technique worth mastering is the glazing method. This involves applying a transparent layer of paint over a dried layer. The beauty of glazing lies in its ability to create luminosity and richness in color. For instance, if you're painting a glass vase, glazing can help achieve that shimmering effect that makes the glass appear almost real. Combining these techniques can yield stunning results that draw viewers into your artwork.
Additionally, don’t underestimate the power of brush pressure. Varying how hard you press on the canvas can create different effects. A lighter touch can produce soft, delicate strokes, while a firmer press can yield bold, striking lines. Think of it like playing a musical instrument; the pressure you apply can create a symphony of textures and effects in your painting.
As for tools beyond brushes, consider incorporating palette knives into your toolkit. These can be used for mixing colors and applying paint in a way that brushes simply can’t. The flat edge of a palette knife is perfect for creating sharp lines or even scraping back layers of paint to reveal what's underneath. This can lead to some truly unexpected and exciting results in your still life compositions.
Finally, always remember to keep your brushes clean. A well-maintained brush can last for years and will perform better than a neglected one. After each painting session, take a moment to wash your brushes thoroughly, ensuring that the bristles remain intact and free from dried paint. This simple act can save you money and improve your painting experience.
- What type of paint is best for still life painting? Oil paints are often preferred for their blending capabilities, but acrylics are also a popular choice due to their quick drying time.
- How can I improve my brush techniques? Practice is key! Experiment with different brushes and techniques regularly to find what works best for you.
- Is it necessary to use expensive brushes? While high-quality brushes can make a difference, it’s more important to choose brushes that feel comfortable and suit your painting style.
Layering and Glazing
When it comes to still life painting, layering and glazing are two techniques that can elevate your artwork from simple to stunning. Imagine building a house; you wouldn’t just throw up walls and call it a day. You’d carefully construct each layer, ensuring that everything fits together beautifully. Similarly, layering in painting involves applying multiple layers of paint to create depth and dimension, while glazing refers to the technique of applying thin, transparent layers of paint over a dried base layer to enhance color and luminosity.
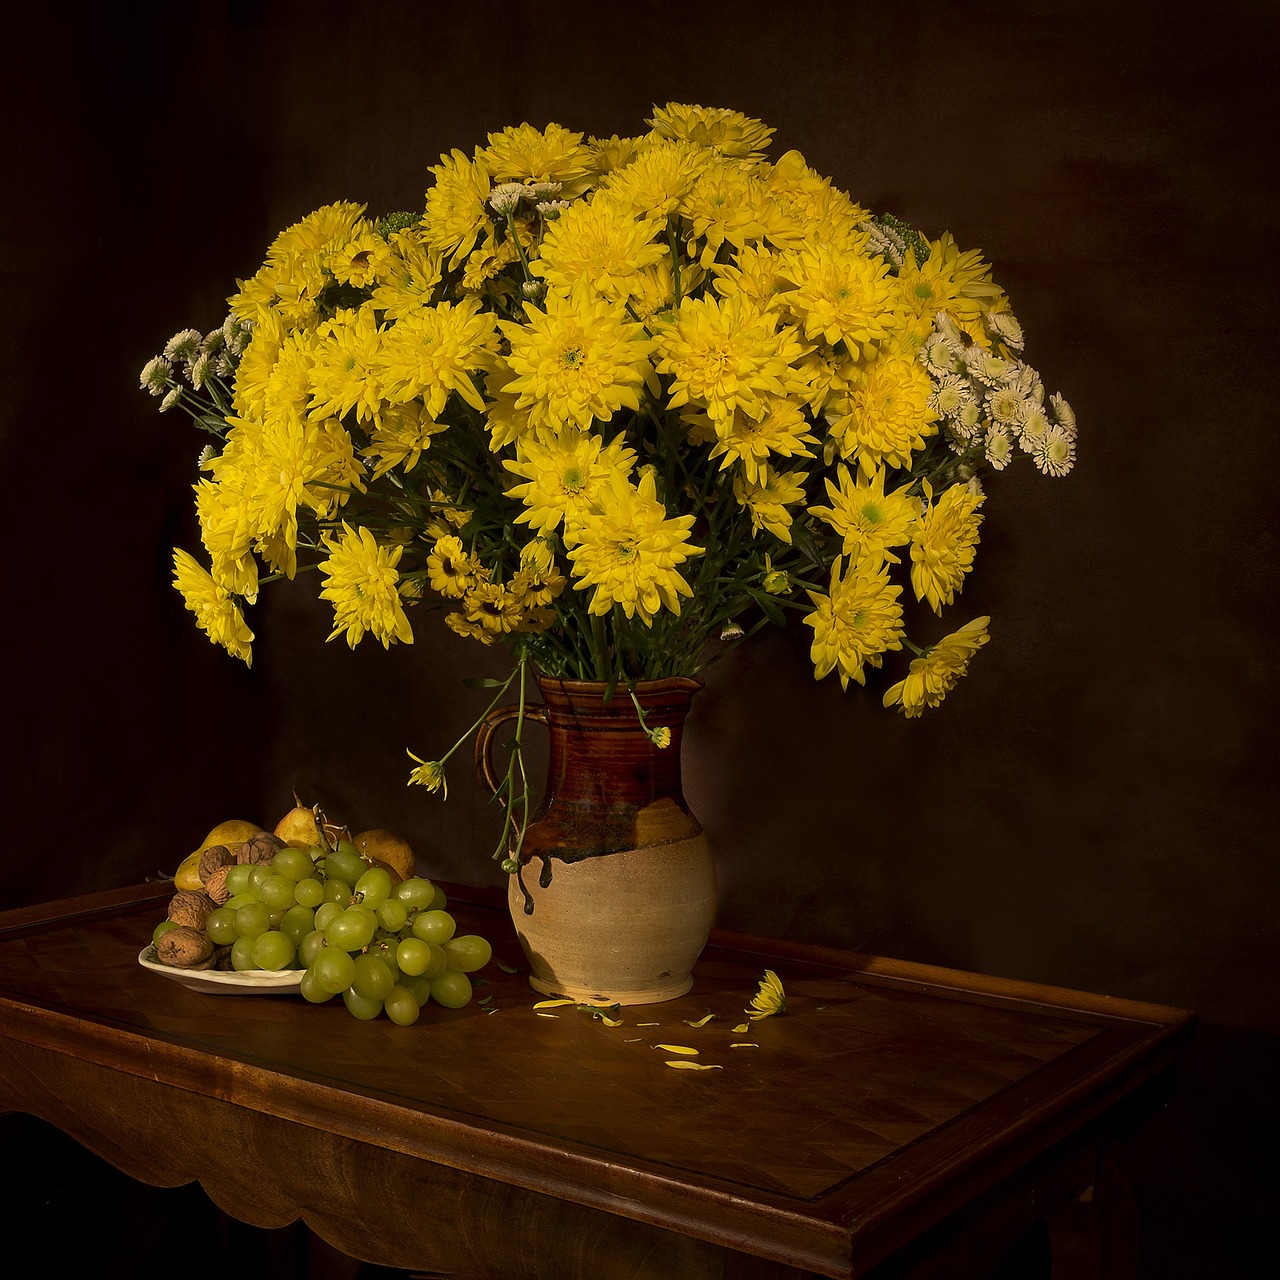
Layering allows you to add richness to your artwork. By starting with a solid base layer, you can gradually build up color and texture. This process not only adds vibrancy but also helps in achieving a more realistic representation of your subjects. For instance, if you’re painting a bunch of grapes, starting with a dark purple base can provide depth. Then, as you layer lighter shades, you can create the illusion of light reflecting off the surface. Each layer should be allowed to dry before adding the next, which can be a test of patience, but it’s absolutely worth it.
Glazing, on the other hand, is like adding a filter to a photograph; it can dramatically change the mood of your painting. By using a transparent color over your dried layers, you can create a sense of atmosphere and depth. For example, if you want to give your still life a warm, golden glow, consider glazing with a warm yellow or orange hue. This technique can help unify the colors in your composition, making them feel more cohesive. Keep in mind that the key to successful glazing is to use a medium that allows for transparency, such as linseed oil or a glazing medium, which helps the glaze to flow smoothly and evenly.
Here’s a quick overview of how to effectively implement layering and glazing in your still life paintings:
| Technique | Purpose | Tips |
|---|---|---|
| Layering | Add depth and richness to colors | Start with dark colors, gradually add lighter shades |
| Glazing | Enhance colors and create luminosity | Use transparent colors and allow layers to dry |
Incorporating both layering and glazing into your still life painting practice can be a game changer. It’s like having a secret weapon in your artistic arsenal. While it might take some time to master these techniques, the results will speak for themselves. You’ll find that your paintings not only look more professional but also convey a sense of depth and emotion that captivates viewers. So, grab your brushes, experiment with these techniques, and watch your still life paintings come to life like never before!
- What is the difference between layering and glazing? Layering involves applying multiple layers of paint to build depth, while glazing uses thin, transparent layers to enhance color and luminosity.
- How long should I wait between layers? It’s best to wait until each layer is completely dry before applying the next one to prevent mixing and muddying colors.
- Can I use any type of paint for layering and glazing? While you can use various types of paint, oil paints are particularly well-suited for glazing due to their slow drying time and transparency.
Finishing Touches
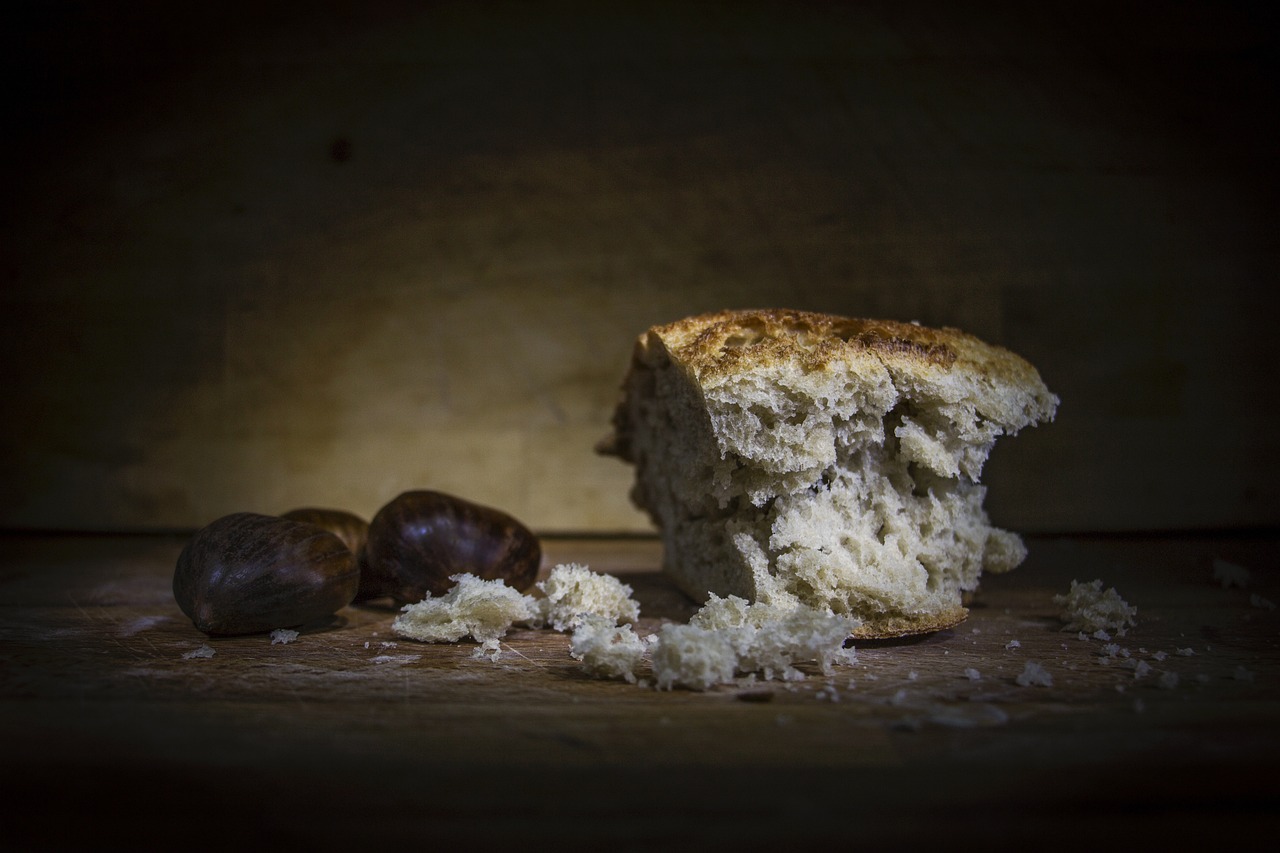
When it comes to still life painting, the are what truly bring your artwork to life. These final details can be the difference between a piece that feels complete and one that leaves your audience wanting more. It’s like the final sprinkle of salt on a gourmet dish; it enhances and elevates the entire experience. So, what exactly should you focus on during this crucial phase?
First and foremost, refining edges is essential. Hard and soft edges can create depth and interest in your painting. By carefully observing the objects in your still life, you can determine which edges should be sharp and which should be soft. For instance, the edge of a shiny apple might be crisp, while the petals of a flower could have a softer transition. This contrast adds a layer of realism and draws the viewer's eye to the focal points of your composition.
Next, consider adding highlights. Highlights are the tiny bursts of light that reflect off surfaces, and they can make your objects look three-dimensional. Use a small brush to apply lighter tones to the areas where light hits your subjects. This technique can be particularly effective on glossy surfaces, such as glass or polished fruit, giving them that extra pop. Think of highlights as the little sparkles that catch your eye, making the painting feel vibrant and alive.
Moreover, don’t forget about color adjustments. Sometimes, as you step back and view your work as a whole, you might notice that certain colors need a bit of tweaking. Perhaps the background is too overpowering, or a particular object seems to fade into the canvas. A quick touch-up with a complementary color can help balance the composition. Remember, art is subjective, and your intuition is your best guide.
To ensure a polished finish, take a moment to evaluate the overall composition. Ask yourself questions like: Does everything feel cohesive? Is there a flow that guides the viewer's eye through the painting? Does the piece convey the emotion or message you intended? These reflections are crucial in the final stages of your work. Sometimes, stepping away for a day or two and returning with fresh eyes can help you see what might need adjustment.
Lastly, consider applying a protective varnish once your painting is completely dry. This not only enhances the colors but also protects your artwork from dust and UV damage. There are various types of varnishes available, each offering different finishes, such as matte, satin, or glossy. Choose one that complements your style and desired effect.
In conclusion, the finishing touches in still life painting are about more than just aesthetics; they are about bringing your vision to fruition. Each detail, from refined edges to vibrant highlights, plays a pivotal role in creating a captivating piece. So take your time, trust your instincts, and let your creativity shine!
- What are the best materials for still life painting? The best materials include high-quality paints, brushes, and canvases. Experiment with different brands to find what works best for you.
- How long should I let my painting dry before adding varnish? It's generally recommended to wait at least 6 months for oil paintings and a few days for acrylics, depending on the thickness of the paint layers.
- Can I use photographs as references for my still life? Absolutely! Many artists use photographs to help with composition and lighting, but try to add your personal touch to make it unique.
- What should I do if I’m not satisfied with my painting? Don’t be afraid to make changes! You can paint over areas, adjust colors, or even start anew. Every artist goes through this process.
Frequently Asked Questions
- What is the importance of composition in still life painting?
Composition is the backbone of any artwork, especially in still life painting. It helps you arrange your objects in a way that draws the viewer's eye. Think of it like setting a stage for a play; the arrangement can either captivate your audience or leave them confused. By understanding concepts like balance, focal points, and the rule of thirds, you can create a visually appealing masterpiece that tells a story.
- How do I choose the right subjects for my still life painting?
Choosing the right subjects is like picking the perfect ingredients for a recipe. You want items that inspire you and convey a certain message or theme. Natural objects like fruits and flowers offer vibrant colors and textures, while man-made items can introduce interesting shapes and stories. Consider what resonates with you and what you want to express through your art.
- What are the differences between painting natural and man-made objects?
Painting natural objects, such as fruits and flowers, often involves capturing the organic shapes and vibrant colors they possess. They can be more forgiving, allowing for a playful approach. In contrast, man-made objects require a keen eye for detail and precision, as they often have hard edges and uniform textures. Both types present unique challenges and rewards, making them valuable for honing your skills.
- How can I effectively capture textures in my still life paintings?
Textures can elevate your still life paintings from ordinary to extraordinary. To capture intricate surfaces, you can experiment with various brush techniques and tools. Consider using a dry brush for rough surfaces or a soft brush for smooth textures. Remember, the goal is to create a tactile experience that invites the viewer to reach out and touch your artwork.
- What role does color harmony play in still life painting?
Color harmony is like the glue that holds your painting together. It creates a cohesive look and enhances the overall composition. Understanding color theory basics, such as complementary and analogous colors, can help you choose a palette that not only looks good but also evokes the right emotions. A well-thought-out color scheme can make your still life pop and resonate with viewers.
- How does lighting affect a still life painting?
Lighting is the magic wand of painting; it can dramatically change the mood and depth of your artwork. Different lighting setups can create various effects, from soft and romantic to stark and dramatic. Experimenting with natural light versus artificial sources can help you find the perfect ambiance for your still life, adding dimension and intrigue to your composition.
- What brush techniques should I use for still life painting?
The right brush techniques can bring your still life painting to life. Techniques like stippling, scumbling, and glazing can add texture and dimension. Each brush has its unique qualities, so don’t shy away from experimenting. The more you practice with different tools, the more you'll discover how to create depth and interest in your artwork.
- What are layering and glazing, and why are they important?
Layering and glazing are essential techniques for achieving depth and richness in your paintings. Layering involves applying multiple layers of paint to build complexity, while glazing uses transparent layers to create luminous effects. Think of it like building a sandwich; each layer adds flavor and texture, making the final piece more satisfying to the viewer.
- What finishing touches should I consider for my still life painting?
The finishing touches can make or break your artwork. Pay attention to refining edges, adding highlights, and ensuring a polished finish. It's like putting on the final touches of a masterpiece; those little details can elevate your painting from good to breathtaking. Don’t rush this stage; take your time to ensure every element is just right.


