
Drawing with Pen and Ink: All You Need to Know
Welcome to the fascinating world of pen and ink drawing! Whether you're a budding artist or a seasoned pro, this article is here to guide you through the intricate techniques, essential tools, and invaluable tips that will help you master this timeless art form. Pen and ink drawing is not just about putting ink on paper; it's about expressing your creativity, capturing emotions, and bringing your imagination to life. So grab your pens, settle in, and let’s uncover the secrets that will elevate your art to new heights!
To embark on your pen and ink journey, it's crucial to understand the tools at your disposal. The right tools can make a world of difference in your artwork, influencing everything from line quality to texture. Let's break down the essential components:
- Pens: There are various types of pens available, including fountain pens, dip pens, and technical pens. Each type offers a unique experience and can produce different line qualities.
- Inks: Inks come in various colors and consistencies. Some artists prefer waterproof inks for layering, while others might choose water-soluble inks for blending.
- Papers: The choice of paper is vital. Look for papers that can handle the ink without bleeding, such as bristol board or watercolor paper.
By understanding how each tool affects your artwork, you can make informed decisions that align with your personal style. Remember, the right tools can inspire creativity and enhance your artistic expression!
Now that you’ve got your tools ready, let’s dive into some essential techniques that every beginner should master. These foundational skills will set the stage for creating detailed and expressive artworks.
Line quality is the backbone of pen and ink drawing. Different types of lines can evoke different feelings and create varied effects. For instance, thin lines can convey delicacy, while thick lines can suggest strength. Experimenting with line variation is key to developing your unique style. Think of it as a conversation between your pen and the paper, where each stroke tells a story.
Texture brings your drawings to life, and lines are your primary tool for achieving this. Techniques like cross-hatching and stippling can add depth and richness. For example, cross-hatching involves layering lines in different directions to create a shadowy effect, while stippling uses tiny dots to build up shading. Imagine these techniques as the brushstrokes of a painter, each adding a layer of complexity to your artwork.
To convey emotion and movement in your drawings, you can utilize expressive line techniques. Varying the weight and style of your lines can create dynamic compositions that capture the viewer's attention. Think of the way a line might dance across the page, leading the eye and evoking feelings. This is where your creativity truly shines!
Shading is crucial for adding dimension to your work. Techniques such as stippling and cross-hatching can effectively create shadows and highlights. By mastering these methods, you can transform a flat drawing into a three-dimensional masterpiece. Remember, the play of light and shadow can dramatically alter the mood of your piece, so don’t shy away from experimenting!
Once you’ve got the basics down, it’s time to explore advanced techniques that will take your art to the next level. These methods will help you create more complex and visually stunning pieces.
Layering is a powerful technique for adding depth and complexity to your drawings. By applying multiple layers of ink, you can create rich visual effects that draw the viewer in. Think of layering as building a cake; each layer adds flavor and texture, resulting in a more satisfying experience.
Don’t be afraid to mix things up! Combining different styles and mediums with pen and ink can enhance your artwork significantly. Integrating elements like watercolor, pencil, or even digital components can provide a fresh perspective and new opportunities for creativity. Imagine your artwork as a symphony, where each instrument contributes to a harmonious whole!
Q: What type of pen is best for beginners?
A: For beginners, a medium-tipped fountain pen or a technical pen is often recommended for ease of use and versatility.
Q: Can I use regular paper for pen and ink drawing?
A: While you can use regular paper, it’s best to choose paper designed for ink to prevent bleeding and ensure the best results.
Q: How do I fix mistakes in pen and ink?
A: Mistakes can be tricky in pen and ink, but you can use correction fluid or simply embrace the imperfections as part of your artistic journey!
Now that you’re armed with knowledge about pen and ink drawing, it’s time to unleash your creativity. Remember, practice makes perfect, so keep experimenting and have fun!
Understanding Pen and Ink Tools
When it comes to pen and ink drawing, the tools you choose can significantly impact your artwork. Think of your tools as the instruments of a musician; the right pen can create beautiful melodies on paper, while the wrong one can lead to a cacophony of frustration. So, let’s dive into the essential tools that every artist should consider when embarking on their pen and ink journey.
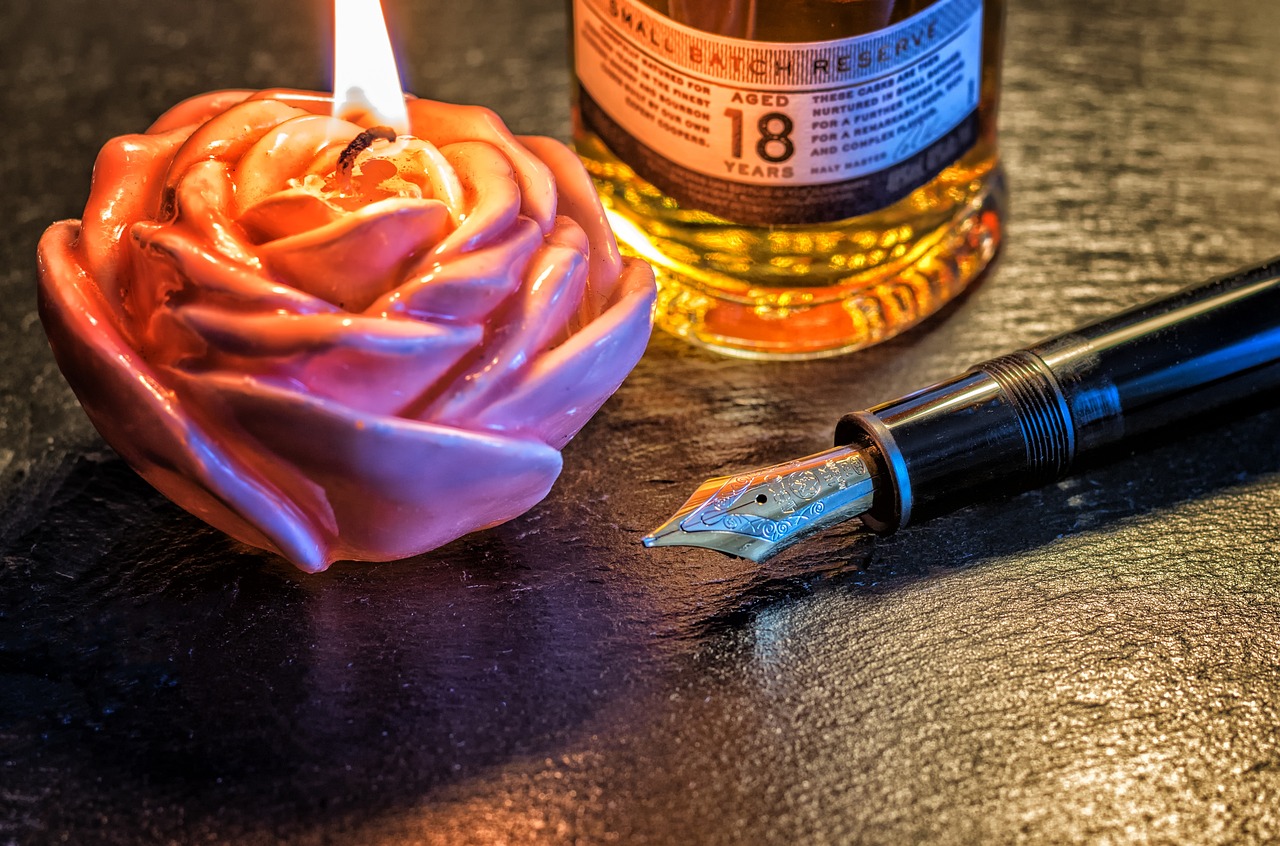
First up, we have the pens themselves. There are various types of pens available, each with its unique characteristics. Fountain pens are popular for their smooth flow of ink and ability to create varying line widths with pressure. On the other hand, technical pens provide consistent line thickness, making them ideal for precise drawings. If you’re looking for versatility, brush pens can mimic the effects of a paintbrush, allowing for both bold strokes and delicate lines.
Next, let’s talk about inks. The type of ink you choose can alter the final look of your work.
- India ink is a favorite among many artists for its deep, rich color and water-resistant properties.
- Colored inks, on the other hand, can add a vibrant touch to your drawings, allowing for creative expression.
- Lastly, you might consider pigment-based inks for their durability and archival quality.
Now, let’s not forget about the paper! The surface you draw on plays a crucial role in the outcome of your artwork. Smooth papers are excellent for fine detail work, while textured papers can add a unique quality to your lines. If you’re using a lot of ink, consider heavier weight papers that can withstand the saturation without warping. A good rule of thumb is to experiment with different surfaces to see how they interact with your chosen pens and inks.
To summarize, the right combination of pens, inks, and papers can elevate your pen and ink drawings from ordinary to extraordinary. Take the time to explore each tool and find what resonates with your artistic style. Remember, every artist is unique, and finding the perfect tools is part of the creative journey!
As you embark on this adventure, don’t hesitate to experiment and play with different combinations. Who knows? You might stumble upon a tool that becomes your new favorite!
Basic Techniques for Beginners
When diving into the world of pen and ink drawing, it’s essential to grasp the basic techniques that lay the foundation for your artistic journey. Just like learning to ride a bike, mastering these skills will give you the balance you need to create stunning artwork. So, let’s break it down into manageable parts, ensuring you feel confident as you explore this medium.
One of the first techniques you’ll want to familiarize yourself with is line work. Lines are the backbone of any drawing, and understanding how to manipulate them is crucial. Think of lines as the skeleton of your artwork. They can be thick or thin, straight or curved, and each variation can evoke different feelings. For instance, bold, heavy lines can create a sense of strength, while delicate, fine lines might convey fragility. Experimenting with different types of lines will help you develop your own unique style.
Now that we’ve established the importance of line work, let’s dive deeper into its fundamentals. The quality of your lines can drastically affect the overall composition of your piece. You can create contrast by varying the weight of your lines, which adds depth and interest. For example, using a combination of thick and thin lines can draw the viewer’s eye to specific areas of your drawing, much like how a director uses lighting in a film to highlight important scenes.
Texture is another vital aspect of pen and ink drawing, and you can achieve it through various line techniques. Cross-hatching and stippling are two popular methods that can add richness and dimension to your artwork. Cross-hatching involves drawing intersecting lines that create shadows and depth, while stippling uses tiny dots to build up shaded areas. Imagine these techniques as seasoning in a dish; just the right amount can elevate your drawing from bland to spectacular!
As you become more comfortable with basic line work, it’s time to explore expressive line techniques. These techniques allow you to convey emotion and movement in your drawings. For instance, varying your line weight can create a sense of dynamism. A swift, light stroke might suggest a gentle breeze, while a heavy, deliberate line could evoke a feeling of tension. Think of your pen as a paintbrush; the way you apply pressure can transform your artwork into a narrative.
Shading is a crucial component of pen and ink drawing that adds depth and realism to your work. Techniques like stippling and cross-hatching are not just for texture; they are essential for creating shadows and highlights. By layering these methods, you can create a three-dimensional effect that makes your subjects pop off the page. Consider this: shading is like the makeup of your artwork; it can enhance features and create a more polished look.
In conclusion, mastering these basic techniques in pen and ink drawing is like building a solid foundation for a house. Once you have these skills in your toolkit, you can start constructing more complex and beautiful works of art. Remember, practice is key. The more you draw, the more comfortable you will become with your tools and techniques. So grab your pen, some paper, and start experimenting!
Q: Do I need special paper for pen and ink drawing?
A: While you can use regular paper, it’s best to choose paper designed for ink. Look for smooth, heavyweight options that can handle ink without bleeding.
Q: Can I use any type of pen for ink drawing?
A: It’s recommended to use fountain pens, technical pens, or dip pens, as they provide better control and line quality compared to regular ballpoint pens.
Q: How can I improve my line work?
A: Practice consistently! Try drawing simple shapes and objects, focusing on varying line weights and styles. You can also study the work of other artists for inspiration.

Line Work Fundamentals
When it comes to pen and ink drawing, line work is the backbone of your artwork. It’s not just about putting ink on paper; it’s about understanding the characteristics of lines and how they can transform a simple sketch into a mesmerizing piece of art. Think of line work as the musical notes in a symphony; each line contributes to the overall harmony of your drawing. Whether you’re creating intricate details or bold statements, mastering line work is essential for any artist.
First, let’s talk about the different types of lines you can use. There are straight lines, curved lines, thick lines, and thin lines. Each type serves its purpose and can evoke different feelings in the viewer. For instance, straight lines often convey a sense of stability and order, while curved lines can introduce a feeling of movement and fluidity. Mixing these types can create a dynamic composition that keeps the viewer engaged.
Moreover, the quality of your lines can dramatically affect your artwork. A bold, thick line can draw attention to a focal point, while a delicate, thin line can add subtlety and nuance. The key is to vary your line weight throughout your drawing. This variation can create depth and interest, guiding the viewer’s eye through the piece. For example, consider the following ways to achieve line variation:
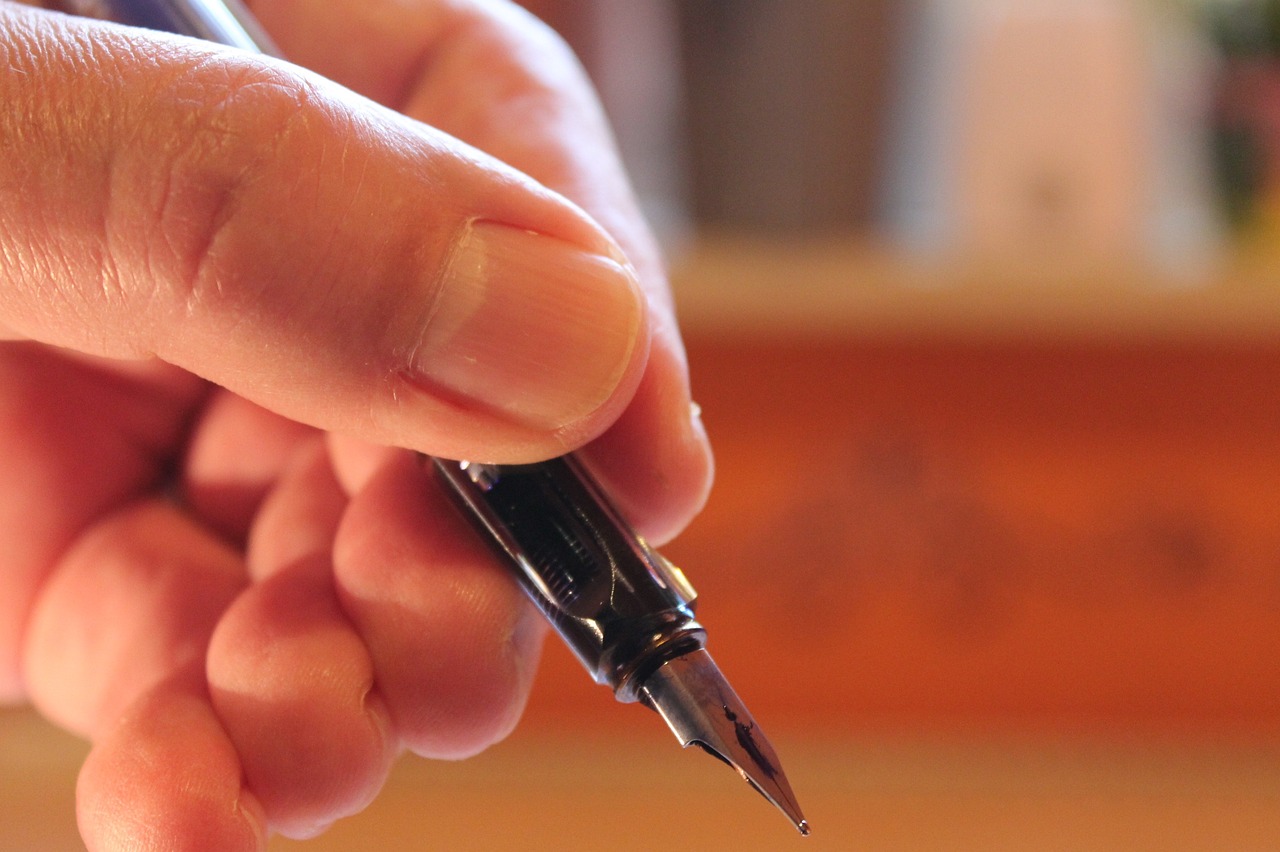
- Pressure Control: Applying more pressure on your pen can result in thicker lines, while lighter pressure yields thinner lines.
- Different Tools: Experimenting with various pens, such as brush pens or fine liners, can also help you achieve different line qualities.
- Speed of Stroke: Quick, confident strokes can create bold lines, while slow, careful strokes tend to produce finer lines.
Another crucial aspect of line work is the direction and flow of your lines. Lines can lead the viewer's eye in a specific direction, creating a sense of movement within the artwork. For instance, diagonal lines can imply action and energy, while horizontal lines can evoke calmness and stability. When you consciously choose the direction of your lines, you’re not just drawing; you’re telling a story.
To illustrate the importance of line work, let’s take a look at a simple comparison:
| Type of Line | Effect on Artwork |
|---|---|
| Straight Lines | Convey structure and stability |
| Curved Lines | Introduce movement and softness |
| Thick Lines | Emphasize focal points and create boldness |
| Thin Lines | Add detail and delicacy |
In conclusion, understanding the fundamentals of line work is crucial for any aspiring pen and ink artist. By experimenting with different types of lines, varying their weight, and considering their direction, you can create artwork that is not only visually appealing but also emotionally resonant. So grab your pen, start sketching, and let your lines tell a story!
1. What type of pen is best for line work?
While it depends on personal preference, many artists prefer fine liners or brush pens for their versatility and ability to create varied line weights.
2. How can I improve my line quality?
Practice is key! Focus on controlling your hand movements and varying your pressure while drawing. Regular practice will help you develop a steady hand and better line quality.
3. Should I use different types of ink for different effects?
Absolutely! Different inks can produce different finishes and textures. For example, India ink is great for bold lines, while watercolor ink can offer softer, more fluid lines.
Creating Texture with Lines
When it comes to pen and ink drawing, is an art form that can transform a simple sketch into a captivating piece of artwork. Think of lines as the brushstrokes of a painter; they can convey everything from the softness of a feather to the ruggedness of a mountain range. By mastering various line techniques, you can add depth and richness to your drawings, making them come alive in ways that are both surprising and delightful.
One of the most popular methods for creating texture is cross-hatching. This technique involves drawing a series of parallel lines that intersect at various angles. The closer the lines are to each other, the darker the area appears, allowing you to create dynamic shadows and highlights. Imagine a field of grass; by using cross-hatching, you can depict the varying depths of green and the play of light across the blades. The beauty of this technique lies in its versatility; it can be applied to everything from landscapes to portraits.
Another effective technique is stippling, which involves using tiny dots to build up texture and shading. This method can be likened to a pointillist painting, where the accumulation of dots creates an image that is both detailed and intricate. Stippling is particularly useful for creating soft gradients and subtle shifts in tone. For instance, when drawing a delicate flower, stippling can help you achieve a soft, velvety texture that draws the viewer's eye and invites them to explore the intricacies of your work.
In addition to cross-hatching and stippling, you can explore other methods such as contour lines and scribbling. Contour lines follow the shape of the object, giving a sense of form and volume, while scribbling can add a spontaneous, energetic feel to your artwork. Mixing these techniques allows for a unique blend of texture that can make your pieces stand out. The key is to experiment and find what resonates with your style.
Remember, the goal is to create a visual language that communicates the essence of your subject. Whether you're depicting the rough bark of a tree, the smooth surface of a glass, or the intricate patterns on a butterfly's wings, the way you use lines can significantly enhance the story you want to tell. So grab your pen, start experimenting with these techniques, and watch as your drawings transform into textured masterpieces that captivate and inspire.
- What is the best pen for creating textures in pen and ink drawing? The best pen often depends on personal preference, but many artists prefer fine-tipped pens for detailed work and brush pens for varied line thickness.
- Can I use different types of paper for pen and ink drawing? Yes! Different papers can yield different textures. Experiment with smooth, textured, and watercolor papers to find what works best for your style.
- How do I practice creating texture with lines? Start by copying textures from photographs or real life. Focus on one technique at a time, such as cross-hatching or stippling, and gradually combine them as you become more comfortable.
Expressive Line Techniques
When it comes to pen and ink drawing, are your secret weapon for conveying emotion and movement. Imagine your artwork as a story waiting to unfold; the lines you choose are the words that bring that story to life. By varying line weight, style, and direction, you can create an entire range of feelings—from the gentle caress of a soft breeze to the jagged tension of a thunderstorm. So, how do you master these techniques?
First, consider the weight of your lines. Thicker lines can evoke strength and boldness, while thinner lines often convey delicacy and fragility. For instance, if you're drawing a powerful animal, using bold, heavy lines can emphasize its strength. On the other hand, if you're sketching a delicate flower, fine, light lines can capture its essence beautifully. This interplay between thick and thin lines can add a dynamic quality to your artwork, making it more engaging and visually appealing.
Next, think about the direction and flow of your lines. Lines that curve and swirl can suggest movement and grace, while straight, angular lines can imply tension or rigidity. For example, a swirling line can represent wind or water, while sharp, jagged lines might depict a rocky cliff or a stormy sky. By manipulating the direction of your lines, you can guide the viewer’s eye through your artwork, creating a sense of rhythm and flow.
Another technique to explore is the use of line styles. Different styles can evoke various emotions. For instance, a dashed line might suggest uncertainty or distance, while a continuous line can symbolize connection and unity. Consider the following examples:
| Line Style | Emotion Conveyed |
|---|---|
| Thick Solid Line | Strength, Boldness |
| Thin Solid Line | Delicacy, Fragility |
| Dashed Line | Uncertainty, Distance |
| Curved Line | Grace, Fluidity |
Finally, don’t forget about layering your lines. Overlaying different line styles can create depth and complexity in your work. Imagine drawing a tree: using a combination of thick, dark lines for the trunk and thinner, lighter lines for the leaves can give your drawing a three-dimensional quality. This technique can also be applied to other subjects, allowing you to build a rich tapestry of visual interest.
In summary, expressive line techniques are essential for bringing your pen and ink drawings to life. By experimenting with line weight, direction, style, and layering, you can transform simple sketches into dynamic, emotive artworks. So grab your pen, let your imagination flow, and watch as your drawings begin to tell captivating stories.
- What materials do I need for pen and ink drawing?
You'll need a good quality pen, ink, and paper. Consider experimenting with different types of pens, such as fountain pens or technical pens, to find what works best for you. - Can I use colored ink?
Absolutely! Colored inks can add an exciting dimension to your work, allowing for even more expressive possibilities. - How do I practice expressive line techniques?
Start by copying the line styles of artists you admire. As you become more comfortable, try to develop your unique voice by experimenting with different techniques.
Shading Techniques in Pen and Ink
Shading is one of the most vital aspects of pen and ink drawing, allowing artists to create depth, volume, and a sense of realism in their work. Unlike other mediums, where blending colors can easily achieve gradients, pen and ink relies on various techniques to achieve similar effects. By mastering these techniques, you can transform a flat drawing into a dynamic piece of art that captures the viewer's attention.
One popular method for shading in pen and ink is stippling. This technique involves applying countless tiny dots to create shadows and highlights. The density and arrangement of the dots determine the darkness or lightness of the area. For instance, a cluster of dots closely packed together will appear darker, while more spaced-out dots will create a lighter effect. Stippling is incredibly effective for creating subtle transitions and soft textures, making it a favorite among artists aiming for realism.
Another essential technique is cross-hatching, where two or more sets of parallel lines intersect to form a mesh-like pattern. This method allows for greater control over the shading process, as you can adjust the angle and distance between the lines to create varying degrees of darkness. For example, if you want to shade a rounded object, you might use closely spaced lines that curve around the form, mimicking the way light falls on it. Cross-hatching can also be combined with stippling to add even more depth and texture to your drawings.
To illustrate these techniques further, consider the following table that outlines key differences between stippling and cross-hatching:
| Technique | Description | Best For |
|---|---|---|
| Stippling | Creating shades using dots | Soft textures and subtle transitions |
| Cross-Hatching | Using intersecting lines | Defined shapes and controlled shading |
Moreover, you can experiment with line weight to enhance your shading techniques. By varying the thickness of your lines, you can create a sense of depth and dimension. Thicker lines can suggest shadows or areas of darkness, while thinner lines can represent lighter areas. This interplay of line weight can add an expressive quality to your work, making it feel more alive and engaging.
As you explore these shading techniques, remember that practice is key. Start with simple shapes and gradually incorporate more complex forms. Don't hesitate to combine different methods; for instance, using stippling in the background while applying cross-hatching to the foreground can create a stunning contrast that draws the eye. The beauty of pen and ink lies in its versatility, so feel free to experiment until you discover a style that resonates with you.
In conclusion, mastering shading techniques in pen and ink is essential for any artist looking to enhance their skills. Whether you prefer stippling, cross-hatching, or a combination of both, the ability to create depth and texture will elevate your artwork to new heights. So grab your pens, experiment with these techniques, and watch your drawings come to life!
- What is the best ink to use for pen and ink drawing? The best ink depends on your style, but waterproof and fade-resistant inks are often recommended for their durability.
- Can I use regular paper for pen and ink drawing? While you can use regular paper, it's best to choose paper specifically designed for ink to prevent bleeding and ensure better results.
- How do I clean my pens after using them? It's essential to clean your pens immediately after use with water or a suitable cleaning solution to prevent clogging and damage.
Advanced Pen and Ink Techniques
Once you’ve mastered the basics of pen and ink drawing, it’s time to dive into the advanced techniques that can truly elevate your artwork. This section is all about exploring the nuances of layering, blending, and combining different styles and mediums. These techniques not only add depth and richness to your pieces but also allow you to express your creativity in unique ways.
One of the most effective ways to enhance your drawings is through layering. By applying multiple layers of ink, you can create a sense of depth that is visually striking. Imagine painting a sunset; the more layers of color you add, the more vibrant and dynamic the final piece becomes. In pen and ink, layering works similarly. Start with a light application of ink to establish the basic shapes, and then gradually build up darker tones and intricate details. This approach can transform a flat image into a three-dimensional work of art.
Another technique that can significantly enhance your pen and ink drawings is blending. While ink is often associated with sharp lines and defined edges, blending allows for smoother transitions and a more organic feel. You can use various tools, such as a blending stump or even your fingers, to soften the lines and create gradients. This technique is particularly effective for creating realistic shadows and highlights, giving your artwork a polished look. However, be careful not to over-blend; the goal is to maintain some of the ink’s natural texture.
In addition to layering and blending, combining different styles and mediums can open up a world of possibilities for your artwork. Why limit yourself to just pen and ink? Consider integrating watercolor, colored pencils, or even digital elements into your pieces. For example, you can create a beautiful contrast by using vibrant watercolor washes as a background for your ink drawings. This not only enhances the visual appeal but also adds a layer of complexity that can captivate the viewer's attention.
When combining styles, it's essential to maintain a cohesive look. Here are a few tips to achieve that:
- Choose complementary colors: If you’re using color, select hues that work well together to create harmony.
- Maintain a consistent theme: Whether it’s a subject matter or a particular style, keeping a unified theme will tie your artwork together.
- Experiment with textures: Combining different textural techniques can add depth and interest to your work.
Advanced techniques in pen and ink drawing are all about pushing the boundaries of your creativity. By layering, blending, and combining various styles, you can create stunning artwork that not only showcases your skills but also tells a story. So, grab your pens, experiment, and let your imagination run wild!
Q: What is the best paper to use for advanced pen and ink techniques?
A: The best paper for pen and ink drawing is typically smooth and heavy, such as bristol board or hot-pressed watercolor paper. This allows for clean lines and prevents ink from bleeding.
Q: Can I use colored inks for layering and blending?
A: Absolutely! Colored inks can add a vibrant touch to your artwork. Just remember that blending colored inks may require different techniques compared to traditional black ink.
Q: How do I know when to stop layering ink?
A: It often comes down to personal preference. A good rule of thumb is to step back and assess your work. If you feel it has enough depth and detail, it might be time to stop.
Q: Is it possible to erase ink mistakes?
A: While it’s challenging to erase ink completely, you can use correction fluid or white ink to cover small mistakes. Alternatively, you can incorporate them into your design creatively!
By exploring these advanced techniques and addressing common questions, you can continue to grow as an artist and create captivating pen and ink drawings that stand out.
Layering Techniques for Depth
When it comes to pen and ink drawing, layering techniques can transform a flat piece of paper into a captivating work of art. Imagine building a cake; each layer adds flavor and texture, creating a delightful experience for the senses. Similarly, layering in your artwork can create depth, intrigue, and a sense of realism that draws viewers in. To master this technique, it's essential to understand how to apply multiple layers of ink effectively.
One of the first things to consider is the type of ink you are using. Different inks have varying opacities and drying times, which can significantly affect your layering process. For instance, a transparent ink allows the underlying layers to show through, creating a subtle interplay of textures and colors. On the other hand, an opaque ink can dominate the earlier layers, offering a bold contrast. Experimenting with these inks can lead you to discover unique effects that resonate with your personal style.
Another crucial aspect of layering is the application technique. You can employ various methods, such as:
- Cross-Hatching: This technique involves drawing intersecting lines to build up tone and texture. By varying the density and angle of your lines, you can create rich layers that suggest depth.
- Stippling: Using tiny dots to create shading can also contribute to layering. The more dots you add, the darker the area becomes, allowing for a gradual buildup of tone.
- Washes: If you're using ink that can be diluted with water, applying washes can create soft, layered backgrounds that enhance the overall composition.
To achieve a truly compelling layered effect, it's important to consider the order of your layers. Start with the lightest tones and gradually build up to darker shades. This approach not only ensures that your lighter details remain visible but also allows for smoother transitions between tones. Think of it like a sunset; the lightest colors appear first, gradually deepening into richer hues as the sun dips below the horizon.
As you layer, always be mindful of the weight of your lines. Varying the thickness and intensity of your strokes can add even more depth to your artwork. For example, using heavier lines in the foreground while keeping the background lighter can create a sense of distance and perspective. This technique invites the viewer's eye to travel through the composition, creating a dynamic visual experience.
Lastly, don't forget to step back and assess your work periodically. Sometimes, layering can lead to unexpected results, and it's crucial to evaluate whether the layers are enhancing or overwhelming your piece. Take a moment to look at your drawing from a distance; this will help you see the overall composition and make any necessary adjustments. Remember, art is about exploration, and each layer you add is a step in your creative journey.
Q1: What is the best type of ink for layering techniques?
A1: The best type of ink for layering depends on your desired effect. Transparent inks are great for subtle layering, while opaque inks can create bold contrasts.
Q2: How can I avoid muddying my layers?
A2: To avoid muddying your layers, always start with lighter tones and build up gradually. Allow each layer to dry before adding more ink.
Q3: Can I use other mediums with pen and ink for layering?
A3: Absolutely! Combining watercolors or colored pencils with pen and ink can enhance the layering effect and add richness to your artwork.

Combining Styles and Mediums
When it comes to pen and ink drawing, the world is your oyster! One of the most exciting aspects of this art form is the ability to combine different styles and mediums to create something truly unique. Imagine the vibrancy of watercolor paired with the precision of ink; it’s like a dance between chaos and order, resulting in a masterpiece that captures the eye and the imagination.
First off, let’s talk about why you might want to mix styles. Combining pen and ink with other mediums allows artists to explore new textures and effects that can elevate their work. For instance, adding a splash of watercolor can bring life to your ink drawings, making them pop with color and emotion. On the other hand, integrating digital elements can give your traditional artwork a modern twist, opening up a whole new realm of possibilities.
Now, how do you actually go about blending these styles? It’s all about understanding how each medium interacts with the others. For example, when using watercolor alongside ink, it’s crucial to apply the ink first and let it dry completely. This prevents the ink from smudging when the watercolors are applied. If you’re feeling adventurous, you could even experiment with wet-on-wet techniques where you apply ink onto wet watercolor, creating beautiful, unpredictable effects.
Another popular combination is using pencil with pen and ink. Pencils can be used to sketch out your initial ideas, allowing for easy corrections before committing to ink. Once you’ve got your outlines in place, you can go over them with ink, adding depth and detail. This method can be especially useful for artists who want to maintain a level of precision while still being able to make adjustments as they go. Plus, the soft shading of pencil can complement the stark lines of ink beautifully.
Digital elements can also be integrated into your pen and ink work. With the rise of technology, many artists are now using tablets to create stunning digital artworks that incorporate traditional techniques. You can scan your ink drawings and use software to add color, adjust contrast, or even layer additional textures. This fusion of traditional and digital art can lead to some truly innovative results.
To give you an idea of how these combinations can work, consider the following table that outlines some popular combinations and their effects:
| Medium Combination | Effects |
|---|---|
| Ink + Watercolor | Vibrant colors, fluid textures |
| Ink + Pencil | Sharp details with soft shading |
| Ink + Digital Art | Enhanced colors, layered effects |
| Ink + Collage | Mixed media richness, visual interest |
As you explore these combinations, don’t be afraid to experiment! Art is all about self-expression, and the beauty of combining styles is that there are no hard and fast rules. You might find that a particular combination speaks to you in a way that others do not. Just remember to have fun and let your creativity flow. After all, the journey of an artist is filled with surprises and explosions of inspiration!
- Can I use any type of ink with watercolor? - It's best to use waterproof ink to prevent smudging.
- How do I prevent my ink from bleeding into my watercolor? - Allow the ink to dry completely before applying watercolor.
- Is it necessary to use special paper for combining mediums? - While not necessary, using watercolor paper can help absorb water better and prevent warping.
Frequently Asked Questions
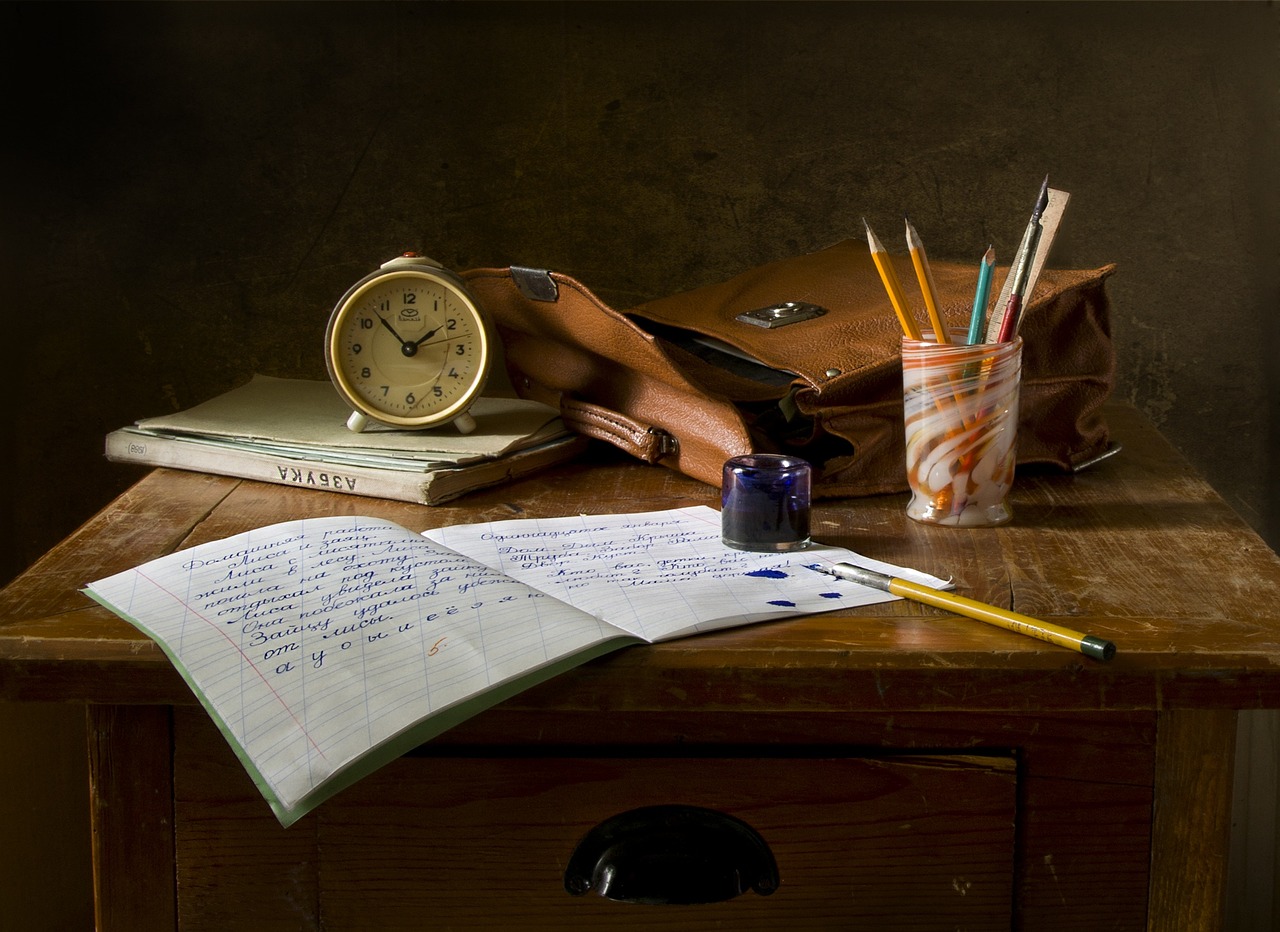
- What tools do I need to start drawing with pen and ink?
To kick off your pen and ink journey, you'll need a few essential tools. First, grab a good quality pen—preferably a fountain pen or a dip pen for versatility. Next, choose your ink; waterproof and fade-resistant inks are ideal for longevity. Finally, select the right paper, ideally a smooth surface that can handle ink without bleeding. Think of these tools as your trusty sidekicks on your artistic adventure!
- How can I improve my line work in pen and ink drawing?
Improving your line work is all about practice and experimentation. Start by focusing on different types of lines—thick, thin, straight, and curved. Use varying pressure on your pen to create dynamic lines. Remember, line quality can add depth and interest to your artwork, so don't be afraid to play around. It's like learning to dance; the more you practice, the more fluid and expressive you'll become!
- What are the best shading techniques for beginners?
For beginners, two popular shading techniques are stippling and cross-hatching. Stippling involves creating shadows with tiny dots, while cross-hatching uses crisscrossed lines to build depth. Both methods can add dimension to your drawings, so try them out and see which one feels right for you. Think of shading as the seasoning in your artwork; it enhances the flavors and brings your piece to life!
- Can I combine pen and ink with other mediums?
Absolutely! Combining pen and ink with other mediums like watercolor or colored pencils can elevate your artwork to new heights. Start by creating your ink drawing and then layer on colors or textures from other mediums. This technique allows for a unique blend of styles, giving your pieces a fresh and dynamic look. It's like mixing different flavors in a recipe; you might just discover a delightful new taste!
- How do I create texture in my pen and ink drawings?
Creating texture is all about the lines you use. Techniques like cross-hatching and stippling can add richness and dimension to your work. Experiment with varying the density of your lines and the space between them to achieve different textures. Think of it as adding fabric to your artwork; the more layers and variations you include, the more interesting it becomes!
- What should I do if I make a mistake while drawing?
Making mistakes is part of the artistic process, so don't sweat it! If you mess up, try using white ink or correction fluid to cover it up. Alternatively, you can incorporate the mistake into your design—sometimes a happy accident can lead to a unique artistic expression. Remember, every artist has their 'oops' moments; it's how you handle them that counts!


