Painting Flowers: Essential Tips for Beginners
Are you ready to dive into the vibrant world of floral painting? Painting flowers can be an incredibly rewarding experience, allowing you to express your creativity while connecting with the beauty of nature. Whether you're a complete novice or someone looking to refine their skills, this article will guide you through essential tips and techniques for painting stunning floral artwork. From choosing the right materials to understanding flower anatomy and mastering color mixing, we’ll cover everything you need to know to create breathtaking pieces that bloom on your canvas.
Before you even pick up a brush, it's essential to select the right materials. Think of your supplies as the foundation of your artistic journey; the better your tools, the more enjoyable your painting experience will be. For beginners, we recommend starting with:
- Brushes: A variety of brushes, including round, flat, and filbert shapes, can help you achieve different textures and effects in your floral paintings.
- Paints: Watercolors, acrylics, or oils—each medium offers unique advantages. Watercolors are great for soft washes, while acrylics allow for vibrant layering.
- Canvas or Paper: Choose a surface that suits your chosen medium. Watercolor paper is ideal for watercolors, while canvas boards are perfect for acrylics and oils.
Investing in quality materials can significantly enhance your creative process, making it easier to achieve the results you desire.
To paint flowers accurately, it’s crucial to familiarize yourself with their structure. Understanding flower anatomy not only improves your representation but also allows you to capture the essence of each bloom. Key components to observe include:
- Petals: The colorful parts that attract pollinators.
- Stamen: The male reproductive part, typically featuring pollen.
- Pistil: The female reproductive part, which includes the ovary.
- Leaves: Often overlooked, leaves can add depth and context to your compositions.
By studying these components, you’ll be able to create more lifelike representations of flowers, enhancing the overall impact of your artwork.
Recognizing various flower types can significantly influence your artistic choices. Each flower has its own unique characteristics, color palettes, and shapes that can inspire your paintings. For example:
- Roses: Known for their intricate layers and romantic symbolism.
- Daisies: Simple yet charming, perfect for beginners.
- Sunflowers: Bold and bright, they add a cheerful vibe to any artwork.
By exploring different types of flowers, you can find the ones that resonate with you and inspire your creativity.
Some flowers are particularly beginner-friendly, making them ideal for practice. Consider starting with:
- Tulips: Their simple shape and vibrant colors make them a joy to paint.
- Chrysanthemums: These flowers offer a variety of textures and shapes.
- Lavender: Great for practicing delicate brushwork and color blending.
These flowers not only provide a good starting point but also help build your confidence as you develop your skills.
Understanding seasonal flowers can help you choose the right color palettes for your paintings. Each season brings a unique array of colors and blooms:
- Spring: Pastels and bright colors, including tulips and daffodils.
- Summer: Bold hues with sunflowers and zinnias.
- Autumn: Warm tones with chrysanthemums and asters.
- Winter: Subdued colors with evergreens and poinsettias.
Incorporating these seasonal elements into your artwork can create a more dynamic and relatable experience for viewers.
Effective sketching is the foundation of a successful painting. Before you start applying paint, take some time to sketch the flowers you wish to paint. Consider using a light pencil to outline the basic shapes and forms. This preliminary step allows you to focus on composition and placement, ensuring that your final piece is well-balanced and visually appealing.
Mastering color mixing is vital for creating vibrant flower paintings. Understanding how to blend colors can help you achieve realistic hues and shades. Start by familiarizing yourself with the color wheel and experimenting with primary, secondary, and tertiary colors. Remember, the beauty of flowers lies in their subtle variations, so don’t shy away from mixing different shades to capture the true essence of each bloom.
A well-defined color palette can streamline your painting process. Choose a harmonious selection of colors that complement each other. For floral artwork, consider including:
- Base colors for the main flowers.
- Shades for depth and shadow.
- Highlights to bring your flowers to life.
This thoughtful approach to color selection can elevate your artwork from ordinary to extraordinary.
Incorporating complementary colors can enhance your floral paintings, making them pop off the canvas. Complementary colors are those that are opposite each other on the color wheel, such as blue and orange or red and green. By strategically using these colors, you can create a dynamic contrast that draws the viewer’s eye and adds vibrancy to your work.
Good composition is key to an engaging painting. Consider the arrangement of your flowers within the artwork. Using principles of composition, such as balance and focal points, can help guide the viewer’s eye and create a more harmonious piece. Experiment with different layouts to see what works best for your chosen flowers.
Applying the rule of thirds can create balanced compositions. Imagine dividing your canvas into a grid of nine equal parts. Place your main subjects—like your flowers—along these lines or at their intersections to create a more visually appealing arrangement.
Adding depth can make your floral paintings more dynamic. Consider overlapping flowers, varying sizes, and using lighter colors in the background to create a sense of perspective. This technique can help your artwork feel more three-dimensional and lifelike.
1. What is the best medium for painting flowers?
Watercolors are great for soft, delicate blooms, while acrylics allow for vibrant layering and detail. Choose based on your comfort level and desired effect.
2. How can I improve my color mixing skills?
Practice is key! Experiment with different combinations and keep a color journal to track your mixes and results.
3. Can I paint flowers from photographs?
Absolutely! Using photos as references can help you capture details and colors, especially when working from life isn't feasible.
4. How do I know if my composition is good?
Step back and view your painting from a distance. A good composition will draw the eye in and feel balanced. Ask for feedback from fellow artists or friends!
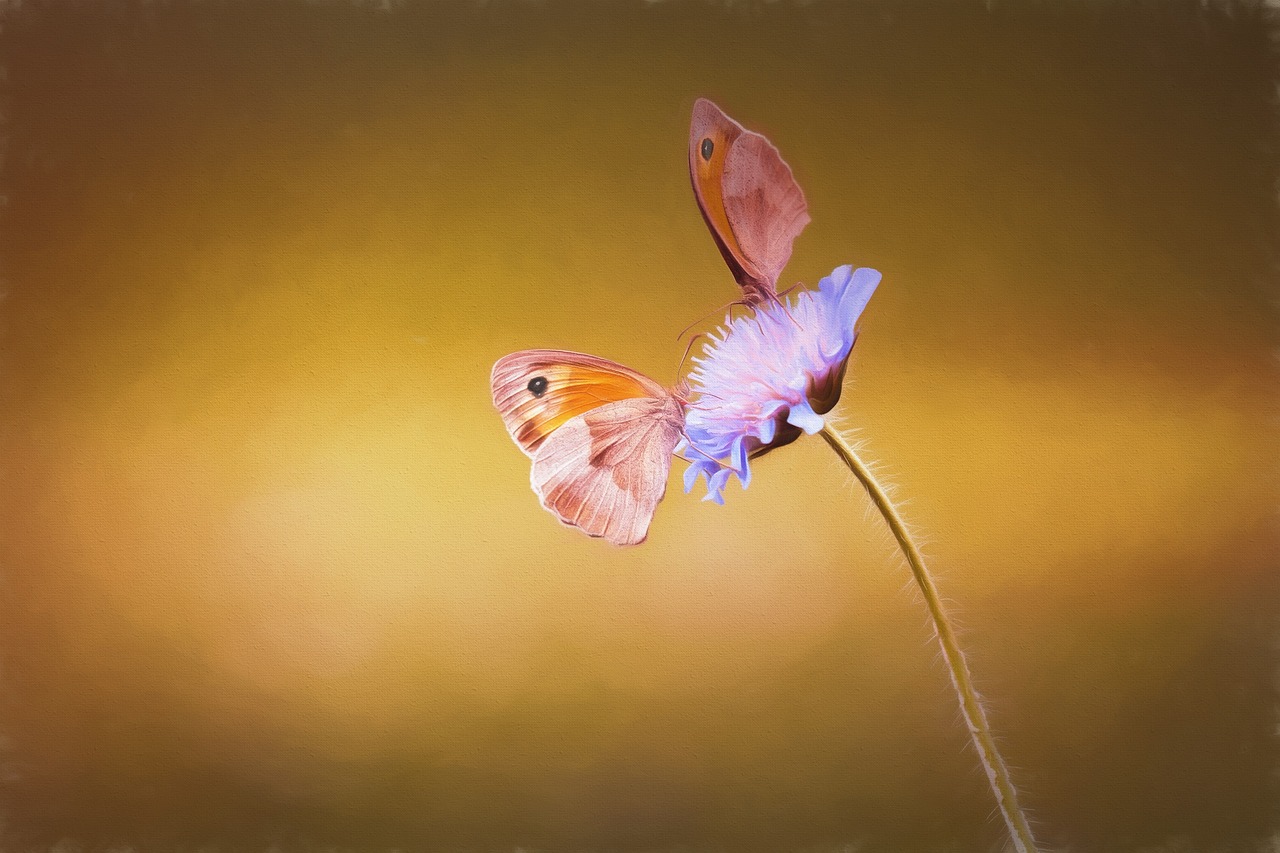
Choosing the Right Materials
When it comes to painting flowers, the materials you choose can make a world of difference in your creative journey. Think of your brushes, paints, and canvases as the tools of a master chef; the better your ingredients, the more delicious your dish will be! For beginners, selecting the right materials is crucial not only for achieving beautiful results but also for enhancing your overall experience as an artist.
First off, let's talk about brushes. A variety of brushes can help you achieve different effects in your floral paintings. Round brushes are fantastic for detail work, allowing you to paint delicate petals and intricate centers. On the other hand, flat brushes are perfect for broader strokes, making them ideal for painting leaves and backgrounds. If you're really diving into floral art, consider investing in a few sizes of both types to give yourself the versatility you need.
Next up, we have paints. As a beginner, you might feel overwhelmed by the sheer number of options available. However, sticking to acrylic paints can be a smart choice. They dry quickly, are easy to work with, and can be layered to create depth and texture. If you're feeling adventurous, watercolors can also produce stunning effects, especially for soft, flowing flowers. Just remember, the key is to experiment and find what resonates with your style.
Now, let’s not forget about canvases. The surface you paint on can significantly impact your technique and the final look of your artwork. For beginners, canvas panels or stretched canvases are excellent options. They provide a sturdy surface that can handle multiple layers of paint. If you're on a budget, watercolor paper can be a great alternative for those experimenting with watercolors. The texture of the paper will affect how your paints blend, so choose wisely!
To wrap it all up, here’s a quick overview of the essential materials you should consider:
| Material | Purpose |
|---|---|
| Brushes | Different shapes and sizes for various effects |
| Paints | Acrylics for quick drying and layering; watercolors for soft effects |
| Canvases | Canvas panels or stretched canvases for durability; watercolor paper for flexibility |
In conclusion, choosing the right materials is the first step towards creating stunning floral artwork. Take your time to explore different brushes, paints, and canvases, and don’t hesitate to experiment. After all, every great artist started somewhere, and the right tools can help you blossom into your creative potential!

Understanding Flower Anatomy
When you dive into the world of painting flowers, one of the most beneficial things you can do is to familiarize yourself with flower anatomy. Understanding how flowers are structured not only enhances your observation skills but also improves your painting accuracy. Think of it as learning the blueprint of your subject; the more you know, the better your representation will be on canvas. Flowers are composed of several key components, each playing a vital role in their overall beauty and appeal. Let's break down these components to give you a solid foundation in floral painting.
The main parts of a flower include:
- Petals: These are often the most colorful part of the flower, designed to attract pollinators. The shape and arrangement of petals can vary greatly between different species.
- Stamen: This is the male reproductive part, consisting of the anther and filament. Understanding its placement can help you accurately depict the flower's anatomy.
- Pistil: The female reproductive part, made up of the stigma, style, and ovary. Knowing where the pistil is located helps you to capture the essence of the flower.
- Leaves: While not part of the flower itself, leaves play a crucial role in the overall composition of your painting. They can add depth and context to your floral artwork.
As you observe flowers, take note of how these components interact. For instance, the way petals overlap or how the stamen extends from the center can create dynamic shapes and forms that are exciting to replicate. You might even consider sketching the anatomy of different flowers to grasp their unique structures better.
Another important aspect to consider is the color variations found in different parts of the flower. Petals may have gradients or spots that add interest and complexity. By studying these details, you can mix colors more effectively and create a more realistic representation of your subject. Remember, flowers are not just one solid color; they are a mesmerizing blend of hues that can inspire your palette.
Lastly, observing how flowers grow in nature can provide insights into their composition in your artwork. Flowers are often arranged in clusters, and understanding these groupings can help you create a more balanced and visually appealing painting. So, the next time you're out and about, take a moment to admire the flowers around you. Notice their shapes, colors, and how they interact with their surroundings. This practice will not only enhance your understanding of flower anatomy but also inspire your creativity.
Q: Why is understanding flower anatomy important for painting?
A: Understanding flower anatomy helps you accurately represent the structure and beauty of flowers, leading to more realistic and engaging artwork.
Q: How can I practice observing flower anatomy?
A: You can practice by sketching flowers from life, taking photographs, or studying flower anatomy books to familiarize yourself with different species.
Q: What should I focus on when painting flowers?
A: Focus on the arrangement of petals, the placement of the stamen and pistil, and the color variations to create a dynamic and realistic painting.
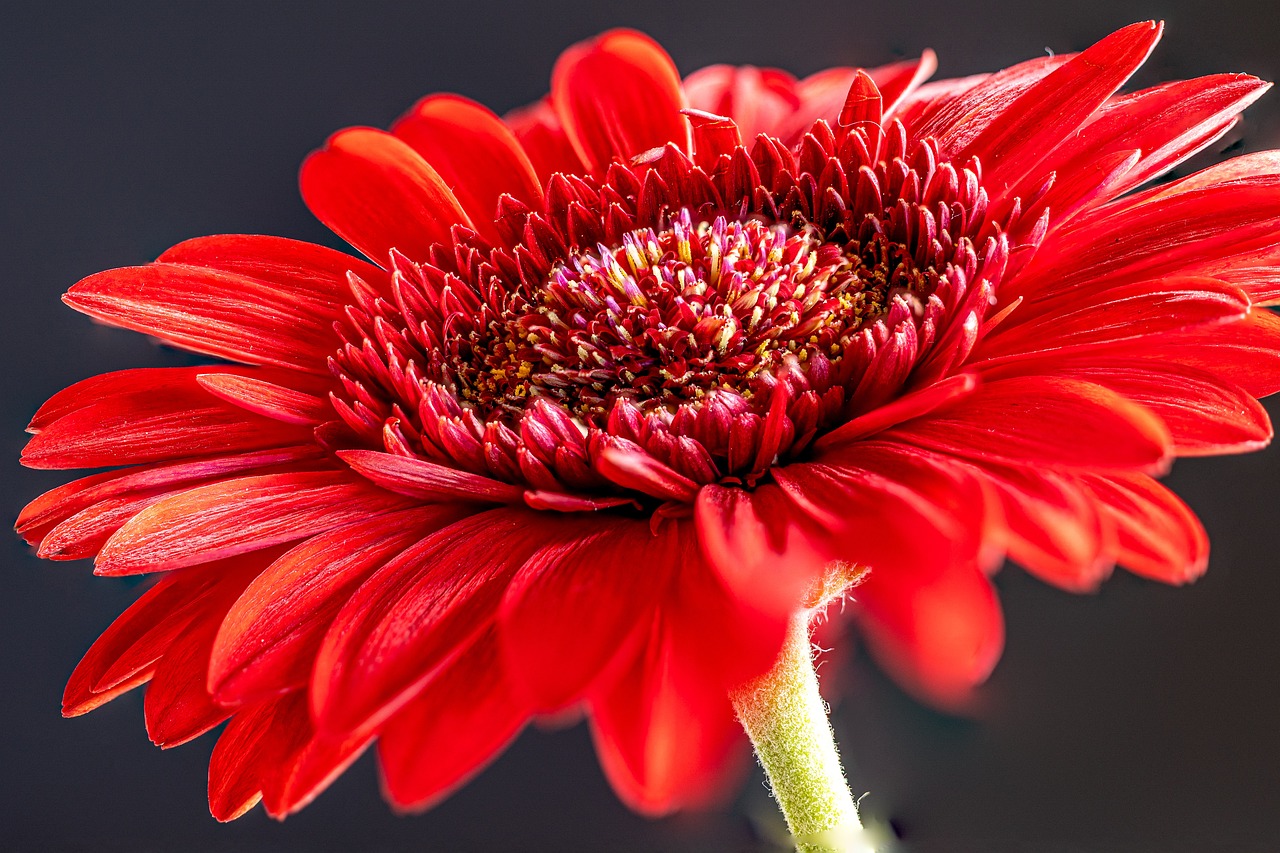
Identifying Different Flower Types
When it comes to painting flowers, knowing the different types can be like having a secret weapon in your artistic arsenal. Each flower type has its own unique charm and characteristics that can inspire your creativity. Think of flowers as the vibrant notes in a symphony; each one plays a role in creating a beautiful masterpiece. By familiarizing yourself with various flower types, you can make informed choices that will enhance your artwork and help you express your vision more effectively.
Let’s dive into some popular flower types that you might want to consider for your paintings. While there are thousands of flower species out there, a few stand out as favorites among artists due to their beauty and distinctive features. Here are some noteworthy flowers:
- Roses: Often symbolizing love and passion, roses come in a variety of colors and shapes. Their layered petals can provide a challenge but also an opportunity to showcase depth and texture in your artwork.
- Tulips: With their simple yet elegant form, tulips are perfect for beginners. They have smooth, curvy lines that can be easily captured with a brush.
- Daisies: These cheerful flowers are great for practicing basic shapes. Their open petals and bright centers can add a playful touch to your floral compositions.
- Sunflowers: Known for their large, bold heads and vibrant yellow petals, sunflowers can bring a sense of joy and warmth to your paintings. They are also excellent for exploring color blending.
Each flower type has its own personality, and understanding these traits can help you decide which flowers to paint. For instance, if you're looking to convey a sense of tranquility, you might choose soft pastel flowers like peonies or hydrangeas. On the other hand, if you want to evoke energy and vibrancy, opt for bright, bold flowers like gerbera daisies or zinnias.
Moreover, observing flowers in their natural habitat can provide invaluable insights into their structure and color variations. Take a stroll through a garden or visit a local florist, and don’t hesitate to snap some photos for reference. Pay attention to how the light interacts with the petals, the subtle gradients of color, and the intricate details of each bloom. This practice will not only enhance your observational skills but also enrich your paintings with realism and depth.
In conclusion, identifying different flower types is not just about knowing their names; it’s about understanding their essence and how they can contribute to your artistic expression. So, grab your brushes and start exploring the wonderful world of flowers!
Q1: What are some easy flowers for beginners to paint?
A: Flowers like daisies, tulips, and sunflowers are great for beginners due to their simple shapes and vibrant colors.
Q2: How can I improve my flower painting skills?
A: Practice sketching flowers from real life, experiment with different materials, and study color mixing to enhance your skills.
Q3: Is it necessary to know flower anatomy to paint them?
A: While it’s not mandatory, understanding flower anatomy can significantly improve your accuracy and help you create more lifelike representations.
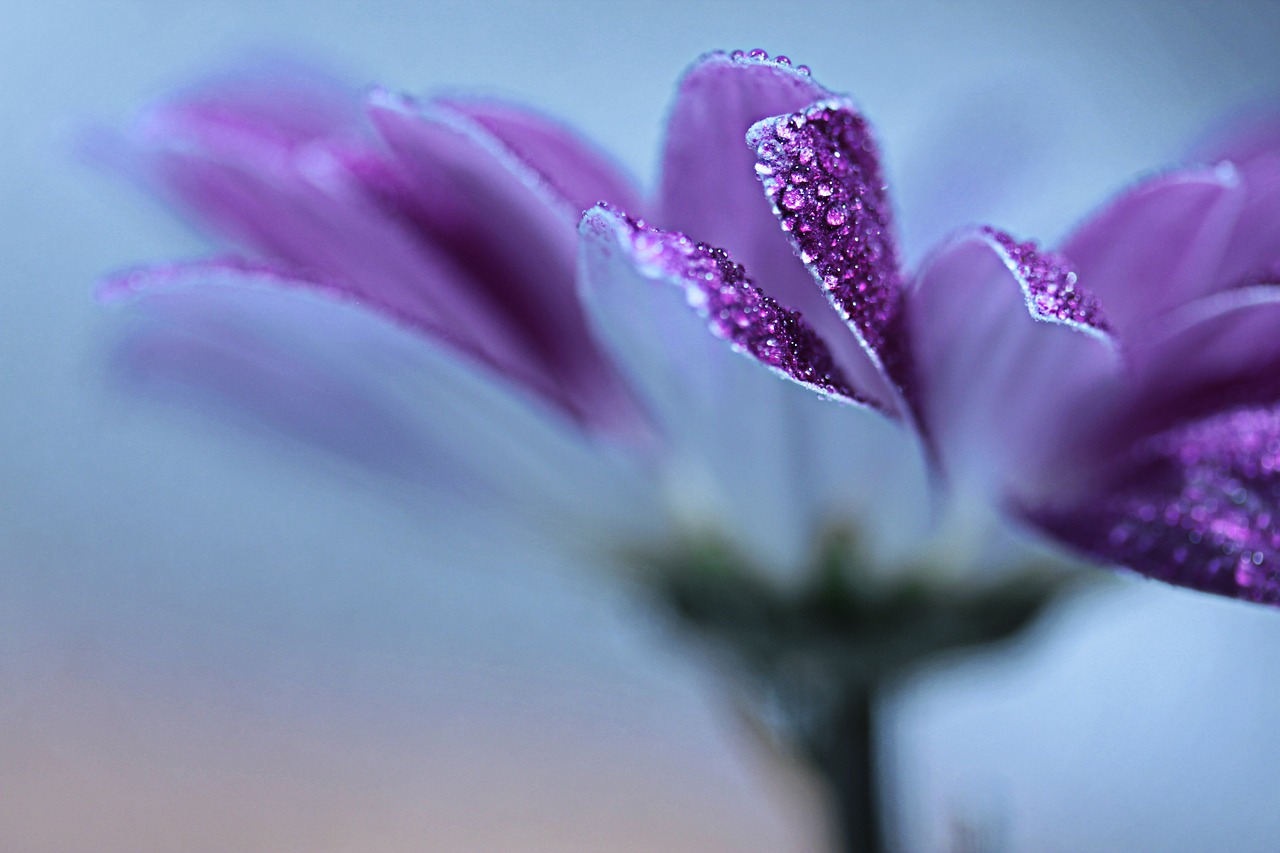
Common Flowers for Beginners
When it comes to painting flowers, starting with the right subjects can make all the difference in your artistic journey. As a beginner, you want to choose flowers that are not only visually appealing but also relatively simple to paint. This allows you to focus on developing your skills without getting overwhelmed. Some of the most common flowers that are beginner-friendly include:
- Daisies: These cheerful blooms are characterized by their simple structure and bright white petals. They are perfect for practicing petal shapes and color blending.
- Tulips: With their smooth, rounded petals, tulips offer a great opportunity to experiment with color gradients and shading techniques.
- Sunflowers: Known for their vibrant yellow color and large size, sunflowers can help you learn about creating depth and dimension in your paintings.
- Roses: Although they may seem complex, roses can be simplified into basic shapes, making them a fantastic subject for beginners looking to challenge themselves.
- Lavender: This flower not only adds a lovely touch of color but also allows you to practice painting delicate details in a more straightforward form.
Each of these flowers has its unique characteristics that can inspire your creativity. For instance, daisies can teach you about symmetry and color contrast, while tulips can help you understand how to convey light and shadow. As you paint these flowers, pay attention to their forms and how light interacts with their surfaces. This practice will improve your observational skills, which are crucial for any artist.
Another important aspect to consider is the seasonality of flowers. Many flowers bloom at specific times of the year, which can influence their colors and availability. For example, sunflowers are typically associated with summer, while lavender is often seen in late spring to summer. Understanding these seasonal patterns can help you choose the right flowers to paint, ensuring that your artwork reflects the vibrant hues of their natural environments.
As you progress in your painting journey, don't hesitate to explore other flower types and styles. Try painting a bouquet that combines several different flowers to create a more dynamic composition. This not only enhances your skills but also allows you to experiment with various colors and shapes, making your artwork more engaging.
In summary, starting with common flowers like daisies, tulips, sunflowers, roses, and lavender can provide a solid foundation for your painting practice. These flowers are not only beautiful but also offer valuable lessons in color, form, and composition. So grab your brushes and let your creativity blossom!
Q: What are the best materials for painting flowers as a beginner?
A: It's best to start with watercolor or acrylic paints, a set of brushes in various sizes, and a good quality canvas or watercolor paper. These materials are user-friendly and allow for easy blending and layering.
Q: How can I improve my flower painting skills?
A: Practice regularly, study different flower types, and don't hesitate to take inspiration from nature or photographs. Additionally, consider joining a local art class or online community for feedback and support.
Q: Should I focus on realism or abstract when painting flowers?
A: As a beginner, it can be beneficial to start with realistic approaches to understand the structure and colors of flowers. However, once you're comfortable, feel free to explore abstract styles to express your creativity.
Q: How can I create depth in my flower paintings?
A: Use techniques such as layering colors, varying the size of flowers, and adjusting the contrast between light and shadow to create a sense of depth and perspective in your artwork.
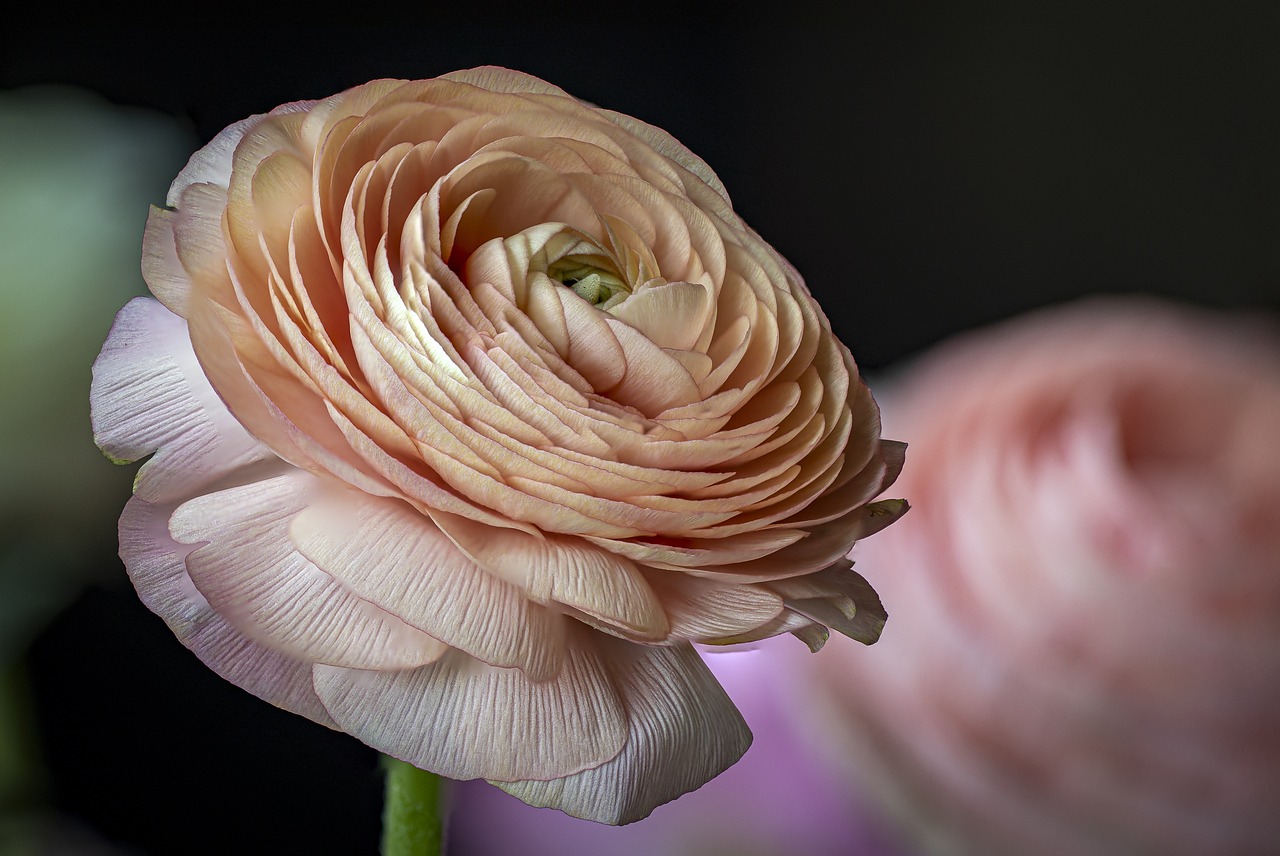
Seasonal Flowers and Their Colors
Understanding the connection between seasonal flowers and their colors can significantly enhance your floral paintings. Each season brings a unique palette of colors that can inspire your artwork and help you capture the essence of nature throughout the year. For instance, during the spring, you’ll find vibrant hues like soft pinks, bright yellows, and fresh greens as flowers bloom in abundance. Flowers such as tulips, daffodils, and cherry blossoms are perfect examples of this season's lively colors.
As we transition into summer, the color palette shifts to bold and warm tones. Think of sunflowers, zinnias, and dahlias, which showcase fiery reds, oranges, and yellows. These colors can evoke feelings of warmth and joy, making them ideal for creating cheerful and vibrant compositions. The summer sun not only brightens the flowers but also intensifies their colors, allowing you to experiment with different shades and blends.
Then comes autumn, a season renowned for its rich, earthy tones. This is when flowers like chrysanthemums and asters bloom, showcasing deep reds, burnt oranges, and golden yellows. These colors can add a sense of warmth and nostalgia to your paintings, making them perfect for capturing the cozy essence of fall. When painting autumn flowers, consider using a slightly muted palette to reflect the changing light and atmosphere.
Finally, in winter, while many flowers may be dormant, you can still find beauty in seasonal blooms like poinsettias and hellebores. These flowers often display deep reds and whites, creating a striking contrast against the stark winter landscape. The cool tones of winter can inspire a more subdued color palette, allowing you to focus on the elegance and simplicity of the flowers.
To help you visualize the seasonal colors better, here’s a quick reference table:
| Season | Common Flowers | Color Palette |
|---|---|---|
| Spring | Tulips, Daffodils, Cherry Blossoms | Soft Pinks, Bright Yellows, Fresh Greens |
| Summer | Sunflowers, Zinnias, Dahlias | Fiery Reds, Oranges, Bright Yellows |
| Autumn | Mums, Asters | Deep Reds, Burnt Oranges, Golden Yellows |
| Winter | Poinsettias, Hellebores | Deep Reds, Whites, Cool Blues |
Incorporating these seasonal colors into your floral paintings can not only enhance your artistic expression but also connect your artwork with the changing rhythms of nature. As you explore each season, take the time to observe how the colors shift and how they can influence the mood and tone of your paintings. This understanding will empower you to create stunning floral artwork that resonates with viewers and captures the beauty of every season.
Q: How do I choose the right colors for my flower paintings?
A: Start by observing the flowers in their natural environment during different seasons. Use a color wheel to find complementary colors and create a harmonious palette that reflects the essence of the flowers you are painting.
Q: Can I mix colors to create new shades for my flowers?
A: Absolutely! Color mixing is a fundamental skill in painting. Experiment with blending primary colors to achieve the desired shades for your flowers, and don’t be afraid to adjust the ratios to find the perfect hue.
Q: What are some beginner-friendly flowers to paint?
A: Flowers like daisies, sunflowers, and tulips are great starting points. They have simple shapes and vibrant colors, making them easier to replicate for beginners.
Sketching Techniques
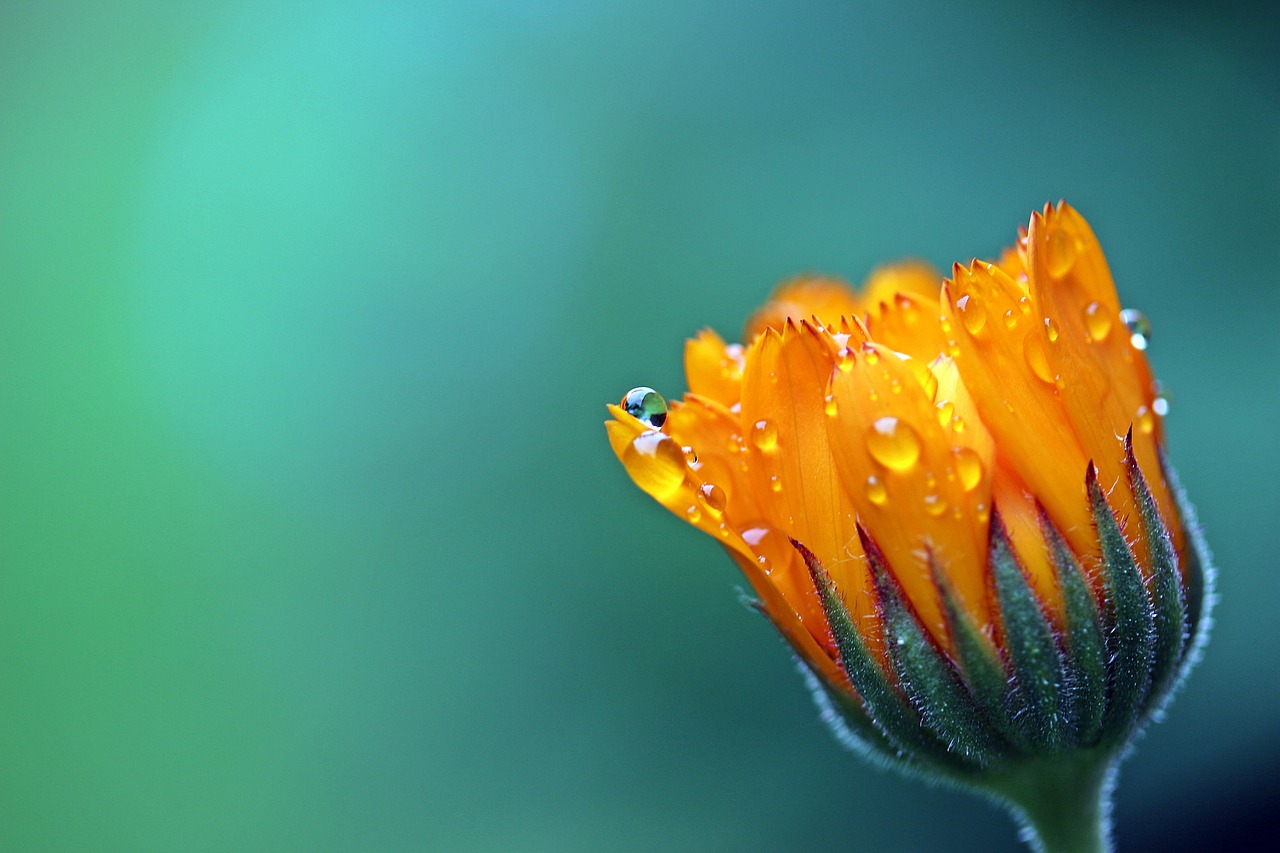
When it comes to painting flowers, the importance of effective sketching cannot be overstated. Think of sketching as the blueprint for your masterpiece; it lays the groundwork for everything that follows. Before you even dip your brush into the paint, taking the time to sketch your flowers accurately can save you a lot of headaches later. So, how do you go about it? First, start with light pencil strokes. This allows you to make adjustments without the fear of ruining your canvas. Remember, the goal is not to create a perfect outline but to capture the essence of the flower.
Next, focus on the basic shapes that make up the flower. Most flowers can be broken down into simple geometric forms. For instance, petals might resemble ovals or teardrops, while the center of the flower can be depicted as a circle. By simplifying these forms, you can create a more accurate representation of the flower’s structure. It’s like building a house; you need a solid foundation before adding the intricate details.
After establishing the basic shapes, it’s time to add some details. Pay attention to the unique characteristics of the flower you are sketching. For example, if you are sketching a rose, notice how the petals curl and overlap. These subtleties can make a significant difference in your final painting. Don't rush this process; take your time to observe and replicate what you see. You might even find it helpful to take a step back from your sketch periodically to get a fresh perspective. This can help you identify areas that may need adjustment.
Another technique that can greatly benefit your sketching is using negative space. This involves focusing not just on the flower itself but also on the space around it. By observing the shapes formed by the background, you can enhance the overall composition of your artwork. It’s like framing a photograph; the right background can make your subject pop!
Lastly, practice makes perfect. Don’t be discouraged if your first few sketches don’t turn out as you envisioned. Keep sketching different flowers, experimenting with various techniques, and soon enough, you’ll find your style. Remember, every great artist started as a beginner, so embrace the journey!
- What materials do I need for sketching flowers? A simple pencil and sketchbook will do, but you can also use charcoal or colored pencils for more vibrancy.
- How can I improve my sketching skills? Regular practice and studying real flowers will enhance your ability to capture details accurately.
- Should I sketch from photographs or real flowers? Both methods have their benefits, but sketching from real flowers can improve your observational skills.
Color Mixing Essentials
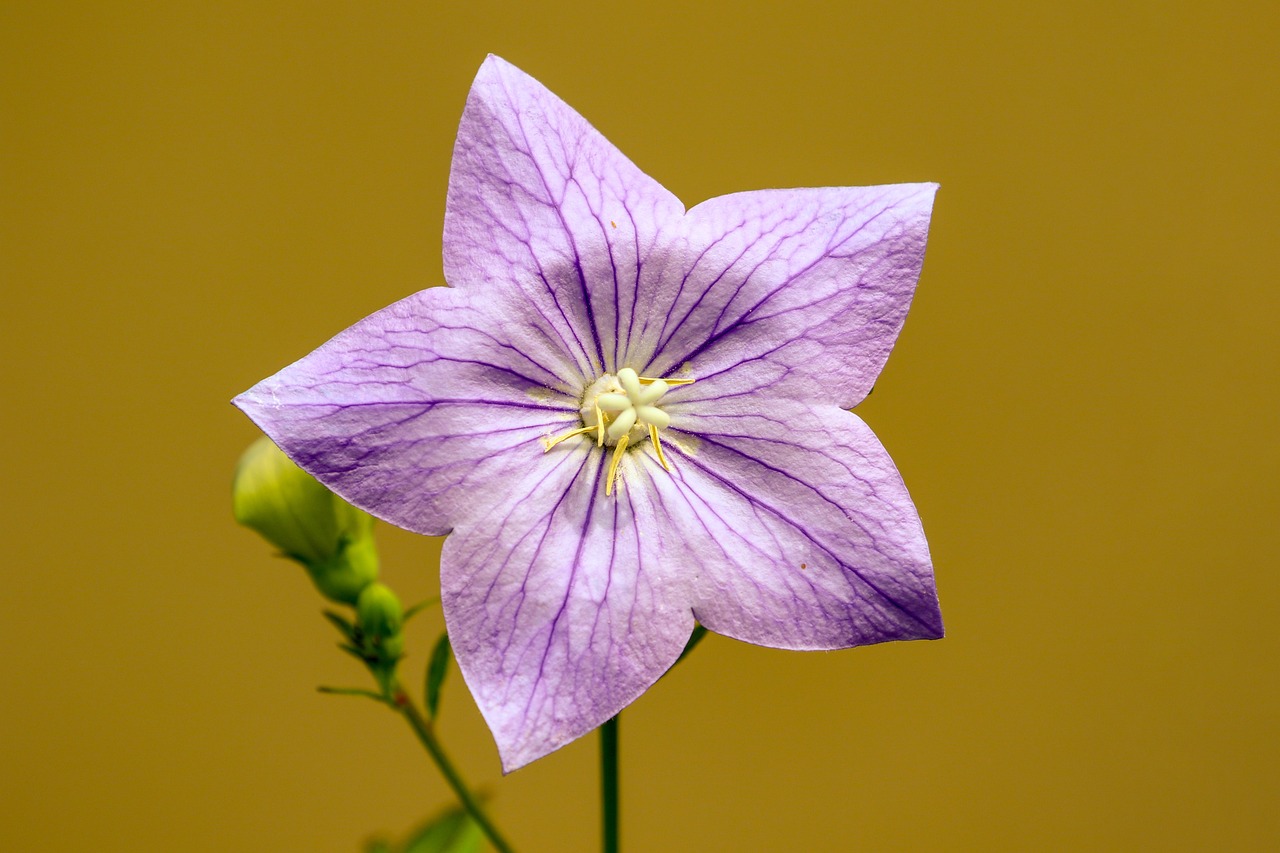
When it comes to painting flowers, color mixing is like the secret sauce that brings your artwork to life. Imagine trying to create a beautiful garden on canvas, but your colors are flat and uninspired. That’s where mastering the art of mixing colors comes into play! It’s not just about slapping paint on a palette; it’s about understanding how different hues interact and how you can blend them to achieve the vibrant, lifelike colors you see in nature.
To start, it’s essential to know your primary colors: red, blue, and yellow. These are the building blocks of all other colors. By mixing these together, you can create secondary colors: green, orange, and purple. But that’s just the tip of the iceberg! Consider the following when diving into the world of color mixing:
- Experimentation is Key: Don’t be afraid to mix and match! Grab a brush and start blending. You might stumble upon a stunning shade of lavender or a deep, rich green that you never knew existed.
- Use a Color Wheel: A color wheel can be your best friend. It helps you visualize how colors relate to one another, making it easier to create harmonious palettes.
- Understand Color Temperature: Colors can be warm (reds, oranges, yellows) or cool (blues, greens, purples). Mixing a warm color with a cool one can create a dynamic contrast that adds interest to your floral paintings.
Now, let’s talk about how to achieve those realistic flower hues. The trick lies in observing the flowers themselves. For instance, a rose isn’t just red; it has subtle variations of pink, coral, and even hints of yellow in its petals. By mixing these colors together, you can create depth and dimension in your paintings. Start with a base color and gradually add small amounts of other colors to create highlights and shadows. This technique helps in achieving the three-dimensional look that makes flowers pop off the canvas.
Another essential tip is to consider the opacity of your paints. Some colors are more transparent than others, which means they can change the way the underlying colors appear. For example, if you mix a transparent yellow with a more opaque blue, the result can lead to a stunning green with depth. Understanding which colors are transparent and which are opaque will allow you to layer your paints effectively, resulting in richer, more vibrant flowers.
Lastly, don’t forget about the importance of a well-defined color palette. A color palette serves as a guide to keep your artwork cohesive. Here’s a simple way to create one:
| Color | Mixing Ratio | Resulting Shade |
|---|---|---|
| Red + White | 1:1 | Light Pink |
| Blue + Yellow | 1:1 | Green |
| Red + Blue | 1:1 | Purple |
By keeping track of your mixing experiments in a table like this, you can easily refer back to your successful combinations and reproduce those beautiful shades in future paintings. Remember, painting flowers is all about expression and creativity. So, let your imagination run wild, and don’t be afraid to experiment with color mixing!
Q: What are the best colors to start with for painting flowers?
A: It's best to start with primary colors (red, blue, yellow) along with white and black. These will allow you to mix a wide range of shades.
Q: How can I make my colors more vibrant?
A: Use high-quality paints, mix colors carefully, and layer them to build depth. Also, consider using complementary colors to enhance vibrancy.
Q: What should I do if my colors look muddy?
A: Muddy colors often result from over-mixing or using too many colors. Try to limit your palette and mix only what you need.
Creating a Color Palette
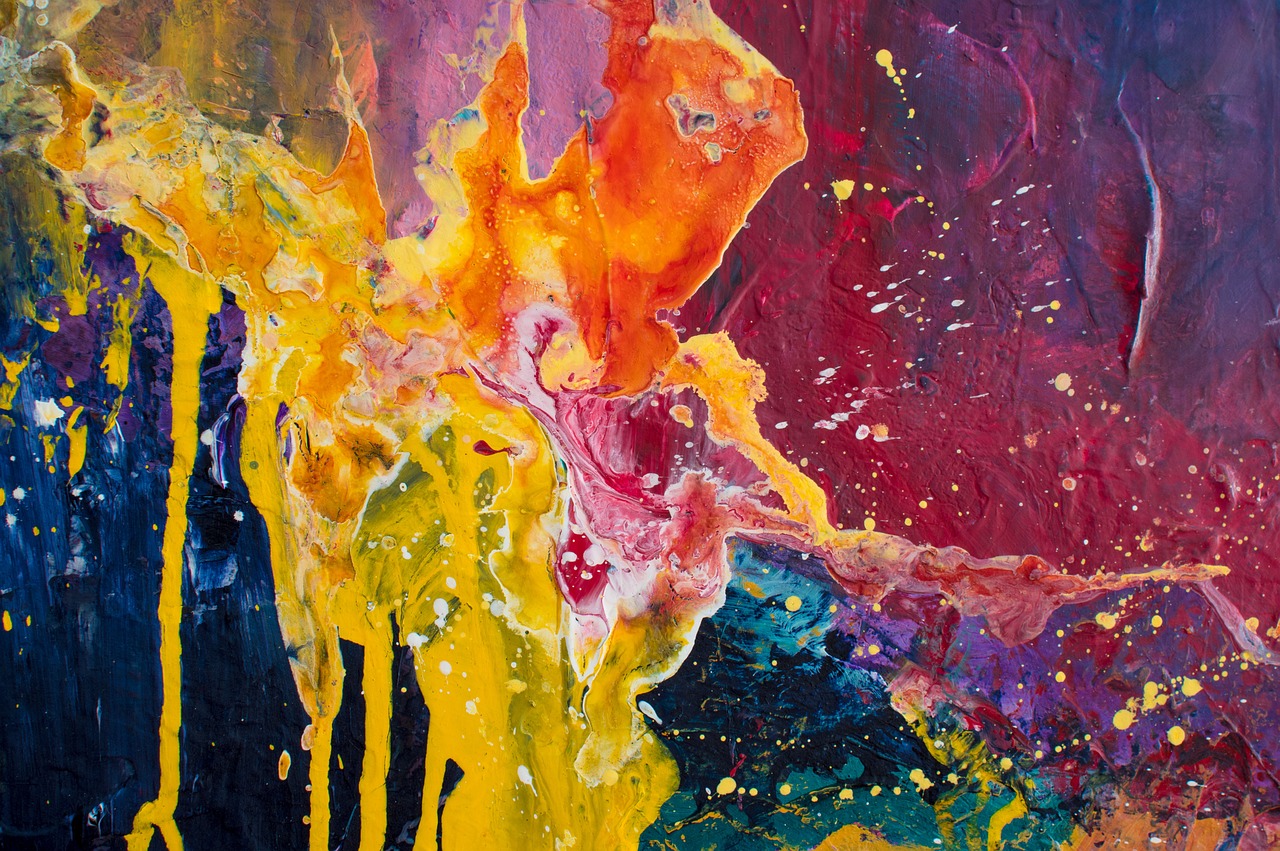
Creating a color palette is one of the most exciting and essential steps in painting flowers. Think of your color palette as the heart of your artwork; it sets the mood, enhances the beauty, and guides the viewer's eye. But how do you go about crafting the perfect palette? It can be a bit daunting at first, but with some practice and understanding, you'll find it becomes second nature.
First and foremost, consider the theme of your painting. Are you aiming for a vibrant summer bouquet or a soft, muted winter arrangement? This initial decision will help you narrow down your color choices. For instance, summer flowers like sunflowers and daisies often call for bright yellows and greens, while winter florals might lean towards cooler blues and whites.
Once you have your theme in mind, it's time to start selecting colors. A good approach is to choose a few dominant colors that will be the stars of your painting. These should be the main shades you want to showcase. Then, add a few supporting colors that complement your dominant choices. This can be done using a color wheel, which is a fantastic tool for understanding relationships between colors. For example, if you choose a bright red flower, a soft green can be a perfect companion, enhancing the vibrancy of the red without overpowering it.
When mixing your colors, be mindful of the temperature of the colors as well. Warm colors (reds, oranges, yellows) tend to come forward, while cool colors (blues, greens, purples) recede. This understanding can help you create depth and dimension in your floral paintings. You might want to create a table to track your favorite mixes, which can be a handy reference for future works:
| Color | Mixing Ratio | Notes |
|---|---|---|
| Bright Red | 2 parts red, 1 part white | Great for highlights |
| Soft Green | 1 part yellow, 2 parts blue | Perfect for foliage |
| Lavender | 1 part blue, 1 part red | Use for shadows |
Additionally, don’t forget to consider the value of your colors. Value refers to how light or dark a color is, and it plays a crucial role in creating contrast and interest in your painting. By mixing lighter and darker shades of your chosen colors, you can add dimension and make your flowers pop off the canvas.
Lastly, always keep experimenting! Sometimes the best color palettes come from unexpected combinations. Don’t be afraid to step outside the box and try new mixes. Keep a sketchbook handy to jot down your experiments and ideas. This way, you’ll have a personal reference guide that reflects your unique artistic style. Remember, painting is about expression, so let your colors tell your story!
- How do I know which colors to choose for my palette? Start by considering the mood you want to convey and the flowers you want to paint. Use a color wheel to help you find complementary colors.
- Can I use colors straight from the tube? Absolutely! However, mixing colors can help you achieve more depth and vibrancy in your artwork.
- What if my colors look muddy? This often happens when too many colors are mixed together. Stick to a limited palette and gradually add colors to see how they interact.
Using Complementary Colors
This article provides essential tips and techniques for beginners looking to paint flowers, covering everything from materials to color mixing and composition for stunning floral artwork.
Selecting the appropriate brushes, paints, and canvases is crucial for beginners. This section explores the best materials for painting flowers and how they can enhance your creative process.
Familiarizing yourself with the structure of flowers can improve your painting accuracy. This section discusses the key components of flowers and how to observe them for better representation.
Learning to recognize various flower types can aid in your artistic choices. This subsection covers popular flowers and their unique characteristics that can inspire your paintings.
Certain flowers are easier to paint for beginners. This part highlights some common flowers that are beginner-friendly and provide a good starting point for practice.
Understanding seasonal flowers helps in choosing color palettes. This section discusses how different seasons influence flower colors and how to incorporate them into your artwork.
Effective sketching is the foundation of a successful painting. This subsection offers techniques for sketching flowers accurately before applying paint.
Mastering color mixing is vital for creating vibrant flower paintings. This section provides tips on blending colors to achieve realistic flower hues and shades.
A well-defined color palette can streamline your painting process. This subsection explains how to create a harmonious color palette specifically for floral artwork.
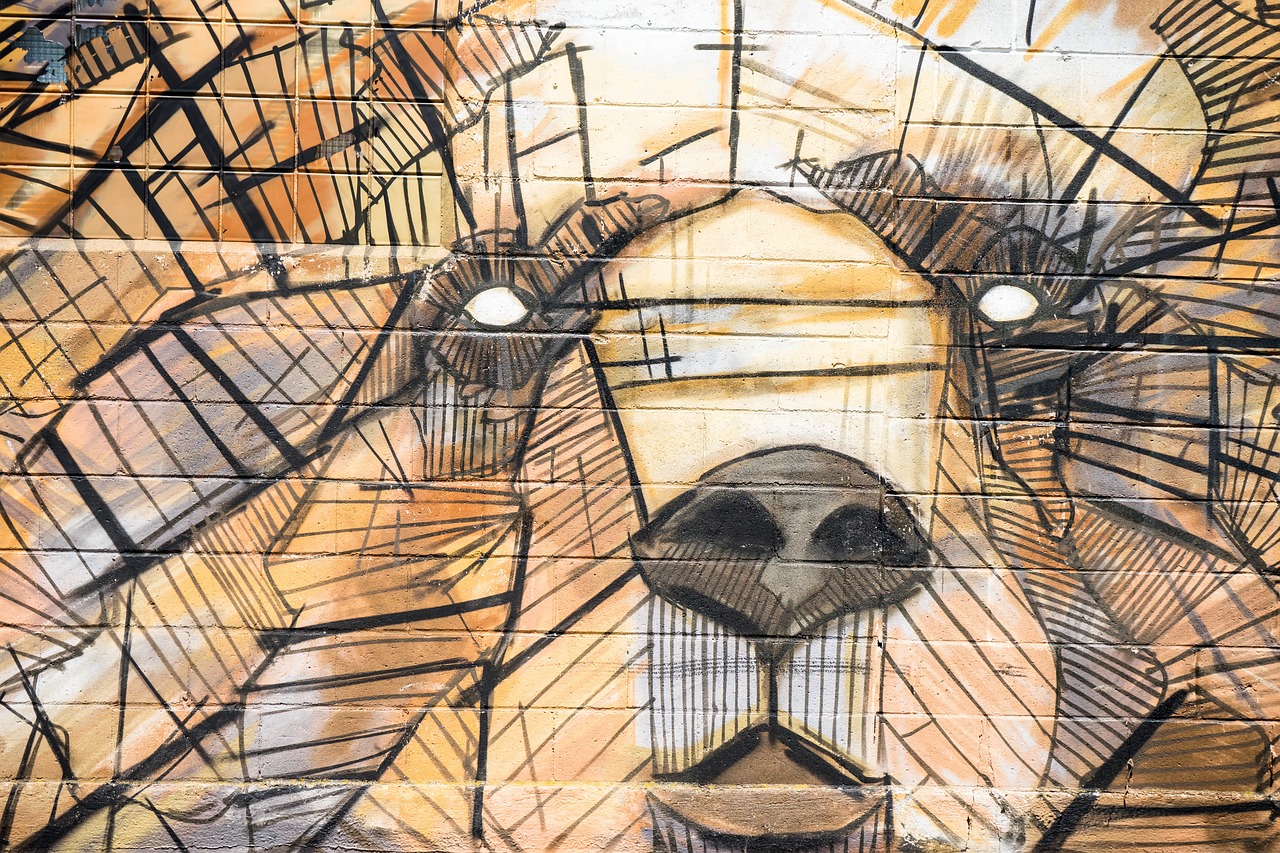
In the world of painting, complementary colors are like the dynamic duo of the color wheel. They sit directly across from each other and create a stunning contrast that can make your floral artwork pop! Understanding how to use these colors effectively can elevate your paintings from ordinary to extraordinary.
For instance, if you are painting a vibrant yellow sunflower, consider using a deep purple as a complementary color. This combination not only enhances the brightness of the yellow but also adds a layer of depth to your piece. The key is to use these colors in moderation; too much can overwhelm your painting.
Here are a few tips to help you incorporate complementary colors into your floral paintings:
- Balance is Key: Use complementary colors sparingly. A little can go a long way in creating visual interest without overpowering the main subject.
- Experiment with Shades: Don’t just stick to the pure colors; try using different shades and tints to see how they interact. For example, a light lavender can beautifully complement a bright yellow.
- Background Choices: Consider using a complementary color for your background to make your flowers stand out even more. A soft blue background can make red flowers look striking.
Remember, the goal is to create a harmonious balance that draws the viewer's eye and highlights the beauty of your flowers. So, the next time you're mixing paints, think about how you can use complementary colors to create a stunning visual experience!
Good composition is key to an engaging painting. This section explores principles of composition that can help beginners arrange flowers effectively within their artwork.
Applying the rule of thirds can create balanced compositions. This subsection explains how to use this technique for placing flowers in your paintings.
Adding depth can make your floral paintings more dynamic. This part discusses techniques for achieving perspective and depth in flower arrangements.
Q: What are complementary colors?
A: Complementary colors are pairs of colors that, when combined, cancel each other out. This means they produce a grayscale color like white or black when mixed. On the color wheel, they sit directly opposite each other.
Q: How do I choose the right complementary colors for my flowers?
A: Look at the color wheel and find the color of the flower you want to paint. The color directly opposite is its complement. Experiment with different shades and tints to see what looks best in your artwork.
Q: Can I use complementary colors in other types of paintings?
A: Absolutely! Complementary colors can enhance any type of painting, not just florals. They are a fundamental part of color theory and can be applied to landscapes, portraits, and abstract art as well.
Composition and Layout
When it comes to painting flowers, composition and layout are not just technical terms; they are the backbone of your artwork. Think of composition as the stage where your flowers perform. If you place them well, they’ll steal the show; if not, they might get lost in the background. So, how do you ensure your floral arrangements are visually appealing? It starts with understanding some fundamental principles of composition that can elevate your paintings from ordinary to extraordinary.
One of the most effective techniques to master is the Rule of Thirds. Imagine dividing your canvas into nine equal parts with two vertical and two horizontal lines. The idea is to position your focal points—like the most vibrant flower—along these lines or at their intersections. This technique creates a sense of balance and allows your viewer's eye to flow naturally through the artwork. It's like placing the cherry on top of a sundae; it makes everything more delightful!
Another key aspect is to create depth and perspective in your floral compositions. Flowers can appear flat if you don't consider the background and foreground. By overlapping flowers and varying their sizes, you can create a sense of distance. For instance, larger flowers can be painted in the foreground, while smaller ones recede into the background. This not only adds interest but also invites the viewer to explore the entire piece. Think of it as creating a garden where some flowers bloom right in front of you, while others peek out from behind.
It's also essential to consider the balance in your layout. You want to avoid having one side of your painting feeling too heavy compared to the other. A well-balanced composition might include a cluster of flowers on one side, countered by a lighter element, like a delicate stem or a leaf, on the other. This balance creates harmony and keeps the viewer’s eye engaged throughout the piece.
Lastly, don’t forget about the negative space. This term refers to the empty space around your flowers. It might seem counterintuitive, but negative space can enhance your composition by allowing your flowers to breathe. Just like in music, where silence can be as impactful as sound, the areas without flowers can draw attention to the blooms themselves. So, when laying out your composition, think about how you can use negative space to your advantage.
In summary, mastering composition and layout is crucial for creating stunning floral artwork. By applying techniques such as the Rule of Thirds, creating depth, ensuring balance, and utilizing negative space, you can transform your paintings into captivating pieces that resonate with viewers. So grab your brushes, and let your flowers take center stage!
- What is the Rule of Thirds? The Rule of Thirds is a composition guideline that suggests dividing your canvas into thirds, both horizontally and vertically, and placing focal points along these lines or their intersections.
- How can I create depth in my flower paintings? You can create depth by overlapping flowers, varying their sizes, and using lighter colors for background elements.
- What is negative space, and why is it important? Negative space is the area around your subject that can enhance the overall composition by providing balance and drawing attention to your main subject.
The Rule of Thirds
When it comes to painting flowers, one of the most effective techniques to enhance your composition is the Rule of Thirds. This principle is not just a guideline; it’s a powerful tool that can transform your artwork from ordinary to extraordinary. Imagine your canvas divided into nine equal parts by two vertical and two horizontal lines, creating a grid. The magic happens at the intersections of these lines, where the eye naturally gravitates. By placing the focal point of your flowers at these intersections, you can create a sense of balance and intrigue that draws viewers in.
Now, you might be wondering, "How do I apply this rule?" It’s simpler than it sounds! Start by visualizing your canvas as a tic-tac-toe board. When sketching your flowers, try to position the most important elements—like the center of a bloom or a cluster of petals—at one of these intersection points. This technique not only makes your painting more visually appealing but also adds a dynamic quality that can make even the simplest flower arrangement pop. For instance, instead of centering a flower in the middle of your canvas, try placing it slightly to the left or right. This small adjustment can create a more engaging composition.
Additionally, consider the overall flow of your painting. The Rule of Thirds isn’t just about where to place your flowers; it’s also about how they interact with the surrounding space. Use the grid to guide the placement of other elements, such as leaves or background details, ensuring they complement your focal flowers without overwhelming them. This approach can lead to a harmonious balance that feels both natural and intentional.
To further illustrate the effectiveness of the Rule of Thirds, let’s look at a simple example. Imagine you’re painting a vibrant sunflower. Instead of placing it smack dab in the center, position it at one of the intersection points while allowing the stem and leaves to extend gracefully across the canvas. This not only creates visual interest but also leads the viewer’s eye through the entire piece, enhancing the overall experience.
In conclusion, mastering the Rule of Thirds can significantly elevate your floral paintings. It encourages you to think critically about composition, leading to more striking and memorable artwork. So, the next time you sit down to paint, remember to visualize that grid and let it guide your creative decisions. You’ll be amazed at how this simple technique can breathe new life into your flower paintings!
- What is the Rule of Thirds? The Rule of Thirds is a composition guideline that suggests dividing your canvas into nine equal parts with two horizontal and two vertical lines, placing focal points at their intersections.
- How does the Rule of Thirds improve my paintings? By using the Rule of Thirds, you create more balanced and engaging compositions that draw the viewer's eye to key elements in your artwork.
- Can I break the Rule of Thirds? Absolutely! While the Rule of Thirds is a helpful guideline, art is subjective. Feel free to experiment and break the rules if it serves your creative vision.

Creating Depth and Perspective
When it comes to painting flowers, depth and perspective can transform your artwork from flat to fabulous. Imagine standing in a beautiful garden; the flowers in the foreground are vibrant and detailed, while those in the background seem to fade into the distance. This is the kind of effect you want to achieve in your paintings! By incorporating depth, you can create a sense of realism that draws the viewer into your artwork.
To start creating depth, consider the placement of your flowers. Flowers that are closer to the viewer should be larger and more detailed, while those further away can be smaller and less distinct. This technique mimics how our eyes perceive distance in the real world. For instance, think about how a sunflower in the front of your canvas might dominate the scene, while daisies in the background appear smaller and less defined.
Another effective method for adding perspective is through color and value. Flowers that are closer can be painted in more vibrant colors, while those further away should be lighter and less saturated. This technique is known as atmospheric perspective. For example, if you’re painting a field of tulips, the reds and yellows of the tulips in the foreground will pop, while the ones in the background can be painted in softer, pastel shades. This not only creates depth but also adds a beautiful harmony to your color palette.
Additionally, consider the use of overlapping elements. When flowers overlap, it creates a natural sense of depth. For instance, if you’re painting a bouquet, let some flowers partially cover others. This layering effect helps to establish a foreground, middle ground, and background, which are essential components in creating a three-dimensional feel on a two-dimensional surface.
To further enhance depth, you might want to experiment with shadows and highlights. Shadows can ground your flowers, making them feel like they are resting on a surface rather than floating in space. Conversely, highlights can bring certain petals to life, giving them a luminous quality. Use a soft brush to blend these elements smoothly, which will add to the realism of your floral arrangement.
Incorporating these techniques can significantly elevate your floral paintings. Remember, practice makes perfect! Spend time observing flowers in nature or through photographs, and try to replicate their depth and perspective in your artworks. With time, you’ll find your own style and techniques that resonate with you, making your floral compositions not just paintings, but immersive experiences for your viewers.
- What materials do I need to create depth in my flower paintings? You will need quality paints, brushes, and a canvas. A good selection of colors is essential for creating depth through value and saturation.
- How can I practice perspective in my flower paintings? Start by sketching different flower arrangements and focus on varying sizes, colors, and overlapping elements. Use reference photos to guide you.
- Are there specific flower types that are better for practicing depth and perspective? Yes! Flowers with distinct shapes and varying sizes, such as sunflowers, daisies, and tulips, can be great subjects for practicing these techniques.
Frequently Asked Questions
- What materials do I need to start painting flowers?
To kick off your flower painting journey, you'll need a few essential materials. Start with quality brushes, acrylic or watercolor paints, and a suitable canvas or watercolor paper. Don't forget a palette for mixing colors, a jar of water (if you're using water-based paints), and some paper towels for cleaning up. Having these basics will set you up for success!
- How can I improve my understanding of flower anatomy?
Understanding flower anatomy is like learning the rules of a game before you play. You can improve your knowledge by observing real flowers or using reference photos. Pay attention to the shape of petals, the arrangement of leaves, and the structure of the stem. Sketching these elements can also help you internalize their forms, making your paintings more accurate and lifelike.
- Which flowers are easiest for beginners to paint?
Some flowers are more beginner-friendly than others. Sunflowers, daisies, and tulips are great starting points because of their simple shapes and vibrant colors. They allow you to practice without getting overwhelmed by complex details. Plus, they can boost your confidence as you see your skills improve!
- How do I create a harmonious color palette for my floral paintings?
Creating a harmonious color palette is all about balance! Start by selecting a few main colors that reflect the mood you want to convey. Use a color wheel to find complementary colors that enhance each other. You can also experiment with different shades and tints of your chosen colors to add depth and interest to your artwork.
- What is the rule of thirds in composition?
The rule of thirds is a fundamental principle in art and photography that can help you create balanced and engaging compositions. Imagine dividing your canvas into nine equal parts with two vertical and two horizontal lines. Positioning your flowers along these lines or at their intersections will draw the viewer's eye and create a more dynamic painting.
- How can I add depth to my flower paintings?
Adding depth to your paintings can make them pop! You can achieve this by layering your colors and using lighter hues in the foreground and darker shades in the background. Additionally, incorporating elements like shadows and highlights will create a three-dimensional effect, making your flowers look more realistic and lively.


