
How to Create a Detailed Landscape Drawing
Creating a stunning and detailed landscape drawing is an exciting journey that allows you to express your artistic vision while capturing the beauty of nature. Whether you're a novice artist or someone with more experience, the process can be both exhilarating and challenging. This article will guide you through the essential steps and techniques needed to create a breathtaking landscape drawing, from the initial sketches to the final touches that bring your artwork to life.
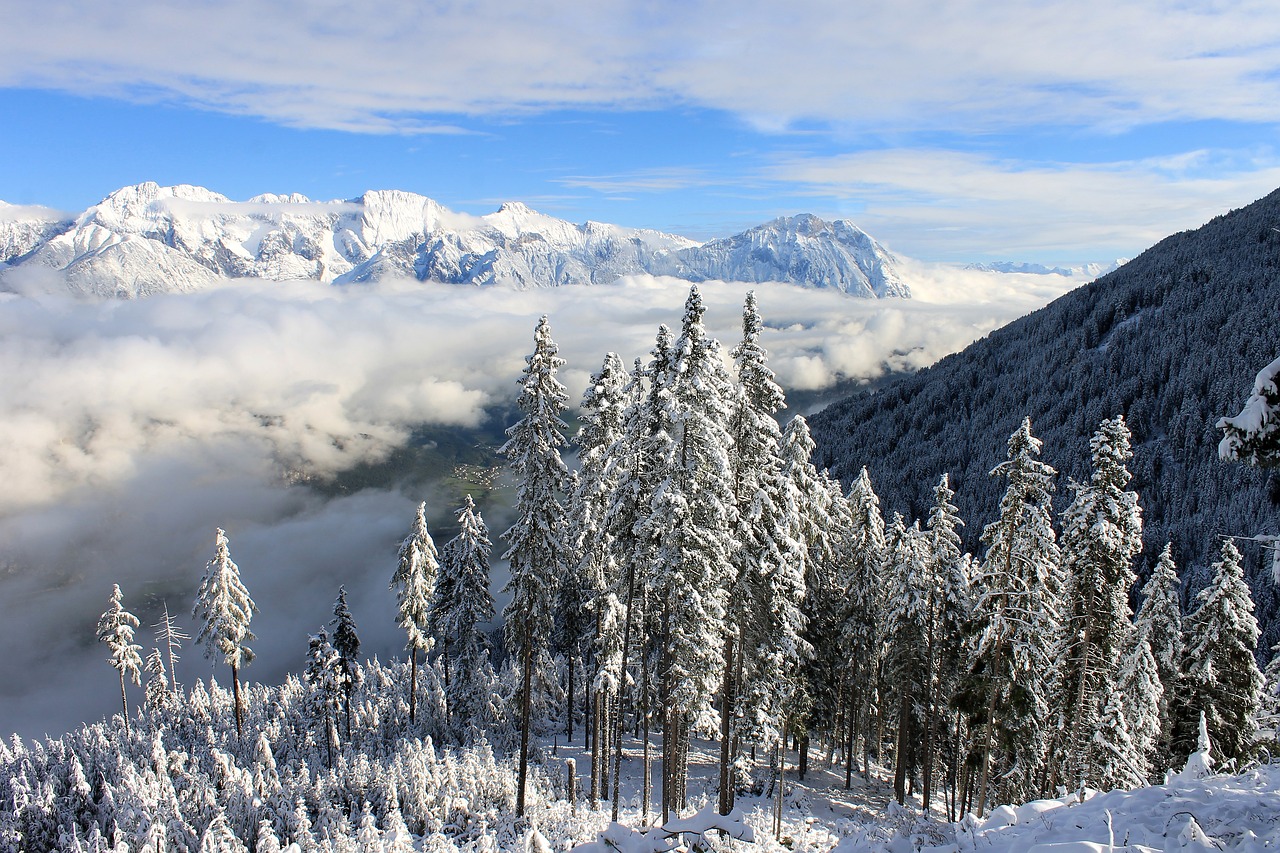
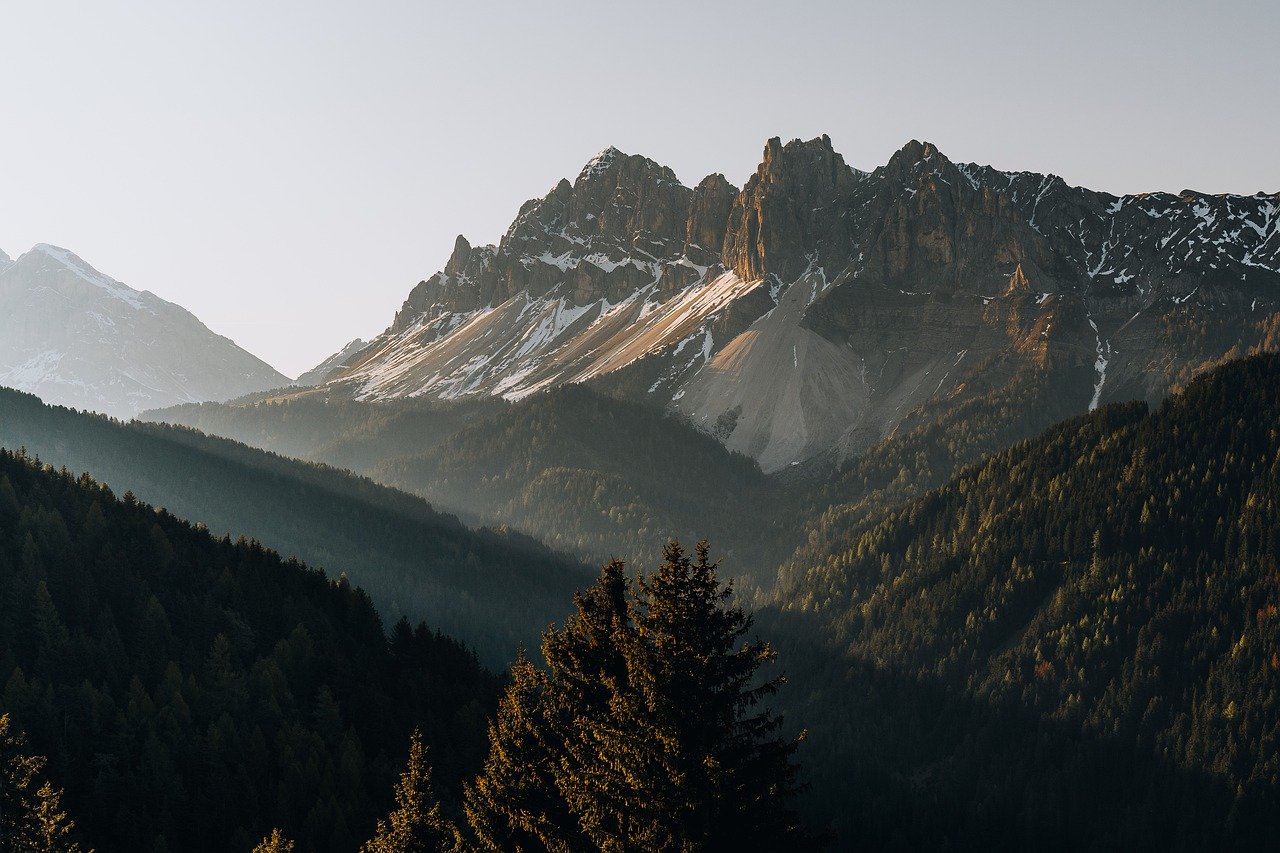
At the heart of landscape drawing is a deep understanding of the elements that make up the scene you wish to depict. Imagine standing in front of a majestic mountain range, the sun setting behind it, casting a golden hue across the valleys. Your task as an artist is to translate that awe-inspiring view into a two-dimensional form that evokes the same feelings in others. To do this effectively, you need to grasp the fundamental concepts of perspective, composition, and the intricate details of nature that inspire your work.
As you embark on this artistic endeavor, think about the different aspects that contribute to a successful landscape drawing. The first step is to gather reference materials. High-quality images can serve as invaluable resources, providing you with inspiration and guidance. Consider exploring various sources such as photographs, nature walks, and art books. Each of these can offer unique insights into the colors, shapes, and textures of the natural world. By immersing yourself in these references, you'll find that your creativity flows more freely and your ability to capture realism improves.
Next, let's talk about the tools you'll need. Selecting the right drawing tools is crucial for achieving the desired quality in your landscape drawing. Think of your tools as the paintbrushes of a painter; they can make all the difference. Explore different types of pencils, papers, and erasers to find what suits your style best. For instance, graphite pencils are excellent for fine details, while charcoal offers rich, expressive lines that can add drama to your work. Moreover, the type of paper you choose can significantly affect the texture and overall feel of your drawing. Experiment with various surfaces, such as smooth, textured, or even colored paper, to discover which enhances your artwork the most.
Once you've gathered your materials, it's time to sketch the initial layout. Start with a light sketch to establish the composition and key elements of your landscape. Focus on proportions and placement—this is your foundation. Think of it like laying the groundwork for a building; without a solid base, the structure will crumble. After you've set the stage, you can begin to add depth and detail, layering in shadows and highlights to create a three-dimensional feel. This stage is where your drawing truly begins to come alive.
As you work on your drawing, remember that light and shadow play significant roles in creating realism. Understanding how light interacts with the various elements in your landscape is essential. Learn techniques for shading and highlighting to bring your drawing to life. For example, consider how the sunlight filters through the leaves of a tree or how it reflects off a calm lake. These observations will enhance the authenticity of your artwork.
Incorporating textures is another critical aspect of landscape drawing. Textures add richness and visual interest to your work. Explore different techniques for depicting surfaces, such as the intricate patterns of foliage, the shimmering surface of water, or the ruggedness of rocky terrain. By mastering these techniques, you can elevate your landscape drawings from simple representations to captivating pieces of art.
Finally, as you approach the end of your drawing, it's time to add those all-important final touches. This stage involves refining details, adjusting contrasts, and preparing your artwork for display. Think of it as polishing a gem; the right adjustments can make your piece shine. Once you’ve completed your landscape drawing, consider how to present it effectively for maximum impact. Whether you choose to frame it, mount it, or share it digitally, presentation matters.
- What materials do I need to start a landscape drawing? You will need drawing pencils (graphite or charcoal), quality paper, and an eraser. Optional tools include blending stumps and colored pencils for added detail.
- How can I improve my perspective in landscape drawings? Practice drawing from different angles and use reference images to study how objects relate to each other in space.
- What are some tips for incorporating textures in my drawing? Observe real-life textures and experiment with different techniques, such as hatching or stippling, to depict surfaces accurately.
- How do I know when my drawing is finished? A drawing is considered finished when you feel it communicates your intended message and captures the essence of the landscape.
Understanding the Basics
Before you dive headfirst into the captivating world of landscape drawing, it's essential to grasp some fundamental concepts that will serve as the backbone of your artistic journey. Think of these concepts as the foundation of a sturdy house; without them, your drawing may crumble under the weight of your aspirations. First up is perspective. This is the technique that allows you to create the illusion of depth on a flat surface. Imagine standing at the edge of a vast valley; the mountains in the distance appear smaller than the trees right in front of you. That’s perspective at work! Mastering this technique will enable you to create landscapes that feel alive and immersive.
Next, let’s talk about composition. This is all about how you arrange the elements in your drawing. A well-composed landscape draws the viewer's eye and creates a sense of harmony. Think about it like setting a stage for a play; every element needs to work together to tell a story. You want to consider the rule of thirds, leading lines, and focal points. For example, placing a majestic tree off-center can create a dynamic balance that captures attention.
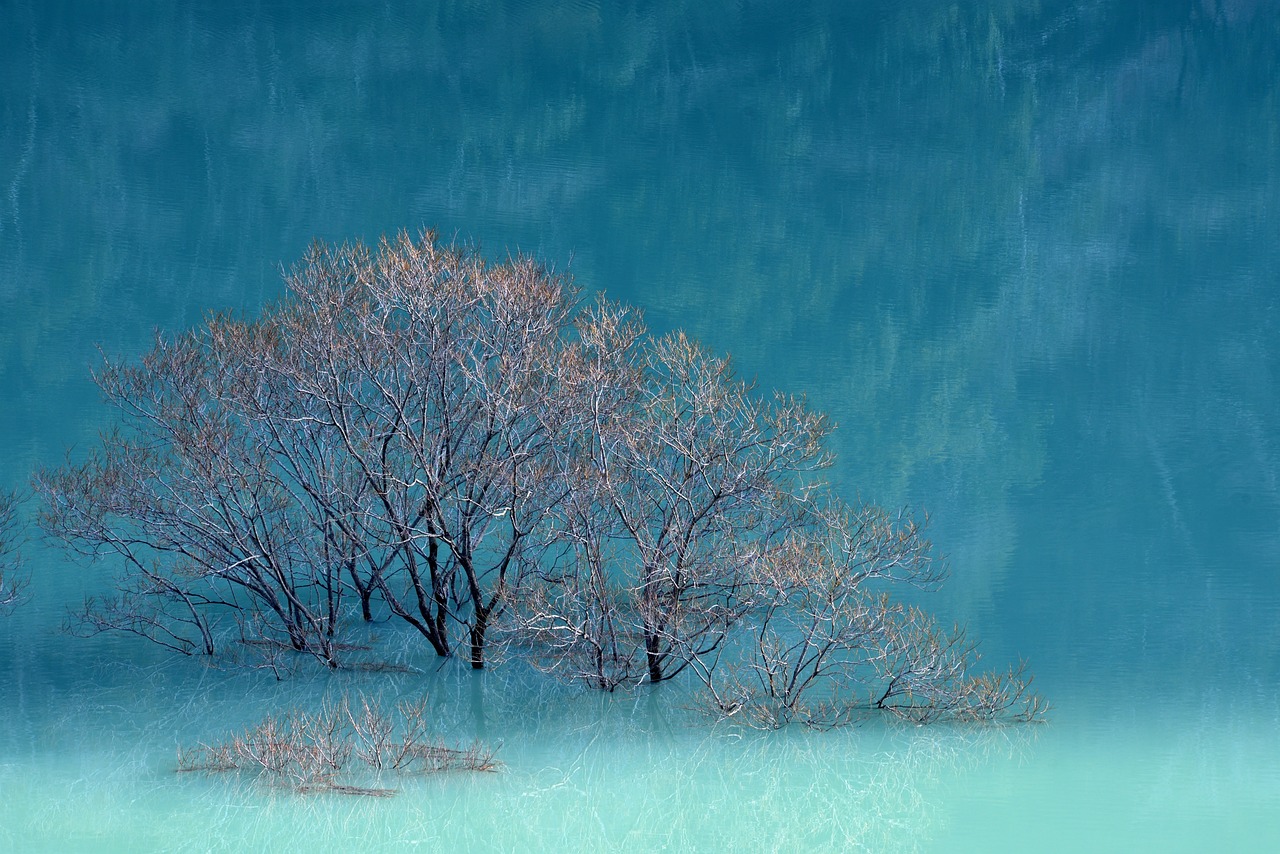
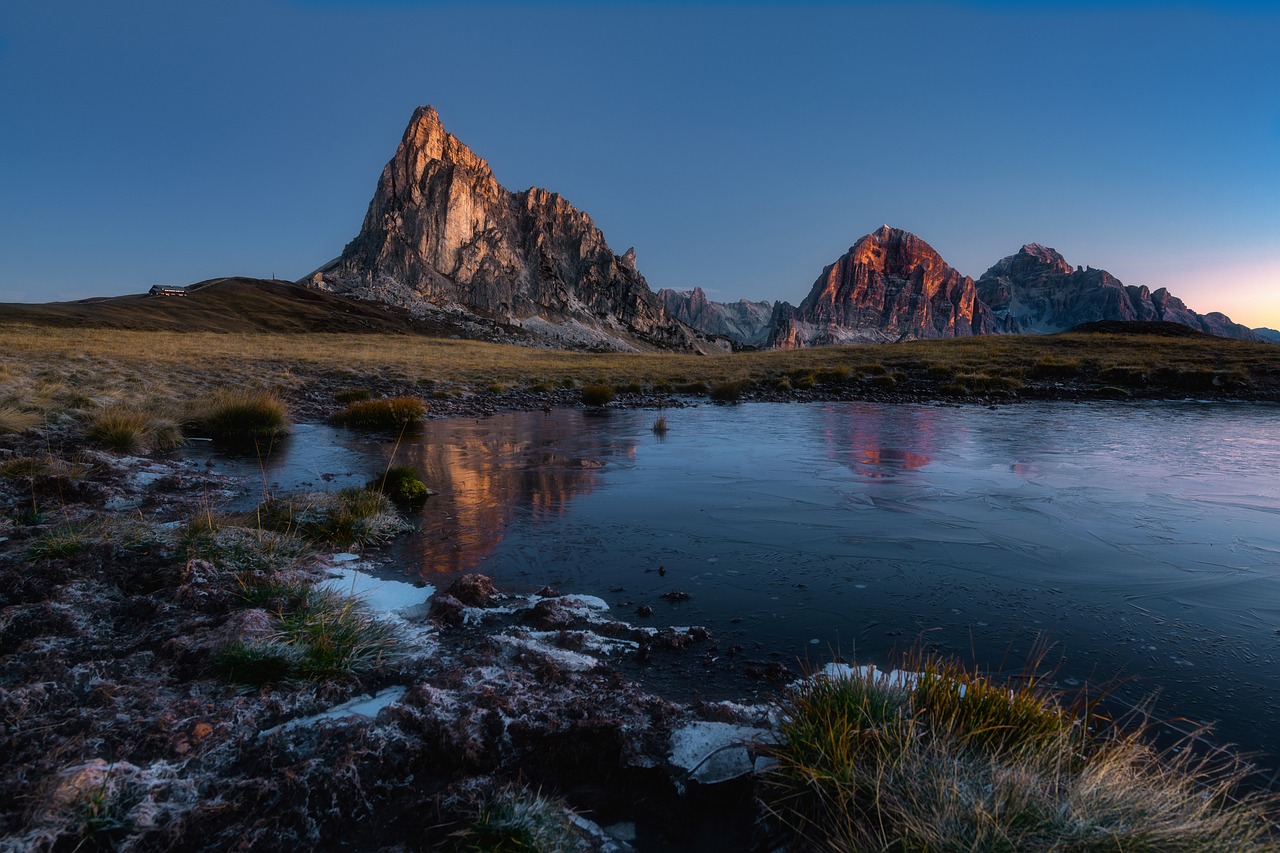
Lastly, you can't ignore the elements of nature that inspire your work. Whether it’s the rugged texture of a mountain range, the soft ripples of a lake, or the intricate patterns of leaves, these elements are the heart and soul of your landscape drawing. Spend time observing nature, and let it guide your artistic decisions. Remember, every artist has a unique perspective on the world, and your interpretation of these elements will make your work stand out.
To summarize the key points:
- Perspective: Create depth by understanding how objects relate to one another in space.
- Composition: Arrange elements thoughtfully to create a harmonious visual experience.
- Elements of Nature: Observe and incorporate the textures, colors, and shapes found in the natural world.
Understanding these basics will not only enhance your technical skills but also deepen your appreciation for the art of landscape drawing. With a solid grasp of these concepts, you’ll be well on your way to creating breathtaking landscapes that evoke emotion and transport viewers into the scenes you’ve captured on paper.
Gathering Reference Materials
Creating a stunning landscape drawing starts long before you put pencil to paper. One of the most crucial steps is . Think of this phase as the foundation of a house; without a solid base, everything built on top can crumble. High-quality references will not only inspire you but also provide the necessary details that make your drawing come alive. So, where do you find these gems? Let's dive into some effective sources.
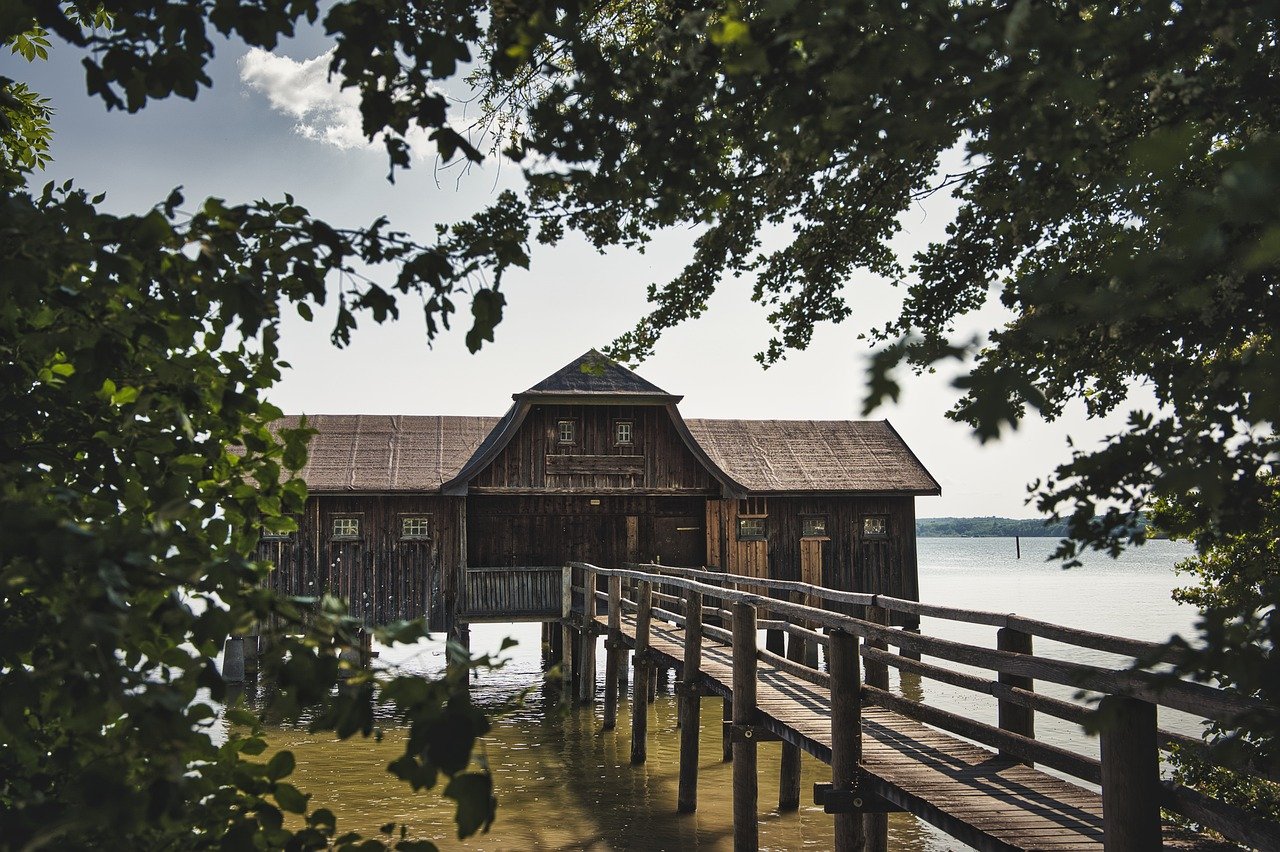
First off, photographs are an excellent starting point. They capture the essence of a scene, allowing you to study the intricacies of light, shadow, and color. When selecting photographs, try to choose images that resonate with you emotionally. It’s like picking a favorite song; if it moves you, it will inspire your creativity. You can find stunning landscape photos on platforms like Unsplash or Pixabay, which offer free, high-resolution images.
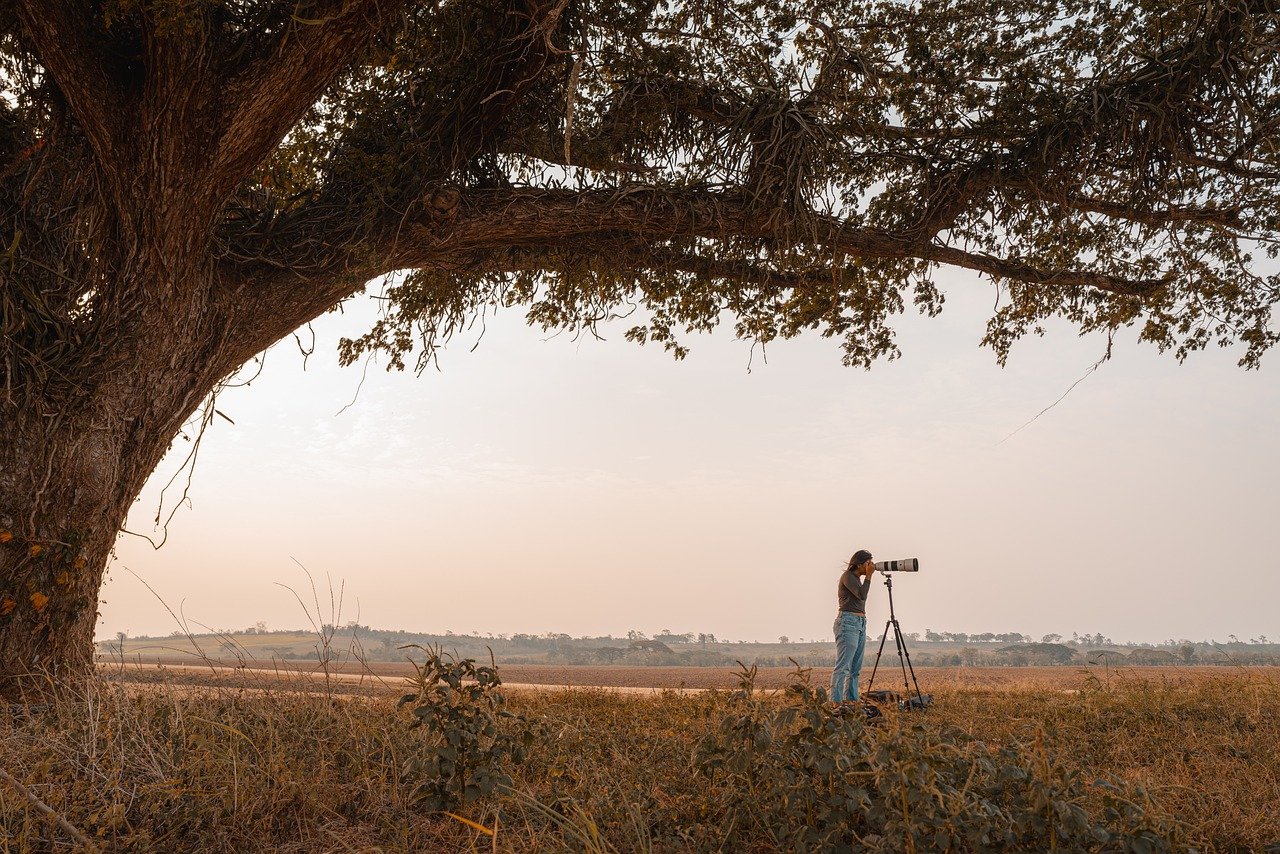
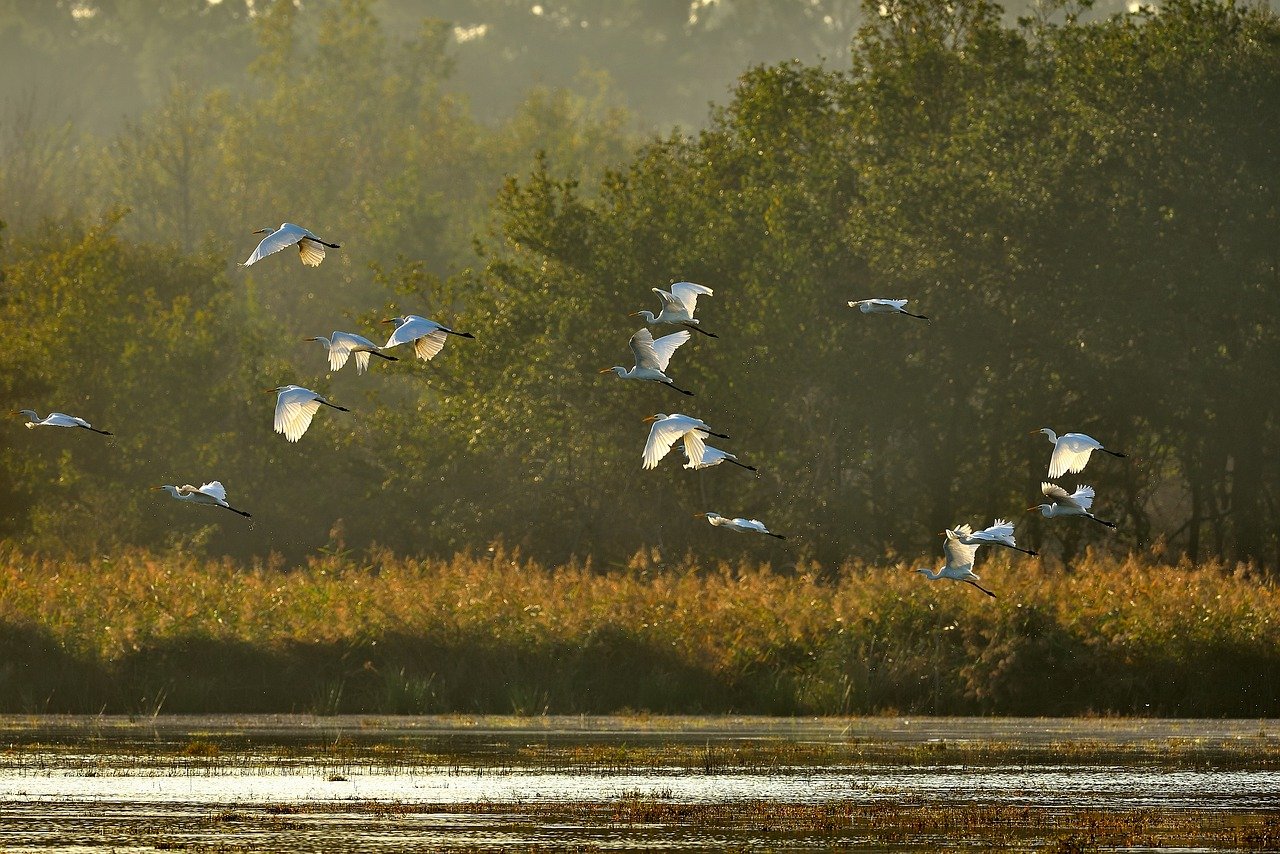
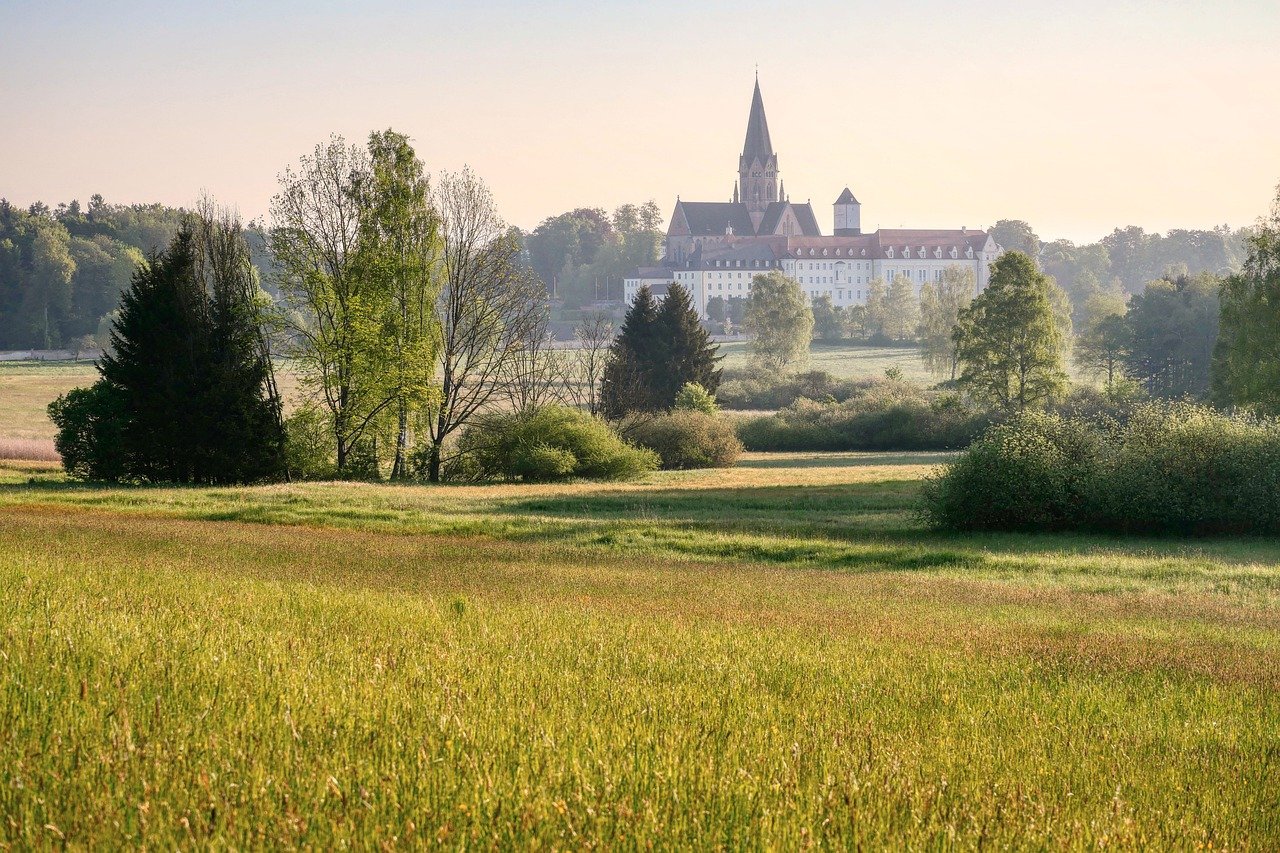
Next, consider taking nature walks. There’s nothing quite like experiencing the beauty of the outdoors firsthand. As you stroll through parks or hiking trails, pay close attention to the elements around you. Notice how the light filters through the trees, the textures of rocks, or the way water ripples in a stream. Bring a sketchbook along to jot down quick sketches or notes. This practice will not only improve your observational skills but also provide a personal touch to your artwork.
Art books are another fantastic resource. They often contain a wealth of information about different artists, styles, and techniques. Look for books that focus on landscape art specifically, as they usually include detailed explanations and examples that can guide your drawing process. Additionally, consider visiting local galleries or museums. Observing artwork in person can give you a deeper understanding of composition and technique.
Lastly, don't underestimate the power of online resources. Websites like Pinterest and Instagram are treasure troves of artistic inspiration. Follow landscape artists or search for related hashtags to discover a plethora of styles and ideas. Just remember, while it's great to gather inspiration from others, ensure that your work remains original and reflects your unique voice.
In summary, gathering reference materials is a vital step in creating a detailed landscape drawing. By utilizing a combination of photographs, nature walks, art books, and online resources, you can build a rich library of inspiration that will elevate your artwork. Remember, the more you immerse yourself in the beauty of nature and art, the more effectively you can translate that into your drawings.

Choosing the Right Tools
When it comes to creating a breathtaking landscape drawing, the tools you choose can make all the difference. Imagine trying to paint a masterpiece with a broken brush; it just wouldn’t work, right? The same principle applies to drawing. Your choice of tools not only affects the quality of your artwork but also influences your creative process. So, let’s dive into the essentials you need to consider when selecting the right tools for your landscape drawing journey.
First and foremost, pencils are your best friends in the world of drawing. They come in various grades, each offering different levels of hardness and darkness. For example, a 2H pencil is great for light lines and initial sketches, while a 6B pencil can deliver those deep, rich darks that bring your landscape to life. Understanding the pencil grading system is crucial, as it allows you to choose the right pencil for each stage of your drawing.
Next up, you have charcoal. If you’re looking to add dramatic flair and rich textures, charcoal is your go-to medium. It’s perfect for creating bold lines and deep shadows, giving your landscape that three-dimensional feel. However, it can be a bit messy, so be prepared with some fixative spray to keep your work intact. Remember, the right medium can transform your drawing from ordinary to extraordinary!
Then there’s paper. The type of paper you choose can drastically change how your drawing turns out. For instance, smooth paper is fantastic for detailed work and fine lines, while textured paper can enhance the look of your landscape by adding depth and character. It’s worth experimenting with different types to see which one resonates with your style. Here’s a quick comparison of paper types:
| Paper Type | Best For |
|---|---|
| Smooth | Detailed work and fine lines |
| Textured | Adding depth and character |
| Colored | Creative effects and vibrant landscapes |
Lastly, don’t forget about erasers. They are not just for mistakes; they can be used to create highlights and textures in your drawing. A kneaded eraser is especially versatile, allowing you to lift graphite or charcoal without damaging the paper. So, keep one handy as you work on your landscape masterpiece!
In conclusion, choosing the right tools is a vital step in your landscape drawing journey. Each tool has its unique characteristics and can contribute to the overall success of your artwork. Take the time to explore and experiment with different mediums, papers, and accessories to find what best suits your style. Remember, the right tools can make your artistic vision come to life!
- What type of pencil should I use for detailed landscape drawings? A range of pencils from H to B grades is ideal. Start with harder pencils for fine details and switch to softer ones for shading.
- Can I use colored paper for landscape drawings? Absolutely! Colored paper can add a unique dimension to your artwork, enhancing the colors of your landscape.
- How do I maintain my drawing tools? Keep your pencils sharpened, your charcoal clean, and store your erasers in a dust-free environment to prolong their life.
Graphite vs. Charcoal
When it comes to creating stunning landscape drawings, the choice between graphite and charcoal can significantly influence the final outcome of your artwork. Each medium has its unique qualities that cater to different artistic styles and preferences. Understanding these differences is key to making an informed decision about which one to use for your landscape masterpiece.
Graphite pencils are known for their precision and ability to produce fine details. They come in various grades, ranging from hard to soft, which allows artists to control the darkness and texture of their lines. For instance, harder pencils (like 2H) create lighter, finer lines, making them perfect for intricate details such as leaves or distant mountains. On the other hand, softer pencils (like 6B) produce darker, bolder lines that can be used to create striking contrasts and shadows. This versatility makes graphite a favorite among those who enjoy meticulous work and detailed representation.
In contrast, charcoal offers a different experience altogether. This medium is celebrated for its rich, deep blacks and expressive, fluid lines. Charcoal can be easily smudged and blended, allowing for a more spontaneous and dynamic approach to drawing. This characteristic makes it ideal for capturing the essence of a landscape quickly, especially when working with atmospheric effects like mist or dramatic lighting. However, it can be a bit messier than graphite, so artists often use fixatives to preserve their work.
To summarize the differences, consider the following table:
| Feature | Graphite | Charcoal |
|---|---|---|
| Detailing | Excellent for fine details | Less precise but expressive |
| Shading | Gradual shading possible | Rich, deep shadows |
| Texture | Smooth lines and textures | Can create rough, textured effects |
| Messiness | Less messy | Can be very messy |
Ultimately, the choice between graphite and charcoal comes down to personal preference and the specific needs of your landscape drawing. If you are looking for precision and fine detail, graphite may be your best bet. However, if you want to capture the raw beauty and emotion of a scene, charcoal could be the way to go. Many artists even choose to combine both mediums to take advantage of their unique strengths, creating a rich tapestry of texture and detail in their work.
- Can I use both graphite and charcoal in the same drawing? Yes, many artists find that combining both mediums can enhance the depth and richness of their artwork.
- How do I prevent smudging with charcoal? Using a fixative spray after completing your drawing can help preserve your work and prevent smudging.
- Which medium is better for beginners? Graphite is often recommended for beginners due to its ease of use and cleaner application.
Paper Types
When it comes to creating stunning landscape drawings, the choice of paper can significantly influence the outcome of your artwork. Different types of paper offer unique textures and qualities that can either enhance or detract from your drawing. Understanding these differences is essential for achieving the desired effect in your landscapes. Let's dive into the various paper types you might consider:
Smooth Paper is an excellent choice if you prefer fine detail and precision in your landscape drawings. This type of paper has a flat surface that allows for clean lines and intricate details. It's perfect for graphite and colored pencils, where you want to showcase the subtleties of your shading and highlights. However, be cautious; smooth paper can sometimes make it challenging to achieve rich textures, as it doesn't hold onto the medium as well as other types.
On the other hand, Textured Paper offers a bumpy surface that can add depth and character to your artwork. This type of paper is fantastic for charcoal and pastels, as it grips the medium well, allowing for expressive strokes and vibrant colors. The texture can create a sense of movement and life in your landscapes, making it ideal for capturing the essence of nature. However, it might not be the best option if you’re aiming for fine details, as the texture can sometimes obscure them.
Another option is Watercolor Paper, which is designed to handle wet media. If you enjoy incorporating watercolor techniques into your landscape drawings, this paper type is a must. It's thicker and more absorbent, allowing for beautiful washes of color and blending. Watercolor paper typically comes in various textures, including rough, cold-pressed, and hot-pressed, each offering different effects. For instance, rough watercolor paper is great for creating texture, while hot-pressed paper is smooth and ideal for fine details.
Lastly, you might want to explore Colored Paper, which can add an exciting dimension to your landscape drawings. Using colored paper as a base can influence your color palette and the overall mood of your artwork. For example, a warm-toned paper can make your sunsets pop, while cool-toned paper can enhance the feeling of a serene lake scene. Just keep in mind that you’ll need to adapt your approach to shading and highlights, as the paper color will interact with your chosen mediums.
In summary, the choice of paper is not merely a technical decision; it’s an artistic one that can transform your landscape drawings. Here’s a quick comparison of the different types of paper:
| Paper Type | Best For | Characteristics |
|---|---|---|
| Smooth Paper | Graphite, Colored Pencils | Flat surface, good for fine details |
| Textured Paper | Charcoal, Pastels | Bumpy surface, great for expressive strokes |
| Watercolor Paper | Watercolors | Thick, absorbent, various textures |
| Colored Paper | Mixed Media | Influences color palette, adds dimension |
Choosing the right paper type can elevate your landscape drawings from ordinary to extraordinary. So, next time you sit down to draw, consider how the paper you choose will interact with your artistic vision. Happy drawing!
Q: What is the best paper for beginners?
A: For beginners, smooth paper is often recommended as it allows for easy erasing and clean lines. It’s versatile for various mediums, making it a great starting point.
Q: Can I use regular printer paper for drawing?
A: While you can use regular printer paper, it may not yield the best results. It’s thin and may not handle erasing well, which can be frustrating. Investing in quality drawing paper is advisable.
Q: How do I choose the right paper for watercolor?
A: Look for watercolor paper that is at least 200 lb (425 gsm) for best results. Cold-pressed paper is great for texture, while hot-pressed is ideal for detailed work.
Sketching the Initial Layout
When it comes to creating a stunning landscape drawing, starting with a solid foundation is key. Think of your initial layout as the blueprint of a house; without it, everything else you build might collapse or look out of place. Begin by lightly sketching the major elements of your landscape. This includes the horizon line, any significant features like mountains, trees, or bodies of water, and the foreground elements that will add depth to your composition.
As you sketch, remember that proportion and placement are crucial. Use simple shapes to represent complex forms; for instance, a triangle can symbolize a mountain, while a wavy line can indicate a river. This technique allows you to focus on the overall structure without getting bogged down in details too early on. Keep your pencil strokes light and loose, as this will enable you to make adjustments easily. If something doesn't feel right, don't hesitate to erase and redraw. The beauty of sketching is that it's a process of discovery.
Additionally, consider the rule of thirds, a principle often used in photography and art. Imagine dividing your canvas into a grid of nine equal sections. By placing key elements along these lines or at their intersections, you can create a more balanced and engaging composition. For example, if you're drawing a sunset over the ocean, place the horizon line along the top third of the canvas, allowing for a dramatic sky that captures the viewer's eye.
Once you have the major elements sketched out, step back and evaluate your layout. Does it feel cohesive? Are the elements in harmony with one another? This is a great time to make any necessary adjustments before diving into the details. Remember, a well-planned layout can make the difference between a good drawing and a great one. Take your time here; it's the foundation upon which your masterpiece will be built.
To sum up, sketching the initial layout involves:
- Establishing major elements like horizon lines and key features.
- Using simple shapes for complex forms to maintain focus.
- Applying the rule of thirds for a balanced composition.
- Evaluating and adjusting your layout for cohesiveness.
By following these steps, you’ll set yourself up for success as you move on to adding depth and detail to your landscape drawing. Remember, the initial sketch is just the beginning, but it lays the groundwork for everything that follows.
Q: How important is the initial sketch in landscape drawing?
A: The initial sketch is extremely important as it serves as the foundation for your entire drawing. A well-planned layout can greatly enhance the overall composition and depth of your artwork.
Q: What tools should I use for sketching?
A: A good quality graphite pencil is ideal for sketching. Use a lighter grade pencil to ensure that your initial lines are easy to erase and adjust.
Q: Can I sketch directly on the final paper?
A: It's generally recommended to practice your layout on a separate sheet before transferring it to your final paper. This allows for more freedom to make mistakes without damaging your final piece.
Q: How do I know if my layout is balanced?
A: You can check for balance by stepping back and viewing your sketch from a distance. Additionally, applying the rule of thirds can help create a more visually appealing composition.
Adding Depth and Detail
Once you’ve laid down the initial sketch of your landscape drawing, it’s time to elevate your work by . This stage is where your drawing transforms from a simple outline into a vibrant representation of nature. You want to create a sense of three-dimensionality that draws the viewer in, making them feel as though they could step right into the scene. The key to achieving this lies in layering your details, shadows, and highlights effectively.
To begin, focus on layering. Start by identifying the elements in your landscape that will require more attention. For instance, if you have a tree in the foreground, it should be more detailed than the mountains in the background. By prioritizing your focus areas, you can gradually build up the complexity of your drawing without overwhelming it. Consider using a technique called value mapping, where you identify the lightest and darkest areas of your landscape. This will guide you in applying shadows and highlights systematically.
Next, working with light and shadow is crucial. Light plays a significant role in how we perceive objects. To create realism, observe how light interacts with different surfaces in your reference materials. For example, sunlight might cast long shadows on a grassy field while illuminating the tops of trees. Use hatching and cross-hatching techniques to depict shadows, and remember to leave some areas untouched to represent highlights. This contrast will add a dynamic quality to your drawing.
Additionally, incorporating textures is essential for enriching your landscape. Different surfaces require different techniques to portray their unique qualities. For instance:
- Foliage: Use quick, short strokes to mimic the randomness of leaves and branches.
- Water: Create smooth, wavy lines to depict the reflective surface of lakes or rivers.
- Rocky Terrain: Employ jagged, broken lines to represent the roughness of rocks.
By practicing these techniques, you’ll be able to convey a sense of realism and texture that captivates your audience. Remember, the goal is to make your drawing feel alive. Don’t hesitate to step back occasionally and evaluate your work from a distance. This can help you see areas that may need more depth or detail.
Finally, as you refine your drawing, consider the overall composition. Are there areas that feel too flat or lacking in detail? Adjust these sections by adding more layers or enhancing the contrast between light and shadow. This attention to detail can make a significant difference in the final outcome of your landscape drawing.
| Question | Answer |
|---|---|
| How do I know when to stop adding detail? | It's essential to step back and evaluate your work regularly. If you feel that the drawing is starting to look cluttered or losing its focus, it may be time to stop. |
| Can I use color to add depth? | Absolutely! Color can enhance depth and dimension. Consider using warmer colors in the foreground and cooler colors in the background to create a sense of distance. |
| What if I make a mistake while adding details? | Don’t worry! Mistakes are part of the process. Use an eraser gently or incorporate the mistake into your drawing creatively. |
Working with Light and Shadow
When it comes to creating a captivating landscape drawing, the interplay of light and shadow is what breathes life into your artwork. Imagine walking through a forest; the way sunlight filters through the leaves, casting intricate patterns on the ground, creates a dynamic scene that is both mesmerizing and complex. To replicate this in your drawings, you must first understand how light behaves in nature. It’s not just about shading; it’s about creating a sense of depth and dimension.
Start by observing your reference material closely. Notice how light hits different surfaces. For instance, a sunlit rock will have bright highlights, while the areas in shadow will appear darker and cooler. This contrast is essential for achieving a realistic effect. To effectively represent this in your drawing, you can use a variety of techniques:
- Hatching and Cross-Hatching: These techniques involve drawing closely spaced parallel lines or intersecting lines to create shadows. The closer the lines, the darker the area appears.
- Blending: Using a blending stump or your fingers can help smooth out pencil marks, creating softer transitions between light and shadow.
- Layering: Building up layers of graphite or charcoal gradually allows for more control over the darkness of your shadows.
In addition to these techniques, consider the direction of light. Is it coming from the left, right, above, or below? The source of light will dramatically influence how shadows are cast. For example, if the light source is at the top right, the shadows will fall towards the bottom left. This directional light can create a sense of movement and guide the viewer’s eye through your piece.
Another important aspect is the quality of light. Hard light creates sharp, defined shadows, while soft light produces gentle gradients. Think about the time of day you want to represent. Early morning or late afternoon light, often referred to as golden hour, offers a warm glow that can add a magical quality to your landscape. Experiment with different times of day in your drawings to see how they change the mood and feel of your artwork.
Lastly, don’t forget to step back and evaluate your work as a whole. Sometimes, what looks good up close might not translate well from a distance. Adjust the contrasts between light and shadow to ensure that your drawing has a balanced and cohesive look. Remember, the goal is to create a three-dimensional feel, drawing the viewer into your landscape and inviting them to explore every detail.
Q: How can I practice working with light and shadow?
A: One effective way is to set up a simple still life with a single light source. Observe how the light interacts with different objects and practice sketching them. You can also use photographs as references to study various lighting conditions.
Q: What tools are best for shading?
A: Graphite pencils and charcoal are excellent for shading. Graphite allows for precision, while charcoal can produce rich, deep shadows. Blending tools such as stumps or tissue can help create smooth transitions.
Q: How do I know if my shadows are realistic?
A: Compare your shadows to those in your reference material. Look for consistency in direction and intensity. If something feels off, don’t hesitate to adjust the shadows until they harmonize with the light in your drawing.

Incorporating Textures
When it comes to landscape drawing, incorporating textures is like adding the final brush strokes to a masterpiece. Textures breathe life into your artwork, transforming flat images into vibrant, dynamic scenes that invite the viewer to step into your world. Imagine walking through a lush forest; the varied textures of bark, leaves, and stones create a sensory experience that you can replicate on paper. To achieve this, you need to understand the different textures found in nature and how to represent them effectively.
Start by observing the world around you. Take a moment to notice the roughness of tree bark, the smoothness of water, or the softness of grass. Each of these elements has its unique texture, and capturing them will add richness to your drawing. For instance, when depicting foliage, you might use quick, short strokes to represent the delicate leaves, while for rocky surfaces, a more chaotic approach with varied pressure can convey their ruggedness. The contrast between these textures can create a sense of depth and realism in your piece.
Another effective technique is to use layering. Begin with a base layer of your primary texture and gradually build upon it. For example, when drawing water, you could start with a light blue wash to represent the surface. Then, add darker shades and highlights to create the illusion of ripples and reflections. This layering technique can be applied to various elements in your landscape, whether it's the cloudy sky or the grassy meadows.
To help visualize this process, consider the following table that outlines some common textures and their corresponding techniques:
| Texture | Technique | Tools |
|---|---|---|
| Grass | Short, quick strokes | Graphite pencil, colored pencil |
| Water | Layering with highlights | Watercolor, pastels |
| Rock | Irregular, jagged lines | Charcoal, graphite pencil |
| Sky | Smooth gradients | Pastels, airbrush |
Don't forget that textures can also affect the mood of your drawing. A stormy sky with swirling clouds can evoke feelings of drama and tension, while a calm lake with soft ripples may suggest tranquility and peace. By carefully choosing how to depict textures, you can influence the emotional response of your audience.
Lastly, practice is key! Experiment with different techniques and tools to see what works best for you. Try creating a small texture study where you focus solely on replicating various surfaces. This exercise will not only improve your skills but also enhance your understanding of how textures interact within a landscape.
- What materials are best for creating textures in landscape drawings?
Experiment with various drawing tools such as graphite pencils, charcoal, and pastels to find what suits your style. - How can I practice texture techniques?
Create texture studies by focusing on individual elements like grass, water, or rocks to refine your skills. - Can I use digital tools to create textures?
Absolutely! Digital art software offers various brushes and textures that can mimic traditional techniques.
Final Touches and Presentation
When it comes to completing your landscape drawing, final touches are where the magic really happens. This is the stage where you can elevate your artwork from a simple sketch to a breathtaking masterpiece. It’s all about refining those little details that can make a significant difference in the overall impact of your piece. Start by stepping back and looking at your drawing from a distance. This will help you see any areas that might need more attention or adjustments. Are the colors balanced? Is the composition harmonious? These are the questions to ponder.
One of the first things to do is to refine the details. Take a closer look at the elements within your landscape. Perhaps the trees need more texture, or the water could use a bit more reflection. Use your tools to add those finishing strokes that bring your drawing to life. You might find that adding a few highlights or deepening some shadows can create a more dynamic feel. Remember, it’s often the subtle changes that can have the most significant impact.
Next, consider the contrast in your drawing. Adjusting the contrasts can enhance the depth and make your landscape pop. If you’ve used charcoal, you might want to smudge some areas to create a softer transition between light and shadow. For graphite, you can use a kneaded eraser to lift certain areas and create highlights. This interplay of light and dark is crucial for achieving a three-dimensional effect.
After refining the details and adjusting the contrast, it’s time to think about the presentation of your artwork. Presentation can make or break the perception of your piece. Consider mounting your drawing on a sturdy backing or framing it to give it a polished look. A well-chosen frame can complement your artwork and draw attention to its best features. If you’re planning to display your work in a gallery or online, think about how the presentation will enhance its appeal.
Finally, before you call it a day, take a moment to sign your artwork. This is your creation, and it deserves a personal touch. Signing your name not only adds authenticity but also marks the completion of your journey as an artist. Choose a spot that doesn’t detract from the overall composition but is still visible. This small act can instill a sense of pride in your work.
- What tools should I use for final touches? The tools you choose depend on your medium. For graphite, a fine-point pencil and eraser work well. For charcoal, use blending stumps and smudging tools.
- How do I decide on the right frame for my drawing? Consider the colors and style of your artwork. A simple frame often works best for detailed drawings, but feel free to experiment with different styles.
- Is it necessary to sign my artwork? While it’s not mandatory, signing your work adds a personal touch and establishes it as your original creation.
Frequently Asked Questions
-
What are the basic concepts I should understand before starting a landscape drawing?
Before you dive into your landscape drawing, it's essential to grasp the fundamental concepts such as perspective, composition, and the various elements of nature that will inspire your artwork. These concepts form the backbone of your drawing and help create a more realistic representation of the scene.
-
How can I gather effective reference materials for my landscape drawing?
Gathering high-quality reference materials is a game-changer for your landscape drawing. You can explore different sources like photographs, take nature walks, or browse through art books. Each of these sources can provide you with inspiration and guidance that will enhance your drawing skills.
-
What tools should I use for creating a landscape drawing?
The tools you choose can significantly impact your drawing's quality. Experiment with various pencils, papers, and erasers to find what suits your style best. For instance, graphite pencils are great for fine details, while charcoal can produce rich, expressive lines.
-
How do I create depth and detail in my landscape drawing?
Building depth involves layering details, shadows, and highlights. Start with a light sketch, and as you progress, focus on working with light and shadow to create a three-dimensional feel. This stage is crucial for making your drawing pop with realism.
-
What techniques can I use to incorporate textures in my drawing?
Textures are what make your landscape drawing come alive. Explore different techniques to depict surfaces like foliage, water, and rocky terrain. This will add richness and visual interest, making your artwork more engaging.
-
What are the final touches I should consider for my landscape drawing?
In the final stages of your drawing, focus on refining details, adjusting contrasts, and preparing your artwork for display. These final touches can make a world of difference in how your landscape is perceived, so take your time to present it effectively.


