Learning to Draw with Pastels: A Complete Guide
Welcome to the vibrant world of pastels! If you've ever marveled at the soft, dreamy quality of pastel artwork, you're not alone. Drawing with pastels can be an incredibly rewarding experience, whether you're a budding artist or someone looking to explore a new creative outlet. In this guide, we will take you through everything you need to know about working with pastels, from understanding the various types to mastering essential techniques. So grab your pastels, and let’s dive into this colorful journey!
Before you start creating, it's important to understand the different types of pastels available. Each type has its own unique qualities that can affect your artwork. Here’s a quick rundown:
- Soft Pastels: Known for their vibrant colors and smooth application, soft pastels are a favorite among artists. They are highly pigmented but can be crumbly, so handle them with care.
- Hard Pastels: These are perfect for detailed work and fine lines. They are less pigmented than soft pastels but allow for precision.
- Oil Pastels: Unlike traditional pastels, oil pastels have a creamy texture and are more like painting. They can be blended easily and are great for layering.
- Pastel Pencils: These combine the convenience of a pencil with the rich color of pastels. They are excellent for fine details and sketching.
To make the most out of your pastel drawing experience, having the right tools is essential. Here’s a list of materials you should consider:
- Pastels: Choose a variety of soft, hard, and oil pastels to see which you prefer.
- Paper: Pastel paper is specially designed to hold the pigment. Look for textured surfaces that can grip the pastels well.
- Blending Tools: Tools such as tortillons, blending stumps, or even your fingers can help you achieve smooth transitions.
- Fixatives: These sprays help set your artwork and prevent smudging, so be sure to invest in a good quality fixative.
Now that you have your materials, it’s time to learn some fundamental techniques. Mastering these basics will set a solid foundation for your pastel drawing skills:
- Layering: Start with light layers and gradually build up darker tones. This technique enhances depth and vibrancy.
- Blending: Use blending tools or your fingers to create smooth transitions between colors. Be careful not to over-blend, as this can muddy your colors.
- Shading: To create a three-dimensional effect, practice shading by varying the pressure on your pastels.
Understanding color theory is vital for creating harmonious artworks. Familiarize yourself with the color wheel, and experiment with:
- Complementary Colors: These are colors opposite each other on the color wheel. Using them can create striking contrasts.
- Analogous Colors: Colors that are next to each other create a sense of harmony.
- Color Mixing: Don’t hesitate to mix pastels to create new shades and tones.
Texture can bring your artwork to life! Experiment with different techniques such as:
- Stippling: This involves applying small dots of color to create a textured effect.
- Cross-Hatching: Use overlapping lines to build up texture and depth.
- Different Surfaces: Try using various papers, like sanded paper, to achieve different textures.
Every artist makes mistakes, and that's part of the learning process! Here are some common pitfalls to watch out for:
- Overworking the Pastel: Adding too many layers can lead to a muddy appearance. Know when to stop!
- Using the Wrong Paper: Regular paper can’t hold the pigment well. Always opt for pastel-specific paper.
- Neglecting Fixative: Forgetting to use fixative can lead to smudged artwork. Make it a habit!
Looking at the works of renowned pastel artists can ignite your creativity. Artists like Edgar Degas and Mary Cassatt have used pastels to create stunning pieces that showcase the medium’s versatility. Study their techniques and find inspiration in their unique styles to influence your own creations.
Once you've created your pastel masterpieces, showcasing them is essential. Consider these presentation options:
- Framing: Use a frame that complements your artwork, and remember to use glass that protects against UV light.
- Displaying: Find a suitable place in your home or consider local galleries for exhibitions.
- Online Sharing: Don’t underestimate social media! Share your work on platforms like Instagram to connect with other artists.
Q: Can I use regular paper for pastels?
A: While you can, it's best to use pastel paper designed to hold the pigment effectively.
Q: How do I prevent my pastels from smudging?
A: Use a fixative spray after completing your artwork to set the pastels in place.
Q: What is the best way to blend pastels?
A: Use blending stumps or your fingers for smooth transitions, but be cautious not to over-blend.

Understanding Pastel Types
When it comes to pastels, not all sticks are created equal. Each type of pastel has its own unique characteristics that can dramatically affect your artwork. Understanding these differences is crucial for any artist, whether you're just starting out or looking to refine your skills. Let's break down the four main types of pastels: soft pastels, hard pastels, oil pastels, and pastel pencils.
Soft pastels are often the go-to choice for many artists. They have a high pigment concentration and a buttery texture that allows for smooth application and rich color payoff. The softness makes them easy to blend, which is fantastic for creating gradients and soft transitions in your artwork. However, because they are so soft, they can be prone to breakage, so handle them with care.
On the other hand, hard pastels are firmer and less pigmented than their soft counterparts. This makes them ideal for fine details and precise lines. They hold their shape well, which allows for more control during application. Artists often use hard pastels for sketching or outlining before layering with softer pastels. It’s a bit like using a pencil before committing to a more vibrant medium.
Oil pastels offer a different experience altogether. Unlike soft and hard pastels, oil pastels contain a waxy binder, which gives them a creamy texture. This allows for a unique blending technique that can create stunning effects. They can be used on a wider variety of surfaces, including canvas and wood, which opens up a world of possibilities. However, they can be challenging to remove or fix, so make sure you’re prepared for that before diving in.
Lastly, we have pastel pencils. These are essentially pastels encased in wood, allowing for precision similar to that of colored pencils. They are perfect for adding fine details and highlights to your artwork, making them a valuable addition to any pastel artist's toolkit. Think of them as the fine-tipped markers of the pastel world.
| Type of Pastel | Characteristics | Best For |
|---|---|---|
| Soft Pastels | High pigment, buttery texture | Blending, vibrant color application |
| Hard Pastels | Firm, less pigmented | Fine details, outlines |
| Oil Pastels | Waxy, creamy texture | Versatile surfaces, unique blending |
| Pastel Pencils | Encased in wood, precise | Fine details, highlights |
By understanding the unique qualities of each pastel type, you can make informed decisions about which materials to use for your specific projects. Whether you prefer the vibrant, blendable nature of soft pastels or the precise application of pastel pencils, each type offers distinct advantages that can enhance your artistic expression. So, which type resonates with your style? The choice is yours, and experimenting with different pastels can lead to exciting discoveries in your artwork!
As you delve deeper into the world of pastels, remember that the materials you choose will influence not only the process but also the final outcome of your artwork. Don't hesitate to mix and match these pastels to find the perfect combination that suits your artistic voice. After all, art is all about exploration and self-expression!
Essential Tools and Materials
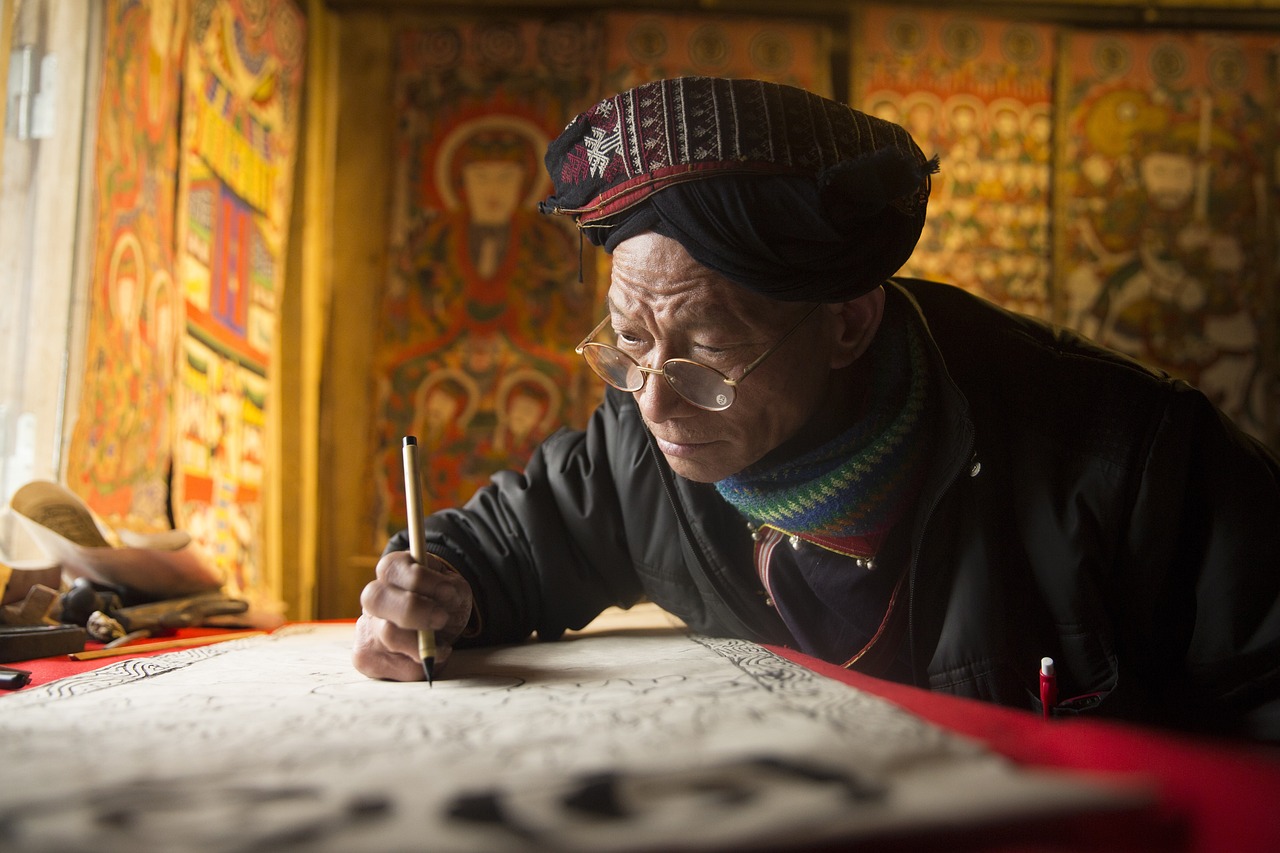
When it comes to creating stunning pastel artworks, having the right tools and materials is absolutely essential. Think of your tools as the instruments of a musician; without them, you can’t create beautiful melodies. In the world of pastels, your choice of materials can significantly influence the outcome of your artwork. So, let’s dive into the must-have items that will elevate your pastel drawing experience.
First and foremost, you'll need a good selection of pastels. There are different types, each offering unique qualities. Soft pastels are vibrant and blend easily, making them perfect for beginners. On the other hand, hard pastels provide more control and are ideal for fine details. If you want a bit of versatility, oil pastels can be a game-changer, offering a creamy texture that can be blended with solvents. Lastly, pastel pencils are excellent for intricate work and precise lines, so having a few of these in your toolkit is a wise choice.
Now, let’s talk about paper. Not all paper is created equal when it comes to pastels. You need a surface that can hold the pigment without smudging. Pastel paper is specifically designed for this purpose, often featuring a textured surface that grips the pastel. Alternatively, you can use watercolor paper or canvas, but make sure they have enough tooth to hold the pastel. If you’re feeling adventurous, try experimenting with different surfaces to see how they affect your work!
Blending tools are another crucial component of your pastel arsenal. While your fingers can do a decent job, investing in some blending stumps or tortillons can help achieve smoother transitions and more refined details. Additionally, a few makeup sponges can be handy for larger areas. Don't forget to keep a few soft brushes around, as they can help you soften edges and create subtle gradations.
Finally, let’s not overlook the importance of fixatives. Pastels can be quite fragile, and without proper protection, your masterpiece could easily smudge or fade. Using a fixative spray can help preserve your artwork. Just remember to apply it in a well-ventilated area and follow the manufacturer’s instructions for the best results.
In summary, here’s a quick overview of the essential tools and materials you’ll need for your pastel drawing journey:
| Tool/Material | Description |
|---|---|
| Soft Pastels | Vibrant and easy to blend, great for beginners. |
| Hard Pastels | Ideal for fine details and control. |
| Oil Pastels | Rich, creamy texture; can be blended with solvents. |
| Pastel Pencils | Perfect for intricate work and precision. |
| Pastel Paper | Textured surface designed to hold pastel pigments. |
| Blending Tools | Includes blending stumps, tortillons, and soft brushes. |
| Fixative Spray | Protects finished artwork from smudging and fading. |
Armed with these essential tools and materials, you’ll be well on your way to creating breathtaking pastel artworks. Remember, the journey of an artist is filled with experimentation and discovery, so don’t hesitate to try new things and find what works best for you!
1. What type of paper is best for pastel drawing?
Pastel paper is specifically designed for pastels, featuring a textured surface that holds the pigment well. Watercolor paper and canvas can also work, but ensure they have enough tooth.
2. Can I use regular pencils with pastels?
Yes, pastel pencils are a great option for adding fine details to your artwork. They can be used alongside traditional pastels for more precision.
3. How do I prevent my pastel artwork from smudging?
Using a fixative spray can help protect your artwork from smudging and fading. Always apply it in a well-ventilated area.
4. Is it necessary to blend pastels?
Blending is not mandatory, but it can enhance your artwork by creating smooth transitions and depth. Experiment to see what works best for your style!
Basic Techniques for Beginners
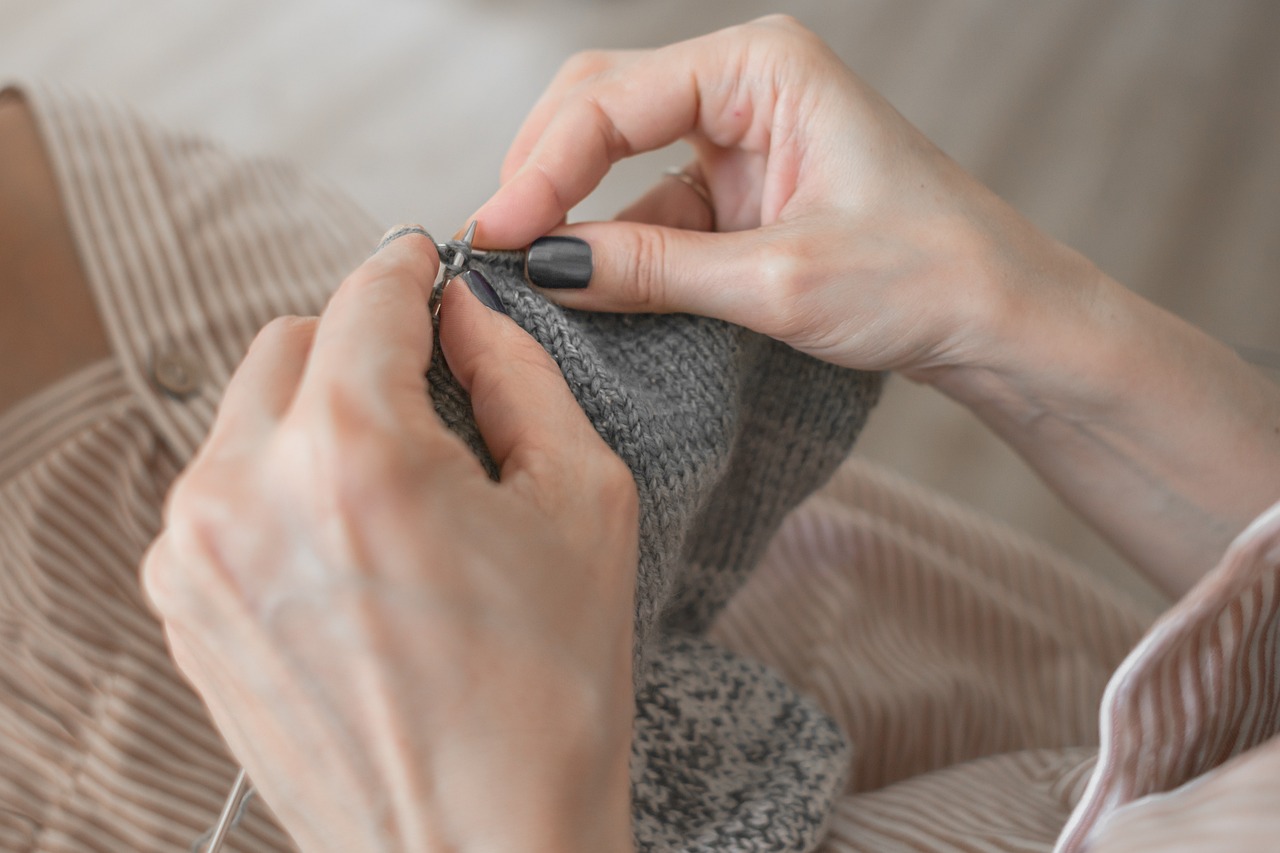
When diving into the world of pastels, understanding basic techniques is essential for laying a solid foundation in your artistic journey. Just like learning to ride a bike, mastering these techniques will help you gain confidence and control over your medium. So, let’s roll up our sleeves and explore some fundamental methods that will elevate your pastel art!
First up, we have layering. This technique involves applying multiple layers of pastel to build depth and richness in your artwork. Think of it like building a cake; each layer adds flavor and texture. Start with a light base layer, then gradually add darker tones on top. This not only enhances the vibrancy of your colors but also creates a beautiful gradient effect. Remember to use a gentle hand; pastels can be quite forgiving, but too much pressure can smudge your hard work!
Next, let’s talk about blending. Blending is crucial for achieving smooth transitions between colors, much like a painter blending oil paints on a canvas. You can use your fingers, blending stumps, or even a soft cloth to achieve this effect. Each tool will give you a different texture and finish. For instance, using your fingers allows for a more organic blend, while a blending stump can create sharper, more defined edges. Experiment with different tools to find what works best for your style!
Another fundamental technique is shading. Shading adds dimension to your drawings and makes them come alive. To shade effectively, consider the light source in your composition. Shadows will fall on the opposite side of where the light hits, creating contrast. Use a darker pastel to define the shadow areas and a lighter one to highlight the illuminated parts. This contrast is what gives your artwork that three-dimensional feel.
It’s also important to consider the direction of your strokes. The way you apply your pastels can dramatically affect the final look of your artwork. For example, using circular motions can create soft, rounded shapes, while straight strokes can provide structure and form. Practice varying your stroke techniques to see how they affect your drawings. Don’t be afraid to experiment; after all, art is about exploration!
Finally, let’s touch on the importance of color mixing. Pastels are versatile, allowing you to blend colors directly on the paper or mix them on a palette. When mixing colors, start with small amounts, as pastels can be quite potent. Try creating a color wheel to understand how colors interact with one another. This knowledge will not only enhance your color choices but also help you create a more harmonious palette in your artwork.
To summarize, here are the key techniques every beginner should practice:
- Layering for depth
- Blending for smooth transitions
- Shading for dimension
- Varying stroke directions
- Color mixing for harmony
As you embark on your pastel journey, remember that practice is key. Don’t be discouraged by initial challenges; every artist has faced their share of ups and downs. Embrace the learning process, and soon you’ll find yourself creating stunning pastel artworks that you can be proud of!
Q: What type of paper is best for pastel drawings?
A: Use textured paper specifically designed for pastels, such as pastel or sanded paper. This helps the pastels adhere better and allows for layering.
Q: How do I fix my pastel artwork?
A: Use a fixative spray made for pastels. Lightly mist it over your artwork from a distance to avoid disturbing the pastel layers.
Q: Can I use pastels on canvas?
A: Yes, you can use pastels on canvas, but ensure the surface is prepared properly. A textured canvas or one with a layer of pastel ground works best.
Q: How do I clean my pastels?
A: Keep your pastels clean by using a soft cloth to wipe them periodically. Avoid using water, as it can damage the pastels.

Color Theory in Pastel Art
Understanding color theory is essential for any artist, especially when working with pastels. The vibrant, soft hues of pastels can be both a blessing and a challenge. Why is that? Well, the way colors interact can dramatically affect the mood, depth, and overall impact of your artwork. Think of color as the language of your art; it speaks volumes even without words!
At its core, color theory involves the study of how colors mix, match, and contrast. For pastel artists, this knowledge can lead to stunning compositions that draw the viewer in. One of the first concepts to grasp is the color wheel, which organizes colors into a circular format. This wheel helps you understand primary, secondary, and tertiary colors:
| Color Type | Description | Examples |
|---|---|---|
| Primary Colors | Colors that cannot be created by mixing other colors | Red, Blue, Yellow |
| Secondary Colors | Colors formed by mixing two primary colors | Green, Orange, Purple |
| Tertiary Colors | Colors made by mixing a primary color with a secondary color | Red-Orange, Yellow-Green, Blue-Purple |
In pastel art, mastering the mixing of colors is crucial. Unlike paints, pastels require a bit of finesse to blend colors smoothly. When layering pastels, start with lighter colors and gradually introduce darker shades. This technique allows for beautiful transitions and depth in your artwork. Have you ever noticed how a sunset can have layers of pink, orange, and purple? That’s the magic of color blending!
Another important aspect of color theory is understanding complementary colors. These are colors that are opposite each other on the color wheel. Using complementary colors can create a striking contrast, making your pastel artwork pop. For example, pairing blue with orange can lead to a vibrant and eye-catching composition. It’s like adding a dash of spice to your favorite dish—it elevates the entire experience!
When choosing a color palette for your pastel pieces, consider the emotions you want to evoke. Warm colors (reds, oranges, yellows) often convey energy and excitement, while cool colors (blues, greens, purples) can elicit feelings of calmness and serenity. Think about the story you want to tell with your art. Are you aiming for a lively scene, or something more tranquil? Your color choices will guide that narrative.
Don’t forget about the importance of value in color theory. Value refers to how light or dark a color is, which can significantly impact the overall composition. In pastel art, playing with different values can create stunning contrasts and highlight certain areas of your drawing. For instance, a bright yellow against a deep blue background can create a dynamic focal point that draws the viewer's eye. It’s like a spotlight in a theater, directing attention where you want it most!
In conclusion, color theory is a powerful tool in the pastel artist’s toolkit. By understanding how colors interact, you can create harmonious and impactful artwork that resonates with viewers. So, the next time you pick up your pastels, remember: it’s not just about the colors you choose, but how you use them to tell your artistic story!
- What is the best way to blend pastels? Start with light pressure and gradually build up layers, using your fingers or blending tools for smoother transitions.
- How can I avoid muddy colors when mixing? Always mix colors on a separate palette and use clean tools to prevent contamination.
- Are there specific papers I should use for pastels? Yes, textured papers designed for pastels work best as they hold the pigment better than smooth surfaces.
Creating Texture with Pastels
Texture is one of the most captivating aspects of pastel art, adding depth and intrigue to your creations. Imagine running your fingers over a canvas that not only showcases vibrant colors but also invites you to explore its surface. By mastering various techniques, you can transform a flat drawing into a dynamic masterpiece that tells a story through its texture. So, how do you achieve this magic with pastels? Let's dive into some essential techniques that can elevate your artwork.
One of the primary methods to create texture is through stippling. This technique involves applying small dots or dabs of pastel to the surface, allowing for a unique visual effect. The beauty of stippling lies in its ability to create a sense of depth and dimension, making your artwork appear more lifelike. You can vary the pressure of your application to create different sizes of dots, enhancing the overall texture. For instance, using softer pastels can yield more vibrant dots, while harder pastels can provide subtlety.
Another effective technique is cross-hatching, where you layer lines in different directions. This method not only adds texture but also helps in building shadows and highlights. By using a combination of light and dark hues, you can create a sense of movement and depth. Imagine the way light dances across a surface; cross-hatching allows you to mimic that play of light, giving your artwork a three-dimensional quality.
Additionally, experimenting with different surfaces can dramatically alter the texture of your pastel work. For example, using textured paper such as watercolor or sanded paper can enhance the grip of the pastel, allowing for more intricate details. The roughness of the surface can catch the pastel particles in a way that smooth paper cannot, resulting in a richer texture. Don't be afraid to try out various surfaces; each one will yield unique results that can inspire your creativity.
Moreover, blending techniques can also contribute to texture. While blending is often associated with creating smooth transitions, it can also be used to create a textured effect. By using your fingers, a blending stump, or even a piece of cloth, you can manipulate the pastel to achieve a soft, blended look that retains some of the texture beneath. This approach can be particularly effective in landscapes or portraits where you want to maintain a sense of realism.
Finally, layering is an essential technique to consider. By applying multiple layers of pastel, you can build up texture gradually. Start with a base layer using a lighter color and then overlay it with darker shades to create shadows and highlights. This method not only adds depth but also allows you to experiment with color mixing, resulting in a more complex texture. Remember, art is about exploration, so don't hesitate to try different layering techniques to see what works best for your style.
In summary, creating texture with pastels is an exciting journey that involves a mix of techniques, surfaces, and experimentation. Whether you're stippling, cross-hatching, blending, or layering, each method contributes to the overall richness of your artwork. So grab your pastels and start exploring the many ways you can add texture to your creations—your artistic expression awaits!
- What types of paper are best for pastel drawing? Textured papers like sanded paper or watercolor paper work well as they hold pastel better.
- Can I use water with pastels? Generally, pastels are not water-soluble, but some artists use water to blend colors for specific effects.
- How do I preserve my pastel artwork? Using a fixative spray can help protect your work from smudging and fading.
- Is it necessary to use gloves when working with pastels? While not necessary, gloves can help prevent oils from your skin from transferring to the paper.
Common Mistakes and How to Avoid Them
When diving into the world of pastel drawing, it's easy to trip over a few common pitfalls. Even seasoned artists can find themselves making mistakes that can hinder their creative flow. One of the most frequent errors is not using the right paper. Pastels require a textured surface to grip the pigment effectively. Using smooth paper can lead to frustration as the colors won't adhere properly, resulting in a lackluster finish. So, always opt for pastel-specific paper or any paper with a bit of tooth to it.
Another common mistake is being too heavy-handed with the pastels. It's tempting to press down hard to achieve vibrant colors, but this approach can lead to a muddy look and can even damage the paper. Instead, try layering your colors gradually. Start with a light touch and build up the intensity. Think of it like cooking – you wouldn't dump all the spices in at once, right? A pinch here and there allows you to taste and adjust as needed.
In addition, many beginners overlook the importance of blending. While some might think that blending is just about smudging colors together, it's really about creating depth and dimension. Not blending enough can leave your artwork looking flat and lifeless. On the other hand, over-blending can erase the vibrancy of your colors. Aim for a balance; use your fingers, blending stumps, or even a soft cloth to create smooth transitions without losing the essence of the pigments.
One crucial aspect that many artists forget is to step back and evaluate their work regularly. It’s easy to get caught up in the details and lose sight of the overall composition. By stepping back every now and then, you can see how the colors interact and make necessary adjustments. This practice is akin to a chef tasting their dish as they cook – it ensures everything is coming together beautifully.
Lastly, don’t forget to use fixatives. After spending hours creating a stunning pastel piece, the last thing you want is for it to smudge or fade over time. A good quality fixative can help preserve your artwork, but be cautious – applying too much can alter the colors and texture. Always test a small section before spraying the entire piece.
To summarize, here are some common mistakes and tips to avoid them:
- Choosing the wrong paper: Use textured paper for better adhesion.
- Being too heavy-handed: Layer your colors gently for vibrancy.
- Neglecting to blend: Find the right balance to create depth.
- Not stepping back: Regularly evaluate your work from a distance.
- Skipping fixatives: Protect your artwork with a light spray.
By keeping these tips in mind, you can avoid common pitfalls and enhance your pastel drawing experience. Remember, every mistake is a stepping stone to improvement, so embrace the learning process and enjoy creating beautiful pastel art!
Q: What type of paper is best for pastel drawing?
A: Textured pastel paper is ideal as it holds the pigment better than smooth paper.
Q: How can I make my pastel colors more vibrant?
A: Layer your colors gradually instead of pressing hard, and ensure you're using high-quality pastels.
Q: What is the best way to blend pastels?
A: Use your fingers, blending stumps, or a soft cloth to create smooth transitions without losing vibrancy.
Q: How do I preserve my pastel artwork?
A: Use a fixative spray designed for pastels, but test it on a small area first to avoid altering colors.
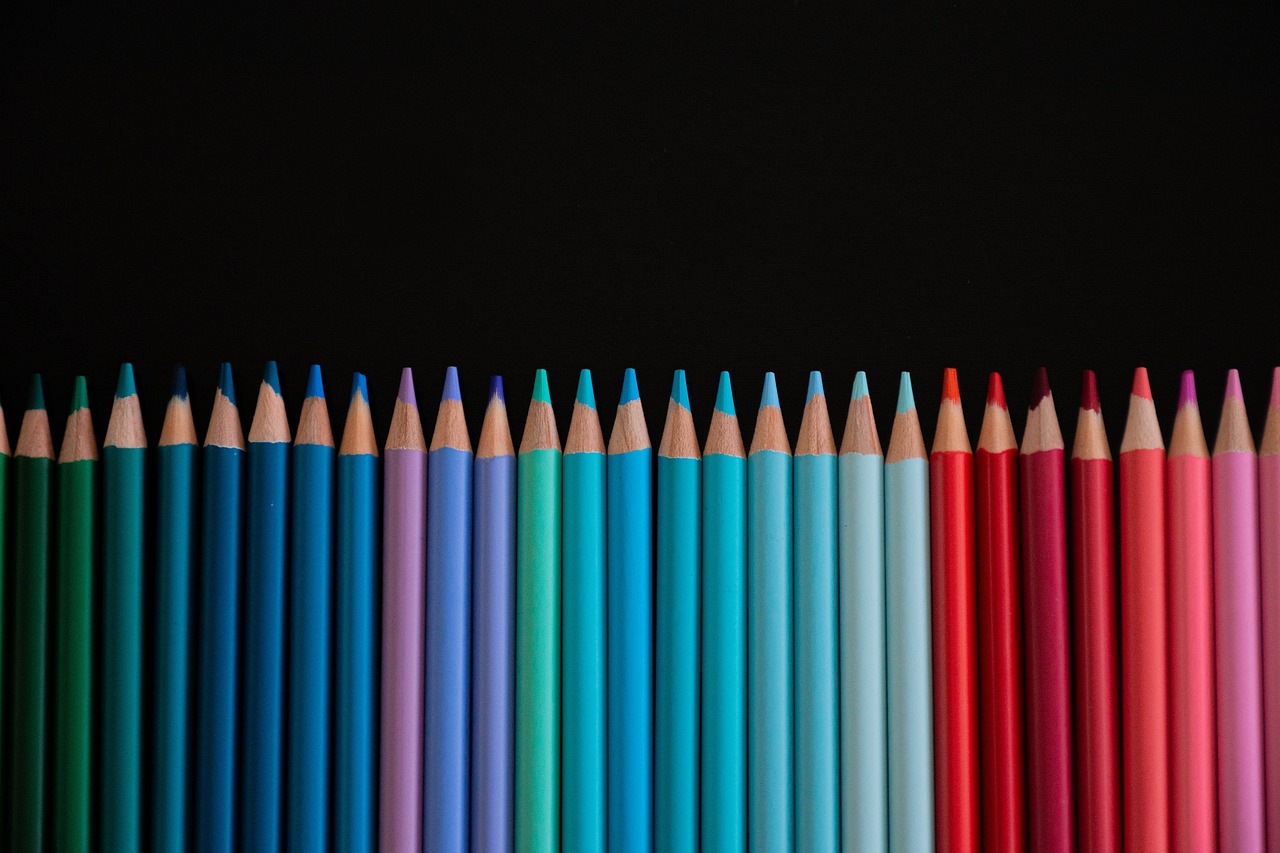
Inspiration from Famous Pastel Artists
When it comes to drawing with pastels, looking at the works of renowned artists can ignite your creative spark and offer invaluable insights into technique and style. Famous pastel artists have paved the way for modern pastel techniques, each bringing their unique flair and perspective to this vibrant medium. By studying their works, you can gain a deeper understanding of how to manipulate color, texture, and form in your own creations.
One of the most celebrated pastel artists is Edgar Degas, known for his stunning depictions of ballet dancers. Degas would often layer pastels to achieve a sense of movement and fluidity, using the medium to capture the ephemeral nature of his subjects. His mastery of blending and layering can inspire you to experiment with different techniques to bring your own subjects to life. Imagine the way he captured the light and shadow on a dancer's tutu—it's a lesson in observation and technique that every artist can learn from.
Another influential figure in the pastel world is Mary Cassatt, who focused on the intimate moments of women and children. Cassatt’s use of soft colors and gentle lines creates a sense of warmth and tenderness. Her work encourages you to explore emotional depth in your pastel drawings. Think about how you can convey feelings through color choices and composition, just as she did in her lovely portrayals of motherhood.
Additionally, the contemporary artist Wolf Kahn is known for his vibrant landscapes that push the boundaries of traditional pastel techniques. Kahn's bold use of color and abstract forms encourages artists to think outside the box. He often combines pastels with other mediums, creating dynamic textures and striking contrasts. This experimentation can inspire you to break free from conventional methods and explore new avenues in your pastel work.
To further inspire you, here’s a quick look at some other notable pastel artists and their unique contributions:
| Artist | Style/Contribution |
|---|---|
| Jean-Baptiste-Siméon Chardin | Still life and naturalism with a focus on texture and light. |
| Paul Gauguin | Bold colors and symbolism, often depicting exotic themes. |
| Henri de Toulouse-Lautrec | Capturing nightlife and the human figure with a unique perspective. |
As you delve into the world of pastel art, remember that inspiration can come from anywhere. Whether it’s the elegance of a Degas ballet dancer or the vibrant landscapes of Kahn, let these artists guide you on your creative journey. Don't hesitate to mimic their styles as a practice method; it’s a great way to learn! Over time, you’ll develop your own voice and style, influenced by the greats yet distinctly your own.
Q: How can I find more inspiration for my pastel artwork?
A: Explore art galleries, online platforms like Instagram or Pinterest, and art books. Engaging with the works of various artists can provide fresh perspectives and ideas.
Q: Is it beneficial to copy famous artists' works?
A: Yes, copying can be an excellent learning tool! It helps you understand techniques and styles. Just remember to credit the original artist when sharing your work.
Q: What if I struggle to develop my own style?
A: Don’t worry! Artistic style often evolves over time. Keep experimenting with different techniques, subjects, and color palettes until you find what resonates with you.
Showcasing Your Pastel Artwork
Once you've poured your heart and soul into creating stunning pastel masterpieces, the next big step is showcasing them. After all, what's the point of creating beautiful art if no one gets to see it? Showcasing your artwork is not just about displaying it; it’s about telling a story and sharing your artistic journey with the world. So, how can you effectively showcase your pastel artwork? Let’s dive into some exciting ways to present your creations!
First off, consider the presentation options. Your artwork deserves a stage that enhances its beauty. You can choose to frame your pastels, which not only protects them but also adds a touch of elegance. Here are a few popular framing options:
- Traditional Frames: Classic wooden frames can give your artwork a timeless look.
- Floating Frames: These frames create a stunning effect where the artwork appears to float within the frame, adding depth.
- Shadow Boxes: Perfect for three-dimensional works or layered pastels, shadow boxes add a unique flair.
Next, think about where you'll display your artwork. The ambiance of the location can significantly impact how your art is perceived. Whether it's a cozy corner of your home, a local café, or an art gallery, the right setting can elevate your pastel pieces. Make sure the lighting is adequate; natural light can bring out the vibrancy of your pastels, while soft artificial lighting can create a warm atmosphere.
Don’t forget about digital showcasing! In today's digital age, sharing your artwork online is crucial. Create a portfolio website or use social media platforms like Instagram and Pinterest to reach a wider audience. When posting online, consider the following tips:
- High-Quality Images: Always take clear, high-resolution photos of your artwork.
- Engaging Captions: Share the story behind your artwork or the techniques you used.
- Hashtags: Use relevant hashtags to increase visibility.
Lastly, if you’re feeling adventurous, consider participating in local art shows or exhibitions. This is an excellent way to connect with other artists and art lovers. Plus, it’s a fantastic opportunity to receive feedback and gain exposure. Just remember to prepare your pieces well for display; ensure they're clean, properly framed, and ready to impress.
In summary, showcasing your pastel artwork is all about finding the right presentation and sharing your creations with the world. Whether you opt for traditional framing, digital sharing, or local exhibitions, the key is to let your unique artistic voice shine through. So go ahead, display your work with pride, and watch as it captivates and inspires others!
Q1: How do I protect my pastel artwork after it’s completed?
A1: To protect your pastel artwork, consider using a fixative spray designed for pastels. This helps prevent smudging and fading. Additionally, framing your artwork behind glass can offer extra protection.
Q2: What is the best way to photograph my pastel artwork for online sharing?
A2: Use natural light to photograph your artwork, avoiding harsh shadows. Position your camera directly above the piece to capture it evenly. Ensure the background is neutral to keep the focus on your art.
Q3: Can I display pastel artwork in a bathroom or kitchen?
A3: It’s best to avoid displaying pastels in areas with high humidity or temperature fluctuations, like bathrooms or kitchens, as this can damage the artwork over time. Opt for more stable environments.
Frequently Asked Questions
- What types of pastels should I use as a beginner?
As a beginner, it's best to start with soft pastels because they are easier to blend and produce vibrant colors. However, having a mix of hard pastels for fine details and pastel pencils for precision can also be helpful as you progress.
- Do I need special paper for pastel drawing?
Yes, using pastel paper is highly recommended. This type of paper has a textured surface that holds the pastel better, allowing for more effective layering and blending. You can also experiment with watercolor paper or cardstock if you prefer.
- How can I avoid common mistakes when drawing with pastels?
One way to avoid mistakes is to practice layering and blending gradually, instead of applying too much pressure or color at once. Additionally, always use a fixative to protect your work and prevent smudging.
- What is the best way to blend pastels?
Blending pastels can be done using your fingers, blending stumps, or even soft cloths. Each method offers a different result, so feel free to experiment and find what suits your style best!
- Can I use oil pastels in the same way as soft pastels?
Not quite! Oil pastels have a different texture and consistency, making them less suitable for techniques like layering and blending that are common with soft pastels. They work best when used on their own or with specific techniques designed for them.
- How do I choose a color palette for my pastel artwork?
Understanding color theory is key! Start by selecting a few colors that complement each other, and consider using a color wheel to help you find harmonious combinations. Don’t be afraid to experiment with mixing colors to create unique shades!
- How can I showcase my pastel artwork?
Consider framing your artwork under glass to protect it from dust and damage. You can also display it in a portfolio or even create an online gallery to share with friends and family. Just remember to use a fixative to keep your pastels in place!
- Who are some famous pastel artists I can learn from?
Some renowned pastel artists include Mary Cassatt and Edgar Degas. Studying their techniques and styles can provide you with inspiration and insight into how to enhance your own pastel drawings.


