The Ultimate Guide to Botanical Painting
Welcome to the fascinating world of botanical painting! This comprehensive guide explores the art of botanical painting, covering techniques, tools, and inspiration to help both beginners and experienced artists create stunning botanical illustrations. Imagine stepping into a lush garden filled with vibrant flowers, intricate leaves, and diverse plant life. Each element is a canvas waiting to be captured by your brush. Botanical painting is not just an art form; it’s a journey into the heart of nature, where science meets creativity in the most beautiful way.
At its core, botanical art serves a dual purpose: it is both a scientific documentation of plant life and an artistic expression of beauty. The meticulous attention to detail required in this genre of painting allows artists to explore the delicate intricacies of flora while also conveying their unique perspectives. Whether you’re a seasoned artist or just starting, this guide will provide you with the tools and knowledge you need to bring your botanical visions to life.
As we dive deeper into this guide, you’ll discover the rich history of botanical art, from its origins in the 16th century to its relevance in contemporary art. You’ll learn about the essential tools and materials that every botanical artist should have in their arsenal, ensuring that your artistic journey is both enjoyable and productive. We’ll also cover basic techniques for beginners, as well as advanced methods for those looking to elevate their skills.
Choosing the right subject is crucial in botanical painting. We’ll provide tips on selecting plants and flowers that inspire you, along with insights into color theory, which is essential for creating vibrant and harmonious artwork. Nature is a treasure trove of inspiration, and we’ll show you how to observe and interpret the beauty around you in a way that enhances your unique style.
Finally, once you’ve poured your heart into your paintings, it’s time to share your work with the world. We’ll discuss exhibition opportunities, social media strategies, and how to build a portfolio that showcases your artistic journey. So, grab your brushes and let’s embark on this colorful adventure together!
- What is botanical painting?
Botanical painting is an art form that combines scientific accuracy with artistic expression, focusing on the depiction of plants and flowers. - Do I need special tools to start?
While you can start with basic supplies, having the right tools can enhance your experience and results in botanical painting. - Can beginners learn botanical painting?
Absolutely! With the right techniques and practice, anyone can learn to create beautiful botanical illustrations. - How do I find inspiration for my paintings?
Nature is the best source of inspiration. Spend time observing plants in your garden, local parks, or even botanical gardens. - How can I share my botanical art?
Consider joining local art exhibitions, sharing your work on social media, or creating an online portfolio to showcase your art.

Understanding Botanical Art
Botanical art is a fascinating intersection of science and creativity, where scientific accuracy meets artistic expression. This unique art form has a rich history, dating back to ancient civilizations, where artists meticulously documented flora for both scientific and decorative purposes. The significance of botanical art lies not only in its beauty but also in its ability to educate and inform. Each painting serves as a visual record of plant species, often capturing intricate details that might be overlooked in a casual glance.
What sets botanical painting apart from other art forms is its commitment to realism. Artists strive to depict plants with precision, ensuring that every petal, leaf, and stem is represented in a way that is true to life. This dedication to detail can be likened to that of a scientist conducting research; both require patience, observation, and a keen eye for the subtleties of nature. In fact, many botanical artists spend hours in the field, studying their subjects, sketching, and taking notes to ensure their final work is as accurate as possible.
Moreover, the emotional connection to nature that botanical art fosters is profound. Many artists find inspiration in the beauty of their surroundings, using their paintings as a means to express their personal experiences with the natural world. This emotional depth adds a layer of richness to botanical art, transforming it from mere representation into a form of storytelling. As you delve into this art form, you will discover that every brushstroke carries the weight of passion and dedication.
To better understand the evolution of botanical art, consider the following key milestones:
| Period | Key Developments |
|---|---|
| Ancient Civilizations | Documentation of plants for medicinal and agricultural purposes. |
| Renaissance | Increased interest in naturalism; artists like Leonardo da Vinci contributed to the field. |
| 18th Century | Publication of scientific texts with detailed illustrations, such as those by Pierre-Joseph Redouté. |
| Modern Era | Integration of technology and mixed media; a resurgence of interest in native plants. |
In summary, botanical art is not just about painting pretty pictures; it is a discipline that combines artistry, science, and personal expression. As you embark on your journey into this captivating world, remember that each piece you create is a reflection of your understanding and appreciation of the natural world. So grab your brushes, and let the beauty of nature inspire your next masterpiece!
- What materials do I need to start botanical painting? You’ll need quality paper, a set of watercolor or colored pencils, and a few brushes.
- Can I use photographs for reference? Absolutely! Many artists use photographs to capture detail, but try to also observe the plants in person.
- How long does it take to become proficient in botanical painting? It varies by individual, but consistent practice is key. Don’t rush the process; enjoy the journey!
Essential Tools and Materials
Creating stunning botanical paintings requires more than just talent; it demands the right tools and materials. Imagine embarking on a journey without a map or compass—it's a bit like trying to paint without the essential supplies. So, let’s dive into the must-have items that will elevate your botanical art game!
First and foremost, the choice of paper is crucial. You’ll want to select a high-quality, acid-free paper that can withstand multiple layers of paint and water. Watercolor paper is a popular choice, particularly the cold-pressed variety, which offers a textured surface that captures paint beautifully. Alternatively, hot-pressed paper provides a smooth finish, perfect for fine details. The thickness of the paper is also important; a weight of 300 gsm is ideal for botanical illustrations, as it prevents warping.
Next up, we have brushes. The right brushes can make all the difference in your painting process. A variety of shapes and sizes will allow you to achieve different effects. For instance, round brushes are fantastic for detail work, while flat brushes can cover larger areas quickly. Consider investing in a few quality watercolor brushes made from natural hair, as they hold water and pigment better than synthetic options. Don’t forget a fine liner brush for those intricate details that bring your botanical art to life.
When it comes to paints, the options can be overwhelming. Watercolors are a popular choice for botanical paintings due to their transparency and ability to layer. You might want to explore professional-grade watercolor paints, as they offer richer pigments and better lightfastness. Alternatively, gouache can be used for a more opaque finish, allowing you to create vibrant, bold colors. If you’re feeling adventurous, try incorporating colored pencils or pastels for added texture and detail.
Additionally, having a good palette for mixing colors is essential. A flat, smooth surface will help you blend your paints seamlessly. You can use a traditional wooden palette or opt for a disposable one for convenience. Don’t forget to have a water container handy for rinsing brushes and diluting colors. Keep a few paper towels or a rag nearby to manage spills and clean your brushes between colors.
Finally, investing in a quality light source is often overlooked but incredibly important. Natural light is ideal, but if you’re painting indoors, consider using a daylight lamp that mimics natural sunlight. This will help you see the true colors of your paints and ensure your artwork looks stunning in any light.
To summarize, here’s a quick table of the essential tools and materials you’ll need:
| Item | Purpose |
|---|---|
| Paper | High-quality, acid-free for durability |
| Brushes | Variety for detail and coverage |
| Paints | Watercolors or gouache for vibrant colors |
| Palette | For mixing colors |
| Water Container | For rinsing brushes |
| Light Source | To ensure accurate color representation |
With these essential tools and materials in hand, you’re well on your way to creating breathtaking botanical illustrations. Remember, the right supplies not only enhance your art but also make the process more enjoyable. So gear up, and let your creativity blossom!
Basic Techniques for Beginners
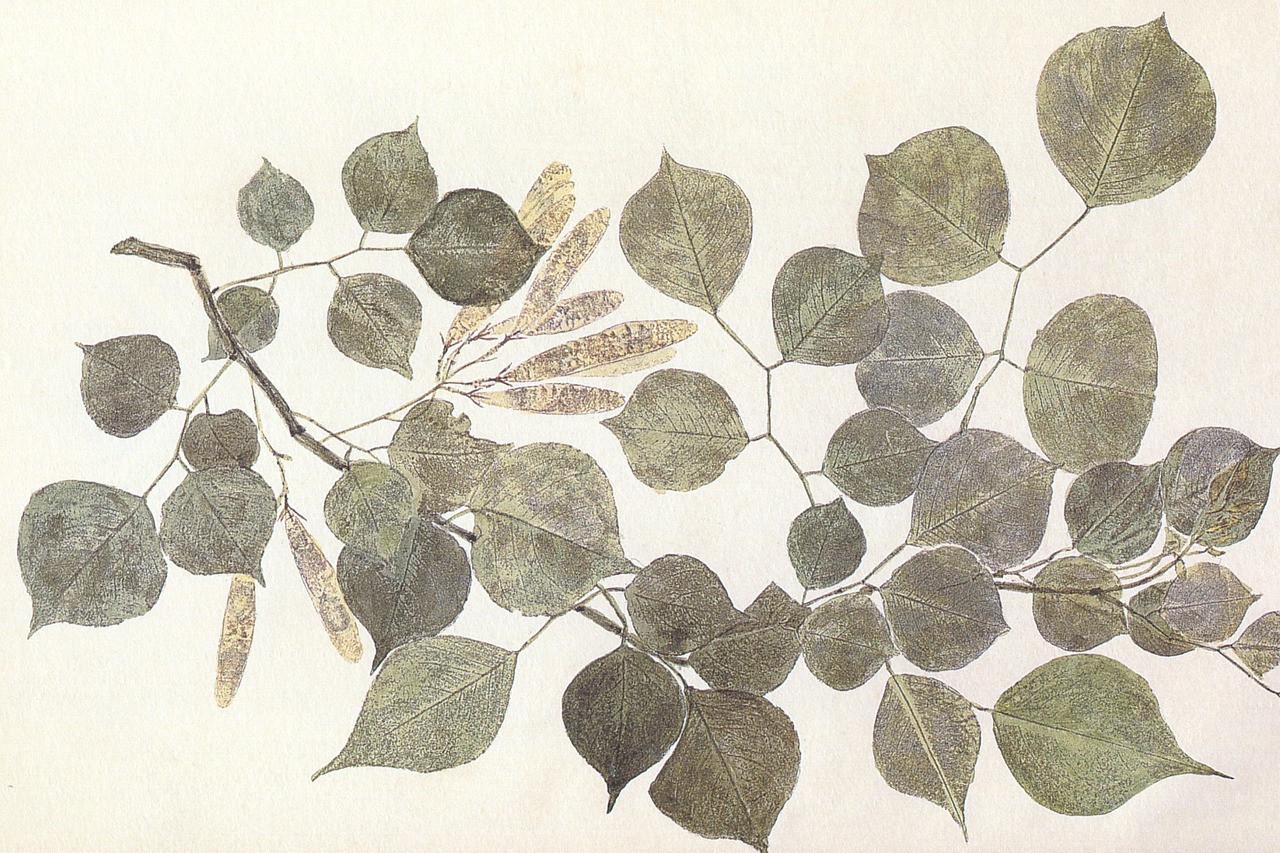
Embarking on your botanical painting journey can feel both exciting and overwhelming. But don't worry! With the right basic techniques, you can transform your blank canvas into a stunning representation of nature. Let’s dive into some fundamental methods that will help you build a solid foundation in botanical painting.
First off, sketching is where it all begins. Grab your pencil and lightly outline the shapes of the plants or flowers you want to paint. This initial sketch doesn’t need to be perfect; it’s just a way to map out your composition. Think of it as laying the groundwork for a beautiful building. You wouldn’t start construction without a blueprint, right? So, take your time with this step, ensuring that you capture the essence of your subject.
Once you have your sketch, the next crucial technique is layering. This method involves applying multiple layers of paint to create depth and richness in your artwork. Start with lighter colors and gradually build up to darker shades. It’s like cooking a delicious meal; you wouldn’t throw all the ingredients in at once. Instead, you add them in stages to develop the flavors. Similarly, layering your paint allows you to achieve a more vibrant and realistic depiction of your botanical subject.
Another essential skill to master is color mixing. Understanding how to blend colors will significantly enhance your paintings. Begin by familiarizing yourself with the color wheel and the relationships between colors. For instance, mixing complementary colors can create shadows and depth, while analogous colors can produce harmony and balance in your artwork. Think of it as mixing a perfect cocktail; the right combination can elevate your painting from good to extraordinary!
To help you get started, here’s a quick overview of the essential techniques:
| Technique | Description |
|---|---|
| Sketching | Creating a light outline of your subject to establish composition. |
| Layering | Applying multiple layers of paint to build depth and richness. |
| Color Mixing | Blending colors to achieve desired hues and shades. |
As you practice these techniques, remember that patience is key. Botanical painting is an art form that requires time and dedication. Don’t rush through your work; instead, enjoy the process and allow your skills to develop naturally. You’ll find that with persistence, your confidence will grow, and your paintings will become increasingly impressive.
Lastly, consider keeping a sketchbook where you can experiment with different techniques and subjects. This will not only serve as a practice tool but also as a personal record of your artistic journey. Just like a diary, it can capture your progress and inspire you to keep pushing your boundaries in botanical art.
So, grab your brushes, unleash your creativity, and let the world of botanical painting captivate you!
Q: What materials do I need to start botanical painting?
A: You’ll need quality watercolor or acrylic paints, brushes of various sizes, watercolor paper, and a pencil for sketching. Don't forget a good eraser!
Q: How long does it take to become proficient in botanical painting?
A: Proficiency varies by individual, but with consistent practice, you can see significant improvement in just a few months!
Q: Can I use photographs as references for my paintings?
A: Absolutely! Using photographs can help you capture details and colors accurately, especially when working from life is challenging.
Advanced Painting Techniques
When it comes to botanical painting, mastering advanced techniques can elevate your artwork from good to breathtaking. These methods not only add depth and detail but also bring your botanical subjects to life. Let's dive into some of the most effective advanced painting techniques that can transform your illustrations.
One of the most popular methods is glazing. This technique involves applying thin, transparent layers of paint over a dried base layer. The beauty of glazing lies in its ability to create a luminous effect, allowing light to pass through the layers and reflect off the underlying colors. Imagine painting a delicate flower petal; by using glazing, you can achieve a soft, radiant quality that mimics the natural translucence of petals. To get started with glazing, choose a transparent paint and apply it with a soft brush, allowing each layer to dry before adding another.
Another technique that can add incredible texture and detail is the wet-on-wet method. This approach involves applying wet paint onto a wet surface, resulting in soft edges and blended colors. This technique is perfect for capturing the essence of foliage, where the greens can merge seamlessly to create a lush, vibrant background. It’s a bit like painting with watercolors; the unpredictability of the paint can lead to beautiful surprises. Just remember to work quickly before the paint dries!
The dry brush technique is yet another powerful tool in your botanical painting arsenal. This method uses a brush that has very little paint on it, allowing for a scratchy, textured effect that can mimic the fine details of leaves and stems. By lightly dragging the brush over the paper, you can create intricate lines that resemble the veins of a leaf or the delicate hairs on a flower. This technique requires a bit of practice to master, but the results can be stunning.
To help visualize these techniques, here’s a quick comparison table:
| Technique | Description | Best For |
|---|---|---|
| Glazing | Applying transparent layers of paint. | Creating depth and luminosity. |
| Wet-on-Wet | Applying wet paint on a wet surface. | Soft edges and blended colors. |
| Dry Brush | Using a brush with minimal paint. | Fine details and textures. |
In addition to these techniques, consider incorporating layering into your painting process. Layering involves building up colors gradually, allowing for a more nuanced and complex result. This method can be particularly effective when painting flowers with multiple shades or when trying to achieve a realistic representation of shadows and highlights. Think of it as sculpting with paint; each layer adds dimension and life to your artwork.
Finally, don’t underestimate the power of experimenting. Botanical painting is as much about personal expression as it is about technique. Try mixing different mediums, such as watercolors and colored pencils, or even incorporating ink for outlines. Each artist has a unique style, and the more you explore, the more you’ll discover what resonates with you. Remember, every stroke is a step toward finding your artistic voice!
As you delve into these advanced techniques, be patient with yourself. Mastery takes time, but the journey is part of the joy of creating art. So grab your brushes, experiment with these methods, and watch your botanical paintings blossom!
1. What is the best paint to use for botanical painting?
There isn't a one-size-fits-all answer, as it depends on your personal preference. However, many artists prefer watercolor for its transparency and blendability, while others opt for acrylics or colored pencils for their vibrancy and versatility.
2. How can I improve my botanical painting skills?
Practice is key! Try to paint regularly, study real plants, and consider taking classes or workshops to learn from experienced artists.
3. Is it necessary to use expensive materials?
While high-quality materials can enhance your work, it's not essential to start with the best. Many artists find success using affordable supplies as they develop their skills.
4. Can I use photographs for reference?
Absolutely! Using photographs can help you capture details and colors that you might miss in real life. Just ensure you understand the plant's structure and colors to maintain accuracy.

Choosing the Right Subject
When it comes to botanical painting, the choice of subject is not just a matter of picking a pretty flower or an interesting leaf. It's about creating a connection between the artist and the subject that can truly elevate the artwork. Imagine standing in front of a vibrant garden; the myriad of colors and shapes can be overwhelming. So, how do you narrow it down? Well, there are a few key factors to consider.
First, think about your personal interests. Are you drawn to the delicate petals of a rose, or do you find the rugged texture of succulents more appealing? Your passion for the subject will shine through in your painting, making it more engaging for both you and your audience. Additionally, consider the season. Each time of year brings a unique palette of colors and textures. For example, spring is bursting with life and color, while autumn offers a rich tapestry of warm hues.
Another essential factor is the availability of your chosen subject. If you live in an area where certain plants are not readily accessible, it can be challenging to capture their essence accurately. Take a stroll through local gardens, parks, or even your backyard to find inspiration. You might be surprised at how many interesting plants are just waiting to be painted!
Moreover, consider the composition of your subject. A well-composed painting can tell a story. Think about how the elements of your chosen plant interact with one another. For instance, a single flower can be beautifully complemented by its surrounding leaves or even by the background. Pay attention to the negative space around your subject; it can greatly enhance the overall composition.
Finally, don’t shy away from challenging subjects. While it might be tempting to stick with simple flowers, tackling a more complex plant can significantly improve your skills. The intricacies of a fern or the layered petals of a peony can be daunting, but they also offer a fantastic opportunity for growth and learning.
To summarize, here are some tips to help you choose the right subject for your botanical painting:
- Follow your personal interests and passions.
- Consider seasonal availability for vibrant colors.
- Explore local gardens and parks for inspiration.
- Think about composition and negative space.
- Challenge yourself with complex subjects for skill development.
In conclusion, choosing the right subject for your botanical painting is a blend of personal preference, availability, and the willingness to explore and challenge your artistic abilities. Remember, each plant has its own story to tell, and it’s up to you to bring that story to life on your canvas. So grab your brushes and let the beauty of nature guide your artistic journey!
Q: How do I find inspiration for my botanical paintings?
A: Inspiration can be found in nature, local gardens, and even your own backyard. Take walks, observe different plants, and note what catches your eye.
Q: Can I paint plants that are not native to my area?
A: Absolutely! You can paint any plant that interests you, whether it's native or exotic. Just make sure you have good reference materials to work from.
Q: What if I feel overwhelmed by the choices?
A: Start small! Choose one or two subjects that resonate with you and focus on them. As you gain confidence, you can explore more complex subjects.
Q: How important is it to understand the anatomy of the plant?
A: Understanding the anatomy can enhance your paintings, allowing for more accurate representations. However, don’t be afraid to express your artistic interpretation as well!
Color Theory in Botanical Painting
Understanding color theory is essential for creating vibrant and captivating botanical art. When you think about it, color is like the soul of a painting; it breathes life into your artwork and can evoke emotions in the viewer. Imagine walking through a garden filled with colorful flowers—each hue tells a story, and as an artist, your job is to translate that story onto your canvas. So, how do you harness the power of color to enhance your botanical paintings?
First off, let’s break down the basics. Color theory involves the study of how colors interact with each other. It’s about understanding the color wheel, which consists of primary, secondary, and tertiary colors. The primary colors—red, blue, and yellow—are the building blocks of all other colors. By mixing these colors, you can create a spectrum of shades that can dramatically change the mood of your artwork.
In botanical painting, it’s crucial to consider the harmony of colors. Harmonious colors are those that work well together and create a pleasing aesthetic. You can achieve harmony through various color schemes, such as:
- Complementary colors: Colors opposite each other on the color wheel, like blue and orange. They create high contrast and can make your subjects pop.
- Analogous colors: Colors next to each other on the wheel, like yellow, yellow-green, and green. These create a serene and comfortable feeling.
- Triadic colors: Three colors evenly spaced on the wheel, such as red, yellow, and blue. This scheme offers a vibrant look while maintaining balance.
Next, let’s talk about color mixing. This is where the magic happens! When mixing colors, start with a small amount of your base color and gradually add the second color. This approach allows you to control the outcome better. For instance, if you want to create a soft green for leaves, mix yellow and blue slowly until you achieve the desired shade. Remember, less is more—it's easier to darken a color than to lighten it!
Another important aspect of color theory is understanding the temperature of colors. Colors can be categorized as warm (reds, oranges, yellows) or cool (blues, greens, purples). Warm colors tend to advance in a painting, drawing the viewer's eye, while cool colors recede, creating depth. When painting a botanical scene, consider using warm colors for the focal points, like vibrant flowers, and cool colors for the background foliage. This technique adds dimension and draws attention to the main subject.
Furthermore, the concept of light and shadow plays a significant role in color theory. The way light interacts with your subjects can alter their color perception. For example, a leaf might appear lighter on one side where the light hits it and darker on the opposite side. Understanding how to depict these variations will elevate your botanical paintings from flat to dynamic. Use a mixture of lighter and darker shades to create depth, and don’t shy away from using white or black to adjust your colors; they can help you achieve the perfect tone.
In conclusion, mastering color theory is vital for any botanical artist aiming to create stunning, lifelike illustrations. By understanding how colors interact, how to mix them effectively, and how to use temperature and light, you’ll be well on your way to producing artwork that not only captures the beauty of nature but also resonates with viewers on an emotional level. So grab your brushes, and let the colors guide your creativity!
Q: What is the best way to learn color theory?
A: Practice is key! Experiment with mixing colors and observe how they interact in nature. Books and online courses can also provide valuable insights.
Q: How can I create depth in my botanical paintings?
A: Use varying shades of colors and incorporate light and shadow to give your artwork a three-dimensional feel.
Q: Should I always use bright colors in my botanical art?
A: Not necessarily. While bright colors can attract attention, muted tones can convey a different mood and can be just as beautiful.
Q: How important is color harmony in botanical painting?
A: Extremely important! Color harmony can significantly affect the overall impact of your painting, making it more visually appealing.
Inspiration from Nature
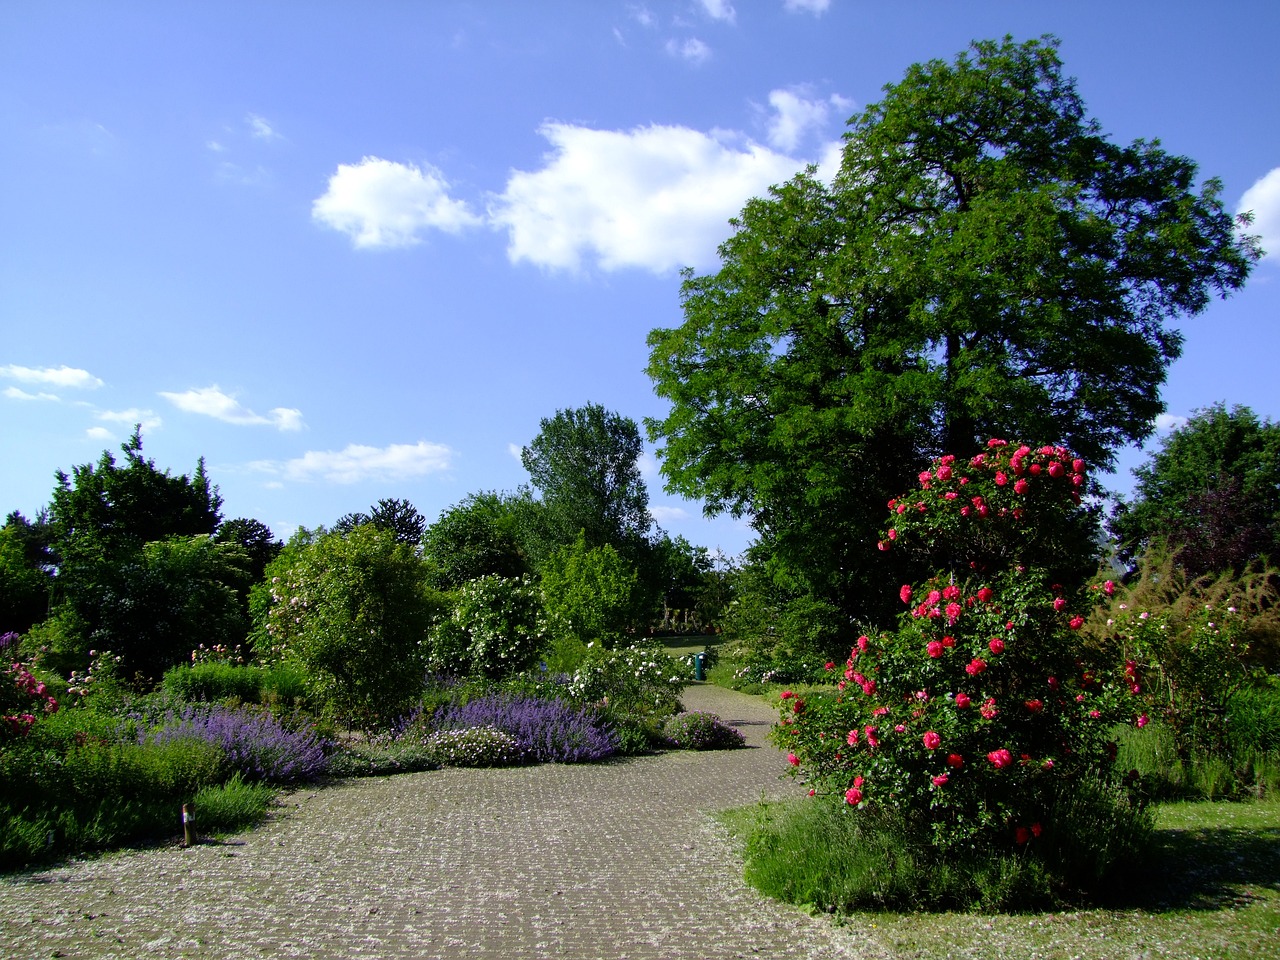
Finding inspiration in nature is not just essential for botanical artists; it’s the lifeblood of their creativity. Imagine stepping into a lush garden, where every leaf and petal tells a story. The vibrant hues of blossoms, the intricate patterns on leaves, and the delicate veins running through each flower can ignite a spark of creativity that leads to stunning artwork. Nature is a canvas in itself, offering endless possibilities for artistic expression. But how do you tap into this rich source of inspiration? Here are some ideas:
- Observation: Spend time outdoors, observing the details of plants and flowers. Take note of their shapes, colors, and textures. Use a sketchbook to jot down your observations or create quick sketches.
- Photography: Capture images of plants that resonate with you. A photograph can serve as a reference for color and detail when you’re back in your studio.
- Seasonal Changes: Pay attention to how plants change with the seasons. The transformation from vibrant summer blooms to the muted tones of fall can inspire different moods in your artwork.
Moreover, consider visiting local botanical gardens or nature reserves. These places are treasure troves of inspiration, showcasing a variety of plants in their natural habitats. Take your time to explore, and don’t hesitate to bring along your art supplies. You might find that sketching outdoors allows you to connect with nature on a deeper level, enhancing your creative process.
Another way to draw inspiration from nature is to create a personal herbarium. Collecting and pressing plants can help you appreciate their forms and colors more intimately. This hands-on experience can lead to unique interpretations in your artwork. As you press each specimen, think about how you might depict it in a painting—consider the light, the shadow, and the overall composition.
Also, remember that inspiration can come from the unexpected. A walk through the woods may lead you to discover a fascinating gnarled tree root or a patch of wildflowers growing in a seemingly inhospitable place. These moments can provide fresh perspectives and challenge you to think outside the box. Embrace the surprises nature offers, as they can lead to your most innovative work yet.
Lastly, don’t underestimate the power of community. Engaging with fellow artists can be incredibly inspiring. Join local art groups or online forums where you can share your experiences and learn from others. Sometimes, seeing how someone else interprets a flower or plant can ignite your own creativity. Remember, inspiration is all around you; you just need to open your eyes and let it in.
Q1: How can I find inspiration for my botanical paintings?
A1: Inspiration can be found everywhere in nature. Spend time outdoors, observe plants closely, and take photographs. You can also visit botanical gardens or create a personal herbarium to study plants more intimately.
Q2: Should I sketch plants before painting them?
A2: Yes! Sketching helps you understand the shapes and details of your subject. It’s a great way to practice observation and can serve as a reference for your painting.
Q3: How do seasonal changes affect my botanical art?
A3: Seasonal changes provide different colors, textures, and forms to explore. Each season brings a unique palette and mood, which can greatly influence your artwork.
Q4: Can I use photographs as references for my paintings?
A4: Absolutely! Photographs are excellent tools for capturing details and colors that you can refer to while painting. Just ensure you add your personal touch and interpretation to your artwork.
Exhibiting and Sharing Your Work
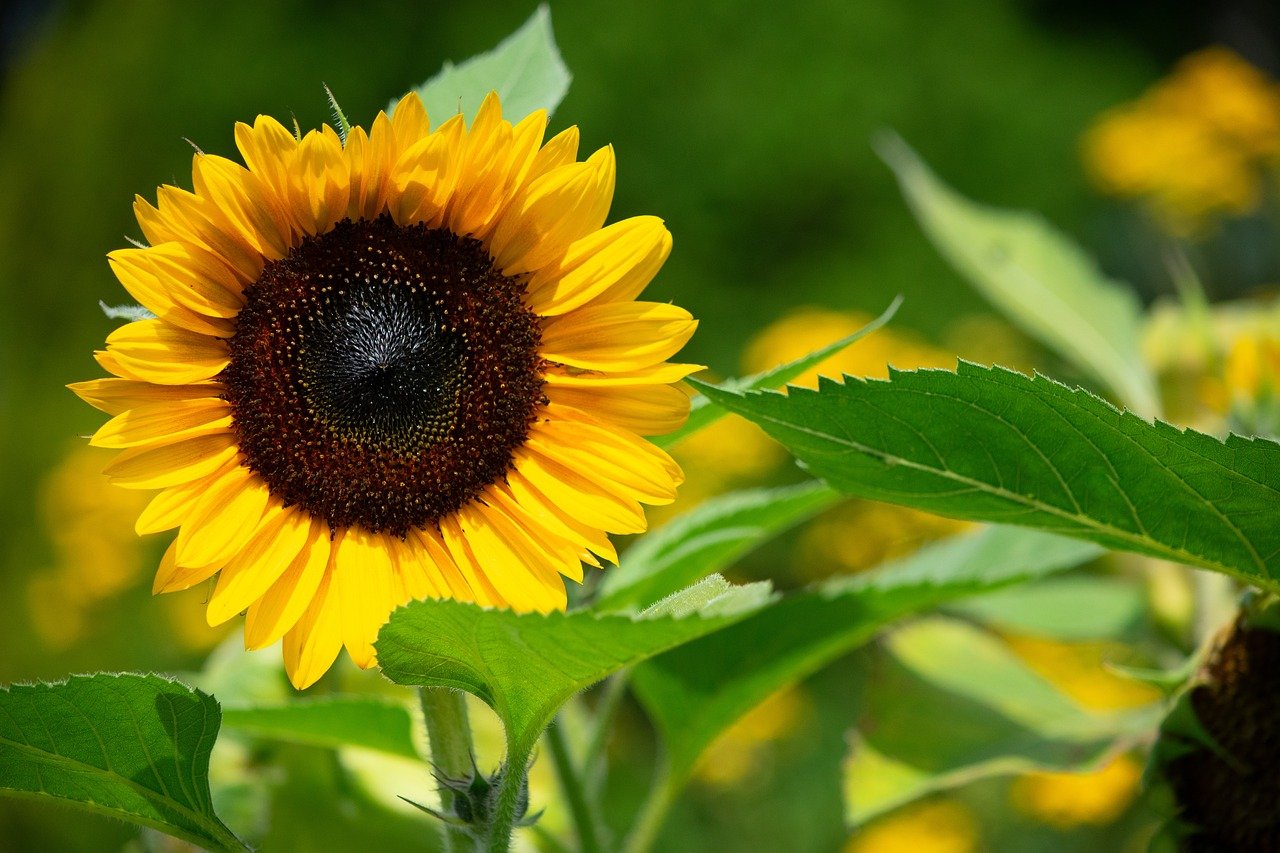
After pouring your heart and soul into creating stunning botanical paintings, it’s time to let the world see your work! Exhibiting and sharing your art not only boosts your confidence but also opens doors to new opportunities. So, how do you go about it? First, consider local art shows or community galleries. These venues often welcome local artists and provide a platform for your work to shine.
Another fantastic way to showcase your botanical art is through social media. Platforms like Instagram, Pinterest, and Facebook are visual-centric and can help you reach a broader audience. You can create an engaging profile that reflects your artistic style and share behind-the-scenes glimpses of your painting process. This not only builds a connection with your audience but also invites them into your creative journey. Remember, consistency is key—regularly posting updates keeps your followers engaged and excited about your work.
If you’re looking to take a more formal approach, consider building a portfolio. A well-organized portfolio is like your artistic resume; it showcases your best works and highlights your unique style. Include high-quality images of your paintings, descriptions of your techniques, and any exhibitions or awards you’ve received. You can create a physical portfolio for in-person meetings or an online version to share via email or your website.
Don't forget about art fairs and markets! These events are fantastic for networking with other artists and potential buyers. Set up a booth where you can display your paintings and even create a live painting demonstration. Engaging with the public can lead to valuable feedback and might even spark new ideas for your next piece!
Lastly, consider entering competitions. Many art organizations host contests that can elevate your visibility in the art community. Winning or even being shortlisted can add credibility to your work and attract new followers and collectors. Just make sure to read the guidelines carefully and choose competitions that align with your style and goals.
In summary, whether through local galleries, social media, portfolios, art fairs, or competitions, there are numerous ways to exhibit and share your botanical paintings. The key is to put yourself out there, connect with others, and embrace the journey of being an artist. Who knows? Your next painting could be the one that captivates someone and opens up a world of opportunities!
- How do I find local art exhibitions? Check community boards, local art organizations, or social media groups dedicated to artists in your area.
- What should I include in my portfolio? High-quality images of your best works, descriptions of your techniques, and any relevant exhibitions or awards.
- Is social media important for artists? Absolutely! It helps you connect with a wider audience and showcase your work in a visually appealing way.
- Can I sell my art at local markets? Yes! Art fairs and markets are great opportunities to sell your work and network with other artists.
- How do I choose the right competitions to enter? Look for competitions that align with your artistic style and goals, and read the guidelines carefully before entering.
Frequently Asked Questions
- What is botanical painting?
Botanical painting is a unique art form that blends scientific accuracy with artistic expression. It focuses on depicting plants, flowers, and other botanical subjects in a way that captures their beauty and details, making them not only visually appealing but also informative.
- Do I need special tools to start botanical painting?
While you can start with basic art supplies, having the right tools can make a significant difference. Essential tools include high-quality watercolor or acrylic paints, various brushes, and specialized paper designed for botanical art. Investing in these materials will enhance your painting experience and results.
- Can beginners learn botanical painting?
Absolutely! Botanical painting is accessible to beginners. With practice and a willingness to learn, anyone can develop their skills. Start with simple subjects and basic techniques, and gradually move on to more complex pieces as you gain confidence.
- What techniques should I focus on as a beginner?
As a beginner, you should focus on fundamental techniques such as sketching, layering, and color mixing. These skills will provide a solid foundation for your botanical painting journey and help you understand how to create depth and detail in your artwork.
- How do I choose the right subject for my painting?
Selecting a subject that inspires you is key! Look for plants or flowers that catch your eye, or consider your favorite colors and shapes. Experiment with different compositions and arrangements to find what resonates with you and challenges your skills.
- What role does color theory play in botanical painting?
Color theory is crucial in botanical painting as it helps you understand how to mix colors effectively and create harmony in your artwork. By mastering color relationships, you can produce vibrant and lifelike representations of your botanical subjects.
- Where can I find inspiration for my botanical paintings?
Nature is the best source of inspiration! Spend time outdoors observing plants and flowers, or visit botanical gardens. You can also look for inspiration in books, online resources, and even through other artists' work to help spark your creativity.
- How can I share my botanical paintings with others?
Once you've created your artwork, consider sharing it through social media platforms, local art exhibitions, or even online galleries. Building a portfolio and connecting with other artists can also help you showcase your work and gain valuable feedback.


