Fun DIY Room Divider Ideas for Your Home
Are you tired of your open-concept living space feeling a bit too open? Do you crave a sense of privacy without the hefty price tag of renovations? Well, you’re in luck! DIY room dividers are not only practical but also a fun way to express your creativity and add a personal touch to your home. Think of room dividers as the magic curtains of your space, transforming a single room into multiple functional areas with just a little bit of effort and imagination.
Imagine walking into your living room and seeing a beautifully crafted wooden divider that adds warmth and character to the space. Or picture a vibrant fabric curtain that not only separates your workspace from your relaxation area but also brings a splash of color and texture. The possibilities are endless! Whether you're looking for something rustic, modern, or artistic, DIY room dividers can cater to all styles and preferences. Plus, they can be a fantastic conversation starter when guests come over!
In this article, we’ll explore a variety of creative and practical DIY room divider ideas that can enhance your living spaces. From simple materials to unique designs, you’ll discover how to transform your home into a cozy and functional haven. So grab your tools, unleash your inner designer, and let’s dive into the world of DIY room dividers!
Room dividers offer numerous advantages that go beyond just aesthetics. Here are some of the key benefits:
- Enhanced Privacy: Room dividers create a sense of separation, allowing you to enjoy your personal space without interruptions.
- Improved Space Utilization: They help in defining areas within a larger room, making it easier to organize and use the space effectively.
- Versatility: Room dividers can be easily moved or modified, allowing you to change the layout of your living space as needed.
- Style Statement: A well-designed divider can serve as a focal point in your room, adding style and character.
With these benefits in mind, it’s clear that room dividers are more than just functional pieces; they can elevate your home's functionality and style.
Choosing the right materials is crucial for your DIY room divider project. Here are some popular options to consider:
- Wood: Durable and customizable, wood can be shaped into various designs.
- Fabric: Soft textures can add warmth and color to your space.
- Repurposed Items: Old doors, furniture, or screens can be transformed into unique dividers.
Each material offers its own set of advantages, so think about your design aesthetic and the overall vibe you want to create in your space.
Wooden dividers are incredibly versatile and can be customized to fit any style. Whether you prefer a sleek modern look or a rustic farmhouse vibe, wooden dividers can achieve it all. You can choose from different types of wood, such as oak, pine, or plywood, to create stunning and durable dividers. The natural grain of wood adds warmth to any space, making it feel inviting and cozy.
Pallet wood is an affordable and eco-friendly option for DIY projects. Not only is it budget-friendly, but it also has a charming rustic quality that can enhance your home’s character. You can create a simple yet stylish room divider by stacking pallets vertically or horizontally. A little sanding and staining can go a long way in making these pallets look polished and intentional.
For those who prefer a more polished look, framed screens provide a stylish separation in your home. You can build framed screens using wood or metal, allowing you to achieve a sleek and modern aesthetic. Consider painting the frame in a bold color or using decorative panels to add an artistic touch. These screens can easily be moved around, providing flexibility in your space.
Fabric dividers can add softness and texture to a space, making them an excellent choice for creating cozy nooks. You can use a variety of fabrics, from sheer curtains that allow light to filter through to heavier drapes for more privacy. Hanging or freestanding fabric dividers can enhance your home’s decor while providing functional separation. Imagine a beautiful fabric divider that not only divides your space but also adds a pop of color!
From folding screens to hanging curtains, there are countless creative designs for room dividers. Explore innovative ideas that can be tailored to suit your personal style and space requirements.
Folding screens are a classic choice for room dividers. They are not only functional but can also serve as a decorative element in your home. Explore various styles, from traditional Asian-inspired screens to modern geometric designs. Personalize them with paint, fabric, or even artwork to fit your home’s aesthetic while providing functional separation.
Hanging curtains are a flexible and stylish way to divide spaces. You can easily change the fabric or color to match your mood or the season. Learn how to select the right hardware and fabric to create a beautiful and functional divider in your home. The gentle flow of fabric can create a serene atmosphere, making it perfect for bedrooms or meditation spaces.
Creating room dividers doesn’t have to break the bank. There are plenty of budget-friendly DIY options that utilize inexpensive materials and clever designs. For instance, you can repurpose old doors or furniture to create unique room dividers that tell a story.
Think outside the box! Repurposing items around your home can lead to unique room dividers. Old doors, screens, or even bookshelves can be transformed into functional dividers. Not only do these options save money, but they also add a personal touch to your space. Each piece has its own history and character, making your home feel more lived-in and loved.
For those who prefer guided projects, DIY kits and plans are available. These resources can simplify the process, allowing you to create beautiful room dividers with ease and efficiency. Kits often come with all the necessary materials and instructions, making it a hassle-free option for beginners.
Q: What is the best material for a DIY room divider?
A: The best material depends on your style and needs. Wood is durable, fabric adds softness, and repurposed items offer unique charm.
Q: How can I make a room divider more decorative?
A: Personalize your divider with paint, fabric, or artwork. You can also add decorative elements like fairy lights or plants.
Q: Are room dividers easy to move?
A: Yes! Many DIY room dividers are lightweight and can be easily moved around, allowing you to change your space as needed.
Q: Can I create a room divider on a budget?
A: Absolutely! You can use inexpensive materials or repurpose items you already have at home to create stylish dividers without overspending.
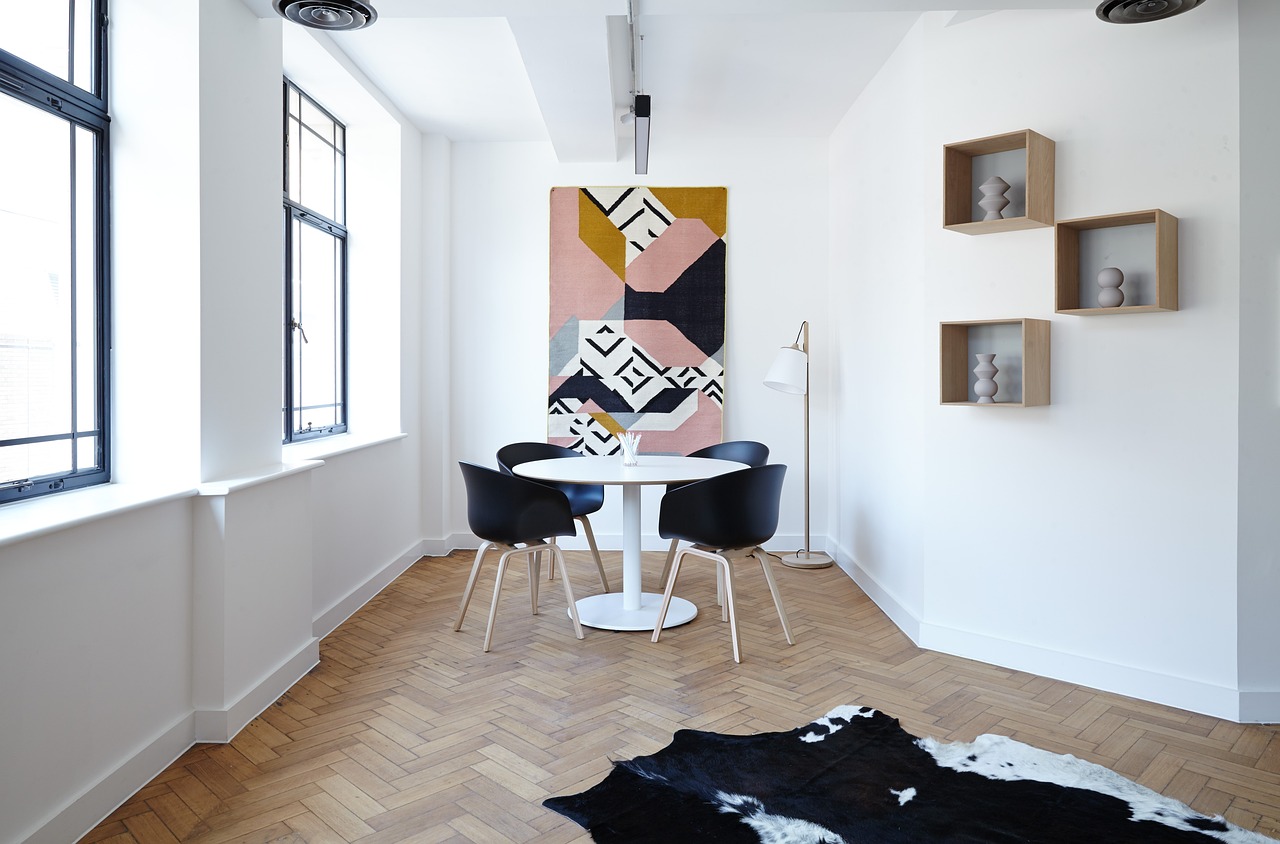
Benefits of Room Dividers
Room dividers are not just decorative elements; they serve a multitude of practical purposes that can significantly enhance your living space. Imagine walking into a room and instantly feeling like you have more space, more privacy, and a greater sense of organization. That's the magic of room dividers! They allow you to create distinct areas within a larger room, making it feel more functional and tailored to your needs.
One of the primary benefits of room dividers is the enhanced privacy they offer. Whether you live in a bustling apartment or a cozy home, having the ability to separate spaces can make a world of difference. For instance, if you work from home, a room divider can help you carve out a dedicated workspace, allowing you to focus better while keeping your work life separate from your personal life. It’s like having your own little office nook right in your living room!
Moreover, room dividers improve space utilization. They enable you to maximize the functionality of your space, transforming an open area into multiple zones for various activities. For example, you can create a reading corner, a play area for kids, or even a mini gym, all within the same room. This versatility is especially beneficial in smaller homes where every square foot counts.
Another significant advantage is the aesthetic appeal room dividers bring to your home. They can serve as a statement piece, adding character and style to your decor. From sleek modern designs to rustic wooden dividers, the options are endless. You can choose materials and styles that reflect your personality and enhance the overall ambiance of your space.
In addition to these benefits, room dividers can also help reduce noise levels. If you have a busy household or live in an apartment, the sounds of daily life can sometimes be overwhelming. A well-placed room divider can act as a sound barrier, allowing you to enjoy a quieter environment. Think of it as creating your own peaceful oasis amidst the chaos!
Lastly, room dividers are incredibly flexible. They can be easily moved or adjusted according to your changing needs. If you decide to rearrange your furniture or change the function of a room, you can simply reposition your divider to suit your new layout. This flexibility makes them a practical choice for anyone looking to adapt their living space without major renovations.
In summary, the benefits of room dividers are multifaceted. They offer enhanced privacy, improved space utilization, aesthetic appeal, noise reduction, and incredible flexibility. With so many advantages, it’s no wonder that more and more homeowners are incorporating room dividers into their living spaces. So, why not consider adding a room divider to your home? You might just find that it transforms your space in ways you never imagined!
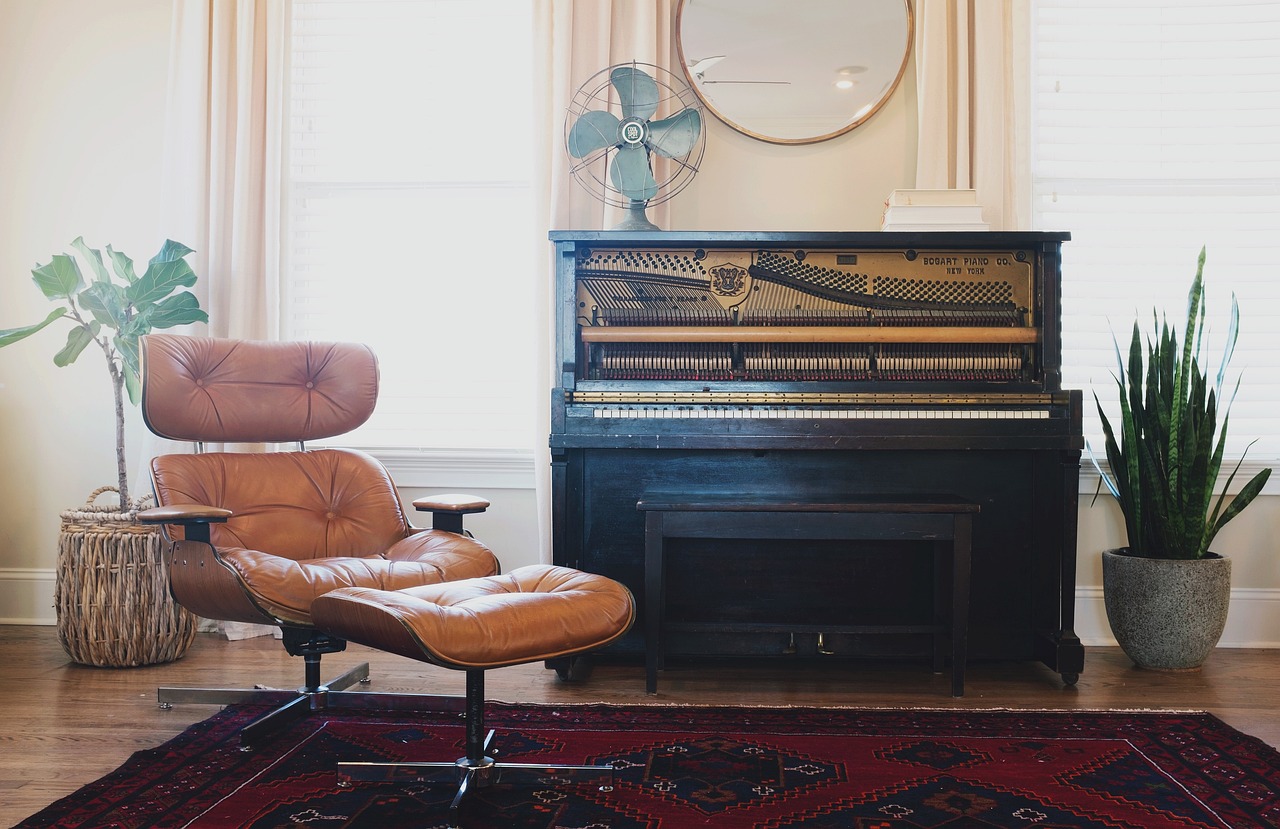
Materials for DIY Room Dividers
When it comes to crafting your own room divider, the choice of materials plays a pivotal role in determining not only the aesthetic appeal but also the functionality of the divider. The beauty of DIY projects lies in the flexibility and creativity they offer, allowing you to mix and match materials that suit your personal style and the existing decor of your home. Whether you prefer the rustic charm of wood, the softness of fabric, or even the ingenuity of repurposed items, there’s a plethora of options available to you.
First up, let’s talk about wood. This classic material is not only durable but can be tailored to fit any design aesthetic. From sleek modern lines to rustic farmhouse vibes, wooden dividers can be customized in a myriad of ways. You can opt for different types of wood like pine, oak, or even reclaimed wood, each bringing its own unique texture and color to your space. The versatility of wood also allows for various construction techniques, whether you're building a simple frame or an intricate slatted design.
Next, we have fabric dividers. Imagine soft, flowing curtains that gently separate spaces while adding a pop of color or pattern to your room. Fabric dividers can be hung from a ceiling track or a simple rod, making them an excellent choice for those who want a flexible and easily adjustable solution. The options are endless, from sheer materials that allow light to filter through to heavier fabrics that provide more privacy. Consider mixing different textures and colors to create a layered look that enhances your home’s decor.
For the eco-conscious DIYer, repurposed items can be a goldmine. Think about using old doors, vintage windows, or even furniture pieces that have outlived their original purpose. Not only does this approach save money, but it also adds a unique story to your space. For instance, an old door can be transformed into a stunning divider with a coat of paint and some creative hardware, instantly becoming a conversation starter. Additionally, using repurposed items contributes to sustainability, making your home both stylish and environmentally friendly.
To help you visualize the possibilities, here’s a simple comparison table of materials you might consider for your DIY room divider:
| Material | Pros | Cons |
|---|---|---|
| Wood | Durable, customizable, timeless | Can be heavy, may require tools |
| Fabric | Soft, flexible, easy to change | May not provide full privacy, can collect dust |
| Repurposed Items | Unique, eco-friendly, cost-effective | May require more creativity, potential wear and tear |
Ultimately, the choice of materials for your DIY room divider should reflect your personal style and the functionality you desire. Whether you lean towards the rustic appeal of wood, the softness of fabric, or the ingenuity of repurposed treasures, each option offers a unique way to transform your space. So, roll up your sleeves and get creative—your perfect room divider awaits!
Q: What is the best material for a room divider?
A: The best material depends on your needs. Wood is durable and versatile, while fabric offers softness and flexibility. Repurposed items can add uniqueness and character.
Q: How can I ensure my fabric divider is functional?
A: Choose a sturdy rod or track for hanging and select fabric that complements your decor while providing the desired level of privacy.
Q: Can I use a room divider for soundproofing?
A: While room dividers can help reduce noise, they are not specifically designed for soundproofing. Consider adding heavy fabrics or sound-absorbing materials for better results.

Wooden Dividers
When it comes to enhancing your living space, stand out as a timeless and versatile option. Not only do they provide a sense of separation and privacy, but they also add a touch of warmth and elegance to any room. Imagine walking into a cozy living area where a beautifully crafted wooden divider not only defines spaces but also serves as a stunning focal point. It's like having a piece of art that also serves a practical purpose!
There are various types of wood you can choose from, each offering unique characteristics that can complement your home’s decor. For instance, maple and oak are known for their durability and rich textures, while pine provides a more rustic and casual vibe. Depending on your style, you can select the perfect wood that resonates with your personality. Plus, wooden dividers can be painted or stained to match your existing decor, allowing for endless customization.
Let’s not forget about the different styles of wooden dividers that can elevate your space. Here are a few popular options:
- Slatted Dividers: These provide a modern look while still allowing light to filter through, creating an airy feel.
- Solid Panels: For maximum privacy, solid wooden panels can be used, giving a more enclosed and intimate atmosphere.
- Decorative Screens: These can feature intricate designs or carvings, adding an artistic touch to your home.
Building your own wooden divider can be a rewarding DIY project. Not only do you get to unleash your creativity, but you also save money in the process. You can find tutorials online that guide you through selecting the right materials, cutting the wood to size, and assembling your divider. Imagine the satisfaction of creating something beautiful with your own hands! Whether you choose to go for a simple design or something more elaborate, the process can be incredibly fulfilling.
Moreover, wooden dividers are not just functional; they can also be used to showcase your style. You can adorn them with plants, decorative items, or even artwork to create a unique display. Think of your wooden divider as a blank canvas that can evolve with your tastes over time. As trends change or your personal style evolves, so too can your divider!
In conclusion, wooden dividers are an excellent choice for anyone looking to enhance their living space. They offer a perfect blend of functionality, aesthetic appeal, and customization potential. Whether you’re creating a cozy reading nook or separating a home office from your living area, wooden dividers can truly transform your home into a sanctuary of style and comfort.
1. How do I maintain my wooden dividers?
To keep your wooden dividers looking their best, regularly dust them with a soft cloth and clean them with a mild wood cleaner. Avoid harsh chemicals that can damage the finish.
2. Can I use reclaimed wood for my dividers?
Absolutely! Reclaimed wood not only adds character but is also an eco-friendly choice. Just make sure it’s properly treated to avoid any pests.
3. What tools do I need to build a wooden divider?
Basic tools like a saw, drill, measuring tape, and sandpaper are essential. Depending on your design, you may need additional hardware like hinges or brackets.
Pallet Wood Ideas
Pallet wood is not just a trendy choice for DIY enthusiasts; it’s also an affordable and eco-friendly option that can breathe new life into your home. Using pallets for room dividers allows you to create stunning, rustic designs that add a touch of character and warmth to any space. The beauty of pallet wood lies in its versatility; you can easily customize it to fit your personal style and the overall aesthetic of your home. Imagine transforming a simple stack of pallets into a charming divider that separates your living area from your workspace.
One of the best things about pallet wood is that it can be found almost anywhere, often for free! Local businesses and warehouses frequently have surplus pallets they are willing to part with. Just be sure to check that they are safe for use, as some may have been treated with chemicals. Once you have your pallets, the possibilities are endless. You can choose to leave them in their natural state for a more rustic look, or you can sand, stain, or paint them to match your decor.
For a simple yet effective room divider, consider creating a vertical pallet wall. This design not only provides a solid separation between spaces but also serves as a decorative element. You can even incorporate shelves into the pallet structure, allowing you to display plants, books, or other decorative items. If you’re feeling particularly creative, try arranging the pallets in a zigzag pattern to create a more dynamic look.
Another exciting idea is to use pallets to create a folding screen. By attaching hinges to several pallet sections, you can easily fold and unfold the screen as needed. This approach is perfect for those who want a flexible solution that can adapt to different situations. You can also paint each section a different color or pattern to add a playful touch, making it not just functional but also a statement piece in your home.
For those who love a bit of greenery, consider adding plants to your pallet wood divider. You can attach planters to the pallets, creating a living wall that not only separates spaces but also enhances air quality and adds a splash of color. This combination of wood and nature creates a soothing atmosphere that can transform any room into a tranquil oasis.
In summary, pallet wood is a fantastic material for creating unique and functional room dividers. Whether you choose to build a solid wall, a folding screen, or a living divider, the charm of pallet wood will undoubtedly elevate your home’s aesthetic. So, roll up your sleeves, grab some pallets, and let your creativity flow!
Q: Where can I find pallets for my DIY projects?
A: You can often find pallets at local warehouses, retail stores, or even on websites like Craigslist or Freecycle. Just make sure they are safe and untreated.
Q: How do I ensure the pallets are safe to use?
A: Look for pallets that are stamped with "HT" (heat-treated) which indicates they are safe for use. Avoid pallets that have been treated with chemicals (marked with "MB").
Q: Can I paint or stain pallet wood?
A: Absolutely! Sand the wood first to create a smooth surface, then apply your choice of paint or stain to match your decor.
Q: How can I maintain my pallet wood divider?
A: Regular dusting and occasional cleaning with a damp cloth will keep your divider looking fresh. If you notice any wear, a quick touch-up with paint or stain can restore its beauty.
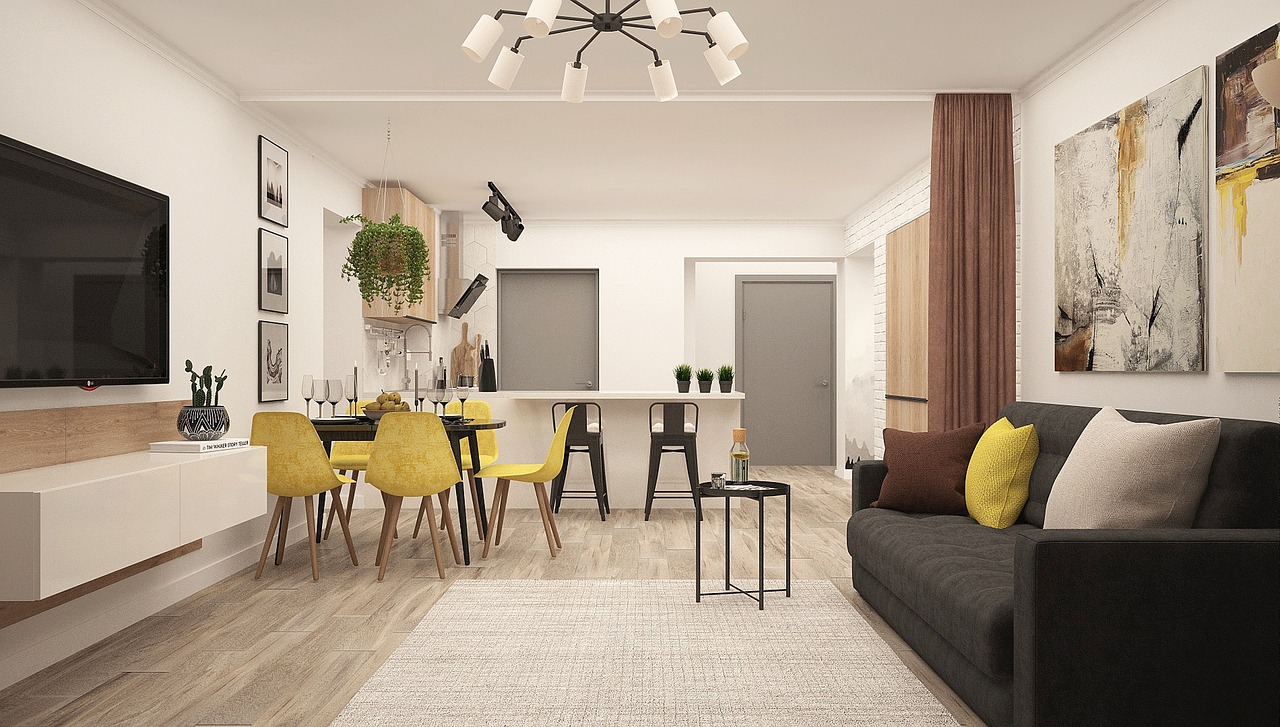
Framed Screens
Framed screens are a fantastic way to add a touch of elegance and functionality to your living space. Imagine stepping into a room where the air is filled with creativity and style, all thanks to a beautifully crafted screen that not only divides space but also enhances the aesthetic appeal. These dividers can be tailored to fit any decor, from modern minimalist to rustic farmhouse, making them a versatile choice for anyone looking to spruce up their home.
When it comes to building framed screens, the choices are endless. You can use materials like wood, metal, or even a combination of both to achieve the look you desire. For instance, a wooden frame with a sheer fabric insert can create a soft, inviting atmosphere, while a metal frame with glass panels can offer a more contemporary vibe. The beauty of framed screens lies in their ability to blend seamlessly into your existing decor while providing a functional purpose.
To get started on your framed screen project, consider the following steps:
- Choose Your Materials: Decide if you want a wooden, metal, or mixed-material frame. Each option brings its own unique flair.
- Design Your Screen: Sketch out your design. Think about the dimensions, the number of panels, and whether you want to incorporate any decorative elements.
- Gather Tools and Supplies: Make sure you have all the necessary tools, such as a saw, drill, screws, and paint or stain for finishing touches.
- Assemble the Frame: Start by cutting your materials to size and assembling the frame. Ensure everything is level and secure for stability.
- Add Your Inserts: Whether you choose fabric, glass, or even a decorative screen, attach it to your frame securely.
One of the standout features of framed screens is their ability to be customized. You can paint or stain the wood to match your existing furniture, or use vibrant colors to make a bold statement. Additionally, consider adding some decorative elements like stencils, decals, or even fairy lights for a whimsical touch. The options are limitless, and the only constraint is your imagination!
Framed screens can serve multiple purposes. Besides dividing spaces, they can act as a backdrop for plants or artwork, creating a cozy nook for relaxation or a vibrant area for socializing. They can also help reduce noise between areas, making your home feel more peaceful and serene. In essence, framed screens are not just dividers; they are functional art pieces that elevate your home’s ambiance.
Q1: What materials are best for framed screens?
A1: The best materials depend on your style and budget. Wood provides warmth and versatility, while metal offers a modern touch. You can also mix materials for a unique look.
Q2: How do I maintain my framed screen?
A2: Maintenance depends on the materials used. Wooden frames may need periodic polishing or repainting, while metal frames can be wiped clean with a damp cloth.
Q3: Can I use a framed screen outdoors?
A3: Yes, but ensure you use weather-resistant materials and finishes to prolong the life of your screen. Consider using outdoor fabrics for added durability.
Q4: How do I ensure my framed screen is stable?
A4: Stability can be achieved by securely fastening the frame and ensuring it is adequately weighted. Adding a base or using heavier materials can also help.

Fabric Dividers
When it comes to adding a touch of warmth and creativity to your living space, are an excellent choice. They not only serve the practical purpose of separating areas but also enhance the overall aesthetic of your home. Imagine walking into a room that feels cozy and inviting, with soft textures and colors that complement your decor. Fabric dividers can achieve this effect effortlessly.
One of the best things about fabric dividers is their versatility. You can choose from a plethora of fabrics, including cotton, linen, or even heavier materials like velvet. Each fabric brings its own vibe to the space. For instance, a sheer fabric can create a light, airy feel, while a thicker material can add a sense of intimacy and warmth. You can even mix and match fabrics to create a unique look that reflects your personality.
Creating hanging fabric dividers is relatively simple, and you don't need to be a DIY expert to pull it off. All you need is some fabric, a curtain rod or tension rod, and a few basic tools. You can hang these dividers from the ceiling or use existing fixtures to suspend them. The beauty of hanging dividers is that they can be drawn open or closed, offering flexibility in how you use the space. Want to create an open layout for entertaining? Simply draw the curtains back. Need a little privacy for a cozy reading nook? Pull them closed!
If you're looking for something a bit more substantial, consider freestanding fabric dividers. These can be constructed using a simple frame and fabric stretched across it. This method allows you to create a more defined division between spaces. You can even add some decorative elements, like tassels or fringe, to give your dividers a unique flair. Plus, freestanding dividers can easily be moved around, which is perfect for those who like to rearrange their living spaces frequently.
To help you get started, here’s a quick table outlining some popular fabric choices and their characteristics:
| Fabric Type | Texture | Best For |
|---|---|---|
| Cotton | Soft and breathable | Casual, everyday use |
| Linen | Textured and rustic | Natural, organic vibes |
| Velvet | Luxurious and plush | Elegant, formal settings |
| Sheer | Light and airy | Bright, open spaces |
In addition to their functional benefits, fabric dividers can be a canvas for your creativity. You can customize them with patterns, colors, and textures that resonate with your style. Want a bohemian vibe? Choose colorful, patterned fabrics. Prefer a more minimalist look? Opt for solid colors that blend seamlessly with your decor. The possibilities are endless!
So, whether you're looking to create a cozy reading nook, a dedicated workspace, or simply want to add a splash of personality to your home, fabric dividers are a fantastic option. They are not only practical but also a fun way to express your personal style. Why not give it a try?
1. Can I use any type of fabric for dividers?
Yes, you can use a variety of fabrics! Just ensure they are suitable for the intended purpose and environment, considering factors like durability and light filtering.
2. How do I hang fabric dividers?
You can use curtain rods, tension rods, or even wire to hang your fabric. Just make sure they are securely fastened to support the weight of the fabric.
3. Are fabric dividers easy to clean?
Most fabric dividers can be machine washed or spot cleaned. Check the care instructions of the fabric you choose for specific cleaning methods.
4. Can I use fabric dividers outdoors?
While some fabrics are suitable for outdoor use, it’s best to choose weather-resistant materials if you plan to use them outside.
Creative Divider Designs
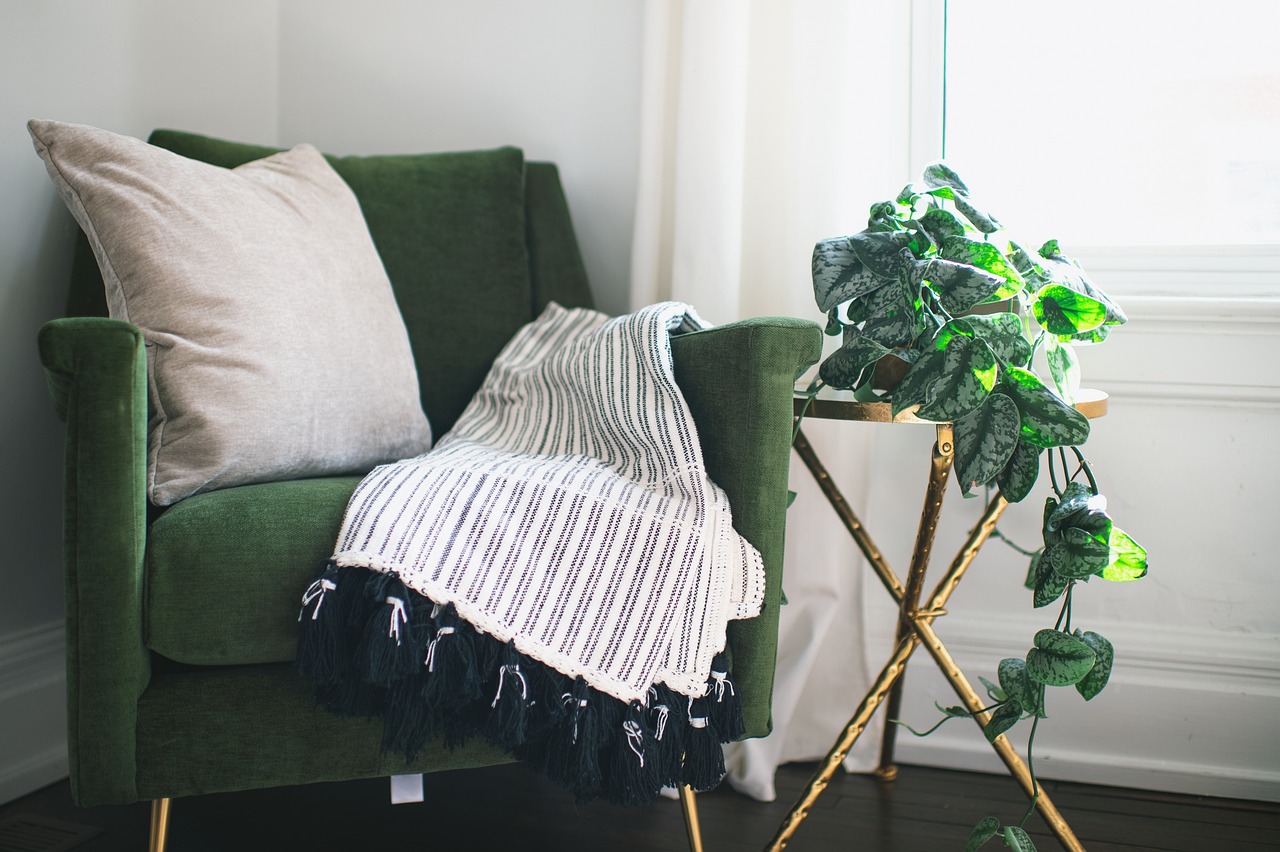
When it comes to room dividers, the possibilities are as vast as your imagination! Creative divider designs can transform any space, making it not just functional but also visually appealing. Think of room dividers as the artful separators in your home that can enhance both style and utility. Whether you're looking to create a cozy reading nook or separate a workspace from your living area, there are myriad options to explore.
One of the most popular choices is the folding screen. These beauties have been around for centuries and come in various styles, from traditional Asian designs to modern minimalist looks. They can be made from a variety of materials, such as wood, metal, or even fabric, and can be painted or decorated to match your interior decor. Imagine a stunning folding screen acting as both a functional divider and a piece of art that catches the eye of anyone who enters your space!
Another innovative option is hanging curtains. These are not only versatile but also incredibly easy to install. You can choose from an array of fabrics, colors, and patterns, allowing you to customize the look to fit your personal style. Hanging curtains can create a soft, flowing look that brings warmth to any room. Plus, they can be opened and closed as needed, giving you control over your space. Just picture a light, airy fabric that dances in the breeze, creating an inviting atmosphere while still providing the privacy you desire.
For those who love a bit of rustic charm, consider using repurposed materials. Old doors, shutters, or even vintage windows can be transformed into unique room dividers that tell a story. This approach not only adds character to your home but is also an eco-friendly option. Imagine a reclaimed barn door standing proudly in your living room, dividing your space while adding a touch of farmhouse elegance.
In terms of functionality, sliding panels are also gaining popularity. These panels can glide open and closed, allowing you to easily adjust the space as needed. They can be made from various materials, including glass, wood, or even fabric, and can be customized to fit any opening. It's like having a magic curtain that can change your room's layout with just a gentle pull!
To help you visualize these creative designs, here's a quick comparison of some popular options:
| Design Type | Material Options | Style | Functionality |
|---|---|---|---|
| Folding Screen | Wood, Metal, Fabric | Traditional, Modern | Portable, Decorative |
| Hanging Curtains | Fabric | Soft, Flowing | Flexible, Adjustable |
| Repurposed Materials | Old Doors, Shutters | Rustic, Vintage | Unique, Eco-friendly |
| Sliding Panels | Glass, Wood, Fabric | Modern, Sleek | Space-saving, Functional |
In conclusion, the world of DIY room dividers is filled with creativity and potential. Whether you opt for a folding screen that adds a pop of color or hanging curtains that provide a soft touch, the right design can truly elevate your living space. So, roll up your sleeves and let your creativity flow as you embark on your room-dividing journey!
Q: What materials can I use for a DIY room divider?
A: You can use a variety of materials including wood, fabric, metal, and repurposed items like doors or shutters.
Q: How do I choose the right style for my room divider?
A: Consider your existing decor, the purpose of the divider, and your personal style. Whether you prefer modern, rustic, or traditional, there are options to fit every aesthetic.
Q: Are room dividers easy to install?
A: Many DIY room dividers are designed for easy installation. Options like curtains or folding screens require minimal tools, while more complex designs may need some basic carpentry skills.
Q: Can I use a room divider for soundproofing?
A: While room dividers primarily serve as visual barriers, certain materials can help dampen sound. Fabric dividers, in particular, can absorb sound waves and reduce noise levels.
Folding Screens
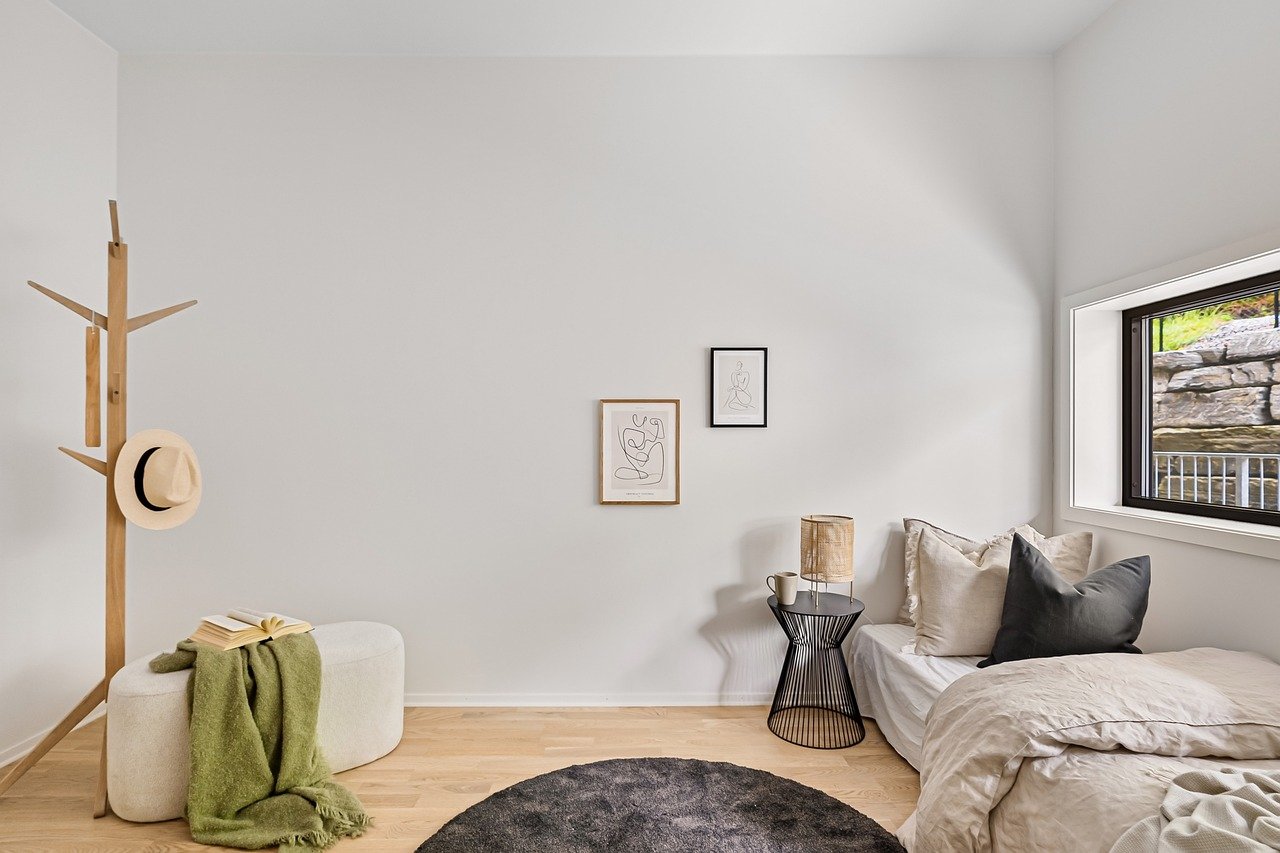
Folding screens are not just a practical solution for dividing spaces; they are also a fantastic way to inject some personality into your home décor. Imagine walking into a room and being greeted by a stunning piece that not only serves a purpose but also catches the eye. These screens can be tailored to fit any style, whether you prefer a modern aesthetic or a more traditional vibe. With the right materials and a bit of creativity, you can transform a simple screen into a statement piece that reflects your unique taste.
One of the best things about folding screens is their versatility. They come in various designs and can be easily moved around, allowing you to change the layout of your space whenever you feel like it. For instance, you can use a folding screen to create a cozy reading nook in your living room or to separate your workspace from your relaxation area. This flexibility makes them an excellent choice for anyone looking to maximize their space without committing to permanent changes.
When it comes to building your own folding screen, you have a plethora of options. You can use materials like wood, fabric, or even repurposed items to create something truly unique. Here are a few ideas to get your creative juices flowing:
- Wooden Frames: Construct a simple wooden frame and attach panels of your choice, such as fabric or decorative paper, to create a stunning visual effect.
- Painted Screens: Use your favorite colors to paint a plain wooden screen, giving it a fresh and vibrant look.
- Mixed Media: Combine different materials like wood, metal, and fabric for a truly eclectic design that showcases your personality.
Moreover, folding screens can be a fantastic canvas for your artistic expression. You can stencil designs or even hang artwork on them, making them a dynamic part of your home. The possibilities are endless, and you can easily change them up whenever your mood shifts or your décor evolves.
In terms of functionality, folding screens can also provide practical benefits. They can help reduce noise, block out distractions, and create a sense of privacy in shared spaces. Plus, they are generally lightweight and portable, making it easy to reconfigure your layout as needed. Whether you're hosting a gathering or simply enjoying a quiet evening at home, a folding screen can add that extra touch of comfort and style.
To sum it up, folding screens are a brilliant DIY project that can enhance your home's aesthetic and functionality. With a bit of imagination, you can create a piece that not only divides your space but also tells a story. So, why not roll up your sleeves and start crafting your own folding screen today?
Q1: What materials do I need to create a folding screen?
A1: You can use wood for the frame, fabric for the panels, and decorative elements like paint or stencils to personalize your screen. Recycled materials can also work wonderfully!
Q2: How do I ensure my folding screen is stable?
A2: Make sure to use sturdy hinges and a solid base for your frame. You can also add weights to the bottom of the screen for extra stability.
Q3: Can I paint or decorate my folding screen?
A3: Absolutely! Painting or adding decorations is a great way to customize your screen and make it a focal point in your room.

Hanging Curtains
Hanging curtains are not just a practical solution for dividing spaces; they also bring a touch of elegance and style to your home. Imagine walking into a room where soft, flowing fabric creates an instant sense of warmth and coziness. Whether you're looking to separate a living area from a dining space or create a cozy nook for reading, hanging curtains can transform any area into a beautiful, functional space.
One of the best things about using curtains as room dividers is their incredible versatility. You can choose from a wide range of fabrics, colors, and patterns to match your existing decor or make a bold statement. For a more relaxed vibe, opt for sheer curtains that allow light to filter through while still providing a sense of separation. On the other hand, if you want to create a dramatic effect, consider heavy drapes in rich colors or intricate patterns.
When selecting curtains, it’s essential to consider the hardware you'll need for installation. Curtain rods or tracks can be mounted on the ceiling or walls, depending on your preference and the layout of the room. Here’s a quick rundown of the types of hardware you might consider:
| Type of Hardware | Description |
|---|---|
| Curtain Rods | Traditional option, available in various materials and styles. |
| Curtain Tracks | Ideal for a sleek, modern look; allows curtains to glide smoothly. |
| Ceiling-Mounted Systems | Perfect for high ceilings, creating an illusion of height and space. |
Installation is relatively straightforward, making hanging curtains a fantastic DIY project. You’ll want to measure the space accurately to ensure your curtains hang perfectly. A good rule of thumb is to hang the rod or track a few inches above the window or the area you’re dividing, which helps to create an illusion of height. Consider using a double rod system if you want to layer curtains for added texture and depth.
To add a personal touch, think about embellishing your curtains with decorative tiebacks or using fabric paint to create unique designs. This not only enhances the aesthetic appeal but also allows you to showcase your creativity. Plus, if you ever decide to change your decor, swapping out the curtains is a simple and cost-effective way to refresh the look of your space.
Ultimately, hanging curtains are a fantastic choice for anyone looking to add flexibility and style to their home. With the right fabric and hardware, you can create a beautiful divider that suits your needs while enhancing the overall ambiance of your living space.
Q: Can I use any type of fabric for my hanging curtains?
A: Yes, you can use various types of fabric, but consider the purpose of the divider. For privacy, opt for heavier fabrics, while sheer fabrics work well for light separation.
Q: How do I clean my hanging curtains?
A: Most curtains can be machine washed, but it's best to check the care label. For delicate fabrics, consider hand washing or dry cleaning.
Q: Are hanging curtains easy to install?
A: Absolutely! With basic tools and a little measuring, you can install curtain rods or tracks in no time.
Q: Can I use hanging curtains in a small space?
A: Yes, hanging curtains can actually make small spaces feel larger by creating the illusion of separate areas without the bulk of traditional dividers.
Budget-Friendly DIY Options
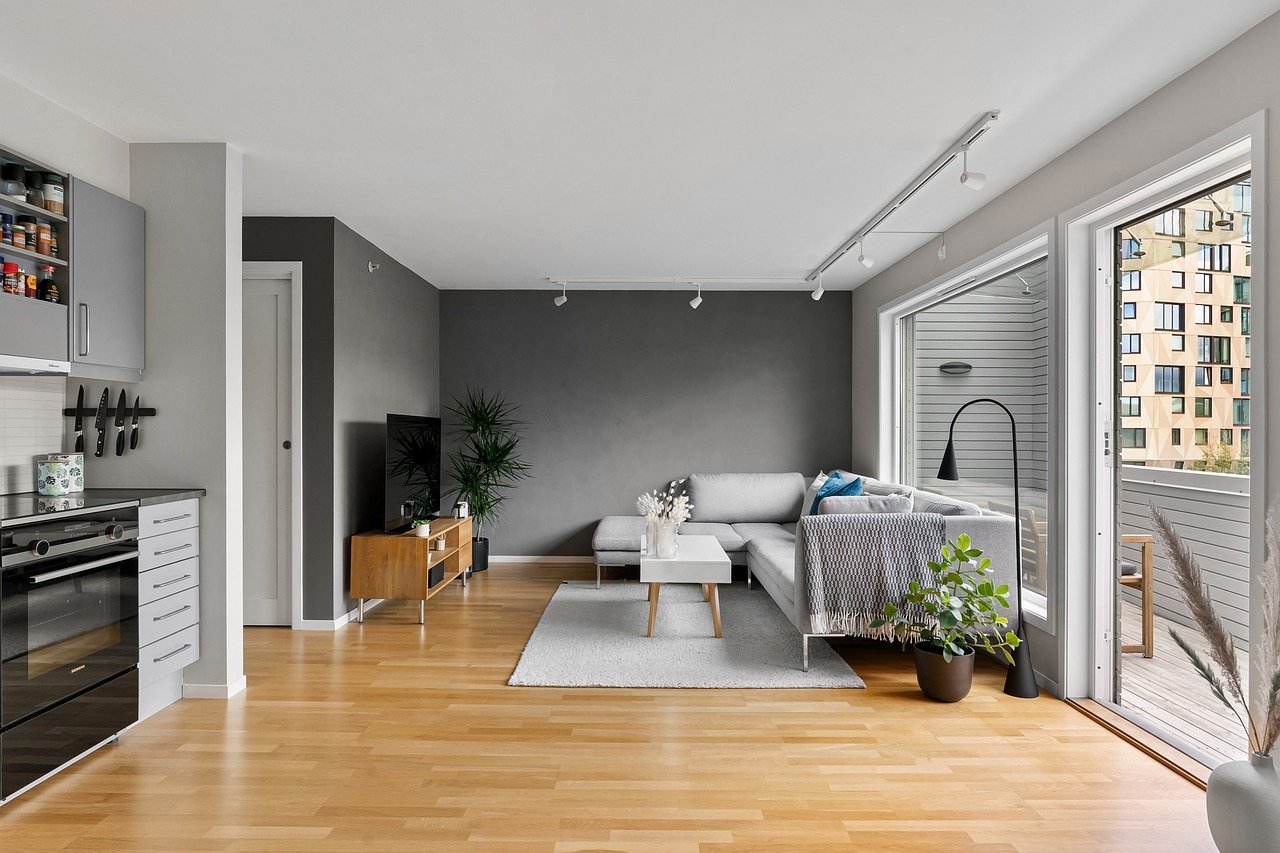
Creating stunning room dividers doesn't have to drain your wallet! In fact, with a little creativity and resourcefulness, you can craft beautiful dividers that enhance your space without breaking the bank. The beauty of DIY projects lies in their ability to transform everyday materials into something extraordinary. So, let's dive into some exciting budget-friendly options that can make your home both stylish and functional.
One of the most effective ways to save money is by repurposing items you already have at home. Think about old doors, vintage screens, or even furniture that you no longer use. These items can be creatively transformed into unique room dividers that not only serve a purpose but also add character to your space. For instance, an old door can be painted and hung on hinges to create a rustic divider, while a vintage screen can be reimagined with a fresh coat of paint or new fabric to match your decor.
Another fantastic option is to explore DIY kits and plans. These resources are designed to guide you through the process of building your own room divider with ease. Many kits come with pre-cut materials and detailed instructions, making it simple for even the most novice DIYers to achieve professional results. Plus, they often use cost-effective materials that are both affordable and stylish. Whether you're looking to create a simple fabric curtain divider or a more complex wooden screen, DIY kits can be a game-changer.
Additionally, consider using inexpensive materials such as fabric or plywood. For fabric dividers, you can often find beautiful materials at discount fabric stores or even repurpose old sheets or curtains. Plywood is another affordable option that can be painted or stained to match your decor. The versatility of these materials allows you to create stunning designs that won't put a dent in your budget.
Here's a quick comparison table to help you visualize the cost-effectiveness of different DIY options:
| DIY Option | Estimated Cost | Materials Needed |
|---|---|---|
| Repurposed Doors | $20 - $50 | Old door, hinges, paint |
| Fabric Curtains | $15 - $40 | Fabric, curtain rod, clips |
| Plywood Screen | $30 - $70 | Plywood, paint/stain, screws |
| DIY Kits | $25 - $60 | Pre-cut materials, instructions |
In conclusion, creating a room divider on a budget is not only possible but can also be a fun and rewarding experience. By repurposing items, utilizing DIY kits, and choosing affordable materials, you can design a divider that fits your style and needs without overspending. So, gather your materials, unleash your creativity, and start transforming your space today!
1. What are some inexpensive materials I can use for DIY room dividers?
You can use items like old doors, fabric, plywood, or even repurposed furniture to create budget-friendly room dividers.
2. Are DIY kits worth the investment?
Absolutely! DIY kits often provide pre-cut materials and clear instructions, making it easier to achieve a professional look without a hefty price tag.
3. Can I use curtains as room dividers?
Yes! Hanging curtains are a flexible and stylish way to divide spaces, and they can be easily customized with different fabrics and patterns.
4. How can I make a room divider more visually appealing?
Consider adding decorative elements like lighting, plants, or artwork to your room divider to enhance its aesthetic appeal.
Repurposed Items
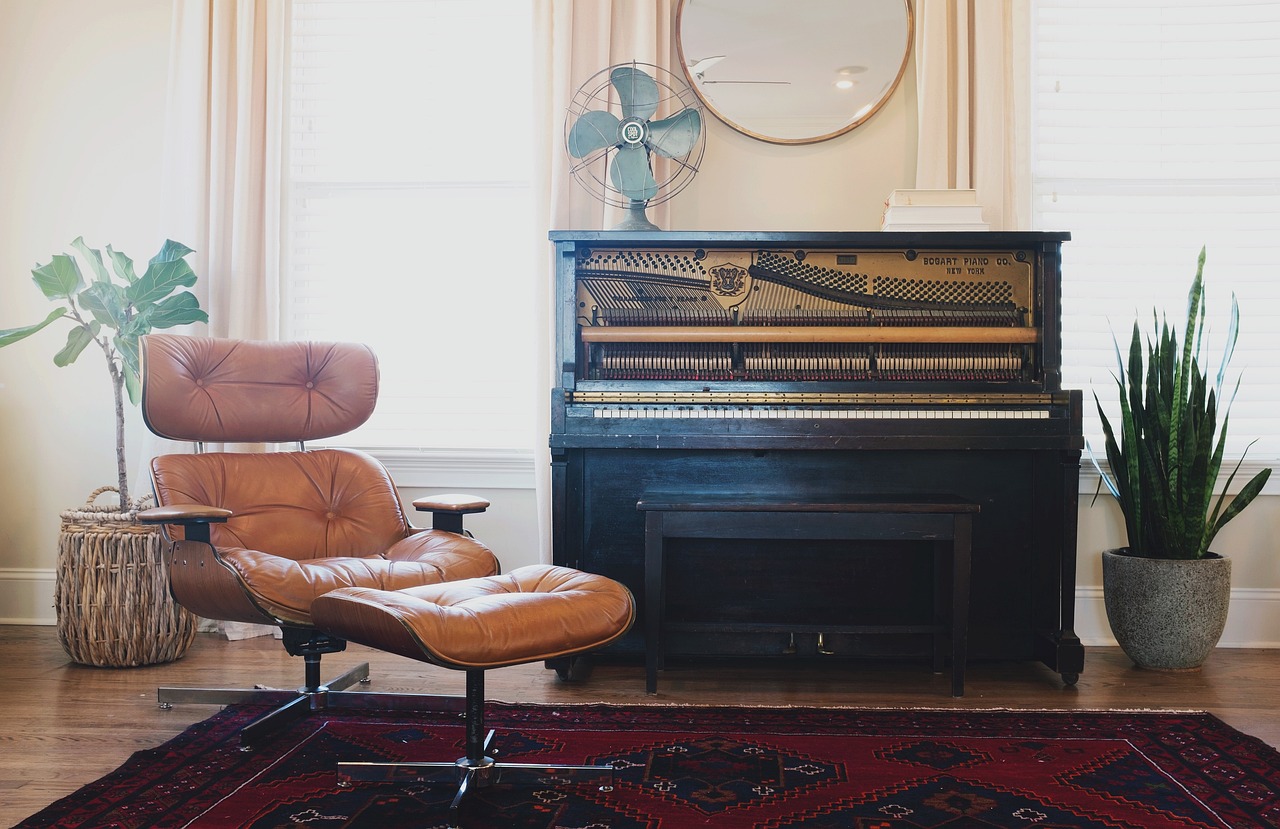
When it comes to creating unique room dividers, can be a game-changer. Not only do they add a touch of personality to your space, but they also promote sustainability by giving new life to old objects. Imagine transforming an old door into a stunning divider that not only separates areas but also becomes a conversation starter! The beauty of using repurposed items lies in their character and history, which can bring warmth and charm to any room.
There are endless possibilities when it comes to what you can repurpose. Here are some ideas to get your creative juices flowing:
- Old Doors: A vintage door can make a striking room divider. Simply sand it down, paint it in a color that complements your decor, and mount it on hinges for a movable option.
- Folding Screens: If you have an old folding screen lying around, consider giving it a fresh coat of paint or reupholstering it with fabric that matches your theme.
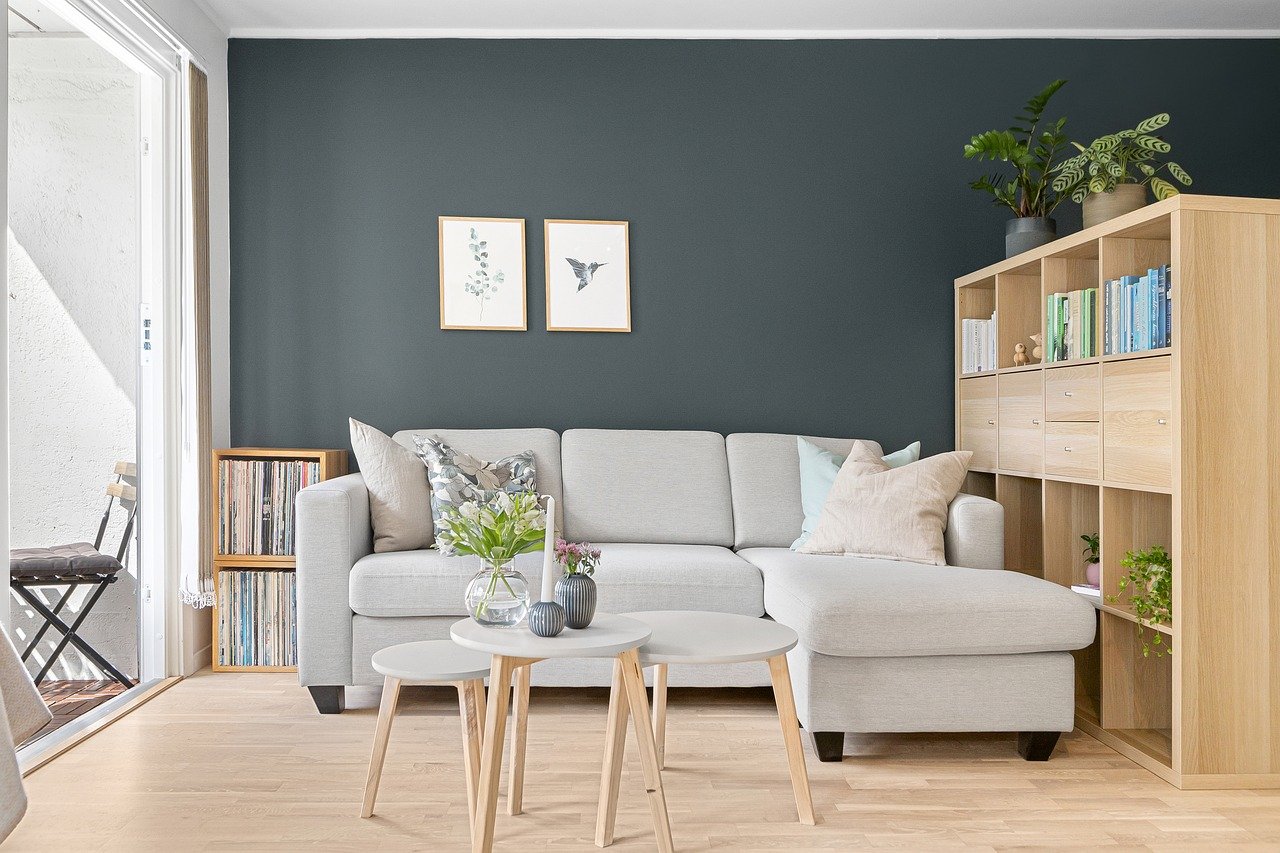
- Bookshelves: An old bookshelf can serve as a functional divider that also provides storage. Just ensure it’s sturdy enough to stand on its own.
- Windows: Repurposing old window frames can create a rustic and airy divider. You can leave the glass in or use the frames to hang fabric or artwork.
Each of these items can be transformed with a bit of creativity and effort. For example, using an old door as a room divider not only provides physical separation but also serves as a statement piece that can enhance your home’s aesthetic. You can even add hooks or shelves to the door for added functionality!
Moreover, the process of repurposing can be incredibly fulfilling. It allows you to express your individuality while also being budget-friendly. You can often find these items at thrift stores, garage sales, or even in your own home gathering dust. Just think of it like a treasure hunt where you’re on the lookout for that perfect piece that can be transformed into something spectacular.
In addition to aesthetics, repurposed items often carry a story. This personal touch can create a sense of nostalgia and warmth in your home. As you gather these items, think about their past and how they can fit into your present living space. Not only do they serve a practical purpose, but they also become a part of your home’s narrative.
So, whether you’re looking to add a bit of privacy to your living room or create a cozy reading nook, consider diving into the world of repurposed items. With a little imagination and some DIY spirit, you can create a room divider that’s not only functional but also a true reflection of your style.
Q: What are some easy items to repurpose for room dividers?
A: Some easy items include old doors, folding screens, bookshelves, and window frames. These can be creatively transformed into stylish dividers.
Q: How can I ensure my repurposed divider is stable?
A: Make sure to secure your divider properly. For items like doors or bookshelves, consider using brackets or hinges to anchor them to the floor or wall for added stability.
Q: Can I paint or decorate my repurposed items?
A: Absolutely! Personalizing your repurposed items with paint, fabric, or even wallpaper can enhance their appearance and make them fit seamlessly into your decor.
Q: Where can I find repurposed items?
A: Look for repurposed items at thrift stores, flea markets, garage sales, or even within your own home. You’d be surprised at what you can find!
DIY Kits and Plans
For those who might feel a bit overwhelmed by the idea of creating their own room dividers from scratch, can be a game-changer. These resources provide step-by-step instructions and all the necessary materials, making the process not only simpler but also more enjoyable. Imagine having everything you need delivered right to your door, ready to transform your space without the hassle of sourcing individual components!
When considering a DIY kit, it's important to look for options that match your style and the specific function you want your room divider to serve. Many kits come with customizable features, allowing you to choose colors, patterns, and finishes that resonate with your personal aesthetic. Plus, they often include detailed instructions that guide you through every step, from assembly to installation, ensuring that even beginners can achieve stunning results.
Here are a few benefits of opting for DIY kits and plans:
- Time-Saving: All materials are pre-selected, which cuts down on the time spent shopping.
- Cost-Effective: Kits often come at a lower price than purchasing materials separately.
- Guided Experience: Clear instructions help you avoid common mistakes and ensure a polished finish.
Moreover, many DIY kits are designed with sustainability in mind, using eco-friendly materials that contribute positively to the environment. This means you can create a beautiful space while also being kind to Mother Earth. For instance, some kits utilize reclaimed wood or recycled fabrics, giving your room divider a unique story and character.
If you're unsure where to find these kits, numerous online retailers specialize in DIY home projects. Websites like Etsy, Amazon, and dedicated DIY stores often have a variety of options to choose from. Additionally, local craft shops frequently offer kits that support local artisans, adding a personal touch to your home decor.
In summary, provide an excellent solution for anyone looking to create a room divider without the stress of complex DIY projects. With a little creativity and the right resources, you can achieve a stunning divider that enhances your home and reflects your personal style.
1. What types of materials are commonly used in DIY room divider kits?
Most kits include materials like wood, fabric, and metal. Some may also incorporate eco-friendly options such as bamboo or recycled materials.
2. Can I customize the designs in DIY kits?
Many DIY kits offer customizable features, allowing you to choose colors, patterns, and finishes that suit your style.
3. Are DIY room divider kits suitable for beginners?
Absolutely! Most kits come with detailed instructions, making them accessible for individuals with little to no DIY experience.
4. Where can I buy DIY room divider kits?
You can find DIY kits at online retailers like Etsy and Amazon, as well as local craft stores that specialize in home projects.
5. How long does it typically take to assemble a DIY room divider kit?
The assembly time can vary based on the complexity of the kit, but most can be completed within a few hours.
Frequently Asked Questions
- What are the benefits of using room dividers in my home?
Room dividers offer a myriad of benefits, including enhanced privacy, improved space utilization, and the ability to create distinct areas within a room. They can help you transform an open space into cozy nooks, making your home feel more organized and functional.
- What materials can I use for DIY room dividers?
When it comes to DIY room dividers, the possibilities are endless! You can use materials like wood, fabric, repurposed items, or even metal. Each material brings its own unique flair, so choose what resonates with your style and the overall decor of your space.
- How can I create a budget-friendly room divider?
Creating a budget-friendly room divider is all about getting creative! Consider repurposing items you already have, like old doors or furniture. You can also explore DIY kits that provide all the materials you need at a lower cost, ensuring you don’t overspend while still achieving stunning results.
- Are there specific design ideas for fabric room dividers?
Absolutely! Fabric room dividers can add a soft touch to your space. You can create hanging dividers using curtains or drapes, or opt for freestanding fabric panels. The key is to choose fabrics that complement your decor while providing the desired level of privacy.
- What are some creative ideas for folding screens as room dividers?
Folding screens are a classic choice and can be personalized in many ways. You can paint them, add fabric, or even use stencils to create unique patterns. The versatility of folding screens allows you to adapt them to fit any room style, from bohemian to modern chic.
- Can I use DIY kits for making room dividers?
Yes, DIY kits are a fantastic option for those who prefer guided projects! These kits typically come with all the necessary materials and instructions, making it easy to create beautiful room dividers without the hassle of sourcing everything yourself.
- How can I ensure my room dividers are functional and stylish?
To achieve both functionality and style, consider the layout of your space and your personal aesthetic. Choose materials and designs that not only serve the purpose of dividing spaces but also enhance the overall look of your room. Mixing textures and colors can also add visual interest!


