DIY Bottle Lamps for a Unique Decor
Are you tired of the same old lighting fixtures that everyone seems to have? Want to add a touch of personality to your home decor? Look no further! DIY bottle lamps are the perfect solution. Not only do they provide a unique and personalized lighting option, but they also allow you to showcase your creativity and style. Imagine transforming an ordinary bottle into a stunning lamp that reflects your taste and enhances your living space. In this guide, we'll explore creative ways to turn everyday bottles into beautiful lamps that will surely be conversation starters.
Creating your own bottle lamp is not just a fun project; it's also an opportunity to recycle and repurpose items that might otherwise end up in the trash. Whether it's an old wine bottle, a vintage soda bottle, or even a decorative glass bottle, the possibilities are endless! Plus, the satisfaction of making something with your own hands is unmatched. So, grab your crafting supplies, and let’s dive into the exciting world of DIY bottle lamps!
When it comes to crafting your bottle lamp, choosing the right bottle is crucial. You want to select a bottle that not only fits your aesthetic but also serves the functional purpose of a lamp. Consider the following factors:
- Size: A larger bottle can serve as a statement piece, while smaller bottles work well for subtle accents.
- Shape: Unique shapes can add character to your lamp, so think outside the box!
- Material: Glass bottles provide a classic look, but ceramic or plastic bottles can also be interesting choices.
Visualize where you intend to place your lamp and how it will complement your existing decor. The right bottle can make all the difference in achieving a cohesive look in your space.
Before diving into your DIY project, it’s important to gather all the necessary tools and materials. Here’s a quick list of what you’ll need:
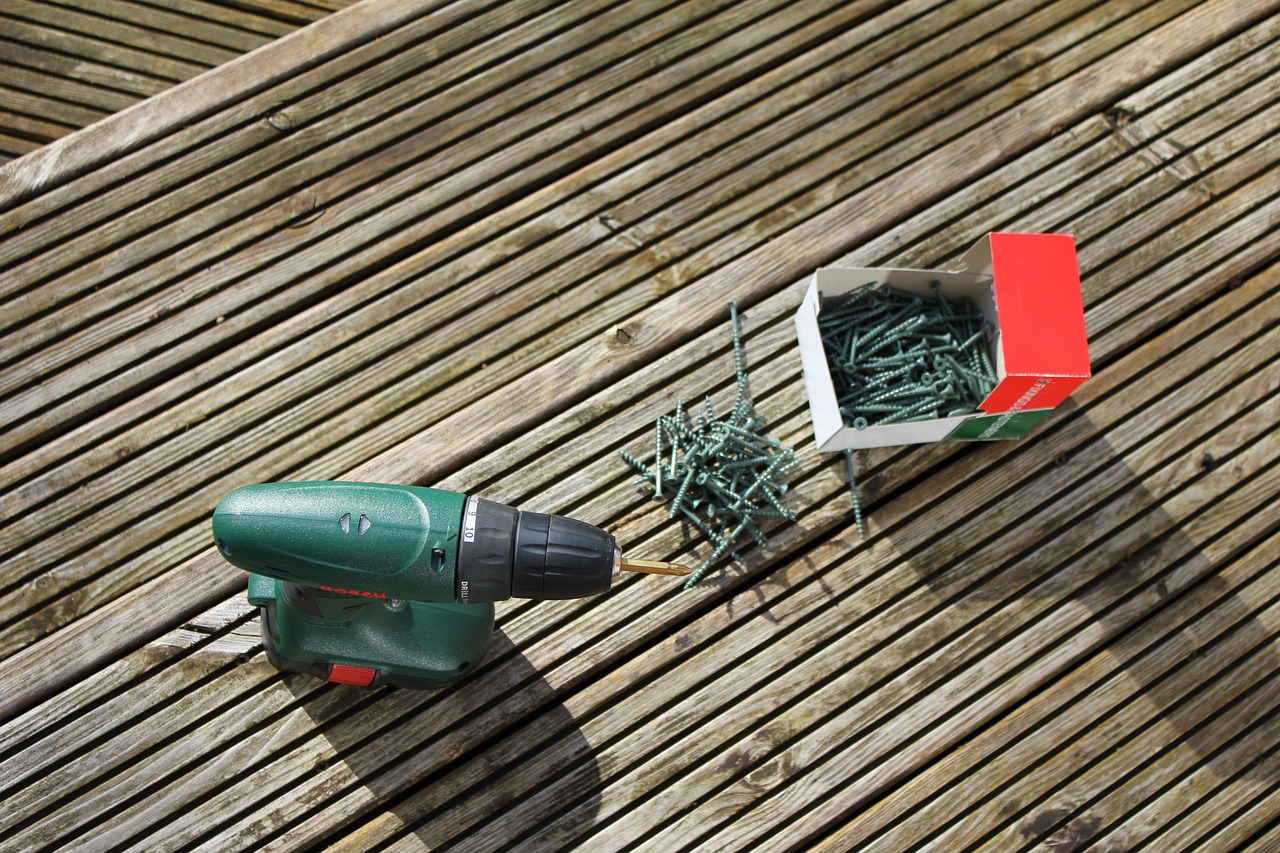
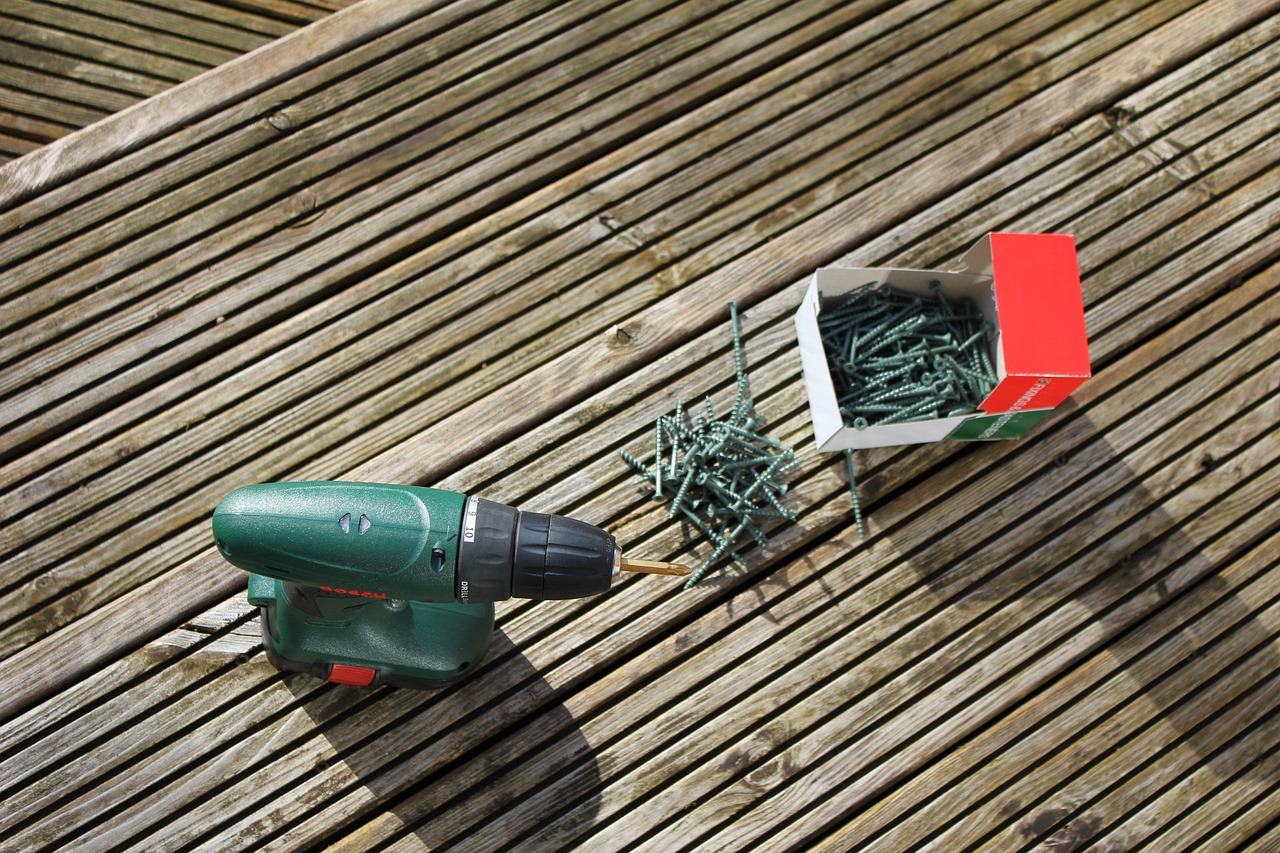
- Tools: Drill, screwdriver, wire cutter, and a glue gun.
- Materials: Your chosen bottle, lamp kit (socket, cord, and bulb), and any decorative elements you want to add.
Having everything ready will ensure a smooth and enjoyable crafting experience. Trust me, there’s nothing worse than having to stop mid-project to search for a missing tool!
Now that you have your bottle and tools ready, let’s get into the nitty-gritty of assembling your bottle lamp. Follow these steps carefully to create a stunning piece of decor:
- Preparing the Bottle: Clean your bottle thoroughly and remove any labels. A clean surface is essential for a polished look.
- Wiring the Lamp: This might sound intimidating, but with our easy-to-follow instructions, you’ll be a pro in no time. Ensure you follow safety guidelines when handling electrical components.
By breaking down the assembly process into manageable steps, you can avoid feeling overwhelmed and enjoy the creative journey.
The lamp shade is where you can truly let your creativity shine. It can dramatically change the look of your bottle lamp. Consider using materials like fabric, paper, or even natural elements like twine or leaves. The key is to choose a design that complements the bottle and fits your overall decor style. For instance, a rustic bottle might pair beautifully with a burlap shade, while a sleek glass bottle could look stunning with a modern geometric shade.
Once your lamp is assembled, it’s time to add those unique finishing touches that make it truly yours. You can paint your bottle, add embellishments like beads or ribbons, or even create a custom shade that reflects your personality. The beauty of DIY projects is that there are no strict rules—let your imagination run wild!
Safety is paramount, especially when working with electrical components. Here are some essential tips to keep in mind:
- Always unplug your lamp when working on it.
- Use insulated tools to prevent electrical shocks.
- Follow the instructions provided with your lamp kit carefully.
By adhering to these safety precautions, you can enjoy your DIY project without any worries.
Once your lamp is complete, it’s time to showcase it! Think about creative ways to display your new decor piece. Whether it’s on a bedside table, a living room shelf, or even as a centerpiece on your dining table, let your lamp shine in its new home. You can also share your creation on social media to inspire others with your DIY skills!
Q: Can I use any type of bottle for my lamp?
A: While you can technically use any bottle, it’s best to choose one that is sturdy and can safely hold the lamp components.
Q: Do I need any special skills to make a bottle lamp?
A: Not at all! Basic crafting skills and a willingness to learn are all you need.
Q: How do I clean my bottle before starting?
A: Soak the bottle in warm, soapy water to remove labels, then rinse thoroughly.

Choosing the Right Bottle
When it comes to creating your own bottle lamp, the first and perhaps most important step is . This decision can set the tone for your entire project, influencing not just the aesthetics but also the functionality of your lamp. Imagine walking into a room and being greeted by the warm glow of a beautifully crafted lamp, its design echoing your unique style. But how do you find that perfect bottle? Let's dive into the key factors you should consider.
First off, size matters! The dimensions of your bottle will dictate where you can place your lamp and how much light it will emit. A tall, slender bottle can create a stunning centerpiece for your dining table, while a short, wide bottle might fit perfectly on a nightstand. Think about the space you want to illuminate and choose accordingly. For instance:
| Size | Best Use |
|---|---|
| Small (up to 12 inches) | Table lamps, accent lighting |
| Medium (12-24 inches) | Desk lamps, bedside lamps |
| Large (over 24 inches) | Floor lamps, statement pieces |
Next, consider the shape of the bottle. Unique shapes can add a touch of flair to your lamp design. For example, a round bottle can create a soft, inviting look, while a square or rectangular bottle might lend a more modern, edgy vibe. Think of it as choosing the right frame for a beautiful painting; the shape of your bottle can enhance its overall appeal.
Now, let’s talk about material. Glass bottles are a popular choice due to their versatility and ability to diffuse light beautifully. However, don’t overlook other materials! Ceramic or metal bottles can also make stunning lamps, adding texture and depth to your decor. Each material interacts with light differently, so consider how you want your lamp to glow and choose a material that aligns with that vision.
Lastly, don’t forget about the color of your bottle. Clear bottles provide a classic look and allow the light to shine through effortlessly, while colored or patterned bottles can create a more dramatic effect. If you’re feeling adventurous, you can even paint or decorate your bottle to match your existing decor. The options are endless!
In summary, when choosing the right bottle for your DIY lamp, keep these factors in mind:
- Size: Consider the space where the lamp will be placed.
- Shape: Choose a shape that complements your style.
- Material: Decide between glass, ceramic, or metal based on desired light diffusion.
- Color: Think about how the color will affect the overall ambiance.
By carefully considering these elements, you'll not only find a bottle that fits your design aesthetic but also create a lamp that serves as a stunning focal point in your home. So, are you ready to start your DIY bottle lamp journey? The perfect bottle is waiting for you!
Essential Tools and Materials
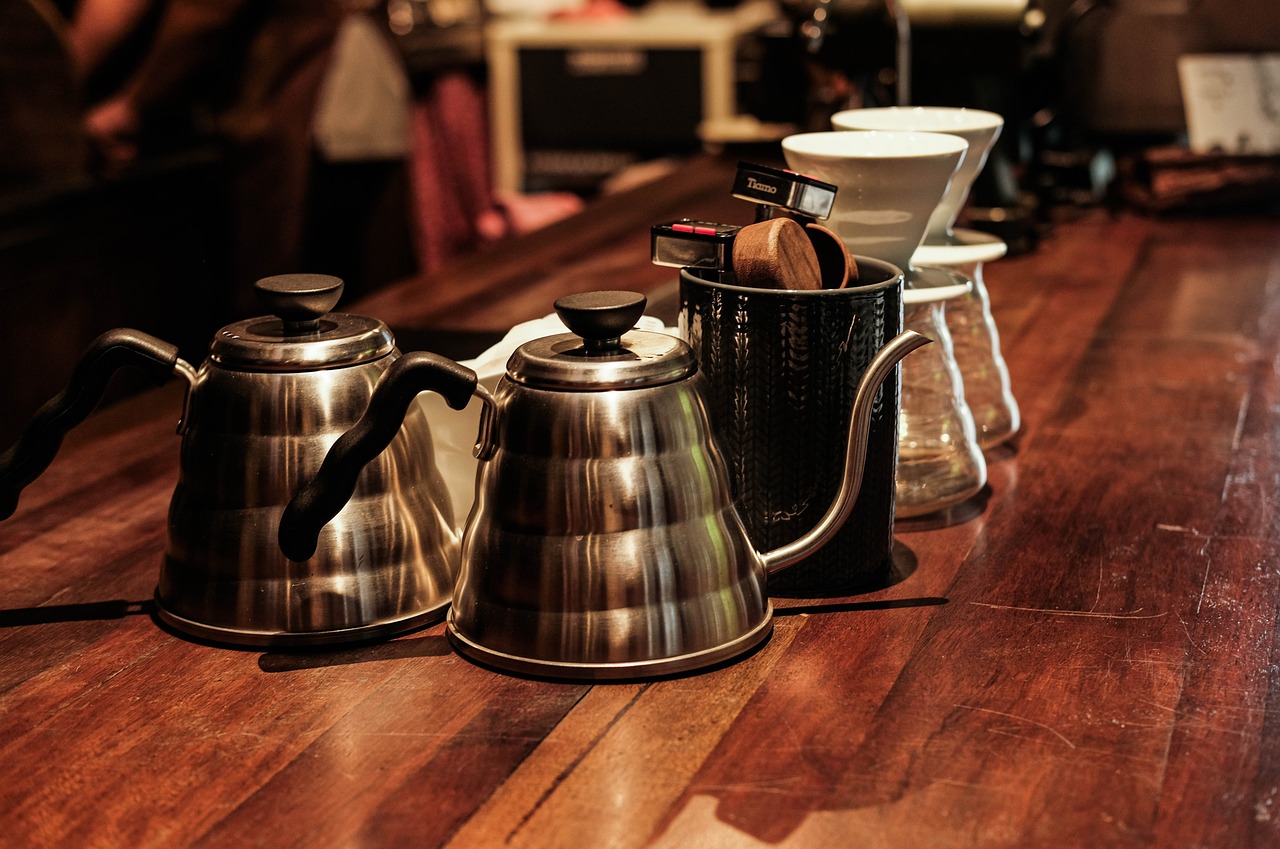
Before diving into the exciting world of DIY bottle lamps, it’s crucial to gather all the you'll need for this creative project. Having everything at your fingertips not only streamlines the process but also enhances your overall experience, allowing you to focus on crafting something beautiful. Here’s a breakdown of what you’ll need:
First, consider the tools that will make your lamp-making journey smoother. You will need:
- Glass Cutter: If you're working with glass bottles, a glass cutter is essential for creating openings.
- Drill with Glass Drill Bits: Useful for making holes in the bottle for wiring.
- Screwdriver: For assembling the lamp fixture.
- Wire Strippers: To prepare your electrical wires for connections.
- Safety Gear: Always wear safety goggles and gloves when cutting or drilling.
Next, let’s talk about the materials you’ll need. The type of bottle you choose will influence the overall aesthetic of your lamp, but there are some universal components:
- Bottle: Choose a bottle that speaks to your style—glass, ceramic, or even plastic can work.
- Light Fixture Kit: This usually includes a socket, cord, and plug, and is essential for making your lamp functional.
- Bulb: Select an appropriate bulb that fits your fixture and complements the ambiance you want to create.
- Shade Material: This could be fabric, paper, or even another bottle, depending on your design vision.
- Adhesives and Paints: For personalizing your lamp, consider using spray paint or glue for embellishments.
In addition to the above, having a clean workspace is vital. A clutter-free area allows you to work more efficiently and safely. Make sure to have a sturdy table, good lighting, and all your materials organized. This way, when inspiration strikes, you can jump right in without hunting for supplies!
Now that you have a solid understanding of the tools and materials needed, you’re one step closer to creating a stunning bottle lamp that will not only light up your space but also serve as a conversation starter. Remember, the key to a successful DIY project is preparation—so gather your supplies, put on your creative hat, and let’s get crafting!
Q: Can I use any type of bottle for my lamp?
A: Yes, you can use various types of bottles, including glass, ceramic, or even plastic. Just ensure that the bottle can withstand the heat from the bulb and has a stable base.
Q: Is wiring a lamp difficult?
A: Wiring may seem daunting at first, but with the right instructions and tools, it can be a straightforward process. Just take your time and follow the steps carefully.
Q: What type of bulb should I use?
A: It's best to use LED bulbs as they produce less heat and are energy-efficient, making them safer for DIY lamps.
Q: How can I personalize my lamp?
A: You can personalize your lamp by painting the bottle, adding embellishments, or creating a unique lampshade that reflects your style.
Step-by-Step Assembly Process
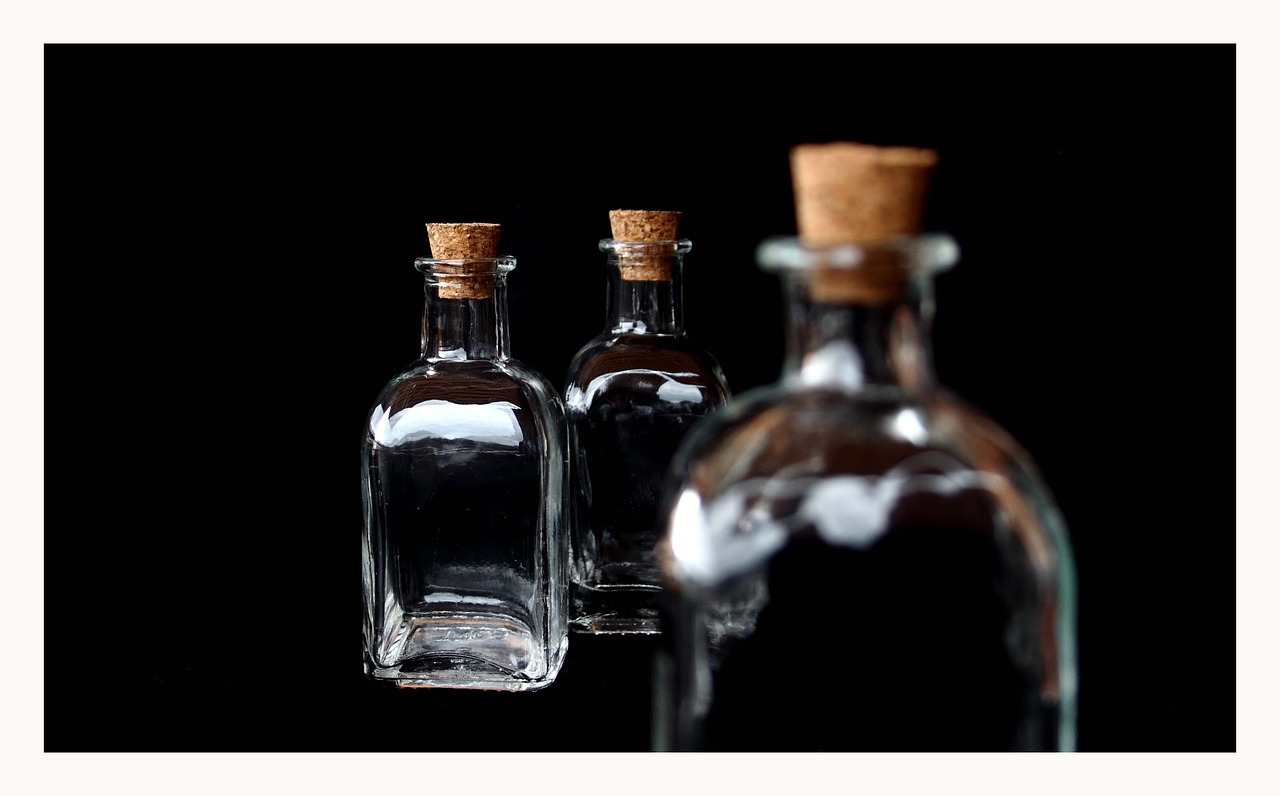
Creating your own bottle lamp is an exciting and fulfilling project that allows you to express your creativity while adding a unique touch to your home decor. To ensure a successful assembly process, it’s essential to follow a series of clear, structured steps. Let’s dive into the details and get your lamp shining bright!
First, gather all your materials and tools in one place. This includes your chosen bottle, a lamp kit (which typically contains a socket, cord, and switch), a drill with a glass-cutting bit, a funnel, and any decorative items you wish to include. Having everything ready will streamline your workflow and make the assembly process smoother.
Next, prepare your bottle. If you’re using a glass bottle, make sure it’s thoroughly cleaned and free from any labels. A clean surface not only enhances the aesthetic appeal but also ensures that the lamp functions properly. Use warm, soapy water to wash the bottle, and if there’s any stubborn adhesive from labels, a bit of rubbing alcohol can do wonders. Once cleaned, let the bottle dry completely. This step is crucial because any moisture can interfere with the wiring later on.
Now it’s time to create a hole for the lamp socket. Carefully mark the spot where you want the socket to sit, usually near the bottom of the bottle. Using your drill with the glass-cutting bit, slowly and steadily drill a hole in the marked spot. Remember to keep the bottle steady and use water to cool the bit as you drill, preventing the glass from shattering. If you’re feeling apprehensive about drilling, consider practicing on a spare bottle first!
Once you have your hole, it’s time to wiring the lamp. This might seem intimidating, but it’s easier than you think. Start by feeding the lamp cord through the hole you just drilled. Next, follow the manufacturer’s instructions for connecting the wires. Typically, you’ll need to connect the black wire to the brass screw on the socket and the white wire to the silver screw. Make sure to tighten the screws securely to avoid any loose connections. After wiring, it’s crucial to test the lamp before sealing everything up. Plug it in and flip the switch to ensure it works properly.
After confirming that your lamp lights up, you can proceed to secure the socket in place. Use the provided hardware from your lamp kit to fasten the socket tightly to the bottle. This will ensure stability and prevent any movement that could damage the wiring. If your bottle has a wide opening, you may want to use a decorative ring or a rubber grommet to give it a polished look.
Finally, it’s time to add the finishing touches. This could involve creating a unique lamp shade or simply leaving it as is for a minimalist look. If you choose to make a shade, consider using materials like fabric, paper, or even metal to complement your bottle's design. Attach the shade securely, ensuring it doesn’t obstruct the light bulb.
In summary, the assembly process can be broken down into these key steps:
| Step | Description |
|---|---|
| 1 | Gather materials and tools. |
| 2 | Clean and prepare the bottle. |
| 3 | Drill a hole for the lamp socket. |
| 4 | Wire the lamp according to instructions. |
| 5 | Secure the socket in place. |
| 6 | Add a lamp shade or finishing touches. |
With these steps, you’ll have a beautiful bottle lamp that not only lights up your space but also tells a story. Remember, the beauty of DIY projects lies in your personal touch, so feel free to experiment and make it uniquely yours!
As you embark on your DIY bottle lamp journey, you might have some questions. Here are a few frequently asked questions that can help guide you:
- Can I use any type of bottle? Yes, but ensure it can withstand drilling and is safe to use with electrical components.
- What type of light bulb should I use? LED bulbs are recommended as they are energy-efficient and produce less heat.
- Is it safe to use a glass bottle for a lamp? Absolutely, as long as it’s properly wired and not exposed to extreme heat.
- How can I personalize my lamp? Consider painting the bottle, adding embellishments, or choosing a unique shade that reflects your style.
Preparing the Bottle
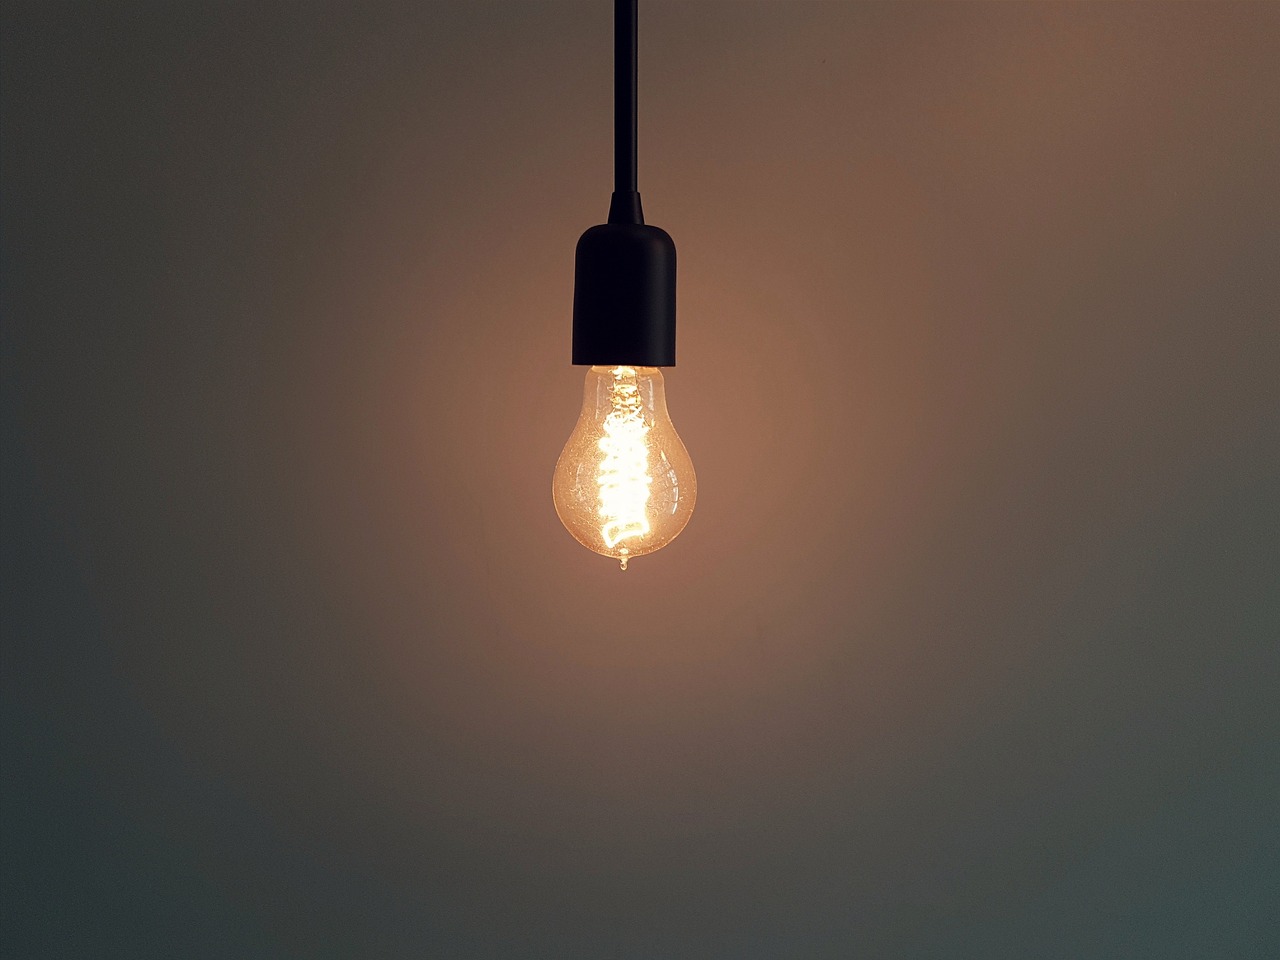
Preparing your bottle is a crucial step in the DIY lamp-making process. You want your lamp to not only function well but also to look stunning in your home decor. First things first, you need to choose a bottle that resonates with your style—be it vintage, modern, or quirky. Once you've selected the right bottle, it’s time to give it a thorough cleaning. Start by removing any labels. You can soak the bottle in warm, soapy water for a few minutes to loosen the adhesive. If there are stubborn residues, a little rubbing alcohol or vinegar can work wonders. Just imagine the satisfaction of peeling off that label and revealing a pristine glass surface!
Next, rinse the bottle thoroughly to ensure that no soap or cleaning agents remain. After rinsing, let it dry completely. A damp bottle can lead to issues later on with the lamp's electrical components. Now, if your bottle has a narrow neck, you might want to consider using a funnel or a small brush to clean the inside thoroughly. Think of it as giving your bottle a spa day—after all, it’s about to become a beautiful centerpiece in your home!
Once your bottle is clean and dry, inspect it for any cracks or imperfections. A flawless bottle not only enhances the aesthetic but also ensures safety when you install the light fixture. If you find any cracks, it’s best to choose another bottle; safety should always come first. Now, if you’re feeling adventurous, you can customize your bottle further by painting it or adding decorative elements. Just make sure any paint or embellishments used are heat resistant, as they will be near the light source.
Finally, consider the base of your bottle. If it’s uneven or too narrow to support a lamp kit, you might want to use a sturdy base. This can be anything from a wooden disc to a decorative plate that complements your bottle’s design. By taking these steps to prepare your bottle, you’re setting the stage for a stunning lamp that will surely be a conversation starter!
- Can I use plastic bottles for lamp making?
While it's possible, glass bottles are recommended for their durability and aesthetic appeal. Plastic may not withstand heat well.
- Do I need special tools to prepare the bottle?
Basic tools like scissors, a sponge, and possibly a heat gun for removing labels are sufficient.
- How do I ensure my bottle lamp is safe to use?
Always use a certified lamp kit and follow electrical safety guidelines when wiring your lamp.
Wiring the Lamp
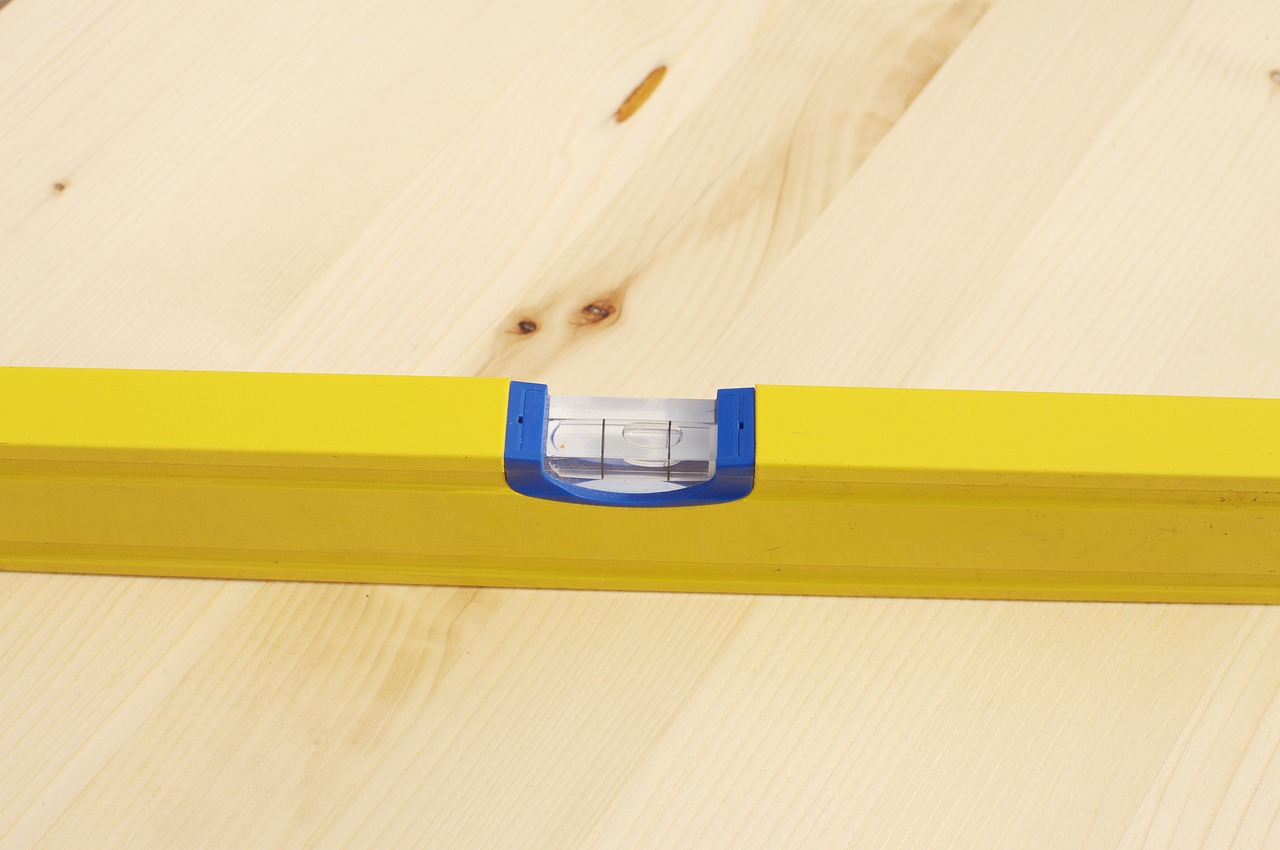
Wiring your DIY bottle lamp may seem intimidating at first, but fear not! With a little patience and the right guidance, you'll find that it's quite manageable. First things first, you'll want to gather your electrical components. This typically includes a lamp kit, which usually contains a socket, a cord, and a plug. You can find these kits at most hardware stores or online. Having everything in one package makes your life a lot easier!
Before you dive into the wiring, ensure that you have your bottle prepped and ready. You don't want to be juggling a half-finished lamp while trying to figure out the wiring. Now, let's break down the wiring process into simple steps:
- Step 1: Start by taking the lamp socket and unscrewing the cap. This will expose the wiring terminals inside the socket.
- Step 2: Strip the ends of your lamp cord to expose about half an inch of wire. You should see two wires: one black (or brown) and one white (or blue).
- Step 3: Connect the black wire from the cord to the brass terminal on the socket. This is the hot wire that carries electricity.
- Step 4: Next, connect the white wire to the silver terminal. This is the neutral wire. Make sure the connections are tight to prevent any electrical issues later on.
- Step 5: After securing the connections, screw the socket cap back on and ensure everything is snug.
Once you've completed these steps, it's time to insert your light bulb. Remember to use a bulb that fits your lamp's design and wattage specifications. A good rule of thumb is to use LED bulbs, as they are energy-efficient and have a longer lifespan than traditional bulbs.
Now, you might be wondering about safety. Always double-check your connections and make sure there are no exposed wires. If you have any doubts, consult with a professional electrician. Safety should always be your top priority when working with electricity!
Finally, plug in your lamp and turn it on. If everything is wired correctly, you'll be greeted with a warm glow that not only illuminates your space but also showcases your creativity. Enjoy your beautiful new bottle lamp and the satisfaction that comes from creating something unique!
Designing the Lamp Shade
When it comes to creating a bottle lamp, the lamp shade is like the cherry on top of a sundae—it can completely transform the overall look of your creation. Imagine a simple glass bottle turned into a stunning centerpiece just by choosing the right shade! The design possibilities are endless, and you can let your creativity flow. Whether you prefer a minimalist aesthetic or something more eclectic, the lamp shade can enhance your bottle's unique character.
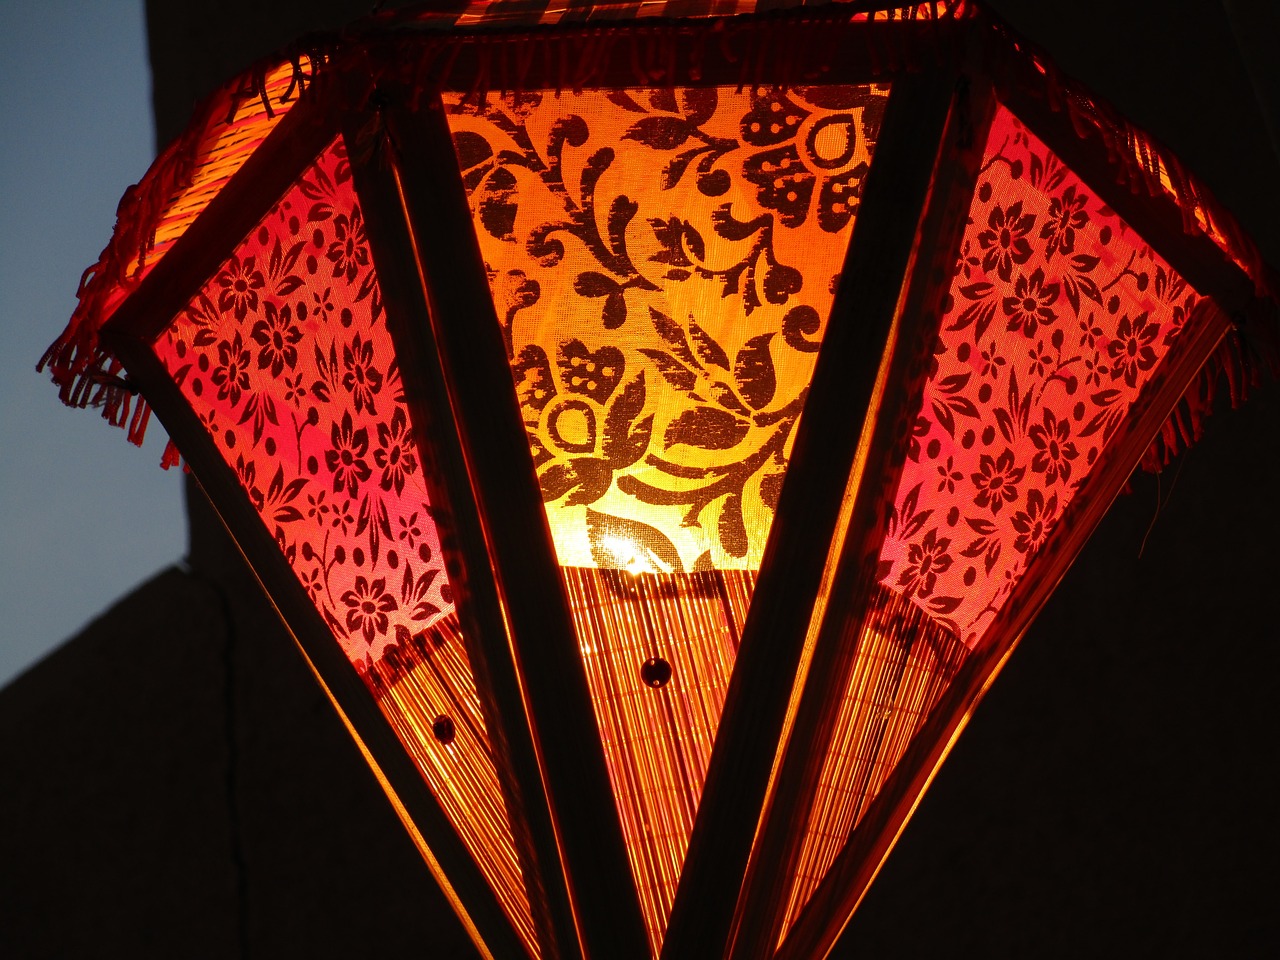
One of the first things to consider is the material of your lamp shade. Common choices include fabric, paper, and even natural materials like bamboo or rattan. Each material offers a different texture and light diffusion, affecting how your lamp illuminates the room. For instance, a fabric shade can create a warm, cozy glow, while a metal shade might cast interesting shadows and provide a more dramatic effect. Think about the atmosphere you want to create in your space—do you want it to feel inviting and soft, or bold and striking?
Next, let’s talk about shape and size. The shape of your lamp shade can complement the bottle’s design or create a delightful contrast. A wide, round shade can soften the lines of a tall, narrow bottle, while a geometric shade can add a modern twist to a vintage bottle. Here are some popular shapes to consider:
- Cylindrical: Perfect for a sleek, contemporary look.
- Drum: Versatile and works well with various bottle styles.
- Conical: Adds a classic touch, especially to traditional bottles.
Now, let’s not forget about color! The color of your lamp shade can set the entire tone of the room. If you want your lamp to be a statement piece, go for vibrant hues or bold patterns. On the other hand, if you prefer a more subdued look, soft pastels or neutral tones might be the way to go. You can even consider using translucent materials that allow light to filter through, creating beautiful patterns on your walls when illuminated.
For those who love to experiment, why not try your hand at DIY lamp shade designs? You can create your own shades using various techniques, such as:
- Decoupage: Adorn your shade with cut-out images or patterns for a personalized touch.
- Stenciling: Use stencils to paint designs on a plain shade, adding a unique flair.
- Fabric Covering: Wrap a simple shade with your favorite fabric for an instant upgrade.
Finally, don't forget about the attachment mechanism. Ensure that the shade fits securely on your lamp. You can use a lamp shade harp or a simple clip-on design, depending on your bottle's neck and the shade's structure. A well-fitted shade not only looks better but also ensures safety when the lamp is in use.
In conclusion, designing the lamp shade for your DIY bottle lamp is an exciting opportunity to express your style and creativity. The right shade can elevate your lamp from a simple DIY project to a stunning decor piece that draws attention and admiration. So gather your materials, unleash your imagination, and get ready to create a lamp that reflects your unique taste!
Q: What materials are best for making a lamp shade?
A: Popular materials include fabric, paper, metal, and natural fibers like rattan. Each offers different aesthetics and light diffusion.
Q: How do I ensure my lamp shade is safe?
A: Always use heat-resistant materials and ensure the shade is securely attached to the lamp to prevent any accidents.
Q: Can I customize my lamp shade?
A: Absolutely! You can paint, stencil, or cover your shade with fabric to give it a personal touch.
Finishing Touches and Personalization
Now that you've successfully assembled your DIY bottle lamp, it's time to dive into the fun part: . This is where your lamp transforms from a simple light source into a unique piece of art that reflects your style and personality. Just like adding the final brush strokes to a painting, these details can make all the difference.
First, consider the color scheme of your lamp. You can use spray paint, acrylics, or even decoupage techniques to give your bottle a fresh coat that matches your home decor. For instance, if your room has a coastal theme, soft blues and sandy beiges can enhance the aesthetic. Alternatively, a bold, vibrant color can serve as a statement piece that draws the eye and sparks conversation.
Next, think about how you can embellish your lamp. Adding decorative elements can elevate its overall look. Here are a few ideas to get those creative juices flowing:
- Rope or Twine: Wrapping the base or neck of the bottle with natural fiber adds texture and a rustic charm.
- Stickers or Decals: Personalize your lamp with fun designs or quotes that resonate with you.
- Glass Gems or Beads: Gluing these to the bottle can catch the light beautifully and add a touch of glamour.
Another exciting way to personalize your lamp is through the lamp shade. The shade can significantly alter the lamp's character. You might opt for a simple fabric shade that complements the bottle, or get adventurous with a handmade shade crafted from lace, burlap, or even repurposed materials. If you're feeling crafty, consider using a wire frame to create a unique shape that showcases the bottle beneath.
Don't forget about the lighting itself. The type of bulb you choose can affect not only the ambiance of the room but also the aesthetic of your lamp. Soft white bulbs provide a warm glow, while colored LED bulbs can create a funky vibe. You might even consider using dimmable bulbs for flexibility in lighting your space.
Lastly, think about the placement of your lamp. The right location can highlight your creation and enhance the room's overall design. Whether it's on a side table, a bookshelf, or as a centerpiece on a dining table, showcasing your lamp in a way that allows it to shine (literally and figuratively) is key.
In conclusion, the finishing touches and personalization of your DIY bottle lamp are where your creativity can truly shine. Whether you choose to go bold with colors and embellishments or keep it simple and elegant, these final steps will ensure your lamp is a reflection of you. So grab those paints, fabrics, and decorative elements, and let your imagination run wild!
Q: Can I use any type of bottle for my lamp?
A: Yes, you can use a variety of bottles! Just ensure they are sturdy enough to hold the lamp components and that the neck of the bottle can accommodate the light fixture.
Q: What type of light bulb should I use?
A: It's best to use LED bulbs as they are energy-efficient and produce less heat, making them safer for DIY lamps.
Q: Are there any safety precautions I should take?
A: Absolutely! Always ensure that your electrical connections are secure and insulated, and consider using a fuse for added safety. If you're unsure about wiring, consult a professional.
Safety Tips for DIY Lamp Projects
When diving into the world of DIY lamp projects, safety should always be your top priority. After all, you’re working with electrical components, and a little oversight can lead to accidents. To ensure a smooth and safe crafting experience, here are some essential safety tips to keep in mind while you create your stunning bottle lamp.
First and foremost, always use quality materials. Investing in good quality wiring, sockets, and bulbs can make a significant difference in the safety and longevity of your lamp. Cheap materials might save you a few bucks upfront, but they can pose serious risks, including electrical shorts or even fires. So, don’t skimp on the essentials!
Next, it’s crucial to work in a well-ventilated area. Many DIY projects involve adhesives, paints, or finishes that can emit harmful fumes. Proper ventilation helps to minimize your exposure to these chemicals. Open windows, use fans, or even step outside for fresh air when necessary. Your health is worth it!
Additionally, make sure to unplug your lamp before making any adjustments or repairs. This is a simple yet effective way to prevent accidental shocks. Even if you think you know what you’re doing, it’s better to be safe than sorry. Remember, electricity is powerful and can be unpredictable!
When it comes to wiring, take your time and follow instructions carefully. If you’re unsure about any step, don’t hesitate to consult a professional or look for online tutorials. It’s better to seek help than to risk making a mistake that could endanger you or your home. If you're new to wiring, consider practicing on a less valuable item before tackling your bottle lamp.
Lastly, consider adding a fuse or circuit breaker to your lamp design. These devices can help protect against overloads and short circuits, providing an additional layer of safety. While it might seem like an extra step, it’s a small investment for peace of mind.
By following these safety tips, you can enjoy your DIY lamp project without the worry of potential hazards. Remember, the goal is to create a beautiful piece of decor that not only looks good but is also safe to use!
Here are some common questions about safety in DIY lamp projects:
- What should I do if I feel unsure about wiring? It's best to consult a professional or look for reputable online resources. Never hesitate to ask for help!
- Can I use any type of bottle for my lamp? While many bottles can work, ensure they are made of materials that can withstand heat and are safe for electrical use.
- How do I know if my lamp is safe to use? Always double-check your connections, use quality materials, and ensure everything is securely fastened before plugging it in.
Showcasing Your Finished Lamp
Congratulations on creating your very own bottle lamp! Now that you’ve put in the hard work and creativity, it’s time to showcase your masterpiece in a way that truly highlights its beauty and uniqueness. Think of your lamp as the crown jewel of your decor—where you place it can make all the difference in how it’s perceived. So, where should you display your new creation? Here are some fantastic ideas to consider.
First off, consider placing your lamp on a side table in your living room. This not only provides a functional light source but also creates an inviting atmosphere for guests. Imagine a warm glow illuminating your favorite reading nook or a cozy corner where you unwind after a long day. If you want to add a touch of drama, try positioning your lamp on a stack of books or a decorative pedestal, giving it a little lift and making it a focal point.
Another great option is to use your lamp as part of a gallery wall. This can be particularly striking if you have multiple lamps of different shapes and sizes. By grouping them together, you’ll create a stunning visual impact that draws the eye. You could also incorporate other art pieces or photographs to enhance the overall aesthetic. Just make sure the lighting from your lamps complements the other elements in the display, creating a harmonious look.
If you’re feeling adventurous, consider using your lamp as a centerpiece for your dining table. A beautifully designed lamp can spark conversation and set the mood for dinner parties or family gatherings. Just be sure to choose a lamp that isn’t too tall, so it doesn’t obstruct the view of your guests. Pair it with some candles or fresh flowers to create a warm and inviting atmosphere.
For those who love to entertain outdoors, why not take your bottle lamp outside? Placing it on a patio table or near your outdoor seating can create a magical ambiance for evening gatherings. Imagine sitting under the stars with the soft glow of your lamp lighting up the space. Just remember to use weather-resistant materials if you plan to keep it outside for extended periods.
Lastly, don’t forget about the power of layering. You can create a stunning vignette by combining your lamp with other decorative items like plants, picture frames, or even other DIY projects. This not only showcases your lamp but also allows you to express your personal style. Play around with different arrangements until you find one that feels just right.
As you showcase your finished lamp, remember that the goal is to let your creativity shine through. Whether you choose to display it in a practical space or as part of an artistic arrangement, your lamp is a reflection of your hard work and imagination. So go ahead, light it up, and let it take center stage in your home!
Q: Can I use any type of bottle for my lamp?
A: While you can technically use any bottle, it's best to choose one that is sturdy and can withstand the heat generated by the bulb. Glass and ceramic bottles are popular choices.
Q: How do I clean my lamp once it's finished?
A: Use a soft cloth and mild cleaning solution to wipe down the surface. Avoid using abrasive materials that could scratch the bottle.
Q: Is it safe to use vintage bottles for lamp making?
A: Yes, as long as they are in good condition and free from cracks or chips. Make sure to inspect the bottle thoroughly before use.
Q: What type of light bulb should I use?
A: LED bulbs are a great option as they are energy-efficient and produce less heat compared to incandescent bulbs, making them safer for DIY lamps.
Frequently Asked Questions
- What type of bottles can I use for my DIY lamp?
You can use a variety of bottles for your DIY lamp project! Glass bottles, such as wine or soda bottles, are popular choices due to their aesthetic appeal. However, you can also experiment with plastic or ceramic bottles. Just make sure the bottle is sturdy enough to hold the lamp components and fits your design vision!
- Do I need any special tools to make a bottle lamp?
While you don’t need a full workshop, having some essential tools will make your project much smoother. Basic tools like a drill, screwdriver, and wire cutters are necessary. Additionally, having safety gear like gloves and goggles is highly recommended when working with glass and electrical components.
- Is wiring a lamp difficult for beginners?
Wiring a lamp might sound intimidating, but it's quite manageable with the right guidance! Follow step-by-step instructions carefully, and take your time. There are plenty of tutorials available to help you along the way. Remember, if you feel unsure, don’t hesitate to seek help from someone experienced!
- How can I personalize my bottle lamp?
Personalizing your bottle lamp is where the fun really begins! You can paint the bottle, add decorative elements like twine or beads, or create a unique lampshade using fabric or paper. The sky's the limit! Think about your own style and what will best complement your home decor.
- Are there any safety tips I should follow?
Absolutely! Safety should always come first. Make sure to unplug the lamp while working on it. Use insulated tools when handling electrical components, and double-check all connections to avoid short circuits. If you're unsure about any steps, consult with an electrician to ensure everything is safe and up to code.
- How do I showcase my finished bottle lamp?
Once your bottle lamp is complete, it's time to show it off! Place it in a prominent spot on a side table or a shelf where it can be admired. Consider using it as a centerpiece for your dining table or as a nightstand lamp. You can even take photos and share your creation on social media to inspire others!


