Creating DIY Quote Art for Your Home
Are you tired of staring at blank walls, wishing for something that truly reflects your personality? Creating DIY quote art is a fantastic way to transform your living space into a vibrant expression of who you are. Not only does it add a personal touch to your home decor, but it also serves as a daily reminder of the words that inspire you. Imagine walking into a room and being greeted by a beautifully crafted piece of art featuring your favorite quote—it's like having a little piece of motivation hanging on your wall!
In this article, we'll explore the exciting process of creating personalized quote art. From selecting the right quotes that resonate with you, to gathering the necessary materials, and even displaying your finished masterpiece, we’ll guide you every step of the way. Think of it as a creative journey where you get to unleash your inner artist and fill your home with positivity and inspiration.
So, grab your paintbrushes and let’s dive into the world of DIY quote art! Whether you’re a seasoned crafter or a complete beginner, this project is all about having fun and expressing yourself. Are you ready to turn those meaningful words into stunning visual art? Let’s get started!
Choosing the Right Quotes
When it comes to creating DIY quote art, the first step is to choose the right quotes. This is a crucial part of the process because the quotes you select will not only reflect your personality but also set the mood for your home decor. Think about what resonates with you on a personal level. Is there a phrase that inspires you every day? Or perhaps a quote that reminds you of a cherished memory? These can be fantastic starting points. You might want to consider quotes from your favorite books, movies, or even lyrics from songs that have touched your heart.
Moreover, the atmosphere of your home plays a significant role in this selection. For instance, if your home has a cozy and warm vibe, you might opt for quotes that evoke feelings of comfort and happiness. On the other hand, if your space is more modern and minimalist, you might lean towards succinct, powerful phrases that pack a punch. Here are a few categories to think about when choosing your quotes:
- Inspirational Quotes: These can motivate you and your guests, creating a positive environment.
- Humorous Quotes: A little laughter can lighten the mood and make your space feel more inviting.
- Personal Mantras: Your own affirmations can serve as daily reminders of your goals and aspirations.
- Quotes from Loved Ones: These can add a personal touch and make your art more meaningful.
As you sift through potential quotes, consider how they will look when transformed into art. Some quotes may be longer and require more creative layout planning, while others might be short and sweet, making them easy to highlight. Additionally, think about the emotions you want to evoke. Do you want your guests to feel inspired, relaxed, or perhaps amused? The right quote can do just that.
Lastly, don’t hesitate to mix and match quotes. Perhaps a combination of a motivational phrase paired with a humorous one could create an engaging focal point in your home. The key is to ensure that your selections align with your personal style and the overall aesthetic of your space. Remember, the goal is to create something that not only looks good but also resonates deeply with you and anyone who visits your home.
Gathering Materials
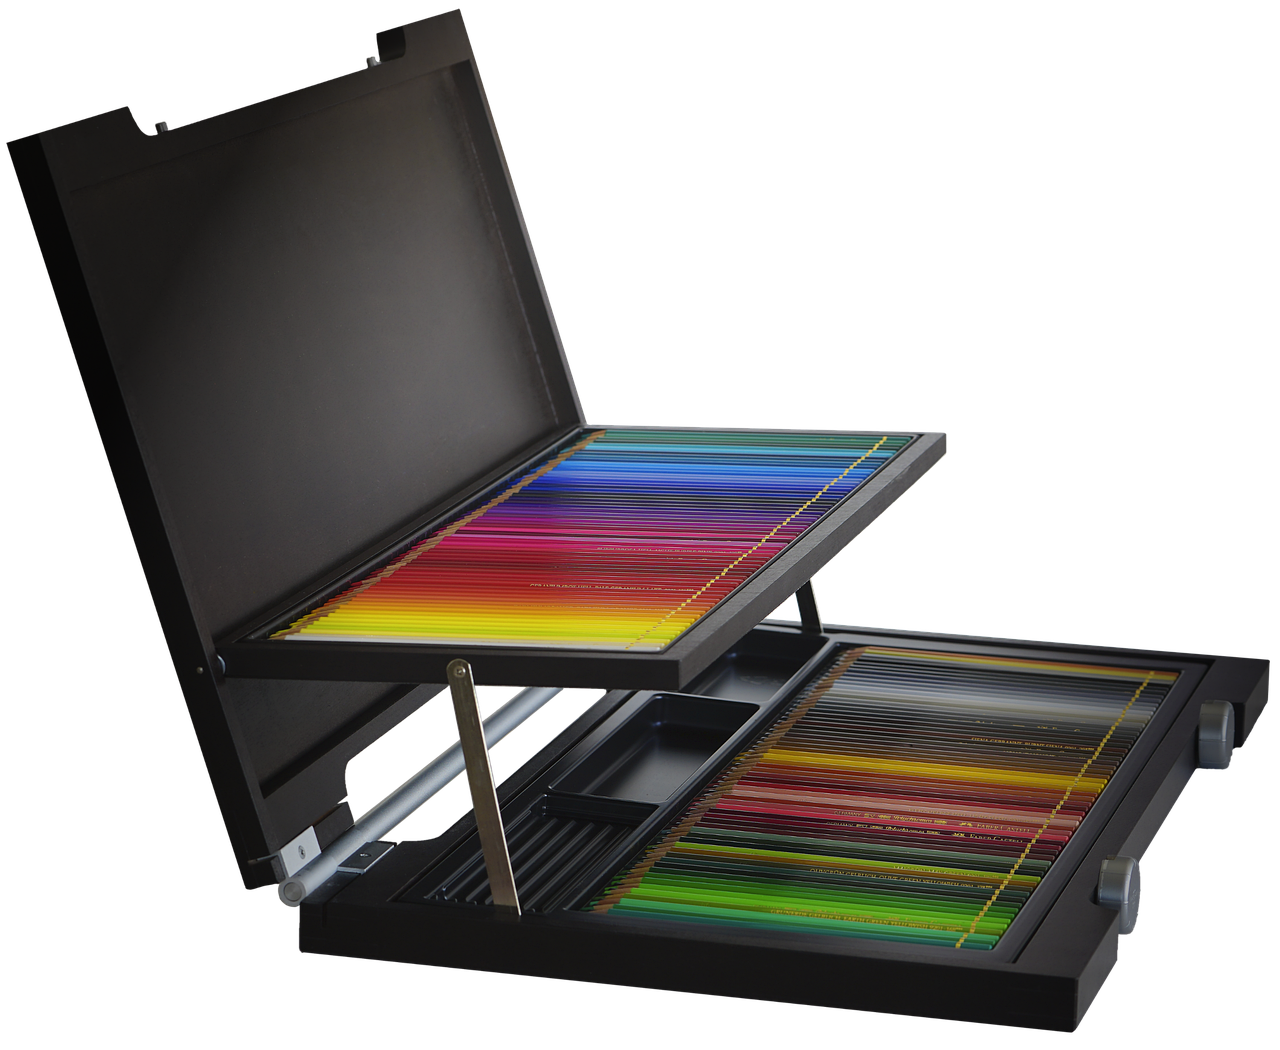
Before diving into the exciting world of DIY quote art, it’s crucial to gather all the necessary materials that will set the stage for your creative journey. Think of this step as gathering your ingredients before baking a delicious cake; having everything ready will ensure a smooth and enjoyable crafting experience. You don’t want to be halfway through your project only to realize you’re missing a key component!
First and foremost, you’ll need a canvas. This is the foundation of your artwork, and the choice of canvas can greatly affect the final look. You can opt for traditional stretched canvases, canvas boards, or even wooden panels, depending on the texture and style you’re aiming for. Each type has its unique charm, so pick one that resonates with your vision.
Next, let’s talk about paints. Acrylic paints are a popular choice for DIY projects due to their vibrant colors and quick drying time. They’re versatile and easy to work with, making them perfect for both beginners and seasoned artists. However, if you’re looking for a more textured finish, you might consider using oil paints or watercolor. Just remember, each type of paint requires different techniques, so choose what aligns with your artistic style.
Brushes are another essential component of your toolkit. A variety of brush types will allow you to experiment with different effects in your artwork. For instance, flat brushes are fantastic for bold strokes and filling in large areas, while round brushes are perfect for details and fine lines. Don’t forget to include a few detail brushes for those intricate parts of your quote art!
In addition to brushes, you might want to consider using stencils. These handy tools can help you achieve clean, professional-looking letters and designs. Stencils are especially useful if you’re not confident in your freehand skills. You can either purchase pre-made stencils or create your own using cardstock or plastic sheets. Just imagine the satisfaction of seeing your favorite quote come to life with perfectly aligned letters!
Finally, don’t overlook the little extras that can elevate your project. Items like painter’s tape can help you create sharp lines, while a palette will be essential for mixing your colors. You might also want to have a spray sealant on hand to protect your finished artwork. Once everything is gathered, you’ll be ready to unleash your creativity!
Here’s a quick overview of the materials you’ll need:
| Material | Purpose |
|---|---|
| Canvas | Foundation for your artwork |
| Acrylic Paints | Colorful and easy to work with |
| Brushes | Different types for various effects |
| Stencils | For clean lettering and designs |
| Painter’s Tape | To create sharp lines |
| Palette | For mixing colors |
| Spray Sealant | To protect finished artwork |
With all these materials at your fingertips, you’re well on your way to creating stunning DIY quote art that reflects your personality and style. So gather your supplies, roll up your sleeves, and get ready to transform your favorite quotes into beautiful pieces of art that will inspire you every day!
Essential Tools for DIY Art
This article explores the process of creating personalized quote art to enhance your home decor. Discover materials, techniques, and inspiration to bring your favorite quotes to life in a creative way.
Selecting meaningful quotes is essential for your DIY art. Consider personal favorites, motivational phrases, or quotes that resonate with your home’s atmosphere to create a lasting impact.
Before starting your project, gather all necessary materials. This includes canvases, paints, brushes, and tools. The right supplies will ensure a smooth and enjoyable crafting experience.
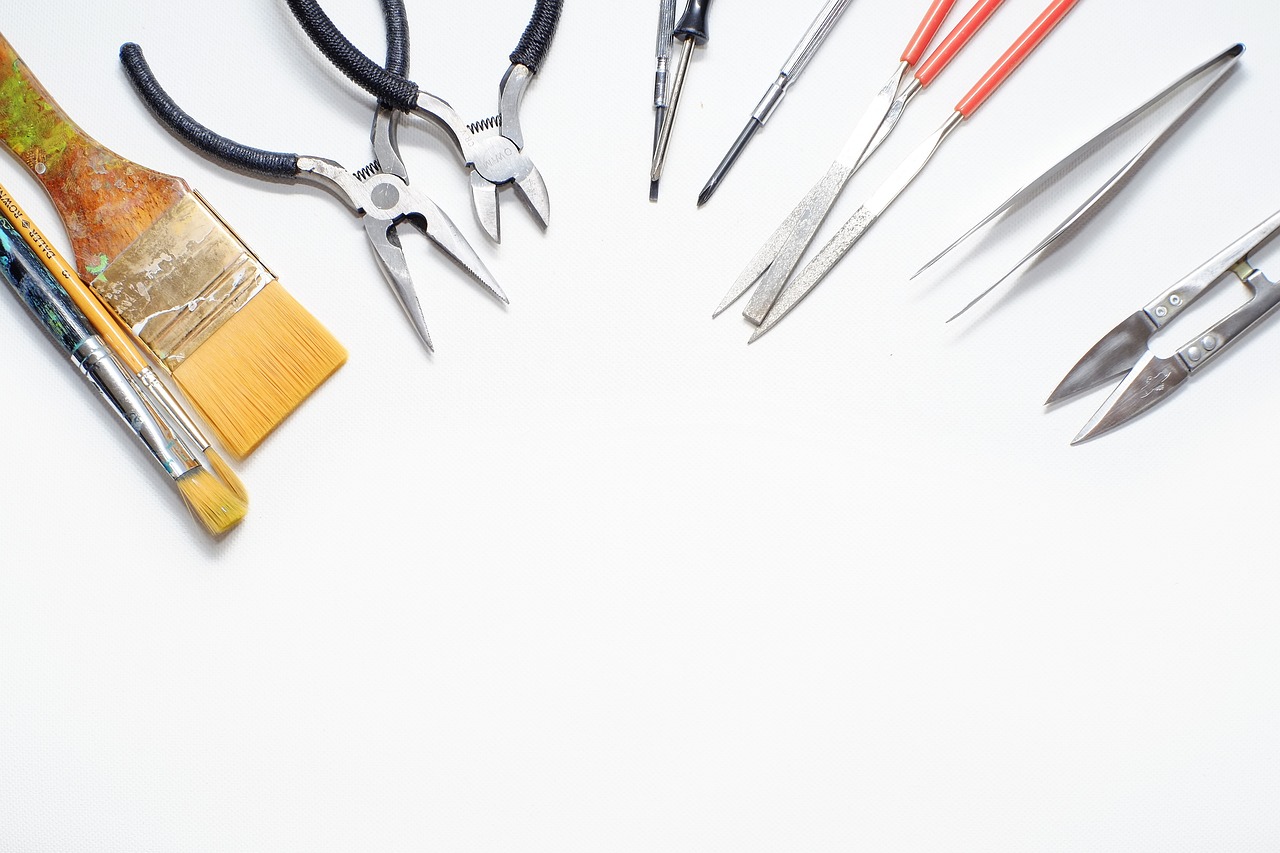
Using the right tools can make a significant difference in your artwork. Think of your tools as the instruments of a musician; the better the tools, the more beautiful the symphony. Here are some essential tools you'll want to have at your disposal:
- Brushes: A variety of brushes will allow you to create different textures and effects. Flat brushes are great for broad strokes, while round brushes are perfect for detail work. Detail brushes can help refine your designs, giving that professional touch.
- Stencils: Stencils are fantastic for achieving clean, precise lettering. They can help you maintain uniformity in your quotes, making your art look polished and professional.
- Pens and Markers: Fine-tip pens and markers can be used for outlining or adding intricate details to your artwork.
- Paints: Acrylic paints are popular for DIY projects due to their versatility and quick drying time. You can also explore watercolors or even spray paints for different effects.
- Canvas: Choosing the right canvas is crucial. You can opt for stretched canvases, canvas boards, or even wooden panels depending on your desired style.
Each of these tools serves a unique purpose, and understanding their uses can elevate your DIY project. For instance, if you’re aiming for a bold and vibrant look, a flat brush with acrylic paints will help you achieve that. On the other hand, if you want to create intricate designs, a detail brush paired with stencils will be your best friend. So, take some time to explore and experiment with these tools to find what works best for you!
Different brush types serve various purposes in painting. Flat brushes are ideal for filling in larger areas and creating bold strokes, while round brushes are perfect for intricate details and curves. Detail brushes, as the name suggests, are designed for fine lines and small details, making them essential for lettering in quote art. If you're unsure which brushes to choose, consider starting with a basic set that includes a variety of shapes and sizes.
Stencils can help create clean, professional-looking letters. They are especially useful if you’re not confident in your freehand skills. To use stencils effectively, secure them to your canvas with painter's tape to prevent any slipping while you paint. This will ensure that your letters are crisp and clear, enhancing the overall visual appeal of your quotes.
The canvas you choose can influence the overall look of your art. Explore different materials and sizes to find the perfect fit for your quote display. A larger canvas can make a bold statement, while smaller pieces can be clustered together for a gallery wall effect.
A well-planned layout is crucial for visual balance. Experiment with different arrangements and fonts to create an eye-catching design that highlights your chosen quote.
Adding decorative elements can enhance the overall aesthetic. Consider using borders, illustrations, or backgrounds to complement your quote and create a cohesive look.
The font style significantly impacts the mood of your quote art. Explore various typography options to find the one that best conveys the message and matches your home decor.
Once your quote art is complete, displaying it effectively is key. Consider various placement options in your home to ensure it becomes a focal point and conversation starter.
Q: What materials do I need to start creating quote art?
A: You'll need canvases, paints, brushes, stencils, and possibly some pens or markers for detailing. Don't forget to gather any decorative elements you might want to incorporate!
Q: Can I use digital tools for creating quote art?
A: Absolutely! Digital tools can provide a great way to design and print your quote art, especially if you're looking for precision and a professional finish.
Q: How do I choose the right quote for my art?
A: Choose quotes that resonate with you personally or reflect the atmosphere you want to create in your home. Think about what inspires you or what message you want to convey.

Brush Types and Uses
When it comes to creating stunning DIY quote art, the brush types you select can truly make or break your masterpiece. Just like a chef needs the right tools to whip up a delicious meal, you need the right brushes to paint your vision. Each brush type has its own unique characteristics that can help you achieve different effects, so let’s dive into a few of the most common options and their uses.
First on the list is the flat brush. This versatile tool is perfect for broad strokes and filling in large areas of your canvas. If you want to create a background wash or bold lettering, a flat brush will be your best friend. It allows for smooth, even coverage, which is essential when you’re trying to make your quotes pop against the canvas. Think of it as the foundation of a house; without a solid base, everything else could crumble.
Next, we have the round brush. This brush is ideal for detailed work and intricate designs. Its rounded tip allows for precision, making it perfect for adding flourishes or embellishments around your quotes. If you want to create swirls or delicate lines, a round brush will help you achieve that finesse. Picture it as the fine-tipped pen of the painting world—it gives you the control to add those little touches that can elevate your artwork.
Don’t overlook the detail brush, either! This tiny brush is a must-have for any DIY artist looking to add intricate lettering or fine details to their quote art. When you're working on small text or delicate designs, the detail brush enables you to navigate tight spaces with ease. It’s like having a secret weapon in your crafting arsenal, allowing you to transform simple quotes into eye-catching statements.
To help you better understand the differences, here’s a quick comparison table:
| Brush Type | Best For | Characteristics |
|---|---|---|
| Flat Brush | Broad strokes and filling | Wide bristles, great for coverage |
| Round Brush | Details and embellishments | Pointed tip, versatile for lines |
| Detail Brush | Intricate lettering | Very fine tip, precise control |
In addition to these brushes, consider experimenting with fan brushes and angle brushes as well. Fan brushes can create interesting textures, while angle brushes are fantastic for achieving sharp edges and defined lines. The world of brushes is vast, and each has its own personality and purpose. So, don’t be afraid to try out different types and see which ones resonate with your artistic style.
Ultimately, the right brush can add that special touch to your quote art, transforming simple words into a visual experience that speaks to the heart. So, grab your brushes, unleash your creativity, and let your favorite quotes come to life on canvas!
- What type of paint should I use for quote art? Acrylic paint is a popular choice due to its quick drying time and vibrant colors.
- Can I use a regular paintbrush for my quote art? Yes, but using specialized brushes can help you achieve more professional results.
- How do I choose the right quote for my art? Select quotes that resonate with you personally or that reflect the atmosphere of your home.
Using Stencils for Precision
When it comes to creating stunning DIY quote art, precision is key. This is where stencils come into play, acting as your artistic best friend. Imagine trying to paint a perfect letter freehand—it's a daunting task, right? Stencils allow you to achieve those clean, crisp lines that make your quotes pop off the canvas. They’re not just tools; they’re a gateway to creating professional-looking art without the need for advanced skills.
Using stencils can significantly enhance the visual appeal of your artwork. They come in various designs, fonts, and sizes, giving you the flexibility to match your quote with the right style. For instance, if you’re working on a motivational quote, a bold, modern font can convey strength, while a delicate, cursive style might be perfect for a heartfelt saying. The choice of stencil can set the mood for the entire piece.
To get started with stencils, here are some essential tips:
- Choose Quality Stencils: Invest in durable, reusable stencils that can withstand multiple uses. Look for materials like mylar or plastic that won’t tear easily.
- Secure Your Stencil: Use painter’s tape to hold your stencil in place on the canvas. This prevents any shifting that could ruin your design.
- Use the Right Paint: Acrylic paints work well with stencils, but be sure to use them sparingly. Too much paint can cause bleeding under the stencil edges.
- Practice First: Before applying the stencil to your final piece, practice on scrap paper to get a feel for the application technique.
Once you’ve chosen your stencil and secured it, it’s time to paint! Use a dry brush technique to apply your paint. This means you should load your brush with a small amount of paint and dab it on the stencil rather than brushing it on. This method minimizes the risk of paint bleeding underneath the stencil and ensures that your letters remain sharp and defined.
After painting, carefully lift the stencil away while the paint is still wet for the best results. If you wait too long, the paint may dry and adhere to the stencil, making it difficult to remove without smudging your work. Once you’ve removed the stencil, allow your artwork to dry completely before adding any additional elements or embellishments.
Stencils not only make the process easier but also allow for a level of creativity that can elevate your DIY quote art. Whether you’re layering different fonts, creating shadow effects, or incorporating decorative elements around your text, stencils provide a foundation for endless possibilities. So grab your stencils and let your creativity flow!
Q: Can I use stencils on any surface?
A: Yes! Stencils can be used on various surfaces such as canvas, wood, walls, and even fabric. Just ensure you use the right type of paint for the material.
Q: Do I need to seal my stencil art?
A: It’s a good idea to seal your artwork with a clear acrylic spray or varnish to protect it from dust and fading, especially if it’s displayed in a high-traffic area.
Q: What if I make a mistake while using a stencil?
A: Don’t worry! Mistakes can often be fixed. You can touch up the area with a small brush and matching paint or even incorporate the mistake into your design for a unique look.
Q: Are there any special techniques for using stencils?
A: Yes! Techniques like layering colors, using sponges instead of brushes, or even combining stencils can create stunning effects in your artwork.
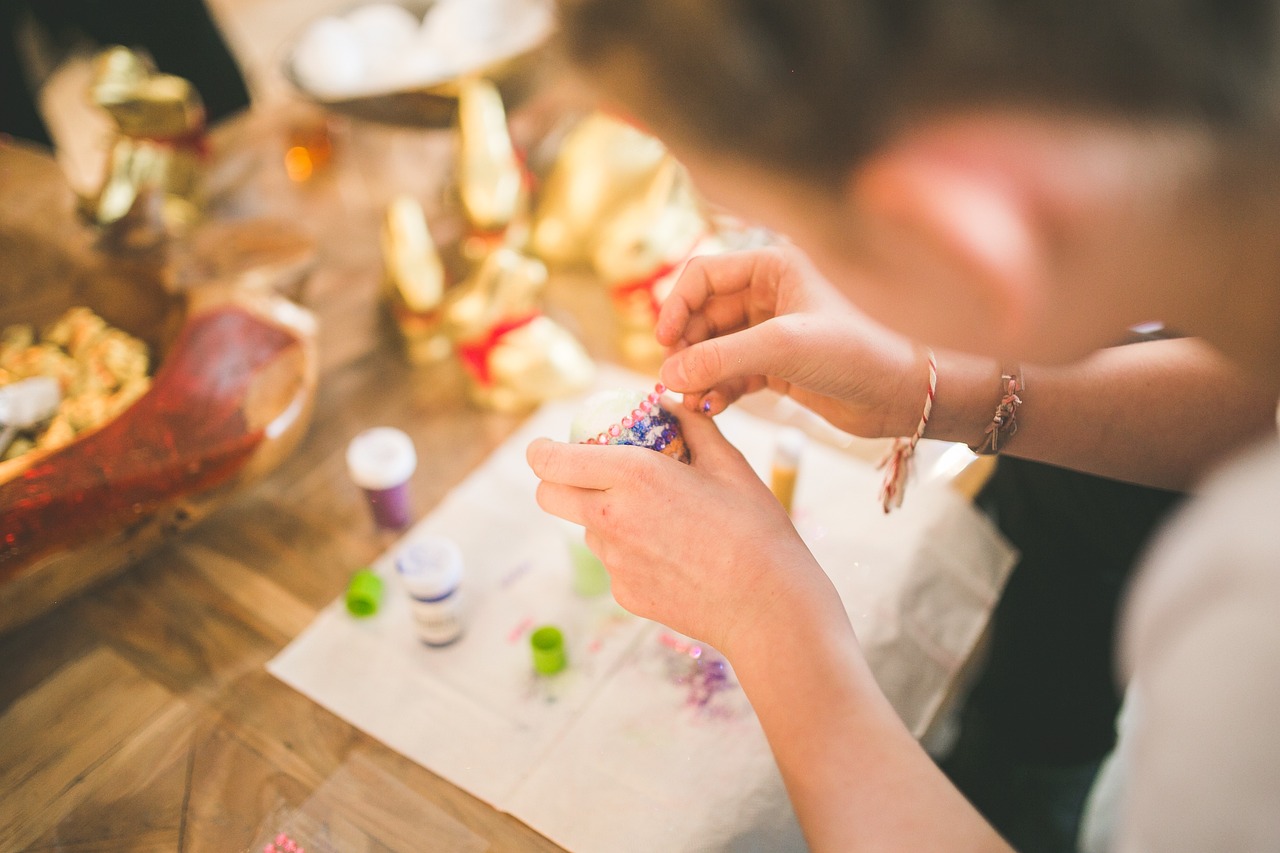
Choosing the Right Canvas
When it comes to creating stunning DIY quote art, the canvas you choose plays a pivotal role in determining the overall look and feel of your masterpiece. Think of the canvas as the stage where your quotes will perform; if the stage is not right, even the best actors can fall flat. So, how do you select the perfect canvas? Let’s dive into the various options available and what to consider before making your choice.
First off, consider the material of the canvas. You typically have a few options:
- Stretched Canvas: This is the most popular choice. It’s pre-stretched over a wooden frame, providing a ready-to-paint surface. It’s great for both acrylic and oil paints.
- Canvas Boards: These are more affordable and come in various sizes. They’re perfect for those who want to experiment without committing to a larger piece.
- Wood Panels: If you're looking for durability, wood panels are an excellent choice. They provide a smooth surface that’s ideal for detailed work.
Next, think about the size of your canvas. The size can dramatically affect the impact of your quote art. A larger canvas can make a bold statement and serve as a focal point in a room, while smaller canvases can be grouped together for a more dynamic display. Here’s a quick guide to help you decide:
| Canvas Size | Best For |
|---|---|
| 8x10 inches | Small spaces or as part of a gallery wall |
| 16x20 inches | Medium-sized displays, perfect for living rooms |
| 24x36 inches | Large spaces, makes a bold statement |
Don’t forget to consider the texture of your canvas as well. A smooth canvas is ideal for detailed lettering and designs, while a textured canvas can add a unique feel to your artwork. The texture can also influence how the paint behaves, so if you’re going for a more abstract look, a textured surface might be just what you need.
Finally, think about how you want to display your finished piece. Will it hang on the wall, or do you want it to stand on a shelf? Some canvases come with built-in frames, while others may require additional framing. This decision can affect your choice of canvas, so keep it in mind as you shop around.
In summary, choosing the right canvas is about more than just picking a pretty surface; it’s about finding the perfect fit for your quote art vision. By considering the material, size, texture, and display method, you can ensure that your DIY project not only looks great but also resonates with your personal style.
1. What type of canvas is best for beginners?
For beginners, a stretched canvas or canvas board is often the best choice. They are easy to use and readily available at craft stores.
2. Can I paint on any type of surface?
While you can technically paint on various surfaces, using a canvas specifically designed for painting will yield the best results.
3. How do I prepare my canvas before painting?
If using raw canvas, it’s advisable to apply a layer of gesso to prime the surface. This helps the paint adhere better and enhances the vibrancy of your colors.
4. Can I use fabric or paper as a canvas?
Absolutely! Fabric and heavy paper can be used, but they may require different types of paint and preparation.
Designing Your Layout
When it comes to for DIY quote art, a little planning can go a long way. Think of it as setting the stage for a performance; you want everything to be in harmony and catch the eye of your audience. Start by sketching out your ideas on paper or using design software to visualize how your quote will look on the canvas. This is your chance to play around with various arrangements and see what resonates with you. Are you going for a minimalist vibe, or do you want something that pops with color and flair? The choice is entirely yours!
One effective way to achieve visual balance is by considering the rule of thirds. Imagine dividing your canvas into a grid of nine equal sections, like a tic-tac-toe board. Place your main quote along these lines or at their intersections to create a more dynamic and interesting layout. This technique can help draw the viewer's eye naturally to the focal points of your artwork, making it more engaging.
Don’t forget about white space—the empty areas around your text and images. This space is just as important as the words you choose, as it allows your quote to breathe and stand out. Too much clutter can overwhelm the viewer and take away from the impact of your message. As you design, ask yourself: “Does this layout make my quote easy to read?” If the answer is no, it might be time to rethink your arrangement.
Another creative approach is to experiment with typography. The font you choose can set the tone for your entire piece. For example, a bold, sans-serif font might convey strength and modernity, while a delicate script font can evoke feelings of warmth and intimacy. Play around with different styles and sizes, and don’t hesitate to mix and match! Just remember to maintain a sense of unity—too many competing fonts can create chaos.
Incorporating visual elements can also enhance your layout. Think about adding borders, illustrations, or even background patterns that complement your quote. These elements can serve to frame your text, drawing attention to it and adding a layer of depth to your artwork. However, be careful not to overdo it; the goal is to enhance the message, not overshadow it.
Once you've settled on your layout, take a moment to step back and evaluate your work. Does it feel balanced? Is there a clear focal point? If you’re unsure, don’t hesitate to ask for feedback from friends or family. Sometimes, a fresh pair of eyes can provide valuable insights that you might have overlooked.
Lastly, remember that designing your layout is a personal journey. It should reflect your style and the message you wish to convey. So, let your creativity flow and enjoy the process of bringing your quote art to life!
- What materials do I need to start creating quote art? You will need canvases, paints, brushes, and possibly stencils or other decorative elements.
- How do I choose the right quote for my art? Select quotes that resonate with you personally or reflect the atmosphere you want to create in your home.
- Can I mix different fonts in my design? Yes! Mixing fonts can add interest, but make sure they complement each other and maintain visual harmony.
- How can I display my finished quote art? Consider placing it in a prominent location where it can be easily seen, such as above a mantelpiece or on a gallery wall.

Incorporating Visual Elements
When it comes to creating stunning DIY quote art, simply slapping your favorite words on a canvas might not be enough to make it pop. Visual elements play a crucial role in enhancing the overall aesthetic of your piece. Think of your quote as the centerpiece of a delicious meal; the visual elements are the garnishes that elevate it to a whole new level. So, how do you add those mouth-watering touches?
First off, consider using decorative borders. A simple border can frame your quote beautifully, drawing the eye and providing a polished finish. You can experiment with different styles—whether it’s a classic solid line, a playful doodle, or even floral patterns, borders can set the tone and mood of your artwork. For example:
| Border Style | Effect |
|---|---|
| Solid Line | Creates a clean, modern look |
| Floral Pattern | Adds a touch of whimsy and nature |
| Doodle | Gives a fun and casual vibe |
Next, think about incorporating illustrations or backgrounds that resonate with the theme of your quote. For instance, if your quote is about adventure, why not add subtle mountain silhouettes or a compass design? These elements can complement your words and create a cohesive look. You could also use watercolor washes or textured backgrounds to add depth and interest. Imagine your quote sitting atop a soft, gradient background that mimics a sunset—how inviting would that be?
Additionally, don’t shy away from using color contrast. The colors you choose can evoke different emotions and set the mood of your artwork. A bright, bold color palette can energize a space, while soft pastels can create a calming atmosphere. Consider the color scheme of the room where you plan to display your art; you want your quote to harmonize with its surroundings. For example, if your living room features earthy tones, using greens and browns in your artwork can create a seamless transition.
Finally, think about the placement of visual elements. Balance is key! Too many elements can clutter your artwork and detract from the message. Instead, aim for a harmonious composition where each element has its own space to breathe. A well-placed illustration or border can accentuate your quote without overshadowing it. Remember, less is often more!
In conclusion, incorporating visual elements into your DIY quote art can transform a simple piece into a captivating work of art. By paying attention to borders, illustrations, backgrounds, and color contrasts, you can create a stunning focal point that resonates with your personal style and enhances your home decor.
- What materials do I need for DIY quote art? You'll need canvases, paints, brushes, stencils, and possibly decorative elements like washi tape or stickers.
- How do I choose the right quote? Select quotes that resonate with you personally or reflect the atmosphere you want to create in your space.
- Can I use digital tools for my quote art? Absolutely! Digital design tools can help you create layouts and graphics that you can print and frame.
- Where should I display my quote art? Consider placing it in high-traffic areas like living rooms, hallways, or even in your home office for daily inspiration.
Choosing Fonts and Styles
When it comes to creating DIY quote art, the font style you choose can make or break your piece. Think of it this way: just like a well-tailored suit enhances your appearance, the right font can elevate your message. It’s not just about making the words look pretty; it’s about conveying the right emotion and mood. For instance, a whimsical, cursive font might evoke feelings of romance and warmth, while a bold, sans-serif font can project strength and modernity.
Start by considering the message behind your quote. Is it inspirational, humorous, or reflective? This will guide your font selection. For example, if your quote is meant to uplift, you might opt for something playful and light. On the other hand, if it’s a serious or motivational quote, a more classic serif font could be ideal. Here are some popular font styles to consider:
- Serif Fonts: These fonts have small lines at the ends of each letter, giving them a traditional and formal look. They are great for quotes that aim to inspire or convey wisdom.
- Sans-Serif Fonts: Modern and clean, these fonts lack the extra embellishments of serif fonts. They work well for contemporary quotes and can make a strong statement.
- Script Fonts: With their flowing, cursive appearance, script fonts add a personal touch. They’re perfect for quotes that are heartfelt or romantic.
- Display Fonts: These are unique and often artistic fonts that can add a dramatic flair to your art. Use them sparingly to highlight key phrases.
After selecting a font style, consider how to combine fonts for a more dynamic look. Pairing a bold font with a lighter script can create a beautiful contrast that draws the eye. Just like a good recipe, balance is key! Make sure the fonts complement each other rather than compete for attention.
Another important factor is the size of your fonts. Larger fonts can serve as the focal point, while smaller fonts can add supporting details. Experiment with different sizes to find the right hierarchy for your quote. You might want to emphasize certain words by making them larger or bolder, which can significantly impact the overall message.
Lastly, don’t forget about color. The color of your text should not only be visually appealing but also match the mood of the quote and the overall aesthetic of your home. For example, warm colors like reds and oranges can evoke energy, while cooler colors like blues and greens can promote calmness. Choose colors that resonate with you and your space.
In conclusion, choosing the right fonts and styles for your DIY quote art is a blend of art and science. It’s about expressing your unique personality while ensuring that your message shines through. Remember to play around with different combinations until you find the perfect match. Your quote art is a reflection of you, so have fun with it!
- What is the best font for inspirational quotes? Serif fonts are often recommended for their classic and timeless feel, but it ultimately depends on the mood you want to convey.
- Can I mix different font styles in one piece? Absolutely! Mixing fonts can create visual interest, just ensure they complement each other.
- How do I choose colors for my quote art? Consider the emotions you want to evoke and how the colors will fit into your existing decor.
- Where can I find fonts for my project? Websites like Google Fonts and Adobe Fonts offer a wide variety of free and premium fonts.

Displaying Your Artwork
Once your stunning DIY quote art is complete, the next exciting step is figuring out how to display it in your home. Think of your artwork as a conversation starter; it should not only catch the eye but also resonate with everyone who sees it. The placement of your quote art can greatly influence the feel of a room, so let’s explore some creative ideas to showcase your masterpiece.
First off, consider the location. A blank wall can be transformed into a gallery with just a few well-placed pieces. Here are some popular spots to consider:
- Living Room: Make your quote art the focal point above the sofa or fireplace. This is a prime spot for guests to admire it.
- Home Office: Surround yourself with motivation by placing your art where you work. It can serve as a daily reminder of your goals and aspirations.
- Entryway: Greet your guests with an inspiring quote right at the entrance. It sets a positive tone for their visit.
- Bedroom: Personalize your space with quotes that inspire relaxation or love. Hang them above your bed or on a bedside table.
Next, think about the framing and presentation. The right frame can elevate your artwork, making it look polished and professional. You can choose from a variety of styles—wooden, metal, or even a DIY frame that complements your decor. For a more modern look, consider using a floating frame that allows the edges of the canvas to show, creating a stunning visual effect.
Another exciting option is to create a gallery wall. This involves grouping multiple pieces of art together to form a cohesive display. You can mix and match your quote art with photographs, abstract pieces, and other decorative elements. Just ensure that the colors and themes harmonize to create a unified look. Here’s how you can do it:
| Step | Action |
|---|---|
| 1 | Choose a central quote art piece to anchor your gallery wall. |
| 2 | Arrange other pieces around it, maintaining a balance in size and color. |
| 3 | Use painter's tape to outline where each piece will go before hanging. |
| 4 | Hang your pieces, starting from the center and working outward. |
Finally, consider the lighting. Proper lighting can dramatically enhance the visual impact of your artwork. Use spotlights or wall sconces to draw attention to your quote art, especially in dimly lit areas. Natural light can also play a role; hang your art where it can catch the sunlight, but be mindful of fading over time.
In conclusion, displaying your DIY quote art is an art in itself! With thoughtful placement, framing, and lighting, you can turn your home into a gallery that reflects your personality and inspires those who enter. So go ahead, get creative, and let your words shine!
Q: How do I choose the right quote for my artwork?
A: Think about what resonates with you personally. Consider quotes that inspire you, remind you of happy times, or encapsulate your values. Your quote should feel meaningful and uplifting.
Q: Can I use digital tools to create my quote art?
A: Absolutely! Digital design software can help you craft beautiful layouts and typography. You can then print your design on canvas or high-quality paper for a professional look.
Q: What if I don’t have enough wall space?
A: Get creative! Consider using easels to display your art on tables or shelves. You can also hang smaller pieces in unexpected places, like on the back of a door.
Q: How can I maintain my artwork?
A: Keep your artwork out of direct sunlight to prevent fading, and dust it regularly with a soft cloth. If you used paint, ensure it’s sealed properly to protect against moisture.
Frequently Asked Questions
- What materials do I need to create DIY quote art?
To get started with your DIY quote art, you'll need a few essential materials. Gather canvases, paints in your favorite colors, brushes of various sizes, and some stencils if you want precise lettering. Additionally, having tools like a palette for mixing colors and a ruler for layout planning can make your crafting experience smoother and more enjoyable.
- How do I choose the right quote for my artwork?
Selecting the perfect quote is crucial for making your art meaningful. Think about quotes that resonate with you personally or those that inspire you daily. Consider the atmosphere of the room where the art will hang—motivational quotes work great in a home office, while warm, cozy quotes might be better for a living room. Remember, the right quote can transform the vibe of your space!
- Can I use any type of canvas for my quote art?
Absolutely! You can use various types of canvases, including stretched canvases, canvas boards, or even wooden panels. The choice depends on the look you want to achieve and the type of paint you're using. Just ensure that the canvas is suitable for the medium, whether it’s acrylic, watercolor, or another type of paint.
- What fonts work best for quote art?
The font you choose can dramatically affect the mood of your artwork. For a modern look, consider clean, sans-serif fonts. If you want something more classic, cursive or serif fonts can add elegance. Don't hesitate to experiment with different styles and sizes to find the perfect fit that complements your quote and decor.
- How can I display my finished quote art?
Displaying your quote art effectively can make it a focal point in your home. Consider hanging it at eye level in a prominent spot, like above a sofa or in an entryway. You can also create a gallery wall by grouping your quote art with other pieces. Use frames that match your decor style to enhance the overall aesthetic of your space.
- Is it okay to mix different styles and colors in my quote art?
Of course! Mixing styles and colors can create a unique and personal touch to your artwork. Just ensure that the colors complement each other and that the overall design feels cohesive. This approach can make your quote art stand out and truly reflect your personality and taste.


