Stunning DIY Faux Marble Decor for Your Home
Welcome to the world of faux marble decor, where elegance meets affordability! If you're dreaming of a home that exudes luxury without the hefty price tag, then you're in the right place. Faux marble is not just a trend; it's a fantastic way to elevate your living space with a touch of sophistication. Imagine walking into a room that looks like it belongs in a high-end magazine, yet you achieved it all on a budget. Sounds too good to be true, right? Well, it’s not! With a bit of creativity and some DIY spirit, you can transform ordinary surfaces into stunning marble-like finishes that will leave your guests in awe.
In this article, we’ll explore a variety of methods to incorporate faux marble into your home decor. From painting techniques that mimic the veining of real marble to the glossy finish of resin, there’s a technique for everyone, regardless of skill level. You’ll learn how to create a luxurious atmosphere in your kitchen, bathroom, or living room without breaking the bank. Plus, we’ll provide you with essential tips and tricks to ensure your projects not only look great but also last for years to come.
So, whether you're looking to spruce up an old piece of furniture, create a stunning accent wall, or even revamp your countertops, faux marble is the way to go. This article will guide you through the entire process, making it as easy as pie. Ready to dive into the world of DIY faux marble decor? Let’s get started!
Before we dive into the nitty-gritty of materials and methods, it’s essential to understand the different techniques available for creating faux marble finishes. There are several popular methods that you can choose from, each offering its unique charm and style:
- Painting: This is perhaps the most accessible method. With the right tools and techniques, you can paint surfaces to resemble marble, complete with intricate veining.
- Poured Resin: For a high-gloss finish that mimics polished marble, pouring resin is a fantastic choice. It’s a bit more advanced but yields stunning results.
- Contact Paper: If you want a quick and easy solution, using faux marble contact paper can instantly transform surfaces without any mess.
Each of these techniques has its pros and cons, so consider your project goals, budget, and skill level when choosing the right one for you.
Now that you’re familiar with the techniques, let’s talk about the materials you’ll need to bring your faux marble vision to life. Here’s a quick rundown of the essentials:
| Material | Purpose |
|---|---|
| Paints | For creating the base and veining effects. |
| Sealants | To protect your finished surface and enhance durability. |
| Brushes and Sponges | For applying paint and creating texture. |
| Resin | For achieving a glossy finish on your faux marble. |
Gathering these materials will set you up for success in your DIY faux marble project. Remember, the quality of your materials can greatly affect the final look, so choose wisely!
Ready to get your hands dirty? Let’s walk through a detailed, step-by-step guide to painting faux marble on surfaces like furniture and walls. This method is perfect for beginners and experienced DIYers alike!
First things first, selecting the perfect color palette is crucial for achieving a realistic faux marble effect. Popular color combinations include:
- White and gray for a classic look
- Black and gold for a touch of glamour
- Soft beige and cream for a warm, inviting feel
Consider the existing decor in your space to ensure your new faux marble complements the overall aesthetic.
The base coat sets the foundation for your faux marble. Apply a solid base color using a roller or brush, ensuring even coverage. Once dry, you can start adding the veining and texture that will bring your faux marble to life.
If you’re looking to elevate your faux marble projects, resin can provide that stunning, glossy finish that real marble is known for. Mixing and applying resin requires a bit of skill, but the results are definitely worth it!
When working with resin, it’s essential to take safety precautions. Always work in a well-ventilated area, wear gloves, and consider using a mask to avoid inhaling fumes. Your safety should always come first!
Faux marble can enhance various areas in your home. Think about incorporating it into:
- Kitchens: Use faux marble for countertops or backsplash.
- Bathrooms: Create a luxurious look with faux marble on vanities or shower walls.
- Living Spaces: Accent walls or furniture can be transformed with faux marble finishes.
The possibilities are endless, and each space can benefit from the timeless elegance of marble.
Maintaining the beauty of your faux marble decor is important. To keep your projects looking fresh and vibrant, consider these tips:
- Clean with a soft cloth and mild detergent.
- Avoid harsh chemicals that can damage the finish.
- Reapply sealant as needed to protect the surface.
With proper care, your faux marble decor can last for years, continuing to impress all who enter your home.
Got questions? We’ve got answers! Here are some common inquiries about faux marble decor:
- Q: Can I use faux marble in outdoor spaces?
A: It’s best to use faux marble indoors, as outdoor conditions can wear down paint and resin finishes. - Q: How long does it take for resin to cure?
A: Resin typically takes 24 to 48 hours to fully cure, depending on the product used. - Q: Is faux marble easy to remove?
A: Yes, if you decide to change your decor, most faux marble finishes can be removed with some effort, especially if you’ve used paint or contact paper.
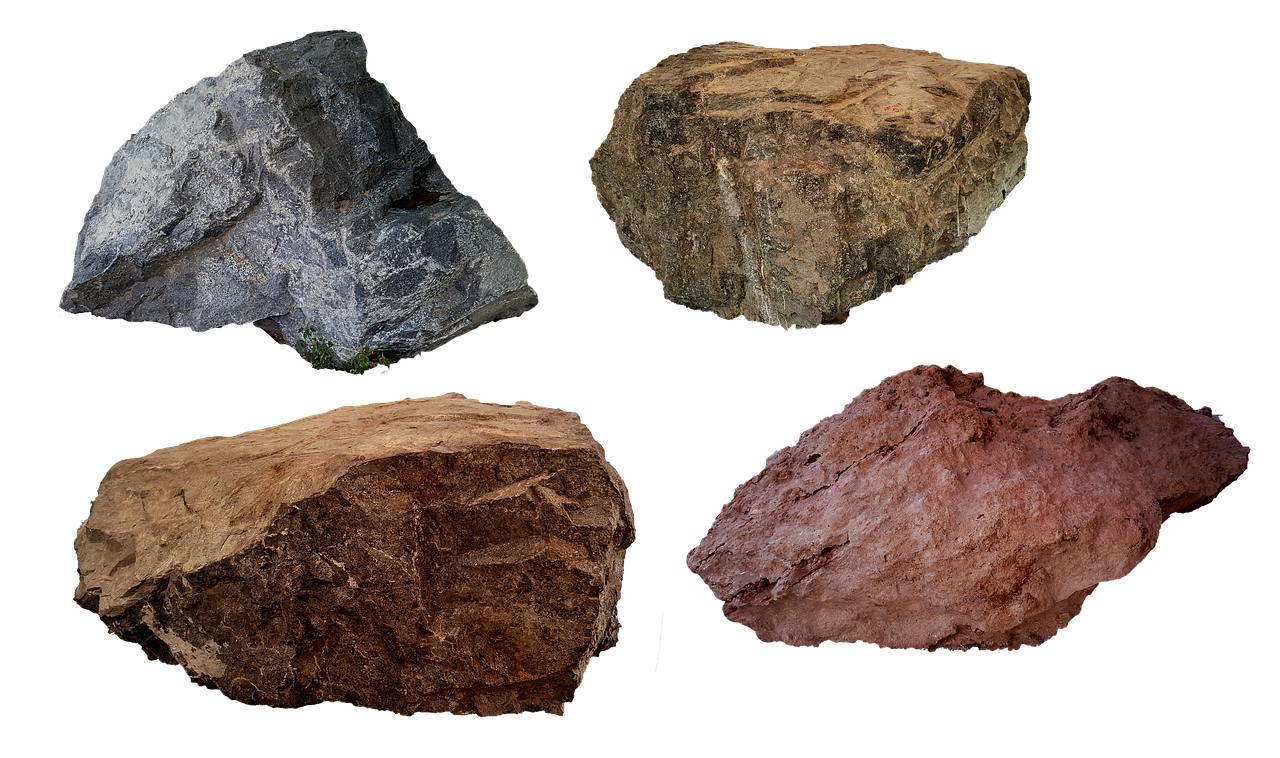
Understanding Faux Marble Techniques
When it comes to achieving that stunning luxurious look of marble without the hefty price tag, faux marble techniques are your best friend. Imagine transforming ordinary surfaces into eye-catching masterpieces that mimic the elegance of real marble. The beauty of faux marble lies in its versatility and the various methods you can use to create it. Whether you're a seasoned DIY enthusiast or just starting, there’s a technique that suits your skill level and project needs.
One of the most popular methods is painting. This technique involves using specific paint colors and tools to replicate the intricate veining and patterns found in natural marble. With a little practice, you can create a stunning faux marble finish on walls, furniture, or even smaller decor items. Another method gaining traction is pouring resin. This technique gives you a glossy, high-end look that closely resembles polished marble. The process involves mixing resin with pigments and pouring it onto your surface, allowing it to flow and settle into a beautiful, marbled pattern.
If you're looking for something even simpler, contact paper can be a game changer. This adhesive film comes in various marble patterns and can be easily applied to surfaces like countertops, tables, and even cabinets. It’s a quick and budget-friendly way to achieve a marble effect without the mess of paint or resin.
To give you a clearer idea of these techniques, here’s a quick comparison:
| Technique | Difficulty Level | Cost | Finish |
|---|---|---|---|
| Painting | Medium | Low | Matte or Satin |
| Pouring Resin | High | Medium to High | Glossy |
| Contact Paper | Low | Low | Varies (depends on design) |
Each technique has its unique charm and can be tailored to fit your personal style. Experimenting with these methods can lead to unexpected and delightful results, so don’t be afraid to get creative. The key is to find the technique that resonates with you, and soon enough, you’ll be well on your way to mastering the art of faux marble decor!

Essential Materials for Your Project
When embarking on your faux marble decor journey, having the right materials is crucial for achieving that stunning, luxurious look without breaking the bank. First and foremost, you'll need a selection of high-quality paints. Acrylic paints are a popular choice due to their versatility and ease of use. Look for colors that mimic natural marble, such as whites, grays, and blacks, but don't be afraid to experiment with bold hues to create a unique twist!
In addition to paints, you'll want to gather some essential tools. A good set of brushes, including both flat and round options, will allow you to create the intricate veining that makes faux marble so realistic. A sponge can also come in handy for blending colors and achieving that smooth finish. If you're planning on using resin for a glossy topcoat, you'll need a mixing cup, stir sticks, and a heat gun to remove any bubbles that may form during the curing process.
Don't forget about sealants! A clear acrylic sealant is vital for protecting your faux marble surfaces and ensuring they remain vibrant and beautiful over time. This step is especially important for high-traffic areas like kitchens and bathrooms, where wear and tear can take a toll on your decor. To give you a clearer picture of what you'll need, here's a quick table summarizing the essential materials:
| Material | Purpose |
|---|---|
| Acrylic Paints | For creating the base color and veining effects. |
| Brushes (Flat & Round) | For applying paint and creating intricate designs. |
| Sponge | For blending colors smoothly. |
| Resin | For a glossy, durable finish. |
| Sealant | To protect and maintain the faux marble finish. |
Lastly, preparation is key! Make sure to have drop cloths or old newspapers on hand to protect your workspace from any spills. A clean and organized area will not only help you work more efficiently but also make the entire process more enjoyable. With these materials in tow, you're well on your way to transforming your home with beautiful faux marble decor!
Q: Can I use any type of paint for faux marble?
A: While you can experiment with different types of paint, acrylics are recommended due to their versatility and ease of blending.
Q: How long does the resin take to cure?
A: Typically, resin can take anywhere from 24 to 72 hours to fully cure, depending on the product used. Always check the manufacturer's instructions.
Q: Is faux marble durable?
A: Yes, when properly sealed, faux marble can be quite durable and withstand everyday wear and tear, especially in high-traffic areas.
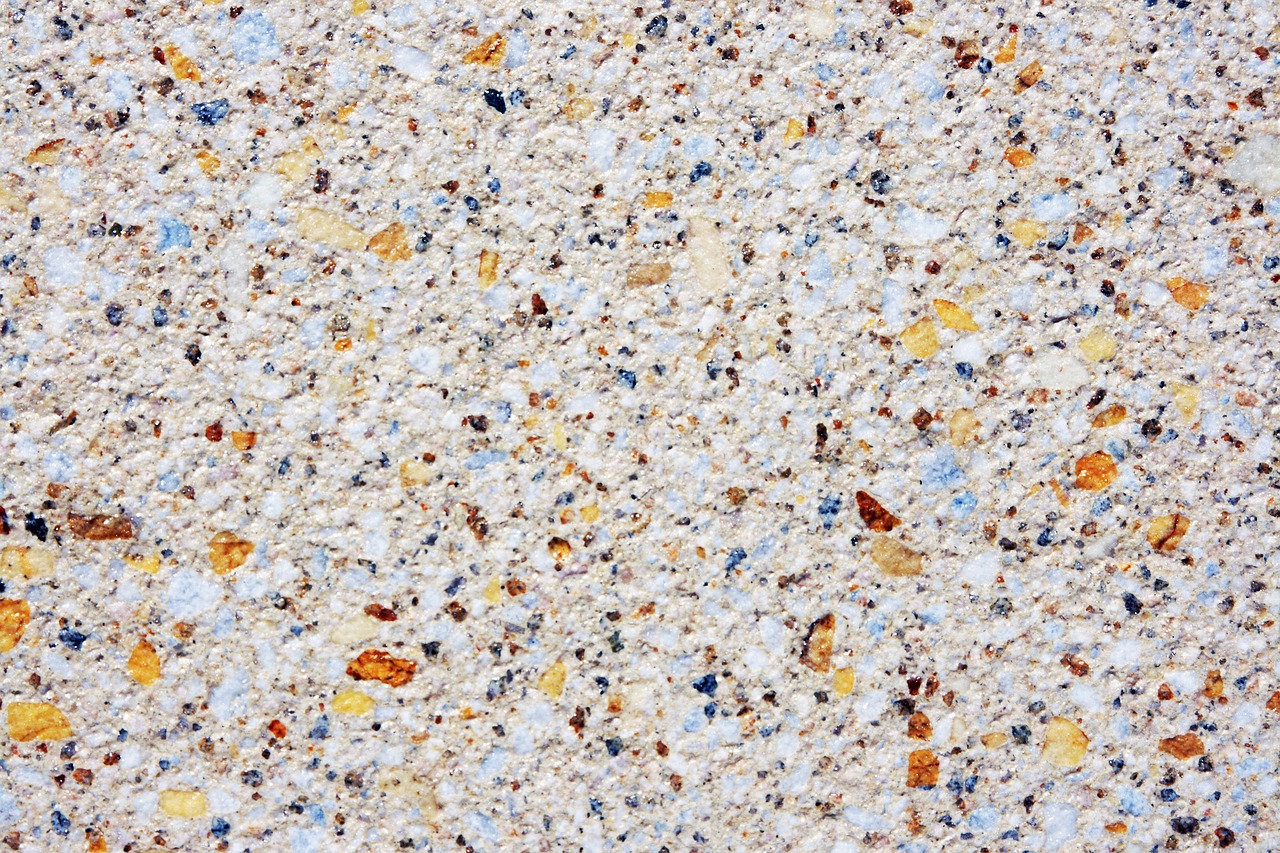
Step-by-Step Painting Guide
Ready to transform your space with a stunning faux marble finish? This step-by-step guide will walk you through the process, making it simple and enjoyable. Whether you want to revamp a piece of furniture or add some flair to your walls, mastering the art of faux marble painting can elevate your home decor without breaking the bank. Let’s dive in!
First things first, you need to gather your materials. Here’s a quick rundown of what you’ll need:
- Acrylic paints in your chosen colors
- Paintbrushes and sponges
- Painter's tape
- Sealant for finishing
- Drop cloths to protect your surfaces
Once you have everything ready, the first step is to prepare your surface. Ensure it’s clean and free from any dust or grease. If you're painting furniture, a light sanding can help the paint adhere better. After that, apply a base coat using a solid color that complements your faux marble effect. White or light gray is often a popular choice, as it provides a beautiful backdrop.
Now, let’s talk about the fun part: creating the marble effect! Start by choosing your secondary colors. A combination of dark and light shades can create depth and realism. Using a sponge or a brush, dab your secondary color onto the base coat. Vary the pressure and technique to mimic the natural veining found in real marble. Remember, less is more; you can always add more layers but it’s harder to take away!
After applying the secondary color, it’s time to add the veins. Use a fine brush to create thin, wavy lines that mimic the natural patterns of marble. This is where you can let your creativity shine! Don’t worry if it doesn’t look perfect; marble is all about the beauty of imperfection. If you feel like you’ve overdone it, you can always use your base coat to tone it down a bit.
Once you’re satisfied with your design, allow the paint to dry completely. This is crucial because applying a sealant too soon can ruin your hard work. After the paint dries, apply a clear sealant to protect your faux marble finish. This will give it a glossy, polished look, enhancing the overall appearance and making it more durable.
Finally, step back and admire your work! The faux marble finish should look stunning and elevate your space. If you’re feeling adventurous, consider trying this technique on different surfaces, like tabletops, countertops, or even decorative trays.
In summary, creating faux marble decor involves a few simple steps: preparing your surface, applying a base coat, adding color and veining, and sealing your masterpiece. With practice, you’ll find your rhythm and develop a style that suits your taste. So grab your materials and get started on your faux marble journey!
Q: Can I use this technique on any surface?
A: Yes! Faux marble can be applied to various surfaces, including wood, metal, and even walls. Just ensure the surface is clean and prepped properly.
Q: How long does the faux marble finish last?
A: With proper sealing and maintenance, your faux marble decor can last for years. Regular cleaning and avoiding harsh chemicals will help maintain its beauty.
Q: What if I make a mistake while painting?
A: Don’t worry! You can always paint over mistakes with your base coat or incorporate them into your design for a unique look.
Choosing the Right Color Palette
When it comes to creating a stunning faux marble effect, **choosing the right color palette** is essential. Think of your color choices as the paintbrush strokes of a master artist; they can make or break the entire look of your decor. You want to evoke a sense of luxury and sophistication, but also ensure that the colors harmonize with your existing decor. So, how do you pick the perfect hues? Let's dive in!
Start by considering the overall atmosphere you want to create in your space. Are you aiming for a **cool, modern vibe**, or do you prefer something warmer and more inviting? For a sleek and contemporary feel, consider using shades like **whites, grays, and blacks**. These colors mimic classic marble and will lend a sophisticated touch to your home. On the other hand, if you want to create a cozy atmosphere, you might opt for warmer tones like **beige, cream, and soft browns**. These colors can create a sense of warmth and comfort, making your space feel more inviting.
Another important factor to consider is the **light conditions** in your space. Natural light can dramatically alter how colors appear. For instance, a bright room can handle bolder colors without feeling overwhelming, while a dimly lit area might benefit from softer, lighter shades to keep it from looking too dark. To help you visualize, here’s a quick comparison of color palettes that work well in different lighting conditions:
| Lighting Condition | Recommended Color Palette |
|---|---|
| Bright Natural Light | Bold Whites, Deep Grays, Navy Blues |
| Soft Natural Light | Warm Beiges, Soft Creams, Pale Greens |
| Artificial Light | Rich Browns, Muted Golds, Darker Shades |
Once you’ve decided on a general color scheme, it’s time to play with **complementary and contrasting colors**. This is where the magic happens! For instance, if you choose a classic white marble base, you could add accents of **gold or emerald green** for a touch of elegance. Alternatively, if you’re going for a darker base, consider using lighter veining or accents to create a striking contrast. The key here is to create a balance that draws the eye without overwhelming the senses.
Lastly, don’t forget to test your colors! Before committing to a full project, create small samples of your chosen colors on a piece of cardboard or directly on the surface you plan to decorate. This way, you can see how they look in different lighting and against your furniture. Remember, the beauty of DIY is that you can experiment until you find the perfect combination that speaks to your personal style.
In summary, choosing the right color palette for your faux marble decor can transform your home into a sanctuary of style and sophistication. By considering the mood you want to create, the lighting conditions of your space, the balance of complementary colors, and testing your choices, you will be well on your way to achieving a stunning faux marble finish that reflects your personality and enhances your home.
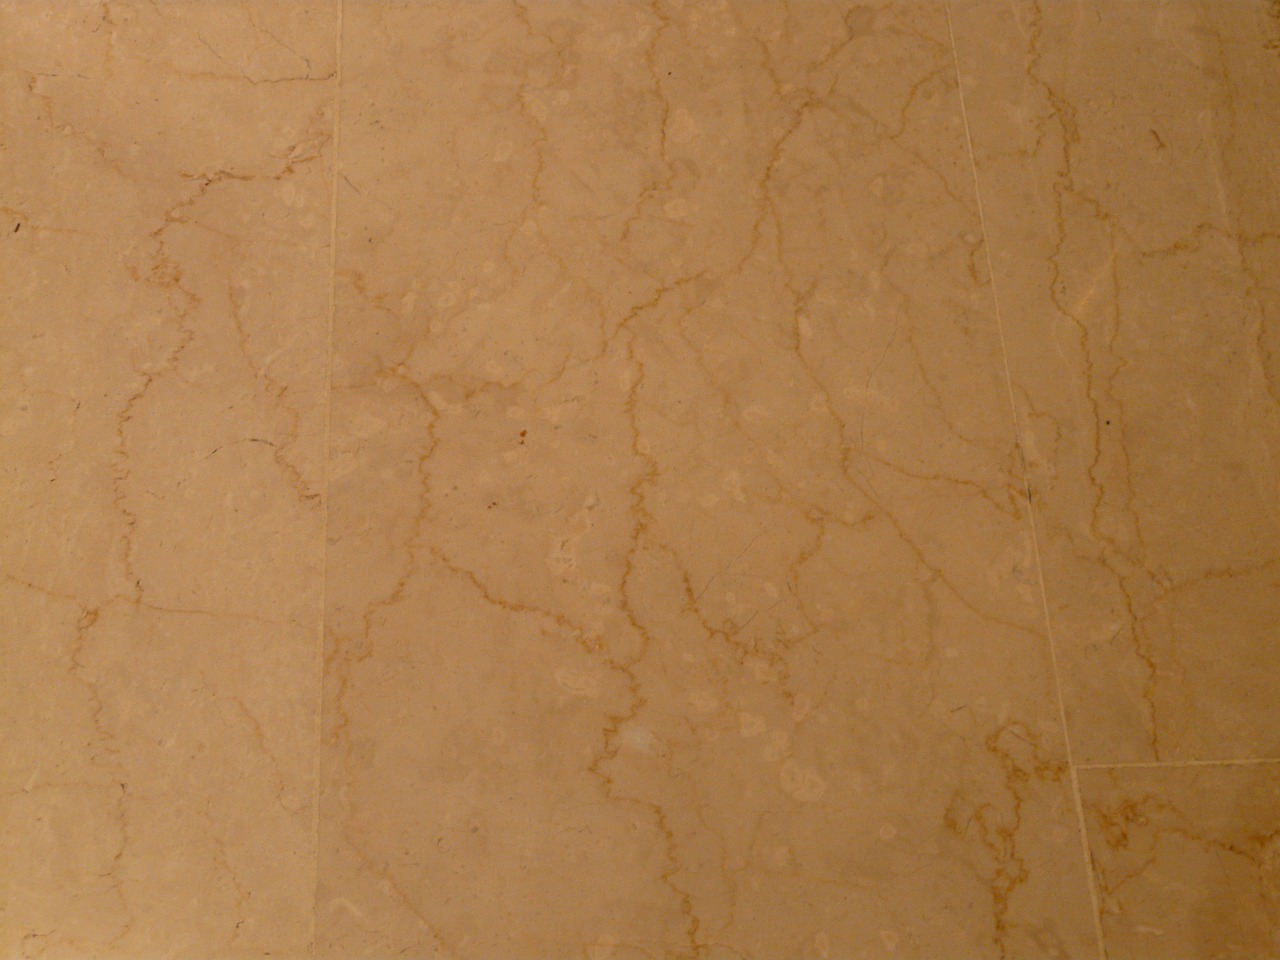
Applying the Base Coat
When it comes to creating a stunning faux marble finish, is a crucial step that sets the tone for the entire project. Think of the base coat as the canvas for your masterpiece; it needs to be smooth, even, and well-prepared to ensure that the subsequent layers adhere properly and look fantastic. The first thing you want to do is choose the right base color that complements your desired marble effect. Typically, a light shade like white, cream, or pale gray works best as it mimics the natural veining of real marble.
Before you dive into painting, make sure the surface you’re working on is clean and free from any dust or grease. A good cleaning with soap and water followed by a gentle wipe with rubbing alcohol can do wonders. Once your surface is prepped, it’s time to apply the base coat. You can use a high-quality paintbrush or a foam roller for this task. For larger areas, a roller will help you cover more ground quickly, while a brush is perfect for corners and edges.
Here’s a quick rundown of the steps you’ll want to follow:
- Step 1: Pour your chosen base color paint into a tray.
- Step 2: Using your brush or roller, start applying the paint in long, even strokes. Make sure to work in sections to avoid any overlap that could lead to uneven coverage.
- Step 3: Allow the first coat to dry completely before assessing whether a second coat is necessary. Depending on the paint’s opacity, you might need to apply one or two additional coats.
- Step 4: Once you’re satisfied with the base layer, let it cure for at least 24 hours. This will ensure a solid foundation for the next steps in your faux marble creation.
Remember, patience is key here! Rushing through the application can lead to imperfections that will be difficult to correct later on. You want that base coat to be as flawless as possible, as it will significantly influence the final look of your faux marble. After the base coat is dry, you can move on to adding the veining and other details that will bring your faux marble to life. So, take your time, enjoy the process, and watch as your ordinary surface transforms into a luxurious marble-like finish!

Using Resin for a Glossy Finish
When it comes to achieving that stunning, high-end look in your faux marble projects, resin is your best friend. This versatile material not only provides a glossy finish that rivals real marble but also adds a layer of durability that can withstand the test of time. Imagine transforming your ordinary decor into something that sparkles and shines, catching the light just right. It’s like giving your home a touch of luxury without the hefty price tag!
So, how do you get started with resin? First, you'll need to gather your materials. Here’s a quick list of essentials:
- Epoxy resin kit
- Mixing cups and sticks
- Protective gloves
- Masking tape
- Heat gun or torch (for bubbles)
Once you have your materials ready, the fun begins! Mixing the resin is a crucial step; it’s important to follow the instructions on your specific resin product to ensure the right chemical reactions. Typically, you’ll mix equal parts of resin and hardener. Stir slowly to avoid introducing air bubbles, which can mar the glossy finish you desire. After mixing, you can add pigments or dyes to achieve your desired color, allowing for endless customization!
Applying resin is where the magic happens. Pour the mixed resin over your faux marble surface, allowing it to flow and fill any gaps or imperfections. Use a heat gun or torch to gently pass over the surface; this will help eliminate any trapped air bubbles, ensuring a smooth and flawless finish. Remember, patience is key! Let the resin cure fully according to the manufacturer’s instructions, which can take anywhere from a few hours to a couple of days.
One of the best things about using resin is that it not only enhances the aesthetic appeal of your decor but also protects it. The resin creates a hard, waterproof layer that makes cleaning a breeze. Simply wipe it down with a damp cloth to keep it looking fresh and vibrant. However, be mindful of using harsh chemicals, as they can damage the resin over time.
In conclusion, incorporating resin into your faux marble projects is a game-changer. It elevates your decor to a whole new level of elegance and durability. So why not give it a try? You might just be amazed at the transformation!
Q: Is working with resin safe?
A: Yes, but it's essential to wear protective gear, such as gloves and a mask, to avoid inhaling fumes and skin contact.
Q: Can I use resin on any surface?
A: Resin adheres well to many surfaces, including wood, metal, and painted surfaces. However, ensure the surface is clean and properly prepared for the best results.
Q: How do I clean resin surfaces?
A: Simply use a damp cloth with mild soap. Avoid harsh chemicals that could damage the resin finish.
Safety Precautions When Working with Resin
Working with resin can be an exciting venture, but it’s essential to prioritize your safety to ensure a smooth and enjoyable crafting experience. Resin, while versatile and beautiful, can pose health risks if proper precautions aren’t taken. First and foremost, always work in a well-ventilated area. This is crucial because resin emits fumes that can be harmful if inhaled over extended periods. Consider setting up a fan or working outdoors to keep the air circulating.
Next, protective gear is your best friend when dealing with resin. Make sure to wear gloves, preferably nitrile ones, to prevent skin contact. Resin can cause irritation or allergic reactions, so keeping your skin protected is vital. Additionally, wearing a mask designed for chemical fumes can help filter out harmful particles, especially if you’re sensitive to strong odors or chemicals.
It’s also a good idea to wear safety goggles to shield your eyes from any splashes or accidental spills. Remember, prevention is better than cure! You wouldn’t want to ruin a fun project with an unfortunate accident. Before you start, ensure you have all your materials organized and easily accessible to minimize unnecessary movement around your workspace.
When it comes to mixing resin, always follow the manufacturer's instructions closely. Mixing ratios are crucial; too much hardener or resin can affect the curing process and lead to a sticky mess. For those new to resin, it’s advisable to start with small batches until you get the hang of it. This way, you can minimize waste and avoid overwhelming yourself.
Lastly, ensure you have a clean-up plan. Resin can be tricky to clean up once it has cured, so it’s best to use drop cloths or newspapers to protect your workspace. In case of spills, have some isopropyl alcohol on hand to clean up before the resin hardens. This proactive approach will save you a lot of headaches down the line.
By following these safety precautions, you can focus on unleashing your creativity with resin while keeping yourself and your environment safe. Remember, a little preparation goes a long way in ensuring your DIY projects are not only stunning but also safe!
- What type of resin is best for DIY projects? Epoxy resin is popular for its clarity and durability, making it ideal for various crafts.
- Can I use resin indoors? Yes, but ensure your workspace is well-ventilated and that you wear appropriate safety gear.
- How long does resin take to cure? Curing time varies by product, but most resins take 24-72 hours to fully cure.
- Is it safe to use resin around pets? It's best to keep pets away from your workspace while working with resin due to fumes and potential hazards.

Incorporating Faux Marble into Various Spaces
When it comes to home decor, the versatility of faux marble is nothing short of a game-changer. Imagine transforming your living space into a luxurious haven without the hefty price tag that comes with real marble. Faux marble can be incorporated into various areas of your home, offering a touch of elegance and sophistication. Whether you’re sprucing up your kitchen, bathroom, or living room, faux marble can seamlessly blend with your existing decor while making a bold statement.
In the kitchen, faux marble can be applied to countertops, backsplashes, or even cabinet facades. Consider using a resin finish on your countertops to mimic the glossy look of real marble. This not only elevates the aesthetic but also provides a durable, easy-to-clean surface. You can also use faux marble contact paper to revamp old cabinets or create a stunning backsplash. The beauty of this approach is that it’s both affordable and removable, allowing you to experiment with styles without commitment.
Moving on to the bathroom, faux marble can turn a mundane space into a spa-like retreat. Think about applying faux marble techniques to your vanity or even the walls. A faux marble treatment on a simple wooden vanity can make it look like a high-end piece. Additionally, consider using faux marble tiles on the floor or shower walls. This creates a cohesive look that exudes luxury while being easy to maintain.
In the living room, faux marble can be used in various ways. From coffee tables to accent walls, the possibilities are endless. You can paint a faux marble effect directly onto a tabletop or even use a resin pour to create a stunning centerpiece. An accent wall featuring faux marble can serve as a focal point, drawing the eye and sparking conversation. By incorporating faux marble into your living room, you create an inviting atmosphere that feels both modern and timeless.
Lastly, don’t overlook the potential of faux marble in smaller spaces, such as hallways or entryways. A faux marble console table can add a touch of elegance, while faux marble wall art can elevate the overall decor. Even small accents, like faux marble coasters or decorative trays, can tie the theme together, making your home feel curated and thoughtfully designed.
To sum it up, incorporating faux marble decor into your home is not just about aesthetics; it's about creating a space that reflects your personality and style. With a little creativity and the right techniques, you can achieve a stunning look that rivals the elegance of real marble, all while staying within your budget.
- Can faux marble be used outdoors? Yes, but ensure you use materials that are weather-resistant.
- How long does faux marble last? With proper care, faux marble can last for many years.
- Is faux marble easy to clean? Absolutely! Just use mild soap and water to maintain its beauty.
Maintenance Tips for Faux Marble Decor
Maintaining the beauty of your faux marble decor is essential to ensure it continues to impress and elevate your home’s aesthetic. While faux marble is often more durable than real marble, it still requires some care to keep it looking its best. Here are some essential tips to help you maintain your faux marble surfaces:
First and foremost, it’s crucial to clean your faux marble regularly. Use a soft, damp cloth or a microfiber cloth to wipe down the surfaces. Avoid abrasive cleaners or scrubbers, as these can scratch and dull the finish. Instead, opt for a gentle soap solution or a pH-balanced cleaner. This will help lift any dirt or grime without damaging the surface. Think of it like giving your faux marble a refreshing spa day!
When it comes to spills, act quickly! Faux marble can be sensitive to certain substances, especially acidic ones like lemon juice or vinegar. If you accidentally spill something, blot it up immediately with a soft cloth. Never rub the spill, as this can spread the liquid and potentially stain the surface. Instead, gently dab the area until it is clean. This is similar to how you would handle a delicate piece of jewelry—treat it with care!
Another important aspect of maintenance is protecting your faux marble from heat. Just like real marble, it can be affected by extreme temperatures. Always use coasters under hot items like pots or pans, and avoid placing heated appliances directly on the surface. Consider using trivets for extra protection. This simple step can save you from potential damage and keep your decor looking flawless.
For those who have created faux marble surfaces using resin, it's important to remember that while resin is durable, it can still be scratched or chipped. To prevent this, avoid dragging heavy items across the surface. If you do notice any scratches, you can often buff them out with a fine-grit sandpaper or a polishing compound. Just be sure to follow up with a gentle cleaning to restore its shine.
Lastly, if your faux marble starts to lose its luster, consider applying a new coat of sealant. This not only enhances the shine but also provides an additional layer of protection against stains and scratches. Depending on the type of faux marble finish you’ve applied, you may need to reseal every few years to maintain that luxurious look. Think of it as a touch-up for your decor—keeping it vibrant and fresh!
In summary, with just a little bit of care and attention, your faux marble decor can remain a stunning centerpiece in your home. By following these maintenance tips, you’ll ensure that your DIY projects continue to shine and impress for years to come. Remember, treating your faux marble with the same respect you would give to real marble will pay off in the long run!
Q: Can I use vinegar to clean faux marble?
A: It’s best to avoid vinegar as it can be too acidic and may damage the finish. Instead, use a gentle soap solution or a pH-balanced cleaner.
Q: How often should I reseal my faux marble?
A: Depending on the type of finish, resealing every 1-3 years is recommended to maintain its shine and protect against stains.
Q: What should I do if my faux marble gets scratched?
A: You can often buff out minor scratches with fine-grit sandpaper or polishing compound. Just be sure to clean the area afterward to restore its shine.
Q: Is faux marble heat resistant?
A: While faux marble is more heat resistant than some materials, it’s still important to use coasters and trivets to protect it from extreme temperatures.
Frequently Asked Questions
- What is faux marble, and how is it different from real marble?
Faux marble is a decorative technique that mimics the appearance of real marble without the hefty price tag. It’s typically created using various materials like paint, resin, or contact paper, offering a beautiful look while being lightweight and easier to maintain.
- Can I use faux marble techniques on any surface?
Absolutely! Faux marble techniques can be applied to a variety of surfaces, including furniture, walls, and decorative items. Just ensure the surface is clean and properly prepared for the best results.
- What materials do I need for a DIY faux marble project?
For a successful faux marble project, you’ll need essential materials such as acrylic paints, sealants, brushes, a sponge or rag for blending, and possibly resin if you want that glossy finish. Don’t forget to grab some painter's tape to protect the edges!
- How do I choose the right color palette for my faux marble?
Selecting the perfect color palette is key to achieving a realistic look. Popular combinations include whites, greys, and blacks, but you can also experiment with colors that complement your existing decor. Think of it like picking the right outfit – you want it to match and enhance your overall style!
- Is working with resin safe?
While resin can create stunning effects, it's crucial to follow safety precautions. Always work in a well-ventilated area, wear gloves, and consider a mask to avoid inhaling fumes. Safety first, crafting second!
- How do I maintain my faux marble decor?
To keep your faux marble looking fresh and vibrant, clean it gently with a soft cloth and mild soap. Avoid abrasive cleaners that could scratch the surface. Think of it as giving your decor a spa day – it’ll thank you for it!
- Can I use faux marble in high-moisture areas like bathrooms?
Yes, you can! Just make sure to use a high-quality sealant to protect your faux marble from moisture. This will help maintain its beauty and durability even in steamy environments.


