Creating DIY Clay Pots for Your Plants
Have you ever looked at your plants and thought, "They deserve something special"? Well, you're in for a treat! In this article, we’re diving into the delightful world of DIY clay pots. Not only do these personalized plant containers add a unique touch to your home or garden, but they also allow you to express your creativity. Imagine crafting a one-of-a-kind pot that reflects your style and complements your plants perfectly. Whether you’re a seasoned gardener or just starting out, making your own clay pots can be a fun and rewarding experience. So, grab your tools, roll up your sleeves, and let’s get started!
Gathering the right materials is crucial for successful DIY clay pots. You’ll want to start with high-quality clay that suits your project. Here’s a quick rundown of what you’ll need:
- Clay Types: Air-dry clay, polymer clay, or traditional kiln-fired clay.
- Tools: Rolling pin, cutting tools, and a modeling tool or two.
- Decorative Elements: Paints, glazes, and texture tools to personalize your pots.
Having the right materials on hand can make all the difference in your crafting journey. So, take a moment to gather everything you need before diving into the fun part!
When it comes to clay, not all types are created equal. Each type has its own unique properties that can affect your project. Let’s break it down:
| Type of Clay | Properties | Best For |
|---|---|---|
| Air-Dry Clay | No kiln required; dries hard when exposed to air | Quick projects and indoor use |
| Polymer Clay | Oven-baked; comes in various colors | Detailed designs and small pots |
| Kiln-Fired Clay | Requires firing in a kiln; very durable | Outdoor pots and long-lasting projects |
Choosing the right clay is like picking the perfect canvas for your masterpiece. Consider what you want to achieve and select the clay that will best serve your needs!
Now that you have your materials and clay, it’s time to get your hands dirty! Mastering basic shaping techniques is key to creating beautiful pots. Here are a few methods to try:
- Coiling: Roll out long strips of clay and stack them to form the walls of your pot.
- Pinching: Start with a ball of clay and pinch it into shape, creating a more organic feel.
- Slab Construction: Roll out flat pieces of clay and join them to create the desired shape.
These techniques not only help you shape your pots but also allow you to add personal flair. Think of each pot as a little piece of art that can embody your style!
One critical aspect of pot-making is ensuring that your plants remain healthy. Proper drainage is essential to prevent water from pooling at the bottom of your pots, which can lead to root rot. To incorporate drainage holes, simply use a sharp tool to poke holes in the bottom of your pot before it dries. This small step can make a huge difference in the health of your plants, ensuring they thrive in their new home!
Now comes the fun part—decorating your pots! Personalizing your clay pots can enhance their aesthetic appeal and make them truly yours. Here are some techniques to consider:
- Painting: Use acrylic paints to add vibrant colors and designs.
- Glazing: Apply a clear glaze for a shiny finish that also protects the clay.
- Adding Textures: Experiment with stamps or textured tools to create unique patterns.
Let your imagination run wild! Your pots can be as simple or as intricate as you like, reflecting your personality and style.
Depending on the type of clay you choose, firing and curing options will vary. If you’re using air-dry clay, all you need to do is let your pots sit out to dry completely. For polymer clay, follow the instructions for baking in an oven. If you’ve opted for kiln-fired clay, you’ll need access to a kiln to fire your pots. Each method has its advantages, so choose the one that aligns with your project goals.
Once your pots are ready, it’s time to plant! Before you dive in, consider the following tips:
- Soil Selection: Choose a soil mix that suits the type of plants you want to grow.
- Plant Types: Start with hardy plants if you’re a beginner.
- Arrangement: Arrange your plants in a way that allows for growth and airflow.
Planting in your DIY pots is the final touch, transforming your creations into living art pieces that brighten up your space.
Maintaining your DIY clay pots is essential for longevity. Here are some tips to keep your pots looking great:
- Cleaning: Gently wash your pots with mild soap and water.
- Re-potting: If your plants outgrow their pots, don’t hesitate to re-pot them.
- Weather Protection: Store your pots indoors during extreme weather to prevent damage.
With a little care, your DIY clay pots can last for years, continuing to bring joy and beauty to your home.
Q: Can I use regular clay for my pots?
A: While regular clay can be used, it's best to choose clay specifically designed for pottery to ensure durability and proper drainage.
Q: How long does it take for air-dry clay to dry?
A: Air-dry clay usually takes about 24-48 hours to dry completely, depending on the thickness of your pot.
Q: What types of plants are best for DIY clay pots?
A: Succulents, herbs, and small flowering plants are great choices for DIY clay pots, as they don’t require extensive root systems.
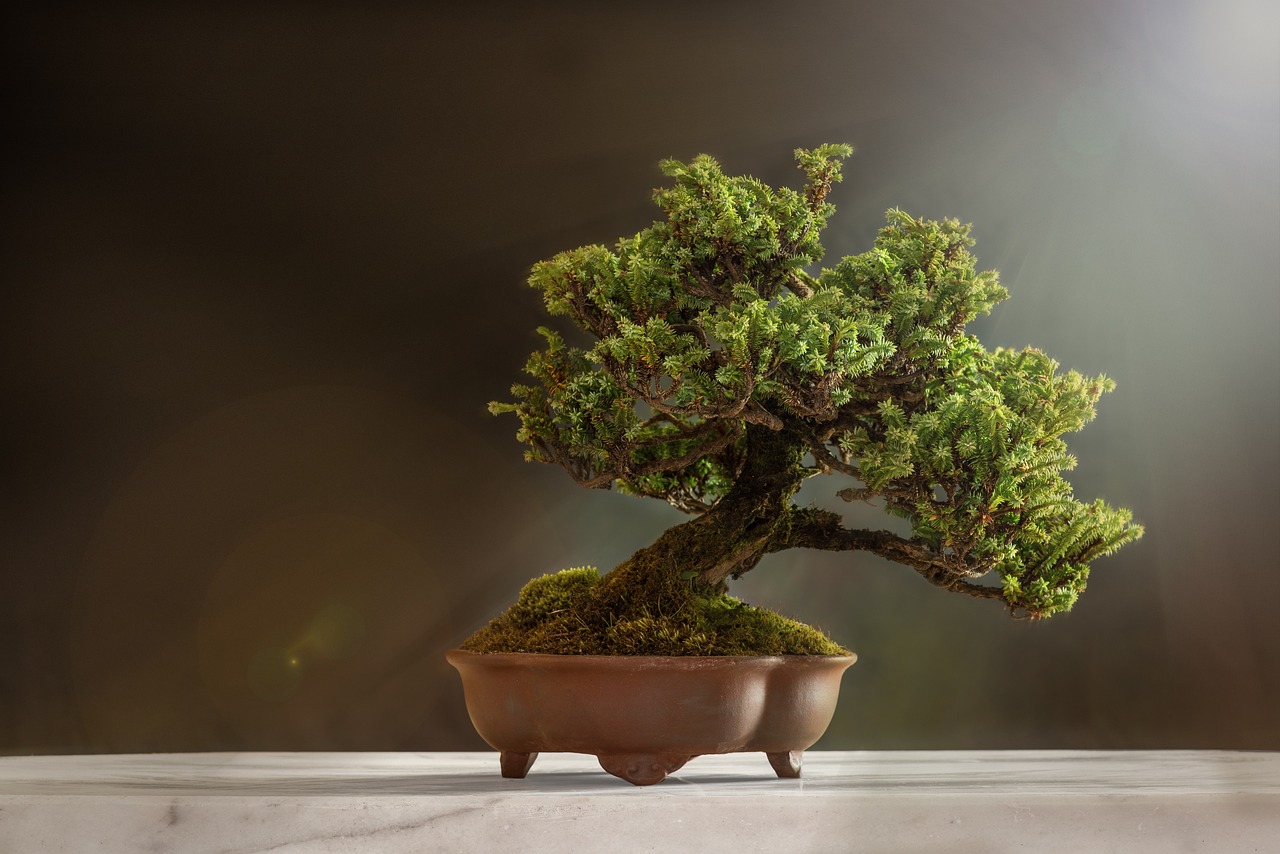
Materials Needed
Creating your own DIY clay pots is an exciting venture that allows you to express your creativity while providing a cozy home for your plants. To embark on this artistic journey, it's essential to gather the right materials. Think of this process as gathering ingredients for a delicious recipe; each component plays a vital role in the final product. Here are the key materials you'll need:
First and foremost, you'll need clay. The type of clay you choose can significantly impact your project. For beginners, air-dry clay is a fantastic option because it doesn't require any specialized equipment like a kiln. It's easy to work with and dries naturally over time. On the other hand, if you're looking for something more durable, consider polymer clay, which can be baked in a regular oven to harden. Lastly, for those who are willing to invest a bit more time and effort, traditional kiln-fired clay offers a robust finish but requires access to a kiln for firing.
In addition to clay, you'll need some basic tools to help shape and sculpt your pots. Essential tools include:
- Clay knife: Perfect for cutting and trimming your clay.
- Rolling pin: Useful for flattening slabs of clay.
- Pottery wheel (optional): If you want to try your hand at wheel throwing, this can be a fun addition.
- Sponges and water: These are essential for smoothing out surfaces and keeping your clay workable.
Now, let’s not forget about decorative elements that can elevate your clay pots from simple to stunning. Consider using:
- Paints: Acrylic paints work well for adding vibrant colors.
- Glazes: If you're kiln-firing your pots, glazes can provide a beautiful, glossy finish.
- Stencils and stamps: These tools can help you create intricate designs on your pots.
Finally, having a reliable work surface is crucial. A smooth, clean area will make your crafting process much more enjoyable. You might also want to keep some plastic wrap handy to cover your pots while you work, preventing them from drying out too quickly. By gathering these materials, you're setting yourself up for a successful and enjoyable DIY clay pot experience. So, roll up your sleeves and get ready to unleash your inner artist!
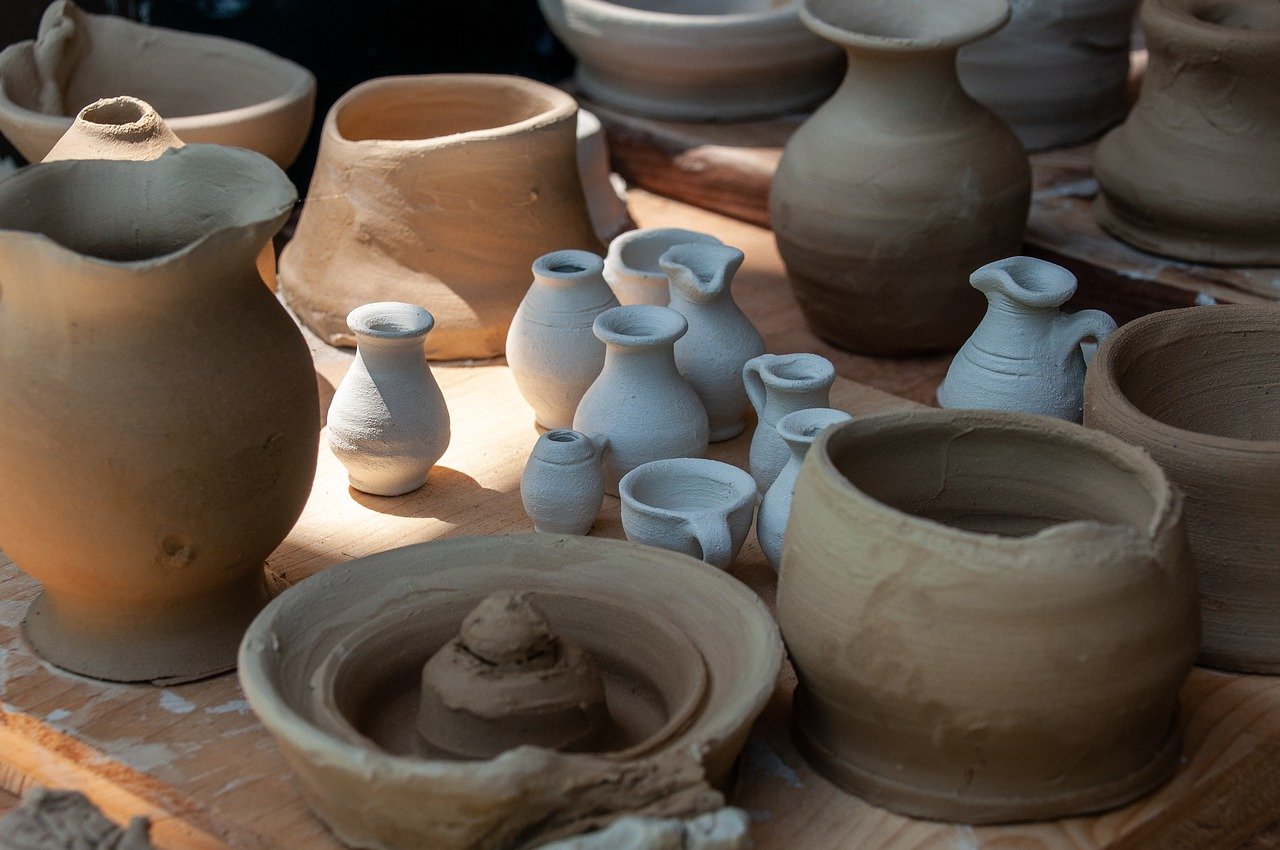
Choosing the Right Clay
When it comes to creating your own DIY clay pots, the first step is selecting the right type of clay. This decision can significantly impact the durability, appearance, and overall success of your pots. It's like choosing the right foundation for a house; if you don't start with a solid base, everything else might crumble. So, let's dive into the different types of clay available and how they can affect your project.
First up, we have air-dry clay. This type of clay is perfect for beginners and those who want a hassle-free crafting experience. As the name suggests, air-dry clay hardens when exposed to air, eliminating the need for a kiln. It's lightweight, easy to shape, and comes in various colors, making it an excellent choice for decorative pots. However, keep in mind that air-dry clay is not waterproof, so if you plan to use it for plants, you'll need to seal it properly to avoid moisture damage.
Next, let’s talk about polymer clay. This versatile material is often used for crafting intricate designs and detailed decorations. Polymer clay is available in a wide range of colors and can be mixed to create custom shades. What sets it apart is its ability to be baked in a regular oven, which hardens it into a durable, waterproof finish. This makes polymer clay an attractive option for plant pots, especially if you want to add a splash of creativity and color to your garden.
Lastly, we have traditional kiln-fired clay, which is the go-to choice for serious potters. This clay requires a kiln to fire and harden, resulting in a sturdy and long-lasting pot. Kiln-fired clay can withstand outdoor elements better than the other two types, making it ideal for garden use. However, it does require more skill and equipment, so if you're a beginner, you might want to start with air-dry or polymer clay before venturing into the world of kiln-fired creations.
To summarize, here’s a quick comparison of the three types of clay:
| Type of Clay | Hardening Method | Waterproof | Skill Level |
|---|---|---|---|
| Air-Dry Clay | Air Drying | No (requires sealing) | Beginner |
| Polymer Clay | Baking in Oven | Yes | Intermediate |
| Kiln-Fired Clay | Kiln Firing | Yes | Advanced |
In conclusion, the choice of clay is a crucial step in your DIY pot-making journey. Each type of clay comes with its unique characteristics, advantages, and challenges. Think about your skill level, the look you want to achieve, and how you plan to use your pots. By selecting the right clay, you're setting yourself up for a successful and enjoyable crafting experience. So grab your materials, unleash your creativity, and get ready to create pots that are not only functional but also a true reflection of your personal style!
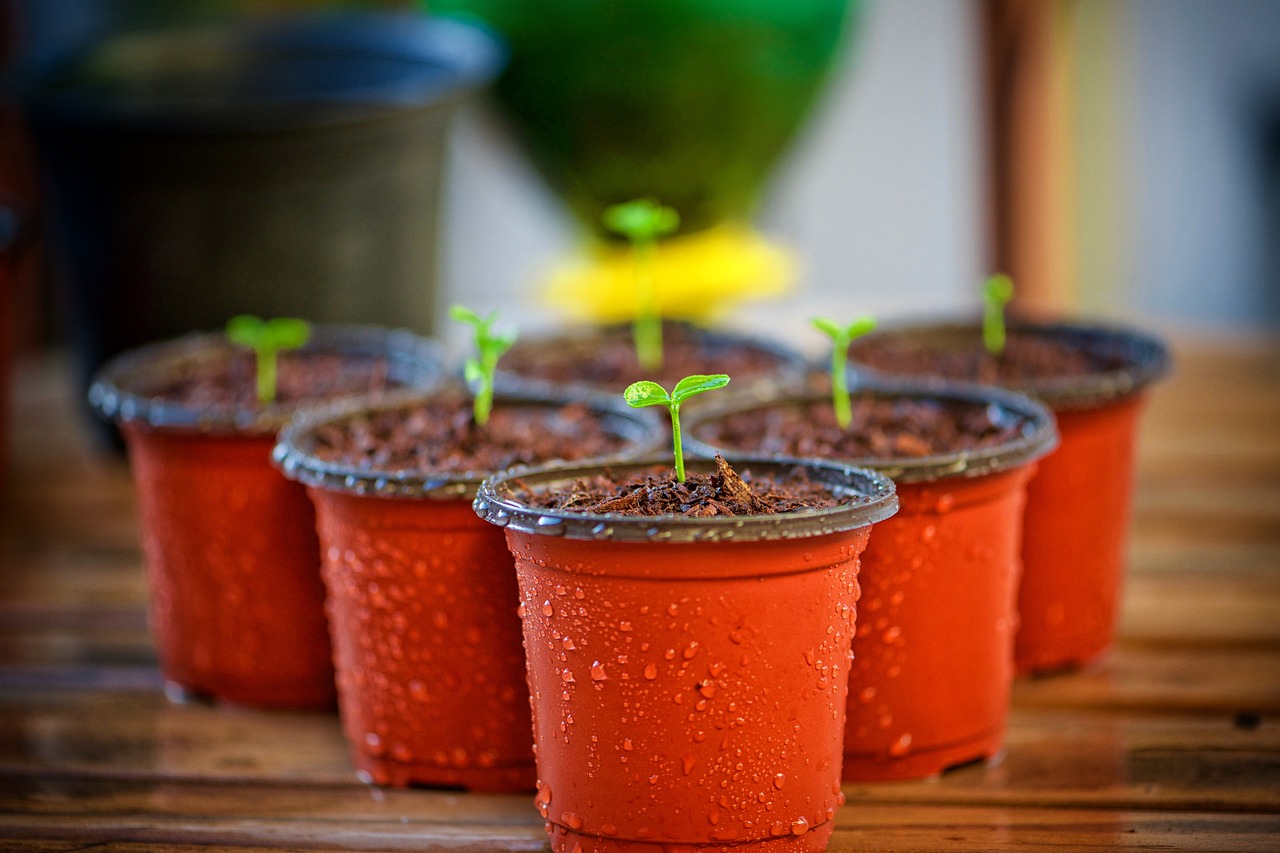
Basic Techniques for Shaping Pots
Creating your own clay pots can be a truly rewarding experience, allowing you to express your creativity while providing a cozy home for your plants. To get started, it's essential to master a few basic techniques that will set the foundation for your pot-making journey. Think of these techniques as the building blocks of your artistic expression, each one offering unique possibilities and styles.
One of the most popular methods is the coiling technique. This method involves rolling out long, snake-like pieces of clay and stacking them to form the walls of your pot. Imagine building a tower with soft, pliable ropes; the more coils you add, the taller and wider your pot becomes. To create a seamless look, gently blend the coils together using your fingers or a smoothing tool, ensuring that each layer adheres well to the one below.
Next up is the pinching technique, which is as simple as it sounds! Start with a ball of clay and pinch it between your fingers to shape it into a pot. This technique is perfect for beginners because it allows for a lot of freedom and spontaneity. You can create various shapes and sizes, from small succulent pots to larger ones for ferns. Just remember, the key to a successful pinch pot is to maintain an even thickness throughout, which will help prevent cracking as it dries.
For those who prefer a more structured approach, the slab construction technique might be your best bet. This method involves rolling out flat pieces of clay (or slabs) and then cutting them into shapes that can be assembled to form a pot. Think of it like building with LEGO blocks; you can create sharp angles and clean lines that give your pot a modern look. When using this technique, it’s crucial to score and slip the edges where the pieces meet, ensuring a strong bond as the clay dries.
Regardless of the technique you choose, it’s essential to keep your workspace organized and your tools handy. Here’s a quick overview of the tools you might need:
| Tool | Purpose |
|---|---|
| Rolling Pin | To roll out clay evenly for slabs. |
| Clay Knife | For cutting and shaping clay. |
| Smoothing Tool | To blend seams and create a polished finish. |
| Sponge | For adding moisture and smoothing surfaces. |
As you embark on your clay pot-making adventure, don’t be afraid to experiment with different techniques and styles. Each pot you create will be a reflection of your personality and artistic vision. So, roll up your sleeves, get your hands dirty, and let your creativity flow!
- Can I use any type of clay for pot-making? - While you can use various types of clay, it's essential to choose one that suits your project’s needs. Air-dry clay is great for beginners, while kiln-fired clay is more durable.
- How do I prevent my pots from cracking? - Keep your clay moist while working, and ensure even thickness throughout your pot. Gradual drying can also help reduce the risk of cracks.
- What should I do if I make a mistake? - Don’t worry! Clay is forgiving. You can often rework it by adding moisture or reshaping it before it dries completely.
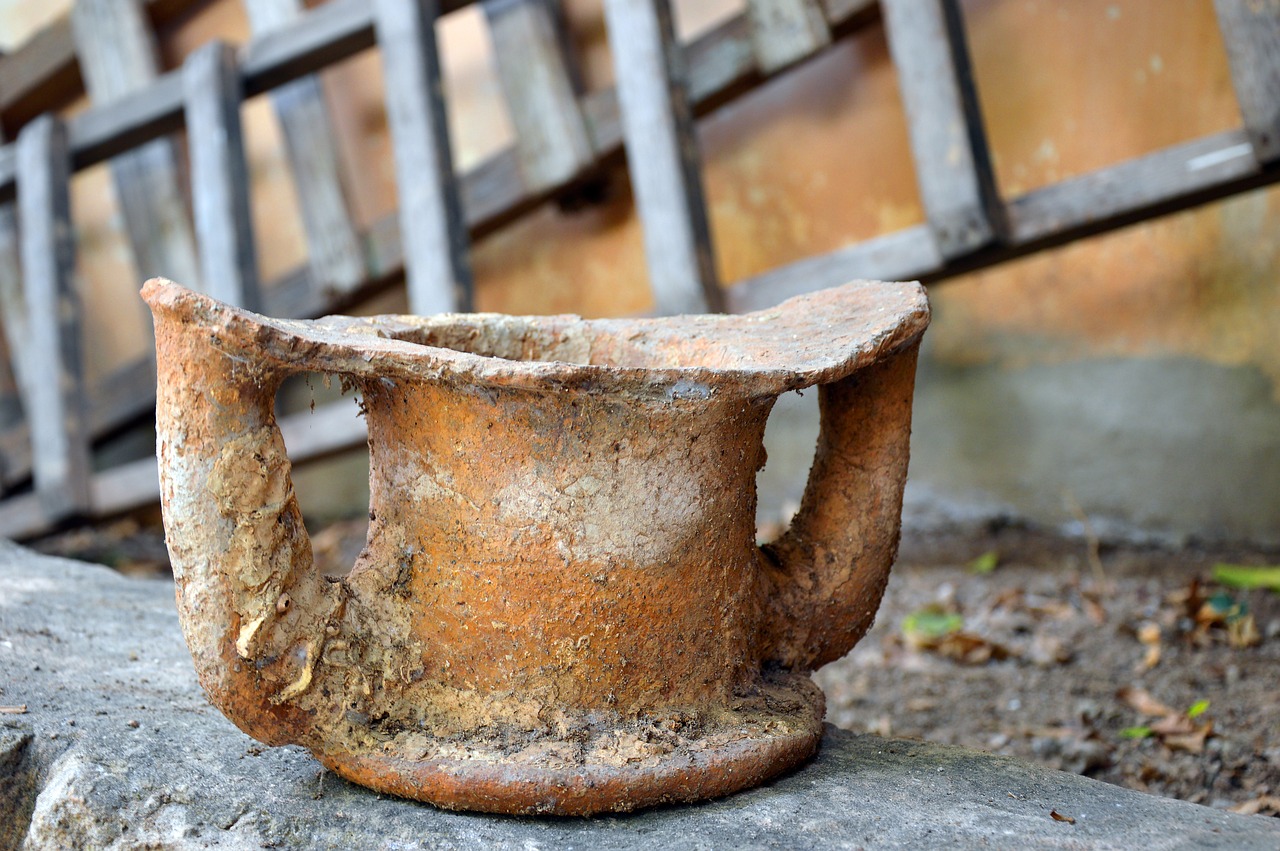
Adding Drainage Holes
When it comes to creating your own DIY clay pots, one of the most crucial aspects to consider is drainage. Imagine your plants sitting in a puddle of water, their roots gasping for air—it's not a pretty picture! To ensure your green friends thrive, you need to incorporate drainage holes into your pots. This simple step can make a world of difference in keeping your plants healthy and happy.
So, how do you go about adding these essential holes? The process can be quite straightforward, depending on the type of clay you're using. For instance, if you're working with air-dry clay, you'll want to make your holes before the clay completely dries. A good rule of thumb is to create at least two to three holes in the bottom of your pot. This will allow excess water to escape, preventing root rot and other moisture-related issues.
For those using polymer clay, the approach varies slightly. After shaping your pot, you can use a small tool, like a toothpick or a skewer, to poke holes through the bottom. Just make sure to do this before baking the clay, as heating it will harden the material, making it difficult to alter afterward. Remember, the size of the holes matters too; they should be big enough to allow water to drain but small enough to keep soil from escaping.
In the case of traditional kiln-fired clay, the process is similar to air-dry clay. You can create drainage holes using a pin or a small drill bit. The beauty of kiln-fired pots is that they can be fired multiple times, allowing you to make adjustments as needed. Just be cautious—too many holes can compromise the structure of your pot, so aim for a balance.
Here's a quick overview of the different methods for adding drainage holes based on the clay type:
| Clay Type | Method for Adding Holes | Timing |
|---|---|---|
| Air-Dry Clay | Use a tool to poke holes before drying | Before the clay dries |
| Polymer Clay | Poke holes with a toothpick before baking | Before baking |
| Kiln-Fired Clay | Drill or poke holes before firing | Before firing |
By ensuring proper drainage, you’re not just prolonging the life of your pots; you're also creating a nurturing environment for your plants to flourish. Think of it as giving your plants a cozy home where they can breathe and grow without the stress of drowning in water. So, next time you're crafting your clay pots, remember that those little holes at the bottom are the gateway to a thriving garden.
- Why do I need drainage holes in my pots? Drainage holes are essential as they allow excess water to escape, preventing root rot and ensuring your plants receive adequate oxygen.
- How many drainage holes should I make? Generally, two to three holes are sufficient, but this can vary based on the size of the pot.
- Can I add drainage holes after the pot is made? It’s advisable to add them during the crafting process. However, if necessary, you can carefully drill holes in dried pots, but be cautious not to crack them.

Decorating Your Clay Pots
Decorating your clay pots is not just about aesthetics; it's about expressing your personality and creativity! Think of your pots as a blank canvas waiting for your artistic touch. Whether you prefer a minimalist look or something more vibrant and eclectic, the options are endless. One of the simplest and most effective ways to enhance your pots is through painting. You can use acrylic paints for bright, bold colors, or opt for natural pigments for a more earthy feel. Just remember to seal your paint with a waterproof sealant to protect it from moisture and fading.
Another fantastic technique is glazing. If you're using kiln-fired clay, glazing can add a beautiful, glossy finish that not only looks stunning but also makes your pots more durable. You can experiment with different glaze colors and textures to create a unique look. For those who love texture, consider adding embellishments like beads, stones, or even fabric. These can be attached using strong adhesive, transforming your pots into one-of-a-kind masterpieces.
Additionally, don’t shy away from stencils and decoupage techniques. Stenciling allows you to create intricate designs with precision, while decoupage gives you the freedom to use images and patterns from paper or fabric. Just apply a layer of glue to your pot, place the cutouts, and seal it all with another layer of glue. The result? A beautifully decorated pot that tells a story!
For those who love to get their hands dirty, consider using natural materials for decoration. Incorporating elements like twine, leaves, or even small branches can give your pots an organic touch. You can wrap twine around the rim or glue on small pieces of bark for a rustic look. This approach not only enhances the visual appeal but also connects your pots to nature.
Lastly, remember to let your creativity flow! Don’t be afraid to mix and match techniques or use unexpected materials. The beauty of DIY is that there are no rules—just guidelines. Your clay pots should reflect your style, and the joy of gardening becomes even greater when you can admire your personalized creations. So grab your tools, unleash your imagination, and let your pots shine!
- What type of paint is best for clay pots? Acrylic paint is highly recommended for its durability and vibrant colors. Make sure to seal it afterward!
- Can I use regular glue for embellishments? It's best to use a strong adhesive like E6000 for attaching heavier items to ensure they stay in place.
- How do I prepare my pot for painting? Clean the surface thoroughly and let it dry completely before applying paint.
Firing and Curing Options
When it comes to creating your own DIY clay pots, understanding the available is essential. These processes not only affect the durability of your pots but also their appearance and functionality. Depending on the type of clay you choose, the methods for firing and curing can vary significantly. Let's break down the most common options.
First, we have air-dry clay. As the name suggests, this type of clay doesn't require any heat to set. Instead, it hardens naturally when exposed to air. This is a fantastic choice for beginners or those looking for a quick project. However, it's important to note that air-dry clay is generally less durable than other options and can be more susceptible to moisture damage. For those who want a more resilient pot, consider using a kiln.
Next up is polymer clay. This versatile material is favored for its vibrant colors and ease of use. To harden polymer clay, you simply need to bake it in a conventional oven at a specified temperature, usually around 275°F (130°C). This method not only sets the clay but also enhances its strength and finish, making it suitable for decorative pots that may not hold heavy plants.
Finally, we have traditional kiln-fired clay. This is the go-to option for serious potters. Kiln firing involves heating the clay to very high temperatures, which can range from 1,832°F (1,000°C) to over 2,400°F (1,300°C). This process transforms the clay into a durable ceramic material that can withstand outdoor conditions and last for years. However, it does require access to a kiln, which might not be feasible for everyone.
Here’s a quick comparison of these options:
| Type of Clay | Firing Method | Durability | Best For |
|---|---|---|---|
| Air-Dry Clay | Natural air drying | Low | Quick projects, indoor use |
| Polymer Clay | Baking in an oven | Medium | Decorative pots, indoor use |
| Kiln-Fired Clay | High-temperature kiln firing | High | Long-lasting outdoor pots |
Choosing the right firing method depends on your project goals, the environment in which your pots will be used, and your available resources. If you’re looking for something simple and quick, air-dry clay might be your best bet. However, if you want pots that can withstand the elements and last for years, investing in kiln-fired clay is the way to go. Remember, the right choice can enhance not only the aesthetics of your gardening space but also the health of your plants!
Q: Can I use air-dry clay for outdoor pots?
A: Air-dry clay is not recommended for outdoor use as it can break down in wet conditions. It's best suited for indoor plants.
Q: How long does polymer clay need to bake?
A: Typically, polymer clay needs to bake for about 15-30 minutes, depending on the thickness of your pot. Always check the manufacturer's instructions for the best results.
Q: Is kiln firing necessary for all clay pots?
A: No, kiln firing is not necessary for all clay pots. It depends on the type of clay you choose. Air-dry and polymer clays do not require a kiln.
Q: Can I paint my clay pots after they are cured?
A: Yes, you can paint your clay pots after they are cured. Just ensure you use paint that is suitable for ceramic surfaces to achieve the best results.
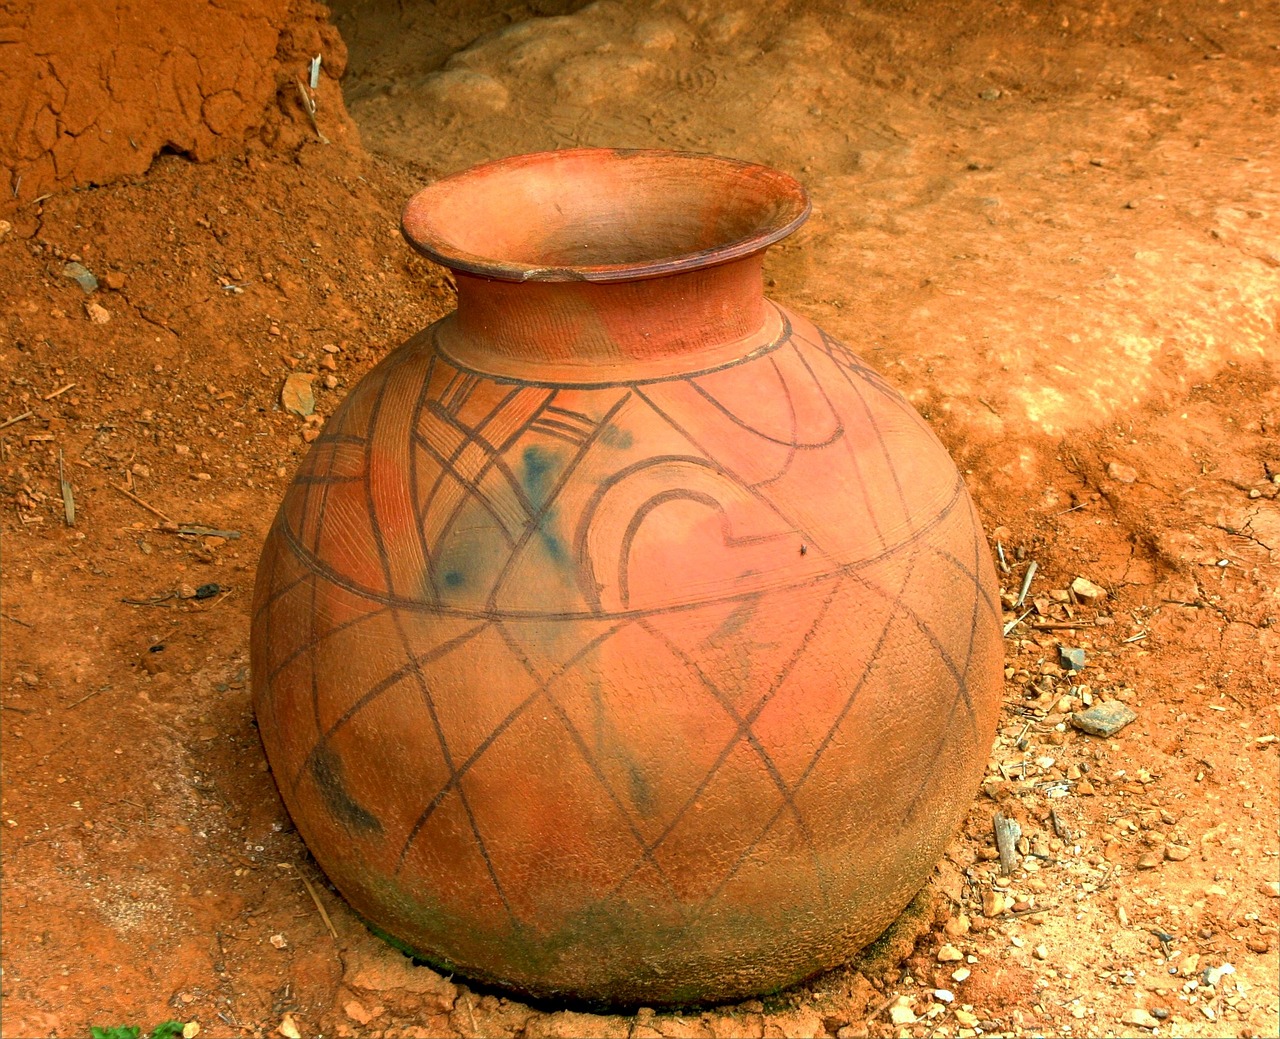
Planting in Your DIY Pots
Once your DIY clay pots are beautifully crafted and ready for use, it’s time to dive into the exciting world of planting! This is where your creativity can truly blossom. First and foremost, selecting the right soil is crucial. A good potting mix will provide the necessary nutrients and drainage for your plants to thrive. Consider a blend that contains organic matter, which helps retain moisture while allowing excess water to escape.
When it comes to choosing plants, think about the size of your pots and the amount of sunlight they will receive. For smaller pots, opt for herbs like basil or thyme, which not only add flavor to your meals but also look charming on a windowsill. Larger pots can accommodate vibrant flowers or even small shrubs, creating a stunning focal point in your garden or home. Here’s a quick rundown of some great plant options for different pot sizes:
| Pot Size | Ideal Plants |
|---|---|
| Small (4-6 inches) | Herbs (Basil, Mint, Chives) |
| Medium (8-10 inches) | Succulents, Small Flowers (Pansies, Petunias) |
| Large (12 inches and above) | Small Shrubs, Larger Flowers (Geraniums, Marigolds) |
Once you’ve selected your plants, it’s time to get your hands dirty! Start by adding a layer of small stones or gravel at the bottom of your pot. This acts as a drainage layer, preventing water from pooling at the bottom and causing root rot. Next, fill your pot with your chosen potting mix, leaving enough space for your plants. When planting, gently remove the plants from their nursery pots, being careful not to damage the roots. Place them in your DIY pots and fill in around them with more soil, making sure to pack it lightly to eliminate air pockets.
After planting, give your pots a good watering. However, be mindful not to overwater, as this can lead to soggy soil and unhappy plants. A good rule of thumb is to check the top inch of soil; if it feels dry, it’s time to water. Additionally, consider the placement of your pots. Are they getting enough sunlight? Some plants thrive in bright, direct light, while others prefer a bit of shade. Adjust their location as needed for optimal growth.
As your plants begin to grow, you might find yourself wanting to rearrange them for a more visually appealing display. This is perfectly normal and can be a fun way to express your creativity. Just remember to keep an eye on each plant’s specific needs for sunlight and water as you make changes.
In summary, planting in your DIY pots is an engaging and rewarding experience. By selecting the right soil, choosing the appropriate plants, and ensuring proper care, you can create a thriving mini-garden that not only beautifies your space but also brings a sense of accomplishment. So roll up your sleeves, grab your pots, and let your gardening adventure begin!
- What type of soil should I use for my DIY pots? It's best to use a high-quality potting mix that retains moisture but also drains well.
- Can I use any type of plant in my DIY clay pots? While many plants can thrive in clay pots, be sure to consider the pot size and the plant's light requirements.
- How often should I water my plants in clay pots? Water when the top inch of soil feels dry; clay pots can dry out quicker than plastic ones.
Maintenance and Care
Taking care of your DIY clay pots is just as important as crafting them. After all, you want your beautiful creations to last and continue to showcase your plants in the best light. First and foremost, cleaning your pots regularly is crucial. Dust and dirt can accumulate over time, affecting not only the appearance but also the health of your plants. To clean your pots, simply use a damp cloth or sponge to wipe away any grime. For tougher stains, a mild soap solution can do wonders. Just make sure to rinse thoroughly to avoid any soap residue that could harm your plants.
Next, let’s talk about re-potting. As your plants grow, they may outgrow their pots, and that’s perfectly normal. When you notice roots beginning to peek out of the drainage holes or if the growth seems stunted, it’s time to give them a little more room. Carefully remove the plant from its pot, loosen any tightly bound roots, and place it in a larger pot with fresh soil. This will not only provide more space for growth but also replenish nutrients that may have been depleted.
Weather can also take a toll on your clay pots, especially if they are left outdoors. To protect them from harsh conditions, consider using a protective sealant designed for clay. This will help guard against moisture absorption and cracking during freeze-thaw cycles. If you live in an area with extreme temperatures, it might be wise to bring your pots indoors during harsh winters or scorching summers. This simple action can extend the life of your pots significantly.
Lastly, keep an eye on the drainage holes. Over time, they can become clogged with soil or roots, which can lead to water pooling at the bottom of the pot. This is a recipe for disaster, as it can cause root rot and other issues. To maintain proper drainage, regularly check and clear any blockages. You might even want to consider adding a layer of small stones or gravel at the bottom of your pots during the planting process to promote better drainage.
In summary, maintaining your DIY clay pots involves a combination of regular cleaning, timely re-potting, protective measures against weather, and ensuring proper drainage. By following these simple steps, you can keep your pots looking stunning and your plants thriving for years to come.
Here are some common questions related to the maintenance and care of DIY clay pots:
- How often should I clean my clay pots? It's recommended to clean them every few months or whenever you notice dust and dirt buildup.
- What type of sealant should I use? Look for a non-toxic sealant specifically designed for clay pots to ensure safety for your plants.
- Can I leave my clay pots outside in winter? If you live in a region with freezing temperatures, it's best to bring them indoors to prevent cracking.
- How do I know when to re-pot my plants? Signs include roots growing out of the drainage holes or stunted growth despite proper care.
Frequently Asked Questions
- What materials do I need to make DIY clay pots?
To create your own clay pots, you'll need some essential materials such as clay (air-dry, polymer, or kiln-fired), basic tools (like a rolling pin and sculpting tools), and optional decorative elements (paints, glazes, or textures). Gathering these items will set you up for a fun crafting experience!
- How do I choose the right type of clay for my project?
Choosing the right clay depends on your project's needs. Air-dry clay is great for beginners as it doesn't require firing, while polymer clay is perfect for intricate designs and is baked in an oven. If you’re looking for durability, traditional kiln-fired clay is the way to go, but it does require access to a kiln.
- What are some basic techniques for shaping my clay pots?
There are several fun and simple techniques you can use to shape your pots! Coiling involves rolling out long strips of clay and stacking them to form a pot, while pinching lets you mold the clay by hand for a more organic shape. Slab construction uses flat pieces of clay to build the walls of your pot. Each technique offers a unique look and feel!
- How can I add drainage holes to my clay pots?
Adding drainage holes is crucial for keeping your plants healthy. You can easily incorporate them by using a small tool or even a straw to poke holes in the bottom of your pot before it dries. This ensures excess water can escape, preventing root rot and keeping your plants happy!
- What are some decoration techniques for my clay pots?
Personalizing your pots can be a blast! You can paint them with vibrant colors, apply glazes for a shiny finish, or even add textures using tools or natural elements like leaves. Let your creativity flow and make each pot a unique masterpiece that reflects your style!
- Do I need to fire my clay pots, and what are my options?
Firing depends on the type of clay you choose. Air-dry clay doesn't require firing and hardens on its own, while kiln-fired clay does need to be baked in a kiln for durability. If you’re using polymer clay, you can simply bake it in your oven. Choose the method that fits your clay type!
- What should I consider when planting in my DIY pots?
When planting in your new pots, consider the type of soil you’re using, as well as the plants that will thrive in your chosen pot. Make sure to arrange your plants for optimal growth, keeping in mind their light and water needs. Happy planting!
- How do I maintain and care for my DIY clay pots?
To keep your clay pots looking great, regular maintenance is key! Clean them gently with a damp cloth, re-pot your plants as needed, and protect your pots from harsh weather conditions. This will help prolong their life and keep your garden looking fabulous!


