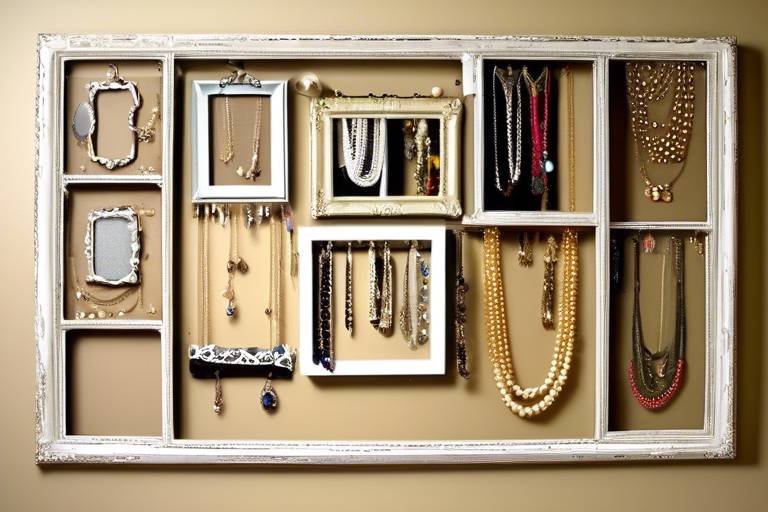
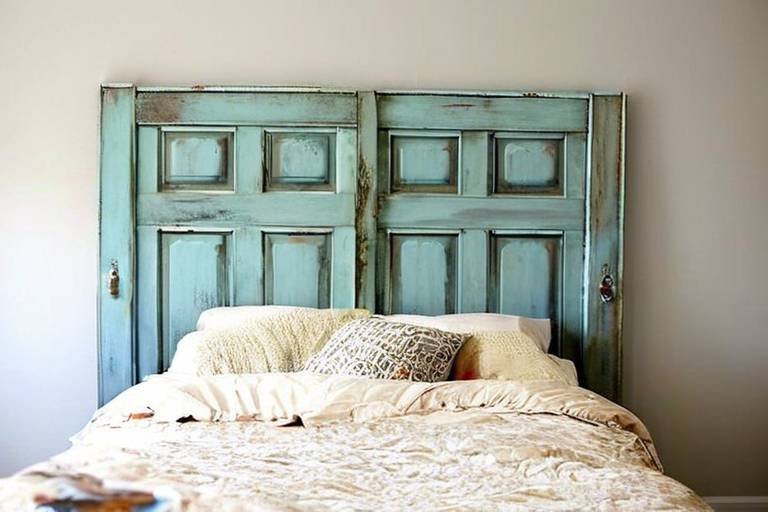
Turning Broken Furniture into Decorative Pieces
Have you ever looked at a broken chair or a scratched-up table and thought, “This is just trash”? Well, hold on to that thought for a moment! What if I told you that those seemingly useless pieces of furniture could be transformed into stunning decorative items that not only enhance your home but also tell a story? Repurposing broken furniture is not just a trend; it’s an art form that combines creativity, sustainability, and a dash of DIY spirit. Imagine turning that old, rickety chair into a charming plant stand or using a broken dresser to create a unique shelving unit. The possibilities are endless, and the results can be absolutely breathtaking!
In this article, we’ll dive deep into the world of furniture transformation. We’ll explore how to assess the damage of your old pieces, choose the right tools for the job, and get inspired by creative design ideas. Plus, we’ll discuss the materials that can elevate your projects and how to showcase your finished creations. So, grab your tools and let’s embark on this exciting journey of turning broken furniture into decorative masterpieces!
Before you dive headfirst into your DIY project, it’s crucial to evaluate the extent of the damage to your furniture. This step is like a doctor’s check-up for your furniture; it helps you determine whether a piece is worth repairing or repurposing. Take a good look at your item: Are the legs wobbly? Is the surface scratched or stained? Does it have a broken part that can be fixed? Understanding these aspects will guide your decisions and help you figure out the best way to breathe new life into your old furniture.
Having the right tools is essential for any DIY project. It’s like trying to bake a cake without a mixing bowl – it just won’t turn out right! Here, we’ll discuss the must-have tools for transforming broken furniture into stunning decor, ensuring your project runs smoothly.
Basic hand tools like screwdrivers, hammers, and pliers are fundamental for furniture repair. These tools are your best friends when it comes to disassembling and reassembling furniture. You’ll need them to tighten loose screws, replace broken parts, and make minor adjustments. Think of them as the building blocks of your project. Without them, you might find yourself stuck in a DIY nightmare!
If you’re looking to speed up your work and achieve professional results, power tools are the way to go. Tools like power drills, saws, and sanders can make your tasks much easier and faster. They’re like the turbo boost for your DIY projects! Just remember to handle them with care and follow safety guidelines to avoid any mishaps.
Safety should always come first! When working with tools and materials, it’s important to wear safety gear such as gloves, goggles, and masks. This is your armor against potential accidents and injuries. Remember, a little precaution goes a long way in ensuring a fun and safe DIY experience!
Once your furniture is assessed and your tools are ready, it’s time for some design inspiration. This is where the magic happens! Let your imagination run wild as you think about how to transform your broken furniture into unique decorative pieces. For example, an old ladder can become a rustic bookshelf, and a broken table can be turned into a chic coffee table with a little creativity. The key is to think outside the box and embrace the beauty of imperfection!
Selecting the right materials is key to a successful furniture makeover. It’s like choosing the right ingredients for a delicious recipe. Here, we explore various materials that can enhance the aesthetic appeal of your repurposed items.
Paint and finishes can dramatically change the look of your furniture. Whether you prefer a bold color or a subtle stain, the right paint can breathe new life into any piece. Think of it as giving your furniture a fresh coat of confidence! Explore different types of paints and finishes that can help you achieve the desired effect for your decorative pieces.
Upholstery can breathe new life into worn-out furniture. If you have a broken chair, consider reupholstering it with a vibrant fabric that complements your decor. This is your chance to express your style and creativity! Explore various upholstery fabrics and techniques that can elevate your broken furniture into stylish decor.
Once your projects are complete, it's time to showcase your creations. This is the grand finale of your DIY journey! Consider where you want to display your decorative pieces in your home. Whether it’s in the living room, bedroom, or even the garden, the way you showcase your work can add charm and character to your space. Remember, every piece has a story to tell, and it’s your job to make sure it shines!
- Can I repurpose any type of furniture? Yes! Most types of furniture can be repurposed, but it's essential to assess the damage first.
- Do I need special skills to repurpose furniture? Not at all! Basic DIY skills are often enough, and there are plenty of resources available to help you learn.
- What materials are best for repurposing furniture? It depends on your project, but common materials include paint, wood, fabric, and hardware.
- How do I choose a design for my repurposed furniture? Think about your personal style and the space where the piece will be displayed. Let your creativity flow!
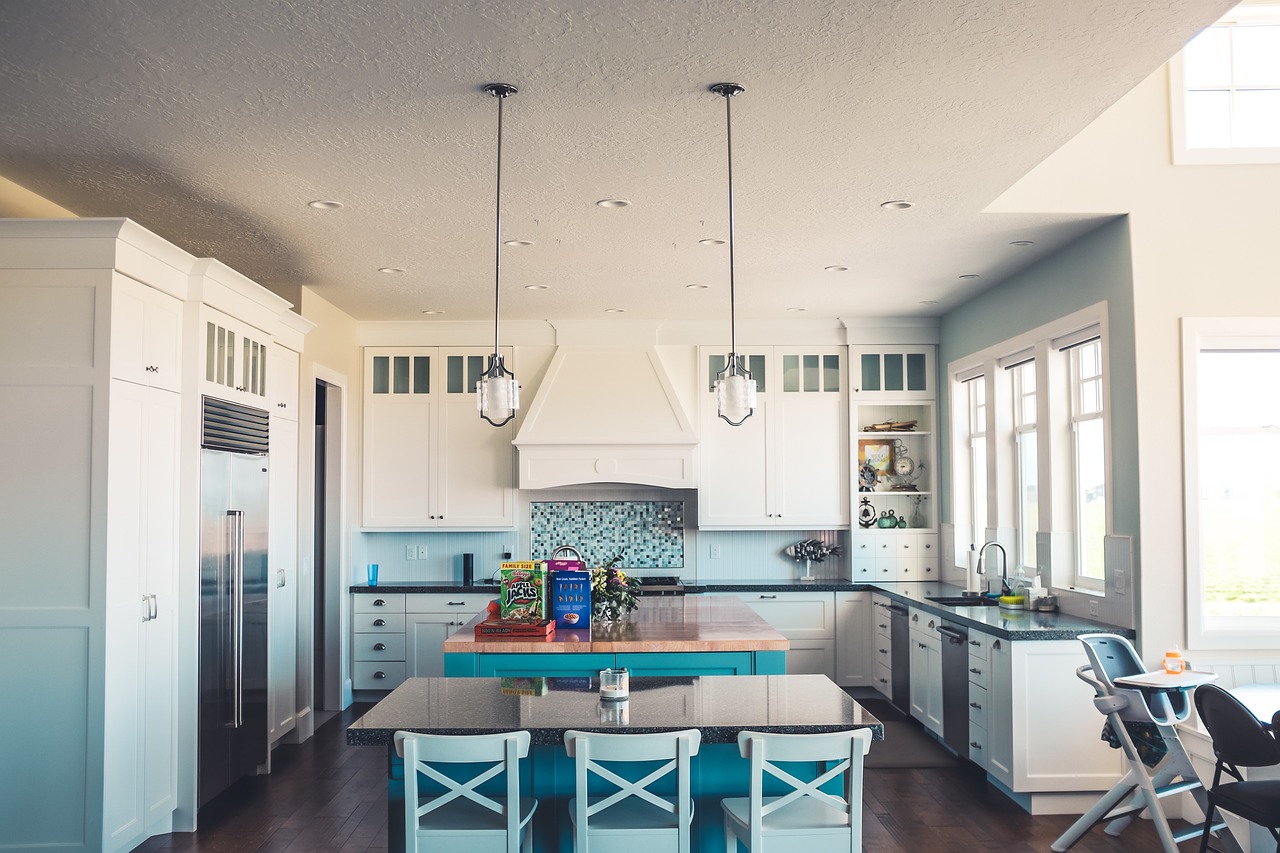
Assessing the Damage
Before diving headfirst into your DIY project, it’s essential to take a step back and assess the damage on your broken furniture. Think of this process as a doctor’s check-up for your beloved pieces. Just like a doctor diagnoses a patient, you need to identify the issues plaguing your furniture. Is it a simple scratch, or is the leg completely broken? Understanding the extent of the damage will help you determine whether your piece is worth saving or if it’s time to say goodbye.
Start by examining the furniture from all angles. Look for visible signs of wear and tear, such as cracks, dents, or peeling paint. Don’t forget to check the structural integrity as well—wiggle the legs, open and close drawers, and ensure that everything functions as it should. If you find that the piece is still sturdy and has a good frame, you might be in luck! However, if it’s wobbling like a toddler learning to walk, you may need to consider some serious repairs.
Here’s a quick checklist of things to look for while assessing your furniture:
- Structural Damage: Are any legs broken or missing? Is the frame stable?
- Surface Damage: Look for scratches, dents, or stains on the surface.
- Functionality: Do drawers open smoothly? Are hinges rusted or broken?
- Material Condition: Is the wood warped? Are the upholstery fabrics torn or faded?
Once you’ve identified the issues, it’s time to make an informed decision. If the damage seems minor, you can easily repair or repurpose the piece. However, if it’s beyond saving, don’t be discouraged! Even the most broken furniture can inspire a creative project. Remember, every flaw tells a story, and sometimes those stories make the best decorative pieces. Now, armed with this insight, you can confidently move forward with your project, knowing exactly what you’re working with!
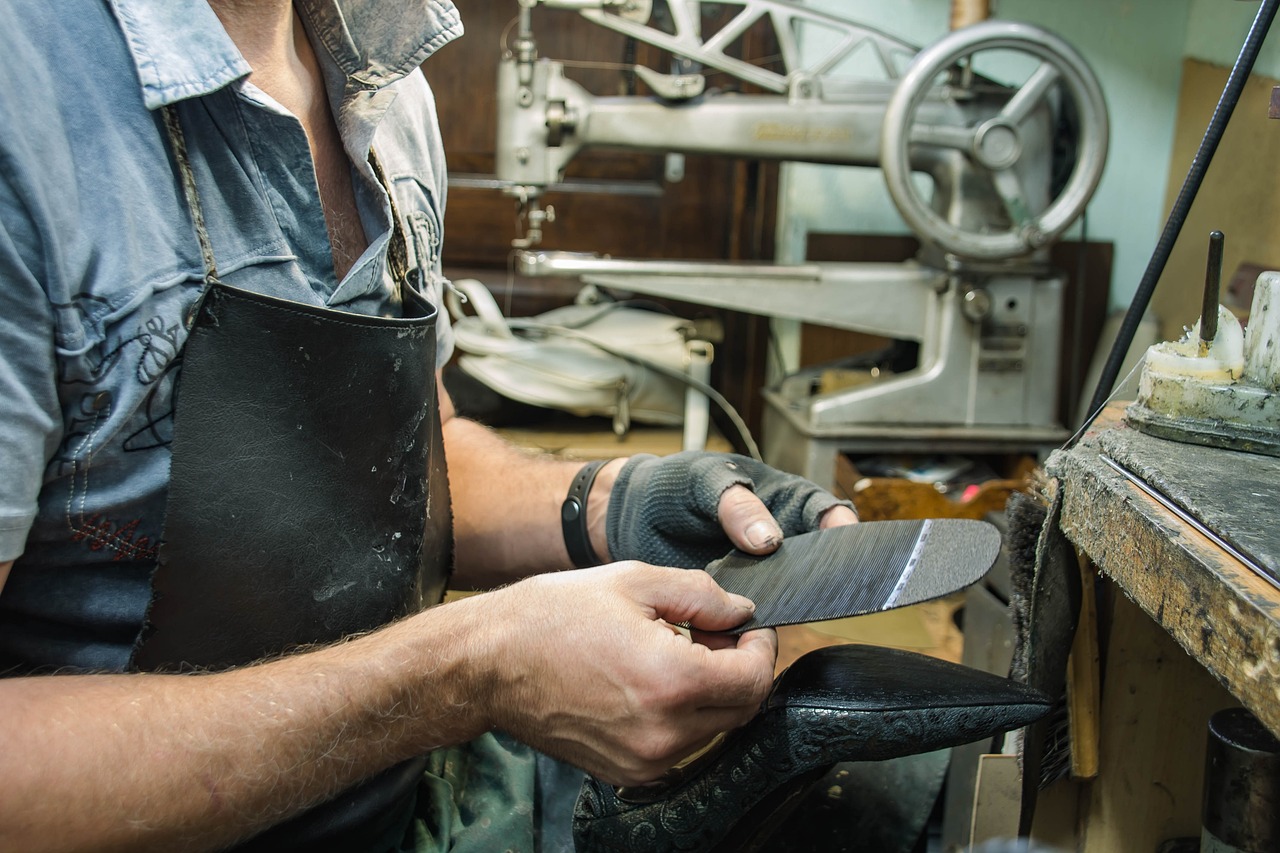
Choosing the Right Tools
When it comes to transforming broken furniture into stunning decorative pieces, having the right tools at your disposal can make all the difference. Think of your tools as your trusty sidekicks on this creative journey; without them, even the best ideas can fall flat. So, what exactly do you need to get started? Let's dive into the essentials!
First off, basic hand tools are your foundation. These are the tools that you’ll reach for time and again. A good set of screwdrivers, a reliable hammer, and a sturdy tape measure are just a few of the items that should be in your toolkit. But don’t stop there! Consider adding a level to ensure your pieces are perfectly aligned, and a utility knife for those precise cuts. Each of these tools plays a vital role in the repair and repurposing process, allowing you to tackle various tasks with confidence.
Now, if you're looking to speed things up and achieve a more professional finish, it’s time to talk about power tools. These bad boys can be game-changers! A power drill, for instance, can save you a ton of time when it comes to assembling or disassembling furniture. A jigsaw can help you make intricate cuts that would be nearly impossible with hand tools alone. And let’s not forget about a sander, which can give your pieces that smooth, polished look that makes all the difference. Here’s a quick rundown of some must-have power tools:
| Tool | Function |
|---|---|
| Power Drill | For drilling holes and driving screws |
| Jigsaw | For cutting curves and intricate shapes |
| Sander | For smoothing surfaces and edges |
While tools are essential, your safety should always be a top priority. It’s crucial to wear safety gear while working with tools and materials. Protective eyewear, gloves, and a dust mask can shield you from potential hazards, ensuring that your creative process is not only enjoyable but also safe. After all, what’s a beautiful piece of furniture if you’re nursing an injury?
In summary, equipping yourself with the right tools—both hand and power—along with ensuring your safety, sets the stage for a successful DIY project. Whether you’re just starting or are a seasoned pro, having the right toolkit can transform your vision into reality. So, gather your tools, roll up your sleeves, and get ready to breathe new life into that broken furniture!
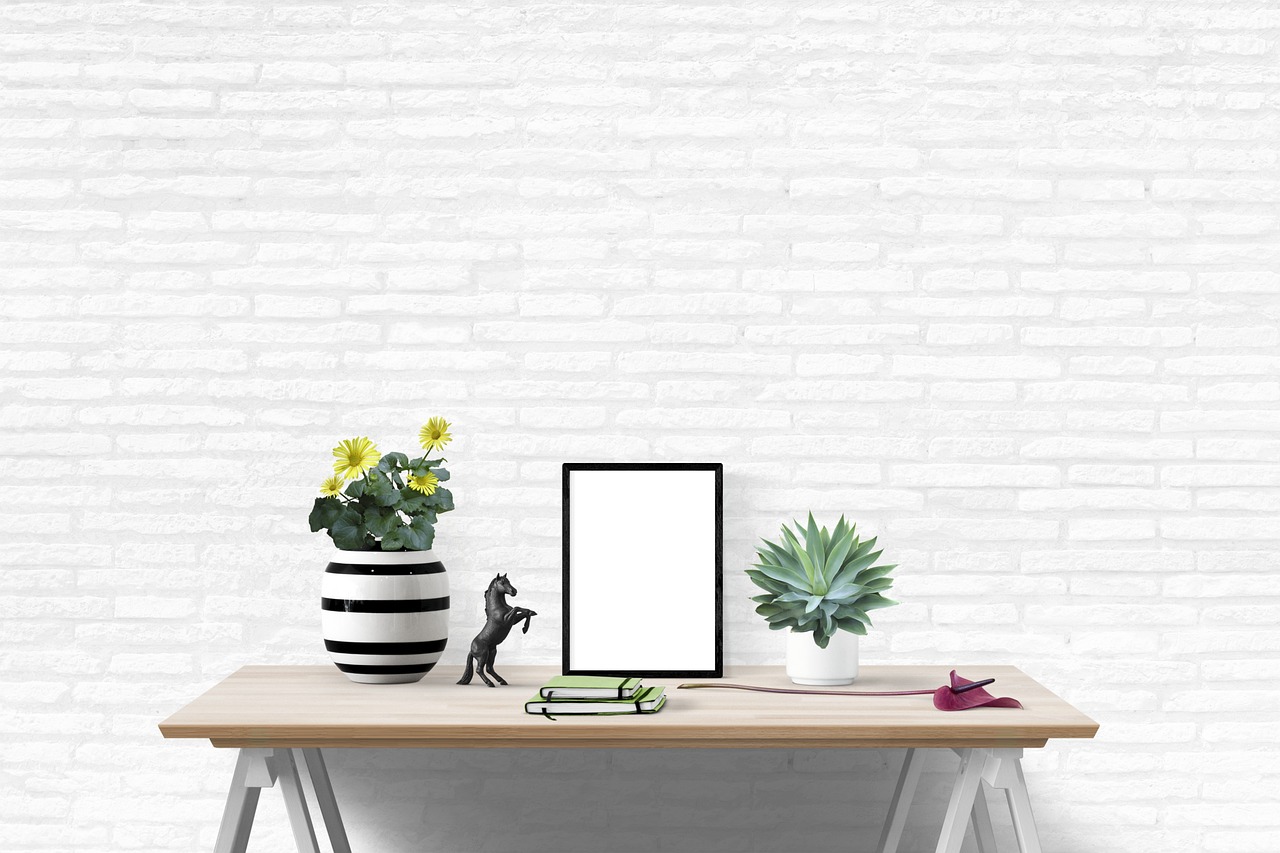
Basic Hand Tools
When it comes to transforming broken furniture into stunning decorative pieces, having the right basic hand tools is like having a trusty sidekick by your side. You wouldn't embark on a grand adventure without your best friend, right? Similarly, your tools will be your companions throughout this creative journey. So, let's dive into the essentials that will help you get the job done effectively and efficiently!
First and foremost, a good set of screwdrivers is a must. These little wonders come in various sizes and types, such as flathead and Phillips, allowing you to tackle a wide range of screws. Think of them as the Swiss Army knife of your toolkit—versatile and indispensable. Whether you're tightening loose joints or disassembling a piece for a fresh start, you'll find that screwdrivers are your go-to tools.
Next up, we have the hammer. This classic tool is perfect for driving nails into wood or gently tapping pieces together. It's like the heartbeat of your toolbox—steady and reliable. Just like a maestro conducts an orchestra, your hammer will help you create harmony in your furniture projects. Remember, though, it's essential to use the right type of hammer for the job. A claw hammer is ideal for most tasks, but if you're dealing with delicate materials, a rubber mallet can save the day without causing damage.
Another essential tool is the measuring tape. You wouldn't want to cut a beautiful piece of wood only to find it doesn't fit, right? A measuring tape ensures that your dimensions are spot-on, allowing you to plan your designs accurately. It's like having a personal assistant that whispers the right measurements in your ear, keeping your project on track and preventing costly mistakes.
Don't forget about the utility knife. This handy tool is perfect for cutting through various materials, from fabric to cardboard. It’s like a chameleon, adapting to your needs as you repurpose different furniture pieces. Just remember to keep the blade sharp for clean cuts—there's nothing worse than a dull knife when you're trying to create something beautiful!
Finally, a set of pliers can be incredibly useful for gripping, twisting, and bending materials. They can help you pull out stubborn nails or even assist in delicate tasks like bending wire for decorative accents. Think of them as your trusty sidekick, always ready to lend a hand when you need it most.
In summary, having these basic hand tools in your arsenal will not only make your DIY projects smoother but also enhance the quality of your work. Remember, every great craftsman has their trusty tools, and with these essentials, you'll be well on your way to turning broken furniture into beautiful, one-of-a-kind decorative pieces. Happy crafting!
- What tools do I need to start repurposing furniture? You will need basic hand tools like screwdrivers, hammers, measuring tapes, utility knives, and pliers to get started.
- Can I use power tools for furniture repurposing? Absolutely! Power tools can speed up the process and provide more precise cuts, but make sure to use them safely.
- How do I ensure my furniture is safe to repurpose? Always assess the damage first. If the structural integrity is compromised, it might be better to repurpose smaller parts instead.

Power Tools for Efficiency
When it comes to transforming broken furniture into stunning decorative pieces, having the right power tools can be a game changer. Imagine trying to slice through a thick piece of wood with a butter knife—frustrating, right? That's why investing in a few essential power tools can not only save you time but also enhance the quality of your work. So, let's dive into the must-have power tools that will make your DIY projects smoother and more efficient.
First up, the cordless drill. This versatile tool is like the Swiss Army knife of power tools. Whether you're assembling furniture, drilling holes, or driving screws, a cordless drill can handle it all. The freedom of movement without a cord allows you to work in tight spaces and awkward angles, making it indispensable for furniture repurposing. Look for models with adjustable speed settings to tackle various materials with ease.
Next on our list is the jigsaw. This tool is perfect for making intricate cuts and curves, allowing you to create unique designs from your old furniture. Picture this: you have an old wooden chair with a broken seat. Instead of throwing it away, you can use a jigsaw to cut out a new top from a different material, perhaps a colorful piece of plywood or even a vintage door. The possibilities are endless! Just remember to use the right blade for the material you're working with.
Another powerhouse in your toolkit should be the orbital sander. If you've ever tried sanding by hand, you know it can be a tedious process. An orbital sander speeds up this task significantly, giving your furniture a smooth finish in no time. Plus, it’s great for removing old paint or varnish, preparing your piece for a fresh coat. When using an orbital sander, always start with a rough grit and gradually move to finer grits for the best results.
For larger projects, consider adding a table saw to your arsenal. This tool is ideal for making straight cuts in larger pieces of wood or plywood, which is often necessary when repurposing furniture. While it may require more space and a bit of a learning curve, the precision and efficiency it offers can greatly enhance your projects. If you’re new to using a table saw, make sure to read the manual and watch some tutorials to ensure safety and accuracy.
Lastly, we can't forget about the heat gun. This handy tool is perfect for stripping paint or even bending wood. If you have an old piece that’s painted in a color you can’t stand, a heat gun can help you remove that paint quickly and easily. Just be cautious, as the heat can be intense, and always wear protective gear when using it.
In summary, having the right power tools can significantly enhance your efficiency and creativity when repurposing broken furniture. With tools like a cordless drill, jigsaw, orbital sander, table saw, and heat gun, you can tackle various projects with confidence. Remember, though, that safety comes first. Always wear protective gear and follow the manufacturer's instructions to ensure a successful and enjoyable DIY experience.
Safety Gear Essentials
When diving into the exciting world of DIY furniture transformation, **safety should always be your top priority**. Imagine you’re embarking on a thrilling adventure, where every tool and material is a potential treasure, but without the right gear, you might end up with an unwanted injury instead of a stunning decor piece. So, before you grab that hammer or power drill, let’s talk about the essential safety gear that will keep you protected while you unleash your creativity.
First and foremost, **protective eyewear** is a must-have. Whether you’re sanding down rough edges or using power tools, flying debris can be a real hazard. Think of your eyes as the windows to your creative soul; you wouldn’t want anything to cloud that view! A good pair of safety glasses or goggles will shield your eyes from dust and particles, ensuring you can see your masterpiece come to life without a hitch.
Next on the list is **hearing protection**. If you’ve ever used a power tool, you know they can be loud—sometimes painfully so. Prolonged exposure to high decibel levels can lead to hearing loss, which is certainly not the kind of transformation we’re aiming for! Investing in a quality pair of earplugs or earmuffs will help keep your ears safe while you work on your projects.
Don’t forget about your **hands**! They are your most valuable tools, after all. Wearing a good pair of work gloves can protect your hands from splinters, sharp edges, and even chemical irritants if you’re using paints or finishes. Look for gloves that offer a good grip and are comfortable enough to allow for dexterity, so you can work efficiently without compromising on safety.
While we’re talking about protecting your body, let’s not overlook the importance of **appropriate clothing**. Loose clothing can be a recipe for disaster when working with tools, as it can get caught in machinery. Opt for fitted clothing that allows you to move freely without the risk of snagging on anything. And don’t forget to wear sturdy, closed-toe shoes—preferably steel-toed boots—because you never know when a heavy piece of furniture might come crashing down!
Lastly, if you’re working with any chemical products, such as paints or adhesives, make sure to have a **respirator mask** handy. These masks are designed to filter out harmful fumes and particles, keeping your lungs safe while you create your beautiful decor. It’s like having a superhero shield that protects you from the dangers of the DIY realm!
In summary, equipping yourself with the right safety gear is not just a precaution; it’s a commitment to enjoying the creative process without the worry of accidents. So, before you embark on your furniture transformation journey, make sure you’re fully geared up. Remember, the safer you are, the more fun you’ll have creating your unique decorative pieces!
- What safety gear is essential for DIY projects? Always wear protective eyewear, gloves, and appropriate clothing. Additionally, consider using hearing protection and a respirator mask if you're working with chemicals.
- How can I ensure my workspace is safe? Keep your workspace organized, free of clutter, and ensure that all tools are in good condition. Proper lighting is also crucial to avoid accidents.
- Are there specific tools that require special safety gear? Yes, power tools, such as saws and drills, often necessitate additional safety gear like ear protection and respirators due to noise and dust.
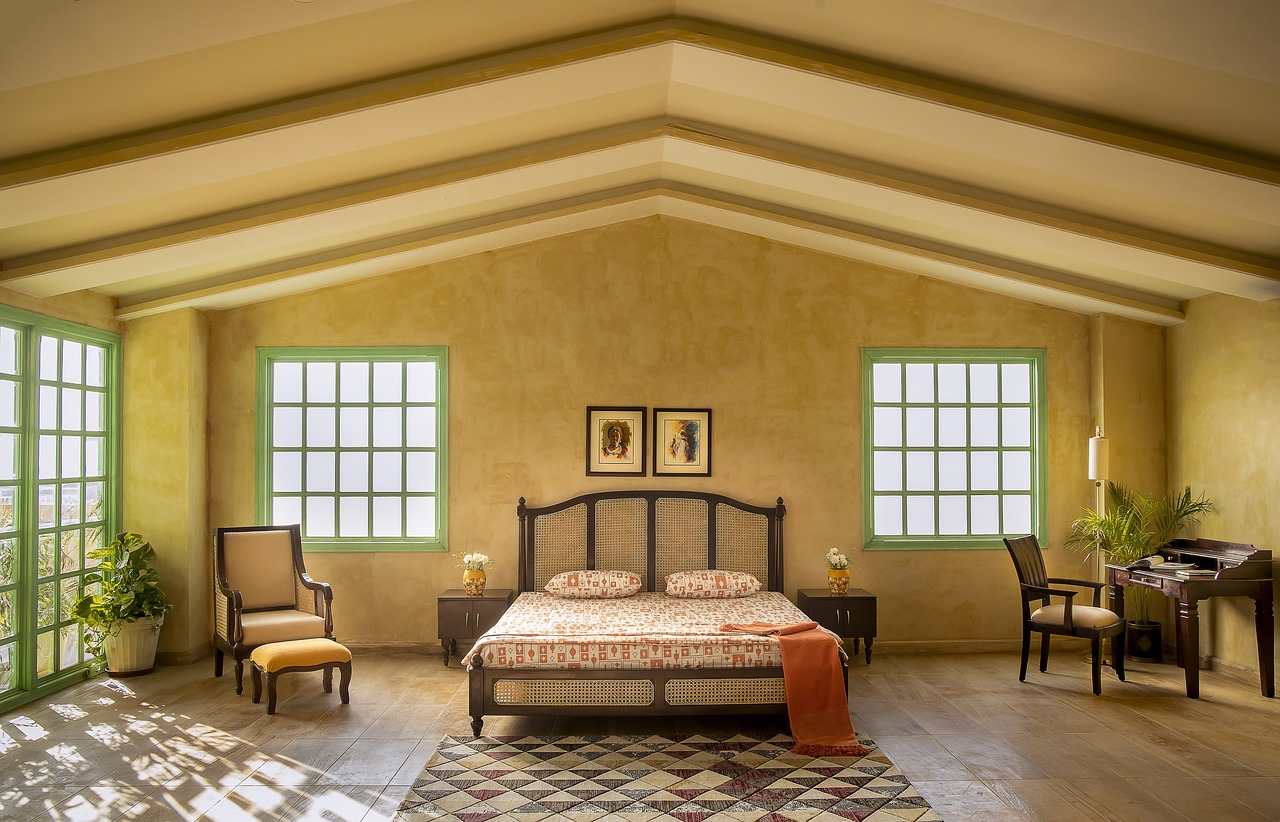
Creative Design Ideas
Once you've assessed your broken furniture and gathered your tools, it's time to unleash your creativity! Transforming broken pieces into stunning decorative items can be incredibly rewarding. Think of your furniture not just as items for utility, but as canvases waiting for your artistic touch. The beauty of repurposing is that it allows you to express your personality and style while also being eco-friendly. So, how do you get started?
One fantastic idea is to turn an old, broken chair into a quirky plant stand. Imagine a chair with a missing leg or a cracked seat—rather than tossing it out, why not remove the seat and use the frame to hold pots of your favorite plants? You can paint the frame in vibrant colors or even use a distressed finish to give it a rustic charm. The result? A unique piece that brings life to your space!
Another approach is to create a statement wall art piece from an old dresser drawer. You can remove the front of the drawer, sand it down, and then paint it in a bold color. Once dry, attach some hooks to it, and you have a stunning wall-mounted organizer for keys, jewelry, or other small items. This not only showcases your creativity but also adds functionality to your home.
Don't forget about the possibilities of using old tables! Whether it's a coffee table with a scratched surface or a side table with a broken leg, you can give them new life. For instance, if you have a table that’s seen better days, consider turning it into a stylish ottoman. Simply remove the top, add some cushioning, and cover it with a beautiful fabric. This way, you not only salvage the table but also create a cozy spot to rest your feet or even extra seating for guests.
For those who love a bit of whimsy, consider using parts of broken furniture to create a unique collage. You can use pieces of wood from a broken bookshelf, combine them with other materials like mirrors or metal, and create a stunning wall piece that tells a story. The key here is to let your imagination run wild and mix different textures and colors to create something truly one-of-a-kind.
As you embark on your creative journey, remember that the only limit is your imagination. Gather inspiration from various sources—be it online platforms like Pinterest, or even local thrift shops. The more you explore, the more ideas will spark in your mind. And don't hesitate to experiment! Sometimes the best designs come from unexpected combinations or happy accidents.
In summary, turning broken furniture into decorative pieces is not just about repairing; it's about reimagining. So grab those tools, let your creativity flow, and watch as your old furniture transforms into beautiful decor that reflects your unique style!
- What types of furniture are best for repurposing? Almost any piece can be repurposed! Look for items that have sturdy frames but may need cosmetic repairs.
- Do I need special skills to repurpose furniture? Not at all! Basic DIY skills are often enough, and there are plenty of tutorials available online to guide you.
- What tools do I need to get started? Essential tools include screwdrivers, hammers, saws, and safety gear. As you get more comfortable, you can invest in power tools for efficiency.
- Can I use any paint for furniture? It’s best to use paint specifically designed for furniture, as these are more durable and can withstand wear and tear.
- How can I ensure my repurposed furniture lasts? Proper preparation and finishing techniques, such as sanding and sealing, will help your projects stand the test of time.
Materials for Transformation
When it comes to transforming broken furniture into stunning decorative pieces, the choice of materials can make all the difference. Selecting the right materials not only enhances the aesthetic appeal but also ensures the durability of your creations. Think of it as choosing the right spices for a dish; the right combination can elevate the flavor and make your project truly shine.
First and foremost, paint is a game-changer. A fresh coat of paint can breathe new life into even the most worn-out furniture. You can opt for chalk paint for a matte finish that gives a vintage vibe, or go for glossy enamel paint for a more modern look. The choice is yours! Additionally, consider using stains to highlight the natural grain of the wood, providing a rustic charm. Remember, the finish you choose can dramatically alter the overall feel of your piece.
Next, let’s talk about upholstery. If your furniture has cushions or fabric elements, reupholstering is an excellent way to rejuvenate it. The right fabric can transform a tired chair into a statement piece. Look for materials that are not only visually appealing but also durable. Options like canvas, denim, or outdoor fabrics are fantastic choices for their resilience and variety of colors and patterns.
Moreover, if you’re feeling particularly adventurous, consider incorporating mixed media into your projects. This can include using items like reclaimed wood, metals, or even glass to create a unique look. For instance, adding a glass top to a wooden base can create a stunning coffee table that is both functional and artistic. The possibilities are endless, limited only by your imagination!
To give you a clearer idea of how different materials can impact your project, here’s a quick comparison:
| Material | Benefits | Ideal Use |
|---|---|---|
| Paint | Wide range of colors, easy application | Furniture, decor accents |
| Upholstery Fabric | Variety of textures and patterns | Cushions, chairs, sofas |
| Wood | Durable, classic appeal | Tables, shelves, frames |
| Metal | Modern look, strong structure | Frames, accents, legs |
| Glass | Elegant, easy to clean | Table tops, decorative panels |
In conclusion, the materials you choose for your furniture transformation project can significantly influence the final outcome. By carefully selecting and combining various materials, you can create decorative pieces that not only look stunning but also tell a story. So, gather your supplies, unleash your creativity, and watch as your broken furniture transforms into something extraordinary!
Q: What type of paint is best for furniture?
A: Chalk paint is popular for a matte finish, while enamel paint offers a glossy look. It depends on the style you're aiming for!
Q: Can I use any fabric for upholstery?
A: Not all fabrics are suitable. Look for durable options like canvas or outdoor fabrics that can withstand wear and tear.
Q: How do I know if my furniture is worth repurposing?
A: Assess the structural integrity and overall condition. If it’s sturdy and has potential for aesthetic improvement, it’s worth saving!
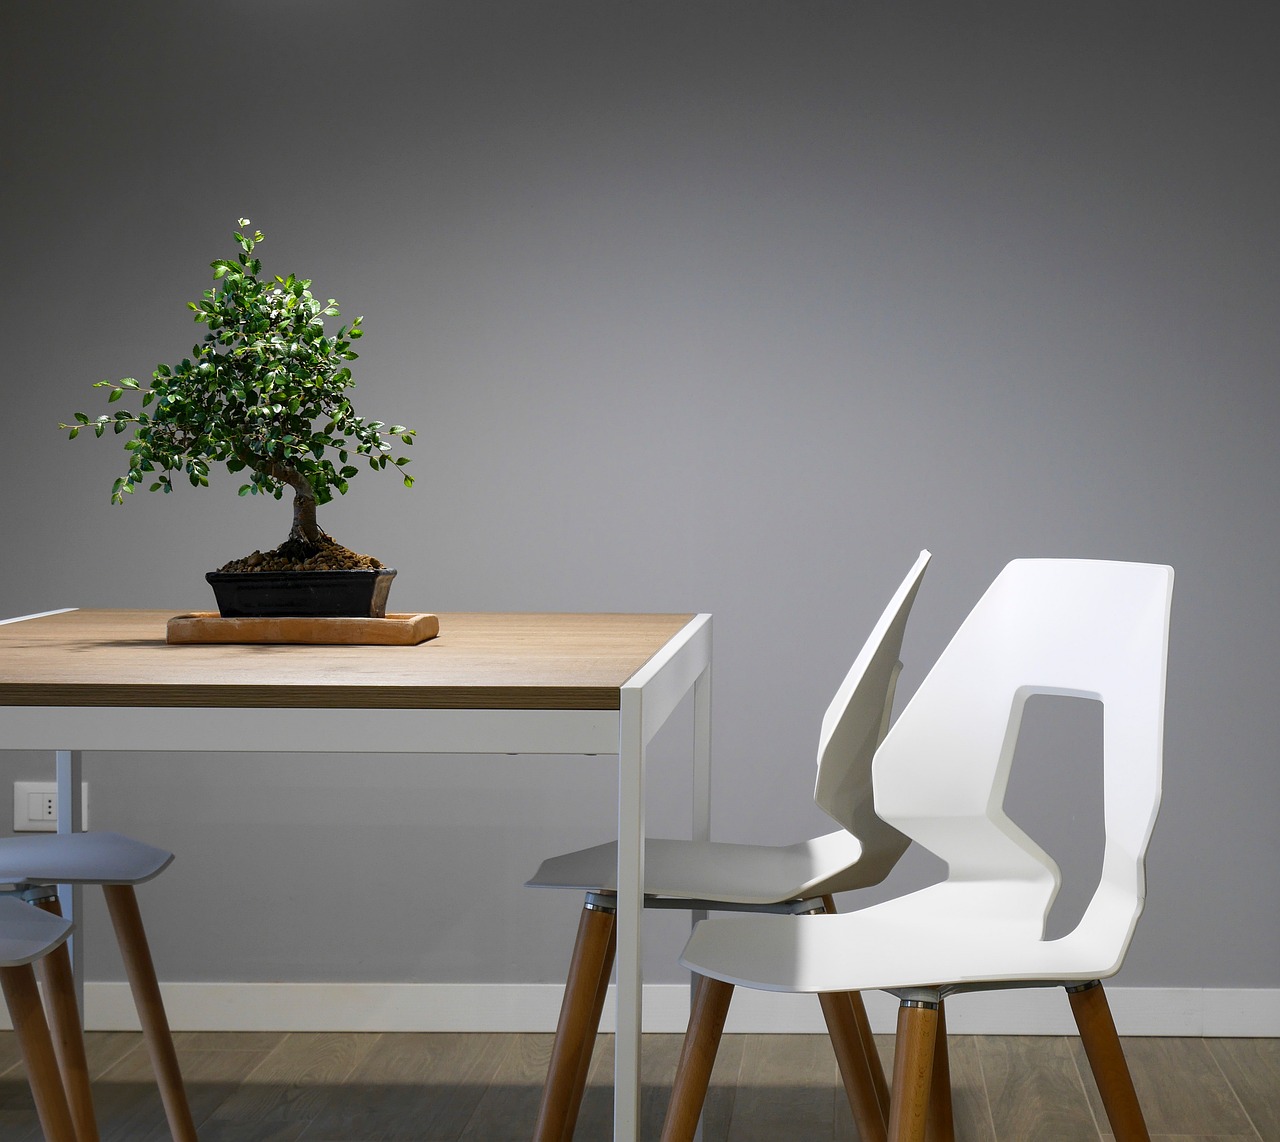
Paint and Finishes
When it comes to transforming broken furniture into stunning decorative pieces, play a pivotal role. A simple coat of paint can breathe new life into an old, tired piece, turning it into a focal point in your home. But before you dive into the world of colors and finishes, it’s essential to understand the different options available to you. Are you looking for a matte finish that whispers elegance, or a glossy sheen that screams modernity? The choice is yours!
First off, let's talk about the types of paint you can use. There are several varieties to choose from, each offering unique benefits:
- Latex Paint: This water-based paint is easy to work with and dries quickly. It's perfect for indoor furniture and comes in a wide array of colors.
- Chalk Paint: Known for its matte finish and vintage appeal, chalk paint adheres well to most surfaces without the need for primer. It’s great for achieving that shabby chic look!
- Spray Paint: If you’re looking for a smooth, even finish, spray paint is your best friend. It’s ideal for intricate details and hard-to-reach areas.
- Milk Paint: This eco-friendly option is made from natural ingredients and gives a unique, rustic finish. It’s perfect for those who love a more natural aesthetic.
Once you've chosen your paint, the next step is selecting the right finish. Finishes can dramatically alter the appearance of your painted furniture:
- Matte Finish: Offers a soft, non-reflective surface. It’s perfect for creating a cozy, understated look.
- Satin Finish: A happy medium that provides a slight sheen while still being easy to clean. Ideal for high-traffic areas!
- Gloss Finish: Adds a high-shine look that’s perfect for modern furniture. It’s durable and easy to wipe down, making it great for kitchens and dining areas.
Now, let’s not forget about the importance of preparation before painting. Properly prepping your furniture can make all the difference in the final outcome. Start by cleaning the surface thoroughly to remove any dust or grease. If your furniture has an existing finish, consider sanding it down to create a smooth base for the new paint. This step ensures better adhesion and a more professional look.
After painting, applying a protective finish is crucial. Polyurethane or a clear coat can seal your masterpiece, providing durability against scratches and spills. Think of it as a shield that keeps your creation looking fresh and new for years to come!
In conclusion, the world of paints and finishes is vast and exciting. With the right materials and techniques, you can transform your broken furniture into eye-catching decor that reflects your style. So, grab those brushes, unleash your creativity, and let your imagination run wild!
Q: How do I choose the right paint for my furniture?
A: Consider the material of the furniture and the look you want to achieve. For example, chalk paint is great for a rustic look, while spray paint offers a smooth finish.
Q: Do I need to sand my furniture before painting?
A: Yes, sanding helps create a better surface for the paint to adhere to, especially if there’s an existing finish.
Q: How can I protect my painted furniture?
A: Applying a clear protective coat, like polyurethane, can help guard against scratches and stains.

Upholstery Options
When it comes to transforming broken furniture into stunning decorative pieces, upholstery plays a pivotal role. It's not just about covering up the flaws; it's about breathing new life into your furniture, making it a centerpiece in your home. Think of upholstery as the icing on the cake – it can elevate the entire look and feel of your piece. Whether you're working with a vintage chair, a worn-out sofa, or even an old ottoman, the right upholstery can turn it into a statement piece that reflects your style.
First off, consider the fabric. The market is brimming with options, from luxurious velvets and rich leathers to playful prints and durable canvas. Each fabric carries its own personality, so think about the atmosphere you want to create. For example, a bold, geometric print can add a modern twist, while a classic damask can bring a touch of elegance. If your furniture is going to face heavy use, like a family sofa, opt for durable fabrics that can withstand the wear and tear of daily life.
Next, think about the color. Color can drastically change the mood of a room. Want to create a serene space? Soft pastels or muted tones might be your best bet. Looking to make a bold statement? Bright colors or deep hues can draw the eye and become conversation starters. Remember to consider the existing color palette of your room to ensure that your newly upholstered furniture complements the overall decor.
Now, let’s talk about upholstery techniques. The way you choose to upholster can also influence the final look. For those feeling adventurous, why not try reupholstering with a tufted design? Tufting adds texture and depth, making your piece look more sophisticated. Alternatively, if you’re going for a more casual vibe, a simple slipcover can offer a relaxed, comfortable feel. This technique is not only stylish but also practical, as slipcovers can be easily removed and washed.
To help you visualize your options, here's a quick comparison table of common upholstery fabrics:
| Fabric Type | Durability | Maintenance | Best For |
|---|---|---|---|
| Leather | Very High | Wipe Clean | High-traffic areas |
| Velvet | Medium | Professional Cleaning Recommended | Accent pieces |
| Canvas | High | Machine Washable | Family furniture |
| Polyester Blend | Medium | Spot Clean | Everyday use |
Finally, don’t forget about the padding. The comfort of your furniture is just as important as its appearance. Adding new foam or batting can make a world of difference, transforming a hard, uncomfortable chair into a cozy spot where you can curl up with a book. Take the time to choose the right thickness and density for your padding to ensure maximum comfort.
In summary, upholstery options are vast and varied. By carefully selecting the right fabric, color, and techniques, you can turn your broken furniture into beautiful, functional decor that not only enhances your space but also tells your unique story. So roll up your sleeves, get creative, and let your imagination run wild!
- How can I determine the right upholstery fabric for my furniture? Consider the piece's use, the existing decor, and how much maintenance you're willing to commit to.
- Is it necessary to replace the padding when reupholstering? Not always, but replacing old padding can significantly improve comfort and appearance.
- Can I reupholster furniture myself? Yes! With the right tools and materials, DIY upholstery can be a rewarding project.
Showcasing Your Creations
Now that you’ve poured your heart and soul into transforming broken furniture into stunning decorative pieces, it’s time to show them off! The way you display your creations can amplify their beauty and charm, turning your home into a gallery of your own artistry. Imagine walking into a room where every piece tells a story, each corner bursting with personality and creativity. So, how do you effectively showcase your handiwork? Let’s dive into some tips and tricks that will help your repurposed treasures shine.
First off, consider the location. The placement of your decorative pieces is crucial. You want to choose spots that not only highlight your creations but also blend seamlessly with the overall decor of your home. For instance, a beautifully upcycled coffee table can become the centerpiece of your living room, drawing the eye and sparking conversation. Meanwhile, a repurposed chair can find a cozy corner by the window, adorned with a vibrant cushion that invites relaxation. Think about how each piece interacts with its surroundings, creating a harmonious flow throughout your space.
Next, lighting plays a pivotal role in showcasing your furniture transformations. Natural light can enhance the colors and textures of your creations, so try placing them near windows. However, don’t underestimate the power of artificial lighting. A strategically placed lamp or spotlight can create a dramatic effect, highlighting your work and adding an inviting glow. Experiment with different lighting options to see how they affect the ambiance of your space. Remember, the right lighting can turn a simple piece into a stunning focal point.
Another essential factor is grouping. When showcasing multiple pieces, consider arranging them in clusters. This not only creates visual interest but also tells a story. For example, if you’ve transformed several chairs, try grouping them around a repurposed table. Add some decorative elements, like a vase of fresh flowers or a stack of books, to create a cozy vignette. Grouping can enhance the overall aesthetic, making your space feel curated and intentional.
Don’t forget about the importance of accessories. Incorporating complementary decor items can elevate your creations even further. Think about adding textiles, such as throws and cushions, that match or contrast with your furniture pieces. You might also consider incorporating artwork or decorative objects that resonate with your style. These accessories can create a cohesive look, tying your repurposed furniture into the broader theme of your home.
Finally, consider the story behind each piece. Sharing the journey of how you transformed broken furniture into beautiful decor can captivate your guests and spark conversations. You might even create a small tag or label that explains the process or inspiration behind each item. This personal touch not only showcases your creativity but also invites others to appreciate the thought and effort you put into your projects.
In conclusion, showcasing your creations is about more than just placing them in your home; it’s about creating an atmosphere that reflects your personality and creativity. By choosing the right locations, lighting, grouping, and accessories, you can bring your repurposed furniture to life, turning your space into a vibrant showcase of your unique style. So, go ahead and let your creativity shine—your home is your canvas!
- How can I protect my repurposed furniture from wear and tear?
Applying a protective finish, such as polyurethane, can help shield your furniture from scratches and spills. Regular maintenance, like cleaning and reapplying finishes, will also keep your pieces looking fresh. - What types of paint are best for furniture transformations?
Chalk paint and milk paint are popular choices for furniture upcycling because they adhere well and provide a matte finish. However, acrylic and spray paints can also be effective, depending on the look you want to achieve. - Can I use broken furniture for outdoor decor?
Absolutely! Just make sure to use weather-resistant finishes and materials. Repurposed items like old chairs can be transformed into charming plant stands or garden art.
Frequently Asked Questions
- What types of broken furniture can be repurposed?
You can repurpose almost any type of broken furniture, including chairs, tables, dressers, and cabinets. The key is to assess the damage and determine if the piece can be transformed into something new and beautiful. For instance, a broken chair can become a unique plant stand, while a shattered table can be turned into a creative wall art piece.
- How do I assess whether my furniture is worth repairing?
Start by examining the extent of the damage. Look for structural issues like broken legs or loose joints. If the piece is mainly cosmetic damage, like scratches or dents, it’s often worth repairing. If the cost of repair exceeds the value of the furniture, it may be better to repurpose it instead.
- What tools do I need for furniture repurposing?
The essential tools for repurposing furniture include basic hand tools like screwdrivers, hammers, and pliers. For more extensive projects, power tools such as saws and drills can save you time and effort. Don’t forget the importance of safety gear like gloves and goggles to protect yourself while you work!
- Can I use any type of paint for my furniture projects?
While you can use various types of paint, it's best to choose one specifically designed for furniture to ensure durability and a smooth finish. Chalk paint, acrylic paint, and spray paint are popular choices. Always remember to prepare your surface properly by cleaning and sanding before applying paint.
- What upholstery options are best for repurposing furniture?
When it comes to upholstery, consider using durable fabrics that can withstand wear and tear. Options like canvas, denim, or even repurposed materials like old curtains can add a unique touch to your furniture. Additionally, don’t shy away from experimenting with patterns and textures to create a standout piece!
- How can I effectively showcase my repurposed furniture?
Displaying your creations can be just as important as the repurposing process. Use creative arrangements in your home, such as grouping similar pieces together or incorporating them into your existing decor. Consider using shelves or stands to elevate your pieces and make them focal points in your space.
- Is it safe to use power tools for furniture projects?
Yes, using power tools can be safe if you follow proper safety protocols. Always wear appropriate safety gear, keep your workspace tidy, and read the instructions for each tool before use. If you're unsure about using a specific tool, consider seeking guidance from someone experienced in DIY projects.
- Where can I find inspiration for my furniture projects?
Inspiration can be found everywhere! Check out DIY blogs, Pinterest boards, and social media platforms like Instagram. Local craft stores often have workshops, and visiting flea markets or thrift stores can spark ideas on how to transform old furniture into something spectacular.


