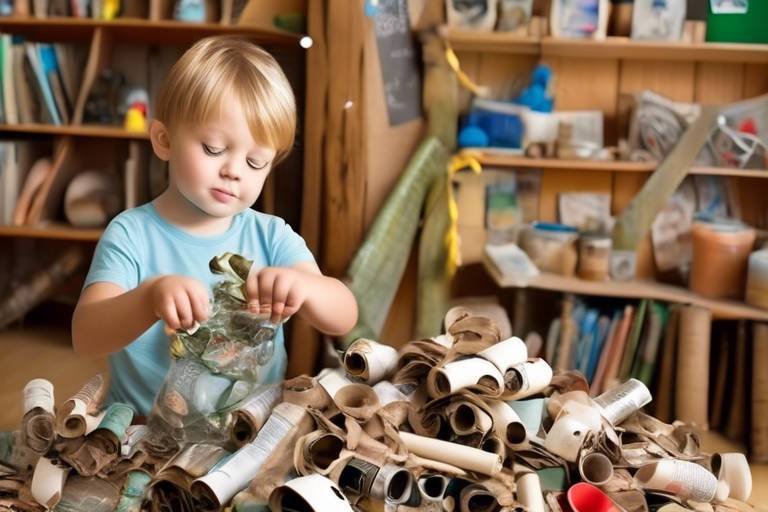
DIY Upcycling Projects for Your Old Clothes
Are you tired of looking at a closet full of clothes you never wear? Instead of tossing them into the landfill, why not unleash your creativity and transform them into something new? Upcycling is not just a trend; it's a sustainable lifestyle choice that allows you to breathe new life into your wardrobe while being kind to the planet. In this article, we’ll explore some exciting DIY upcycling projects that will not only help you declutter but also give your old clothes a fresh purpose. Imagine turning a faded t-shirt into a chic tote bag or revamping your favorite pair of jeans into a stylish patchwork masterpiece! Ready to dive into the world of upcycling? Let’s get started!
Do you have a stack of old t-shirts that you just can’t seem to part with? Why not turn them into trendy tote bags? This project is incredibly simple and perfect for beginners. All you need is a pair of scissors and a little bit of creativity. Start by cutting off the sleeves and neckline of the t-shirt to create the bag's opening. Next, turn the shirt inside out and tie the bottom hem into a knot to form the base. Voila! You now have a stylish tote bag that’s perfect for shopping, beach days, or even carrying your gym gear. Plus, it’s a fantastic way to reduce waste and showcase your unique style.
Do you have a pair of jeans that have seen better days? Instead of throwing them away, why not give them a fashionable makeover? Patchwork denim is a fun and creative way to extend the life of your favorite jeans. By using various fabric pieces, you can create a unique design that stands out in any crowd. This technique allows you to express your personality while being sustainable. So, how do you get started?
Selecting the right fabrics is crucial for your patchwork project. While denim is a great base, consider mixing in other materials like cotton, linen, or even flannel to add texture and depth to your design. Each fabric brings its own character, and combining them can lead to stunning results. Remember to choose fabrics that are durable yet easy to work with, ensuring your patchwork masterpiece lasts for years to come.
Understanding color coordination is essential when creating patchwork designs. Complementary colors can elevate your project, making it visually appealing. For instance, pairing blue denim with vibrant yellows or warm reds can create a striking contrast. Don’t be afraid to experiment with patterns as well; mixing floral prints with solid colors can add a playful touch to your design. The key is to create a harmonious look that reflects your personal style.
Once you’ve chosen your fabrics and colors, it’s time to get stitching! Mastering various stitching techniques will ensure your patchwork holds up over time. Techniques like zigzag stitching, straight stitching, and even decorative embroidery can add character and strength to your designs. Take your time to practice and experiment; the more you stitch, the more confident you’ll become in your abilities. Remember, each stitch is a step towards a beautiful, upcycled creation!
As the temperatures drop, keeping your hands warm becomes a priority. Why not turn those old sweaters into cozy mittens? This project is not only practical but also a delightful way to repurpose fabric. Simply cut the sleeves off your sweater, shape them into mitten forms, and sew the edges together. You can even add embellishments like buttons or fabric patches for a personal touch. With minimal effort, you’ll have a warm accessory that’s both stylish and functional!
Old clothes aren’t just for wearing; they can also be transformed into beautiful home decor items. Imagine filling your living space with unique pieces that reflect your creativity and personality. From fabric wall art to decorative pillows, the possibilities are endless!
Using fabric remnants, you can create stunning wall art that adds character to any room. Consider framing pieces of patterned fabric or creating a fabric collage that tells a story. Different techniques, such as quilting or appliqué, can be used to assemble and display your fabric creations beautifully. Not only does this project allow you to showcase your artistic side, but it also repurposes materials that would otherwise go to waste.
Another fantastic way to repurpose old clothing is by making decorative pillows. This project is a great way to use up fabric while adding a cozy element to your home decor. Simply cut your old clothes into squares, sew them together, and stuff them with filling. You can mix and match different fabrics to create a playful and inviting atmosphere in your living space. Plus, every time you see your pillows, you’ll be reminded of your creative upcycling journey!
- What types of clothes can I upcycle? Almost any clothing item can be upcycled! T-shirts, jeans, sweaters, and even dresses can be transformed into new creations.
- Do I need special tools for upcycling? Basic sewing supplies like scissors, needles, and thread are usually enough. However, a sewing machine can make the process easier and faster.
- Can I sell my upcycled creations? Absolutely! Many people love unique, handmade items, so consider selling your upcycled projects at craft fairs or online platforms.
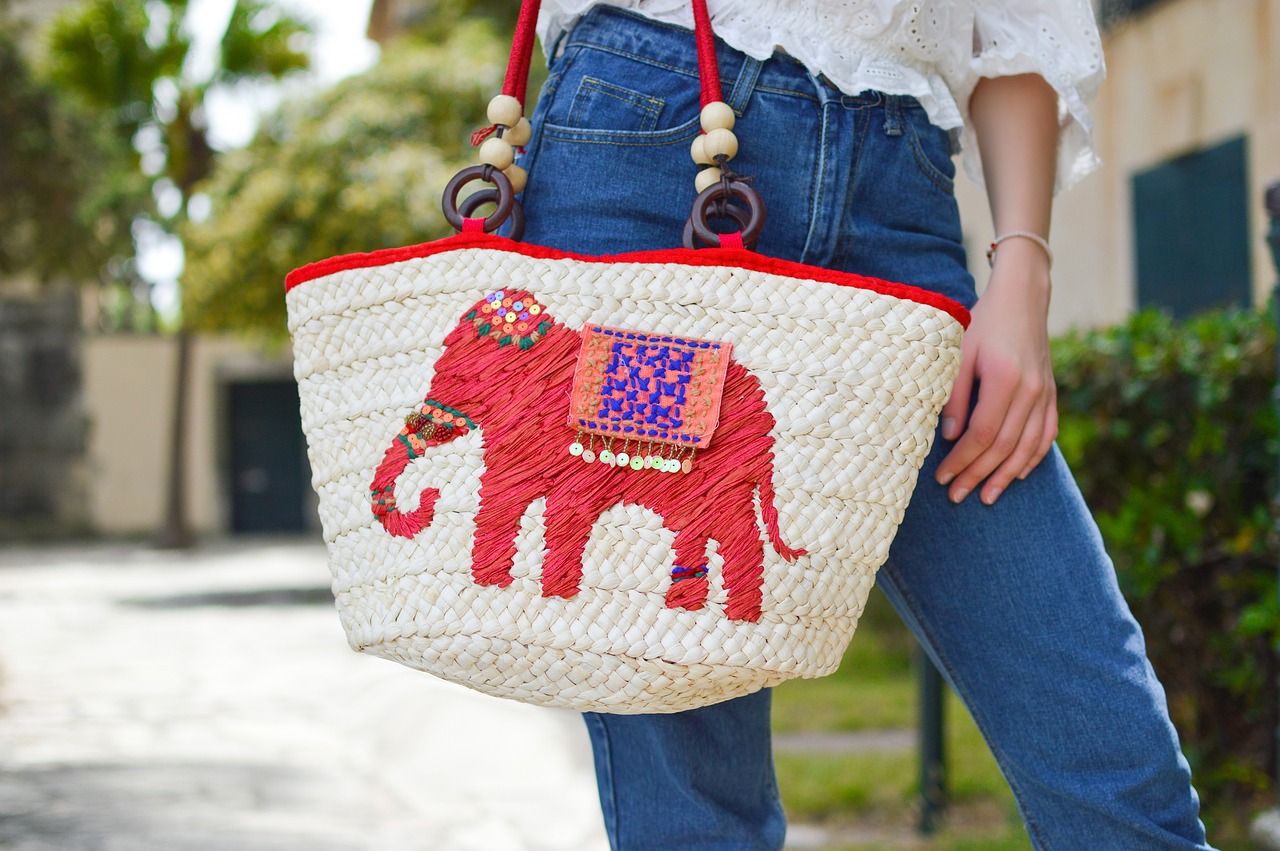
Transforming T-Shirts into Tote Bags
Have you ever looked at your old t-shirts and thought, "What on earth am I going to do with these?" Well, it's time to turn that clutter into something useful and stylish! Transforming old t-shirts into tote bags is not just a fun DIY project; it’s also a fantastic way to reduce waste and contribute to a more sustainable lifestyle. Plus, these tote bags are perfect for shopping, beach days, or just carrying your essentials around town.
The process is incredibly simple and requires just a few materials. You don’t need to be a sewing expert to pull this off; in fact, you can make a tote bag without any sewing at all! Here’s what you’ll need:
- Old t-shirts (the more colorful, the better!)
- Scissors
- Optional: sewing machine or needle and thread for added durability
To get started, follow these easy steps:
- Choose Your T-Shirt: Pick a t-shirt that you love but no longer wear. This could be a band tee, a souvenir shirt, or even a plain one that could use some personality.
- Cut the Sleeves: Lay the shirt flat and cut off the sleeves. The armholes will become the openings of your tote bag.
- Cut the Neckline: Next, cut the neckline of the t-shirt to create a wider opening. This will make it easier to access your items.
- Make the Bottom Secure: If you want to add some durability, you can sew the bottom of the t-shirt closed. Simply turn the shirt inside out, stitch across the bottom, and turn it back to the right side.
- Decorate (Optional): Get creative! You can tie-dye, stencil, or add patches to personalize your new tote bag even more.
And just like that, you’ve turned an old t-shirt into a trendy tote bag! The best part? You can make as many as you like, each one unique and a reflection of your personality. This project not only helps you declutter your wardrobe but also gives you a chance to express your creativity.
Now, you might be wondering about the environmental impact of this simple project. By upcycling your t-shirts, you're helping to reduce textile waste that often ends up in landfills. According to the Environmental Protection Agency (EPA), textiles account for a significant percentage of waste, and every little bit helps. So, why not take this opportunity to make a difference while having fun?
In conclusion, transforming old t-shirts into tote bags is an enjoyable and fulfilling DIY project that anyone can do. Whether you need a new bag for your groceries or a stylish accessory for your outings, this project is a win-win. So gather your old tees and get crafting!
Q: Can I use any type of t-shirt for this project?
A: Yes! Any cotton or cotton-blend t-shirt will work great. Just keep in mind that thicker fabrics may require a bit more effort to cut and handle.
Q: Do I need to sew the bottom of the bag?
A: No, sewing is optional. If you want a no-sew option, you can simply tie the bottom of the shirt in knots to secure it.
Q: How can I make my tote bag more durable?
A: If you want to ensure your tote bag lasts longer, consider sewing the bottom closed and reinforcing the seams. You can also double up on fabric by using two t-shirts.
Q: Can I wash my tote bag?
A: Absolutely! Just make sure to wash it on a gentle cycle and air dry to maintain its shape and design.
Patchwork Denim: A Stylish Revival
Are you tired of those old jeans that have seen better days? Instead of tossing them in the trash, why not revive them with a trendy patchwork technique? Patchwork denim is not just a way to extend the life of your favorite jeans; it’s a fantastic opportunity to express your creativity and style. Imagine transforming your worn-out denim into a statement piece that turns heads!
To begin your patchwork journey, you'll want to gather your materials. Look for jeans that have holes or fraying edges, as these imperfections can add character to your new creation. You can also incorporate other fabric scraps to create a diverse and vibrant look. The beauty of patchwork is that there are no rules—it's all about what speaks to you!
Selecting the right fabrics is crucial for achieving a stylish patchwork look. While denim will be your base, consider adding contrasting fabrics such as cotton, linen, or even old t-shirts. Each fabric brings its own texture and color, enhancing the overall design. For example:
| Fabric Type | Benefits |
|---|---|
| Denim | Durable and sturdy, perfect for the base |
| Cotton | Soft and easy to work with, great for patches |
| Linen | Lightweight and breathable, adds a unique touch |
| T-Shirts | Colorful and stretchy, perfect for fun designs |
When combining fabrics, think about how they will complement each other. A mix of textures can create depth in your design, making your patchwork piece truly unique.
Understanding color coordination can elevate your patchwork designs significantly. To create a visually appealing project, consider the following:
- Complementary Colors: Use colors that are opposite each other on the color wheel for a striking contrast.
- Analogous Colors: Choose colors that are next to each other on the color wheel for a harmonious look.
- Patterns and Prints: Mixing different prints can add a playful touch, but be cautious to maintain balance.
By keeping these tips in mind, you can ensure your patchwork denim stands out while remaining stylish.
Now that you’ve chosen your fabrics and colors, it’s time to get stitching! Mastering various stitching techniques will not only add character to your patchwork but also ensure its durability. Here are a few techniques to consider:
- Straight Stitch: A basic stitch that works well for most fabrics.
- Zigzag Stitch: Perfect for raw edges, preventing fraying while adding a decorative touch.
- Decorative Stitches: Use these to add flair to your seams, making your patchwork truly one-of-a-kind.
With a little practice, you’ll find that these techniques can help your patchwork hold up over time, allowing you to enjoy your stylish revival for years to come!
Patchwork denim is more than just a trend; it’s a sustainable fashion choice that allows you to express your individuality. So, grab those old jeans and get creative—your wardrobe will thank you!
Q: Do I need sewing experience to start patchwork denim?
A: Not at all! Patchwork denim is beginner-friendly. Start with simple stitches and gradually try more complex techniques as you gain confidence.
Q: Can I use other types of fabric besides denim?
A: Absolutely! You can mix and match various fabrics to create a unique look. Just make sure they are compatible in terms of weight and texture.
Q: How do I care for my patchwork denim after I've made it?
A: Wash your patchwork denim in cold water and hang it to dry to preserve the colors and fabrics. Avoid harsh detergents to maintain the integrity of your patches.

Choosing the Right Fabrics
When it comes to patchwork denim, the choice of fabric can make or break your project. You might be wondering, "How do I know which fabrics will work best together?" Well, fear not! The key lies in understanding the characteristics of different materials and how they can complement your denim pieces. For instance, consider the weight and texture of the fabrics you choose. Heavier fabrics can provide structure, while lighter ones can add a delicate touch. Mixing these elements can create a stunning visual contrast that elevates your patchwork design.
Another crucial aspect is the color palette. Think about how colors interact with one another. You can opt for fabrics that are within the same color family for a harmonious look or go for a bold mix of contrasting colors for a more dynamic feel. Don't be afraid to experiment! Sometimes, unexpected combinations can lead to the most unique and eye-catching results.
Let’s dive deeper into some fabric options that are perfect for patchwork:
| Fabric Type | Description | Best Use |
|---|---|---|
| Denim | Durable and timeless, denim comes in various weights. | Patchwork base layer, accent pieces. |
| Cotton | Lightweight and easy to work with, cotton is versatile. | Accent patches, lining. |
| Canvas | Sturdy and thick, canvas provides excellent structure. | Base for bags, durable patches. |
| Flannel | Soft and cozy, flannel adds warmth and texture. | Comfortable patches, lining for mittens. |
Each of these fabrics brings its own unique qualities to your project. By mixing and matching, you can create a one-of-a-kind piece that truly reflects your style. Just remember to keep in mind the durability of the fabric choices. You want your patchwork to last, so avoid delicate materials that might fray or tear easily.
In addition, consider the environmental impact of your fabric choices. Opting for upcycled or second-hand materials not only reduces waste but also adds a story to your creation. Every patch you sew could have a history, making your project even more special. So, as you gather your materials, think about the journey each piece has taken to become part of your artistic expression.
Ultimately, the right fabrics can transform your patchwork from ordinary to extraordinary. So, take your time in selecting materials that resonate with you, and don't hesitate to let your creativity shine through!
- What types of denim are best for patchwork? Look for medium to heavy-weight denim for durability.
- Can I mix different fabric types? Yes, mixing fabrics can create interesting textures and visuals!
- How do I ensure my patchwork holds up over time? Use strong stitching techniques and durable fabrics.
- Is it better to use new or upcycled fabrics? Upcycled fabrics are great for sustainability and add character.
Color Coordination Tips
When it comes to creating stunning patchwork designs, color coordination plays a pivotal role in achieving a visually appealing outcome. Think of color as the brush that paints your masterpiece; the right hues can elevate your project from ordinary to extraordinary. Start by considering the color wheel—a tool that helps you understand how colors interact with each other. For instance, colors that are opposite each other on the wheel, known as complementary colors, can create a vibrant contrast that catches the eye. Imagine pairing a deep blue denim with a bright orange fabric; the result is a striking visual that draws attention.
However, not all combinations need to be bold. Sometimes, subtlety speaks volumes. You might prefer analogous colors, which are next to each other on the color wheel. These hues harmonize beautifully, creating a soothing and cohesive look. For example, combining shades of blue, teal, and green can evoke a serene, ocean-inspired vibe that’s perfect for a patchwork project. As you select your fabrics, consider the overall mood you want to convey. Are you aiming for something playful and energetic or calm and sophisticated? Your color choices will set the tone.
To help you visualize your color palette, you can create a simple table to compare your fabric options. Here's a quick example:
| Fabric Color | Type | Complementary Color |
|---|---|---|
| Deep Blue | Denim | Bright Orange |
| Soft Pink | Cotton | Mint Green |
| Mustard Yellow | Wool | Dark Purple |
Another essential tip is to consider the patterns in your fabrics. Mixing patterns can be tricky, but when done right, it can produce stunning results. A good rule of thumb is to vary the scale of your patterns. For instance, if you have a large floral print, pair it with a smaller polka dot or stripe. This contrast helps each pattern stand out without overwhelming the viewer. Remember, balance is key!
Lastly, don’t forget to trust your instincts. Sometimes, the best combinations come from experimentation. Lay out your selected fabrics together and step back to see how they interact. If something feels off, don’t hesitate to swap out a piece until you find that perfect harmony. After all, your patchwork project should reflect your unique style and creativity!
- What is the best way to choose colors for patchwork? Start with a color wheel and consider complementary and analogous colors to create a balanced look.
- Can I mix different fabric patterns? Yes! Just ensure that you vary the scale of the patterns to maintain balance.
- How do I know if my color choices are harmonious? Lay out your fabrics together and step back to assess how they interact. Trust your instincts!

Stitching Techniques for Durability
When it comes to creating stunning patchwork denim pieces, mastering stitching techniques is crucial for ensuring that your creations not only look good but also stand the test of time. Think of your stitches as the backbone of your project; without them, everything would fall apart. So, let’s dive into some essential techniques that will give your upcycled jeans the strength they need to endure everyday wear and tear.
One of the most popular and reliable stitching techniques is the straight stitch. This is the standard stitch you’ll find on most sewing machines, and it’s perfect for joining two pieces of fabric together. It’s simple yet effective, making it a go-to choice for beginners. However, if you’re looking to add a bit of flair to your patchwork, consider using the zigzag stitch. This stitch not only secures the fabric but also prevents fraying, which is particularly useful for denim that has a tendency to unravel.
For those who want to take it a step further, the double stitch technique can provide extra durability. By sewing over the same line twice, you create a stronger seam that can withstand more stress. This is especially important for areas that experience more wear, such as the knees or pockets of your jeans. If you’re feeling adventurous, try incorporating a decorative stitch into your design. Not only will this add character to your project, but it can also reinforce the seams, making them even sturdier.
In addition to these techniques, you might also want to explore the benefits of using a walking foot when sewing multiple layers of fabric. This specialized foot helps to evenly feed the fabric through the machine, preventing any shifting that could lead to uneven stitches. It’s particularly useful when working with thicker materials like denim, ensuring that your stitches remain consistent throughout the project.
Ultimately, the key to successful stitching lies in understanding your fabric and choosing the right technique for the job. Experimenting with different stitches can be a fun way to discover what works best for your style and needs. So, gather your materials, fire up your sewing machine, and let your creativity shine through every stitch!
- What type of sewing machine is best for denim? A heavy-duty sewing machine is ideal for working with denim, as it can handle the thickness of the fabric.
- Can I use regular thread for denim projects? While you can use regular thread, it's recommended to use a heavier thread designed for denim to ensure durability.
- How do I prevent my denim from fraying? Using a zigzag stitch along the raw edges can help prevent fraying. Additionally, consider using pinking shears to cut the edges.
Upcycled Sweater Mittens
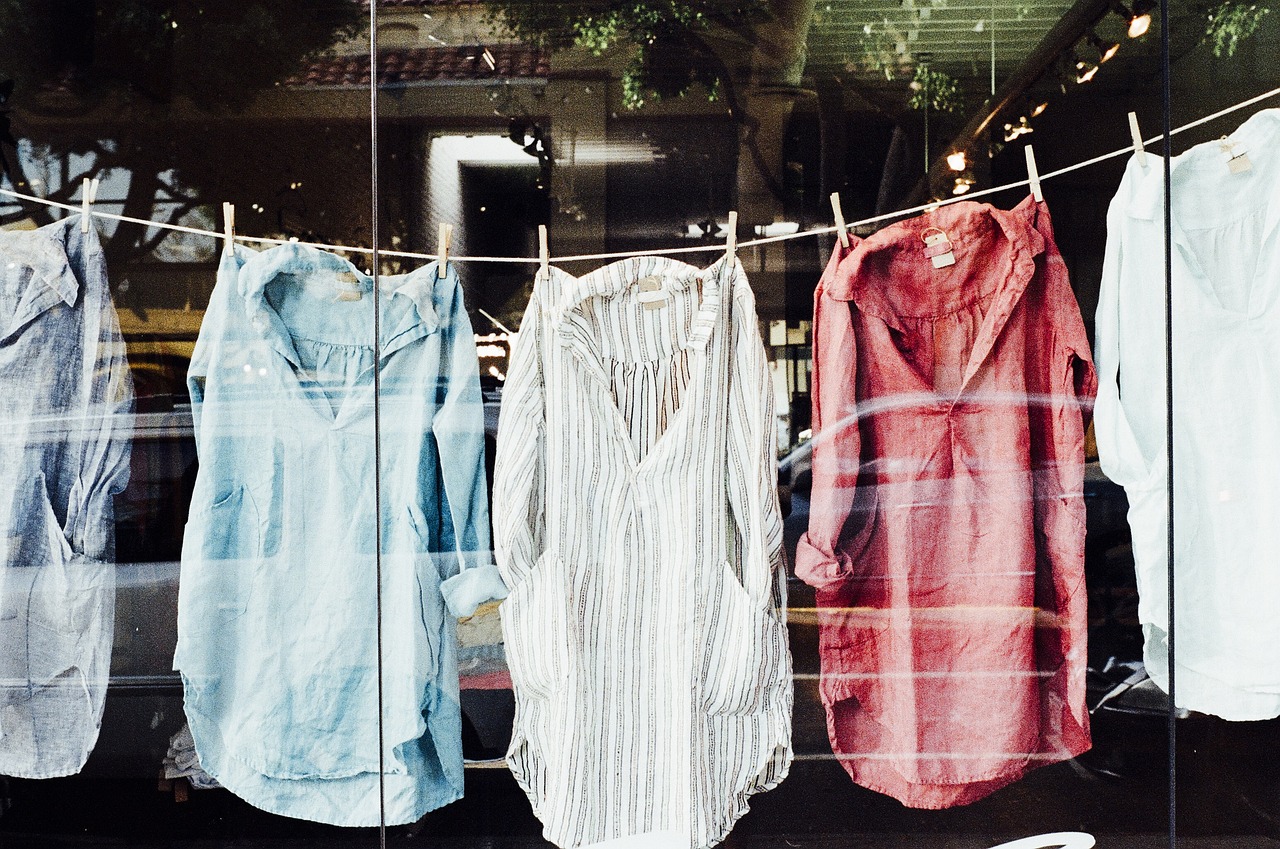
Have you ever looked at an old sweater and thought, "What can I do with this besides let it collect dust?" Well, it's time to turn that cozy wool into something functional and warm! Upcycling old sweaters into mittens is not only a fun project but also a fantastic way to keep your hands toasty during those chilly winter days. Plus, it’s a great conversation starter! Imagine showing off your unique, handmade mittens to friends and family, all while knowing you’ve helped the planet by reducing waste.
To get started, you’ll need a few basic supplies: an old sweater, scissors, a sewing machine (or needle and thread if you prefer hand sewing), and a pair of mittens to use as a template. The beauty of this project lies in its simplicity. You don’t need to be a sewing expert; even beginners can create a stylish pair of mittens in no time!
First, select a sweater that you love but no longer wear. Consider the color and pattern, as these will determine the vibe of your mittens. Once you’ve chosen your sweater, lay it flat on a table and grab your template. Place the mittens on the sweater, ensuring you have enough fabric around the edges for seams. Trace around the template and cut out the shapes. Remember to cut two pieces for each mitten, one for the front and one for the back.
Next, it’s time to sew! If you're using a sewing machine, simply place the two pieces right sides together and sew along the edges, leaving the wrist area open. If you’re hand sewing, use a simple running stitch or a backstitch for added durability. Once sewn, turn the mittens inside out, and voilà! You’ve got yourself a pair of warm, upcycled mittens. You can add embellishments like buttons or patches to give them a personal touch.
Not only do these mittens keep your hands warm, but they also serve as a reminder of your creativity and resourcefulness. Plus, every time you wear them, you’ll feel a sense of accomplishment knowing you've turned something old into something new and useful. So, gather those old sweaters and get crafting!
- Can I use any type of sweater for this project? Yes! Wool, cotton, and blended fabrics all work well, but keep in mind that thicker materials will provide more warmth.
- Do I need a sewing machine? Not at all! You can easily hand sew your mittens if you prefer a more personal touch.
- What if my sweater has holes or stains? Embrace them! They can add character to your mittens. Alternatively, you can patch them up with fabric scraps before cutting your mitten shapes.
- How can I make my mittens more unique? Consider adding embellishments like embroidery, fabric paint, or even using contrasting fabrics for the lining!

Creating Unique Home Decor
Have you ever looked around your home and felt like it needs a little more personality? Well, guess what? You can easily transform your old clothes into unique home decor pieces that not only showcase your creativity but also tell a story. Instead of tossing out those worn-out garments, let’s breathe new life into them and give your living space a fresh, cozy feel. Imagine your favorite old sweater turned into a chic pillow or a faded pair of jeans becoming a trendy wall hanging. The possibilities are endless!
One of the best parts about upcycling is that it allows you to express your individuality. Every piece you create can reflect your style and taste, making your home truly one-of-a-kind. Plus, it’s an eco-friendly way to decorate, reducing waste and promoting sustainability. So, why not dive into some exciting projects that can transform your old clothes into fabulous home decor?
Let’s start with fabric wall art. This is an incredible way to use fabric remnants or even entire pieces of clothing that you no longer wear. You can create stunning wall hangings that add color and texture to any room. For instance, consider using a mix of fabrics from different garments to create a patchwork effect. Not only will this add visual interest, but it will also give you a chance to showcase your sewing skills!
To make your fabric wall art, you can follow these simple steps:
- Gather your old clothes and select a variety of fabrics.
- Cut the fabric into different shapes and sizes.
- Use a canvas or a wooden frame as your base.
- Arrange the fabric pieces in a visually appealing way.
- Secure them using fabric glue or a sewing machine.
Another fantastic project is making decorative pillows from your old clothing. This is not only simple but also a great way to add a cozy touch to your living room or bedroom. Just imagine curling up on your couch with a pillow that carries memories of your favorite shirt! To create these pillows, you can follow these steps:
- Choose a clothing item with a fabric you love.
- Cut the fabric into two equal squares or rectangles.
- Place the right sides together and sew around the edges, leaving a small opening.
- Turn the pillowcase inside out and stuff it with filling or an old pillow.
- Sew the opening closed, and voilà—you have a new decorative pillow!
Lastly, don’t underestimate the charm of using old clothes as table runners or place mats. A vibrant table runner made from a patchwork of colorful fabrics can instantly elevate your dining experience. It’s a conversation starter, and guests will love the unique touch it adds to your table setting. Just cut your fabric into the desired size, hem the edges, and you’re ready to impress!
In conclusion, upcycling your old clothes into home decor is not only a fun and creative outlet but also a sustainable choice that benefits our planet. So, gather those forgotten garments, roll up your sleeves, and let your imagination run wild. Your home deserves a touch of your personality, and what better way to achieve that than with your own hands?
Q: What types of old clothes can I use for home decor projects?
A: You can use almost any type of old clothing! T-shirts, jeans, sweaters, and even dresses can be repurposed into beautiful decor items.
Q: Do I need special sewing skills to start upcycling?
A: Not at all! Many projects are beginner-friendly. Start with simple sewing techniques and gradually try more complex designs as you gain confidence.
Q: Can I mix different fabrics in one project?
A: Absolutely! Mixing fabrics can add texture and visual interest to your creations. Just ensure that the fabrics are compatible in terms of weight and care.
Q: How can I ensure my upcycled items are durable?
A: Use strong stitching techniques and quality fabric glue. Additionally, pre-wash your fabrics to prevent shrinkage before sewing.
Fabric Wall Art Ideas
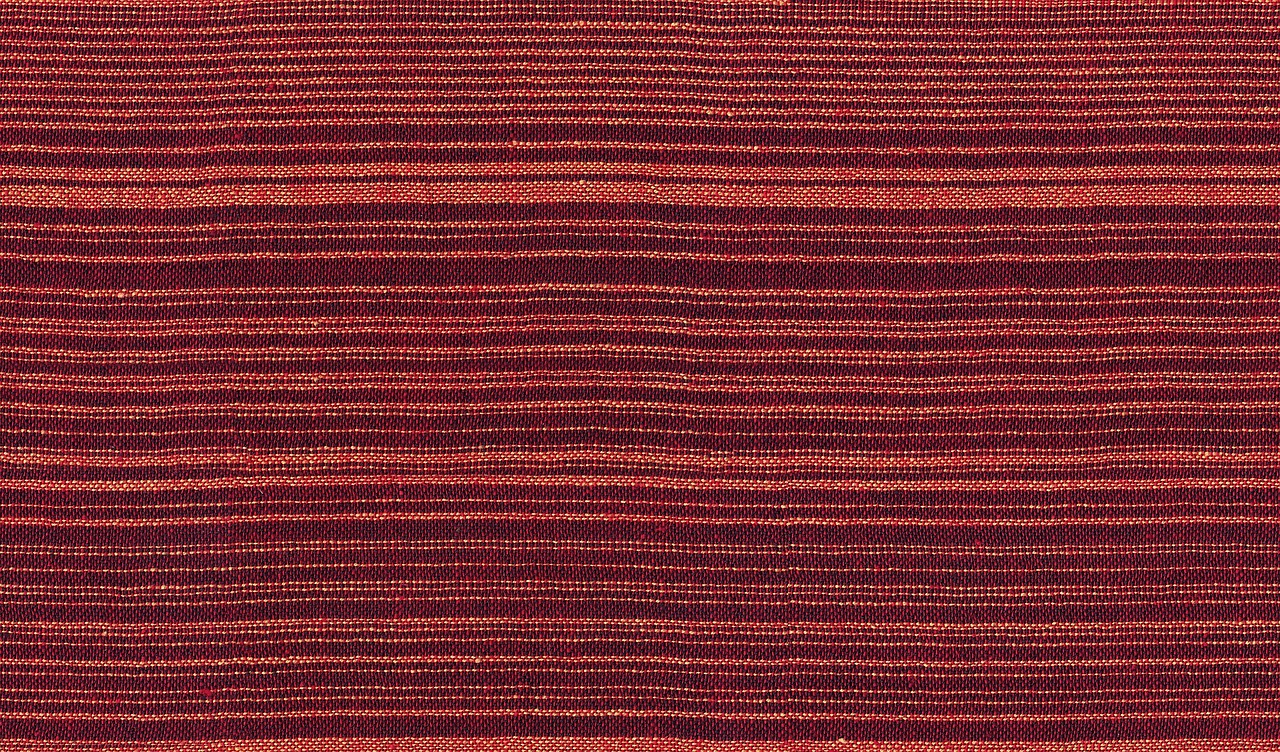
Creating fabric wall art is a fantastic way to express your creativity while giving old clothes a second life. Imagine transforming those forgotten garments hanging in the back of your closet into stunning pieces of art that can brighten up any room! This project not only helps reduce waste but also allows you to showcase your unique style. So, how can you get started on this exciting journey of upcycling? Let’s dive into some creative ideas!
One popular method is to use fabric remnants from your old clothes to create a fabric collage. You can cut different shapes and sizes of fabric pieces and arrange them on a canvas or wooden board. This technique allows for endless possibilities, as you can mix and match textures, colors, and patterns to create a visually striking piece. For instance, consider using a combination of floral prints, denim, and solid colors to create a balanced yet dynamic artwork.
Another idea is to create a fabric hoop art. This involves stretching fabric over an embroidery hoop and securing it tightly. You can embellish it further with lace, buttons, or even hand-painted designs. The beauty of this project is that it can be as simple or as intricate as you want! Plus, you can create a series of hoops in different sizes and colors to form a cohesive gallery wall. Imagine walking into a room and being greeted by a colorful display of fabric art that tells a story of your personal style!
For those who love a bit of texture, consider making a fabric wall hanging. This can be achieved by weaving strips of fabric together or using macrame techniques. The result is a beautiful, tactile piece that adds depth and interest to your walls. You can hang this above a bed, sofa, or even in a hallway to create a focal point that draws the eye. Don't forget to play with different lengths and widths of fabric to create a more dynamic design!
Here’s a quick overview of some materials you might need for your fabric wall art projects:
| Material | Purpose |
|---|---|
| Old Clothes | Source of fabric for your projects |
| Canvas or Wooden Board | Base for your fabric collage |
| Embroidery Hoops | For fabric hoop art |
| Glue or Sewing Supplies | To secure fabric pieces together |
| Scissors | For cutting fabric into desired shapes |
As you embark on your fabric wall art journey, remember that the key is to have fun and let your imagination run wild. There are no strict rules—just let your creativity flow! You can even involve your family or friends in this project, making it a fun bonding activity. The joy of seeing your old clothes transformed into beautiful art pieces will not only elevate your home decor but also give you a sense of accomplishment.
- What types of fabric work best for wall art?
Almost any fabric can work, but consider using materials that are lightweight and easy to manipulate, such as cotton or linen. Textured fabrics like velvet can also add depth to your artwork.
- How do I hang my fabric wall art?
You can use adhesive strips for lightweight pieces or nails and hooks for heavier artworks. Just ensure that the method you choose can support the weight of your creation.
- Can I wash my fabric wall art?
It’s best to avoid washing fabric wall art, as it could damage the arrangement. Instead, dust it lightly with a cloth to keep it clean.
Pillows from Old Clothes
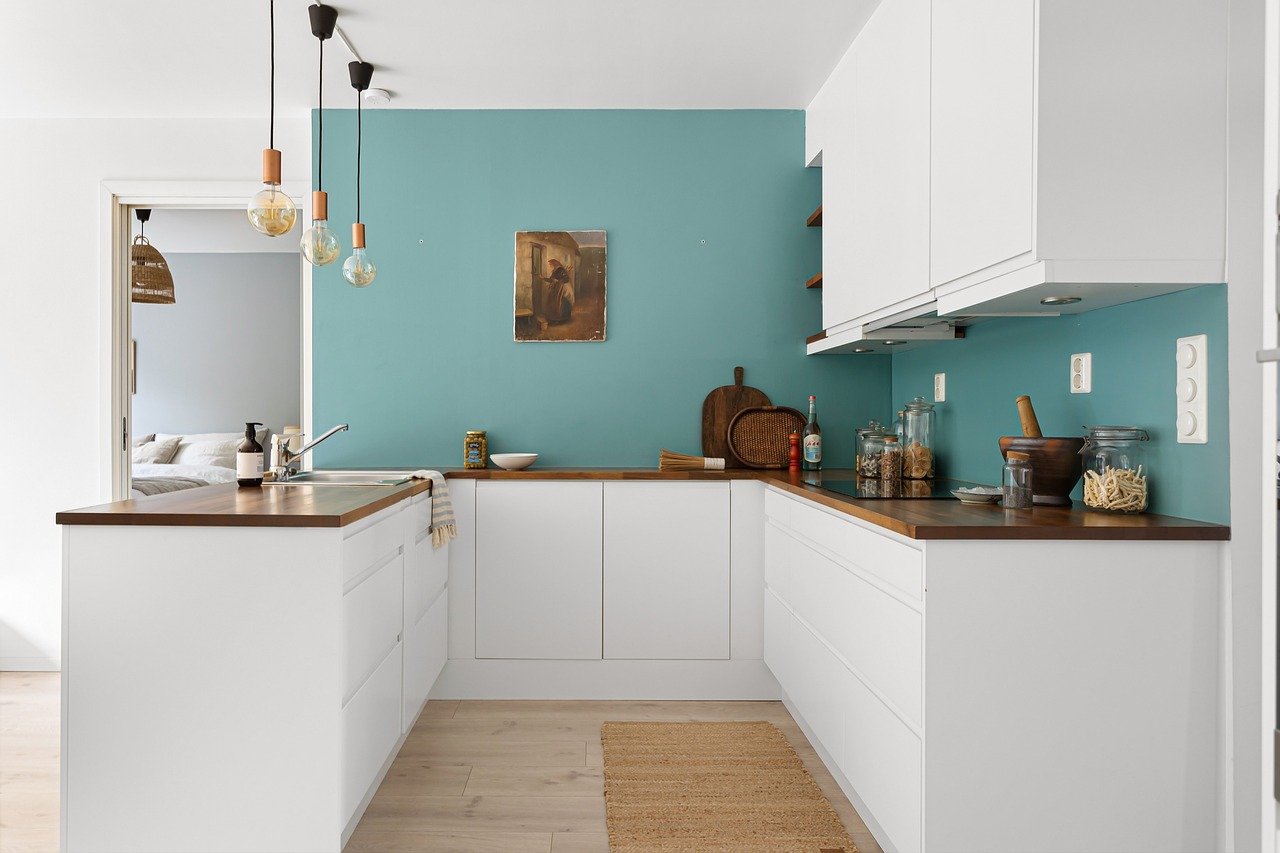
Have you ever looked at your old clothes and thought, “What on earth am I going to do with these?” Well, instead of tossing them into the trash, why not turn them into something cozy and beautiful for your home? are not just a great way to upcycle; they also add a personal touch to your living space. Imagine snuggling up with a pillow that tells a story, whether it’s your favorite band t-shirt or a sweater that’s seen better days.
The beauty of this project lies in its simplicity. You don’t need to be a sewing expert to create stunning pillows. In fact, it can be a fun activity for the whole family! All you need are some old clothes, a bit of creativity, and a few basic sewing supplies. Here’s a quick rundown of how you can get started:
- Gather Your Materials: Look for clothes made from soft fabrics like cotton or fleece. T-shirts, sweatshirts, and even denim can work wonders!
- Cut Your Fabric: Decide on the size of your pillow. A standard size is around 16x16 inches, but you can customize it to fit your needs. Cut two squares of fabric from your chosen clothing.
- Sew It Up: Place the fabric squares together, inside out, and sew around the edges, leaving a small opening to insert stuffing.
- Stuff and Finish: Turn your pillow right-side out, stuff it with fiberfill or even scraps of fabric from your old clothes, and sew the opening closed. Voilà, you’ve got yourself a unique pillow!
But wait, there’s more! You can also mix and match different fabrics to create a patchwork effect. This not only adds a unique flair but also allows you to showcase your creativity. For example, you could combine a floral print from an old dress with a solid color from a t-shirt. The possibilities are endless!
One of the fantastic aspects of making pillows from old clothes is that they can serve various purposes. Use them as decorative accents on your sofa, as comfortable cushions for your reading nook, or even as playful additions to your kid's room. Plus, they’re an excellent conversation starter! Imagine your guests admiring your DIY skills while you share the story behind each piece.
To help you visualize the process, here’s a simple table summarizing the steps:
| Step | Description |
|---|---|
| 1 | Gather old clothes made from soft fabrics. |
| 2 | Cut fabric squares to your desired pillow size. |
| 3 | Sew the fabric squares together, leaving an opening. |
| 4 | Turn the pillow right-side out and stuff it. |
| 5 | Sew the opening closed, and enjoy your new pillow! |
In conclusion, making pillows from old clothes is not just a fun project; it’s a sustainable choice that helps reduce waste while adding a personal touch to your home. So the next time you’re about to toss those old clothes, think twice! You could be on your way to creating something truly special.
Q: Can I use any type of fabric for making pillows?
A: While you can use various fabrics, it’s best to choose soft materials like cotton, fleece, or jersey for comfort.
Q: Do I need a sewing machine?
A: No, you can sew by hand if you prefer! Just be sure to use a sturdy needle and thread.
Q: How do I clean the pillows once they’re made?
A: Most upcycled pillows can be spot cleaned. If you used washable fabrics, you can also toss them in the washing machine on a gentle cycle.
Q: Can I make larger pillows?
A: Absolutely! Just adjust the size of the fabric squares accordingly.
Frequently Asked Questions
- What materials do I need for upcycling old clothes?
To start your upcycling journey, you’ll need basic sewing supplies like scissors, needles, and thread. Depending on your project, you might also want fabric glue, embellishments, or additional materials like tote bag handles. The best part? Most of these items are probably already lying around your home!
- Can I upcycle clothes that are damaged or stained?
Absolutely! In fact, damaged or stained clothes can often be the best candidates for upcycling. With techniques like patchwork or turning a shirt into a tote bag, you can creatively hide flaws and give those items a brand-new purpose. Think of it as giving your clothes a second chance at life!
- How do I choose the right projects for my skill level?
If you're just starting out, look for simple projects like tote bags or pillow covers that require minimal sewing. As you gain confidence, you can tackle more complex tasks like patchwork denim or fabric wall art. Remember, every expert was once a beginner, so don't be afraid to experiment!
- What should I do with leftover fabric scraps?
Don’t toss those scraps! They can be used for a variety of smaller projects, like making fabric bookmarks, coasters, or even small decorative items. Consider creating a fabric scrap journal or a memory quilt as a fun way to preserve your upcycling journey.
- How can I ensure my upcycled items are durable?
To enhance durability, pay attention to stitching techniques and fabric choices. Using a strong thread and double stitching critical seams can make a big difference. Additionally, washing your finished items gently and air-drying them can help maintain their quality over time.
- Where can I find inspiration for my upcycling projects?
Inspiration is everywhere! Check out social media platforms like Pinterest and Instagram, or visit DIY blogs dedicated to upcycling. You can also join local crafting groups or workshops to share ideas and learn from fellow enthusiasts. The creative community is full of innovative minds!


