How to Repurpose a Birdcage into a Chandelier
Have you ever looked at an old birdcage and thought, "What can I do with this?" If so, you're in for a treat! This article explores creative ways to transform an old birdcage into a stunning chandelier, offering practical tips and inspiring ideas for a unique home decor project. Imagine walking into a room and being greeted by a beautiful, one-of-a-kind chandelier that not only lights up the space but also tells a story. Repurposing a birdcage into a chandelier is not just a DIY project; it's an opportunity to showcase your creativity and add a personal touch to your home. So, roll up your sleeves and let's dive into this exciting transformation!
Before you get started, selecting the perfect birdcage is crucial for your chandelier project. Consider factors like size, style, and condition to ensure it fits your vision and space requirements. For instance, a larger birdcage can create a more dramatic effect, while a smaller one might be perfect for a cozy nook. When choosing, look for interesting details such as ornate designs or unique shapes that can enhance the overall aesthetic of your chandelier. Don't forget to inspect the condition of the birdcage; a little rust can add character, but too much damage might hinder your project.
Gathering the right tools and materials is key to a successful repurposing project. This section outlines what you'll need to create your birdcage chandelier. Having everything organized before you start will save you time and frustration. Below are the essential tools and materials you'll need:
Here’s a list of essential tools that will help you efficiently assemble your chandelier while ensuring safety during the process:
- Pliers
- Wire cutters
- Drills
- Screwdrivers
- Measuring tape
Wearing appropriate safety gear, including gloves and goggles, is important to protect yourself from potential hazards while working on your birdcage chandelier. Safety should always come first, so make sure you're equipped to handle any sharp edges or tools.
Identify the materials required for your chandelier, including lighting fixtures, chains, and decorative elements that will enhance the overall aesthetic of your design. You might want to consider:
- Light bulbs (LEDs are a great energy-efficient option)
- Chandelier chains or hanging wire
- Decorative elements like beads, crystals, or faux flowers
Selecting the right lighting options can dramatically affect the ambiance of your chandelier. Explore various types of bulbs and fixtures that will complement your birdcage design. Think about the mood you want to create: warm white bulbs can add a cozy feel, while bright white bulbs might offer a more modern touch. Consider using vintage-style Edison bulbs for a rustic charm that pairs beautifully with the vintage look of a birdcage.
Now that you have your birdcage and materials ready, it’s time to get to the fun part: assembly! Follow this detailed guide on how to assemble your birdcage chandelier, from initial preparation to the final touches, ensuring a smooth and enjoyable crafting experience.
Start by cleaning and preparing your birdcage for transformation. Remove any old components, such as perches or food bowls, and ensure it's ready for the installation of lighting fixtures. A good cleaning will not only make your chandelier look better but also ensure that it’s safe to work with.
Once your birdcage is prepped, it’s time to securely install the lighting within it. Follow these step-by-step instructions to ensure both safety and aesthetic appeal for your new chandelier:
- Determine where you want to place the light fixture inside the birdcage.
- Use your drill to create a hole for the wiring if necessary.
- Secure the light fixture in place, ensuring it is stable.
- Connect the wiring according to the manufacturer's instructions.
Personalizing your birdcage chandelier with finishing touches can make it truly unique. This section offers ideas for embellishments and decorative elements to enhance its charm. Think about adding crystals that catch the light or ribbons that flow elegantly from the base. The goal is to reflect your personal style and make it a conversation piece!
Explore various decorative options, such as crystals, ribbons, or flowers, that can elevate the visual impact of your birdcage chandelier. You might even consider using fairy lights to create a magical glow. The key is to let your creativity shine through!
Finally, it’s time to securely hang your finished chandelier. Make sure to use strong chains or hooks that can support the weight of your new creation. Once it’s hung, step back and admire your handiwork! You’ve transformed an ordinary birdcage into a stunning chandelier that adds character and charm to your home.
Q: Can I use any type of birdcage for this project?
A: Yes, but consider the size and style to ensure it fits your decor and lighting needs.
Q: What type of light bulbs should I use?
A: LED or vintage-style bulbs work well, depending on the ambiance you want to create.
Q: How do I ensure my chandelier is safe to hang?
A: Make sure all connections are secure and use appropriate hardware to support the weight.
Q: Can I paint the birdcage before transforming it?
A: Absolutely! A fresh coat of paint can give your chandelier a unique look.
Choosing the Right Birdcage
When it comes to transforming an old birdcage into a stunning chandelier, the first step is to select the right birdcage. This choice is crucial as it sets the foundation for your entire project. Think of it as choosing the canvas for a masterpiece; the right birdcage can make all the difference in your final creation. Start by considering the size of the birdcage. You want something that fits comfortably in your intended space, allowing for ample lighting and decorative elements without overwhelming the area.
Next, pay attention to the style of the birdcage. Do you envision a vintage, rustic look, or something more modern and sleek? The style should resonate with your home's decor and personal taste. For instance, a wrought iron birdcage might evoke a charming, antique feel, while a more minimalist design could suit contemporary settings. Remember, the birdcage is not just a functional piece; it is a statement piece that can enhance your room's aesthetic.
Additionally, the condition of the birdcage is paramount. Look for cages that are structurally sound and free from rust or severe damage. Minor scratches or wear can often be fixed or painted over, but significant damage could compromise the integrity of your chandelier. If you’re unsure, a quick inspection can save you from potential headaches later on. Check for:
- Rust or corrosion on metal cages
- Cracks or breaks in glass or ceramic elements
- Missing components like doors or perches
In summary, choosing the right birdcage involves a careful balance of size, style, and condition. Take your time to explore different options, perhaps visiting thrift stores, flea markets, or online marketplaces. Each birdcage tells its own story, and with the right one, you'll be well on your way to creating a breathtaking chandelier that reflects your unique style and creativity.
Essential Tools and Materials
When embarking on the exciting journey of transforming a birdcage into a stunning chandelier, the first step is to gather the . Having the right items at your disposal not only makes the process smoother but also ensures that your final product is both beautiful and safe. Whether you're a DIY novice or a seasoned crafter, knowing what you need is crucial to your success.
Let's start with the tools. You'll want to have a solid toolkit ready. Essential tools for this project include:
- Pliers: These are indispensable for bending and twisting wires, making your assembly much easier.
- Wire Cutters: You'll need these to trim any excess wire, ensuring a neat finish.
- Drill: A drill will be necessary for making holes if you need to attach lighting fixtures securely.
- Screwdriver: This will help you with any screws or fixtures that need to be tightened.
Now, let’s not forget about safety gear. It’s vital to protect yourself while working on your chandelier. Always wear gloves to shield your hands from sharp edges and goggles to protect your eyes from debris. Safety should always be your top priority!
As for the materials, you’ll need to gather a few key items that will contribute to the beauty and functionality of your chandelier. Here’s a quick rundown of what you’ll require:
- Lighting Fixtures: Choose fixtures that align with your style—be it vintage, modern, or eclectic.
- Bulbs: Opt for energy-efficient LED bulbs that provide the right amount of light while being cost-effective.
- Chains or Ropes: These will be used to hang your chandelier securely from the ceiling.
- Decorative Elements: Think about embellishments like crystals, beads, or even fresh flowers to give your chandelier that extra flair.
In summary, gathering the right tools and materials is like laying the foundation for a house; it sets the stage for everything that follows. With your toolkit ready and your materials on hand, you’re one step closer to creating a unique piece that will not only light up your space but also serve as a conversation starter. So, roll up your sleeves, and let the crafting begin!
Got questions? Here are some common inquiries about repurposing a birdcage into a chandelier:
- Can any birdcage be used for this project? - Ideally, look for a birdcage that is in good condition and has enough space for lighting fixtures.
- What type of lighting is best for a birdcage chandelier? - LED bulbs are recommended for their energy efficiency and longevity.
- Do I need electrical experience to install the lighting? - While basic knowledge of electrical work is helpful, you can also hire a professional if you're unsure.
Tools for Assembly
When it comes to transforming your old birdcage into a stunning chandelier, having the right tools on hand is absolutely essential. Imagine embarking on this creative journey without the necessary equipment—it's like trying to paint a masterpiece without brushes! To ensure your project goes smoothly, gather the following tools:
- Pliers: These are crucial for bending and twisting wires, helping you shape the lighting fixtures and secure any loose ends. Look for needle-nose pliers for precision.
- Wire Cutters: A good pair of wire cutters will make it easy to trim any excess wire and ensure your chandelier looks neat and tidy.
- Drill: If you're planning to install lighting fixtures, a drill will be necessary to create holes for mounting. Choose a drill with various bits to accommodate different materials.
- Measuring Tape: You want to ensure everything is proportional and well-spaced, so a measuring tape is your best friend for accurate measurements.
- Hot Glue Gun: For attaching decorative elements like crystals or ribbons, a hot glue gun is perfect for providing a strong hold without the mess of traditional adhesives.
Each of these tools plays a vital role in the assembly process, ensuring that your chandelier not only looks fabulous but is also safe and functional. Before you dive into the project, take a moment to familiarize yourself with each tool. This way, you'll be prepared and confident as you embark on this exciting DIY adventure. And remember, the key to a successful assembly is not just about having the right tools but also knowing how to use them effectively!
In addition to the tools mentioned above, it's wise to consider the workspace you'll be using. A well-lit area with ample space can make a world of difference. Lay out a protective covering on your work surface to catch any debris or glue spills, and keep your tools organized so you can easily grab what you need without interrupting your flow. Trust me, a tidy workspace can significantly enhance your crafting experience.
So, are you ready to gather your tools and get started? With the right equipment and a little bit of creativity, your old birdcage will soon be transformed into a breathtaking chandelier that adds a touch of whimsy to your home decor!
Safety Gear
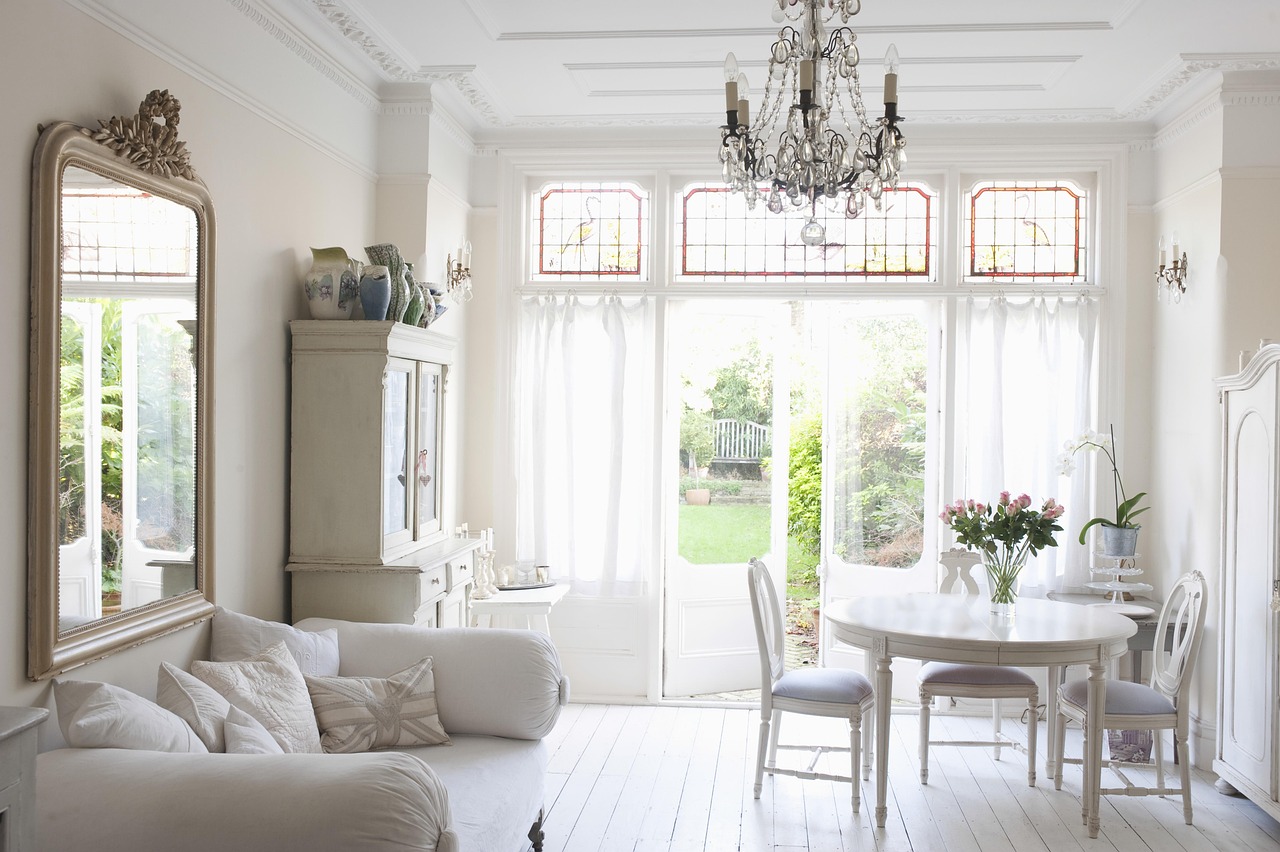
When embarking on your creative journey to transform a birdcage into a stunning chandelier, it’s essential to prioritize your safety. After all, what good is a beautiful chandelier if you end up with a few scrapes or worse? Before you even think about picking up those tools, make sure you have the right on hand. This isn’t just a precaution; it’s a necessity!
First and foremost, you’ll want to invest in a pair of sturdy gloves. Not only do they protect your hands from sharp edges and metal splinters, but they also provide a better grip on tools, making your assembly process smoother. Imagine trying to hold onto a slippery wire cutter while working on your chandelier—yikes!
Next up, consider wearing a good pair of safety goggles. When you’re cutting wires or drilling holes, tiny bits of debris can fly off, and you don’t want to risk getting anything in your eyes. Think of goggles as your personal shield against the unexpected. They may not be the most fashionable accessory, but your eyes will thank you later!
Additionally, a dust mask can be beneficial, especially if you’re working with older birdcages that may have accumulated dust or other particles over the years. Breathing in that stuff isn’t good for anyone, so why take the chance? A simple mask can keep those pesky particles at bay.
Lastly, make sure to wear appropriate clothing. Opt for long sleeves and sturdy pants to protect your skin from scratches and cuts. And let’s be honest, no one wants to deal with a nasty scrape when they’re just trying to create a beautiful piece of art for their home.
In summary, your safety gear should include:
- Gloves: To protect your hands and improve grip.
- Safety goggles: To shield your eyes from debris.
- Dust mask: To avoid inhaling dust and particles.
- Sturdy clothing: To safeguard your skin from cuts and scrapes.
Remember, taking a few simple precautions can make your crafting experience not only safer but also more enjoyable. So gear up, and let your creativity shine!
Materials Needed
When it comes to transforming your old birdcage into a stunning chandelier, gathering the right materials is essential for achieving the look and functionality you desire. First and foremost, you'll need a lighting fixture that suits the style of your birdcage. This could be a simple pendant light, a cluster of bulbs, or even vintage-style Edison bulbs for that rustic charm. Make sure the fixture fits comfortably within the dimensions of your birdcage, allowing enough space for the light to shine through without overwhelming the design.
Next, consider the chains or hanging hardware that will suspend your chandelier from the ceiling. Choose a chain that complements the overall aesthetic—whether that's sleek metal for a modern look or a more ornate design for a vintage feel. You will also need some wire to secure the lighting fixture inside the birdcage. A strong gauge wire will ensure that your chandelier remains stable and safe.
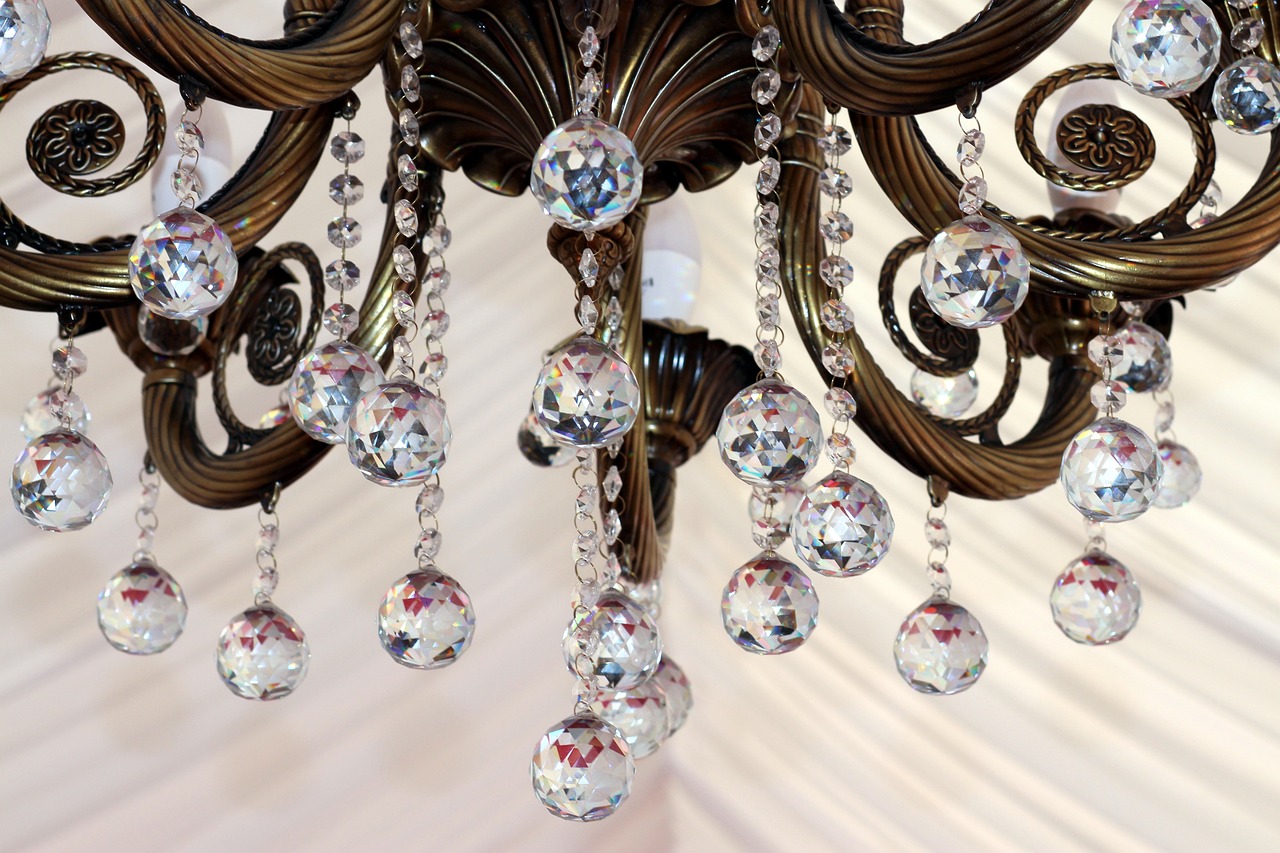
Don't forget about decorative elements that can elevate the visual appeal of your chandelier. Think about adding crystals, beads, or even faux flowers to the birdcage. These embellishments can catch the light beautifully and create a dazzling effect in your space. You might also want to incorporate some paint or adhesive if you decide to give your birdcage a fresh coat or attach decorative items.
Finally, ensure you have the necessary electrical components such as sockets, wiring, and a light switch if you're planning to make your chandelier fully functional. If you're not familiar with electrical work, it might be wise to consult a professional to handle this part for you. With these materials in hand, you're well on your way to crafting a unique chandelier that not only lights up your room but also serves as a conversation starter!
| Material | Purpose |
|---|---|
| Lighting Fixture | Provides illumination |
| Chains/Hanging Hardware | Supports the chandelier |
| Wire | Secures the lighting fixture |
| Decorative Elements | Enhances visual appeal |
| Electrical Components | Enables functionality |
Choosing Lighting Options
When it comes to transforming your old birdcage into a stunning chandelier, one of the most important aspects to consider is the lighting options. The right lighting can not only illuminate your space but also enhance the overall aesthetic of your newly crafted fixture. Think of your birdcage chandelier as a canvas; the lighting you choose is the paint that brings it to life. So, what should you look for?
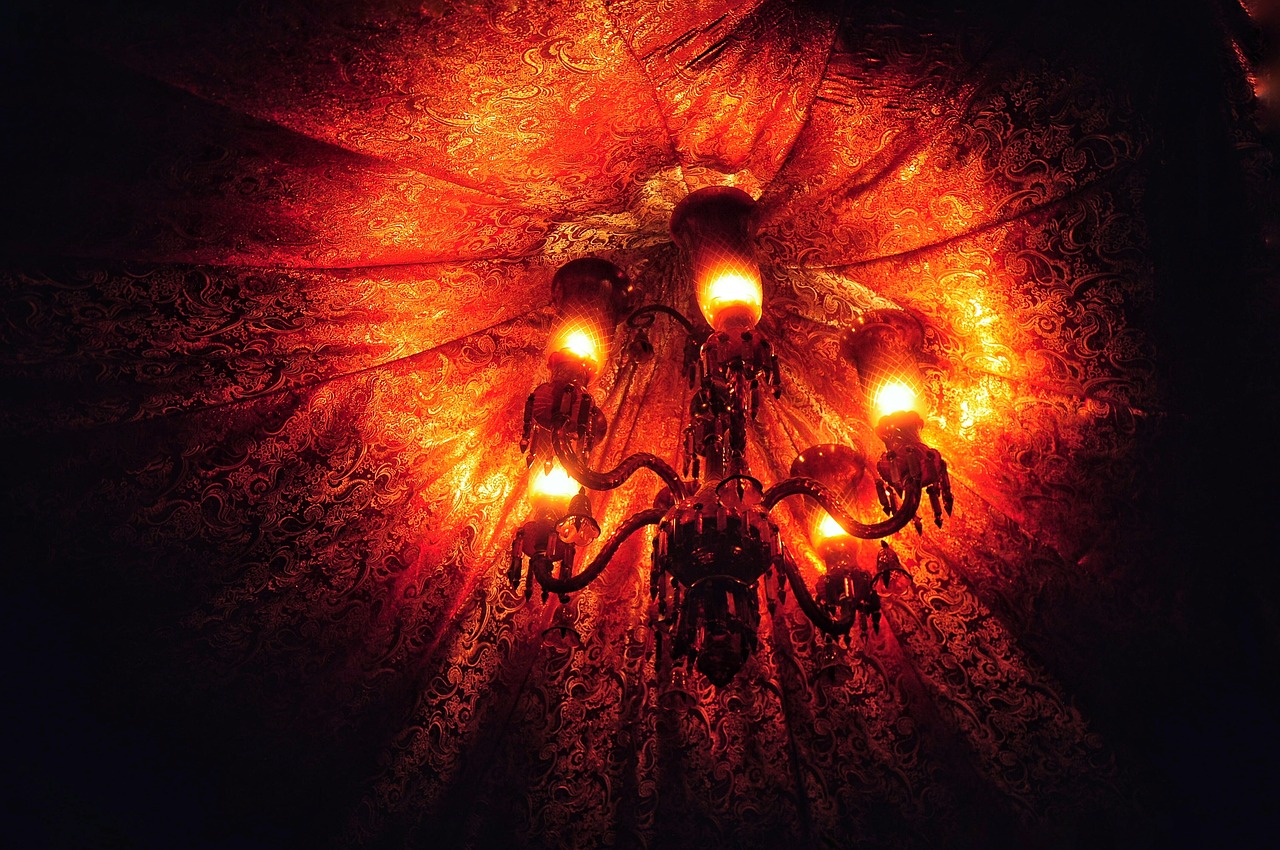
First and foremost, consider the type of bulbs you want to use. LED bulbs are a popular choice due to their energy efficiency and long lifespan. They come in various colors and intensities, allowing you to set the mood just right. If you’re aiming for a warm, cozy atmosphere, opt for soft white bulbs. On the other hand, if you’re going for a more modern or dramatic look, consider using bright white or colored bulbs. You could even mix and match different types to create a unique effect!
Next, think about the lighting fixtures themselves. Do you want to keep it simple with a single pendant bulb hanging from the center of the cage, or would you rather have multiple bulbs to create a more dynamic look? You can use small chandeliers or pendant lights that fit within the birdcage, or even string lights that twinkle like stars. The key is to find fixtures that complement the style of your birdcage while providing the right amount of light.
Additionally, consider the placement of the lighting. The arrangement of your bulbs can dramatically affect the chandelier's overall look. You might choose to cluster several small bulbs at different heights within the cage to create a more whimsical feel. Alternatively, you could position a larger light fixture in the center for a more traditional chandelier appearance. Don’t forget to think about how the light will interact with the birdcage itself—shadows and reflections can add an extra layer of visual interest.
Lastly, if you want to take your chandelier to the next level, consider incorporating decorative elements that can enhance the lighting. For instance, adding crystals or glass beads can create beautiful reflections and refractions, casting an enchanting glow throughout the room. You could also wrap fairy lights around the cage or hang small ornaments that catch the light. The possibilities are endless!
In summary, choosing the right lighting options for your birdcage chandelier is about balancing functionality with creativity. By considering the type of bulbs, the style of fixtures, the placement of the lights, and additional decorative elements, you can create a stunning focal point in your home that reflects your unique style. So, are you ready to light up your life with this delightful DIY project?
- What type of bulbs should I use for my birdcage chandelier?
LED bulbs are recommended for their energy efficiency and variety in color and intensity. - Can I use multiple light fixtures inside the birdcage?
Absolutely! Using multiple fixtures can create a more dynamic and visually interesting chandelier. - How do I ensure my chandelier is safe to hang?
Make sure all components are securely fastened and that the weight is evenly distributed before hanging it. - What decorative elements can I add to enhance my chandelier?
You can add crystals, ribbons, flowers, or even fairy lights to personalize your chandelier.
Step-by-Step Assembly Process
Embarking on the journey of transforming your old birdcage into a stunning chandelier is both exciting and rewarding. This will guide you through each phase, ensuring that your creation is not only beautiful but also safe and functional. So, roll up your sleeves and let’s dive into the world of DIY magic!
First things first, you need to prepare your workspace. A clean and organized area will make the entire process smoother. Make sure you have all your tools and materials within reach. Think of it like setting the stage for a grand performance; every element has its role to play. Now, let’s break down the assembly into manageable steps.
The initial step involves preparing the birdcage itself. Start by giving it a thorough cleaning. Dust and grime can accumulate over time, and we want your chandelier to shine! Use a mild detergent and warm water, scrubbing gently to avoid damaging the finish. Once it's clean, inspect the birdcage for any broken parts or loose wires. If you find any, make sure to repair or replace them to ensure safety.
Next, it’s time to install the lighting. This is where the magic happens! Depending on your chosen lighting fixture, you may need to create a mounting point inside the birdcage. If you’re using a pendant light, for example, you’ll want to secure it to the top of the cage. Use a drill to make a hole if necessary, and ensure it’s anchored well. Always remember, safety first! If you’re not comfortable with electrical work, consider consulting a professional.
Once your lighting is securely in place, it’s time to add some flair! This is where you can really let your creativity shine. Think about what decorative elements you want to include. You could hang crystals for a touch of elegance, or drape ribbons for a whimsical feel. The key here is to enhance the overall aesthetic of your chandelier while keeping it balanced. Too many decorations can overwhelm the design, so choose wisely!
Finally, it’s time for the last assembly and hanging. Make sure everything is securely fastened and that the wiring is neatly tucked away to prevent any hazards. When you’re ready to hang your chandelier, ensure that the hook or mounting bracket you’re using can support the weight of the birdcage and all its embellishments. It’s like hanging a piece of art; you want it to be secure and well-placed to make the most impact.
As you stand back and admire your work, remember that this chandelier is not just a lighting fixture; it’s a reflection of your creativity and effort. So, take a moment to celebrate your achievement!
- Can I use any type of birdcage for this project? - While you can use various styles, ensure the cage is sturdy and has enough space for the lighting.
- Do I need electrical experience to install the lighting? - Basic knowledge is helpful, but if you're unsure, it's best to consult with a professional electrician.
- How can I personalize my chandelier further? - Consider adding seasonal decorations or changing the lighting color to match your decor.
- Is it safe to use real candles in a birdcage chandelier? - It's not recommended due to fire hazards. Instead, opt for LED candles for a similar effect without the risk.
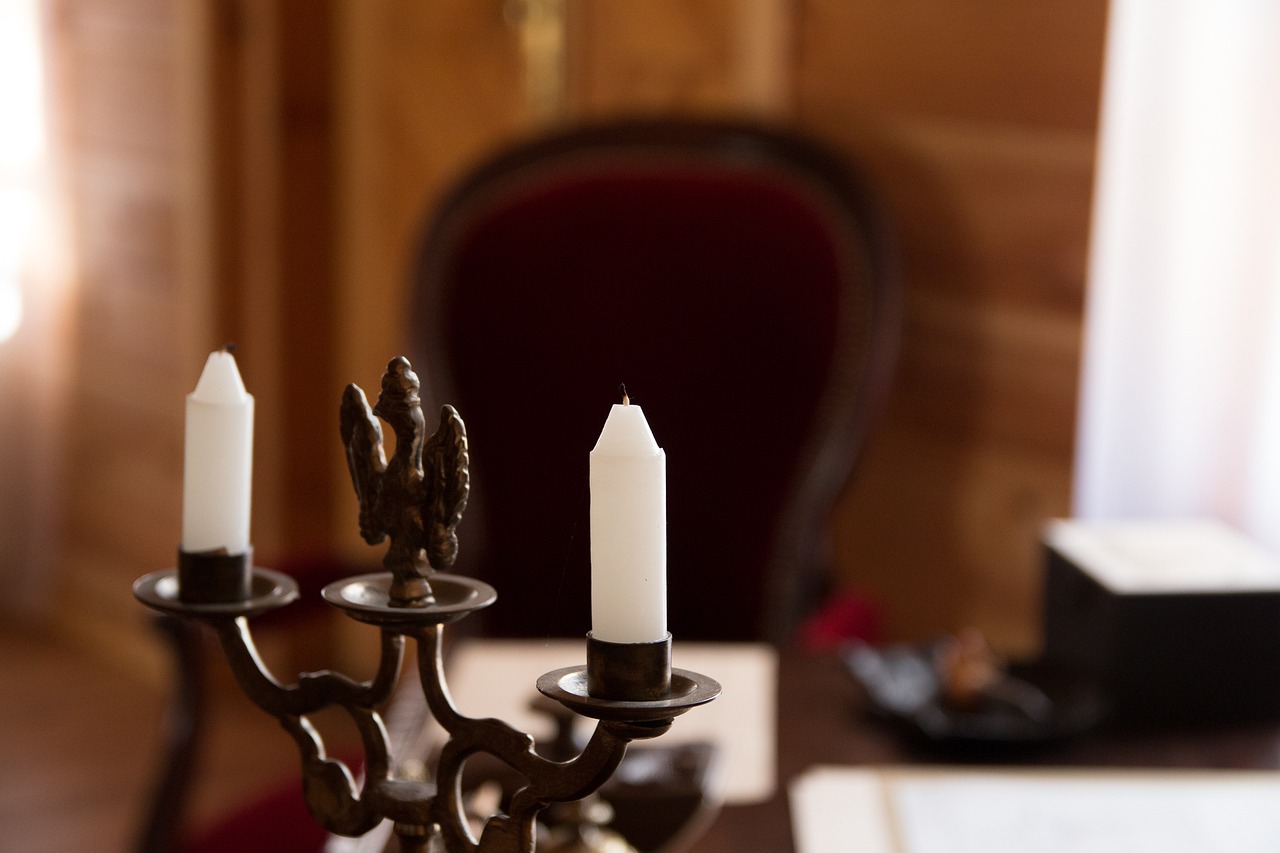
Preparing the Birdcage
Before diving into the exciting world of transforming your old birdcage into a fabulous chandelier, it's essential to prepare your birdcage properly. This step is crucial because a well-prepared birdcage not only ensures safety but also enhances the overall aesthetic of your new lighting fixture. Start by giving your birdcage a thorough cleaning; this will remove any dust, grime, or remnants of its former life. Use a mixture of warm water and mild soap to scrub the surfaces, and don't forget to rinse it well to avoid any soap residue.
Next, inspect the birdcage for any damage. Look for rust, broken bars, or loose hinges. If you notice any significant issues, it might be worth considering a different birdcage or making necessary repairs. For minor rust spots, a little sandpaper or a wire brush can work wonders. Once you've cleaned and repaired your birdcage, it's time to remove any old components that won’t fit into your new design. This could include old perches, feeders, or decorative elements that are no longer relevant.
After you’ve stripped the birdcage down to its essentials, consider the size and shape of your birdcage in relation to the lighting fixtures you plan to install. The lighting should be proportionate to the birdcage; a large, sprawling birdcage might require multiple light sources, while a smaller one could shine with just a single bulb. Don't hesitate to envision how the light will interact with the cage's structure and the space around it.
Finally, think about the color scheme and finish of your birdcage. If it’s looking a bit shabby, a fresh coat of paint can breathe new life into it. Opt for colors that complement your home decor or even go for a bold hue that makes a statement. Once all these preparations are complete, your birdcage will be ready to take on its new role as a stunning chandelier!
Here’s a quick recap of the key steps for preparing your birdcage:
- Thoroughly clean the birdcage with warm soapy water.
- Inspect for any damage and make necessary repairs.
- Remove old components that won't be used in the chandelier.
- Consider the size and lighting requirements.
- Decide on a color scheme or finish if repainting is needed.
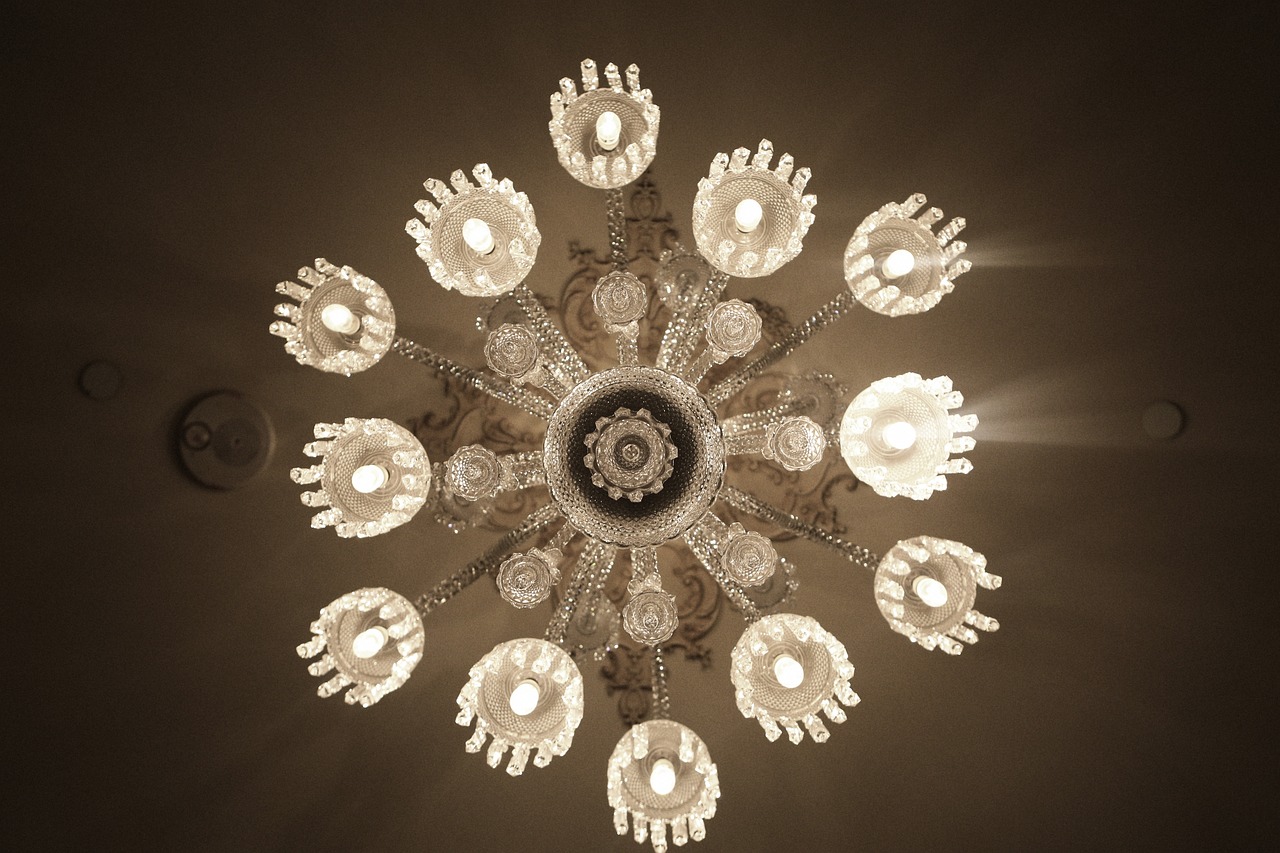
Installing the Lighting
Now that you've prepped your birdcage and gathered all the necessary materials, it’s time to dive into one of the most exciting parts of your project: . This process is not just about functionality; it’s about transforming your birdcage into a stunning centerpiece that will captivate anyone who walks into the room. So, let’s get started!
First, ensure that you have your lighting fixtures ready. Depending on your style preference, you might choose from a variety of options such as pendant lights, string lights, or even vintage bulbs. The type of lighting you select will significantly influence the overall ambiance of your chandelier. For example, warm white bulbs can create a cozy atmosphere, while bright white lights offer a more modern feel. Think about what mood you want to set in your space.
Before you begin the installation, it's essential to safely disconnect any electrical components from your lighting fixtures. If you're using standard bulbs, make sure they are not plugged in. For those using more complex electrical setups, consider consulting a professional electrician to ensure everything is up to code and safe. Safety first, right?
Next, you’ll want to prepare the birdcage for the lighting installation. Start by choosing the ideal spot inside the cage for your light fixture. This could be at the bottom, the center, or even suspended from the top, depending on the design you’re envisioning. If you’re using a pendant light, make sure it hangs low enough to be visually appealing but not so low that it obstructs movement.
Once you've decided on the placement, it’s time to securely attach the light fixture. For most fixtures, you’ll need to use the mounting hardware provided. Here’s a quick rundown of the steps:
- Drill holes in the cage where the light fixture will be attached, ensuring they align with the mounting bracket.
- Insert screws through the mounting bracket and into the drilled holes, tightening them securely.
- Connect the wiring from the light fixture to the electrical source, following the manufacturer’s instructions carefully.
After the fixture is mounted and wired, it’s time to test the lights. Before you close up everything, plug in your chandelier and switch on the lights to ensure everything is functioning correctly. This moment can be incredibly rewarding—seeing your vision come to life is what it’s all about!
Finally, if you're looking to add a touch of flair, consider incorporating dimmer switches or smart bulbs that allow you to adjust the brightness. This flexibility can help you set the perfect mood for any occasion, whether it’s a cozy dinner or a lively gathering with friends.
In conclusion, installing the lighting in your repurposed birdcage chandelier is a pivotal step in creating a unique piece of decor. By following these steps and taking your time, you’ll not only ensure safety but also enhance the beauty of your creation. So, grab your tools, get creative, and let your imagination soar!
Q: Can I use any type of light bulb with my birdcage chandelier?
A: It’s best to use LED or incandescent bulbs that are compatible with your fixture. Make sure to check the wattage to avoid overheating.
Q: How do I hang my birdcage chandelier safely?
A: Ensure that the mounting hardware is securely fastened to the ceiling. If you’re unsure, it’s wise to consult a professional for installation.
Q: Can I customize the look of my lighting fixture?
A: Absolutely! Feel free to paint or embellish your light fixture to match the style of your birdcage and your home decor.
Finishing Touches and Decor
Once you’ve successfully assembled your birdcage chandelier, it’s time to dive into the fun part: the finishing touches and decor! This is where your creativity truly shines, allowing you to personalize your new light fixture and make it a stunning centerpiece in your home. Think of this stage as the icing on the cake; it not only enhances the beauty of your chandelier but also reflects your unique style and personality.
One of the easiest ways to elevate the visual impact of your chandelier is by adding decorative elements. You might consider incorporating items like crystals, which can catch the light beautifully and add a touch of elegance. Imagine how the sunlight or soft evening glow would dance through those glimmering pieces! Alternatively, ribbons can bring a whimsical touch, especially if you choose colors that complement your room’s palette. You could even use faux flowers or greenery to create a nature-inspired look, making your chandelier feel fresh and inviting.
As you think about these embellishments, it’s essential to consider the overall theme of your space. For example, if your home has a vintage or rustic vibe, opt for elements that resonate with that aesthetic, such as burlap ribbons or antique-looking crystals. On the other hand, if you prefer a modern style, sleek metallic accents or geometric shapes can work wonders. The key is to create a harmonious blend between your chandelier and its surroundings, making it feel like a natural part of your home.
When it comes to the final assembly, ensure that all decorative elements are securely attached. You wouldn’t want a beautiful chandelier to become a hazard! Use hot glue for lighter decorations, and for heavier items, consider using fishing line or wire to hang them securely. This way, not only will your chandelier look fabulous, but it will also remain safe and stable.
Finally, once your chandelier is adorned to your liking, it’s time to hang it in its designated spot. Make sure you have the right tools and that you follow safety protocols to ensure it’s mounted securely. This is your moment to step back and admire your handiwork. When you see it glowing in the evening light, you’ll know that all the effort was worth it!
Q: Can I use a birdcage that has been painted or has a lot of wear and tear?
A: Absolutely! A vintage or distressed look can add character to your chandelier. Just ensure that any paint used is safe for indoor use and that the structure is still sound.
Q: What type of light bulbs should I use for my birdcage chandelier?
A: LED bulbs are highly recommended as they are energy-efficient and come in various styles, including warm white, which can create a cozy ambiance.
Q: How do I clean my birdcage chandelier once it’s finished?
A: Gently dust it with a soft cloth. For deeper cleaning, you can use a damp cloth with mild soap, but be careful not to get any electrical components wet.
Q: Is it safe to hang a birdcage chandelier in a bathroom?
A: While it’s possible, ensure that it is properly sealed and that the electrical components are moisture-resistant to avoid any safety hazards.
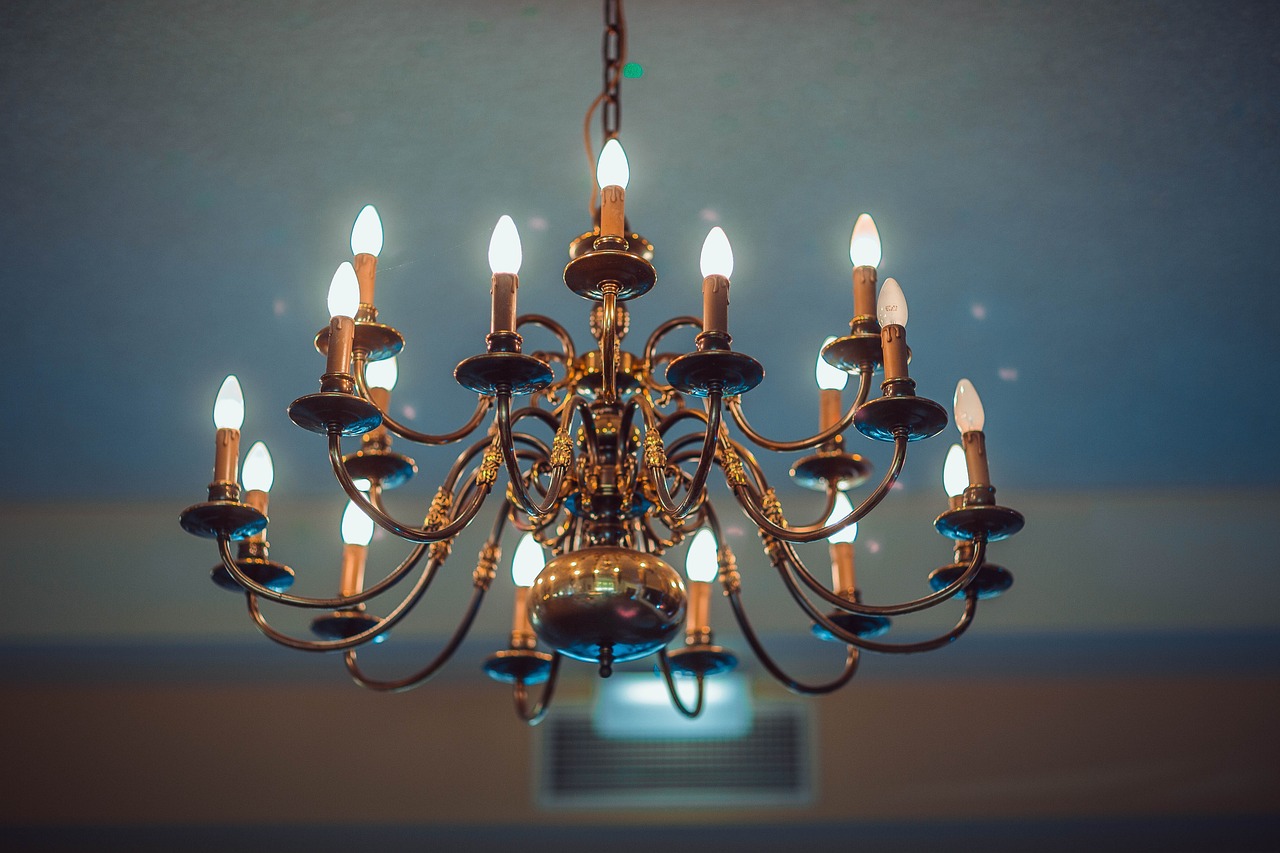
Adding Decorative Elements
Once you have your birdcage chandelier assembled, it's time to let your creativity shine by adding decorative elements that will transform it into a stunning focal point in your home. Think of this as the icing on the cake; it’s what will make your chandelier not just functional but also a true work of art. You can incorporate a variety of embellishments to enhance its charm and reflect your personal style.
One popular option is to use crystals. Hanging crystals can catch the light beautifully, creating a mesmerizing effect that dances around the room. You can find strings of crystal beads or individual pendants at craft stores. Simply attach these to the lower sections of the birdcage using wire or fishing line for a delicate, elegant touch. Imagine how they will sparkle when the light hits them, casting enchanting reflections!
Another idea is to incorporate ribbons or fabric. Choose colors and patterns that complement your existing decor. You might wrap the cage in soft, flowing ribbons or drape fabric from the top, allowing it to cascade down. This not only adds texture but also creates a cozy, inviting atmosphere. Think of it like dressing your chandelier in a beautiful gown that enhances its overall appeal.
For a more natural look, consider adding flowers—either real or artificial. Fresh flowers can bring a vibrant, organic feel, while faux flowers are a great low-maintenance option. You can attach small bouquets to the sides or hang them from the top. Imagine a cascade of blooms framing your chandelier, creating a whimsical garden effect that draws the eye.
Don’t forget about lighting accessories as well! Colored light bulbs or decorative shades can transform the ambiance of your chandelier. You might opt for soft white bulbs for a warm glow, or go bold with colored bulbs to create a festive atmosphere. It’s like choosing the perfect outfit for a special occasion—lighting can completely change the mood of the space.
Finally, to tie everything together, consider using a thematic approach. If your home has a specific style—like vintage, bohemian, or modern—select decorative elements that align with that theme. This will create a cohesive look that feels intentional and stylish. Remember, your chandelier is not just a light fixture; it's an expression of your personality and taste.
In summary, adding decorative elements to your birdcage chandelier is where you can truly let your imagination run wild. Whether you choose crystals, ribbons, flowers, or unique lighting options, the goal is to create a piece that not only illuminates your space but also tells a story about who you are. So gather your materials, put on your creative hat, and get ready to make your chandelier a show-stopping centerpiece!
- Can I use real flowers in my birdcage chandelier? Yes, you can use real flowers, but remember they require maintenance. If you prefer low-maintenance options, consider using artificial flowers.
- What type of light bulbs should I use? You can use LED bulbs, which are energy-efficient and come in various colors. Choose bulbs that suit the ambiance you want to create.
- How do I ensure my chandelier is safe to hang? Make sure all components are securely attached, and use appropriate hardware to hang it. If you're unsure, consult a professional.
- Can I change the decorations seasonally? Absolutely! Changing decorations with the seasons can keep your chandelier looking fresh and in tune with your home decor.

Final Assembly and Hanging
Once you’ve added all the decorative elements to your birdcage chandelier, it’s time to focus on the final assembly and hanging process. This is where your creation truly comes to life, and it’s crucial to ensure everything is securely in place. First, double-check that all the lighting fixtures are properly installed and that any electrical connections are safe and functional. Remember, this isn’t just about aesthetics; safety should always come first!
Before you hang your masterpiece, take a moment to decide on the perfect location. Consider where the light will shine the brightest and how it will complement the existing decor in your space. Whether you choose to hang it over a dining table, in a cozy reading nook, or as a statement piece in your entryway, the placement will significantly affect the ambiance.
When you’re ready to hang your chandelier, you’ll need to follow a few important steps. Here’s a quick overview:
- Secure Hanging Hardware: Ensure that you have the right hardware for the weight of your chandelier. Heavy-duty hooks or ceiling anchors are essential for stability.
- Measure the Height: Decide how low you want your chandelier to hang. A good rule of thumb is to keep it about 30-36 inches above a dining table or 7 feet from the floor in other areas.
- Connect the Wiring: If your chandelier has electrical components, carefully connect the wiring to the ceiling fixture, following the manufacturer's instructions to avoid any electrical hazards.
- Test the Stability: Once hung, gently tug on the chandelier to ensure it is firmly secured. You don’t want it swaying or, worse, falling!
After hanging, step back and admire your work! Adjust any decorative elements that may have shifted during the installation process. This is your chance to fine-tune the look until it perfectly matches your vision.
Finally, don’t forget to turn on the lights! Watch as your repurposed birdcage transforms the room, casting beautiful shadows and creating a warm, inviting atmosphere. It’s not just a chandelier; it’s a conversation starter and a testament to your creativity and resourcefulness.
Here are some common questions you might have as you embark on your birdcage chandelier project:
- Can I use any type of birdcage for this project? While you can use various styles, ensure the cage is sturdy enough to hold the lighting fixtures and any decorative elements.
- What type of light bulbs should I use? LED bulbs are a great choice as they are energy-efficient and produce less heat, making them safer for your design.
- How can I ensure the chandelier is safe to use? Always check the electrical components and connections before hanging. If you’re unsure, consult a professional electrician.
- Can I customize my birdcage chandelier further? Absolutely! Feel free to add personal touches like paint, crystals, or themed decorations that reflect your style.
Frequently Asked Questions
- What type of birdcage is best for making a chandelier?
When selecting a birdcage for your chandelier, consider its size, style, and condition. A larger cage allows for more creative lighting arrangements, while a vintage or ornate design can add character. Make sure it's in good shape to ensure safety and durability.
- What tools do I need to create a birdcage chandelier?
You’ll need some essential tools for this project, including pliers, wire cutters, a drill, and possibly a wrench. These tools will help you assemble your chandelier safely and effectively, making the process smoother and more enjoyable.
- Do I need special lighting fixtures for my birdcage chandelier?
Yes, choosing the right lighting fixtures is crucial. You can opt for pendant lights, string lights, or even LED candles, depending on the vibe you want to create. Just ensure that the fixtures fit well within the cage and complement its design.
- How do I safely install the lighting inside the birdcage?
To install the lighting safely, first, ensure the birdcage is clean and free of any old components. Then, securely attach the lighting fixtures using appropriate wiring techniques. Always double-check connections and consider consulting an electrician if you're unsure about any electrical work.
- What decorative elements can I add to my chandelier?
You can personalize your chandelier with a variety of decorative elements! Think crystals, ribbons, faux flowers, or even feathers. These embellishments can enhance the overall aesthetic and truly make your chandelier a reflection of your personal style.
- How do I hang my finished birdcage chandelier?
For hanging your chandelier, use sturdy chains or hooks that can support its weight. Ensure it’s securely fastened to the ceiling and check that it's level. Safety is key, so make sure it’s stable before stepping back to admire your handiwork!


