Fun Repurposing Projects to Do With Kids
In a world where sustainability is becoming increasingly important, engaging children in creative repurposing projects can be an exciting way to teach them about the value of recycling and creativity. Not only do these projects provide a platform for artistic expression, but they also foster a deeper connection with the environment. Imagine transforming everyday items that would otherwise end up in the landfill into something beautiful and functional! These hands-on activities can spark joy and curiosity in kids while imparting valuable lessons about resourcefulness and environmental stewardship. So, roll up your sleeves, gather some materials, and get ready for a fun-filled adventure that will leave lasting memories!
Transforming plastic bottles into bird feeders is a simple and engaging project that teaches kids about wildlife while promoting recycling. It’s a great way to connect with nature. All you need is an empty plastic bottle, some twine, and birdseed. Start by rinsing the bottle and removing the label. Next, use scissors to create a few small holes in the sides of the bottle, ensuring they're just big enough for the birds to access the seeds. Thread the twine through the top, hang it from a tree branch, and watch as feathered friends flock to your creation. This project not only helps kids learn about different bird species but also encourages them to observe and appreciate nature in their own backyard.
Turning old t-shirts into tote bags is a fun sewing project that helps kids learn basic stitching skills. It’s practical and helps reduce textile waste in a creative way. To get started, choose a t-shirt that’s no longer being worn. Cut off the sleeves and neckline, then turn the shirt inside out. Have your child sew the bottom hem closed, and voilà! They’ve created a unique tote bag that they can use for shopping or carrying their favorite books. This project not only teaches valuable sewing skills but also emphasizes the importance of reusing materials instead of discarding them.
Repurposing tin cans into colorful planters is an easy craft that allows kids to explore gardening. This project encourages responsibility as they care for their plants. Start by collecting empty tin cans, removing the labels, and cleaning them thoroughly. Next, let your kids paint or decorate the cans to give them a personal touch. Once dry, poke a few holes in the bottom for drainage, fill them with soil, and plant seeds or small plants. Watching their plants grow will instill a sense of accomplishment and teach them about nurturing living things.
Using cardboard to create personalized picture frames is a budget-friendly project that sparks creativity. Kids can decorate their frames, making it a perfect gift idea for family and friends. Gather some sturdy cardboard, scissors, and decorative materials like paint, markers, or stickers. Cut the cardboard into the desired frame shape, ensuring there's a space for the photo. Once they’ve decorated their frames, they can proudly display their favorite memories. This activity not only boosts creativity but also encourages kids to think about the people they care about.
Constructing a birdhouse from recycled wood is an exciting woodworking project that teaches kids about building and nature. It’s a hands-on experience that fosters teamwork and problem-solving skills. Gather some scrap wood, nails, and a hammer (with adult supervision, of course!). Help your kids design their birdhouse, considering factors like size and shape. Once assembled, they can paint or decorate it before hanging it in the yard. This project not only provides a safe haven for birds but also gives kids a sense of pride in their craftsmanship.
Creating jewelry from old buttons is a delightful project that encourages creativity in kids. They can design unique pieces that express their personality while learning about upcycling. Collect a variety of buttons and some basic jewelry-making supplies like string or wire. Encourage your children to mix and match different colors and sizes to create necklaces, bracelets, or even hair accessories. This activity not only results in beautiful, one-of-a-kind jewelry but also teaches kids the value of reusing materials creatively.
Using scrap paper for art projects allows kids to unleash their imagination. This project promotes resourcefulness and can lead to beautiful, one-of-a-kind creations that can be displayed proudly. Gather old magazines, wrapping paper, or any scrap paper lying around. Encourage your kids to cut, tear, and glue pieces together to create collages or mixed-media art. This project not only fosters creativity but also teaches children about the importance of reusing materials instead of throwing them away.
Repurposing glass jars into decorative lanterns is a charming project that adds ambiance to any space. Kids will love decorating the jars and seeing their creations light up the night. Start with clean, empty glass jars and let your kids paint or decorate them with stickers, ribbons, or even colored tissue paper. Once decorated, place a candle or LED light inside, and watch as their creations illuminate the darkness. This project not only beautifies their surroundings but also encourages creativity and imagination.
Q: What materials do I need for these projects?
A: Most of these projects use everyday items like plastic bottles, old clothes, tin cans, and scrap paper. You can also gather basic craft supplies like scissors, glue, and paint.
Q: Are these projects safe for kids?
A: Yes, with proper supervision, these projects are safe for kids. Always ensure that they use child-friendly tools and materials.
Q: How can I encourage my kids to be more creative?
A: Give them the freedom to express themselves! Provide a variety of materials and let them explore their ideas without restrictions.
Creating Bird Feeders from Plastic Bottles
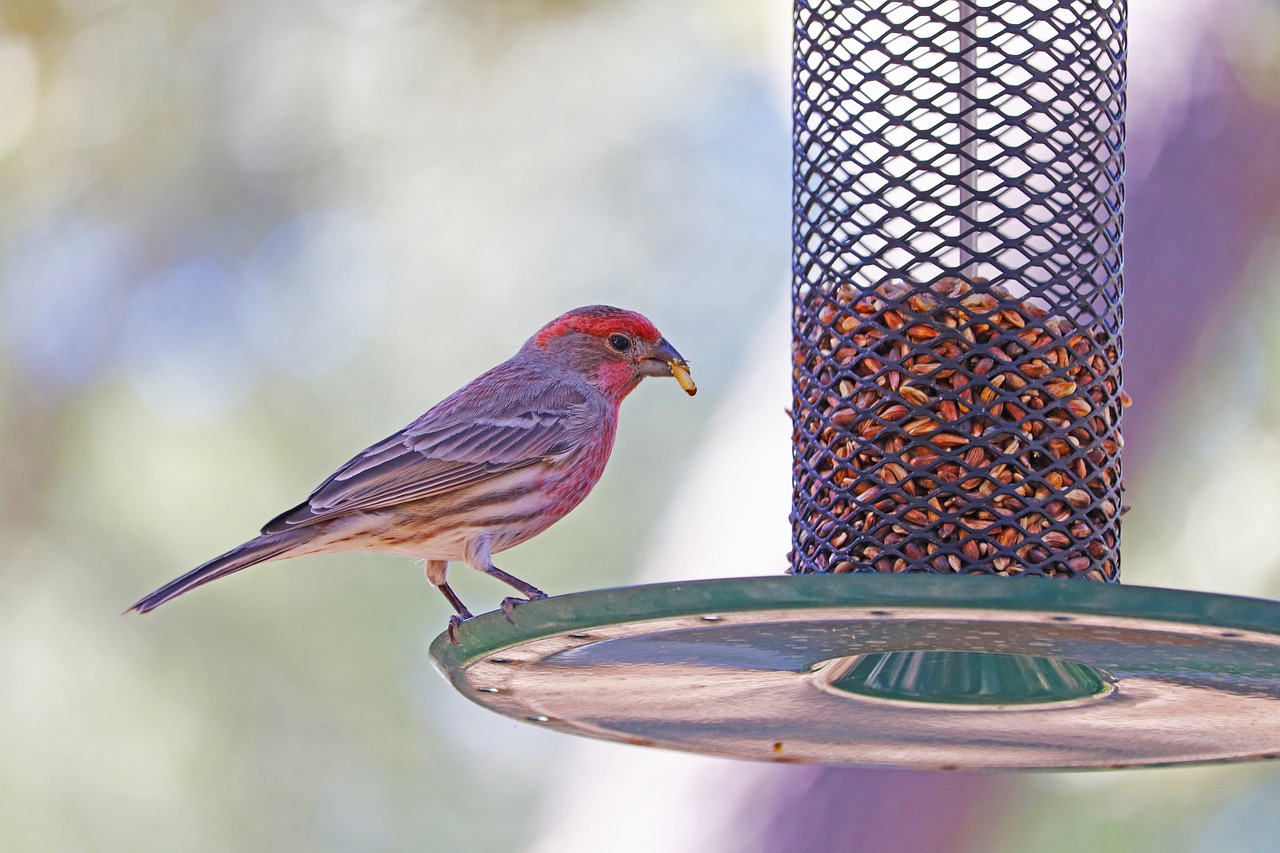
Transforming plastic bottles into bird feeders is not just a fun project; it’s a fantastic way to engage kids with nature and teach them about wildlife conservation. Imagine this: you’re sitting in your backyard, the sun is shining, and your children are busy crafting something that will not only provide food for our feathered friends but also help reduce waste. It’s like hitting two birds with one stone—pun intended!
To kick off this project, gather a few empty plastic bottles, some string, and birdseed. The beauty of this craft lies in its simplicity. Start by rinsing the bottles to ensure they are clean, then carefully cut a few holes into the sides of the bottles. These holes will serve as feeding ports where the birds can access the seeds. It’s essential to make them just the right size—too big, and the seeds will spill out; too small, and the birds won’t be able to reach them.
Once the holes are ready, it’s time to decorate! This is where your kids can let their creativity shine. They can paint the bottles, wrap them in colorful yarn, or even stick on some fun stickers. This step not only makes the feeders visually appealing but also allows children to express their artistic flair. After decorating, fill the bottom of the bottle with birdseed, and secure the top with a piece of string or twine to hang it from a tree branch or a hook in the garden.
As the bird feeders start to attract local birds, your children will be thrilled to watch them come and go. This project is more than just a craft; it’s a gateway to learning about different bird species, their habits, and the importance of providing food for them, especially during harsh weather conditions. You can even turn this into a fun educational session by researching the birds that visit your feeder and keeping a journal of your observations.
Additionally, this project can spark conversations about sustainability and the impact of plastic waste on our environment. By repurposing plastic bottles, you’re teaching your kids that they can play a part in protecting our planet. It’s a small step, but every little bit counts!
In conclusion, creating bird feeders from plastic bottles is a delightful and educational experience for kids. It combines creativity, nature appreciation, and environmental consciousness into one engaging activity. So, gather those bottles and let the crafting begin!
- What types of birds will come to the feeders? Different birds are attracted to various types of seeds. Common visitors include finches, sparrows, and chickadees.
- How can we keep the feeders clean? Regularly empty the feeders, wash them with warm, soapy water, and rinse thoroughly to prevent mold and bacteria.
- Can we use other materials besides plastic bottles? Absolutely! You can also use milk jugs, tin cans, or even wooden boxes to create unique bird feeders.

Upcycling Old T-Shirts into Tote Bags
Turning old t-shirts into tote bags is not just a fun and creative project; it’s also a fantastic way to teach kids about sustainability and the importance of reducing waste. Have you ever looked at a pile of old shirts and thought, "What can I do with these?" Well, this project is the perfect answer! Not only does it breathe new life into garments that might otherwise end up in a landfill, but it also gives children a chance to learn basic sewing skills. Imagine the pride on their faces when they see their very own tote bag made from something they once wore!
The process is surprisingly simple and requires minimal materials, making it accessible for families. All you need is an old t-shirt, a pair of scissors, and a little bit of creativity. First, gather those old tees that your kids have outgrown or that have seen better days. You can even let them choose their favorite designs, which adds a personal touch to the project. Once you have your t-shirts ready, follow these steps:
- Cut off the sleeves: This will create the straps of your tote bag.
- Cut the neckline: Make it wider so that the bag can hold items comfortably.
- Turn the shirt inside out: This way, any seams will be hidden.
- Make a knot: Tie the bottom of the shirt together or sew it closed to create the base of the bag.
Once you’ve completed these steps, encourage your kids to decorate their bags! They can use fabric markers, paint, or even sew on patches to personalize their creations. This is where their imagination can really shine. The best part? Each tote bag is unique, just like the child who made it!
Not only do these tote bags serve a practical purpose, but they also open up conversations about environmental responsibility. By transforming old clothing into something useful, kids learn that they can make a difference, no matter how small their actions may seem. Plus, these bags can be used for shopping, carrying books, or even as a fun accessory for their outings. It’s a win-win situation!
Incorporating this project into your family activities not only fosters creativity but also strengthens bonds as you work together. So, the next time you find yourself with a stack of old t-shirts, remember that they have the potential to become something amazing. Grab those scissors, unleash your creativity, and start upcycling!
Q: Can I use any type of t-shirt for this project?
A: Absolutely! You can use cotton t-shirts, polyester blends, or even those oversized tees that no longer fit. Just make sure they are clean and free of any major damage.
Q: Do I need to sew the bottom of the bag?
A: Sewing is not necessary; you can simply tie a knot at the bottom. However, sewing it closed will provide extra durability if you plan to carry heavier items.
Q: Can younger kids participate in this project?
A: Yes! Younger kids can help with cutting the sleeves and neckline, while older kids can take on the sewing or knotting tasks. It’s a great way to encourage teamwork!
Q: How can I wash the tote bags after they are made?
A: You can wash them in cold water and hang them to dry. Just be sure to avoid using bleach to preserve the designs!

Making Planters from Tin Cans
Turning old tin cans into colorful planters is not just a fun craft; it's a wonderful opportunity for kids to dive into the world of gardening and learn about responsibility. Imagine the excitement on their faces as they transform something that would typically end up in the trash into a vibrant home for plants! This project is incredibly easy to do and requires minimal materials, making it perfect for a weekend activity.
First, gather your supplies. You'll need:
- Empty tin cans (like soup or coffee cans)
- Paint (acrylic works best)
- Paintbrushes
- Soil
- Seeds or small plants
- Water
Once you have everything ready, start by rinsing the cans thoroughly to remove any residue. This is a great chance to teach kids about cleanliness and preparation. After drying, let the kids unleash their creativity by painting the cans. They can use bright colors or even create designs like flowers, polka dots, or stripes. This artistic expression not only makes the planters look fantastic but also gives children a sense of ownership over their creations.
After the paint has dried, it’s time to add drainage holes. This step is crucial because it prevents water from pooling at the bottom of the can, which can lead to root rot. Using a hammer and a nail, let the kids carefully poke a few holes in the bottom of each can. Safety first, though! Always supervise this part to ensure they are careful.
Now comes the fun part—filling the cans with soil and planting! Kids can learn about the different types of plants that thrive in small spaces, such as herbs or flowers. Encourage them to plant seeds or small seedlings and explain how to care for them. Watering, sunlight, and patience are essential ingredients for growth, and this project is a fantastic way to instill these values in young minds.
As the plants start to grow, kids can observe the changes and learn about the life cycle of plants. They’ll feel a sense of accomplishment as they nurture their little garden and watch it flourish. Plus, these tin can planters can be placed in various spots around the house or garden, adding a splash of color and a touch of nature to any environment.
In summary, making planters from tin cans is not just about crafting; it’s an educational experience that combines art, science, and environmental consciousness. It teaches children the importance of recycling while allowing them to express their creativity. So gather those old cans, roll up your sleeves, and get ready for a fun-filled day of planting!
Q: Can we use any type of tin can for this project?
A: Yes, you can use any clean, empty tin can. Just ensure it’s not too sharp around the edges after opening.
Q: What types of plants are best for tin can planters?
A: Small plants or herbs like basil, mint, or marigolds work well. They don't require too much space and thrive in smaller containers.
Q: How often should we water the plants in the tin cans?
A: It depends on the plant type, but generally, you should water when the soil feels dry to the touch. Always check first!
Q: Can we decorate the cans with materials other than paint?
A: Absolutely! You can use washi tape, stickers, or even decoupage with colorful paper to personalize your planters.
Crafting Picture Frames from Cardboard
Crafting picture frames from cardboard is not just an entertaining activity; it's a fantastic way to unleash your child's creativity while also teaching them the importance of recycling. Imagine transforming a simple piece of cardboard into a beautiful frame that can hold cherished memories! This project is incredibly easy and requires minimal materials, making it perfect for a fun afternoon at home or a creative weekend project.
To start, gather some materials. You'll need:
- Used cardboard (think cereal boxes or shipping boxes)
- Scissors
- Glue or tape
- Paint, markers, or decorative paper for embellishments
- A ruler and pencil for measurements
Begin by measuring and cutting out the cardboard. You can create any size frame you'd like, but a classic 4x6 inch frame is a great starting point. Cut out two identical rectangles for the front and back of the frame, and then cut a smaller rectangle out of the front piece to create the opening for the picture. This is where the fun begins! Encourage your kids to decorate the frame with paint, glitter, or even stickers. The more personalized, the better!
Once the decorations are dry, it’s time to assemble the frame. Use glue or tape to attach the back piece to the front, ensuring that the picture fits snugly in the opening. This part of the project allows kids to practice their fine motor skills and learn about following instructions. Plus, it’s a great opportunity to discuss teamwork and how working together can lead to beautiful outcomes.
After the frame is assembled, let your kids choose their favorite photos to display. This can lead to discussions about family memories or favorite moments captured in time. Not only does this project promote artistic expression, but it also helps children appreciate the value of memories and the stories behind the pictures. You can even take it a step further by making a gallery wall in their room, showcasing their artwork and favorite photos!
In the end, crafting picture frames from cardboard is not just about creating something beautiful; it's about spending quality time together, fostering creativity, and encouraging sustainability. Plus, every time you see that frame hanging on the wall, it will serve as a reminder of the fun you had while making it. So, gather those cardboard boxes, unleash your inner artist, and start crafting!
Q: What other materials can we use to decorate the frames?
A: You can use a variety of materials such as fabric scraps, old magazines for collaging, buttons, or even natural materials like leaves and twigs for a rustic touch!
Q: Can we make different shapes of frames?
A: Absolutely! Feel free to get creative with shapes. Instead of rectangles, try circles, hearts, or even stars. The sky's the limit!
Q: How can we hang the frames on the wall?
A: You can attach a small piece of string or ribbon to the back of the frame for hanging, or use adhesive hooks. Just make sure it’s secure so it can hold the weight of the frame.
Q: What age group is this project suitable for?
A: This project is great for kids of all ages! Younger children may need more assistance with cutting and assembling, while older kids can take the lead and add more intricate designs.
Building a Birdhouse from Recycled Wood
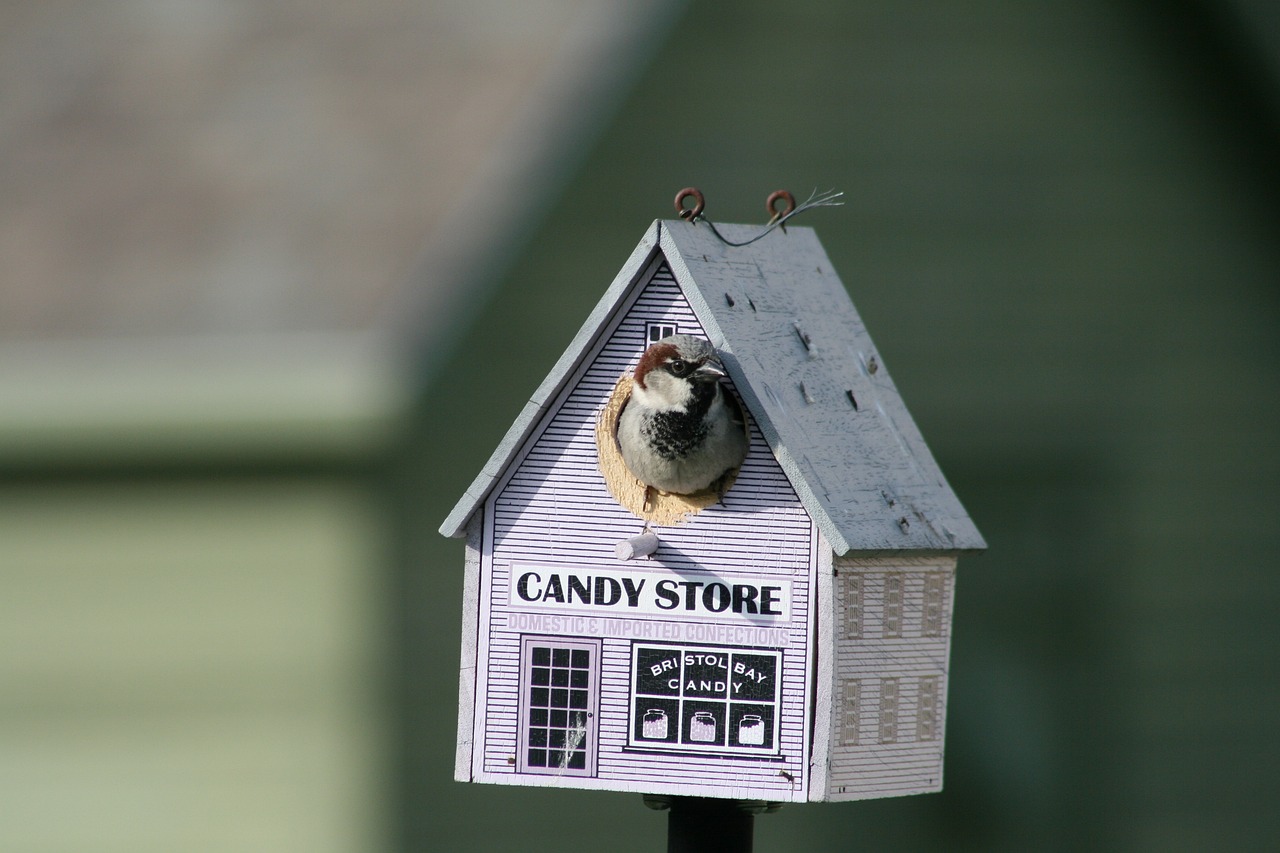
Building a birdhouse from recycled wood is not just a fun project; it’s a fantastic way to engage children with the beauty of nature while teaching them valuable skills. Imagine the excitement on their faces as they watch their very own birdhouse come to life! This project combines creativity with a hands-on approach to learning, making it an ideal activity for families looking to bond and create lasting memories.
Before diving into the construction, it’s essential to gather the right materials. You can use old pallets, scrap wood from previous projects, or even leftover pieces from a renovation. The beauty of using recycled wood is that it often comes with its own character—unique textures and colors that can add charm to the finished product. Here’s a quick list of materials you might need:
- Recycled wood (like pallets or leftover boards)
- Wood screws or nails
- Wood glue
- Sandpaper
- Non-toxic paint or wood stain (optional)
- Drill and saw
Once you have your materials ready, it’s time to start building! Begin by designing your birdhouse. You can sketch a simple blueprint with your kids, discussing how big you want it to be and what shape it should take. This is a great opportunity to teach them about measurements and planning. For example, a basic birdhouse design could include a square base, four walls, and a sloped roof. Here’s a simple breakdown of the steps involved:
- Cut the wood pieces according to your design. Make sure to supervise the use of saws and drills closely.
- Assemble the walls and attach them to the base using screws or nails. Wood glue can also provide extra stability.
- Create an entrance hole. This is where the birds will come in, so make sure it’s the right size for the type of birds you want to attract.
- Add a roof to protect the birds from the elements.
- Sand down any rough edges to ensure safety for the birds.
- If desired, paint or decorate the birdhouse to make it visually appealing.
- Finally, find a suitable location to hang or place your birdhouse, ideally in a sheltered area away from predators.
Not only does this project foster creativity and teamwork, but it also teaches children about responsibility. Once the birdhouse is up, they can take turns monitoring it, observing the birds that come to visit, and learning about different species. This hands-on experience is invaluable, as it encourages curiosity and respect for wildlife.
In addition, building a birdhouse from recycled materials is an excellent lesson in sustainability. Children will understand the importance of reusing and recycling, which can inspire them to think critically about their own consumption habits. Plus, they get to enjoy the fruits of their labor as they watch birds make their new home in the birdhouse they built together!
So gather your materials, roll up your sleeves, and get ready to embark on an adventure that’s both educational and incredibly rewarding. Who knows? You might even inspire a lifelong love for woodworking and nature in your little ones!
Q: What types of wood are best for building a birdhouse?
A: Recycled wood such as cedar, pine, or plywood are great options. Avoid treated wood, as it can be harmful to birds.
Q: How can we attract birds to our birdhouse?
A: Place the birdhouse in a quiet, sheltered area and ensure it has the right entrance hole size for the bird species you want to attract.
Q: Is there a specific time of year to build a birdhouse?
A: Spring is ideal for building birdhouses, as many birds are looking for nesting sites during this season.
Q: Can we decorate the birdhouse?
A: Absolutely! Use non-toxic paints or natural finishes to decorate your birdhouse. Just ensure the decorations don’t interfere with the functionality or safety of the house.

Designing Jewelry from Old Buttons
Have you ever looked at a pile of old buttons and thought, “What on earth can I do with these?” Well, let me tell you, those seemingly useless little pieces can be transformed into stunning jewelry that not only looks fabulous but also tells a story. Designing jewelry from old buttons is a fantastic project that engages kids' creativity and teaches them about upcycling in a fun and interactive way. Imagine the joy on their faces when they wear something they made with their own hands!
To get started, you’ll need some basic supplies: a collection of old buttons (the more colorful, the better!), some elastic string or wire, a pair of scissors, and perhaps a few beads for added flair. The beauty of this project is that it requires minimal tools and can be done right at your kitchen table. Plus, it’s a wonderful opportunity to bond with your children as you share stories about where each button came from. Was it from a favorite jacket? A grandmother's dress? Each button can spark a memory, making the jewelry even more special.
Once you have your buttons ready, it’s time to unleash the creativity! Kids can start by laying out their buttons in different arrangements to see what they like best. This part is all about experimenting. Encourage them to think outside the box—mixing sizes, colors, and shapes can lead to unique designs. For example, a large button can serve as a stunning centerpiece for a necklace, while smaller buttons can be used to create matching earrings or bracelets. The possibilities are endless!
After they’ve settled on a design, it’s time to assemble the jewelry. If you’re using elastic string, simply thread the buttons onto the string, tying knots between each button to keep them in place. For a more permanent piece, you might consider using jewelry wire and crimp beads to secure the buttons. The kids will love seeing their creations come to life, and they’ll be so proud to wear or gift their handmade jewelry.
Not only does this project promote creativity, but it also teaches valuable lessons about sustainability. By repurposing old buttons, kids learn the importance of reducing waste and finding new uses for items that might otherwise be discarded. It’s a gentle reminder that beauty can be found in the most unexpected places, turning what was once considered trash into treasure.
As a bonus, you can turn this activity into a small business venture! Encourage your kids to create several pieces and host a mini jewelry sale for family and friends. This not only boosts their confidence but also introduces them to the basics of entrepreneurship. Imagine them explaining their creations and the stories behind each button to potential buyers—it’s a win-win!
- What types of buttons work best for jewelry making? It's best to use a variety of buttons in different sizes and colors. Vintage buttons, plastic buttons, and even wooden ones can create unique looks.
- Can I use other materials along with buttons? Absolutely! Incorporating beads, charms, or even fabric can enhance the design and add more personality to the jewelry.
- Is this project suitable for all ages? Yes! Younger kids may need some assistance with threading and cutting, but older kids can take the lead and get creative on their own.
- How do I care for the finished jewelry? Store the jewelry in a cool, dry place, and avoid exposing it to moisture to keep it looking its best.
Making Art with Scrap Paper
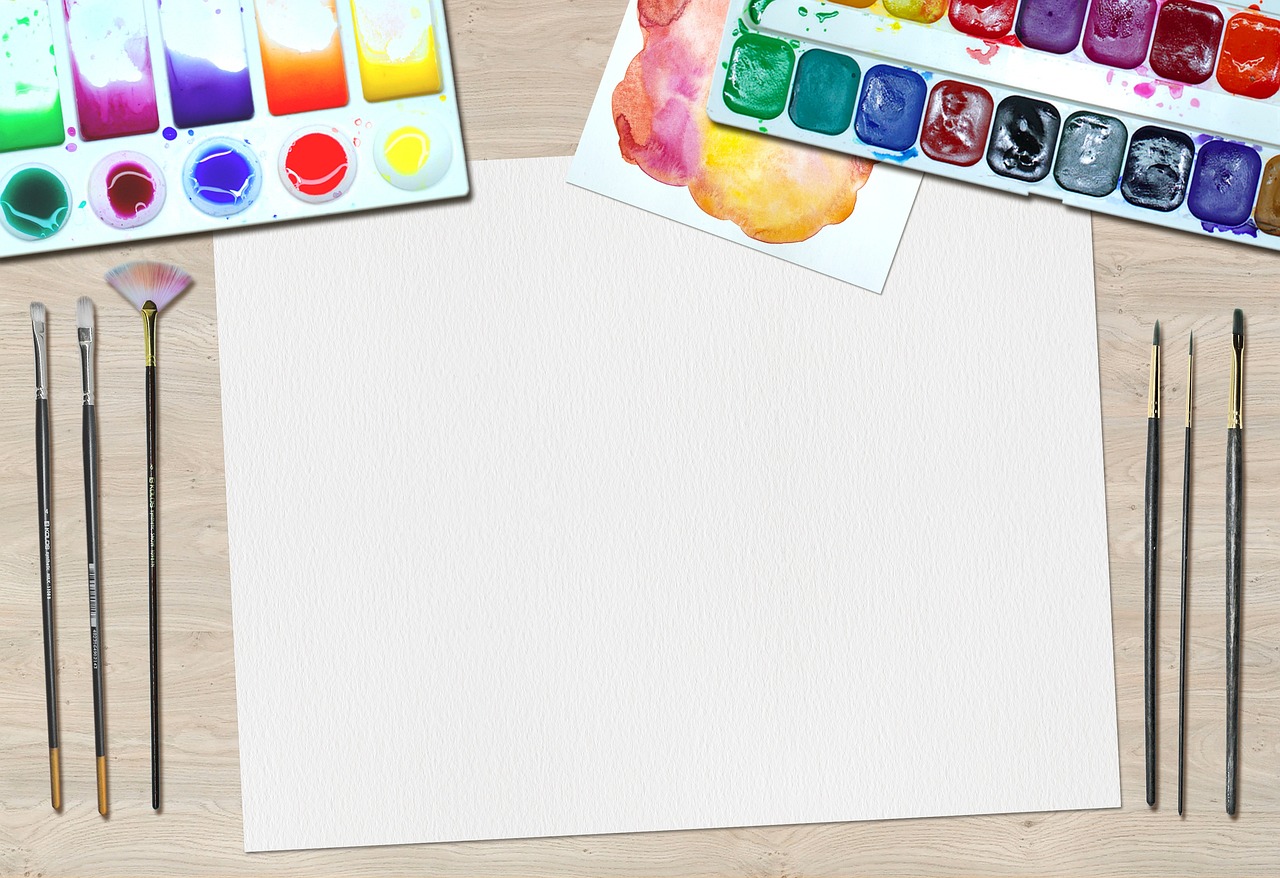
Have you ever looked at a pile of scrap paper and thought, "What on earth can I do with that?" Well, let me tell you, the possibilities are as endless as your imagination! Making art with scrap paper is not just a fun activity; it's a fantastic way for kids to express their creativity while learning the value of reusing materials. Imagine transforming what would typically end up in the recycling bin into vibrant masterpieces! It’s like giving a second life to something that might otherwise be forgotten.
To kick off this creative journey, gather your scraps! You can use old magazines, wrapping paper, leftover craft paper, or even pages from coloring books that your kids have long abandoned. The beauty of scrap paper art is that it encourages children to think outside the box. Instead of seeing a piece of paper as just that, they begin to see it as a canvas for their ideas. They can cut, tear, fold, and layer the paper to create unique collages, greeting cards, or even 3D sculptures!
Here’s a fun idea: why not set up a mini art station? You can create a cozy corner in your home where kids can access their scrap materials, scissors, glue, and other embellishments like stickers, glitter, or markers. This not only makes the process more enjoyable but also empowers them to take charge of their creativity. Just like a chef in a kitchen, they can mix and match their ingredients to whip up something truly special!
Moreover, making art with scrap paper can also be a wonderful way to teach kids about colors, shapes, and textures. They can explore different combinations and discover what works well together. For example, they might find that a bright yellow scrap pairs beautifully with a cool blue one, creating a striking contrast. This hands-on experience is not only educational but also incredibly satisfying as they watch their ideas come to life.
And let’s not forget about the joy of sharing their creations! Once they’ve completed their masterpieces, encourage them to display their artwork around the house or even gift it to family and friends. It’s a wonderful way to boost their confidence and show them that their efforts are valued. Plus, it can spark conversations about the importance of recycling and being mindful of our environment.
In conclusion, making art with scrap paper is more than just a fun craft; it's an opportunity for kids to learn, explore, and express themselves. So, the next time you find yourself with a pile of scrap paper, remember that it’s not just trash—it’s a treasure waiting to be transformed into something beautiful!
- What age group is suitable for scrap paper art projects? Scrap paper art is suitable for all ages! Younger kids may need more guidance, while older children can explore their creativity more independently.
- Do I need special materials? Not at all! The beauty of scrap paper art is that you can use everyday materials. Just gather whatever scrap paper you have and some basic craft supplies like scissors and glue.
- Can scrap paper art be used for school projects? Absolutely! Kids can use their scrap paper creations for school projects, presentations, or even as unique decorations for their classrooms.
- How can I encourage my child’s creativity? Provide a variety of materials, set up a dedicated art space, and most importantly, let them explore without the fear of making mistakes. Creativity thrives in a supportive environment!
Transforming Glass Jars into Lanterns
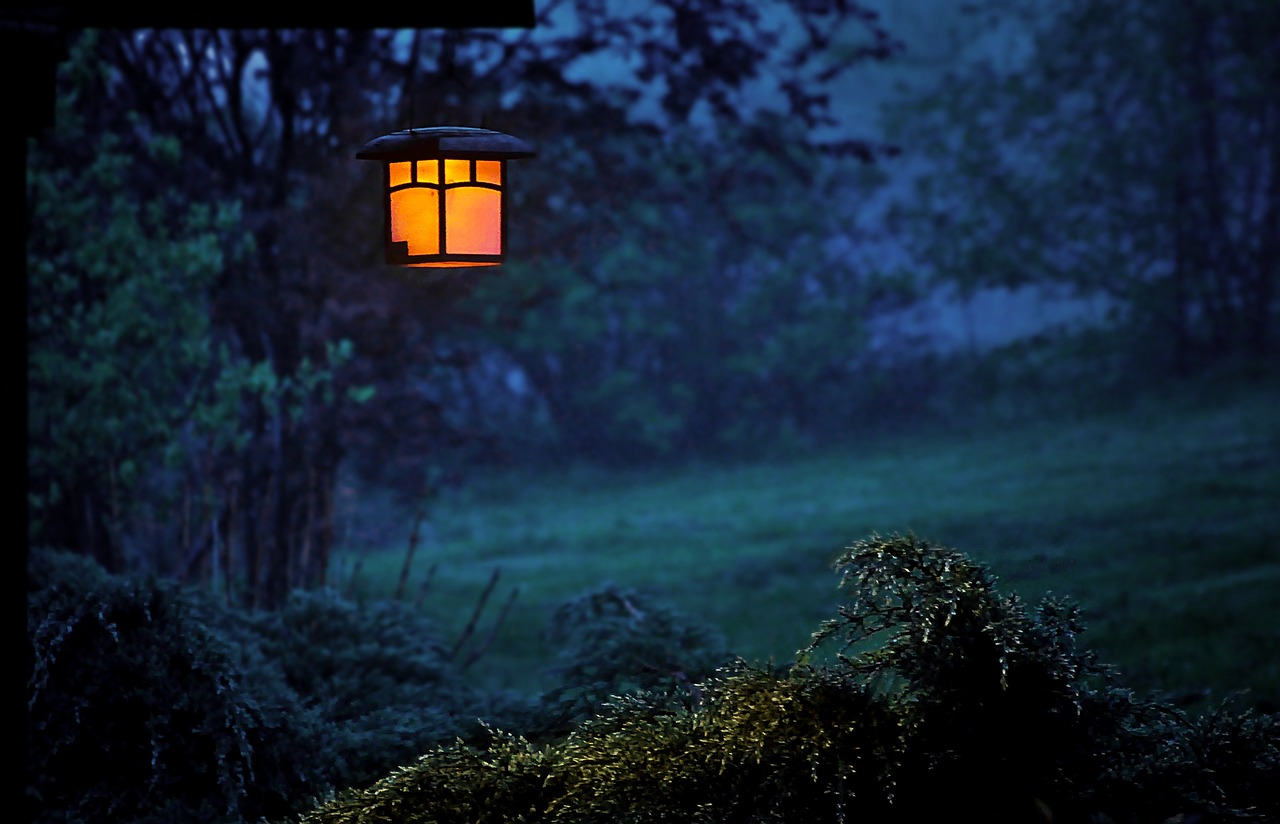
Transforming glass jars into whimsical lanterns is not just a fun craft; it's a delightful way to spark creativity and imagination in your kids. Imagine the glow of soft, flickering lights illuminating your backyard or living room, all thanks to your little ones' handiwork! This project is perfect for evenings spent together, creating a cozy atmosphere while teaching valuable lessons about upcycling and sustainability.
To get started, gather some old glass jars—mason jars, pickle jars, or even jam jars will do just fine. The beauty of this project lies in its simplicity and accessibility. You don’t need fancy materials; just a bit of creativity and some basic supplies. Here’s what you’ll need:
- Glass jars (any size or shape)
- Battery-operated tealight candles or fairy lights
- Acrylic paint or glass paint
- Paintbrushes
- Glue (optional, for embellishments)
- Decorative items like ribbons, twine, or stickers
Once you have your materials ready, the real fun begins! Start by cleaning the jars thoroughly to remove any labels or residue. This will ensure that the paint adheres well and your lanterns look their best. Next, let your kids unleash their artistic flair by painting the jars. They can create patterns, designs, or even their favorite characters. The beauty of this project is that there are no wrong answers—every jar will be unique!
After the paint dries, it’s time to add the magical touch. Place a battery-operated tealight candle or some fairy lights inside the jar. If you want to take it a step further, consider wrapping the neck of the jar with twine or ribbon for added charm. Your kids can also personalize their lanterns with stickers or other decorative items, making each piece a true reflection of their personality.
Now, let’s talk about the ambiance! Once the lanterns are complete, you can place them around your home or garden. Imagine a summer evening, with the soft glow of your kids' creations lighting up the night. It’s not just about aesthetics; it’s about creating memories together. Each lantern tells a story, a testament to your time spent crafting together. Plus, it’s a fantastic way to teach kids about recycling and the beauty of transforming everyday items into something special.
But wait, there's more! Once you’ve mastered the basic lantern, consider experimenting with different techniques. You could:
- Try using tissue paper for a stained glass effect.
- Incorporate natural elements like leaves or flowers for a rustic vibe.
- Make themed lanterns for holidays or special occasions.
In conclusion, transforming glass jars into lanterns is a wonderful project that blends creativity, sustainability, and family bonding. It's a chance to teach kids about the importance of reusing materials while having a blast. So, gather those jars, unleash your creativity, and watch as your home lights up with the glow of your children's artistry!
Q: Can we use any type of glass jar for this project?
A: Absolutely! Any glass jar will work, but mason jars and similar types are popular choices because of their sturdiness and classic look.
Q: Are the battery-operated candles safe for kids?
A: Yes! Battery-operated candles are a safe alternative to real candles, making them perfect for kids' crafts.
Q: What if I don’t have paint? Can we use something else?
A: If paint isn’t available, consider using colored tissue paper or even wrapping the jars in colorful fabric for a unique look!
Frequently Asked Questions
- What materials do I need for the bird feeder project?
For creating a bird feeder from plastic bottles, you'll need a clean plastic bottle, scissors, twine or string, and birdseed. Optional decorations like paint or stickers can add a personal touch!
- Can I involve younger kids in the upcycling t-shirt project?
Absolutely! While younger kids may need assistance with cutting and sewing, they can help with choosing t-shirts and decorating the tote bags. It’s a great way for them to learn and have fun!
- How do I ensure the tin can planters are safe for kids?
To make sure the tin can planters are safe, remove all sharp edges by carefully sanding them down. Additionally, always supervise kids during the crafting process to keep things safe and enjoyable.
- What can we use to decorate the cardboard picture frames?
Kids can use a variety of materials to decorate their cardboard frames! Think markers, paint, stickers, or even natural items like leaves or flowers. Let their creativity run wild!
- Is building a birdhouse from recycled wood difficult?
Not at all! While it may seem challenging, many birdhouse designs are simple and can be completed with basic tools. Plus, it’s a fantastic way to teach kids about teamwork and problem-solving!
- What types of old buttons work best for jewelry making?
Any old buttons can work for jewelry making! However, larger buttons or those with unique designs can create standout pieces. Encourage kids to mix and match for a truly personalized touch!
- Can we use any kind of scrap paper for art projects?
Yes! You can use old magazines, wrapping paper, or even leftover printer paper. The more varied the materials, the more interesting the final artwork will be!
- How can we safely decorate glass jars for lanterns?
When decorating glass jars, use non-toxic paints or markers. You can also wrap the jars with twine or lace for a rustic look. Just ensure the decorations are secure to avoid any accidents!


