
DIY Wall Decor: Crafting with Maps
Are you ready to transform your living space into a stunning gallery that reflects your travels and interests? Crafting with maps is not just a creative outlet; it’s a way to tell your story and showcase your adventures. Imagine walking into a room adorned with vibrant maps that spark conversations and evoke memories of places you’ve visited or dream of exploring. This DIY project allows you to express your personality while giving your home a unique touch. Whether you're a seasoned traveler or someone who appreciates the art of cartography, there’s something magical about incorporating maps into your wall decor. So, let’s dive into the world of map crafting and discover how you can elevate your space!
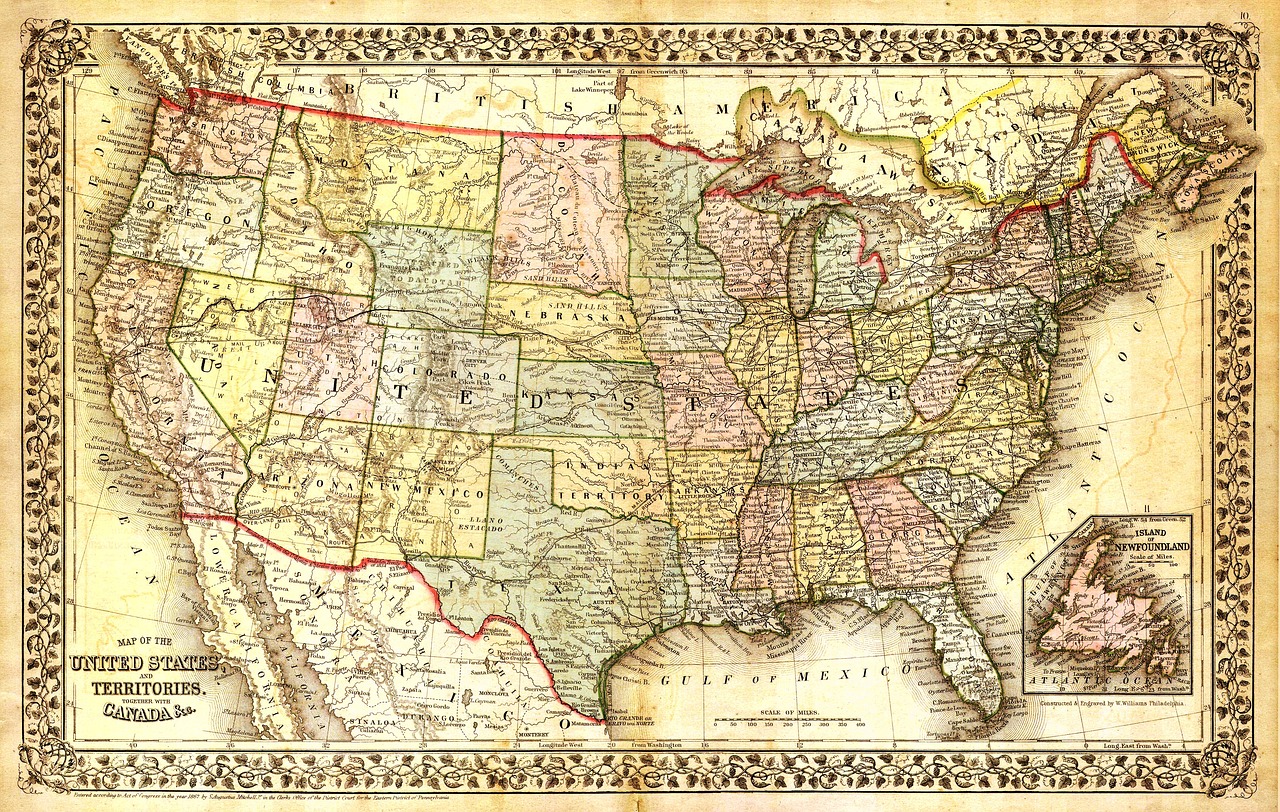
When it comes to selecting maps, the options are as vast as the world itself. Think about what resonates with your personal style. Are you drawn to vintage maps that whisper tales of the past, or do you prefer modern, colorful designs that pop? You might even consider themed maps, such as those showcasing national parks or historical landmarks. The key is to choose maps that not only match your decor but also reflect your personality. Here are a few ideas to get you started:
- Vintage Maps: Perfect for a rustic or eclectic style.
- Modern Maps: Great for contemporary spaces.
- Themed Maps: Ideal for showcasing personal interests.
Before you embark on your map crafting journey, it’s essential to gather the right materials. Having a well-stocked crafting station makes the process smoother and more enjoyable. Here’s a quick rundown of what you might need:
- Maps (of course!)
- Frames (consider various sizes and styles)
- Adhesives (more on that later)
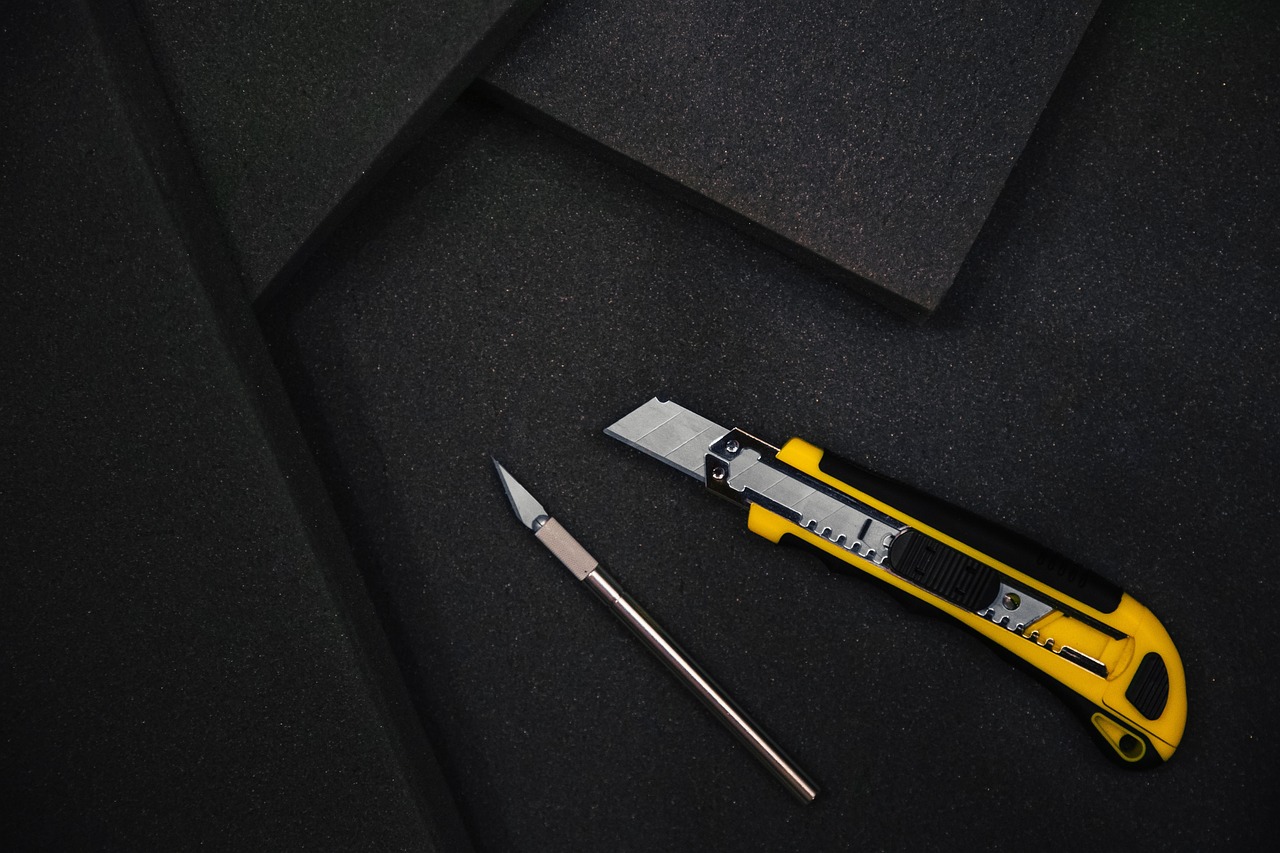
- Cutting tools (scissors, craft knives)
With these materials in hand, you’re all set to create something beautiful!
Choosing the right adhesive is crucial for your map project. Different adhesives serve various purposes, and understanding their uses can make a significant difference in the final product. Here’s a quick overview:
| Adhesive Type | Best For |
|---|---|
| Glue Sticks | Lightweight maps and paper. |
| Spray Adhesives | Large surfaces for even coverage. |
| Double-Sided Tape | Quick fixes and clean edges. |
Each type has its strengths, so choose based on the specific requirements of your project.
If you’re environmentally conscious, there are plenty of eco-friendly adhesives available. These options minimize harmful chemicals while still providing strong bonds for your map projects. Not only do they help the planet, but they also ensure that your crafting experience is safe and enjoyable.
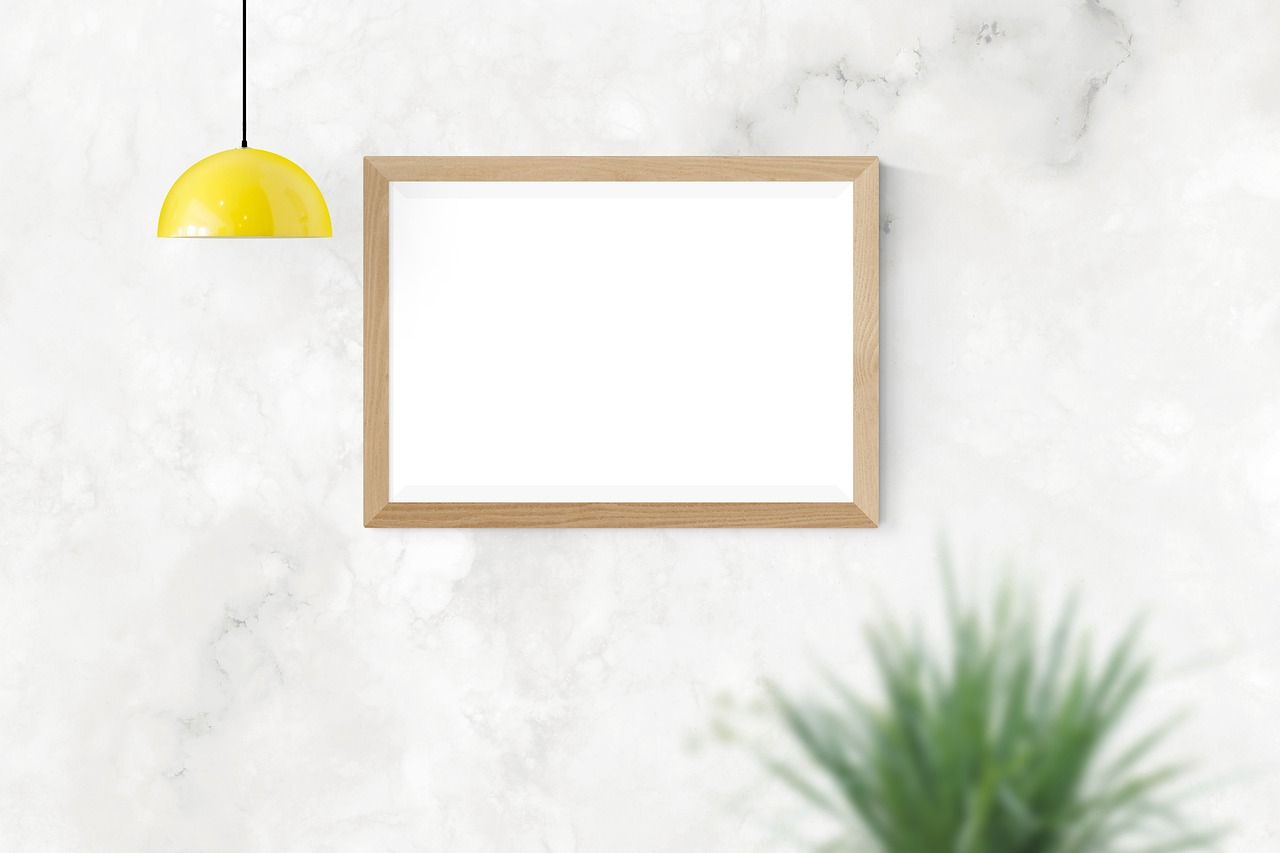
Frames can make or break your map decor. A well-chosen frame enhances the visual appeal of your maps and can tie your entire display together. Consider the following when selecting frames:
- Style: Match the frame style with your home decor.
- Color: Choose colors that complement or contrast with your maps.
- Size: Ensure the frame fits the map perfectly.
With the right frame, your maps will shine like the treasures they represent.
Proper cutting techniques are essential for achieving clean edges and desired shapes. Whether you’re using scissors, craft knives, or cutting mats, here are some tips:
- Always measure twice and cut once!
- Use a ruler for straight edges.
- For intricate designs, a craft knife provides better control.
These techniques will help you create a polished look for your map decor.
Now that you have your maps ready, let’s unleash your creativity! There are countless ways to display your map decor, from gallery walls to unique arrangements. Consider creating a gallery wall that serves as a stunning focal point in your room. You can mix and match different maps, colors, and frame styles to create a dynamic display. Or, if you prefer something more personalized, try making a map collage. By combining multiple maps, you can tell a story and create a visually appealing piece that captures the essence of your travels.
Creating a gallery wall with maps can be a stunning focal point. Get inspired by different layouts, color schemes, and framing styles for your wall space. Think about how the maps can interact with each other, creating a cohesive story that draws the eye.
Combining multiple maps to create eye-catching collages allows you to layer and arrange them in a way that tells a story. This dynamic display can be both artistic and nostalgic, reminding you of the places you’ve been and the adventures yet to come.
To make your maps even more special, consider adding personal touches. Incorporating photographs, quotes, or artistic elements can enhance the narrative of your decor. It’s all about making it uniquely yours!
Integrating personal photographs with your maps can evoke nostalgia and create a beautiful blend of memories. Consider using a technique that allows you to seamlessly blend images into your map displays, making them feel like a cohesive story.
Incorporating meaningful quotes or text can enhance the narrative of your map decor. Choose quotes that resonate with your travels or inspire wanderlust. Positioning text effectively can create a powerful impact that draws attention and sparks conversation.
Q: What types of maps work best for wall decor?
A: Vintage, modern, and themed maps all work beautifully, depending on your personal style.
Q: How do I ensure my maps stay in good condition?
A: Use acid-free adhesives and avoid direct sunlight to preserve your maps.
Q: Can I mix different types of maps in one display?
A: Absolutely! Mixing maps can create an eclectic and visually interesting display.
Choosing the Right Maps
When it comes to for your DIY wall decor, the selection process can be as thrilling as a treasure hunt! The maps you pick not only serve as decor but also tell a story about your adventures, interests, and the places that resonate with you. So, how do you choose the perfect maps that will transform your living space into a personalized gallery? Let's dive into some key considerations!
First off, think about the style of your home. Are you leaning towards a vintage vibe, or do you prefer a modern aesthetic? Vintage maps, with their aged textures and historical significance, can add a sense of nostalgia and warmth to your decor. On the other hand, modern maps often feature clean lines and vibrant colors, making them a perfect fit for contemporary spaces. You might even consider themed maps, such as city maps, hiking trails, or nautical charts, that reflect your hobbies and passions.
Next, consider the color scheme of the room where you plan to display your maps. A well-chosen map can serve as a stunning focal point, drawing the eye and enhancing the overall ambiance. If your space is filled with earthy tones, a map with muted colors or sepia tones can harmonize beautifully. Conversely, if you have a bright and airy room, a colorful map might just be the pop of personality you need!
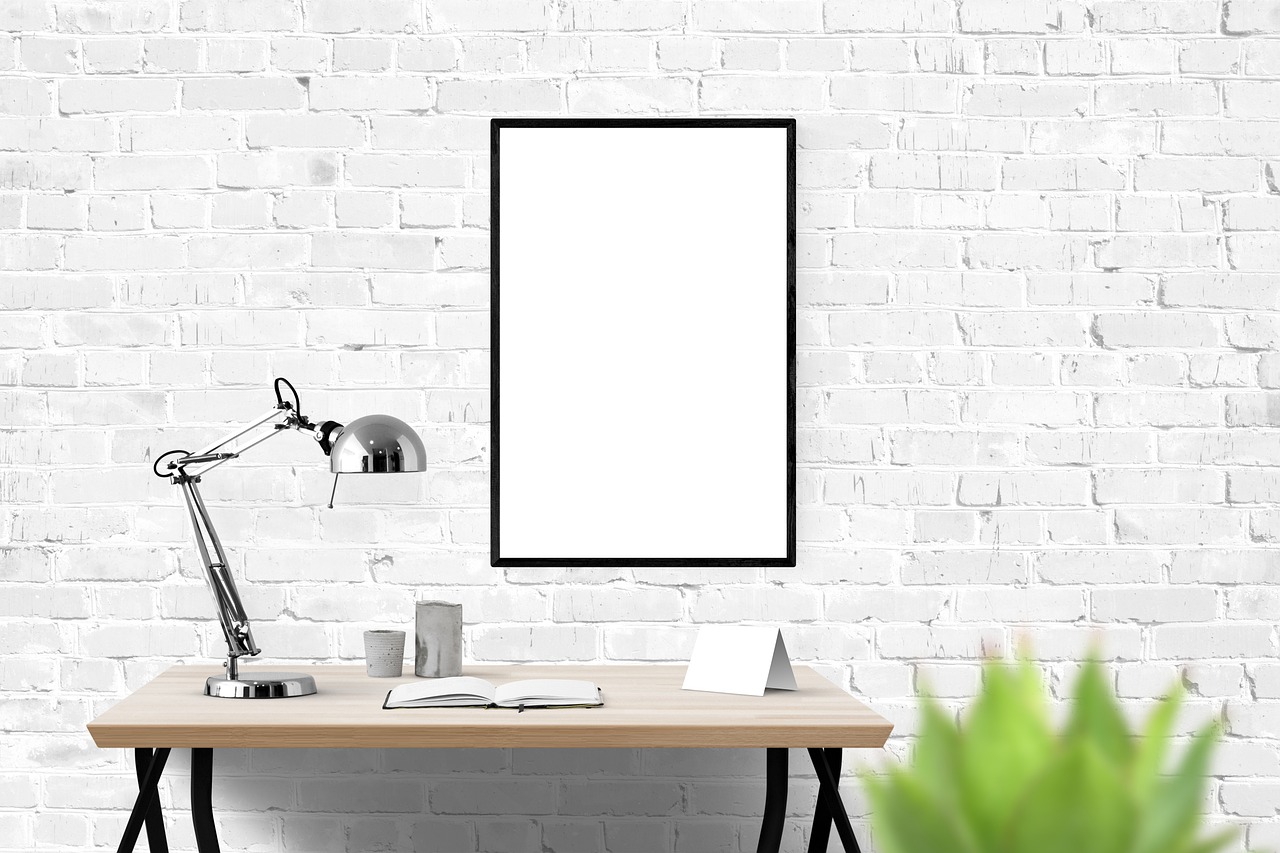
Another important aspect is the size of the maps. Think about how large you want your maps to be. A single large map can create a bold statement, while a collection of smaller maps can offer a more eclectic and layered look. You might want to create a gallery wall, mixing and matching sizes and styles to create a dynamic arrangement. To help you visualize, consider creating a mock-up on the floor or wall before committing to a final layout.
Lastly, don't forget about the emotional connection you have with certain locations. Whether it's the city where you grew up, a country you fell in love with during your travels, or a map of your favorite hiking trail, these personal touches can make your decor feel even more special. You might even want to incorporate maps that feature significant dates or events in your life, turning your wall into a canvas of cherished memories.
In summary, when choosing the right maps for your decor, keep these factors in mind:
- Style: Vintage, modern, or themed?
- Color Scheme: Does it match your room's palette?
- Size: Do you prefer a bold statement or a layered look?
- Emotional Connection: What places hold special significance for you?
By considering these aspects, you can curate a collection of maps that not only beautifies your space but also reflects your unique personality and experiences. So, grab those maps and get ready to embark on a creative journey that will transform your walls into a stunning gallery of memories!
Materials You'll Need
Embarking on a DIY wall decor project using maps is an exciting adventure, but before you dive in, it's essential to gather the right materials. Think of this as packing for a journey; having the right supplies will ensure that your creative expedition goes smoothly. So, what do you need? Let's break it down.
First and foremost, you'll need a selection of maps that resonate with your personal style. Whether you opt for vintage maps that exude charm or modern designs that scream sophistication, the choice is yours. But remember, the maps you choose should reflect your travels or interests, turning your walls into a storytelling canvas.
Next up, you'll require some adhesives. The type of adhesive you choose can make or break your project. Here are a few popular options:
- Glue Sticks: Perfect for lightweight maps, glue sticks are easy to use and mess-free.
- Spray Adhesives: If you're working with larger maps, spray adhesives can provide an even coat for a secure bond.
- Double-Sided Tape: This is a fantastic option for those who want a clean finish without any visible glue.
For the eco-conscious crafters among us, don't worry! There are eco-friendly adhesives available that minimize harmful chemicals while still providing strong bonds. These options are not only better for the environment but also for your indoor air quality.
Now, let's talk about frames. Choosing the right frame can elevate your map decor to new heights. Consider frames that match your home decor style—be it rustic wood, sleek metal, or colorful options. The right frame will not only protect your maps but also enhance their beauty, drawing the eye and sparking conversations. To help you make the best choice, here's a simple table that outlines different frame styles and their characteristics:
| Frame Style | Characteristics | Best For |
|---|---|---|
| Wooden Frames | Warm, natural look | Vintage maps, rustic decor |
| Metal Frames | Sleek, modern appearance | Contemporary maps, urban themes |
| Colorful Frames | Bold, vibrant accents | Whimsical maps, children's rooms |
Lastly, don’t forget about cutting tools. Having the right tools will help you achieve clean edges and precise shapes. Scissors are great for simple cuts, but if you're looking for more intricate designs, a craft knife paired with a cutting mat will be your best friend. This combination allows for greater control and accuracy, ensuring your maps look polished and professional.
With these materials in hand, you're well on your way to creating stunning map-based wall decor that reflects your personality and adventures. So, gather your supplies, unleash your creativity, and get ready to transform your living space into a personalized gallery!
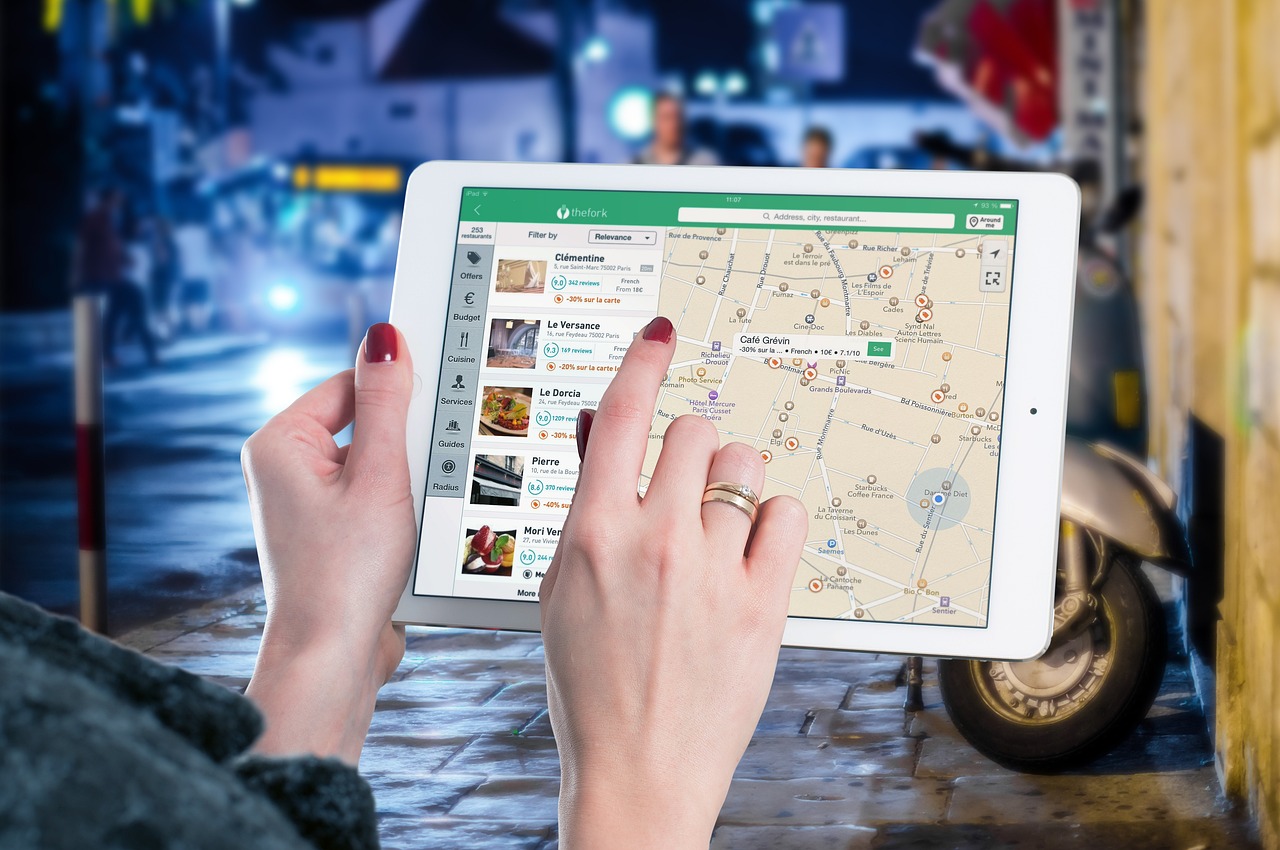
Q: Can I use digital maps for my wall decor?
A: Absolutely! Digital maps can be printed out and used just like traditional maps. Just make sure to use high-quality paper for the best results.
Q: How do I prevent my maps from fading over time?
A: To protect your maps from fading, consider using UV-protective glass in your frames and hanging them away from direct sunlight.
Q: What if I make a mistake while cutting my maps?
A: No worries! Mistakes are part of the creative process. You can always trim the map further or use decorative elements to cover any errors.
Types of Adhesives
When embarking on your DIY map decor project, one of the most crucial decisions you'll make is choosing the right adhesive. The right adhesive can mean the difference between a stunning display and a frustrating mess. There are several types of adhesives available, each with its unique properties and best uses. Understanding these options will help you secure your maps effectively while maintaining their beauty.
First up, we have glue sticks. These are perfect for lightweight projects, especially when you're working with paper maps. They are easy to apply, mess-free, and allow for repositioning before the glue sets. However, keep in mind that glue sticks might not provide the strongest bond for heavier materials, so use them wisely.
Next, consider spray adhesives. These are fantastic for larger projects where you need an even coat of adhesive. Spray adhesives can cover a wide area quickly and are particularly useful when adhering maps to surfaces like canvas or wood. Just remember to work in a well-ventilated area and protect your surrounding surfaces, as spray adhesives can be a bit messy!
Another option is double-sided tape. This adhesive is incredibly versatile and can be used for various applications. It provides a clean, no-mess solution for mounting maps without the risk of damaging them with liquid glue. Double-sided tape is especially useful for layering maps or creating collages, as it allows you to adjust your arrangement without permanent commitment.
For those looking for a more permanent solution, liquid glues like PVA or craft glue can be excellent choices. They create a strong bond and are suitable for heavier materials. However, be cautious when using them on delicate maps, as they can cause warping if too much glue is applied. Always test a small area first!
Lastly, if you're environmentally conscious, you might want to explore eco-friendly adhesives. These options are made with natural ingredients and are free from harmful chemicals, making them safer for both you and the planet. Many eco-friendly adhesives still provide a strong bond, so you don't have to compromise on quality.
In summary, the right adhesive can elevate your map decor project to new heights. Whether you choose glue sticks for their ease of use, spray adhesives for their coverage, double-sided tape for versatility, liquid glues for strength, or eco-friendly options for sustainability, each type serves a purpose. Make your choice based on the materials you're working with and the look you want to achieve, and your map decor will surely shine!

Eco-Friendly Options
In today’s world, where sustainability is more important than ever, choosing eco-friendly adhesives for your DIY map decor can make a significant difference. Not only do these options help the environment, but they also ensure that your crafting materials are safe for your home and family. When selecting adhesives, look for those that are made from natural or recycled materials. For instance, plant-based glues and water-based adhesives are excellent choices that provide strong bonds without harmful chemicals.
One popular eco-friendly adhesive option is mod podge, which is a versatile sealer, glue, and finish all in one. It is made from non-toxic ingredients and is perfect for decoupage projects, including your map decor. Another great alternative is homemade glue, which can be made using simple ingredients like flour, water, and sugar. This not only reduces waste but also allows you to have complete control over what goes into your crafting supplies.
When it comes to applying these eco-friendly adhesives, consider the following tips:
- Test First: Always do a small test patch on your map to ensure the adhesive doesn’t cause any damage.
- Use Sparingly: A little goes a long way! Applying too much can lead to wrinkling or bubbling of your maps.
- Ventilation: Even eco-friendly adhesives can emit fumes, so make sure to work in a well-ventilated area.
Additionally, think about the packaging of the products you choose. Opt for brands that use recyclable or biodegradable packaging. This small change can contribute to reducing plastic waste significantly. By making informed choices about your materials, you not only enhance your home decor but also contribute to a healthier planet.
In summary, embracing eco-friendly options in your DIY map decor projects is a win-win situation. You can create stunning, personalized pieces for your home while also being kind to the environment. So, as you embark on your crafting journey, remember that every little choice counts in making a positive impact!
1. What are some eco-friendly adhesives I can use for map decor?
You can use plant-based glues, water-based adhesives, or even homemade glue made from flour and water. Mod podge is another excellent non-toxic option.
2. How can I ensure that my maps are not damaged during the crafting process?
Always test your adhesives on a small section of the map first and use them sparingly to avoid wrinkling or bubbling.
3. Where can I find eco-friendly crafting supplies?
Many craft stores now offer eco-friendly options, or you can shop online for brands that prioritize sustainable materials and packaging.
4. Can I incorporate personal photos into my map decor?
Absolutely! Blending personal photographs with your maps can create a nostalgic and unique display. Just ensure to use compatible adhesives to maintain the integrity of both the photos and the maps.
5. What if I want to change my map decor later?
Using removable adhesives can help if you plan to update your decor frequently. This way, you can change your wall art without damaging the maps or surfaces.

Choosing the Right Frame
When it comes to displaying your maps, the frame you choose can make all the difference. A well-selected frame not only enhances the visual appeal of your maps but also complements the overall decor of your living space. Think of the frame as the icing on the cake; it can elevate a simple map into a stunning piece of art that draws the eye and sparks conversation.
First, consider the style of your home. Are you going for a modern, minimalist look, or do you prefer something more rustic and cozy? For a contemporary aesthetic, sleek metal frames in black or white can provide a chic contrast to colorful maps. On the other hand, if your decor leans towards the vintage side, ornate wooden frames with intricate details can add a touch of charm. It's all about finding that perfect harmony between the frame and the map.
Another crucial factor is the size of the frame. A large map can serve as a breathtaking focal point, while smaller maps can be grouped together to create a gallery wall effect. When choosing the size, think about the space where you plan to hang the map. You want it to be proportionate to the wall and surrounding furniture. Too small, and it may get lost; too large, and it can overwhelm the space.
Don't forget about the color of the frame! The right hue can either make your map pop or seamlessly blend into the background. For instance, if your map features soft, muted tones, a bold frame color can create a striking contrast. Conversely, if your map is vibrant and colorful, a neutral frame can help it stand out without competing for attention.
Lastly, consider the material of the frame. Wood, metal, and even acrylic can all contribute different vibes to your decor. Wood adds warmth and character, while metal offers a sleek, modern feel. Acrylic frames can give a contemporary look and are often lighter, making them easier to hang. Ultimately, the material should resonate with your personal style and the overall theme of your home.
In summary, choosing the right frame is an essential step in your DIY map decor project. By considering the style, size, color, and material of the frame, you can create a stunning display that reflects your personality and enhances your living space. So, get creative and have fun picking out frames that will make your maps shine!
- What type of frame is best for a vintage map? Vintage maps often look great in ornate wooden frames that complement their historical charm.
- How do I determine the right size frame for my map? Measure the wall space where you plan to hang the map and choose a frame that is proportionate to that space.
- Can I mix and match different frame styles? Absolutely! Mixing frame styles can create a unique gallery wall that showcases your personality.
- What materials should I avoid when framing maps? Avoid using materials that can warp or damage the map over time, such as cheap plastic or low-quality cardboard.
Cutting Techniques
When it comes to crafting with maps, mastering is essential for achieving those clean edges and perfect shapes that will make your wall decor stand out. Whether you're a seasoned crafter or just starting, knowing how to handle your tools can make a world of difference. Imagine trimming a beautiful map of Paris to fit a frame perfectly—it's all about precision!
First, let's talk about the tools you'll need. A good pair of scissors is a must-have for any map crafting project. Opt for a pair that feels comfortable in your hand, as you'll want to make smooth cuts without straining. If you're looking for more intricate designs, a craft knife is your best friend. These knives allow for more detailed work, especially when you're cutting out specific areas of a map. Don't forget to use a cutting mat underneath to protect your surfaces and keep your blade sharp.
Now, here’s a pro tip: always measure twice and cut once! This old saying holds true in crafting. Use a ruler to mark your cuts accurately, ensuring that your edges are straight and your shapes are just right. For those who love precision, consider using a rotary cutter. This tool glides through paper with ease and is perfect for long, straight cuts. It's like the magic wand of the crafting world!
When cutting out shapes or designs, you might want to consider the layering technique. Start by cutting out the base layer of your map, then add additional layers on top for a more dimensional look. This technique not only adds depth to your decor but also allows you to play with colors and textures. Imagine a layered map of the world where each continent pops out—now that’s a conversation starter!
Lastly, don’t forget about safety. Always cut away from your body and keep your fingers clear of the blade. It’s easy to get lost in the creativity and forget about safety, but a little caution goes a long way in ensuring a fun crafting experience!
In summary, mastering cutting techniques is all about the right tools, careful measurement, and a touch of creativity. With these skills, you’ll be well on your way to creating stunning map-based wall decor that reflects your unique style and adventures.
Here are some common questions that may arise while crafting with maps:
- What types of maps work best for wall decor? Vintage maps, road maps, and themed maps (like travel destinations) are all great choices.
- Can I use digital maps? Absolutely! You can print digital maps at home and use them for your projects.
- How do I hang my map decor? Use picture hanging strips for lightweight pieces or nails for heavier frames.
- What if I make a mistake while cutting? Don’t worry! You can often cover mistakes with decorative elements or reposition your maps creatively.
Creative Display Ideas
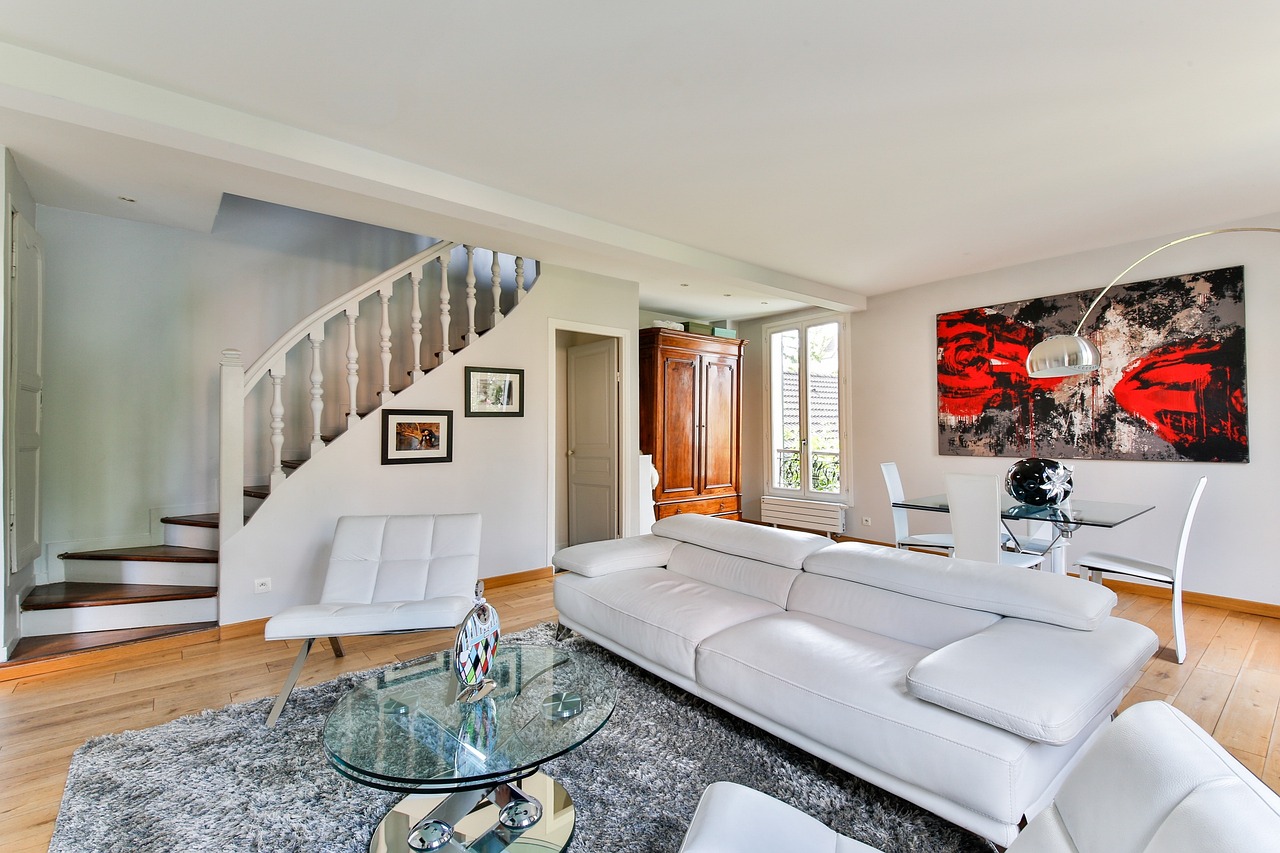
When it comes to showcasing your map decor, the possibilities are as vast as the maps themselves! Transforming your living space into a personalized gallery can be a thrilling adventure. Imagine walking into a room adorned with vibrant maps that tell stories of your travels, dreams, and adventures. The key is to unleash your creativity and experiment with various display methods. Whether you prefer a sleek, modern look or a cozy, eclectic vibe, there’s a perfect way to display your maps that will reflect your unique style.
One of the most popular methods is creating a gallery wall. This involves grouping several framed maps together to create a stunning focal point. You can mix and match different sizes and styles of frames to add depth and interest. Think of it as a visual feast for the eyes! To get started, consider the following tips:
- Choose a Theme: Whether it’s vintage maps of cities you’ve visited or modern maps showcasing your favorite hiking trails, having a cohesive theme can tie the display together.
- Vary Frame Styles: Don’t be afraid to mix ornate frames with sleek, minimalist ones. This contrast can create a dynamic look that draws attention.
- Play with Layout: Before hanging, lay your frames on the floor to experiment with different arrangements. This way, you can visualize how they’ll look on the wall without committing just yet!
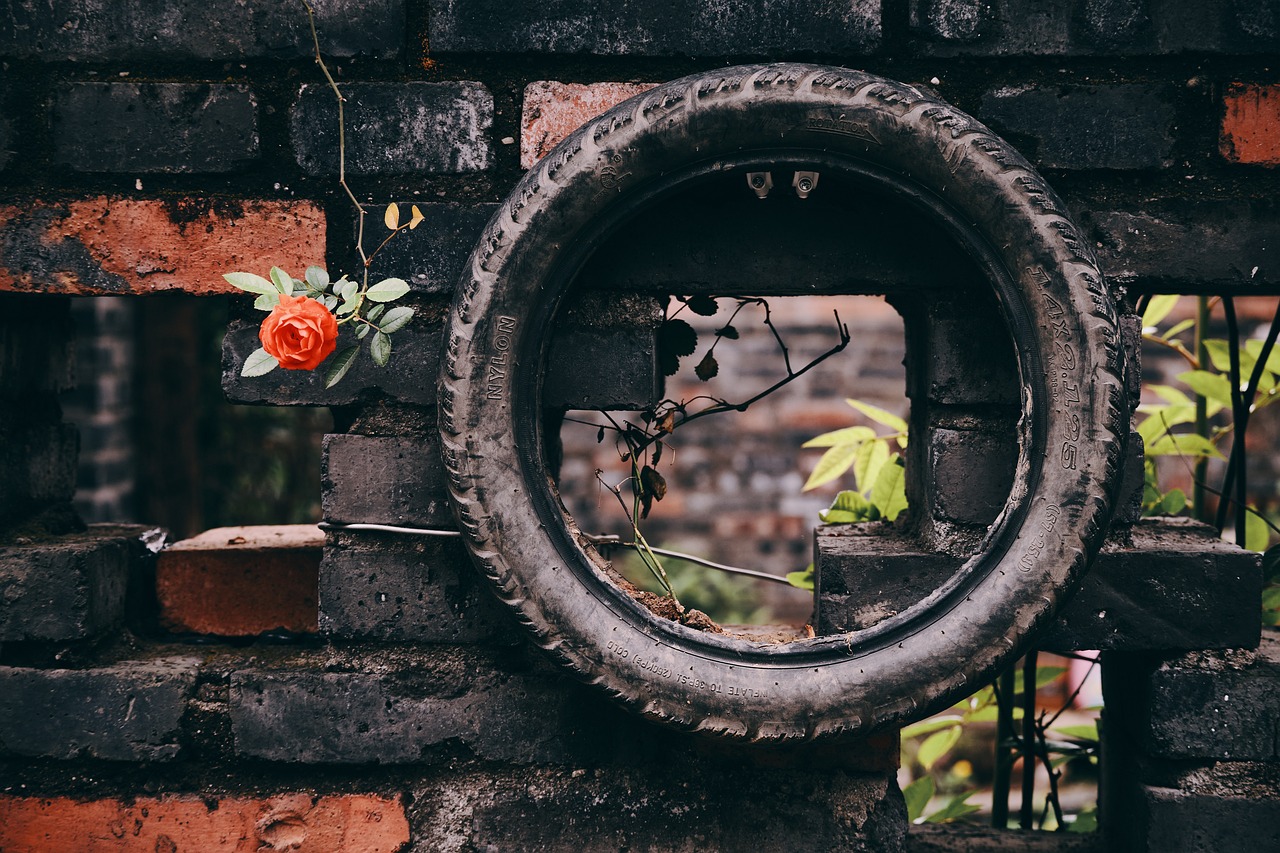
Another creative display idea is to make map collages. This involves layering various maps to create a rich tapestry of colors and textures. You can cut maps into different shapes—like circles, triangles, or even abstract forms—and arrange them in a way that tells a story. For instance, you might want to highlight the places you've traveled to by creating a collage that features maps from those locations. This technique not only adds visual interest but also serves as a conversation starter!
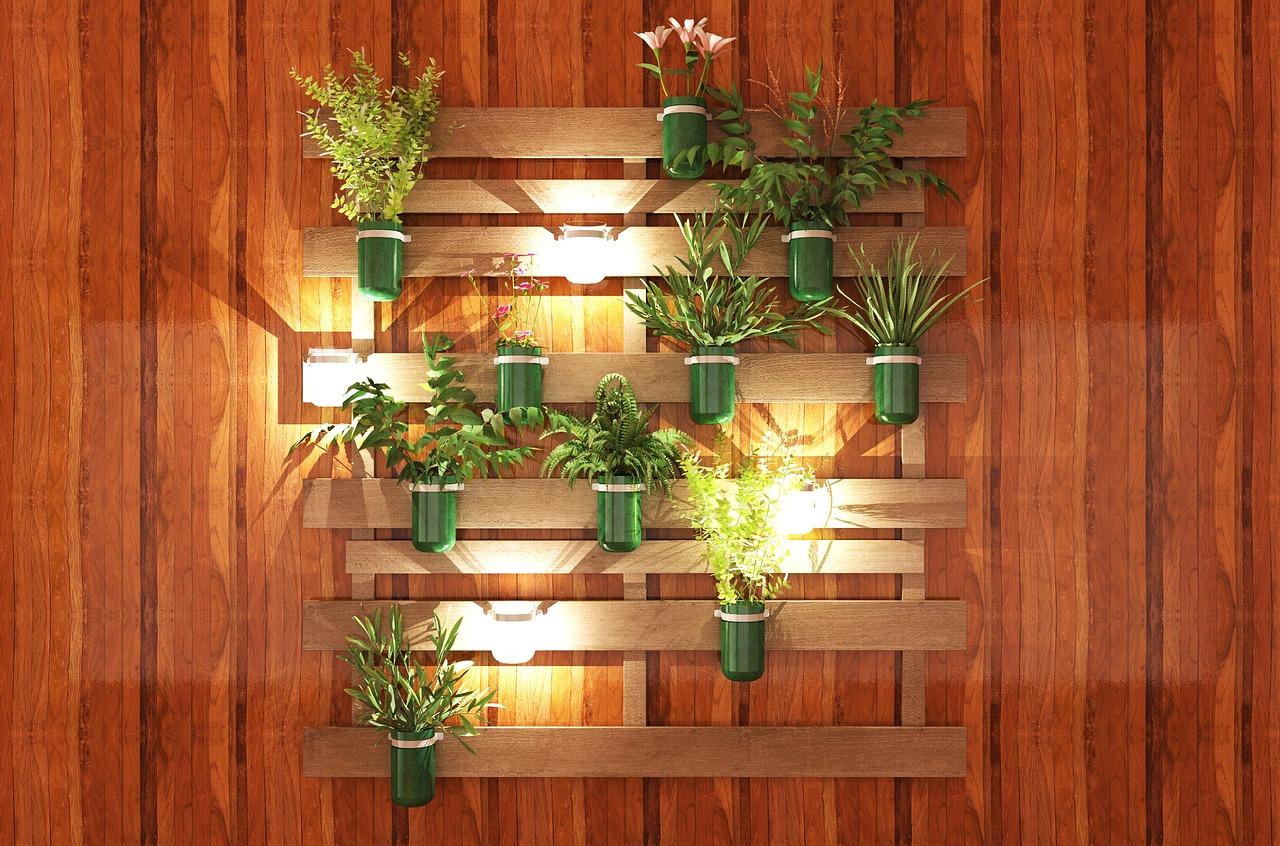
Additionally, consider using floating shelves to display your maps. This method allows you to change out your maps easily, keeping your decor fresh and exciting. You can lean framed maps against the wall on the shelves, adding decorative items like travel souvenirs or plants to complement your display. It’s a great way to create a three-dimensional effect that draws the eye.
Don’t forget about the power of lighting! Proper illumination can dramatically enhance your map decor. Use spotlights or picture lights to highlight your gallery wall or specific pieces. The right lighting can bring out the colors in your maps and create a warm, inviting atmosphere in your space.
Incorporating maps into your decor is not just about aesthetics; it's about creating a space that resonates with your experiences and passions. So, let your imagination run wild and experiment with these creative display ideas. Your walls are a blank canvas waiting for your unique touch!
Q: How do I choose the right maps for my decor?
A: Select maps that resonate with your personal style and interests. Consider vintage maps for a classic look or modern, colorful maps for a contemporary vibe.
Q: Can I use digital maps for my projects?
A: Absolutely! Digital maps can be printed and used in your decor. Just make sure to choose high-resolution images for the best quality.
Q: What if I want to change my display frequently?
A: Using floating shelves or clip frames can make it easy to swap out maps whenever you feel like refreshing your decor.
Q: Are there any eco-friendly options for map decor?
A: Yes! Consider using recycled materials for frames and eco-friendly adhesives to minimize your environmental impact while crafting.
Gallery Wall Inspiration
Creating a gallery wall with maps is not just about hanging a few pieces of paper; it's about crafting a visual story that reflects your adventures and interests. Imagine walking into a room where every glance at the wall transports you to a different place, evoking memories of travels and experiences. To achieve this, you can start by selecting maps that resonate with you—perhaps a vintage map of your hometown or a modern design showcasing places you've visited. The key is to curate a collection that feels personal and cohesive.
When arranging your gallery wall, consider the layout. You can opt for a symmetrical arrangement, where each piece is evenly spaced and aligned, giving a polished and organized appearance. Alternatively, an asymmetrical layout can create a more dynamic and casual vibe, allowing you to mix different sizes and styles of frames. For instance, pairing a large, framed map with smaller ones can create a striking focal point. Use the rule of thirds to guide your placements, ensuring that your most significant pieces draw the eye.
Don’t forget about color schemes! Selecting maps that complement your existing decor can enhance the overall aesthetic of the room. For example, if your space is filled with earthy tones, consider maps with muted colors that harmonize with that palette. On the other hand, vibrant, colorful maps can serve as a bold statement piece in a more neutral environment. You can also introduce elements like decorative washi tape or string lights to add a whimsical touch to your gallery.
Another exciting idea is to incorporate other elements alongside your maps. Think about adding framed photographs from your travels or even souvenirs like postcards and tickets. This not only enriches your gallery wall but also adds layers of meaning and nostalgia. You might even create a thematic section of your wall dedicated to a specific trip, intertwining maps with mementos from that adventure. The result? A personalized gallery that tells your unique story.
Lastly, don't hesitate to experiment! Rearranging your gallery wall every few months can keep the space feeling fresh and allow you to showcase new maps or experiences. You might find that a map you once loved now feels stale in its position, and a simple shift can reignite your passion for it. So grab your maps, a few frames, and let your creativity flow—your gallery wall is a canvas waiting for your personal touch!
Q1: How many maps should I include in my gallery wall?
A1: There's no strict rule! It depends on the size of your wall and the maps themselves. A good starting point is three to five pieces, but feel free to adjust based on your personal style.
Q2: What types of frames work best for map decor?
A2: Choose frames that complement your decor style. For a rustic look, consider wooden frames; for a modern vibe, sleek metal frames work well. Mix and match for an eclectic feel!
Q3: Can I use digital maps for my gallery wall?
A3: Absolutely! Digital maps can be printed in various sizes and styles, allowing for endless customization. Just ensure that the quality is high for the best visual impact.
Q4: How can I ensure my gallery wall remains cohesive?
A4: Stick to a color palette or theme that ties your maps together. This could be geographical (like all maps from a specific continent) or aesthetic (like all vintage styles).
Map Collages
Creating is an exciting way to showcase your love for travel while adding a personal touch to your home decor. Imagine a vibrant tapestry of maps that not only reflects your adventures but also serves as a conversation starter. The beauty of collages lies in their ability to tell stories; each piece can represent a different journey, a cherished destination, or even a dream place you aspire to visit. So, how do you go about crafting a stunning map collage? Let’s dive into some creative techniques!
First off, selecting your maps is crucial. You might want to gather maps from places you've visited, or perhaps those that hold sentimental value. Vintage maps can add a nostalgic touch, while modern ones can give a contemporary feel. The key is to choose maps that resonate with your personal experiences and style. Once you have your collection, lay them out on a flat surface to visualize how they’ll work together. This step is essential as it allows you to experiment with different arrangements before committing to a final layout.
When arranging your maps, consider layering them. This technique adds depth and interest to your collage. You can overlap edges, create shapes, or even cut out specific areas to highlight unique features of the maps. For instance, if you have a map of a city you adore, you might want to center it and layer smaller maps around it. This creates a focal point that draws the eye and invites viewers to explore the surrounding details.
Now, let’s talk about the adhesives you’ll need. It’s important to choose the right glue to ensure that your maps stay intact and look great. A spray adhesive can provide an even coat for larger pieces, while double-sided tape works wonders for smaller sections or delicate edges. For those who are environmentally conscious, eco-friendly options are available that offer strong bonds without harmful chemicals. Remember to test your adhesive on a small area first to avoid any mishaps!
After securing your maps, think about how you want to frame your collage. You can opt for a large frame that encompasses the entire piece or create a series of smaller frames for a more eclectic look. Mixing and matching frame styles can add a playful element to your decor, making it feel more personalized. Don’t forget to consider the colors and materials of your frames; they should complement the maps and the overall aesthetic of your room.
Finally, don’t hesitate to incorporate additional elements into your map collage. Adding personal photos, mementos, or even quotes can enhance the narrative and make the collage uniquely yours. For example, you could place a photo from your last vacation next to the map of the location, or add a quote about adventure to inspire and uplift. The possibilities are endless, and this is where your creativity can truly shine!
In conclusion, crafting a map collage is not just about arranging pieces of paper; it’s about creating a visual representation of your journeys and memories. So gather those maps, unleash your creativity, and let your walls tell your story!
Q: What types of maps work best for collages?
A: You can use any type of map that resonates with you, including vintage, modern, or themed maps. It's all about what tells your story best!
Q: Can I mix different styles of maps in one collage?
A: Absolutely! Mixing different styles can create a dynamic and visually interesting collage.
Q: What should I do if I make a mistake while arranging my maps?
A: Don't worry! You can always reposition the maps or cover mistakes with decorative elements like photos or quotes.
Q: How can I ensure my collage stays intact over time?
A: Use high-quality adhesives and consider using a protective spray or sealant to preserve your collage.
Personalizing Your Maps
When it comes to making your map decor truly one-of-a-kind, personalizing your maps is the way to go. Think of your maps as a blank canvas, waiting for your unique story to unfold. You can transform a simple map into a cherished piece of art that reflects your adventures, dreams, and memories. So, how do you add that personal touch? Let’s dive into some creative ideas!
One of the most impactful ways to personalize your maps is by incorporating photographs. Imagine a beautifully framed map of your favorite city, adorned with snapshots from your travels. You can create a collage effect by strategically placing photos around the map or even layering them directly onto the map itself. This not only adds a nostalgic element but also invites conversations about your experiences. For instance, if you have a photo from a memorable trip to Paris, placing it near the map of France can evoke fond memories and spark stories.
Another fantastic way to enhance your map decor is by using quotes and text. Quotes can serve as powerful reminders of your journey or inspire you to explore further. You might choose a favorite travel quote, like “The world is a book, and those who do not travel read only one page.” Positioning this text alongside your map can create a compelling narrative. When selecting quotes, consider what resonates with you personally. You can use a beautiful font to print the text and frame it alongside your map or even write it directly on the map with a fine-tip marker for a more casual look.
To give you a clearer picture of how to blend these elements, here’s a simple table outlining some ideas for personalizing your maps:
| Personalization Method | Description | Example |
|---|---|---|
| Photos | Incorporate personal photographs from your travels. | Layer photos on the map or create a collage around it. |
| Quotes | Add meaningful quotes that inspire wanderlust. | Print quotes and frame them with the map or write directly on the map. |
| Art Elements | Include drawings or doodles that represent your travels. | Add small icons like airplanes or hearts on significant locations. |
Additionally, consider integrating art elements into your map decor. This could be as simple as doodling small icons that represent places you've been or using colored markers to highlight specific routes and destinations. For example, if you’ve traveled extensively through Italy, you might draw little pasta icons or hearts around cities like Rome and Florence. These artistic touches not only personalize your maps but also make them visually striking.
In conclusion, personalizing your maps is about more than just aesthetics; it’s about telling your story. By incorporating photographs, quotes, and artistic elements, you can create a stunning display that resonates with your experiences and passions. So, gather your materials, let your creativity flow, and turn your maps into a true reflection of your journey!
Q: How can I safely attach photos to my maps without damaging them?
A: Use acid-free adhesives or photo-safe glue to ensure your photos stay intact without causing damage to the maps.
Q: What types of quotes work best for map decor?
A: Choose quotes that inspire you or reflect your travel experiences. Short and impactful quotes often work best.
Q: Can I use digital maps for this project?
A: Absolutely! You can print digital maps and personalize them just like traditional paper maps.
Q: What if I want to change my map decor frequently?
A: Consider using removable adhesive options or frames that allow for easy swapping of maps and personal elements.
Incorporating Photos
Integrating personal photographs into your map decor can add a nostalgic touch that transforms your wall art into a cherished memory lane. Imagine walking into a room where every glance at the wall sparks a story, a trip, or a moment captured in time. It’s like creating a visual diary that invites guests to explore your adventures and experiences.
To seamlessly blend your photos with maps, consider the following techniques:
- Choosing the Right Photos: Select images that resonate with the locations on your maps. For instance, if you have a map of Italy, include photos from your travels there—perhaps a snapshot of you enjoying gelato in Rome or a scenic view of the Amalfi Coast.
- Size Matters: Pay attention to the size of your photos in relation to the maps. Larger images can serve as focal points, while smaller ones can complement the intricate details of the maps. A well-balanced arrangement will create visual harmony.
- Layering Techniques: Experiment with layering your photos over the maps. You can use transparent frames or even mount photos on foam boards to create depth. This technique allows the maps to peek through, adding an intriguing dimension to your display.
Moreover, consider using photo corners or washi tape for an artistic flair. These options not only secure your photos but also add a decorative element to your arrangement. Washi tape, in particular, comes in various colors and patterns, allowing you to choose one that complements your maps beautifully.
Lastly, don’t forget the power of storytelling! You can enhance your map decor by adding captions or short descriptions next to your photos. This not only provides context but also invites viewers to engage more deeply with your display. For example, a simple caption like “Summer 2022: Exploring the streets of Paris” can evoke memories and spark conversations.
Incorporating photos into your map decor is more than just a design choice; it’s about creating a personal narrative that reflects your journey through life. So gather those snapshots, unleash your creativity, and let your walls tell your story!
Q: What types of photos work best with maps?
A: Photos that are related to the locations on the maps are ideal. Think about landscapes, landmarks, or personal moments that resonate with your travels.
Q: How can I ensure my photos are securely attached to the maps?
A: Use photo corners, washi tape, or adhesive photo mounts. These methods allow for easy removal and repositioning if needed.
Q: Can I use digital photos?
A: Absolutely! You can print digital photos in various sizes to match your map decor. Just ensure they are printed on quality paper for the best visual appeal.
Using Quotes and Text
Incorporating meaningful quotes and text into your map decor can elevate the aesthetic and emotional appeal of your wall art. Imagine walking into a room where not only the maps tell stories of your travels but also the words resonate with your experiences and aspirations. This fusion creates a **powerful narrative** that can inspire you daily. So, how do you go about choosing the right quotes or text to complement your maps? Here are some tips to get you started.
First, think about the **themes** you want to express. Are you focusing on adventure, nostalgia, or perhaps a love for a specific location? For instance, if you have a map of Paris, you might want to include a quote from a famous French author or even a personal phrase that captures your love for the city. Here are a few types of quotes you might consider:
- Inspirational Quotes: These can motivate you and anyone who visits your space. Something like, “Not all who wander are lost” can perfectly accompany a world map.
- Personal Mantras: Use phrases that resonate with your personal journey, like “Adventure awaits” or “Home is where the heart is.”
- Travel Quotes: Include quotes from your favorite travel books or movies that evoke a sense of wanderlust, such as, “Travel is the only thing you buy that makes you richer.”
Once you’ve selected your quotes, the next step is to think about the **design**. The font style, size, and color should harmonize with the maps you’ve chosen. For example, a vintage map might pair beautifully with a classic serif font, whereas a modern map could look stunning with a bold, sans-serif typeface. You might even consider using a **calligraphy** style for a more artistic touch. Here’s a quick overview of how to choose the right design elements:
| Map Style | Font Style | Color Scheme |
|---|---|---|
| Vintage | Serif | Earthy Tones |
| Modern | Sans-Serif | Bold Colors |
| Artistic | Calligraphy | Pastel Shades |
After deciding on the quotes and their design, consider how to **position** them on your maps. You can place quotes at the top, bottom, or even within the map itself, depending on the composition. This not only makes the text a part of the visual story but also invites viewers to explore the connection between the words and the imagery. Using a contrasting color for the text can help it stand out, ensuring that it captures attention without overshadowing the map itself.
Finally, don't hesitate to add your own **artistic flair**! You can handwrite quotes for a personal touch or use a digital tool to design them. If you’re feeling crafty, consider using **stencils or vinyl lettering** for a clean look. The key is to ensure that the quotes enhance the overall design rather than detract from it. Remember, your wall decor should be a reflection of your journey, both geographically and personally.
Q: How do I choose the right quotes for my map decor?
A: Focus on themes that resonate with your experiences, such as travel, adventure, or personal mantras. Select quotes that inspire or evoke memories related to the places on your maps.
Q: Can I mix different font styles in my map decor?
A: Yes! Mixing font styles can create a dynamic look, but be sure to maintain a cohesive theme. For example, pairing a bold font with a delicate script can add visual interest while still looking polished.
Q: What’s the best way to attach quotes to my maps?
A: You can use various methods, including adhesive vinyl, printed text on cardstock, or even handwritten quotes. Just ensure that the method you choose complements the overall aesthetic of your decor.
Frequently Asked Questions
- What types of maps are best for wall decor?
When it comes to choosing maps for wall decor, it really depends on your personal style! Vintage maps can add a touch of nostalgia, while modern maps might fit better in contemporary spaces. Themed maps, like those showcasing national parks or cities, can also make a striking statement. Ultimately, select maps that resonate with your travels and interests!
- What materials do I need for my map wall decor project?
Gathering the right materials is key to a successful DIY project. You'll need maps, frames, adhesives, scissors or craft knives, and possibly cutting mats. If you're feeling adventurous, consider adding embellishments like washi tape or decorative borders to enhance your designs!
- Which adhesives work best for mounting maps?
There are several adhesive options available, each serving different purposes. Glue sticks are great for lightweight projects, while spray adhesives offer a smooth, even application. Double-sided tape is another excellent choice for easy mounting. For eco-conscious crafters, look for eco-friendly adhesives that provide a strong bond without harmful chemicals.
- How can I create a gallery wall with maps?
Creating a gallery wall with maps is a fun way to showcase your travels! Start by selecting a variety of maps that vary in size and color. Lay them out on the floor to experiment with different arrangements before hanging them. Consider mixing in other art pieces or photos to create a dynamic display that tells your story.
- Can I personalize my map decor?
Absolutely! Personalizing your map decor can make it even more special. You can incorporate personal photographs, meaningful quotes, or even sketches that relate to your travels. This not only adds a unique touch but also enhances the narrative of your wall art.
- What are some creative ways to display map collages?
Map collages can be incredibly eye-catching! Try layering different maps on top of each other, or cutting them into shapes and arranging them in a creative pattern. You could also mix in other materials, like fabric or paper, to add texture and depth to your collage.


