Refresh Your Home with DIY Paint Projects
Are you tired of the same old look in your living space? Ready to breathe new life into your home without breaking the bank? Well, you’re in luck! DIY paint projects are the perfect way to unleash your creativity while giving your home a fresh, vibrant makeover. Imagine transforming dull walls or tired furniture into stunning focal points that reflect your personality. With just a few strokes of a brush, you can create a space that feels brand new.
In this guide, we’ll explore a variety of creative and budget-friendly paint projects that are not only enjoyable but also incredibly rewarding. Whether you’re a seasoned DIY enthusiast or just starting out, there’s something here for everyone. We’ll delve into essential techniques, handy tips, and inspiring ideas that will spark your imagination and help you embark on your next home improvement endeavor.
So, grab your paintbrushes and put on your creative hat! Let's dive into the world of DIY painting, where the only limit is your imagination. From choosing the right paint to exploring innovative techniques, we’ll equip you with all the knowledge you need to transform your home into a masterpiece. Ready to get started? Let’s roll up those sleeves and make some magic happen!
When it comes to DIY painting, selecting the appropriate paint type and finish is crucial for any project. Are you planning to paint a wall, furniture, or maybe even a craft project? Understanding the different paint options available can make all the difference in achieving the desired look and durability. For instance, if you're painting a high-traffic area, you might want to opt for a washable finish, while a matte finish could be perfect for low-traffic areas where aesthetics are a priority.
Here’s a quick breakdown of common paint types:
| Paint Type | Best For | Finish |
|---|---|---|
| Latex Paint | Walls, ceilings | Matte, eggshell, satin |
| Oil-Based Paint | Furniture, trim | Semi-gloss, gloss |
| Chalk Paint | Furniture, crafts | Matte, chalky finish |
| Spray Paint | Small items, crafts | Gloss, matte |
By selecting the right paint, you set the stage for a successful DIY project that not only looks great but also lasts. Remember, the finish of the paint can dramatically change the appearance of your project, so choose wisely!
Having the right tools can make all the difference in your painting project. Imagine trying to bake a cake without the right utensils—it just wouldn’t turn out the same, right? The same goes for painting! Here are some must-have tools that will ensure a smooth and enjoyable painting experience:
- Paintbrushes: Different sizes and shapes for various applications.
- Rollers: Ideal for covering large areas quickly.
- Painter's Tape: Keeps lines clean and edges sharp.
- Drop Cloths: Protects your floors and furniture from spills.
- Paint Tray: Holds paint for easy access while working.
With these tools at your disposal, you’ll be well-equipped to tackle any painting project that comes your way!
Now that you have your tools and paint sorted, let’s talk about some innovative painting techniques that can transform your space dramatically. Why settle for a plain wall when you can add texture, patterns, and depth? Here are a couple of exciting techniques to consider:
Ombre painting creates a beautiful gradient effect that adds interest to any room. It’s like watching a sunset on your wall! To achieve this trendy look, you can blend two or more colors seamlessly from light to dark. Start by painting the lighter shade at the top and gradually mix in the darker color as you move down. With a little patience and practice, you can create a stunning focal point that will leave your guests in awe.
If you’re looking to incorporate designs into your home decor easily, stenciling is the way to go. It’s like adding a piece of art to your walls without the hefty price tag! You can use stencils to create patterns, borders, or even quotes that reflect your style. Just remember to use painter's tape to secure the stencil in place, and you’ll have a masterpiece in no time!
Transforming old furniture with paint is a sustainable and stylish option that not only saves money but also reduces waste. Instead of tossing out that old chair or table, why not give it a new lease of life? With a little creativity and the right techniques, you can turn forgotten pieces into stunning focal points in your home.
Chalk paint offers a unique finish that’s perfect for upcycling furniture. It’s easy to work with, dries quickly, and gives a rustic, vintage look that’s all the rage. Simply apply a coat of chalk paint, let it dry, and then sand the edges for that distressed effect. You’ll be amazed at how a little paint can transform your beloved pieces!
Color blocking can create a bold statement in any room. By using contrasting colors, you can refresh your furniture and enhance your decor. Think of it as painting a canvas—play with colors and shapes to create a design that speaks to you. It’s a fun way to express your personality and make your space truly unique.
Once you’ve completed your painting projects, it’s important to maintain those beautiful surfaces to keep them looking fresh. Proper maintenance extends the life of your painted areas and ensures they continue to shine. Here are some tips to help you care for your newly painted spaces:
Understanding how to clean painted surfaces can prevent damage. Use a soft cloth or sponge with mild soap and water for most finishes. For tougher stains, consider using a gentle cleaner that won’t strip the paint. Always test in an inconspicuous area first to avoid any mishaps!
Touch-ups are inevitable over time, especially in high-traffic areas. To ensure a polished appearance, keep a small amount of your paint handy for those minor repairs. A small brush can help you seamlessly repair chips and scratches, keeping your walls looking as good as new.
Q: How do I choose the right paint finish?
A: Consider the room's function—high-traffic areas benefit from durable finishes like satin or semi-gloss, while low-traffic areas can use matte finishes for a softer look.
Q: Can I use regular paint on furniture?
A: While you can use regular paint, furniture paint or chalk paint is recommended for better adhesion and a more durable finish.
Q: How long does painted furniture take to dry?
A: Drying times vary by paint type, but typically, chalk paint dries within 30 minutes to an hour. Always check the manufacturer's instructions for specific drying times.
With these tips and tricks, you're well on your way to refreshing your home with stunning DIY paint projects. Happy painting!

Choosing the Right Paint
When it comes to transforming your living space, is a decision that can dramatically affect the final outcome of your DIY project. With a plethora of options available, it’s essential to understand the various types of paint and their finishes to ensure you select the best one for your specific needs. For instance, are you painting a high-traffic area that requires durability, or are you looking to create a cozy atmosphere in a bedroom? Each scenario calls for a different approach.
First, let’s break down the types of paint you might encounter:
- Latex Paint: This water-based paint is perfect for interior walls and ceilings. It dries quickly and is easy to clean with soap and water, making it a popular choice for DIYers.
- Oil-Based Paint: Known for its durability and smooth finish, oil-based paint is ideal for surfaces that need to withstand wear and tear, such as trim and cabinets. However, it requires solvents for cleanup and has a longer drying time.
- Chalk Paint: If you're looking for a vintage or rustic finish, chalk paint is your go-to. It adheres well to various surfaces without the need for priming and can be easily distressed for a charming look.
- Spray Paint: Perfect for smaller projects or intricate designs, spray paint offers a smooth finish and is great for items like furniture or decorative accents.
Next, consider the finish of the paint, which can significantly influence the appearance of your walls. The main finishes include:
| Finish Type | Characteristics | Best For |
|---|---|---|
| Matte | Non-reflective, hides imperfections | Low-traffic areas like bedrooms |
| Satin | Soft sheen, easy to clean | Living rooms, hallways, and kids' rooms |
| Eggshell | Low sheen, good durability | Dining rooms and moderate-traffic areas |
| Gloss | High shine, very durable | Trim, cabinets, and furniture |
Understanding these options allows you to tailor your paint choice to your specific project. For example, if you’re planning to paint a child's room, you might want to opt for a satin finish that can withstand scuffs and is easy to wipe clean. On the other hand, if you’re refreshing your kitchen cabinets, an oil-based gloss would provide the durability and shine needed to stand up to daily use.
Finally, don’t forget to test your paint! Purchase small sample pots of your chosen colors and apply patches on your walls. Observe how the colors change with the light throughout the day. This simple step can save you from the heartache of a color regret later on. Ultimately, the right paint can breathe new life into your home, making it a reflection of your personality and style.

Essential Tools for DIY Painting
When it comes to DIY painting projects, having the right tools is like having a well-tuned instrument before a concert; it sets the stage for a masterpiece. The tools you choose can make a significant difference in the quality and ease of your work. So, let’s dive into the essential tools that every DIY painter should have in their arsenal!
First and foremost, you’ll need paintbrushes and rollers. These are your primary weapons in the battle against dull walls. Paintbrushes come in various shapes and sizes, each designed for specific tasks. For instance, a flat brush is perfect for cutting in along edges, while a round brush is ideal for detailed work. On the other hand, rollers are fantastic for covering large areas quickly. When selecting a roller, consider the nap length; a longer nap is great for textured surfaces, while a shorter nap works well on smooth walls.
Next up, we have prep tools. Preparation is the secret sauce to a flawless paint job. You wouldn't bake a cake without mixing the ingredients first, right? Similarly, prepping your surfaces is crucial. Essential prep tools include drop cloths to protect your floors, tape to create clean lines, and spackle for filling in any holes or imperfections. A good quality tape can be a game-changer, ensuring that your edges are sharp and professional-looking.
Additionally, investing in a paint tray is a smart move. It allows you to load your roller with paint efficiently and helps minimize mess. Don’t forget a paint stirrer to mix your paint thoroughly, ensuring a consistent color throughout your project. And for those who want to take their DIY skills to the next level, a paint sprayer can provide a smooth, even finish that brushes and rollers sometimes can’t achieve.
Lastly, let’s not overlook the importance of cleaning tools. After all, a painter's work is never truly done until the brushes are cleaned! A good brush cleaner or a simple bucket of soapy water can save your brushes for future projects. Keeping your tools in top shape not only extends their life but also ensures that your future projects will be as polished as your current one.
In summary, the right tools can elevate your DIY painting project from ordinary to extraordinary. So, gather your brushes, rollers, and prep tools, and get ready to transform your space into something spectacular!
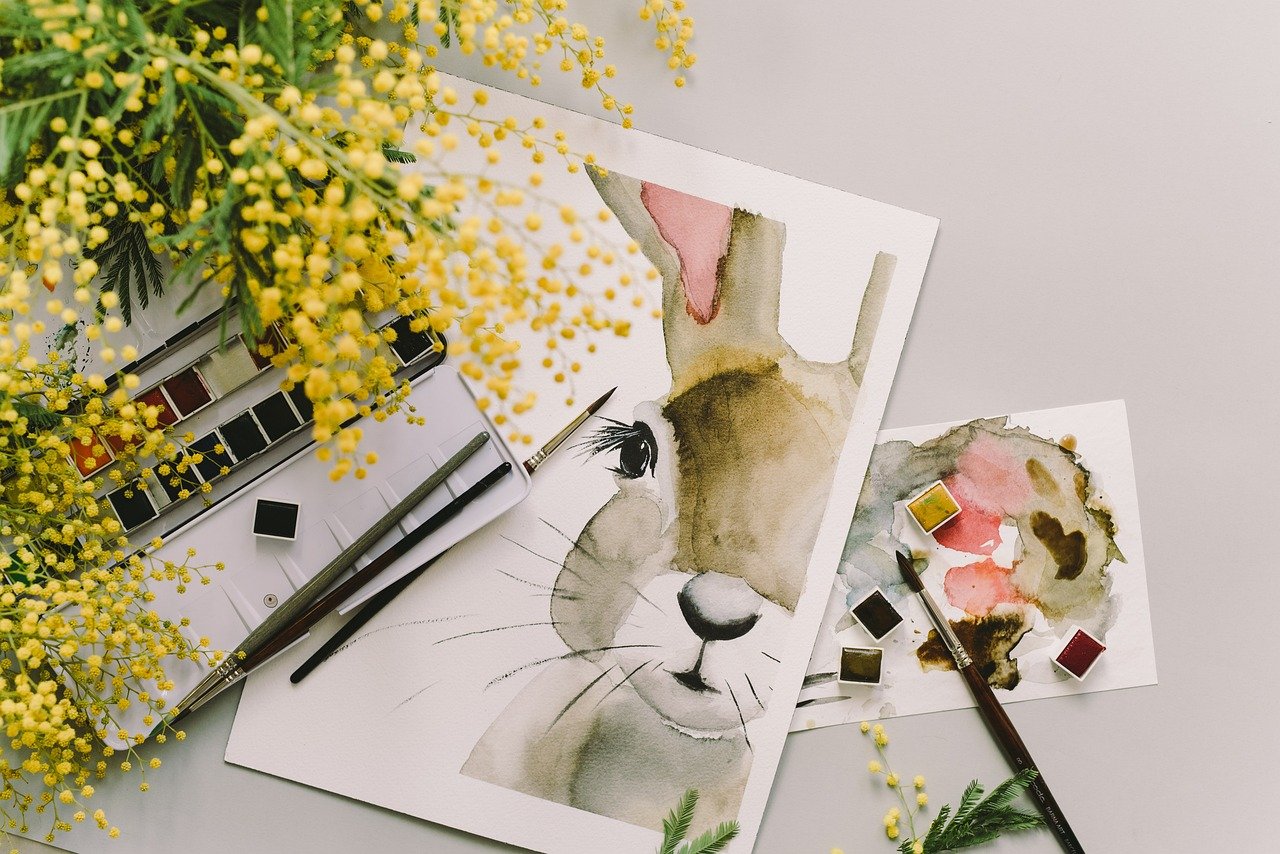
Brushes and Rollers
When it comes to DIY painting projects, the right tools can make or break your success. Among these tools, brushes and rollers are your best friends. They each have unique characteristics that cater to different tasks, making them essential for achieving a professional finish. So, how do you choose the right one for your project? Let’s break it down.
First, consider the type of paint you’re using. Oil-based paints often require natural bristle brushes, while synthetic brushes are better suited for water-based paints. The bristle material plays a crucial role in how well the paint adheres to the surface. For example, a high-quality brush with stiff bristles will help you achieve a smooth finish on rough surfaces, while a softer brush is ideal for delicate work.
Now, let’s talk about rollers. They are fantastic for covering large areas quickly and efficiently. The nap (the thickness of the roller cover) is essential when selecting a roller. A short nap (1/4 inch) is perfect for smooth surfaces like drywall, while a long nap (3/4 inch or more) is better for textured surfaces. Using the right nap ensures that you get an even coat without leaving roller marks.
Here’s a quick comparison of brushes and rollers:
| Tool | Best For | Finish Quality |
|---|---|---|
| Brush | Edges, corners, and detailed work | High quality, smooth finish |
| Roller | Large flat surfaces | Quick coverage, may require touch-ups |
Additionally, don’t forget about roller trays and extension poles. A roller tray allows for even paint distribution, while an extension pole can help you reach those tricky spots without the need for a ladder. It’s all about making your painting experience as smooth as possible!
In conclusion, whether you opt for a brush or a roller, understanding their specific uses and characteristics will empower you to make the right choice for your DIY paint project. Remember, investing in quality tools can save you time and effort in the long run, allowing you to focus on transforming your space into something truly special.
- What type of brush should I use for water-based paint? A synthetic brush is recommended for water-based paints as it holds the paint well and provides a smooth finish.
- Can I use a roller for painting edges? While rollers are great for large areas, it's best to use a brush for edges and corners to ensure precision.
- How do I clean my brushes and rollers after painting? For water-based paints, clean your brushes and rollers with soap and water. For oil-based paints, you'll need mineral spirits or paint thinner.
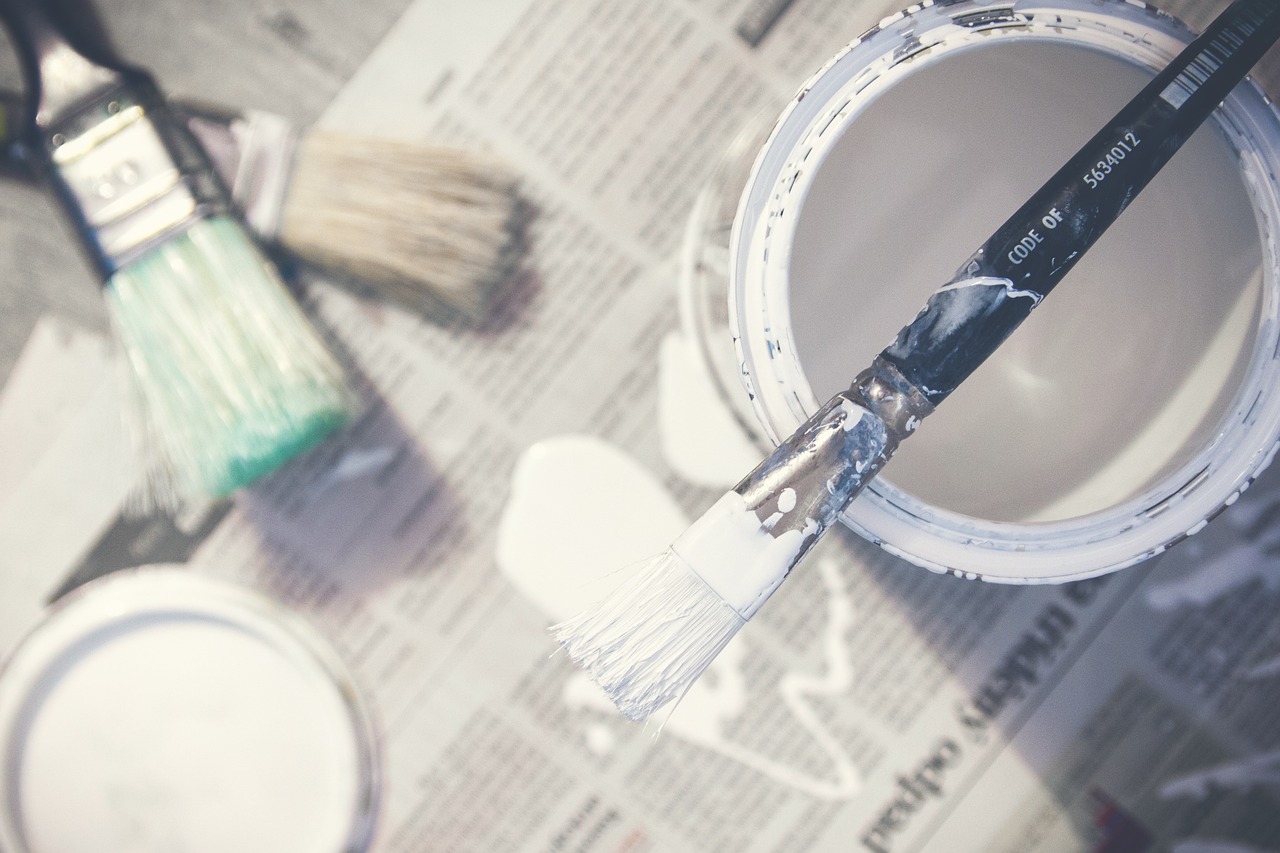
Prep Tools
When it comes to DIY painting projects, preparation is the unsung hero that can make or break your efforts. Think of it like baking a cake; if you don't have your ingredients prepped and ready, the final product might not rise to the occasion. The same goes for painting—having the right prep tools at your disposal ensures that your surfaces are clean, smooth, and ready for that beautiful coat of color. Here are some essential prep tools you should consider before diving into your painting adventure:
- Drop Cloths: Protect your floors and furniture with durable drop cloths. They catch drips and spills, saving you from potential disasters.
- Painter's Tape: This is your best friend for creating clean, sharp lines. Use it to tape off areas you don’t want painted, like trim and windows.
- Sandpaper or a Sanding Block: Smooth out rough surfaces or remove old paint to ensure a flawless finish. Opt for finer grits for delicate tasks.
- Cleaning Supplies: Before you paint, you’ll want to clean the surfaces thoroughly. A simple mixture of water and mild detergent can work wonders.
- Putty Knife: If you have holes or imperfections in your walls, a putty knife will help you fill them with spackle or joint compound, creating a seamless surface.
Once you have your tools ready, take a moment to assess your workspace. A clutter-free environment will not only boost your productivity but also keep you safe from accidents. Make sure you have adequate lighting, as it can help you spot imperfections that need attention before you start painting. And don’t forget to wear appropriate clothing and protective gear, such as gloves and a mask, especially if you’re working with strong-smelling paints or chemicals.
Preparation might seem tedious, but the time you invest in it will pay off when you see the final results. A well-prepped surface will not only look better but will also help the paint adhere properly, reducing the chances of peeling or chipping in the future. So, roll up your sleeves and get ready to make your space shine!
Q1: What is the most important prep tool for painting?
A1: While all prep tools are important, painter's tape is crucial for achieving clean lines and protecting areas you don’t want painted.
Q2: How do I clean surfaces before painting?
A2: Use a mixture of warm water and mild detergent to clean surfaces. Make sure to rinse and dry them thoroughly before painting.
Q3: Can I skip sanding if my walls look smooth?
A3: It’s best not to skip sanding, even if walls look smooth. Sanding helps the paint adhere better and creates a more even finish.
Q4: How long should I wait after cleaning before I start painting?
A4: Allow surfaces to dry completely after cleaning, which usually takes about 1-2 hours, depending on humidity and temperature.
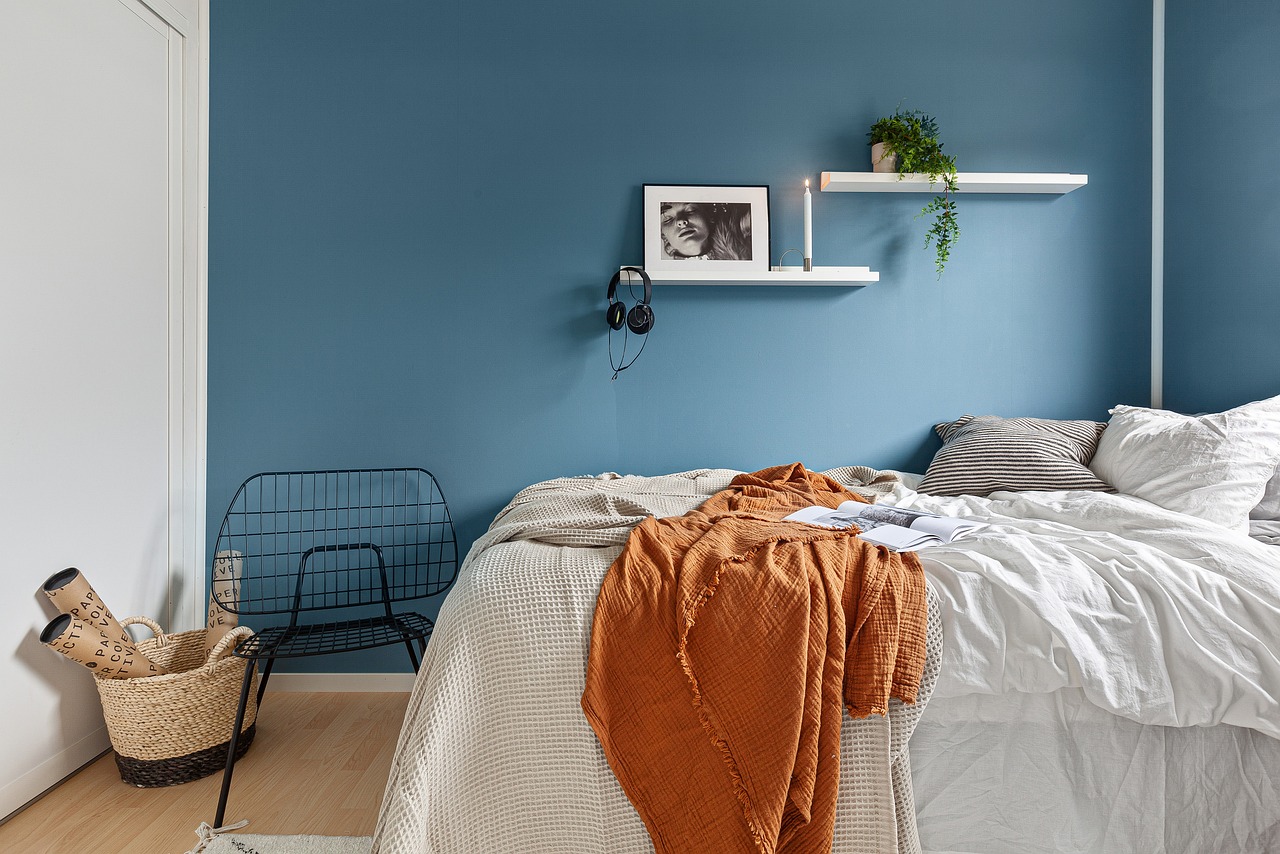
Creative Painting Techniques
When it comes to breathing new life into your home, can be your best friend. These methods not only elevate the aesthetic appeal of your space but also allow you to express your personality and style. Imagine transforming a dull wall into a vibrant canvas that tells a story! Let’s dive into some innovative techniques that can add texture, patterns, and depth to your walls, making them the focal point of any room.
One of the most popular techniques these days is the ombre effect. This method involves blending one color into another, creating a stunning gradient that can add a sense of calm and sophistication to your space. To achieve this, start by selecting two or three shades of the same color. Begin with the lightest shade at the top of the wall and gradually blend in the darker tones as you move down. It's like watching a beautiful sunset unfold right in your living room! To make it easier, you can use a sponge or a brush to blend the colors seamlessly, ensuring there are no harsh lines.
Another exciting technique is stenciling. This method allows you to incorporate intricate designs and patterns into your home decor without the need for professional skills. You can find a wide range of stencils online or even create your own! Simply choose a design that resonates with you, tape it securely to the wall, and apply paint with a sponge or a brush. The result? A stunning, personalized touch that can make your room feel unique and inviting. Don’t hesitate to mix and match colors to create a playful vibe or stick to monochrome for a more elegant look.
For those looking to add a bit of drama, consider using textured painting techniques. Techniques like rag rolling or sponge painting can create a beautiful, layered effect that adds depth to your walls. With rag rolling, you can use a rag to apply a second color over the base coat, creating a soft, textured finish that resembles fabric. This method is perfect for creating a warm, cozy atmosphere in spaces like bedrooms or living rooms. Meanwhile, sponge painting can add a bit of flair to your kitchen or bathroom, giving it a fresh and lively feel.
To help you visualize these techniques, here’s a quick comparison table of the methods we’ve discussed:
| Technique | Description | Best For |
|---|---|---|
| Ombre Effect | Gradient blending of colors | Living rooms, bedrooms |
| Stenciling | Incorporating designs and patterns | Accent walls, children's rooms |
| Textured Techniques | Creating layered effects with tools | Cozy spaces, kitchens |
Finally, don’t forget about the power of color blocking. This technique involves painting large blocks of contrasting colors on your walls or furniture, creating a bold statement that can energize a room. It’s a fantastic way to play with color and bring a modern touch to your decor. Whether you choose to block colors on a single wall or use it on furniture pieces, the result will surely be eye-catching!
In conclusion, unleashing your creativity through these painting techniques can transform your home into a vibrant reflection of your style. So, grab your brushes, choose your colors, and let your imagination run wild! Your walls are just waiting to tell a story.
Q: What is the best paint type for ombre effects?
A: Acrylic or latex paints work best for ombre effects due to their easy blendability and quick drying times.
Q: Can I stencil on textured walls?
A: Yes, but it might be a bit challenging. Ensure to use a thicker paint and press the stencil firmly to avoid bleeding.
Q: How do I clean my textured walls?
A: Use a soft cloth or sponge with mild soap and water. Avoid harsh chemicals that can damage the paint.
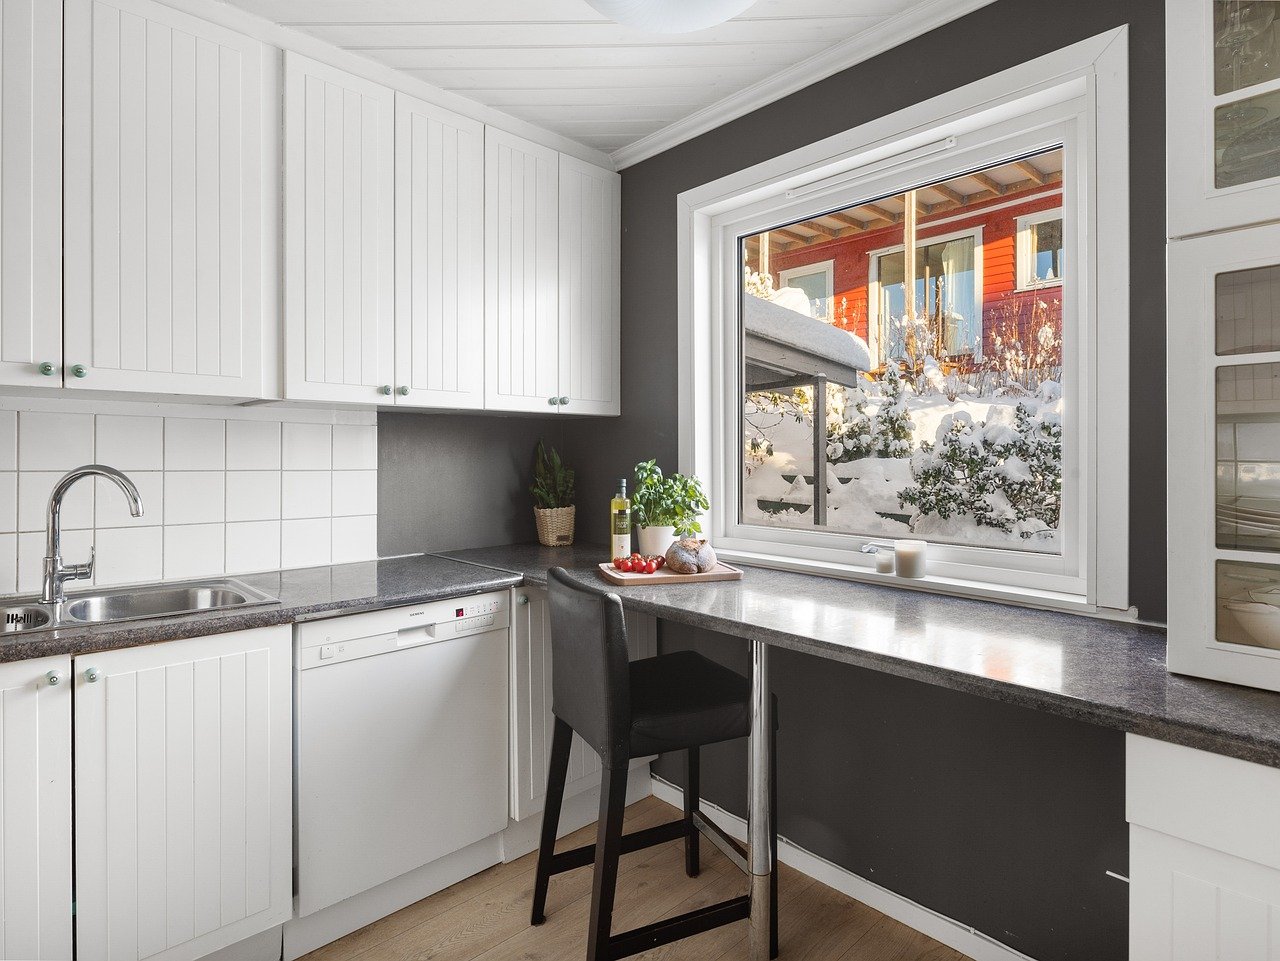
Ombre Effects
Are you looking to add a touch of modern flair to your walls? might just be the answer! This trendy painting technique creates a stunning gradient that can transform any room into a visual masterpiece. Imagine walking into a space where the colors flow seamlessly from one to another, creating a sense of depth and movement. It’s like having a piece of art right on your walls!
To achieve this captivating effect, you’ll need to start with a few essential supplies. First, gather your paint colors—typically, you’ll want to choose two or more shades of the same color family. For instance, if you’re working with blue, consider using a deep navy and a soft sky blue to create a smooth transition. Next, you’ll need a quality paintbrush, a roller, and a paint tray. Having these tools ready will set you up for success!
Before you dive in, preparation is key. Make sure to clean the walls thoroughly and tape off any areas you want to protect. Start with the lightest color at the bottom of the wall and work your way up to the darker shade. Using a roller, apply the lighter color first, then switch to the darker shade. While the paint is still wet, use a dry brush or a sponge to blend the two colors together. This technique creates that stunning gradient effect you’re after. Remember, patience is essential—take your time to ensure a smooth transition!
Here’s a quick tip: if you want to add even more dimension, consider using a third color in the mix. This can add depth and make your ombre effect even more striking. For example, if you’re using navy and sky blue, a soft teal in between can create a beautiful, layered look. Just make sure to blend each color while the paint is still wet for the best results!
Once you’ve achieved your desired look, let the paint dry completely before removing the tape. The moment you peel it away, you’ll unveil your beautiful ombre wall, and trust me, it’s a moment worth celebrating! This technique is perfect for accent walls, bedrooms, or even a playful twist in a child’s room. The possibilities are endless!
So, why not give it a try? Ombre painting is not just for professional decorators; it’s a fun DIY project that can elevate your home decor without breaking the bank. With just a little creativity and some elbow grease, you can create a stunning focal point that will leave your guests in awe!
- How long does it take for the ombre paint to dry? - Generally, it takes about 1-2 hours for the paint to dry, but it’s best to check the manufacturer’s instructions for specific drying times.
- Can I use spray paint for ombre effects? - Yes, spray paint can be used for ombre effects, but it requires a steady hand and careful blending to achieve the desired look.
- What if I make a mistake while blending? - Don’t worry! You can always touch up the area with the base color and try blending again.

Stenciling Ideas
Stenciling is one of those magical techniques that can transform a plain wall or piece of furniture into a stunning focal point in your home. Imagine walking into a room that has a beautiful pattern dancing across the walls, capturing your attention and sparking conversation. The beauty of stenciling lies in its versatility; you can use it to create anything from intricate designs to bold statements. Whether you're a seasoned DIYer or a newbie, stenciling is an accessible way to express your creativity.
Before diving into your stenciling project, it’s essential to choose the right stencil design that complements your space. You can opt for geometric patterns for a modern look, floral designs for a touch of elegance, or even whimsical motifs for a playful vibe. The options are endless! Once you've selected your design, consider the color palette carefully. A well-chosen color scheme can make your stencil pop, enhancing the overall aesthetic of the room.
One of the best things about stenciling is that it doesn’t require a lot of expensive materials. You can easily create your own stencils using materials like cardstock or plastic sheets. Just print out your design, cut it out, and you’re ready to go! If you prefer to purchase stencils, many craft stores offer a wide variety of pre-made options. When it comes to applying the stencil, use painter’s tape to secure it in place, ensuring clean lines and preventing it from shifting while you work.
Now, let’s talk techniques! One popular method is the dry brush technique, where you dip your brush lightly in paint and remove most of it before applying it to the stencil. This creates a softer, more textured look that adds depth to your design. Alternatively, you can use a sponge for a more blended effect. For those who want a bolder appearance, consider using a foam roller to apply paint evenly across the stencil, resulting in vibrant, crisp edges.
Stenciling isn’t just limited to walls; you can apply this technique to furniture, fabric, and even floors! For instance, stenciling a side table can turn an ordinary piece into a stunning accent that draws the eye. Similarly, using stencils on fabric can create unique throw pillows or curtains that reflect your personal style. The key is to experiment and have fun with it!
Finally, let’s not forget about the cleanup. After you finish stenciling, make sure to clean your brushes and stencils promptly to prevent paint from drying and ruining your tools. A little soap and water will do the trick for water-based paints, while mineral spirits are great for oil-based options.
In summary, stenciling is a fantastic way to add character to your home without breaking the bank. With a bit of creativity and the right tools, you can transform any space into a masterpiece that reflects your unique style. So, grab your brushes, pick a stencil, and let your imagination run wild!
- What type of paint should I use for stenciling? It's best to use acrylic or latex paint for stenciling, as they provide good coverage and are easy to clean.
- Can I reuse stencils? Absolutely! Just make sure to clean them thoroughly after each use to maintain their quality.
- How do I fix mistakes while stenciling? If you make a mistake, you can use a small brush to touch up the area with your base color or paint over it once it dries.
Upcycling Furniture with Paint
Upcycling furniture with paint is not just a trendy activity; it's a fantastic way to breathe new life into your beloved pieces while also being kind to the environment. Imagine your old, tired furniture transformed into a vibrant centerpiece that sparks joy every time you walk into the room. With a little creativity and the right techniques, you can turn dull and outdated items into stunning works of art. So, why not embrace this rewarding DIY journey? Let’s dive into some techniques and ideas that will inspire you to get started!
One of the most popular methods for upcycling furniture is using chalk paint. This type of paint is known for its matte finish and excellent adhesion properties, making it perfect for various surfaces, including wood, metal, and even plastic. The beauty of chalk paint lies in its versatility; it can be used to create a rustic, vintage look that adds character to any piece. To apply chalk paint, start by cleaning your furniture thoroughly and lightly sanding any glossy surfaces. Once prepared, simply apply the paint using a brush or roller. You’ll find that it dries quickly, allowing you to add multiple coats if desired.
Another exciting technique is color blocking. This method involves painting different sections of a piece of furniture in contrasting colors to create a bold, eye-catching look. For example, imagine a sleek dresser with a bright yellow bottom half and a deep navy blue top. Color blocking is a fun way to express your personality and can easily be adapted to match your home decor. To achieve this look, use painter’s tape to delineate the sections you want to paint, ensuring clean lines and a professional finish. Don’t be afraid to experiment with unexpected color combinations!
When upcycling furniture, it’s essential to consider the overall style of your home. For instance, if you have a modern aesthetic, sleek lines and a monochromatic palette might work best. Conversely, if your home has a more eclectic vibe, feel free to mix and match colors and patterns. The key is to let your creativity flow and make choices that resonate with you. After all, your home should reflect your personality!
Moreover, don’t forget about the finishing touches. Once your furniture is painted and dried, consider adding new hardware, such as knobs or handles, to enhance its appearance. This small change can make a significant difference in the overall look of the piece. You might even want to add a coat of protective sealant to ensure durability, especially for items that will see a lot of use, like dining tables or chairs.
If you’re feeling adventurous, you can also explore decoupage as a way to personalize your upcycled furniture. This technique involves gluing decorative paper or fabric onto your furniture and sealing it with a clear coat. It’s a wonderful way to incorporate patterns and textures that reflect your style. Imagine a side table adorned with beautiful floral prints or geometric designs—talk about a conversation starter!
In conclusion, upcycling furniture with paint is an enjoyable and fulfilling way to refresh your living space. Not only does it allow you to create unique pieces that are tailored to your taste, but it also promotes sustainability by giving old items a second chance. So, gather your supplies, unleash your creativity, and let your furniture tell a new story!
- What type of paint is best for upcycling furniture? Chalk paint is a popular choice due to its matte finish and ease of use. However, acrylic and latex paints can also work well, depending on the desired look and finish.
- Do I need to sand my furniture before painting? Lightly sanding glossy surfaces is recommended to ensure better paint adhesion. For most painted surfaces, thorough cleaning will suffice.
- How can I achieve a distressed look? To create a distressed effect, apply chalk paint, then lightly sand the edges and corners after it dries. You can also use a wax finish to enhance the vintage appearance.
- Is it necessary to use a sealant on painted furniture? While it's not mandatory, using a sealant can protect your paint job and increase durability, especially for high-use items.
Chalk Paint Techniques
Chalk paint has become a favorite among DIY enthusiasts and interior decorators alike, and for good reason! Its unique matte finish and versatility allow you to transform ordinary furniture into stunning statement pieces. Whether you're looking to give an old chair a new lease on life or revamp a tired dresser, chalk paint can help you achieve a breathtaking look with minimal effort. One of the best things about chalk paint is that you don’t need to be a professional to get fantastic results. So, let’s dive into some effective techniques to make the most of this fabulous paint!
First off, one of the most popular techniques with chalk paint is the distressed finish. This method involves applying a coat of chalk paint, allowing it to dry, and then lightly sanding the edges and surfaces to reveal the wood underneath. This not only adds character but also creates a vintage, rustic look that works beautifully in farmhouse-style decor. To achieve this, you can use a fine-grit sandpaper and focus on areas that would naturally wear over time, like corners and edges.
Another exciting technique is the two-tone effect. This involves painting the base of your furniture one color and the top another. For instance, imagine a vibrant turquoise on the bottom and a soft white on top. This contrast can really make your piece pop! To execute this, simply tape off the area you want to keep a different color and apply your chosen shades. Once dry, you can add a clear wax finish to seal and protect your masterpiece.
If you’re feeling adventurous, try the ombre effect with chalk paint! This technique creates a beautiful gradient that can add a sense of depth and intrigue to your furniture. Start with a darker shade at the bottom and gradually blend in lighter shades as you move up. This technique works particularly well on larger pieces like dressers or cabinets. Remember to work quickly while the paint is still wet to achieve that seamless blend.
For those who love patterns, consider using stencils with chalk paint. This method allows you to incorporate intricate designs into your furniture, giving it a personalized touch. You can create everything from geometric patterns to floral motifs. Simply place the stencil on your painted surface, secure it with painter’s tape, and apply your chalk paint over it. Once you remove the stencil, you’ll be left with a stunning design that looks professionally done!
Finally, don’t forget about the importance of sealing your work. While chalk paint is durable, applying a wax or clear coat can enhance its longevity and protect it from scratches and stains. Waxing is particularly popular because it adds a soft sheen and further enhances the vintage aesthetic. Just remember to let your paint cure for a few days before sealing it to ensure the best results.
In summary, chalk paint offers a plethora of techniques that can elevate your DIY projects to new heights. From distressed finishes to two-tone effects, the possibilities are endless. So grab your brushes, unleash your creativity, and let chalk paint work its magic in your home!
Q: Can I use chalk paint on any surface?
A: Yes! Chalk paint adheres well to most surfaces, including wood, metal, and even fabric. However, it’s always best to clean and prep the surface first for optimal results.
Q: Do I need to sand my furniture before using chalk paint?
A: Not necessarily! One of the great things about chalk paint is that it often doesn’t require sanding. However, if your furniture has a glossy finish, a light sanding can help the paint adhere better.
Q: How long does chalk paint take to dry?
A: Chalk paint typically dries quickly, usually within 30 minutes to an hour. However, for the best results, allow it to cure for a few days before applying any topcoat.
Q: Can I mix chalk paint colors?
A: Absolutely! Mixing colors can create custom shades that perfectly match your decor. Just make sure to mix enough paint to complete your project, as replicating the exact color later can be tricky.
Color Blocking
Color blocking is a bold and vibrant way to refresh your living space, and it’s easier than you might think! Imagine walking into a room where the walls burst with contrasting hues, creating a visual feast for the eyes. This technique involves using blocks of solid colors to create striking designs that can completely transform the look and feel of your furniture and decor. It’s like painting with a purpose, where each color tells a story and contributes to the overall aesthetic.
To get started with color blocking, first, you’ll want to choose a color palette that resonates with your style and the mood you want to create. Consider using a mix of complementary colors, or go for a monochromatic scheme with varying shades of the same color. The key is to select colors that not only look good together but also enhance the features of the space. For instance, if you have a small room, lighter colors can make it feel more spacious, while darker hues can add warmth and coziness.
Once you’ve chosen your colors, it’s time to plan your design. You can use painter's tape to outline the sections where you want to apply different colors. This will help you achieve clean lines and prevent any accidental smudges. When applying the paint, start with the lighter colors first to avoid any mixing issues. It’s also a good idea to use a primer if you're painting over a dark surface, as this will help the colors pop and ensure even coverage.
For example, if you're transforming a piece of furniture like a dresser, you might choose to paint the drawers one color and the body a different shade. This not only adds visual interest but also allows you to personalize your furniture to match your decor. You can even experiment with shapes—triangles, rectangles, or even geometric patterns can add a modern twist to your pieces. The possibilities are endless!
Here’s a quick tip: if you’re feeling adventurous, try mixing textures with your color blocking. Incorporating matte and glossy finishes can create a dynamic look that draws the eye and adds depth to your project. You can also consider using stencils to create unique designs within your color blocks, making them truly one-of-a-kind.
As you embark on your color blocking journey, remember that it’s all about having fun and expressing your creativity. Don’t be afraid to experiment and make mistakes—sometimes the best designs come from unexpected choices. So grab your brushes and get ready to unleash your inner artist!
- What colors work best for color blocking? Bright, contrasting colors tend to work well, but you can also use softer shades for a more subtle look. The key is to choose colors that complement each other.
- Can I use color blocking on walls? Absolutely! Color blocking can be applied to walls, furniture, and even decor items. It’s a versatile technique that can enhance any space.
- How do I ensure clean lines when color blocking? Using painter's tape is essential for achieving sharp edges. Make sure to press the tape down firmly to prevent paint from seeping underneath.
- Is color blocking suitable for small spaces? Yes! Lighter colors can make a small space feel larger, while strategically placed color blocks can add interest without overwhelming the area.

Maintenance Tips for Painted Surfaces
Once you've transformed your living space with a fresh coat of paint, it's essential to keep it looking pristine. Just like nurturing a garden, maintaining your painted surfaces requires a bit of attention and care. Regular maintenance not only prolongs the life of your paint job but also keeps your home looking vibrant and inviting. So, how do you ensure that your walls, furniture, and other surfaces remain in top-notch condition? Let’s dive into some practical tips that will help you maintain your painted surfaces effectively.
First and foremost, cleaning is a crucial aspect of maintenance. Dust and dirt can accumulate on painted surfaces, dulling their shine and making them look worn. To prevent this, it's advisable to dust your walls regularly with a soft cloth or a duster. For deeper cleaning, use a damp sponge or cloth with a mild detergent solution. However, be cautious! Not all paints react well to water. For example, glossy finishes tend to be more durable and easier to clean, while flat finishes may require special care to avoid damaging the surface. Always test a small, inconspicuous area first to ensure that your cleaning method won’t harm the paint.
Here’s a quick guide on how to clean various paint finishes:
| Paint Finish | Cleaning Method |
|---|---|
| Flat | Use a dry cloth or a gentle vacuum attachment to remove dust. Avoid water. |
| Satin | Wipe with a damp cloth and mild soap. Rinse with clean water. |
| Glossy | Clean with a damp sponge and a mild detergent. Rinse thoroughly. |
Another important aspect of maintenance is addressing touch-ups. Over time, even the most careful homeowners will notice a few chips or scratches on their painted surfaces. Don’t fret! Touching up your paint can be a simple task if you follow these steps:
- Start by cleaning the area around the chip or scratch to remove any dust or debris.
- Use a small brush to apply the same paint color, feathering the edges to blend with the surrounding area.
- Allow the paint to dry completely, and if necessary, apply a second coat for even coverage.
It’s also wise to keep a small supply of your paint on hand for quick touch-ups. If you’ve used a specific brand or color, consider labeling it and storing it in a cool, dry place for easy access. This way, you’ll always be ready to tackle those minor imperfections before they become noticeable.
Lastly, be mindful of environmental factors that can affect your painted surfaces. Direct sunlight can fade colors over time, so consider using curtains or blinds to protect your walls from harsh UV rays. Additionally, humidity can cause paint to bubble or peel, especially in areas like kitchens and bathrooms. Using a dehumidifier in damp areas can help maintain the integrity of your paint job.
Q: How often should I clean my painted walls?
A: Ideally, you should dust your walls every month and do a deeper clean every six months, depending on the traffic and use of the room.
Q: Can I use bleach to clean painted surfaces?
A: It’s best to avoid bleach as it can damage the paint. Stick to mild detergents and water for cleaning.
Q: What should I do if my paint starts to peel?
A: If you notice peeling paint, gently scrape off the loose paint, clean the area, and then touch it up with the original color.
By following these maintenance tips, you can ensure that your painted surfaces remain as stunning as the day you completed your DIY project. Remember, a little effort goes a long way in preserving the beauty of your home!
Cleaning Techniques
Keeping your painted surfaces looking fresh and vibrant is essential for maintaining the overall aesthetic of your home. But let's face it, cleaning can often feel like a daunting task, especially when it comes to painted walls and furniture. The key to effective cleaning lies in understanding the type of paint finish you've used. Different finishes require different care, and knowing this can save you time and prevent damage.
For instance, if you've painted your walls with a matte finish, you'll want to be particularly gentle. A soft, damp cloth is your best friend here. Simply wipe down the surface without applying too much pressure to avoid scuffing the paint. On the other hand, if you've opted for a glossy finish, you can use a mild soap solution to tackle tougher stains. Just make sure to rinse the area with clean water afterward to avoid soap residue.
Let's dive deeper into some effective cleaning methods tailored for different paint finishes:
| Paint Finish | Recommended Cleaning Method |
|---|---|
| Matte | Use a soft, damp cloth; avoid scrubbing. |
| Satin | Mild soap solution with a soft sponge; rinse well. |
| Glossy | Mild soap solution or all-purpose cleaner; rinse well. |
Another important aspect of cleaning is to avoid harsh chemicals that can strip away the paint's finish. Instead, opt for natural cleaning solutions like vinegar or baking soda mixed with water. These are not only effective but also environmentally friendly! For tougher stains, consider using a magic eraser. These little wonders can work miracles on scuff marks without damaging the paint.
Lastly, don't forget about the importance of regular maintenance. A quick dusting or wipe-down every few weeks can prevent grime buildup, making your deep cleaning sessions much easier. Think of it like giving your painted surfaces a little spa day—keeping them clean and happy will extend their life and beauty!
- How often should I clean my painted walls? It’s a good idea to do a light cleaning every 4-6 weeks, with a deeper clean every few months.
- Can I use bleach to clean painted surfaces? It's best to avoid bleach, as it can damage the paint. Stick to mild soap and water instead.
- What should I do if my paint starts to chip? For minor chips, simply touch up the area with the same paint. For larger areas, you may need to sand and repaint.
Touch-Up Strategies
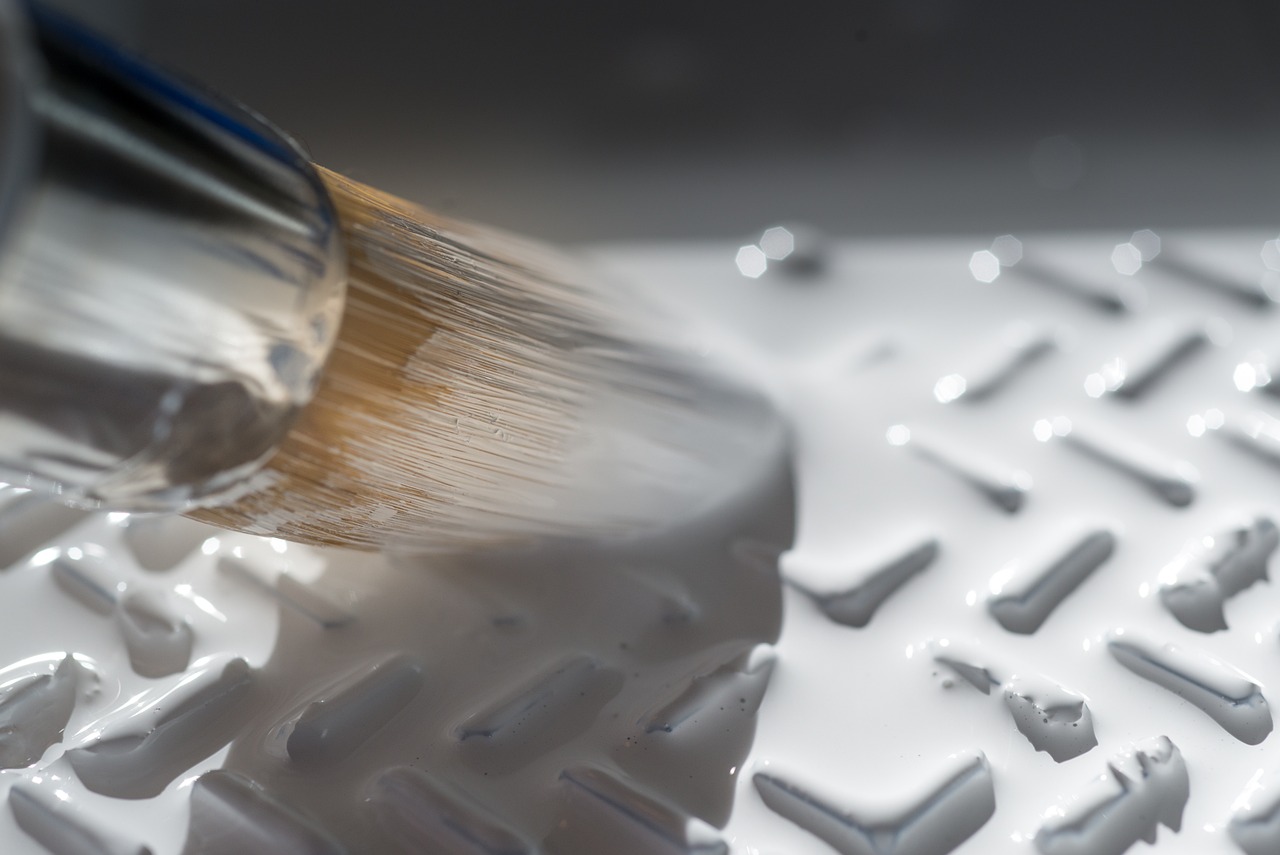
Touching up your painted surfaces might seem like a daunting task, but it doesn't have to be! Think of it as giving your walls a little spa day. Over time, wear and tear can lead to chips, scratches, or scuffs that can detract from the beauty of your freshly painted home. But with the right strategies, you can make those imperfections disappear like magic! First, it’s essential to have a small stash of leftover paint from your original project. This is your secret weapon for touch-ups, as it ensures a perfect color match. If you don’t have leftover paint, don’t worry! You can always take a sample to your local paint store and have it color-matched.
Before you dive into the touch-up process, preparation is key. Start by cleaning the area around the imperfection with a mild detergent and water to remove any dirt or grease. This ensures that the new paint adheres properly. Once dry, take a close look at the damaged area. If the chip is deep, you might need to fill it with a bit of spackle or wood filler, depending on the surface, and sand it smooth after it dries. This step is crucial for achieving a seamless finish.
When it comes to actually applying the touch-up paint, use a small brush or a foam applicator for precision. It's often best to apply the paint in thin layers, allowing each layer to dry completely before adding another. This method helps to avoid visible brush strokes and ensures that the touch-up blends seamlessly with the surrounding area. If you're working on a wall, feather the edges of your touch-up paint into the surrounding area to create a smooth transition. Remember, patience is your friend here!
Once you’ve completed your touch-ups, stand back and admire your handiwork. If you notice that the touch-up is still visible, it may be beneficial to lightly sand the area after it dries and apply another coat. This can help to further blend the colors. In cases where the paint is too shiny compared to the rest of the wall, a light sanding can help to dull the sheen and achieve a uniform look.
Here’s a quick recap of some essential touch-up strategies:
- Always use leftover paint or get a color match.
- Clean the area thoroughly before touching up.
- Fill deep chips with spackle or wood filler.
- Apply paint in thin layers and feather the edges.
- Sand if necessary to achieve a uniform finish.
By following these simple steps, you can keep your painted surfaces looking fresh and vibrant for years to come. Remember, a little maintenance goes a long way in preserving the beauty of your home!
Q: How often should I touch up my painted surfaces?
A: It depends on the traffic and use of the area. High-traffic areas may need touch-ups every 6-12 months, while less-used spaces may last longer.
Q: Can I use a different paint for touch-ups?
A: It's best to use the same paint to ensure color consistency. If you must use a different paint, test it in a small area first.
Q: What if I can't find the exact color match?
A: If you can’t find the exact color, try to match it as closely as possible. You can also consider repainting the entire wall for a uniform look.
Q: Is it necessary to sand before touching up?
A: Sanding is recommended if the area is rough or if you’re trying to blend the touch-up into a shiny finish. It helps create a smooth surface for the new paint.
Q: How can I prevent future chips and scratches?
A: Use furniture pads, avoid dragging items across painted surfaces, and regularly clean and maintain your painted areas to minimize damage.
Frequently Asked Questions
-
What type of paint should I use for my DIY projects?
Choosing the right paint depends on the surface you’re working with and the look you want to achieve. For walls, latex paint is a popular choice due to its durability and ease of cleaning. If you’re painting furniture, consider using chalk paint for a matte finish or acrylic paint for a glossy look. Always check the label for specific surface recommendations!
-
Do I need special tools for painting?
Absolutely! Having the right tools can make your painting experience much smoother. Essential tools include high-quality brushes and rollers, painter’s tape, a drop cloth, and a paint tray. Don’t forget about prep tools like sandpaper and cleaning supplies to ensure your surfaces are ready to paint!
-
What are some creative painting techniques I can try?
There are so many fun techniques to explore! Ombre effects create a stunning gradient look, while stenciling allows you to add intricate designs to your walls or furniture. You could also try color blocking for a bold statement or even sponging for a textured finish. The possibilities are endless!
-
How can I upcycle my old furniture with paint?
Upcycling is a fantastic way to breathe new life into old pieces! Start by cleaning and sanding your furniture, then apply a coat of chalk paint for a rustic vibe. You can also use color blocking to create a modern look. Just remember to seal your work with a protective finish to keep it looking fresh!
-
What maintenance do painted surfaces need?
To keep your painted surfaces looking great, regular cleaning is key. Use a soft cloth and mild soap for most finishes. For tougher stains, a gentle scrub with a non-abrasive sponge can help. Additionally, be prepared for touch-ups; keep a small amount of your paint handy for any chips or scratches that may occur over time.
-
How do I touch up paint without it looking obvious?
Touching up paint can be tricky, but it’s doable! Start by matching the original paint as closely as possible. Use a small brush to apply the paint only to the damaged area, feathering the edges to blend it in. If necessary, you can lightly sand the area once it’s dry to create a smoother finish.


