Simple DIY Fabric Basket for Home Decor
This article explores the creative process of making a simple DIY fabric basket, perfect for enhancing your home decor while providing practical storage solutions. If you've ever found yourself overwhelmed by clutter or searching for a stylish way to organize your space, then this project is just for you. Not only will you end up with a beautiful and functional piece, but you'll also enjoy the satisfaction of creating something with your own hands. Imagine weaving together colors and patterns that reflect your personality, all while adding a touch of charm to your living area. So, grab your sewing kit and let’s dive into the wonderful world of DIY fabric baskets!
Gathering the right materials is crucial for a successful DIY project. This section outlines the essential items you'll need to create your fabric basket, ensuring a smooth crafting experience. To get started, you will need:
- Fabric: Choose your favorite fabric type.
- Thread: Match the thread to your fabric for a seamless look.
- Scissors: Sharp fabric scissors for clean cuts.
- Sewing machine: If you prefer speed, but hand sewing works too!
- Measuring tape: Accurate measurements are key.
- Iron: To prepare your fabric properly.
With these materials in hand, you’re well on your way to creating a stunning fabric basket that will not only beautify your home but also help keep it organized.
Selecting the appropriate fabric can greatly impact the final look and durability of your basket. Here, we discuss various fabric types and patterns that align with your home decor style. When considering fabric, think about the functionality and aesthetic you wish to achieve. Do you want something sturdy that can hold heavy items? Or perhaps a lightweight fabric for decorative purposes? Your choice will set the tone for the entire project.
Explore different fabric options such as cotton, linen, and canvas. Each type offers unique benefits, making it important to choose one that suits your needs and aesthetic preferences. For instance:
- Cotton: Soft, versatile, and easy to work with, perfect for beginners.
- Linen: Offers a chic, natural look but can be a bit more challenging to sew.
- Canvas: Extremely durable and great for larger baskets.
Choosing the right fabric is like picking the perfect paint for your canvas; it sets the stage for your masterpiece!
Choosing a pattern can enhance the visual appeal of your basket. This section provides tips on selecting patterns that complement your existing decor while adding a personal touch. Think about your home’s color scheme and style: do you lean towards modern minimalism, or do you prefer bohemian flair? Patterns can range from playful polka dots to sophisticated florals, so choose one that resonates with your taste.
Understanding color theory can help you choose colors that harmonize with your home. This guide offers advice on how to effectively coordinate colors for a cohesive look. Consider using a color wheel to find complementary colors or stick to a monochromatic palette for a more subtle approach. Remember, the right colors can evoke feelings and set the mood in your space, just like the perfect soundtrack can enhance a movie.
Before crafting, preparing your fabric is essential. This section details steps like washing, ironing, and cutting your fabric to ensure it’s ready for assembly. Washing your fabric can remove any chemicals, while ironing will smooth out wrinkles, making sewing much easier. Cutting your fabric accurately is crucial—after all, a well-prepared fabric is the foundation of a well-made basket!
This section provides a detailed guide on how to construct your fabric basket, breaking down the process into easy-to-follow steps for beginners and experienced crafters alike. With a little patience and creativity, you’ll soon have a lovely basket that’s uniquely yours.
Learn how to assemble the different parts of your basket. This part of the guide focuses on stitching techniques and tips for achieving a sturdy and attractive finish. Start by sewing the sides together, ensuring you keep your seams straight. The magic happens when you see your fabric transform into a functional piece of art!
Adding finishing touches can elevate your fabric basket's design. Here, we discuss embellishments such as handles, trim, and personalized decorations to make your basket truly unique. Consider adding a pop of color with contrasting trim or a personal touch with embroidered initials. These small details can make a big difference, turning a simple basket into a statement piece.
Here are some common questions about creating your DIY fabric basket:
- Can I use recycled fabric? Absolutely! Upcycling old clothes or linens can add character and save money.
- What if I don’t have a sewing machine? No problem! Hand sewing works just as well; it just takes a bit more time.
- How do I clean my fabric basket? Most fabric baskets can be spot cleaned or machine washed, depending on the fabric used.
Now that you have all the information you need, it's time to unleash your creativity and start crafting your very own fabric basket!
Materials Needed
Gathering the right materials is crucial for a successful DIY project. To create your own fabric basket, you’ll need a few essential items that will not only make the process smoother but also ensure that your final product is both functional and aesthetically pleasing. First and foremost, you will need fabric. Choosing the right fabric is vital, as it will dictate the durability and overall look of your basket. Popular choices include cotton, linen, and canvas, each offering unique qualities. For instance, cotton is soft and easy to work with, while canvas is sturdy and perfect for heavier items.
In addition to fabric, you will need some basic sewing supplies. Here’s a quick rundown of the materials you should gather:
- Fabric: 1 yard of your chosen fabric.
- Thread: A spool of thread that matches or contrasts well with your fabric.
- Sewing machine: Although you can sew by hand, a machine will speed up the process.
- Scissors: A good pair of fabric scissors is essential for clean cuts.
- Measuring tape: For accurately measuring your fabric pieces.
- Iron: To ensure your fabric is wrinkle-free before you start.
- Optional embellishments: Ribbons, buttons, or other decorative items to personalize your basket.
Once you have these materials, you’re well on your way to creating a beautiful fabric basket that can enhance any room in your home. Don’t forget to also prepare a clean workspace where you can cut and sew without distractions. A well-organized area will make the crafting process much more enjoyable and efficient. So, roll up your sleeves, and let’s get ready to dive into this creative adventure!
Choosing the Right Fabric
When it comes to crafting your DIY fabric basket, is a crucial step that can make or break your project. The fabric you select will not only determine the look of your basket but also its durability and functionality. So, let's dive into the world of fabrics and discover how to make the best choice for your home decor.
First, consider the type of fabric. Each option comes with its own set of characteristics that can influence your basket's appearance and usability. For instance, cotton is a popular choice due to its softness and versatility. It's easy to work with, comes in a variety of colors and patterns, and is machine washable, making it a practical option for everyday use. On the other hand, linen offers a more textured look and is known for its breathability. However, it can be a bit more challenging to sew due to its tendency to fray. If you're looking for something sturdier, canvas is an excellent option. It's durable and holds its shape well, making it perfect for a basket that will see a lot of use.
Now that we've covered the fabric types, let’s talk about patterns. The right pattern can truly enhance the visual appeal of your basket. Think about your existing decor and how you want your new basket to fit in. Do you prefer something bold and eye-catching, or are you leaning towards a more subtle, understated design? Floral patterns can add a touch of whimsy, while geometric designs can give a modern vibe. Remember, the key is to choose a pattern that resonates with your personal style while complementing your home’s aesthetic.
Next, let’s not overlook the importance of color coordination. Choosing colors that harmonize with your home can create a cohesive look that ties the room together. Consider the color wheel: complementary colors (those opposite each other) can create a striking contrast, while analogous colors (those next to each other) can provide a more serene and blended appearance. For example, if your living room features warm tones like reds and oranges, a fabric basket in a soft, muted orange or a contrasting teal can stand out beautifully.
In summary, selecting the right fabric for your DIY basket involves a combination of understanding fabric types, patterns, and color theory. Take your time to explore different options and consider how each choice will contribute to your overall decor. With the right fabric, your DIY project will not only be a fun and creative endeavor but will also result in a stunning addition to your home.
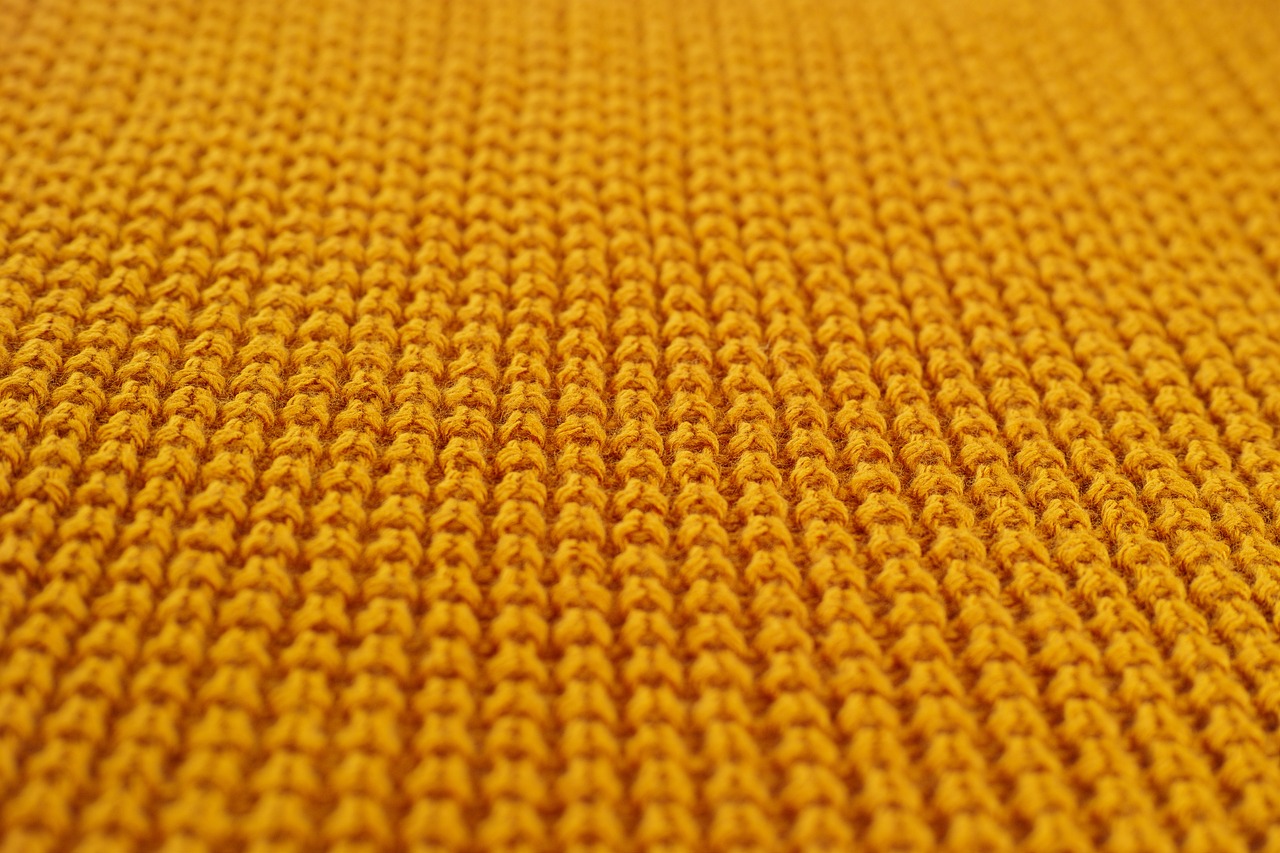
Fabric Options
When it comes to crafting your own DIY fabric basket, the choice of fabric can make or break your project. Think of fabric as the skin of your creation; it not only defines the overall look but also impacts the basket's durability and functionality. There are several fabric options available, each with its unique characteristics that cater to different needs and styles. Let's dive into some of the most popular choices:
Cotton: Cotton fabric is a classic choice for DIY projects. It's soft, easy to work with, and comes in a plethora of colors and patterns. If you’re looking for a fabric that’s breathable and washable, cotton is your go-to option. It’s perfect for casual, everyday use and can be easily customized with fabric paint or appliqué for a personal touch.
Linen: For those who appreciate a more sophisticated look, linen is a fantastic option. Known for its natural texture and durability, linen offers a bit of elegance to your fabric basket. However, it does tend to wrinkle easily, so keep that in mind if you prefer a crisp appearance. Linen is ideal for creating baskets that are both functional and stylish, perfect for showcasing your home decor.
Canvas: If you need a fabric that can withstand the test of time, canvas is your best friend. This heavy-duty fabric is incredibly sturdy, making it perfect for baskets that will hold heavier items. Whether you’re storing books, toys, or even craft supplies, a canvas basket will provide the support you need. Plus, it comes in various colors, allowing you to match it with your decor effortlessly.
To help you decide, here’s a quick comparison of these fabrics:
| Fabric Type | Durability | Ease of Use | Best For |
|---|---|---|---|
| Cotton | Moderate | Easy | Everyday items, casual decor |
| Linen | High | Moderate | Elegant decor, lightweight storage |
| Canvas | Very High | Easy | Heavy items, long-lasting storage |
Ultimately, the fabric you choose should resonate with your personal style and the purpose of the basket. Consider how you want to use the basket and where it will be displayed in your home. Whether it’s a vibrant cotton basket for your kids’ toys or a chic linen one for your living room, the right fabric will enhance both the functionality and aesthetic of your DIY project.
Pattern Selection
Choosing the right pattern for your fabric basket is akin to picking the perfect frame for a beautiful painting; it can either enhance the beauty or completely overshadow it. When you select a pattern, think about how it reflects your personal style and complements the overall aesthetics of your home. Are you going for a modern vibe, a rustic feel, or perhaps something more bohemian? The pattern you choose will play a significant role in achieving that desired atmosphere.
To help you navigate this creative journey, consider the following factors when selecting your fabric pattern:
- Style Harmony: Ensure that the pattern aligns with your existing decor. For instance, if your home is decorated in minimalist tones, a bold geometric pattern might clash. Instead, opt for subtle, understated designs that can add texture without overwhelming the space.
- Size Matters: The scale of the pattern can dramatically affect the basket's overall appearance. Larger patterns can create a statement piece, while smaller patterns might be more suitable for a delicate touch. Think about where the basket will be placed and how the pattern will interact with its surroundings.
- Seasonal Themes: If you enjoy changing your decor with the seasons, consider choosing patterns that can transition well. Floral designs can work beautifully in spring and summer, while plaid or checked patterns may evoke a cozy autumn feel.
Ultimately, the pattern you select should resonate with you personally. It’s your basket, after all! Don’t hesitate to mix and match different fabrics to create a unique look. For example, you might choose a vibrant floral fabric for the exterior and a solid color for the interior, striking a balance between fun and functionality.
In addition, think about the functionality of the basket. If you plan on using it for storing toys or magazines, a more durable pattern might be necessary. On the other hand, if it's purely decorative, you can afford to be a bit more adventurous with your choices. Remember, every pattern tells a story—what story do you want your fabric basket to tell?
Q: Can I mix different patterns in my fabric basket?
A: Absolutely! Mixing patterns can create a fun and eclectic look. Just make sure to keep a common color palette to maintain harmony.
Q: What if I can't find the perfect pattern?
A: Don't worry! Sometimes, you can create your own pattern by using plain fabrics and adding embellishments or appliqués to personalize your basket.
Q: How do I care for my patterned fabric basket?
A: It depends on the fabric type. Most cotton fabrics can be machine washed, but it's best to check the care label. You can also spot clean as needed.
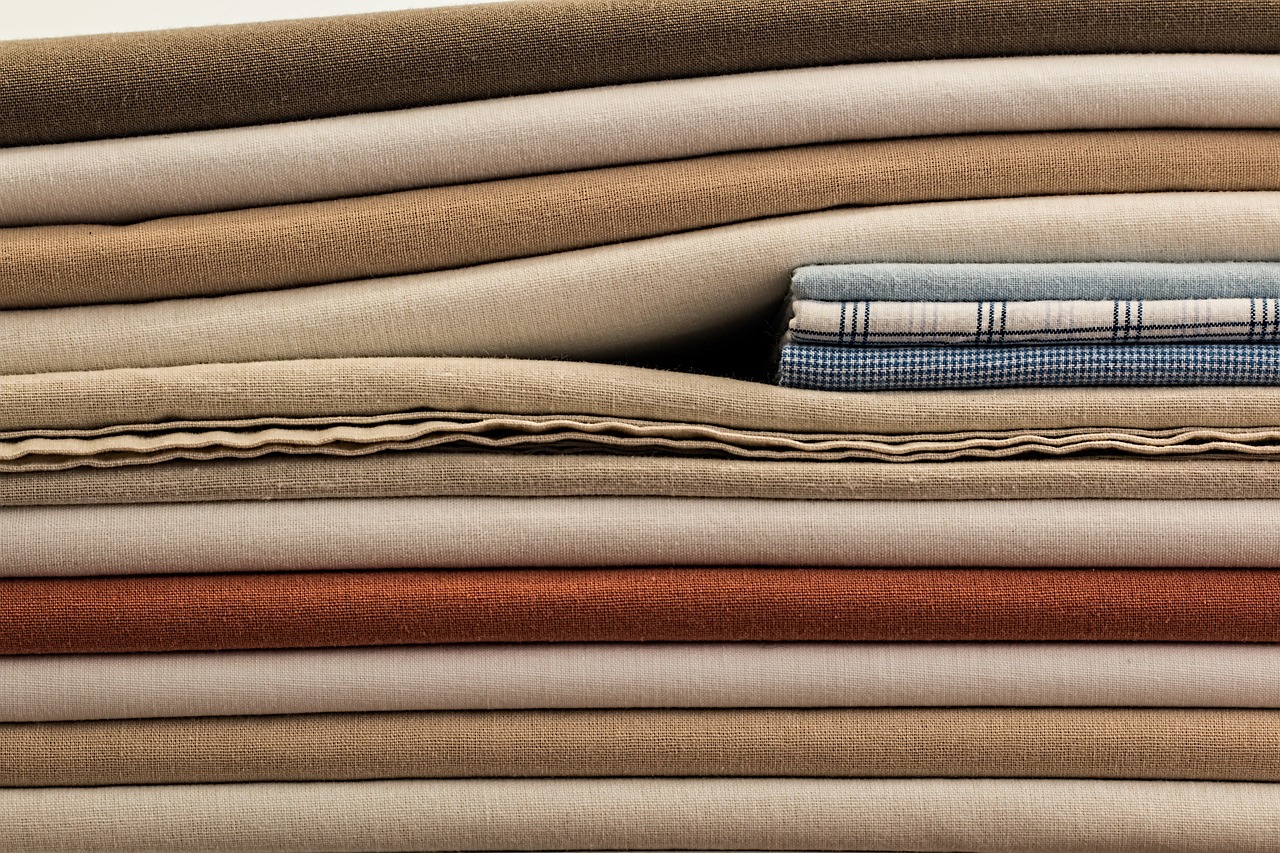
Color Coordination
When it comes to creating your DIY fabric basket, is a vital aspect that can transform a simple project into a stunning piece of home decor. Imagine walking into a room and being greeted by a beautifully crafted basket that not only serves a practical purpose but also enhances the overall aesthetic. To achieve this, understanding the basics of color theory is essential. Color theory helps you select colors that not only look good together but also evoke the right emotions and atmosphere in your space.
Start by considering the existing color palette of your home. Are your walls painted in soft pastels, or do you favor bold, vibrant hues? This will guide your fabric selection. For instance, if your living room features a lot of earthy tones, you might want to choose fabrics that incorporate those colors, creating a harmonious look. Alternatively, if you're looking to make a statement, you can opt for contrasting colors that pop against your decor.
Here are a few tips to help you master color coordination:
- Complementary Colors: These are colors that are opposite each other on the color wheel, such as blue and orange or red and green. Using complementary colors can create a vibrant and energetic feel.
- Analogous Colors: These are colors that sit next to each other on the color wheel, like blue, blue-green, and green. This combination tends to be more harmonious and calming.
- Monochromatic Scheme: This involves using different shades and tints of a single color. It’s a sophisticated approach that can add depth without overwhelming the senses.
In addition to understanding color relationships, consider the mood you want to evoke. Bright, warm colors like yellows and reds can energize a space, while cooler colors like blues and greens can create a sense of tranquility. Think about how you want your basket to fit into your home. Is it for a lively playroom, or perhaps a serene reading nook? This will influence your choice significantly.
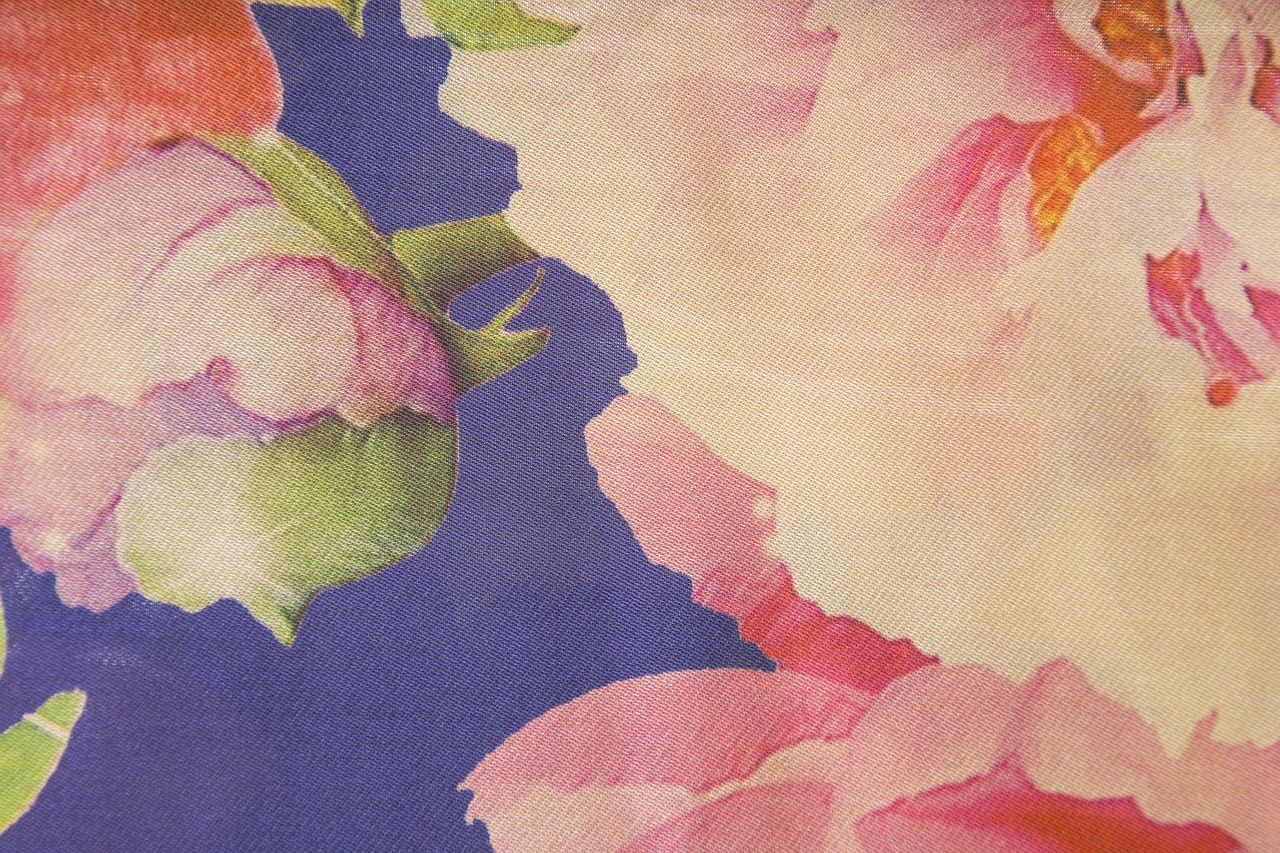
Finally, don't forget about patterns. A floral print in soft pastels might pair beautifully with a solid color scheme, adding an element of interest without clashing. Always remember that the key to effective color coordination lies in balance. Too many bold colors can create chaos, while too many muted tones can make a space feel dull. Striking the right balance will ensure your DIY fabric basket is not just functional but also a beautiful addition to your home.
Q: How do I choose a color scheme for my fabric basket?
A: Start by assessing the colors already present in your room. Consider using complementary, analogous, or monochromatic color schemes to create a cohesive look.
Q: Can I mix different fabric patterns?
A: Absolutely! Mixing patterns can add a unique flair to your basket. Just make sure the colors in the patterns complement each other to maintain harmony.
Q: What if I’m unsure about my color choices?
A: Don’t hesitate to experiment! You can create mood boards, or even use fabric swatches to visualize how different colors and patterns will work together in your space.

Preparing Your Fabric
Before diving into the exciting world of crafting your DIY fabric basket, it’s essential to ensure that your fabric is ready for action. Think of this step as the warm-up before a big game; you wouldn’t want to jump right in without stretching a bit, right? Preparing your fabric correctly not only enhances its appearance but also ensures that your final product is durable and long-lasting.
Start by washing your fabric. This step is crucial, especially if your fabric is new. Washing removes any chemicals or finishes that might have been applied during manufacturing, which can interfere with dyeing or cause the fabric to shrink later on. Use a gentle cycle and mild detergent to keep your fabric in tip-top shape. Once washed, hang it to dry or tumble dry on low, depending on the fabric type.
Next up is ironing. After washing, your fabric may have wrinkles that could affect your cutting and sewing. Ironing ensures that your fabric lays flat, making it easier to work with. If you’re using cotton or linen, a hot iron will do the trick. For synthetic fabrics, a cooler setting is advisable to avoid melting the fibers. This step is like smoothing out the kinks in your plan before executing it—necessary for a smooth crafting experience!
Once your fabric is clean and wrinkle-free, it’s time to cut your fabric into the desired shapes and sizes. Use a sharp pair of fabric scissors for clean edges. Measure twice, cut once—this age-old adage holds true in crafting! Here’s a quick reference table for common fabric measurements needed for a basic basket:
| Basket Size | Fabric Dimensions |
|---|---|
| Small | 12” x 12” square |
| Medium | 16” x 16” square |
| Large | 20” x 20” square |
After cutting, it’s a good idea to serge or zigzag the edges of your fabric to prevent fraying. This step is like putting a protective layer around your project, ensuring it withstands the test of time. If you don’t have a serger, you can also use pinking shears for a quick fix.
Lastly, take a moment to envision how your fabric basket will fit into your home decor. This is your chance to infuse a bit of your personality into the project. Whether you’re going for a rustic look with earthy tones or a vibrant pop of color to brighten up a corner, the fabric preparation phase sets the stage for your creative expression!
In summary, preparing your fabric is a vital step that involves washing, ironing, cutting, and finishing edges. By investing this time upfront, you’ll ensure a smoother crafting process and a more polished final product. Now that your fabric is prepped and ready, you’re one step closer to creating a stunning DIY fabric basket that will not only serve a practical purpose but also enhance your home’s aesthetic!
Step-by-Step Instructions
Creating your own DIY fabric basket can be an incredibly satisfying project, and it’s easier than you might think! Let’s break down the process into simple, manageable steps that will guide you from start to finish. First, ensure you have all your materials ready and your workspace set up. This will help you stay organized and focused as you craft. Remember, a clutter-free space can lead to a clutter-free mind!
Begin by cutting your fabric into the required dimensions. Depending on the size of the basket you want, you might want to cut two rectangles for the sides and a circle for the base. A typical size might be 12 inches by 15 inches for the sides and a 12-inch diameter for the base. Don't worry about being perfect; crafting is all about expressing your creativity!
Next, it’s time to stitch the sides together. Start by placing the right sides of the fabric together, aligning the edges. Use a sewing machine or hand stitch with a needle and thread. If you’re using a machine, a straight stitch will work just fine. Make sure to backstitch at the beginning and end to secure your seams. This is where your basket starts to take shape!
Once the sides are stitched, it’s time to attach the base. Position the circle you cut earlier at the bottom of the fabric sides. Pin it in place to avoid any slipping while you sew. Again, use a straight stitch to secure the base to the sides. Don’t forget to check if everything is aligned properly; a well-fitted base will give your basket a professional look.
After assembling the main structure, you might want to add some reinforcement to the top edges of your basket. This can be done by folding the top edge inward and stitching it down. Not only does this provide a neat finish, but it also adds durability, allowing your basket to hold more without losing its shape.
Now, let’s add some personality! This is where you can get creative with embellishments. Consider adding handles to make it easier to carry your basket around. You can use strips of fabric or sturdy rope, depending on your style. Simply cut the strips to your desired length, attach them securely with stitches, and voilà! You have a functional and stylish fabric basket.
Finally, take a moment to inspect your basket. Make any necessary adjustments, such as trimming excess threads or reinforcing any weak seams. If you want to personalize it further, consider adding patches, embroidery, or even fabric paint to make it uniquely yours. Remember, the beauty of DIY is that it reflects your personal style!
And there you have it! Your very own DIY fabric basket is complete. Take a step back and admire your handiwork. Not only have you created a beautiful piece for your home, but you’ve also engaged in a fulfilling crafting experience. So, what will you store in your new basket? The possibilities are endless!
Q: What type of sewing machine do I need for this project?
A: Any basic sewing machine will work for this project. Just ensure it has a straight stitch option. If you're hand sewing, a simple needle and thread will do just fine!
Q: Can I use any fabric for my basket?
A: While you can use a variety of fabrics, it's best to choose something durable like cotton or canvas. These materials will hold their shape better than lighter fabrics.
Q: How can I clean my fabric basket?
A: Most fabric baskets can be spot cleaned with a damp cloth. If the fabric is machine washable, you can wash it on a gentle cycle, but be sure to check the fabric care instructions first!
Assembling the Basket
Now that you have your fabric ready and your materials gathered, it's time to dive into the exciting part: assembling your fabric basket! This is where your creativity truly shines, and the magic of DIY comes to life. First, you'll want to ensure that you have a clean workspace—think of it as your crafting canvas. Lay out all your pieces, and let’s get started!
The first step in assembling your basket is to stitch the base. Take the fabric pieces you prepared earlier, and align them carefully. Remember, precision is key here! You want your basket to have a sturdy foundation, so don't rush through this part. Use a straight stitch, and make sure to backstitch at the beginning and end to secure your seams. If you're feeling adventurous, you can even use a zigzag stitch to add a decorative touch while preventing fraying.
Once the base is stitched, it’s time to move on to the sides. You’ll need to attach the side panels to the base. To do this, fold the edges of each side panel inward about half an inch and press them with an iron. This little trick not only gives your basket a neat finish but also makes it easier to sew. Pin the side panels to the base, ensuring they are evenly spaced. Then, stitch them in place, just like you did with the base.
As you assemble the basket, think about how the shape and size will affect its functionality. For instance, if you want a taller basket for storing blankets, you might want to add extra height to the side panels. Conversely, a shorter, wider basket is perfect for holding magazines or toys. Play around with dimensions before you cut and sew to ensure you get the look you desire.
Now, let’s talk about the finishing touches that will make your basket stand out. Consider adding handles for easy transport. You can create handles by cutting two long strips of fabric, folding them in half, and stitching them down the sides. Attach these strips to the sides of your basket during the final assembly stage. Not only do they add functionality, but they also enhance the overall aesthetic of your creation!
Lastly, don’t forget about the decorative elements. This is where you can let your personality shine! Whether it’s a cute fabric trim, some embroidered initials, or even a fun patch, these embellishments can transform a simple basket into a statement piece. Think of your basket as a blank canvas waiting for your artistic touch. Remember, the goal is to create something that not only looks good but also fits seamlessly into your home decor.
To sum it all up, assembling your fabric basket is not just about stitching pieces together; it's about crafting a piece that reflects your style and serves a purpose. So grab your sewing machine, put on some music, and enjoy the process! Before you know it, you'll have a beautiful fabric basket that’s uniquely yours.
- How long does it take to make a fabric basket? The time can vary, but typically, you can complete a simple fabric basket in about 2-3 hours.
- Can I use any type of fabric? While you can use various fabrics, cotton, linen, and canvas are recommended for their durability and ease of handling.
- Do I need a sewing machine? A sewing machine makes the process quicker, but you can also hand sew if you prefer a more personal touch.
- How do I clean my fabric basket? Most fabric baskets can be spot cleaned with mild soap and water. Always check the care instructions for your specific fabric.
Finishing Touches
Once you've meticulously crafted your fabric basket, it's time to add those that transform a simple creation into a stunning piece of decor. Think of this stage as the cherry on top of your sundae; it’s what makes your basket not just functional, but also a beautiful addition to your home. You might be wondering, what exactly can I do to elevate my basket? Well, let's dive into some creative ideas!
First and foremost, consider adding handles. Handles not only enhance the functionality of your basket, making it easier to carry, but they can also serve as a great design element. You can use contrasting fabric for the handles to create a striking visual effect, or stick with the same fabric for a cohesive look. If you're feeling adventurous, why not try some braided rope or leather strips? They can add a rustic charm that complements many decor styles.
Next up, think about incorporating trim. This could be anything from lace to pom-poms, or even a simple bias tape. Adding trim can give your basket a polished look and can also be a fun way to introduce a pop of color. For instance, if your basket is made from a neutral fabric, a bright trim can create a stunning contrast that draws the eye. You can sew it along the top edge or even around the base for a unique twist.
Personalization is another fantastic finishing touch. You might want to add an embroidered monogram or a fun patch that reflects your personality. This not only makes the basket uniquely yours but also adds a layer of sentimentality. Imagine a basket with your family name or a cute quote that brings a smile to your face every time you see it!
Lastly, don’t underestimate the power of decorative embellishments. Consider adding small fabric flowers, buttons, or even beads to your basket. These little details can make a big difference. For example, a few fabric flowers sewn onto the side can give your basket a whimsical feel, while buttons can add a touch of vintage charm. The key is to keep it balanced; too many embellishments can make it look cluttered, so choose wisely!
In summary, the finishing touches you add to your fabric basket can truly transform it from a simple storage solution into a captivating decor piece. Whether you choose to add handles, trim, personal touches, or decorative embellishments, the possibilities are endless. So, unleash your creativity and let your basket reflect your unique style!
Here are some common questions you might have about adding finishing touches to your DIY fabric basket:
- Can I use any type of fabric for handles?
Yes! Just ensure that the fabric is durable enough to support the weight of the basket's contents. - What type of trim is best for beginners?
Bias tape is a great option for beginners as it’s easy to sew and comes in a variety of colors and patterns. - How can I ensure my embellishments stay in place?
Using a strong fabric glue or securely stitching them in place will help keep your embellishments intact. - Is it possible to wash the basket after adding embellishments?
It depends on the type of embellishments used. Always check the care instructions for each material before washing.
Frequently Asked Questions
- What materials do I need to make a DIY fabric basket?
To create your own fabric basket, you'll need some basic materials such as fabric (cotton, linen, or canvas), scissors, a sewing machine or needle and thread, pins, and a measuring tape. Optional items include embellishments like ribbons or buttons to personalize your basket!
- How do I choose the right fabric for my basket?
Choosing the right fabric is key! Think about the purpose of your basket—if it's for storage, opt for durable fabrics like canvas. If it's for decorative purposes, cotton or linen with fun patterns can really make it pop. Don’t forget to consider how the fabric fits with your home decor style!
- Do I need to wash my fabric before starting?
Yes, washing your fabric is a good practice! It removes any chemicals from the manufacturing process and helps prevent future shrinkage. Just make sure to iron it afterward to get rid of wrinkles—your basket will look much neater!
- Can I customize the size of my fabric basket?
Absolutely! You can easily customize the size by adjusting the dimensions of the fabric you cut. Just remember to keep the proportions in mind so that the basket retains its shape. It's like baking a cake; a little tweak here and there can lead to a deliciously unique outcome!
- What are some creative ideas for embellishing my fabric basket?
Get creative with your embellishments! You can add handles using sturdy fabric, sew on decorative trims, or even attach personalized patches. Think of it like accessorizing an outfit—those little details can make a huge difference in the overall look!
- Is this project suitable for beginners?
Definitely! This DIY fabric basket project is perfect for beginners. The steps are straightforward, and you can take your time to learn as you go. Plus, it’s a great way to build your sewing skills while creating something functional and beautiful for your home!


