Transform Your Living Room with DIY Paint Decor
If you're feeling like your living room has lost its spark, it's time to roll up your sleeves and dive into the world of DIY paint decor! Transforming your space doesn't have to be a daunting task; in fact, it can be a fun and rewarding experience. With just a splash of color and a bit of creativity, you can create a vibrant atmosphere that reflects your personality and style. Imagine walking into a room that feels fresh and alive, where every corner tells a story of your unique taste. Sounds exciting, right?
In this article, we will explore various techniques and tips to help you revamp your living room through DIY paint projects. Whether you're a seasoned DIYer or a complete newbie, there's something here for everyone. We'll cover everything from choosing the right color palette to incorporating stunning accent walls that will leave your guests in awe. So, grab your paintbrushes and let’s get started on this colorful journey!
First things first, let's talk about choosing the right color palette. Colors have a profound impact on our emotions and perceptions. For instance, soft blues and greens can create a calming environment, while vibrant yellows and reds can energize the space. Think about the mood you want to set in your living room. Do you want it to be a cozy retreat or a lively gathering spot? Take a moment to look around your home and identify colors that resonate with you. You might even want to create a mood board with swatches of paint to visualize how different colors interact with your existing decor.
Now, before you start painting, let's gather the essential tools you’ll need. A successful DIY paint job requires more than just paint; it’s about having the right equipment. You'll want to have brushes, rollers, painter's tape, drop cloths, and a paint tray on hand. Each tool serves a purpose, whether it's achieving a smooth finish or protecting your floors from accidental spills. Trust me, investing in good tools can make a world of difference in the outcome of your project!
Once you have your tools ready, it’s time to prepare your space. Proper preparation is key to a smooth painting process. Start by clearing your living room of any furniture and decor. This not only protects your belongings but also gives you a clean slate to work with. Use drop cloths to cover the floor and any remaining furniture. You wouldn’t want paint splatters ruining your favorite couch, right?
Next up is cleaning the walls. A clean surface ensures that the paint adheres properly and provides a flawless finish. Use a damp cloth to wipe down the walls, removing dust and grime that could affect the final look. If your walls are particularly dirty, you might want to use a gentle cleaning solution. Just remember to let the walls dry completely before applying any paint.
When it comes to choosing the right paint type, you have several options. Different finishes can create different effects. For living rooms, consider using matte, satin, or semi-gloss finishes. Matte finishes are great for hiding imperfections, while satin and semi-gloss offer more durability and are easier to clean. Depending on the look you want to achieve, you can mix and match these finishes to create a dynamic space.
As you venture into the world of creative painting techniques, don’t shy away from experimenting! Techniques like ombre effects, stenciling, and even geometric patterns can add depth and interest to your living room. Imagine a stunning ombre wall that transitions from a soft peach at the bottom to a striking coral at the top. It’s all about letting your imagination run wild!
Accent walls are another fantastic way to transform your living room. By selecting a single wall to highlight, you can create a stunning focal point that draws the eye. Think about which wall would benefit most from some extra love. Perhaps it’s the wall behind your sofa or the one that houses your entertainment center. Use bold colors or interesting patterns to make it stand out.
Incorporating patterns and textures can further enhance the visual appeal of your space. Techniques like sponging, rag rolling, and stenciling can add character and make your walls feel alive. The key is to choose methods that complement your overall design theme and personal style.
Finally, don't forget about maintaining your painted surfaces. A little upkeep goes a long way in keeping your living room looking fresh. Regularly dusting and cleaning your walls will help maintain their vibrancy. If you notice any scuffs or scratches, touch them up with leftover paint to keep everything looking pristine.
As you wrap up your painting project, it’s time for the final touches. Adding decor elements like furniture, artwork, and accessories can complete the transformation. Choose pieces that resonate with your new color scheme and enhance the overall aesthetic. A well-decorated space not only looks good but feels good too!
Ready to transform your living room? With the right tools, techniques, and a splash of creativity, you can create a space that is uniquely yours. So, roll up your sleeves and let your imagination take flight!
- What type of paint is best for living rooms? Matte, satin, and semi-gloss paints are popular choices, depending on the desired finish and durability.
- How do I choose the right color for my living room? Consider the mood you want to create, and look for colors that resonate with your personal style. A mood board can help visualize your choices.
- How can I maintain my painted walls? Regularly dust and clean your walls, and touch up any scuffs or scratches with leftover paint to keep them looking fresh.
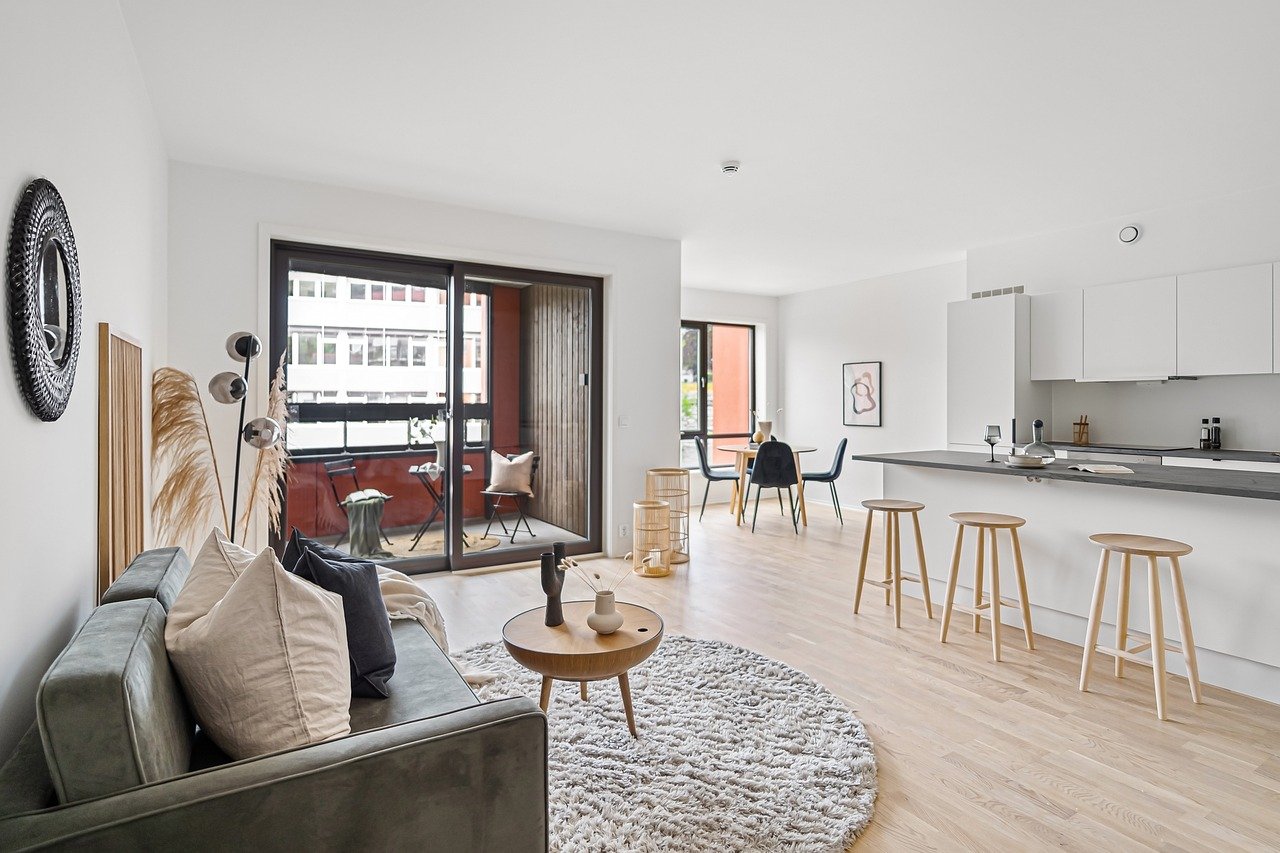
Choosing the Right Color Palette
When it comes to transforming your living room, choosing the right color palette is like selecting the perfect outfit for a special occasion—it sets the tone and vibe of the entire space. Imagine walking into a room painted in soft blues and whites; it feels calm and serene, doesn’t it? On the other hand, a bold red or deep purple can inject energy and passion into your living area. So, how do you pick the colors that resonate with your style while harmonizing with your existing decor? Let's dive in!
The first step in this colorful journey is to consider the mood you want to create. Do you envision a cozy, inviting space for family gatherings, or a vibrant area for entertaining friends? Once you’ve pinpointed the mood, you can start selecting colors that evoke those feelings. For example, warm colors like reds, oranges, and yellows can create a lively atmosphere, whereas cool colors such as blues and greens can foster relaxation.
Next, take a good look at your existing decor. Your furniture, artwork, and even the natural light in your room can influence your color choices. If you have a favorite piece of furniture or artwork, consider drawing inspiration from its colors. A good rule of thumb is to choose a palette that includes one or two dominant colors and several accent colors to add depth and interest. Here’s a simple breakdown:
| Color Type | Examples | Effect |
|---|---|---|
| Dominant Colors | Soft Blue, Cream, Light Grey | Create a calm and spacious feel |
| Accent Colors | Coral, Mustard Yellow, Forest Green | Add vibrancy and character |
Another crucial aspect to consider is the lighting in your living room. Natural light can dramatically change how a color appears on your walls. It’s always a good idea to test paint samples on your walls and observe how they look at different times of the day. This way, you’ll ensure the colors you choose will look just as stunning in the morning light as they do in the evening glow.
Don’t forget about the color wheel; it’s a fantastic tool to help you find complementary colors. For instance, colors opposite each other on the wheel, like blue and orange, can create a dynamic contrast that adds visual interest to your space. Alternatively, colors that are next to each other, like blue and green, can create a more harmonious and soothing effect. Experimenting with these combinations can lead to a truly personalized palette.
Finally, remember that your living room is a reflection of you. Don’t be afraid to take risks and incorporate colors that resonate with your personality. Whether it’s a bold accent wall or a subtle hue, the right color palette can transform your living room into a space that feels uniquely yours.
- How many colors should I use in my palette? It's generally best to stick with 3-5 colors to maintain cohesion.
- Can I use dark colors in a small living room? Yes! Dark colors can create a cozy atmosphere, but balance them with lighter accents to avoid feeling cramped.
- What if I change my mind about the colors? Paint is easily changeable! Don’t hesitate to refresh your palette if you feel inspired to try something new.

Essential Tools for DIY Painting
Before diving into your DIY painting project, it's essential to arm yourself with the right tools. Think of it as gathering your armor before heading into battle; having the right equipment can make or break your painting experience. Whether you're a seasoned pro or a first-time painter, ensuring you have the necessary supplies will help streamline the process and achieve that flawless finish you desire.
First and foremost, you'll need a variety of paintbrushes and rollers. Brushes are perfect for detailed work, especially around edges and corners where precision is key. A set of angled brushes can be particularly helpful for cutting in along ceilings and trim. On the other hand, rollers are ideal for covering larger areas quickly and evenly. Opt for a roller with a medium nap to ensure good coverage on most wall surfaces.
Next up is painter's tape. This magical strip of adhesive can save you from the headache of clean-up later on. Applying painter's tape along edges where different colors meet or where paint might inadvertently get on trim can create crisp, clean lines that elevate the overall look of your space. Just remember to remove the tape while the paint is still wet for the best results.
Don't forget about a paint tray! A good-quality paint tray allows you to load your roller evenly without making a mess. Some trays even come with a built-in liner, making cleanup a breeze. And speaking of cleanup, keep some drop cloths handy to protect your floors and furniture from any accidental spills or splatters. You wouldn’t want to ruin your beautiful hardwood or carpet with an errant splash of paint!
In addition to these essentials, consider investing in a paint stirrer and a ladder. A paint stirrer ensures your paint is mixed evenly, which is crucial for achieving the exact color you want. A ladder, on the other hand, will help you reach those high corners and ceilings without straining your back. Safety first, right?
Finally, it’s wise to have a paint scraper and some sandpaper on hand. These tools can be invaluable for preparing surfaces before painting. A scraper can help remove any old, peeling paint, while sandpaper will smooth out rough spots, ensuring that your new paint adheres properly and looks stunning.
In summary, your arsenal for a successful DIY painting project should include:
- Paintbrushes (angled and flat)
- Rollers (with medium nap)
- Painter's tape
- Paint tray
- Drop cloths
- Paint stirrer
- Ladder
- Paint scraper
- Sandpaper
With these tools at your disposal, you’ll be well-prepared to tackle your living room transformation. Remember, the right tools not only make the job easier but also enhance the quality of your work, ensuring that your DIY project is a resounding success!
1. What is the best type of paint for living room walls?
For living room walls, satin or eggshell finishes are often recommended. They provide a nice sheen that reflects light without being overly glossy, making them easy to clean while still looking sophisticated.
2. How do I choose the right brush size?
The size of the brush you choose should depend on the area you're painting. For larger areas, use a wider brush or roller. For corners and detailed work, a smaller brush is ideal.
3. How can I ensure clean lines when painting?
Using painter's tape is the best way to achieve clean lines. Apply the tape along edges where different colors meet, and remove it while the paint is still wet for the best results.
4. How long should I wait between coats of paint?
Typically, you should wait at least 2-4 hours between coats, but this can vary based on the type of paint used. Always check the manufacturer's instructions for the best guidance.
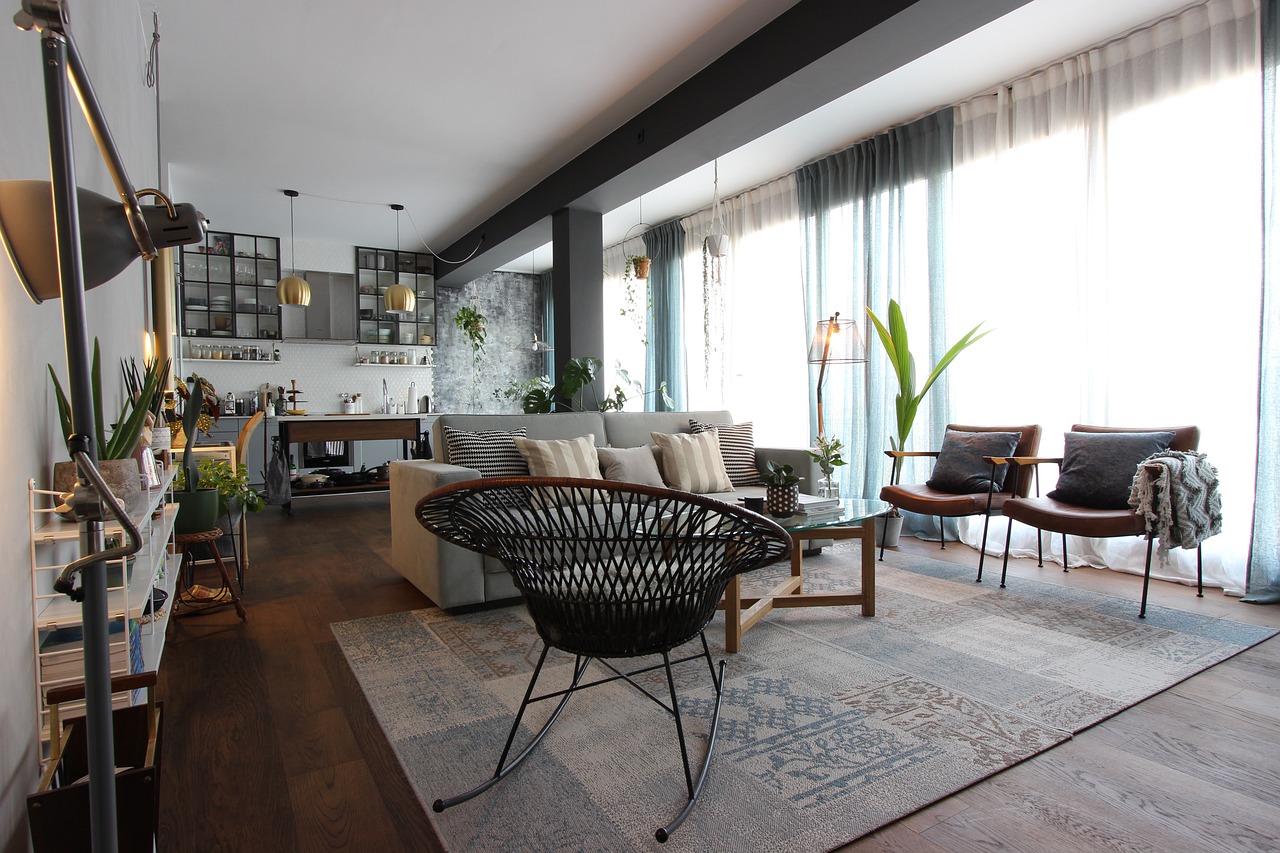
Preparing Your Space
Before diving into your exciting DIY painting project, it's essential to prepare your space effectively. Think of this stage as the foundation of a house; without a solid base, everything else can come crumbling down. First, clear out your living room by removing as much furniture as possible. This will not only give you more room to work but also prevent any accidental paint splatters on your beloved sofa or coffee table. If you can’t move larger items, consider placing them in the center of the room and covering them with drop cloths or plastic sheeting to shield them from paint drips.
Next, you'll want to protect your floors. Lay down a drop cloth or old sheets to catch any paint spills. If you're working with a carpet, be extra cautious, as paint can be particularly tricky to remove from fibers. Now, let's talk about walls. Before you start painting, inspect your walls for any imperfections. Look for holes, cracks, or peeling paint that might need attention. A little bit of prep work here can save you from a less-than-perfect finish later on.
Once you’ve cleared the space and protected your belongings, it’s time to prep the walls. This involves cleaning them thoroughly to ensure that dirt and grease don’t interfere with the paint adhesion. Use a mild detergent mixed with water and a soft sponge to wipe down the surfaces. For stubborn stains, you might need a more robust cleaning solution. Make sure to rinse the walls afterward and let them dry completely before applying any paint.
In addition to cleaning, consider using painter's tape to mask off areas you don’t want to paint, such as trim, windows, and door frames. This simple step can make a world of difference in achieving clean, sharp lines. When applying the tape, press it down firmly to prevent paint from seeping underneath. Once everything is clean and taped off, you’re ready to move on to choosing your paint colors and techniques. Remember, a well-prepared space is key to a successful DIY paint project!
- How long should I let the walls dry after cleaning?
It's best to let the walls dry for at least 1-2 hours to ensure that no moisture interferes with the paint. - What type of painter's tape should I use?
Look for a high-quality painter's tape that is specifically designed for clean lines and easy removal. - Can I paint over existing paint?
Yes, as long as the surface is clean and the existing paint is in good condition. You may want to use a primer if you're making a significant color change.
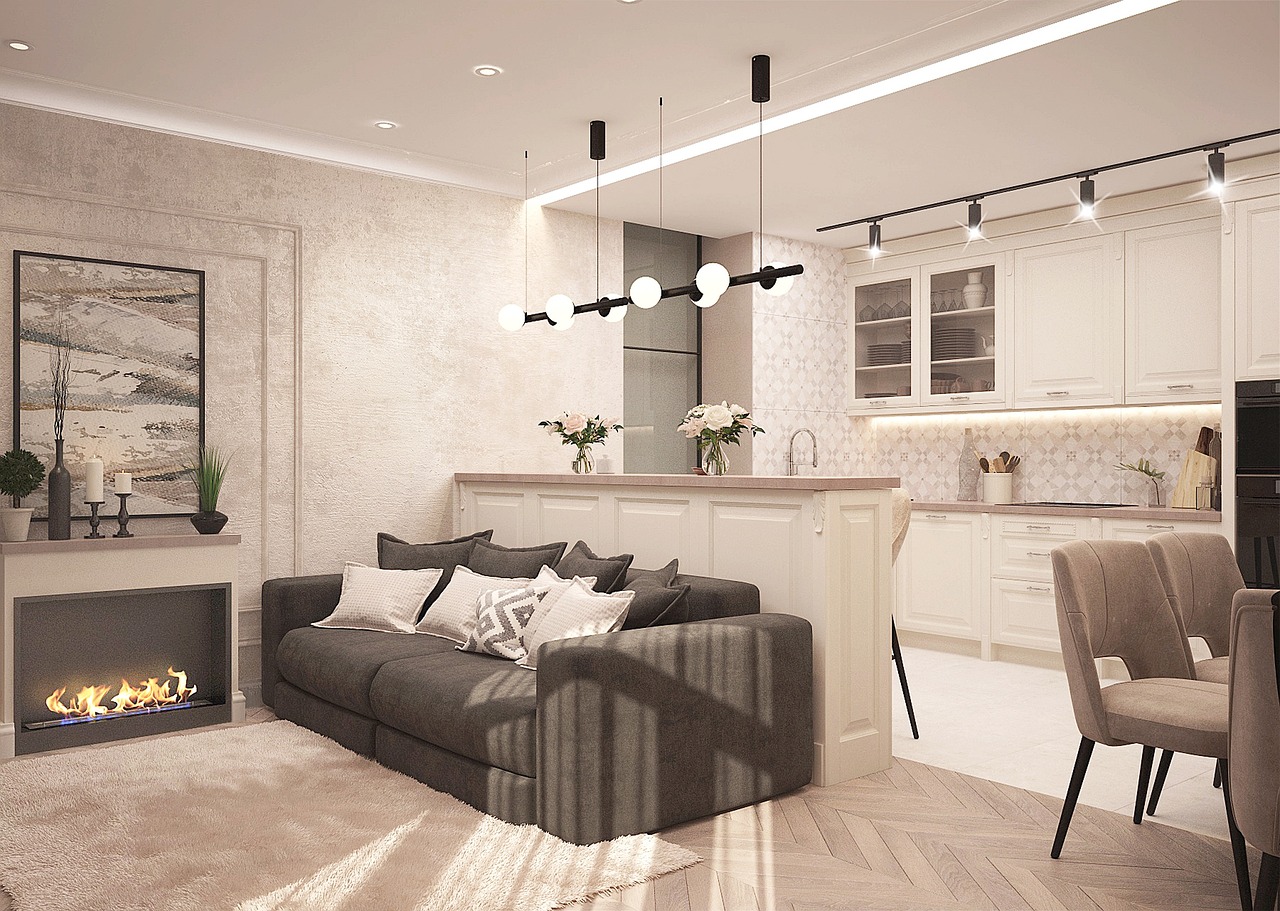
Cleaning the Walls
Cleaning the walls in your living room is a crucial step that often gets overlooked, but it can significantly impact the final result of your DIY painting project. Just think about it: would you bake a cake without greasing the pan? Similarly, painting over dirty walls can lead to uneven finishes and a less-than-stellar appearance. Before you dive into the colorful world of paint, take a moment to ensure your walls are in tip-top shape.
Start by gathering your cleaning supplies. You’ll need a few basic items: a sponge or cloth, a bucket, warm water, and a mild detergent. If your walls are particularly grimy or greasy, you might want to consider using a stronger cleaning solution, but be sure to test it on a small area first to avoid damaging the paint underneath. Once you have your supplies ready, it’s time to roll up your sleeves!
Begin by removing any dust, cobwebs, or loose dirt from the walls. A dry microfiber cloth or a duster can work wonders here. After that, dip your sponge or cloth into the soapy water, wring it out, and start scrubbing from the top down. This method prevents dirty water from dripping onto clean areas. Pay special attention to high-traffic areas, like around light switches and door frames, where grime tends to accumulate.
For tougher stains, such as crayon marks or food splatters, you might need a little extra elbow grease. You can create a paste using baking soda and water, apply it to the stain, and let it sit for a few minutes before scrubbing it off. Rinse the walls with clean water afterward to remove any soap residue, as this can affect the adhesion of your new paint.
Lastly, ensure the walls are completely dry before proceeding with your painting. If you’re in a humid environment, consider using a fan to speed up the drying process. Remember, a clean wall is not just a blank canvas; it’s the foundation for a beautiful and vibrant living space that reflects your personality and style.
- How often should I clean my walls? It's a good idea to clean your walls at least once a year, or more frequently if you have kids or pets.
- Can I use vinegar to clean my walls? Yes, vinegar is a great natural cleaner. Mix equal parts vinegar and water for a gentle cleaning solution.
- What if my walls have a glossy finish? For glossy finishes, be gentle with your cleaning methods to avoid damaging the surface. A soft cloth with mild soap should suffice.
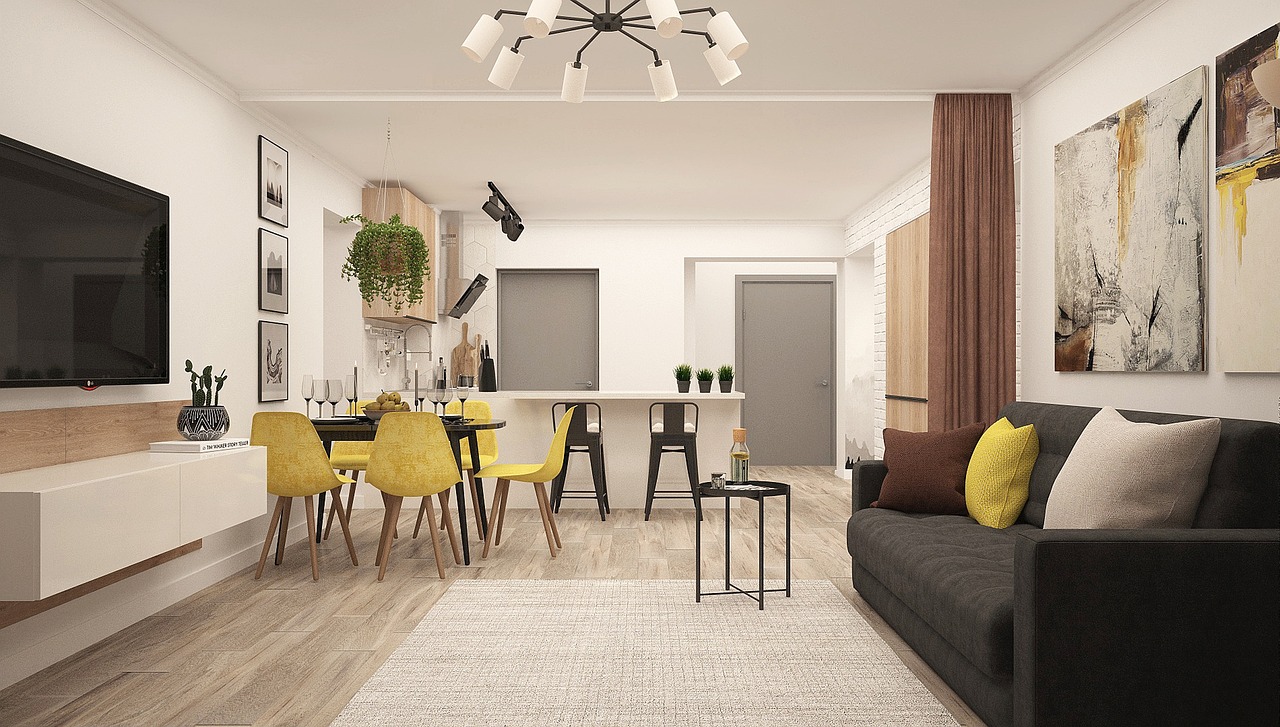
Choosing the Right Paint Type
When it comes to transforming your living room, one of the most crucial decisions you'll face is . The paint you select can significantly affect not only the look but also the feel of your space. Imagine walking into a room that feels warm and inviting versus one that feels cold and unwelcoming—it's all in the paint! There are several types of paint finishes to consider, each offering unique characteristics that can complement your design vision.
First off, let’s talk about matte paint. This type has a non-reflective finish that hides imperfections beautifully, making it ideal for ceilings and walls that may not be perfectly smooth. However, matte paint can be a bit tricky when it comes to cleaning; it’s less durable than other finishes and may require more frequent touch-ups. If your living room sees a lot of activity, you might want to steer clear of this option.
Next up is satin paint, which strikes a balance between matte and gloss. It has a soft sheen that reflects some light, making your walls look vibrant without being overly shiny. Satin paint is also more durable and easier to clean than matte, making it a popular choice for living rooms where kids or pets might roam. This finish is excellent for walls, as it can withstand the wear and tear of daily life.
Then we have semi-gloss paint, which is even more reflective. This finish is perfect for areas that need a bit more durability, such as trim, moldings, and even accent walls. The shiny surface not only adds a modern touch but also makes cleaning a breeze. If you’re looking to create a bold statement with your living room decor, semi-gloss paint can be a fantastic option.
To help you visualize the differences, here’s a quick comparison table:
| Paint Type | Finish | Durability | Best For |
|---|---|---|---|
| Matte | Non-reflective | Low | Ceilings, low-traffic areas |
| Satin | Soft sheen | Medium | Walls, living rooms |
| Semi-gloss | Reflective | High | Trim, moldings, accent walls |
Lastly, don't forget about eggshell paint. This finish is similar to satin but has a slightly lower sheen. It's a favorite for living rooms because it offers a soft, elegant look while remaining durable enough for everyday use. It’s perfect for those who want a little shine without going full gloss.
In conclusion, selecting the right paint type for your living room is more than just a matter of aesthetics; it's about functionality, maintenance, and how well it fits into your lifestyle. Take your time to consider the finish that aligns with your vision, and don’t hesitate to test samples on your walls before making the final decision. After all, your living room should be a reflection of you—vibrant, welcoming, and full of life!
- What is the best paint finish for high-traffic areas?
Satin or semi-gloss finishes are ideal for high-traffic areas due to their durability and ease of cleaning.
- Can I mix different paint types in my living room?
Yes, mixing different finishes can create visual interest, but ensure they complement each other and fit your overall design theme.
- How do I know if my walls need a primer before painting?
If your walls are stained, have a drastic color change, or are porous, using a primer is recommended for the best finish.

Creative Painting Techniques
When it comes to transforming your living room, getting creative with paint can be a game changer. Think of your walls as a blank canvas, waiting for your personal touch. There are countless painting techniques that can elevate the aesthetics of your space, making it uniquely yours. From subtle ombre effects to bold stenciling, each technique offers a chance to express your style and personality.
One popular method is the ombre effect, where colors blend seamlessly from light to dark or vice versa. Imagine the soft gradient of a sunset reflected on your walls, creating a soothing atmosphere. To achieve this, start with a base coat of your lightest color and gradually add darker shades as you move down the wall. This technique not only adds depth but also makes your room feel larger and more inviting.
Another exciting option is stenciling. This technique allows you to create intricate designs and patterns that can serve as a focal point in your living room. Whether you want to add a subtle floral motif or a geometric pattern, stencils can be your best friend. You can either buy stencils or make your own using cardboard or plastic sheets. Just remember to secure the stencil with painter's tape to avoid any smudging, and use a sponge or brush to apply the paint evenly.
If you're feeling adventurous, consider using sponging or rag rolling. These techniques add texture and visual interest to your walls. Sponging involves using a natural sponge to apply a second color over a base coat, creating a soft, mottled effect that adds warmth. Rag rolling, on the other hand, uses a rag to roll paint onto the wall, giving it a unique, textured finish. Both methods can be fantastic for creating an organic feel, reminiscent of nature.
For those who love a modern touch, geometric designs are a fantastic choice. Using painter's tape, you can create sharp lines and bold shapes that can make a statement. Think triangles, stripes, or even abstract designs that can bring a contemporary vibe to your living room. The key here is precision—take your time when applying the tape to ensure clean lines, and choose colors that complement your overall color palette.
Finally, don’t forget about color washing, a technique that involves applying a thin, transparent layer of paint over a base coat. This method allows the base color to show through while adding a hint of color and depth. It’s perfect for creating a soft, dreamy look that can soften the overall feel of your living room.
In conclusion, the world of DIY painting techniques is vast and full of possibilities. Each method offers a unique way to express your creativity and personalize your living space. So, grab your brushes, unleash your imagination, and let your walls tell your story!
- What is the best paint finish for living room walls?
The best paint finish for living room walls typically ranges from satin to eggshell. These finishes provide a nice balance of durability and aesthetic appeal.
- How long should I wait before applying a second coat of paint?
It's generally recommended to wait at least 2-4 hours between coats, but always check the paint can for specific instructions.
- Can I use leftover paint for touch-ups?
Absolutely! Just make sure the leftover paint is from the same batch to ensure color consistency.
- What tools do I need for stenciling?
You will need stencils, painter's tape, a sponge or stencil brush, and a small paint tray for the best results.
Incorporating Accent Walls
Accent walls are like the cherry on top of a sundae—they can completely transform the overall aesthetic of your living room with just a splash of color or a unique design. If you’re looking to make a bold statement without overwhelming your entire space, an accent wall is the perfect solution. But how do you choose the right wall and the best method to create that stunning focal point? Let’s break it down!
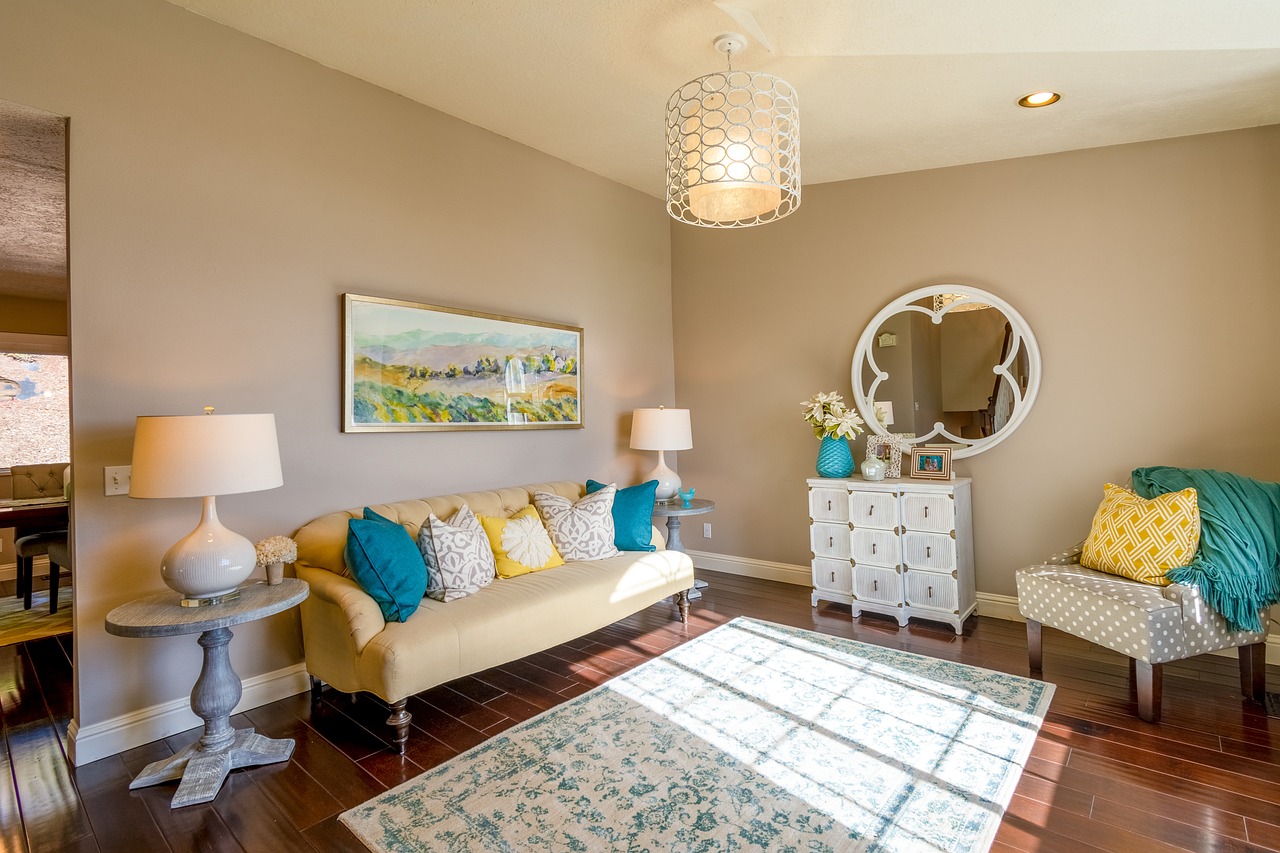
First off, you’ll want to identify which wall will serve as your accent wall. This is typically a wall that draws attention naturally, such as the one behind your sofa or the wall that houses your entertainment center. It’s all about creating a visual anchor in the room. Once you’ve chosen your wall, consider the color or pattern you want to use. A bold, dark color can create a cozy vibe, while a bright hue can energize the space. Patterns, such as stripes or geometric designs, can add a fun twist. Think of your accent wall as a piece of art—what do you want it to say about your living room?
Next, let’s talk techniques! There are several creative methods to achieve that eye-catching accent wall. Here are a few popular options:
- Solid Color: The simplest method, just paint one wall a different color than the others.
- Stenciling: Use stencils to create intricate designs that add character and depth.
- Ombre Effects: Blend colors from light to dark for a soft, gradient look.
- Wall Decals: Easy to apply and remove, these can be a great way to add temporary flair.
After selecting your technique, it’s time to gather your materials. You’ll need painter’s tape to create clean lines, a brush or roller depending on your chosen method, and of course, the paint itself. If you’re going for a more intricate design, consider investing in some quality stencils or tools to help you achieve that perfect look. Remember, preparation is key! Make sure to protect your floors and surrounding furniture with drop cloths to avoid any accidental splatters.
Finally, once your accent wall is complete, take a step back and admire your work. But don’t stop there! Complement your new wall with furniture and decor that enhances its beauty. For instance, if you’ve painted a deep navy wall, consider light-colored furniture or vibrant artwork to create a stunning contrast. Think of your accent wall as the star of the show—what supporting characters will help it shine?
Incorporating an accent wall into your living room is not just about painting; it’s about creating a space that reflects your personality and style. So, go ahead and unleash your creativity—your living room deserves it!
1. How do I choose the right wall for my accent wall?
Look for a wall that naturally draws the eye, such as the wall behind your sofa or a wall that features a fireplace or artwork. It should be a wall that you want to highlight.
2. Can I use wallpaper instead of paint for an accent wall?
Absolutely! Wallpaper can add texture and pattern that paint alone cannot achieve. Just make sure to choose a design that complements your overall decor.
3. How do I maintain my accent wall after painting?
Regular dusting and occasional touch-ups will keep your accent wall looking fresh. If you used a washable paint, you can also wipe it down with a damp cloth.
4. Is it possible to change my accent wall color later?
Yes! One of the beauties of accent walls is that they can be easily repainted or redecorated. Feel free to switch it up whenever you feel like a change.
Using Patterns and Textures
When it comes to transforming your living room, incorporating patterns and textures can take your space from ordinary to extraordinary. Think of your walls as a blank canvas, ready to be adorned with creativity. Patterns can add a dynamic flair, while textures provide depth and interest. Have you ever walked into a room and felt instantly captivated by its unique style? That’s the power of a well-executed paint job!
One popular technique is sponging, where you use a sponge to apply paint in a dabbing motion. This technique creates a soft, textured look that can mimic the appearance of natural stone or clouds. Imagine walking into your living room and feeling as though you’ve stepped into a serene retreat, all thanks to the gentle textures on your walls. To achieve this look, start with a base coat, let it dry, and then use a contrasting color to sponge over the top.
Another method to consider is rag rolling. This technique involves rolling a rag over wet paint to create a unique, textured finish. It’s perfect for adding a rustic charm to your living room. Picture this: you’re hosting friends, and they’re admiring your walls, asking how you achieved that stunning look. You can proudly say it’s all in the rag rolling technique! To get started, apply a base coat, mix a glaze with your chosen color, and then roll the rag over the surface for a stunning effect.
If you’re feeling adventurous, geometric designs can also be a fabulous way to add patterns to your living room. You can create stripes, chevrons, or even intricate shapes that draw the eye. Consider using painter's tape to outline your design, ensuring clean lines and a professional finish. This method not only enhances the visual appeal but also allows you to express your personality through art. Just imagine how a bold chevron pattern could energize your space, making it feel modern and chic!
As you experiment with these techniques, remember that color choice is crucial. Opt for colors that complement each other and reflect your personal style. For instance, a combination of soft pastels can create a calming atmosphere, while vibrant hues can infuse energy into the room. Don't shy away from mixing and matching different textures and patterns; just like in fashion, layering can create a beautifully curated look.
Lastly, don't forget about the importance of balance. While it’s tempting to go all out with patterns and textures, maintaining harmony in your living room is key. If one wall boasts a bold pattern, consider keeping the other walls more subdued to avoid overwhelming the space. This balance will ensure your living room feels inviting and cohesive, rather than chaotic.
In conclusion, using patterns and textures in your DIY paint project can significantly enhance the character of your living room. Whether you choose sponging, rag rolling, or geometric designs, the possibilities are endless. Embrace your creativity, have fun with the process, and watch as your living room transforms into a vibrant reflection of your personality!
- What is the best paint type for textured walls? A satin or semi-gloss finish is often recommended for textured walls, as it enhances the texture and is easier to clean.
- Can I use wallpaper patterns instead of paint? Absolutely! Wallpaper can also add beautiful patterns and textures to your living room.
- How do I maintain textured walls? Regular dusting and gentle cleaning with a damp cloth can help maintain the look of textured walls.
Maintaining Your Painted Surfaces
Once you've transformed your living room with a fresh coat of paint, the last thing you want is for it to lose its charm too soon. Maintaining your painted surfaces is essential to ensure they remain vibrant and inviting. Think of your walls as the canvas of your life; if you take care of them, they’ll continue to reflect your style and personality for years to come.
First and foremost, regular cleaning is key. Dust and dirt can accumulate on walls, dulling their finish and making them look tired. A simple solution is to use a soft cloth or a duster to gently wipe down the surfaces every few weeks. For more stubborn stains or marks, mix a little mild dish soap with warm water, and use a sponge to gently scrub the area. Just remember to rinse with clean water afterward to avoid soap residue!
Another important aspect of maintenance is touch-ups. Over time, your walls might suffer from scratches, scuffs, or even the occasional crayon mark from little hands. Keeping a small container of leftover paint handy can be a lifesaver. If you notice a blemish, simply dab a little paint on the affected area with a small brush or sponge. This quick fix can work wonders and keep your walls looking pristine.
When it comes to cleaning painted surfaces, it’s crucial to consider the type of paint you used. For example, matte finishes are more susceptible to stains and may require more delicate cleaning methods, while semi-gloss or satin finishes can handle a bit more scrubbing. Always refer to the manufacturer’s instructions for the best cleaning practices for your specific paint type.
Lastly, be mindful of environmental factors that can affect your painted surfaces. If your living room gets a lot of sunlight, consider using curtains or blinds to protect the paint from fading. Additionally, maintaining a stable humidity level can help prevent peeling or cracking. A dehumidifier can be a great investment if you live in a particularly humid area.
To summarize, here are some quick tips for maintaining your painted surfaces:
- Regularly dust and clean walls with a soft cloth.
- Use mild soap and water for tougher stains.
- Keep leftover paint for quick touch-ups.
- Be cautious of the paint finish when cleaning.
- Protect walls from excessive sunlight and moisture.
By following these simple maintenance tips, you can ensure that your living room continues to look as stunning as the day you painted it. Remember, a little care goes a long way in preserving the beauty of your DIY paint decor!
Q: How often should I clean my painted walls?
A: It's a good idea to dust your walls every few weeks and do a deeper clean every few months, or as needed based on the level of dirt and grime.
Q: What should I do if my paint starts to peel?
A: If you notice peeling paint, carefully scrape off the loose areas, clean the surface, and apply a primer before repainting.
Q: Can I use any type of cleaner on my painted surfaces?
A: Avoid harsh chemicals and abrasive cleaners. Stick to mild soap and water for the best results.
Q: How can I touch up paint without it looking obvious?
A: Use a small brush or sponge to apply the same paint color, feathering the edges to blend with the surrounding area.
Final Touches and Decor
Once you've transformed your living room with a fresh coat of paint, it's time to add those final touches that will elevate your space from ordinary to extraordinary. Think of your living room as a blank canvas, and now that you've painted the background, it's time to add the vibrant details that will bring your vision to life. The key here is to create a cohesive look that reflects your personality while complementing the new colors on your walls.
When selecting decor elements, consider how each piece interacts with your newly painted surfaces. For instance, if you've chosen a bold accent wall, opt for furniture and accessories that either contrast beautifully or harmonize with that color. This balance is essential to avoid overwhelming your space. Here are some ideas to inspire you:
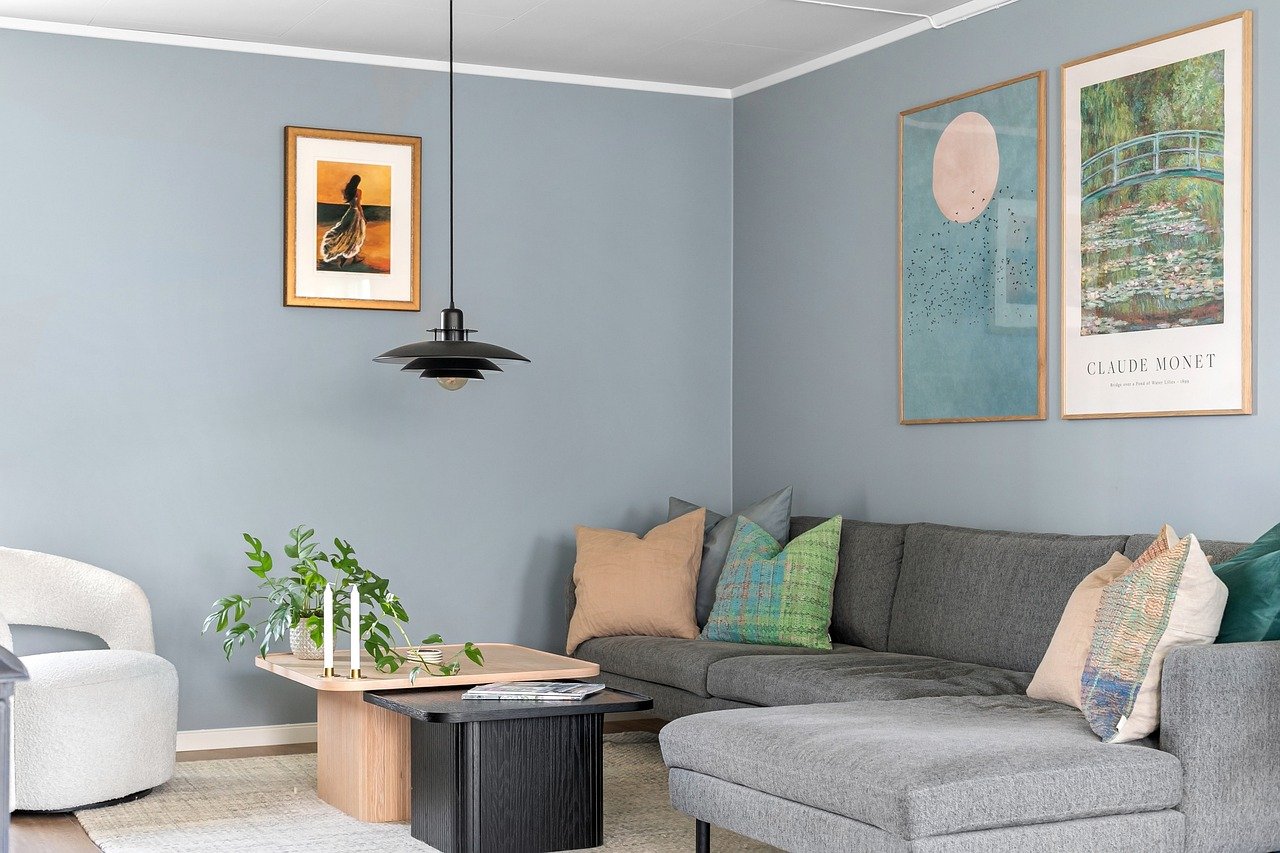
- Artwork: Choose pieces that resonate with you and enhance the color scheme. A large canvas or a gallery wall can serve as a stunning focal point.
- Textiles: Incorporate throw pillows, blankets, and rugs that pick up on the colors of your walls. Patterns can add depth, while solid colors can provide a calming effect.
- Lighting: Lighting can dramatically change the mood of your room. Consider floor lamps, table lamps, or even string lights that complement your decor and add warmth.
In addition to these elements, think about the functional aspects of your living room. Ensure your furniture arrangement promotes conversation and comfort. A well-placed sofa or armchair can invite guests to gather and chat, making your space feel welcoming. You might also want to consider multifunctional furniture, especially if your living room serves multiple purposes.
Don't forget about the importance of plants. Adding greenery can breathe life into your space, making it feel fresh and inviting. Choose plants that thrive in your living room's lighting conditions, and consider how their colors and textures will complement your paint job. A tall floor plant in a decorative pot can draw the eye upward, enhancing the room’s height, while small potted plants can add a touch of charm to shelves or tables.
Lastly, remember that the finishing touches are what truly make a space feel like home. Personalize your living room with items that tell your story—family photos, travel souvenirs, or heirloom pieces can all add character and warmth. As you decorate, step back often to assess how everything works together. This will help you maintain a balanced and inviting atmosphere.
Q: How can I ensure my decor matches my new paint colors?
A: Start by selecting a color palette that includes shades from your painted walls. Use color swatches to guide your choices in decor items, ensuring they either complement or contrast effectively.
Q: What types of artwork work best in a living room?
A: Choose artwork that reflects your personal style. Large pieces can serve as focal points, while smaller pieces can be grouped to create a gallery wall. Consider the colors and themes that resonate with you.
Q: How often should I refresh my decor?
A: It depends on your personal preference! Many people enjoy changing decor seasonally or annually. A few simple updates, like new throw pillows or artwork, can refresh the look without a complete overhaul.
Q: What are some budget-friendly decor ideas?
A: Thrift stores, garage sales, and DIY projects can provide unique finds at a low cost. Consider upcycling old furniture or creating your own artwork to add a personal touch without breaking the bank.
By focusing on these final touches, you'll create a living room that is not only visually appealing but also a true reflection of who you are. Enjoy the process, and let your creativity shine!
Frequently Asked Questions
- What color palette should I choose for my living room?
Choosing the right color palette is essential for creating the desired atmosphere in your living room. Consider colors that complement your existing decor and reflect your personal style. You might want to start with a base color and then select one or two accent colors to add depth and vibrancy.
- What tools do I need for a DIY painting project?
Before diving into your painting project, gather essential tools such as brushes, rollers, painter's tape, drop cloths, and a paint tray. Having the right tools will make the process smoother and ensure better results.
- How do I prepare my living room for painting?
Proper preparation is key! Start by clearing the room of furniture and covering any remaining items with drop cloths. Clean the walls to remove dust and grime, and make sure to tape off areas you don’t want to paint, like trim and windows.
- What is the best way to clean walls before painting?
To clean your walls effectively, use a mixture of warm water and mild detergent. A sponge or soft cloth works great for this task. Make sure to rinse the walls with clean water afterward to remove any soap residue, which can affect paint adhesion.
- What type of paint should I use for my living room?
For living rooms, consider using paints with a satin or semi-gloss finish, as they are durable and easy to clean. Matte finishes can also work well if you prefer a softer look, but they may require more maintenance.
- What creative painting techniques can I try?
Get creative with techniques like ombre effects, stenciling, or even sponging! These methods can add unique visual interest and personality to your living room, making it truly one-of-a-kind.
- How do I create an accent wall?
To create an accent wall, choose a wall that naturally draws attention, such as one behind a sofa or a fireplace. Use a bold color or a different pattern to make it stand out. Make sure to prep the wall properly and consider using painter's tape for clean lines.
- What are some ways to incorporate patterns and textures?
You can incorporate patterns and textures using techniques like rag rolling, sponging, or geometric designs. These methods can add character and depth to your walls, making your living room feel more dynamic and inviting.
- How do I maintain my painted surfaces?
To keep your painted surfaces looking fresh, regularly dust and clean them with a damp cloth. For touch-ups, keep some of the original paint handy to fix any scratches or marks that may occur over time.
- What final touches should I consider after painting?
Once your painting project is complete, think about adding decor elements like artwork, furniture, and accessories that complement your new colors. This will help create a cohesive look and enhance the overall transformation of your living room.


