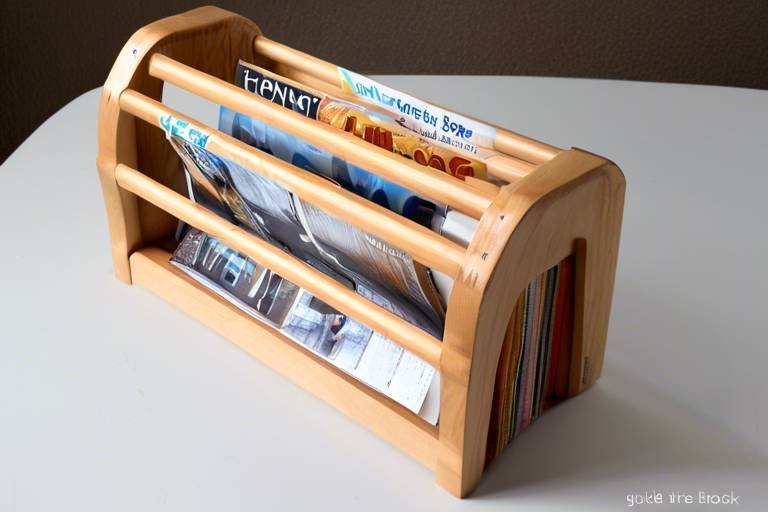
The Joys and Challenges of Woodworking: An Insight
Woodworking is more than just a hobby; it’s a journey filled with joys and challenges that can transform your creative instincts into tangible masterpieces. Imagine the warm smell of freshly cut wood, the sound of tools in action, and the sight of a raw piece of lumber slowly morphing into a beautiful, functional item. This craft not only allows you to express your creativity but also teaches you valuable skills that can last a lifetime. However, like any art form, woodworking comes with its own set of hurdles that can test your patience and resolve.
One of the most rewarding aspects of woodworking is the satisfaction that comes from creating something with your own hands. Whether it’s a simple shelf or a complex piece of furniture, there’s an unparalleled sense of accomplishment that accompanies the completion of each project. You’re not just assembling pieces of wood; you’re crafting a story, a piece of art that carries your personal touch. The joy of seeing your vision come to life is what keeps many woodworkers returning to their workshops, eager to tackle the next challenge.
However, woodworking is not without its challenges. As you immerse yourself in this craft, you may encounter difficulties such as selecting the right materials, mastering essential techniques, or managing your time effectively. Each project presents unique obstacles that require problem-solving skills and a willingness to learn from mistakes. For instance, you might find that the wood you chose has unexpected flaws, or perhaps your measurements were slightly off, leading to a less-than-perfect fit. But don't let these challenges discourage you! Instead, view them as opportunities for growth.
As you navigate through the world of woodworking, you’ll discover that the challenges you face can often lead to the most rewarding experiences. Each error teaches you something new, honing your skills and enhancing your understanding of the craft. It’s like climbing a mountain; the path may be steep and rocky, but the view from the top is worth every step. In this article, we will explore the various aspects of woodworking, from selecting the right materials to mastering essential tools, and everything in between. So grab your tools and let’s dive into the wonderful world of woodworking!
Choosing the right wood is crucial in woodworking. Different types of wood offer unique characteristics, influencing the final product's appearance and durability.
Every woodworker needs a set of essential tools. From hand tools to power tools, understanding their uses can significantly enhance your woodworking experience.
Hand tools have been used for centuries in woodworking. They provide precision and a connection to the craft that many woodworkers cherish.
Chisels are versatile tools that allow for intricate detailing and shaping in woodworking projects, making them indispensable for skilled artisans.
Different types of saws serve various purposes in woodworking, from crosscut saws to band saws, each offering unique advantages for specific tasks.
Power tools have revolutionized woodworking, allowing for faster and more efficient work. Understanding their operation is key to successful projects.
New woodworkers can benefit from learning fundamental techniques. Mastering these skills lays the foundation for more complex projects in the future.
Accurate measuring and marking are essential steps in woodworking. Precision at this stage can prevent costly mistakes later in the project.
Understanding the basics of joinery is vital for creating strong and durable wooden structures. Various techniques can be employed depending on the project’s requirements.
The joy of woodworking often stems from the satisfaction of creating something unique. Completing a project can provide a sense of accomplishment and pride.
Woodworking presents various challenges, from material flaws to design complications. Learning to troubleshoot these issues is essential for growth as a woodworker.
Mistakes are inevitable in woodworking. Learning how to address and rectify them can lead to improved skills and better outcomes in future projects.
Balancing time between planning, crafting, and finishing is crucial in woodworking. Effective time management can enhance productivity and enjoyment of the craft.
- What is the best type of wood for beginners?
- Softwoods like pine or cedar are great for beginners due to their workability and lower cost.
- Do I need expensive tools to start woodworking?
- No, you can start with basic, affordable tools and gradually invest in more specialized equipment as you progress.
- How can I improve my woodworking skills?
- Practice regularly, take classes, and learn from experienced woodworkers to enhance your skills.
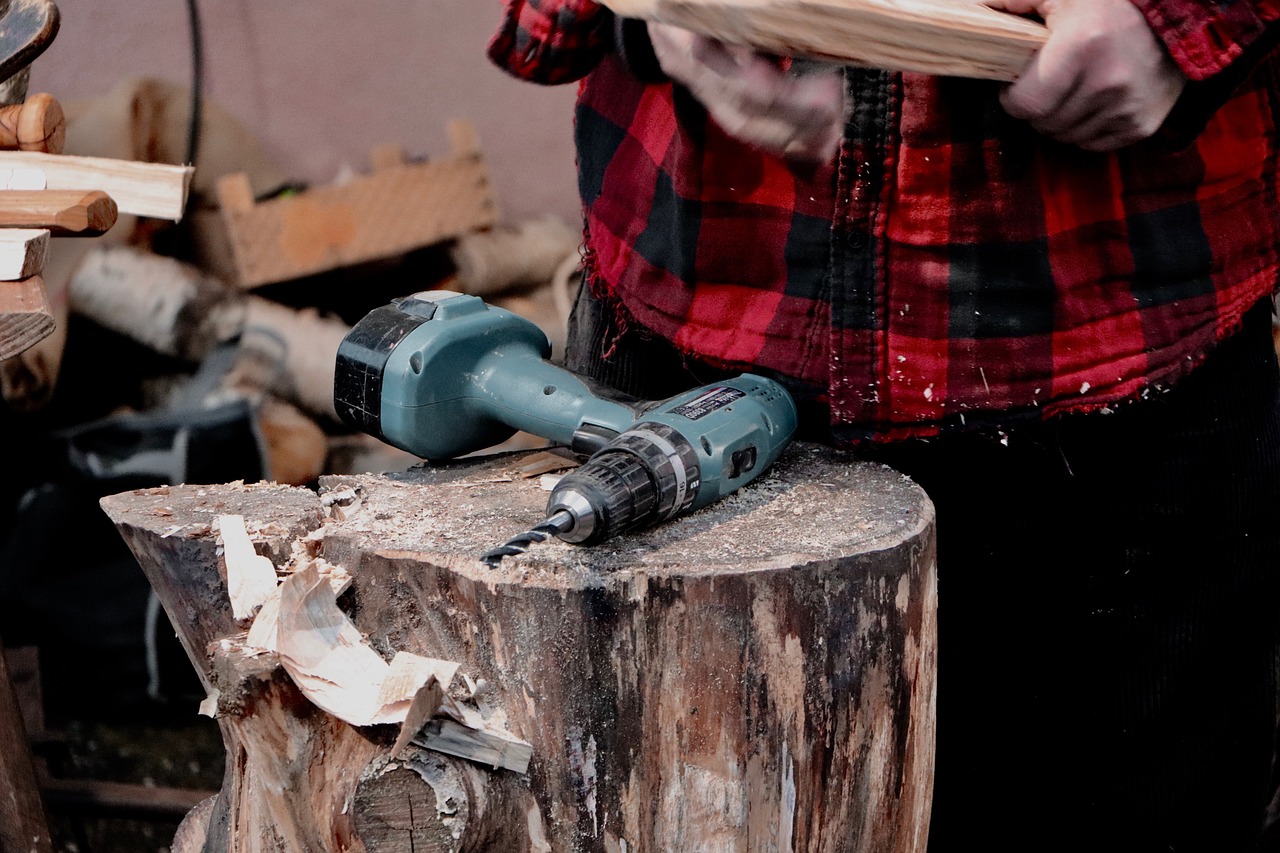
The Art of Wood Selection
Choosing the right wood is not just a step in the woodworking process; it's an art form that can make or break your project. Different types of wood possess unique characteristics, from their grain patterns to their density, and these traits significantly influence the appearance and durability of the final product. Imagine trying to build a sturdy table out of soft pine; while it may look beautiful initially, over time, it could warp or dent under pressure. This is why understanding wood selection is crucial.
When embarking on your woodworking journey, it's essential to consider several factors when selecting your wood:
- Type of Project: Are you crafting a delicate jewelry box or a robust dining table? The intended use will guide your wood choice.
- Aesthetic Appeal: Different woods offer varying colors and grains. For instance, walnut provides a rich, dark hue, while maple boasts a light, creamy finish.
- Durability: Hardwoods like oak and cherry are known for their strength and longevity, making them ideal for furniture that sees daily use.
Here’s a quick overview of some popular wood types and their characteristics:
| Wood Type | Characteristics | Best Uses |
|---|---|---|
| Oak | Strong, durable, with a prominent grain | Furniture, flooring, cabinetry |
| Maple | Hard, light-colored, fine grain | Cabinets, butcher blocks, musical instruments |
| Pine | Soft, lightweight, with a warm color | Craft projects, furniture, and moldings |
| Walnut | Rich, dark color, works well with intricate designs | High-end furniture, cabinetry, and decorative items |
It's also vital to consider the source of your wood. Sustainable practices are becoming increasingly important in today's world. Opting for wood that is responsibly harvested not only helps the environment but also ensures that you are using quality materials. Many woodworkers now seek out reclaimed wood, which adds a unique character to projects while being eco-friendly.
In conclusion, the art of wood selection is about more than just picking a piece of lumber. It’s about understanding the relationship between the wood and your project, ensuring that each choice enhances the beauty and functionality of your creation. So, the next time you step into a lumber yard, remember that you’re not just selecting wood; you’re laying the foundation for your masterpiece!

Essential Tools for Woodworking
When diving into the world of woodworking, the first thing you’ll notice is that having the right tools can make all the difference between a frustrating experience and a fulfilling one. Just like a painter needs brushes and canvases, a woodworker requires a specific set of tools to bring their visions to life. Whether you're a seasoned pro or a curious beginner, understanding the essential tools can open up a world of creative possibilities.
First off, let's talk about hand tools. These are the traditional tools that many woodworkers swear by. They offer a level of precision and control that can sometimes be lost with power tools. Think of hand tools as the fine-tuning instruments in an orchestra, where each piece plays a crucial role in creating a harmonious final product. For instance, a chisel is like a sculptor's chisel, allowing you to carve out intricate designs and details in your wooden pieces. It’s essential for anyone looking to add that personal touch to their work.
Next, we have saws. Imagine trying to cut a cake with a butter knife; it’s just not going to yield the best results. In woodworking, having the right saw for the job is equally important. Different saws serve different purposes, from the crosscut saw, which is perfect for cutting across the grain, to the band saw, ideal for making intricate curves. Each saw is a tool designed for a specific task, and knowing when to use each one can elevate your woodworking game significantly.
On the other hand, we have power tools, which have revolutionized the craft. These tools are like the race cars of woodworking—fast, efficient, and powerful. They allow you to complete projects that would take hours with hand tools in a fraction of the time. However, it’s crucial to understand how to operate them safely and effectively. For instance, a table saw can make quick, precise cuts, but it requires a level of respect and knowledge to use it safely. Without proper understanding, you might find yourself in a sticky situation.
To give you a clearer picture of the essential tools, here’s a quick reference table:
| Tool Type | Purpose |
|---|---|
| Hand Tools | Precision work and detail-oriented tasks |
| Chisels | Intricate detailing and shaping |
| Saws | Cutting wood in various ways |
| Power Tools | Speed and efficiency in woodworking |
| Table Saw | Quick, precise cuts |
In summary, the tools you choose to work with can shape your entire woodworking experience. Whether you prefer the tactile satisfaction of hand tools or the speed of power tools, each has its place in the workshop. Remember, it’s not just about having the tools; it’s about knowing how to use them effectively. As you embark on your woodworking journey, take the time to familiarize yourself with these essential tools, and you'll find that each project becomes not just a task, but a rewarding adventure.
- What are the most important tools for a beginner woodworker? A good set of chisels, a reliable saw, and a measuring tape are essential starting tools.
- How do I maintain my woodworking tools? Regular cleaning, proper storage, and occasional sharpening can keep your tools in top shape.
- Can I start woodworking without power tools? Absolutely! Many woodworkers begin with hand tools and find great satisfaction in the process.
- What safety precautions should I take while woodworking? Always wear safety goggles, keep your workspace clean, and understand how to operate each tool properly.
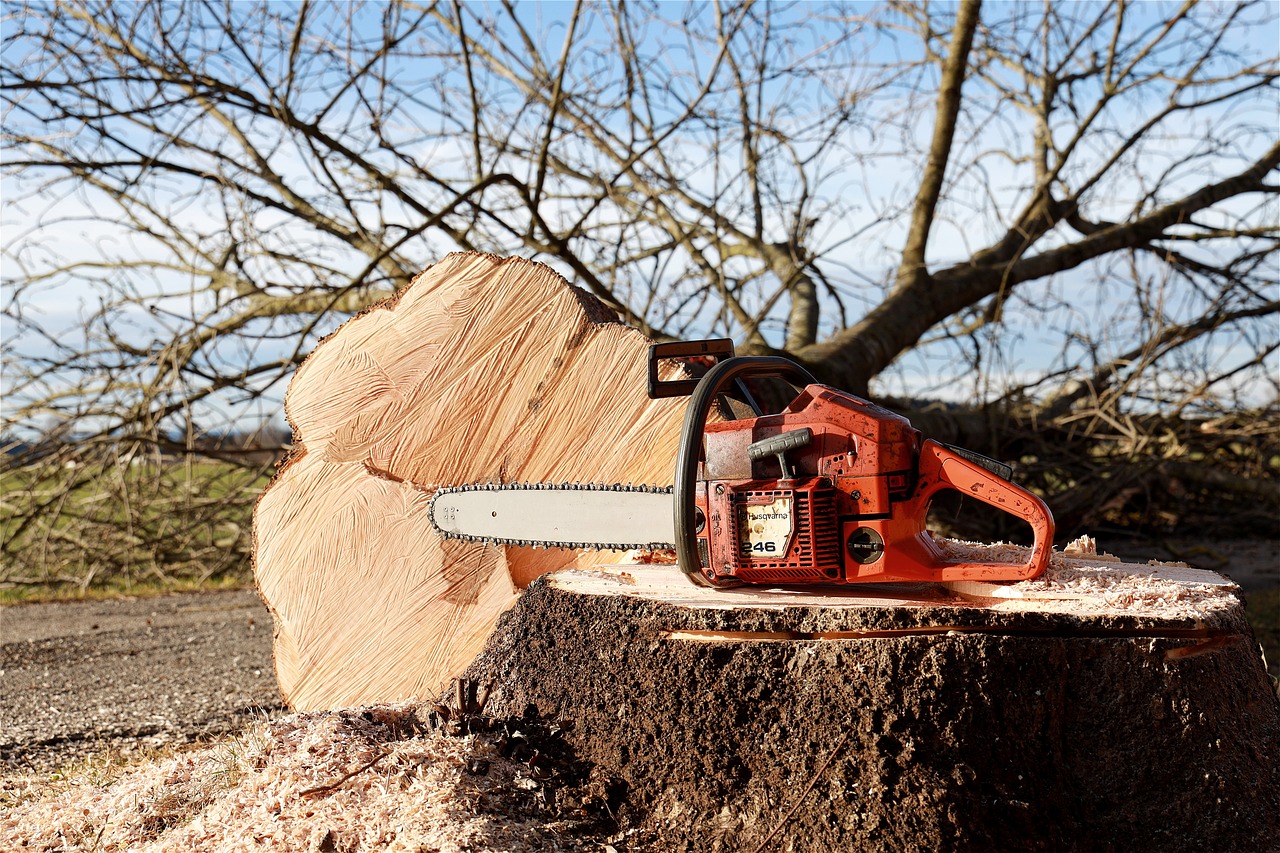
Hand Tools: The Traditional Approach
When you think of woodworking, what comes to mind? Perhaps the soothing sound of a chisel gliding through wood or the satisfying snap of a hand saw biting into a plank. Hand tools are the heart and soul of traditional woodworking, offering a unique connection to the craft that many woodworkers cherish. Unlike their power tool counterparts, hand tools demand a certain level of skill and finesse, allowing artisans to express their creativity in ways that machines simply cannot replicate.
One of the most compelling aspects of using hand tools is the precision they provide. With a sharp chisel or a finely tuned hand plane, a woodworker can achieve intricate details that can elevate a project from ordinary to extraordinary. The tactile feedback you receive while working with these tools creates a sensory experience that is both engaging and rewarding. It’s almost like dancing with the wood, where every cut and every stroke tells a story.
Moreover, hand tools are often more affordable and require less maintenance than their power tool counterparts. They are typically lighter and easier to store, making them an excellent choice for hobbyists or those with limited workspace. For many, the simplicity of hand tools encourages a deeper understanding of the materials and techniques involved in woodworking. Learning to master these tools can be a fulfilling journey, transforming a novice into a skilled craftsman over time.
Here are some essential hand tools that every woodworker should consider incorporating into their toolkit:
- Chisels: These versatile tools allow for intricate detailing and shaping, making them indispensable for skilled artisans.
- Saws: From dovetail saws to coping saws, each type serves different purposes, enhancing the woodworker's ability to cut with precision.
- Hand Planes: These tools are perfect for smoothing surfaces and creating flat edges, ensuring a professional finish.
- Clamps: Essential for holding pieces together while glue dries or during assembly, clamps are a woodworker’s best friend.
In the world of woodworking, hand tools are not just implements; they are extensions of the woodworker’s hands and mind. Each tool has a story, a history that connects us to generations of craftsmen who have come before us. So, whether you’re an experienced artisan or just starting out, embracing the traditional approach of hand tools can open up a world of possibilities and deepen your appreciation for this timeless craft.
Q: Why should I choose hand tools over power tools?
A: Hand tools offer precision, control, and a tactile experience that many woodworkers find rewarding. They can also be more affordable and easier to store.
Q: What are the essential hand tools I should start with?
A: Begin with a set of chisels, a few different saws, hand planes, and clamps. These tools will allow you to tackle a variety of projects effectively.
Q: How do I maintain my hand tools?
A: Regular cleaning, sharpening, and proper storage are key to maintaining hand tools. Always keep them dry and free from rust.
Q: Can I learn woodworking solely with hand tools?
A: Absolutely! Many woodworkers prefer using only hand tools, as they can provide a deeper understanding of the craft and enhance skill development.
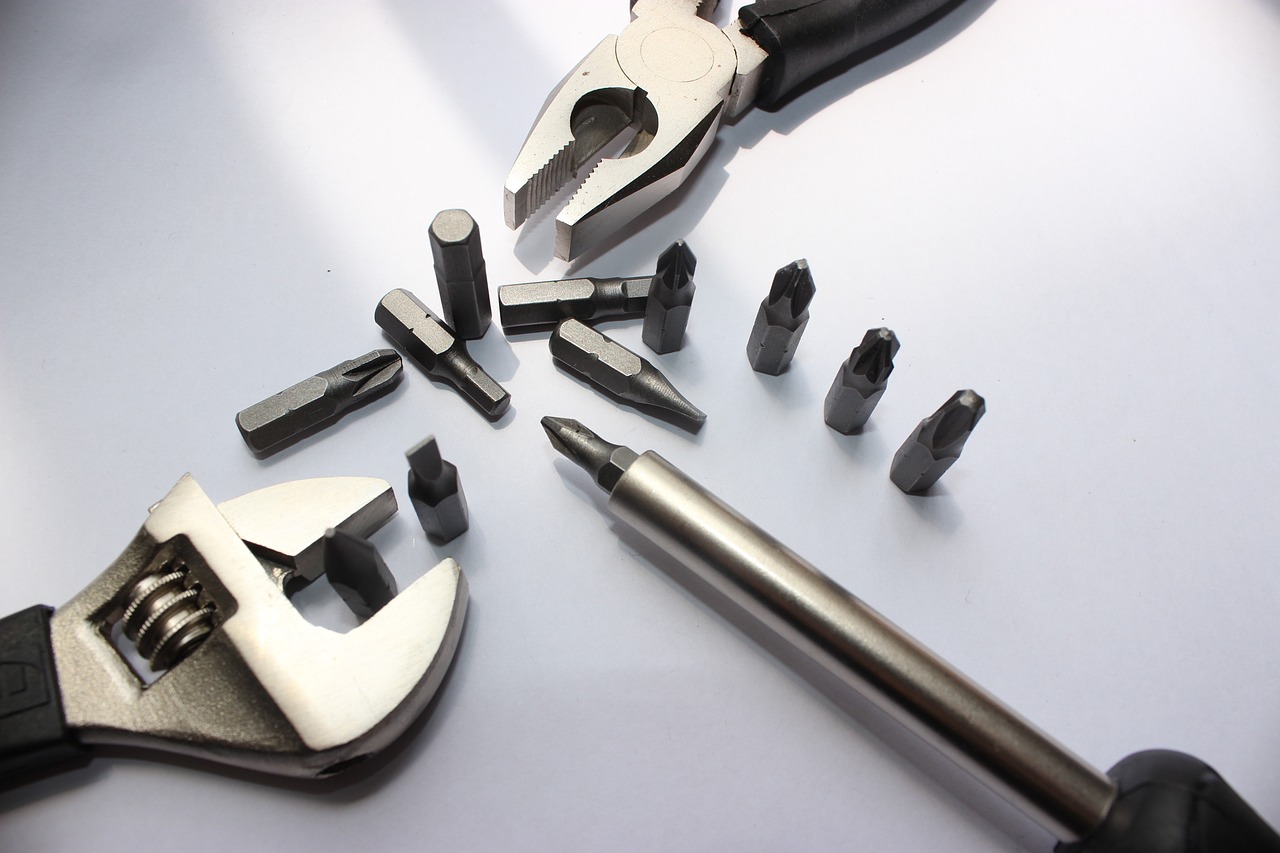
Chisels: The Woodworker's Best Friend
When it comes to woodworking, chisels truly stand out as one of the most essential tools in a woodworker's arsenal. These versatile instruments allow for intricate detailing and shaping, making them indispensable for artisans who take pride in their craft. Imagine chiseling away at a block of wood, each stroke revealing a unique design, much like a sculptor bringing a statue to life. The connection you feel with the wood as you work it with a chisel is unlike any other, and it’s this tactile interaction that many woodworkers cherish.
Chisels come in various shapes and sizes, each designed for specific tasks. For instance, a paring chisel is perfect for delicate work, while a bevel-edge chisel can handle more robust tasks with ease. Understanding the differences between these chisels can significantly enhance your woodworking experience. It’s akin to having a toolbox filled with different brushes for painting; each tool has its own purpose and can create stunning results when used appropriately.
Moreover, the quality of your chisels matters immensely. High-quality chisels, often made from high-carbon steel, hold their edge longer and provide a smoother cut. Investing in a good set of chisels can be a game-changer, allowing for cleaner lines and more precise cuts. To maintain their performance, regular sharpening is crucial. A well-maintained chisel can be likened to a well-tuned piano; it produces beautiful results when cared for properly.
In woodworking, the joy of using chisels extends beyond mere functionality. It’s about the satisfaction that arises from creating something beautiful with your own hands. Whether you’re crafting a simple wooden box or an intricate piece of furniture, chisels allow you to add personal touches that make each project uniquely yours. So, the next time you pick up a chisel, remember that you’re not just using a tool; you’re engaging in a time-honored tradition that connects you with generations of woodworkers before you.
In conclusion, chisels are indeed the woodworker's best friend. They empower you to express your creativity, refine your skills, and produce remarkable pieces of art from raw wood. So, embrace the chisel and let it guide you on your woodworking journey!
- What types of chisels are best for beginners? For beginners, a set that includes a paring chisel, a bevel-edge chisel, and a mortise chisel is ideal. These cover a wide range of tasks.
- How do I maintain my chisels? Regularly sharpen your chisels using a whetstone and keep them dry to prevent rust. A little oil can help maintain their condition.
- Can chisels be used on all types of wood? Yes, chisels can be used on various types of wood, but harder woods may require more effort and sharper tools.
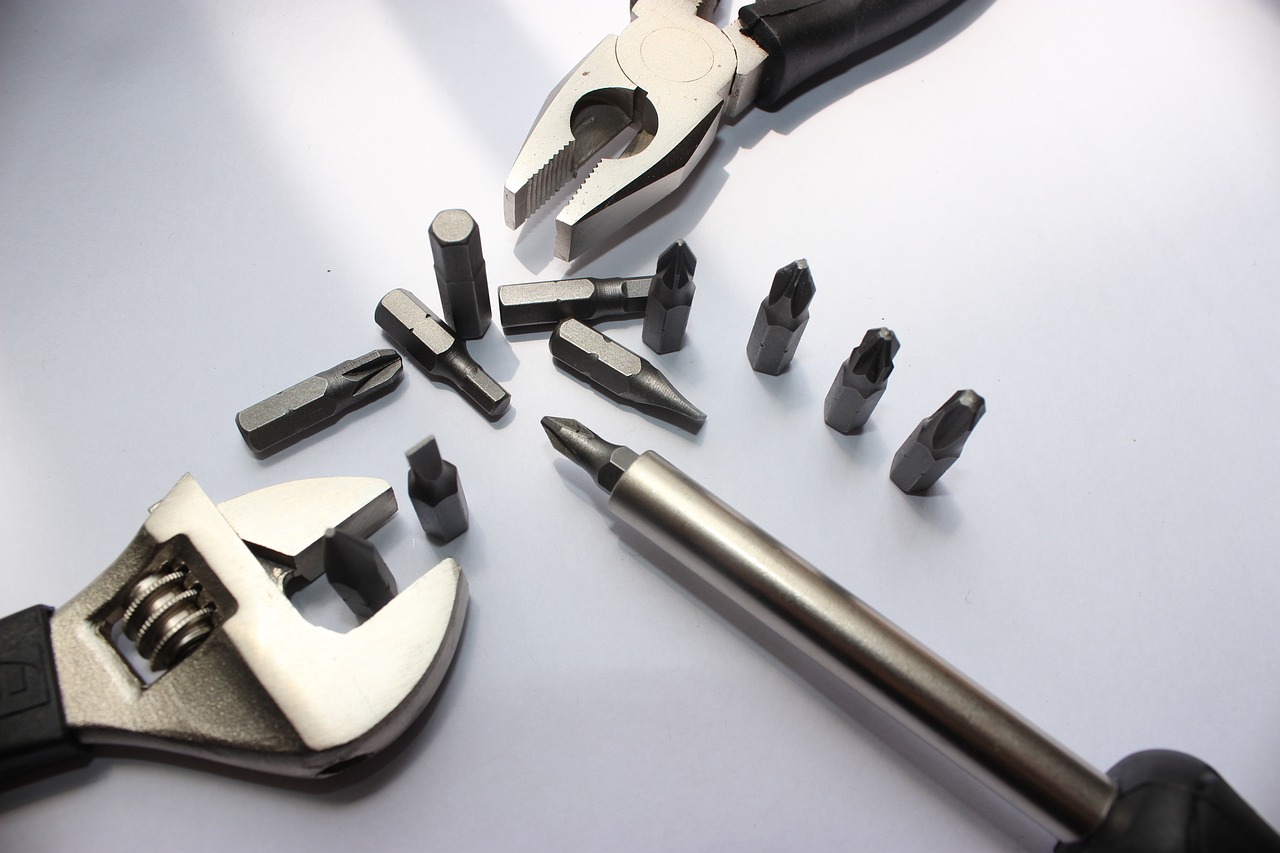
Saws: Cutting with Precision
When it comes to woodworking, the right saw can make all the difference between a clean cut and a frustrating mess. Saws are not just tools; they are the very extension of a woodworker's vision, allowing for precision and creativity to come together in beautiful harmony. Imagine trying to sculpt a masterpiece out of a block of marble without the right chisel—similarly, using the wrong saw can turn a promising project into a disaster.
There are various types of saws, each designed for specific tasks, and understanding their unique functions is crucial for any woodworker. From crosscut saws that slice across the grain to rip saws that cut along the grain, each saw serves a purpose that can significantly impact the quality of your work. For instance, a crosscut saw is ideal for cutting boards to length, while a rip saw is best for breaking down larger pieces of lumber into manageable sizes.
Moreover, power saws have taken the woodworking world by storm, offering speed and efficiency that hand saws simply cannot match. Table saws, miter saws, and band saws are just a few examples of power saws that can dramatically reduce the time spent on cutting tasks, allowing woodworkers to focus on the creative aspects of their projects. However, with great power comes great responsibility; understanding how to safely operate these tools is essential to avoid accidents.
As you delve deeper into the world of woodworking, you may find yourself accumulating a variety of saws. Here’s a quick overview of some common types of saws and their uses:
| Saw Type | Use |
|---|---|
| Crosscut Saw | For cutting across the grain of the wood. |
| Rip Saw | For cutting along the grain of the wood. |
| Miter Saw | For making angled cuts, especially for frames or moldings. |
| Table Saw | For making long, straight cuts and ripping lumber. |
| Band Saw | For intricate cuts and curves in wood. |
In conclusion, the right saw can elevate your woodworking projects from ordinary to extraordinary. By understanding the different types of saws and their specific uses, you can ensure that each cut you make is not only precise but also enhances the overall quality of your work. So, whether you’re a seasoned woodworker or just starting, remember that investing in the right saws is investing in your craft.
- What is the best saw for beginners? A crosscut saw is often recommended for beginners due to its versatility and ease of use.
- How do I maintain my saws? Regular cleaning and sharpening are essential for maintaining the effectiveness of your saws.
- Can I use a power saw instead of a hand saw? Yes, but it's important to understand the safety protocols and operational techniques for power saws.
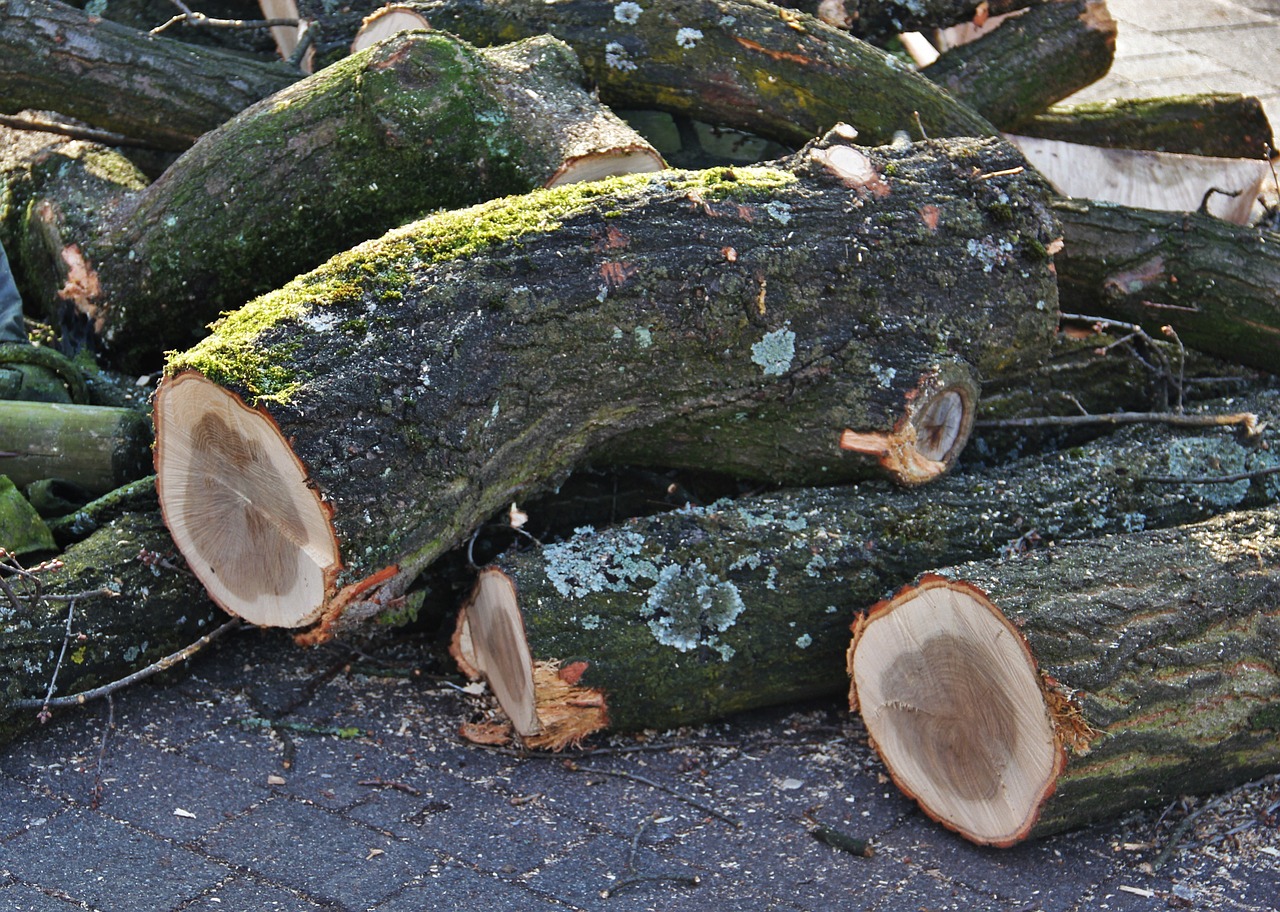
Power Tools: Efficiency and Speed
When it comes to woodworking, power tools are like the turbo boosters of the craft. They take the age-old art of shaping wood and kick it into high gear, allowing woodworkers to accomplish tasks that would take hours or even days with traditional hand tools. Imagine trying to cut a piece of hardwood with just a hand saw; it’s a workout! Now picture the same task done in mere minutes with a circular saw. That’s the magic of power tools—they bring efficiency and speed to your projects, making them an indispensable part of any woodworker's toolkit.
Power tools come in various shapes and sizes, each designed for specific tasks. For instance, a jigsaw is perfect for making intricate cuts, while a router can create beautiful edges and grooves. The beauty of these tools lies not just in their speed, but also in their ability to enhance precision. A well-calibrated power tool can make cuts that are cleaner and more accurate than many hand tools can achieve. This precision is particularly important when you’re working on projects that require a snug fit, such as cabinetry or furniture.
However, with great power comes great responsibility. Understanding how to operate these tools safely is crucial. Each tool comes with its own set of guidelines and best practices. For example, using a table saw requires knowledge of blade height adjustments, fence alignment, and proper stance. Not to mention, safety gear is a must! Always wear protective eyewear and ear protection, as the noise levels can be significant.
For those new to the realm of power tools, it can feel overwhelming. To ease into this world, consider starting with a few essential tools, such as:
- Drill/Driver: Perfect for drilling holes and driving screws.
- Saw: A circular saw is versatile for straight cuts, while a jigsaw handles curves.
- Sander: An electric sander can save time while ensuring a smooth finish.
As you become more comfortable, you can expand your arsenal. The investment in quality power tools not only boosts your efficiency but also enhances the quality of your work. For example, using a compound miter saw can make complex angled cuts a breeze, allowing you to tackle projects that once seemed daunting.
In conclusion, power tools are a game changer in woodworking. They allow you to transform ideas into reality at a speed and precision that hand tools simply can’t match. Embrace them, learn their quirks, and soon you’ll find that they not only make your projects easier but also more enjoyable. After all, who doesn’t love seeing their vision come to life in record time?
Q: What are the most essential power tools for beginners?
A: For beginners, a drill/driver, circular saw, and sander are essential. These tools cover a wide range of basic tasks and will help you get started on various projects.
Q: Are power tools safe to use?
A: Yes, power tools can be safe when used correctly. Always read the manual, wear safety gear, and follow safety guidelines to prevent accidents.
Q: How can I maintain my power tools?
A: Regular maintenance includes cleaning the tools after use, checking for any wear on blades or bits, and ensuring that moving parts are lubricated as needed.
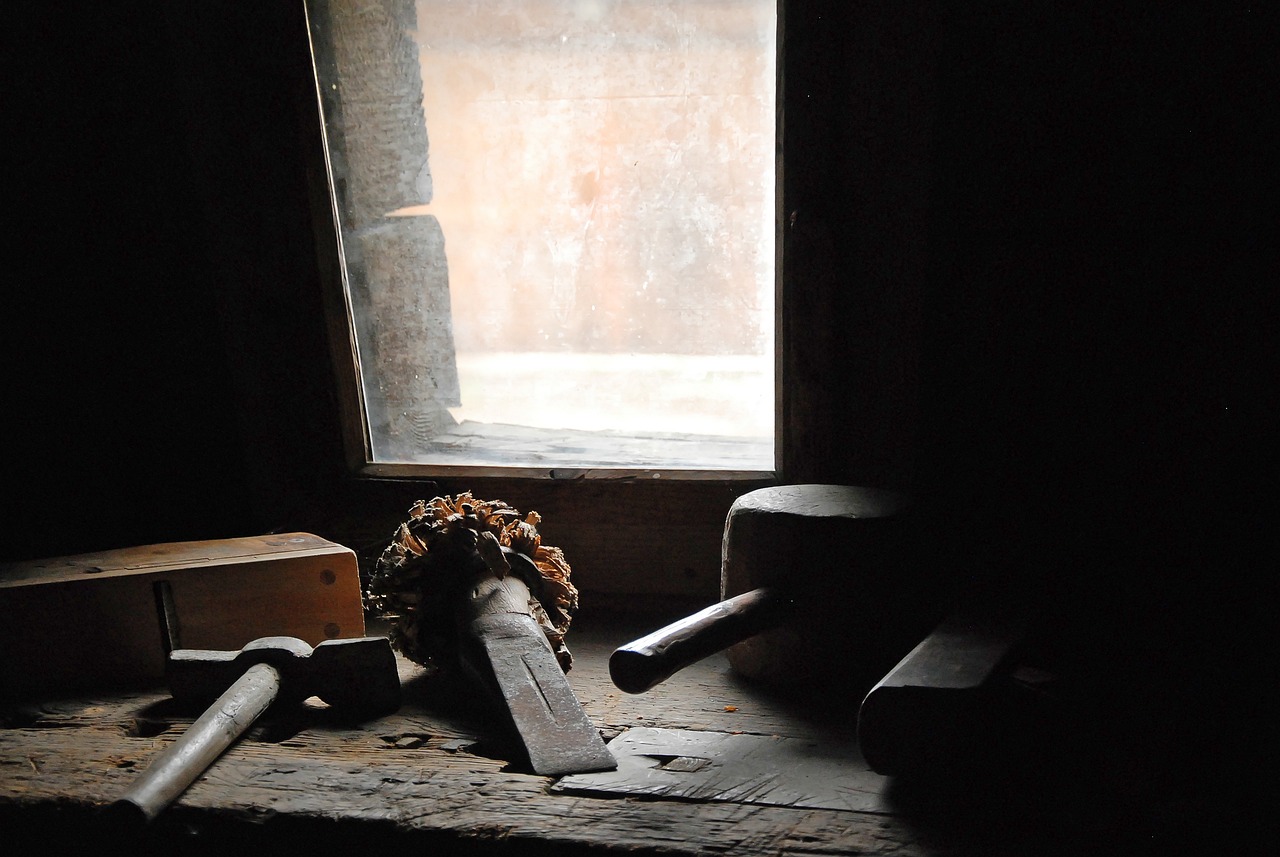
Techniques for Beginners
When diving into the world of woodworking, it can feel overwhelming at first—like stepping into a vast forest without a map. But fear not! With the right techniques under your belt, you can navigate this beautiful craft with confidence. For beginners, mastering the fundamental techniques is akin to laying a solid foundation for a house. Once you have that base, the possibilities are endless!
One of the first skills every aspiring woodworker should focus on is measuring and marking. Think of it as the blueprint for your project. Accurate measurements ensure that all pieces fit together seamlessly, much like puzzle pieces. A simple miscalculation can lead to a domino effect of errors throughout your project. Therefore, using a reliable tape measure, square, and marking tools is essential. Here are some tips to keep in mind:
- Always measure twice before cutting.
- Use a sharp pencil for clear markings.
- Mark your cuts on the waste side of the wood to avoid confusion.
Next up is understanding the basics of joinery. This refers to the techniques used to join pieces of wood together. Think of joinery as the glue that holds your project together—literally! There are various methods, each with its advantages and applications. For instance, a simple butt joint is straightforward but may not be the strongest. In contrast, a dovetail joint, while more complex, offers exceptional strength and aesthetic appeal. Here’s a quick overview of common joinery techniques:
| Joinery Technique | Description | Best Use |
|---|---|---|
| Butt Joint | Two pieces of wood joined at their ends. | Simple frames or boxes. |
| Dovetail Joint | Interlocking joints that provide strength. | Drawers and fine furniture. |
| Mortise and Tenon | A socket (mortise) and a tongue (tenon) fit together. | Tables and chairs. |
As you embark on your woodworking journey, remember that practice makes perfect. Start with small projects that allow you to hone your skills without becoming overwhelmed. Building a simple shelf or a birdhouse can be incredibly rewarding. Not only will you get to practice your measuring and joinery skills, but you'll also end up with something tangible to show for your efforts!
Lastly, don't underestimate the power of patience. Woodworking is as much about the journey as it is about the destination. Each cut, each joint, and each finish you apply teaches you something new. Embrace the learning process, and soon enough, you'll find yourself not just creating pieces, but crafting your own legacy in wood.
Q1: What tools do I need to start woodworking?
A1: For beginners, essential tools include a tape measure, square, saw, chisels, and a drill. As you progress, you can invest in more specialized tools.
Q2: How do I choose the right type of wood for my project?
A2: Consider the project's purpose and desired finish. Softwoods like pine are great for beginners, while hardwoods like oak provide durability and beauty.
Q3: What should I do if I make a mistake?
A3: Mistakes are part of the learning process! Assess the error, and see if it can be fixed. If not, consider it a lesson learned and move on to your next project.
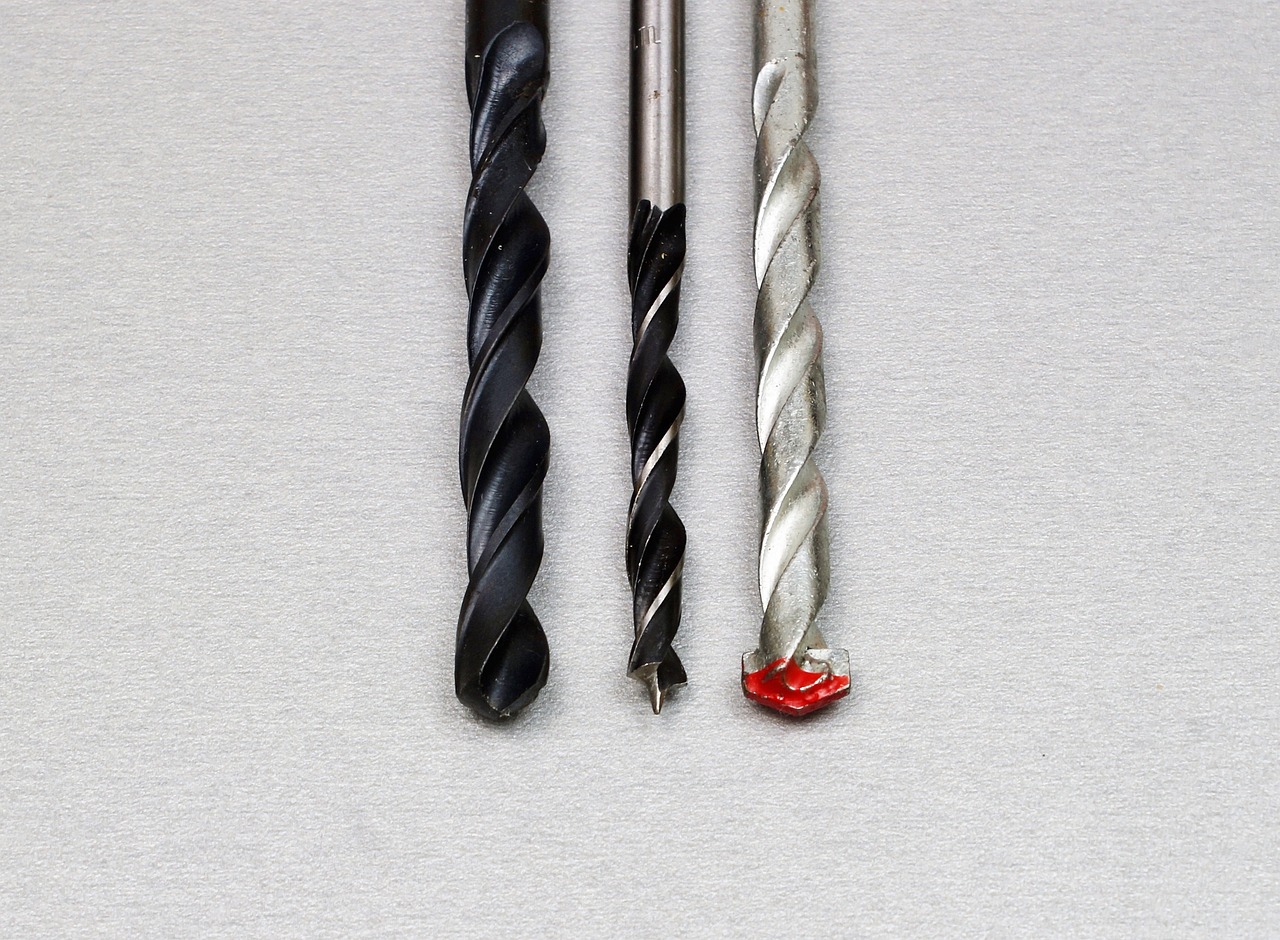
Measuring and Marking
When it comes to woodworking, are the unsung heroes of the craft. Imagine trying to bake a cake without measuring the ingredients—chaos, right? The same principle applies to woodworking. Accurate measurements ensure that your pieces fit together perfectly, while precise markings guide your cuts and joints. Neglecting this crucial step can lead to costly mistakes and wasted materials, so let’s dive deeper into why and how to master this skill.
First and foremost, having the right tools for measuring is essential. A good quality tape measure is a must-have in any woodworker's toolkit. But don’t stop there! Consider investing in a square for 90-degree angles, a marking gauge for scribing lines, and a caliper for fine measurements. Each of these tools serves a specific purpose that can drastically improve your accuracy. For instance:
- Tape Measure: Perfect for long distances and flexible enough to measure curved surfaces.
- Square: Ensures your cuts are straight and your joints are tight.
- Marking Gauge: Helps in creating consistent lines for cuts and joinery.
- Caliper: Ideal for measuring the thickness of materials or the diameter of dowels.
Once you’ve gathered your tools, it’s all about technique. Start by measuring twice—yes, twice! The old adage “measure twice, cut once” holds true. This simple practice can save you from the heartache of making an incorrect cut. When you measure, always ensure that you’re measuring from the same point on your material; this consistency is key to achieving accurate results. After measuring, use your marking tools to clearly indicate where you need to cut or drill. A sharp pencil or a fine-point marker will create a visible line that guides your saw or drill, ensuring precision.
Additionally, don’t underestimate the power of a cutting list. Before starting a project, take the time to write down all the measurements and materials you'll need. This not only keeps you organized but also helps you visualize the project as a whole. A well-prepared cutting list might look something like this:
| Part | Dimensions (Length x Width x Thickness) | Quantity |
|---|---|---|
| Tabletop | 60" x 30" x 1" | 1 |
| Legs | 28" x 3" x 3" | 4 |
| Support Beams | 56" x 2" x 4" | 2 |
In summary, mastering the art of measuring and marking is foundational to successful woodworking. With the right tools, techniques, and a bit of practice, you’ll find that this skill not only enhances the quality of your work but also boosts your confidence as a woodworker. Remember, every great project starts with a solid plan, and that plan begins with precise measurements and clear markings.
- What tools do I need for measuring and marking?
Essential tools include a tape measure, square, marking gauge, and caliper. - How can I ensure my measurements are accurate?
Always measure twice and use consistent reference points for accuracy. - What should I do if I make a mistake while measuring?
Learn from it! Analyze what went wrong and adjust your approach for next time.
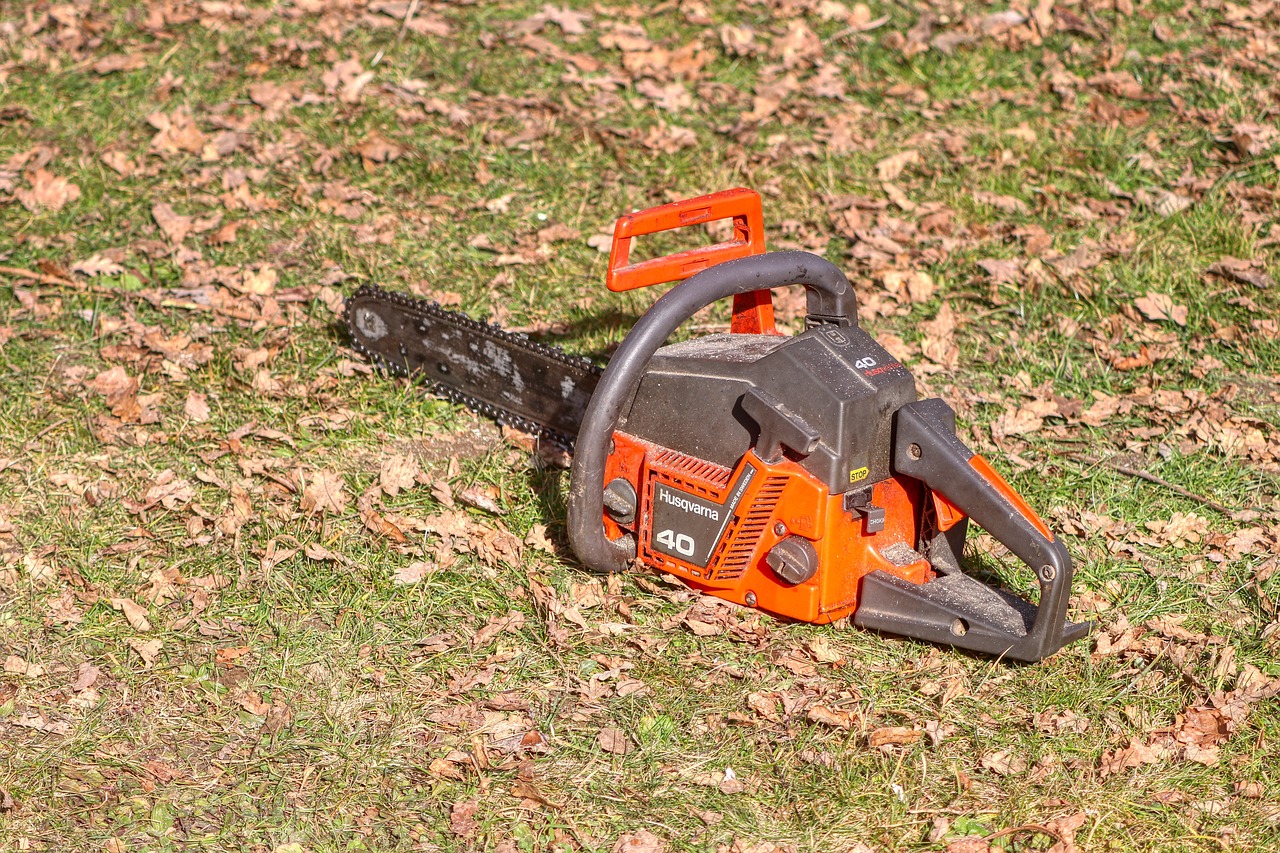
Joinery Basics
When it comes to woodworking, understanding is like knowing the ABCs of a language. It’s fundamental, yet it opens the door to a world of creativity and craftsmanship. Joinery refers to the techniques used to connect pieces of wood together, and mastering these methods is essential for creating strong, durable structures. Think of it as the glue that holds your projects together, literally and figuratively!
There are several types of joints that woodworkers use, each serving its unique purpose and offering different aesthetic qualities. Some of the most common joinery techniques include:
- Butt Joint: The simplest form, where two pieces of wood are joined at their ends. While easy to make, it can be less strong without additional reinforcement.
- Dado Joint: A groove cut into one piece of wood, allowing another piece to fit snugly within it. This joint is often used in shelving and cabinetry.
- Mortise and Tenon: A classic joint where a protruding tenon from one piece fits into a mortise hole on another. It’s known for its strength and stability.
- Lap Joint: This involves overlapping two pieces of wood. It’s often used in framing and can be reinforced with screws or nails.
Each of these joints has its own strengths and weaknesses, and the choice often depends on the specific requirements of your project. For instance, if you’re looking for a joint that can withstand heavy loads, the mortise and tenon joint is an excellent choice. However, if you’re in a hurry and need something quick, a butt joint might be just what you need.
Additionally, it’s crucial to consider the wood grain and type when planning your joinery. Different woods react differently to various joinery techniques, so it’s wise to test and see how your chosen method holds up. Remember, the beauty of woodworking lies not just in the final product but also in the journey of creating it. The right joinery can enhance the aesthetic appeal of your project, making it not just functional, but also a work of art.
As you begin to explore joinery, don’t be afraid to experiment. Each joint you try will teach you something new, and over time, you’ll develop a feel for what works best in different scenarios. Just like a musician learns to play their instrument, mastering joinery takes practice, patience, and a bit of creativity. So grab your tools, and let’s get those pieces of wood dancing together!
Q: What is the best joint for beginners?
A: The butt joint is often recommended for beginners due to its simplicity. However, as you gain confidence, try your hand at more complex joints like mortise and tenon.
Q: Do I need special tools for joinery?
A: While some joints can be made with basic tools like a saw and hammer, others may require specialized tools such as chisels or routers for precision cutting.
Q: How do I ensure my joints are strong?
A: Proper fitting is key. Make sure your joints fit snugly together and consider using wood glue or mechanical fasteners for added strength.
Q: Can I use joinery techniques on different types of wood?
A: Yes, but it's important to understand how different woods behave. Softer woods may require different techniques than harder woods.
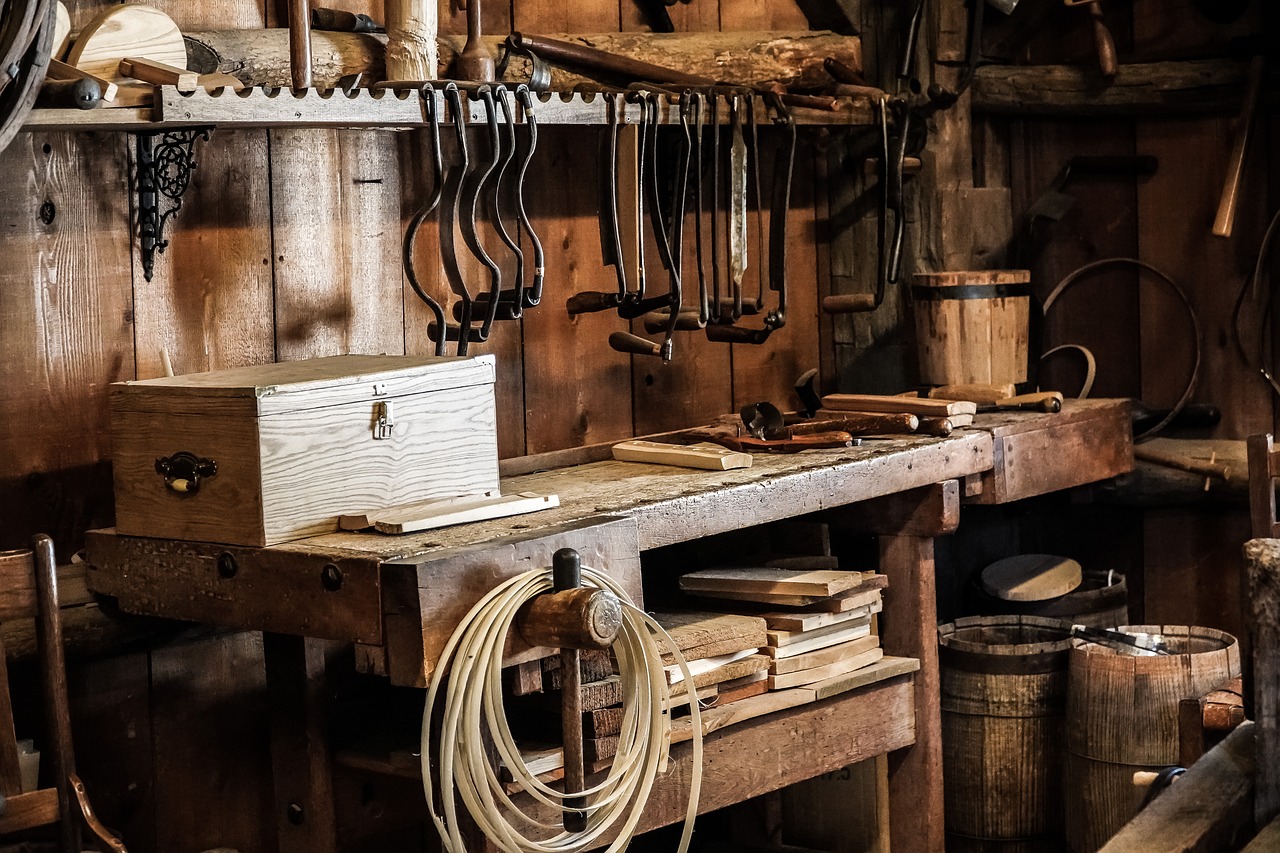
The Satisfaction of Creating
There’s something truly magical about woodworking that transcends the mere act of crafting. When you dive into a project, you’re not just assembling pieces of wood; you’re creating a piece of art, a functional item, or perhaps a cherished memory. The satisfaction of creating comes from watching raw materials transform under your hands into something beautiful and useful. It’s like watching a caterpillar turn into a butterfly—there’s a sense of awe in the metamorphosis.
Each project you undertake is a journey filled with challenges, learning experiences, and triumphs. Whether you’re building a simple shelf or a complex piece of furniture, the feeling of accomplishment when you complete a project is unparalleled. You can step back, admire your handiwork, and think, “I made that!” It’s a powerful affirmation of your skills and creativity.
The joy of woodworking often lies in the details. The smooth finish of a well-sanded surface, the perfect fit of joints, and the rich sheen of a freshly applied finish all contribute to the satisfaction of the final product. Each time you pick up your tools, you’re not just working; you’re engaging in a dance of creativity and craftsmanship. As you hone your skills, you’ll find that the process becomes just as rewarding as the finished piece.
Moreover, woodworking provides a unique opportunity for self-expression. You can choose the type of wood, the design, and the finish, allowing your personality to shine through in every piece you create. It’s a form of storytelling, where each grain tells a tale, and every curve reflects your vision. This connection between creator and creation is what makes woodworking so fulfilling.
As you embark on your woodworking journey, you might find yourself facing moments of frustration. Mistakes happen, and not every project turns out as planned. However, it’s in these moments that you learn the most. Overcoming challenges not only improves your skills but also adds to the satisfaction of creating. Each successful resolution to a problem becomes a badge of honor, reinforcing your confidence and encouraging you to tackle even more ambitious projects in the future.
In essence, the satisfaction of creating in woodworking is a multi-faceted experience. It encompasses the joy of transformation, the pride of craftsmanship, the thrill of self-expression, and the resilience gained from overcoming challenges. So, whether you’re a seasoned woodworker or just starting, remember that every piece you create is a testament to your journey. Embrace the process, enjoy the ride, and let the satisfaction of creating fuel your passion for woodworking!
- What is the most satisfying aspect of woodworking? Many woodworkers find satisfaction in the transformation of raw materials into functional and beautiful items.
- How can I improve my woodworking skills? Practice is key! Start with simple projects, learn from mistakes, and gradually take on more complex tasks.
- What tools do I need to start woodworking? Essential tools include a saw, chisels, a measuring tape, and sandpaper, but you can expand your toolkit as you gain experience.
- Can woodworking be a therapeutic hobby? Absolutely! Many find that woodworking provides a sense of relaxation and mindfulness, allowing them to escape the stresses of daily life.
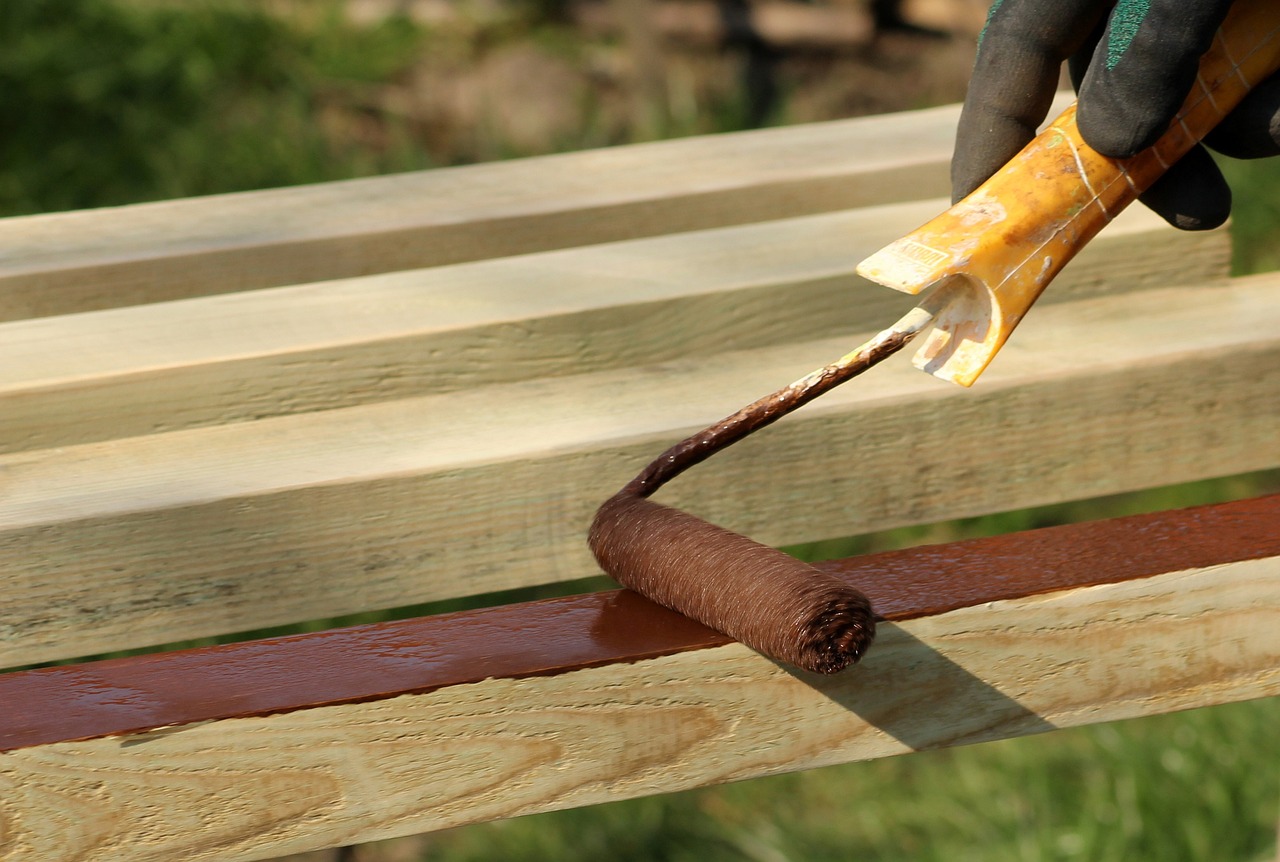
Overcoming Challenges in Woodworking
Woodworking is a craft that brings immense joy, but it doesn't come without its fair share of challenges. Whether you're a seasoned woodworker or just starting, you will encounter hurdles that can test your skills and patience. The key to overcoming these obstacles lies in understanding them and developing strategies to tackle them head-on. One common issue is dealing with material flaws. Wood, being a natural product, can have knots, cracks, and warps that may affect your project. Instead of viewing these imperfections as setbacks, consider them opportunities for creativity. For instance, a knot can be incorporated into your design, adding character and uniqueness to your piece.
Another significant challenge is design complications. Sometimes, the vision you have in your mind doesn't translate well to the physical world. This is where planning becomes crucial. Before you even pick up a tool, take the time to sketch your design, make measurements, and visualize the finished product. This preparatory work can save you from costly mistakes down the line. Additionally, don't hesitate to seek inspiration from other woodworkers. Online forums and social media platforms are treasure troves of ideas and solutions that can help you navigate tricky design issues.
Moreover, mistakes are a natural part of the woodworking journey. Instead of being disheartened by them, embrace them as learning experiences. Each misstep offers valuable lessons that can enhance your skills. For example, if you accidentally cut a piece too short, think of it as a chance to practice your joinery techniques by adding a decorative feature or using the leftover wood for a different project. This mindset shift can transform frustration into motivation.
Time management is another critical aspect to consider. Balancing the various stages of woodworking—planning, crafting, and finishing—can be challenging, especially if you're juggling other responsibilities. To improve your efficiency, create a schedule that allocates specific time slots for each phase of your project. This not only helps you stay organized but also ensures that you dedicate enough time to each task, preventing rushed work that could lead to mistakes.
Lastly, remember that woodworking is as much about patience as it is about skill. The more you practice, the more adept you'll become at overcoming challenges. Each project will teach you something new, whether it’s a technique, a tool, or a method of problem-solving. Embrace the journey, and don’t shy away from asking for help or seeking advice from more experienced woodworkers. After all, the woodworking community is filled with individuals who are eager to share their knowledge and support fellow artisans.
- What should I do if I make a mistake while woodworking? - Mistakes are part of the learning process. Assess the error, and consider how you can adapt your project to incorporate it or fix it.
- How can I manage my time effectively while woodworking? - Create a detailed schedule that breaks down each step of your project, allowing you to allocate time for planning, crafting, and finishing.
- Are there specific tools that can help me overcome common woodworking challenges? - Yes, having the right tools, such as a good quality square for measuring and a reliable saw for cutting, can significantly reduce errors.
- What resources are available for beginner woodworkers? - There are numerous online tutorials, forums, and books dedicated to woodworking that can provide guidance and inspiration.
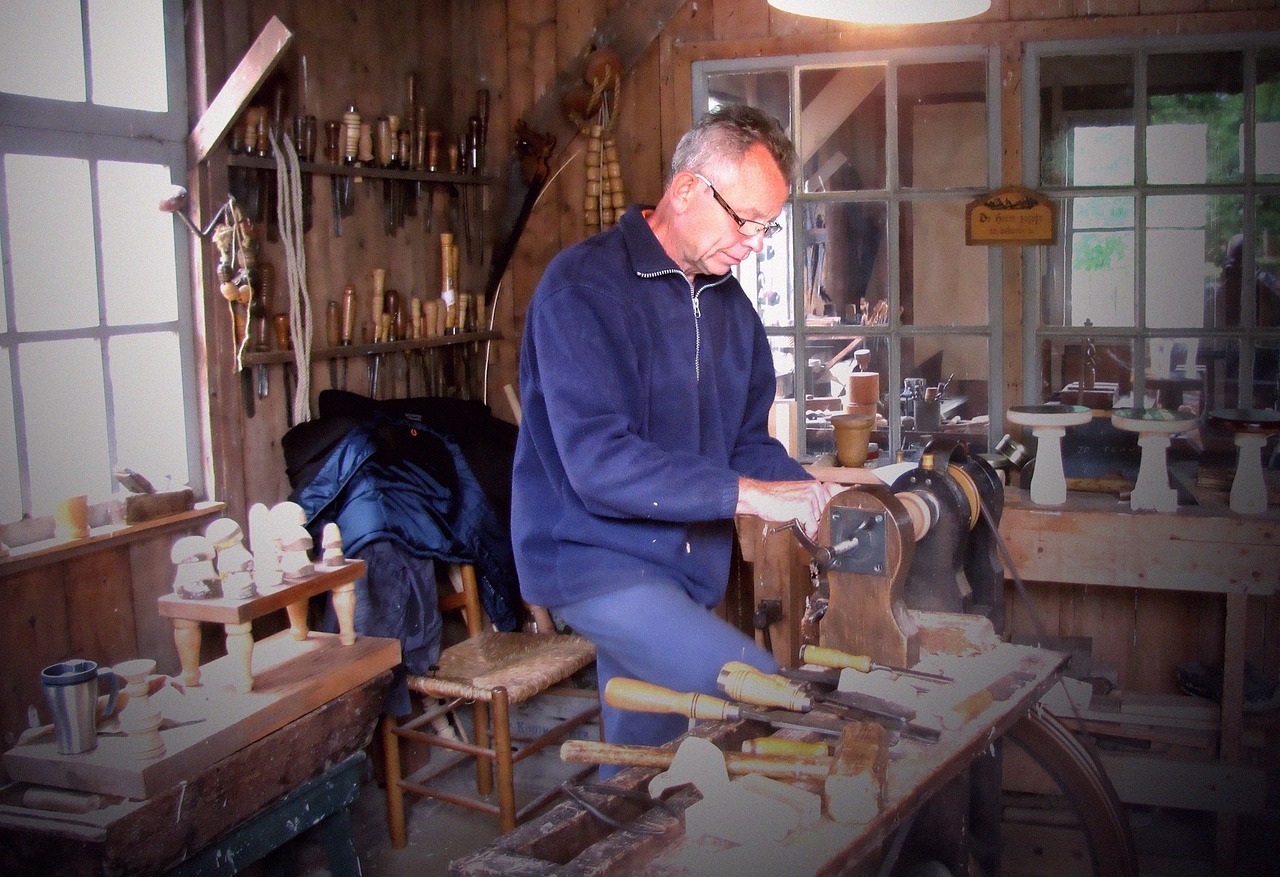
Dealing with Mistakes
When it comes to woodworking, mistakes are as inevitable as the wood grain itself. Every seasoned woodworker has faced the dreaded moment when a cut goes wrong or a joint doesn’t fit as planned. But here’s the thing: mistakes are not the end of the world; they are stepping stones towards mastery. In fact, they can be some of the best teachers you’ll ever have. Instead of viewing errors as failures, consider them as opportunities to learn and grow. So, how do you deal with these hiccups in your woodworking journey?
First and foremost, it’s essential to maintain a positive mindset. A mistake can feel like a setback, but it’s crucial to remember that every expert was once a beginner. Embrace the idea that each error can lead to a better understanding of your craft. For instance, if you miscut a piece of wood, rather than tossing it aside in frustration, think about how you can either salvage it or use it in a different project. Sometimes, a mistake can inspire a creative solution you never would have considered otherwise.
Another effective strategy for dealing with mistakes is to develop a troubleshooting mindset. When something goes awry, take a step back and analyze what went wrong. Was it a miscalculation in your measurements? Did you use the wrong tool for the job? By identifying the root cause, you can prevent the same issue from occurring in future projects. Here’s a quick table to help you troubleshoot common woodworking mistakes:
| Mistake | Possible Cause | Solution |
|---|---|---|
| Misaligned joints | Poor measuring or marking | Double-check measurements before cutting |
| Rough edges | Incorrect saw blade | Use the right blade for a smoother cut |
| Warped wood | Improper storage | Store wood flat and in a dry place |
Furthermore, it’s vital to have a plan for correcting mistakes. Whether it involves sanding down a rough edge or using wood glue to fix a joint, knowing how to address issues can significantly improve your confidence as a woodworker. For example, if you find that a joint isn’t fitting well, applying a bit of wood filler can help bridge the gap and create a seamless finish. Remember, sometimes the best projects come from adapting to what you have rather than what you initially envisioned.
Lastly, don’t hesitate to seek help from the woodworking community. Online forums, local workshops, and social media groups are gold mines of information. Sharing your experiences and learning from others can offer new perspectives on dealing with mistakes. After all, woodworking is as much about community as it is about craftsmanship. So, the next time you find yourself facing a blunder, remember: it’s not just a mistake; it’s a chance to learn, adapt, and ultimately improve your skills.
- What should I do if I make a mistake while cutting wood?
Take a moment to assess the situation. Often, you can salvage the piece by adjusting your cut or using the wood in a different way.
- How can I prevent mistakes in my woodworking projects?
Careful planning, precise measuring, and taking your time can significantly reduce the likelihood of errors.
- Is it normal to make mistakes when learning woodworking?
Absolutely! Mistakes are part of the learning process and can help you grow as a woodworker.

Time Management
Time management in woodworking is like the backbone of a well-crafted piece; without it, everything can fall apart. Imagine starting a project with excitement, only to find yourself overwhelmed by the sheer amount of work and the ticking clock. It’s not just about having the right tools and materials; it’s about organizing your time effectively to ensure that every cut, every joint, and every finish is executed flawlessly. So, how do you master the art of time management in woodworking?
First and foremost, planning is key. Before you even pick up a tool, take some time to sketch out your project. This doesn’t have to be a detailed blueprint, but having a clear vision can save you hours of unnecessary backtracking. Consider breaking down your project into smaller, manageable tasks. For example, if you’re building a bookshelf, you might want to divide it into sections such as cutting the wood, assembling the frame, and applying the finish. This way, you can tackle each part systematically without feeling overwhelmed.
Another crucial aspect is setting realistic deadlines. It’s easy to get carried away with enthusiasm and think you can complete a project in a weekend, but the reality is often different. By estimating how long each task will take, you can avoid the frustration of rushing at the end. Here’s a simple way to approach it:
| Task | Estimated Time | Actual Time |
|---|---|---|
| Wood Selection | 1 hour | 1.5 hours |
| Cutting Wood | 2 hours | 2.5 hours |
| Assembling | 3 hours | 4 hours |
| Finishing | 2 hours | 3 hours |
This table not only helps you visualize your time management but also allows you to adjust your plans based on actual experiences. Remember, it’s okay if tasks take longer than expected; the important thing is to learn from those experiences and adjust your future planning.
Lastly, don’t forget to include breaks in your schedule. Woodworking can be physically demanding, and taking short breaks can actually enhance your productivity. Use this time to step back, stretch, and reflect on your progress. Sometimes, a fresh perspective can lead to innovative solutions for challenges you might be facing in your project.
In essence, effective time management in woodworking is all about planning, setting realistic deadlines, and allowing yourself the grace of breaks. By mastering these elements, you can transform your woodworking experience into a fulfilling journey rather than a stressful race against the clock.
- What is the best way to start a woodworking project?
Begin with planning and sketching your ideas to visualize the end product. - How can I improve my time management skills in woodworking?
Practice breaking projects into smaller tasks and set realistic deadlines for each. - Is it normal for woodworking projects to take longer than expected?
Absolutely! Adjusting your expectations based on experience can help you manage your time better. - What should I do if I make a mistake while working?
Learn to troubleshoot and adapt; mistakes are part of the learning process.
Frequently Asked Questions
- What type of wood should I start with as a beginner?
As a beginner, it's best to start with softwoods like pine or cedar. They are easier to work with, forgiving when making mistakes, and readily available at most hardware stores. Plus, they are generally more affordable, allowing you to practice without breaking the bank!
- What essential tools do I need to begin woodworking?
To kick off your woodworking journey, you’ll need a few essential tools: a good quality saw (like a hand saw or miter saw), chisels, a measuring tape, a square, and a hammer. As you progress, you might want to invest in power tools like a drill or a jigsaw, but starting with the basics is key!
- How can I improve my measuring and marking skills?
Improving your measuring and marking skills comes down to practice and patience. Always double-check your measurements, use a sharp pencil for clear lines, and consider using a marking gauge for more precise markings. Remember, "measure twice, cut once" is a mantra for a reason!
- What are some common mistakes in woodworking, and how can I avoid them?
Common mistakes include inaccurate measurements, using dull tools, and rushing the process. To avoid these pitfalls, take your time, keep your tools sharp, and always double-check your work. Mistakes are part of the learning process, so embrace them as opportunities for growth!
- How do I handle wood defects while working on a project?
Dealing with wood defects like knots or warping can be tricky. Always inspect your wood before starting and try to work around major defects. If you encounter a flaw during the project, consider incorporating it into your design creatively—sometimes, imperfections can add character!
- What is the best way to finish my woodworking projects?
Finishing your projects can enhance their beauty and durability. You can choose from stains, paints, or clear finishes like polyurethane. The key is to prepare the surface well by sanding and cleaning it before applying any finish. Experiment with different finishes to find what suits your style!
- How can I manage my time effectively while woodworking?
Effective time management in woodworking involves planning your projects ahead of time. Break down the tasks into manageable steps, set realistic deadlines, and allocate specific time slots for each stage of your project. This way, you can enjoy the process without feeling rushed!


