Woodworking Hack: Tackle Splitting With These Tips
Woodworking can be an incredibly rewarding hobby or profession, but it comes with its own set of challenges. One of the most frustrating issues that woodworkers face is splitting. Imagine pouring your heart and soul into a beautiful piece of furniture, only to have it marred by unsightly cracks. It’s enough to make any craftsman want to throw in the towel! But fear not, because with the right knowledge and techniques, you can prevent and repair wood splitting, ensuring that your creations remain durable and stunning.
In this article, we'll delve into the causes of wood splitting, explore the right types of wood to use, and share effective treatment techniques. We’ll also cover how to repair splits when they occur and provide preventive measures to keep your wood projects intact. Think of this as your ultimate guide to achieving woodworking success while avoiding the pitfalls of splitting. So, let’s get started!
To tackle wood splitting effectively, it's essential to understand what causes it in the first place. Wood is a natural material, and like all living things, it can be affected by its environment. Factors such as temperature, humidity, and even the way the wood is cut can lead to splitting. For instance, when wood dries out too quickly, it can shrink and crack. Knowing these causes enables woodworkers to identify potential issues before they arise, leading to better project outcomes.
Not all wood is created equal when it comes to resistance to splitting. Some species are more prone to splitting than others, so selecting the right type of wood can significantly reduce your chances of encountering this issue. For example, hardwoods like oak and maple are generally more resistant to splitting compared to softer woods like pine. Understanding the characteristics of various wood types is crucial for any woodworking project.
When choosing between softwoods and hardwoods, consider the properties of each. Softwoods, such as cedar and fir, are generally easier to work with and are less expensive, but they can be more susceptible to splitting. On the other hand, hardwoods, while often pricier and more challenging to work with, offer greater durability and resistance to splitting. Think of softwoods as the quick, casual friend who’s fun but might not be there for the long haul, while hardwoods are the dependable partner that stands the test of time.
One of the most critical factors in preventing wood splitting is maintaining the right moisture content. Wood that is too dry is at risk of cracking, while wood that is too moist can warp. Properly seasoning and storing wood can help maintain optimal moisture levels. Ideally, aim for a moisture content of around 6-8% for indoor projects. You can achieve this by using a moisture meter to monitor levels and storing wood in a climate-controlled environment.
The orientation and pattern of wood grain also play a critical role in its susceptibility to splitting. Straight grain patterns are generally stronger and less likely to split, while irregular or wavy grain can be more prone to cracking. When selecting wood, take a moment to examine the grain. Choosing wood with favorable grain patterns is akin to selecting the right ingredients for a recipe; it can make all the difference in the final product.
Applying various treatment techniques can enhance wood's durability and resistance to splitting. Techniques such as sealing, oiling, and using preservatives are effective methods to protect your wood. For example, a good quality wood sealant can create a barrier against moisture, while oils can nourish the wood and help maintain its elasticity. Think of these treatments as sunscreen for your wood—protecting it from the harsh rays of the environment.
Even with the best precautions, splits can still occur. Knowing how to effectively repair them is crucial to restoring the integrity of your wood projects. The right repair method will depend on the size and location of the split.
Wood glue is a common solution for repairing minor splits. It’s essential to choose the right type of glue—PVA (polyvinyl acetate) glue is ideal for most indoor projects, while polyurethane glue is better for outdoor applications. Apply the glue generously to the split, clamp the pieces together, and allow it to cure according to the manufacturer's instructions. This method is like giving your wood a comforting hug, bringing it back together.
For larger splits, epoxy can be an effective filler. Epoxy is strong, durable, and can be tinted to match the wood color. When using epoxy, clean the split thoroughly, mix the epoxy according to the instructions, and apply it into the gap. Once cured, sand the area smooth for a seamless finish. This method can breathe new life into your wood, much like a good makeover can transform a person.
Taking proactive steps can help prevent wood from splitting in the first place. Here are some practical tips for maintaining wood integrity throughout your projects:
Storing wood correctly is essential for preventing splitting. Keep wood in a dry, cool place, away from direct sunlight and moisture. If possible, stack the wood with spacers to allow air circulation, which can help maintain consistent moisture levels. Think of proper storage as giving your wood a cozy, safe home.
Regular maintenance can extend the life of wood items. Routine checks and care can prevent splits from developing over time. This includes cleaning, reapplying finishes, and monitoring for signs of moisture damage. Just like you’d regularly check on a beloved pet, your wood projects deserve the same level of attention and care.
- What types of wood are least likely to split? Hardwoods like oak, maple, and cherry are generally more resistant to splitting than softwoods.
- How can I tell if my wood is too dry? Use a moisture meter to check the moisture content; ideally, it should be between 6-8%.
- Can I prevent splitting by using wood treatments? Yes, applying sealants and oils can help protect your wood from moisture and enhance its durability.
- What should I do if my wood splits? For minor splits, use wood glue; for larger splits, consider using epoxy as a filler.

Understanding Wood Splitting
When it comes to woodworking, understanding wood splitting is crucial for anyone looking to create durable and aesthetically pleasing projects. Wood splitting can occur for a variety of reasons, often stemming from environmental factors and the inherent characteristics of the wood itself. By recognizing these causes, woodworkers can take proactive measures to avoid potential problems that could compromise their creations. So, what exactly leads to wood splitting?
One of the primary culprits is moisture content. Wood is a natural material that absorbs and releases moisture based on its environment. When wood dries out too quickly or is exposed to high humidity levels, it can expand and contract, leading to splits and cracks. Imagine a sponge: when it dries, it shrinks, but when it's soaked, it swells. Wood behaves similarly, and understanding this behavior is key to preventing splits.
Another factor to consider is the type of wood being used. Different species have varying levels of density and grain patterns, which can influence their susceptibility to splitting. For instance, softer woods like pine may split more easily than denser hardwoods like oak or maple. Therefore, selecting the right wood species for your project can make a significant difference in its longevity.
Additionally, the grain orientation of the wood plays a vital role. Wood grain can run in various directions, and certain orientations are more prone to splitting than others. When you cut or shape the wood, the way the grain runs can either help or hinder its strength. For example, cutting against the grain can create weak points that are more likely to split under stress.
Lastly, it's important to consider temperature fluctuations. Rapid changes in temperature can cause wood to expand and contract unexpectedly, leading to splits. This is particularly relevant in regions with extreme weather conditions. Maintaining a stable environment for your wood can help mitigate these risks.
In summary, understanding the causes of wood splitting is essential for any woodworker. By considering factors such as moisture content, wood type, grain orientation, and environmental conditions, you can take steps to prevent splitting before it becomes an issue. Remember, a little knowledge goes a long way in ensuring the durability and quality of your woodworking projects!

Choosing the Right Wood
When it comes to woodworking, selecting the right type of wood is crucial for preventing splitting and ensuring the longevity of your projects. Not all woods are created equal, and understanding the characteristics of various wood species can make a world of difference in your woodworking endeavors. Imagine trying to build a sturdy table with a wood that’s known for its fragility; it’s like building a sandcastle during high tide! So, let’s dive into what makes some woods more resistant to splitting than others.
Generally, woods are categorized into two main groups: softwoods and hardwoods. Softwoods, which come from coniferous trees like pine and cedar, tend to be lighter and easier to work with. However, they can also be more susceptible to splitting, especially if they’re not properly dried or stored. On the other hand, hardwoods, derived from deciduous trees like oak and maple, are denser and often more durable, making them a popular choice for furniture and cabinetry. But don’t be fooled—some hardwoods can split too, depending on their moisture content and grain patterns.
One of the most critical factors to consider when choosing wood is its moisture content. Wood that has been improperly seasoned or stored can develop splits as it dries out. Ideally, you want wood that has been dried to a moisture content of around 6-8%. This will help ensure that your wood retains its integrity and doesn’t warp or crack over time. If you’re unsure about the moisture content of your wood, using a moisture meter can provide you with a quick and reliable reading.
Another important aspect is the grain pattern of the wood. Wood with a straight grain is generally less prone to splitting than wood with a wavy or irregular grain. When selecting your wood, take a moment to examine the grain; it can be the difference between a project that lasts and one that falls apart at the seams. Look for pieces with tight, uniform grain patterns, and avoid those with visible knots or defects, as these can be weak points prone to splitting.
In summary, choosing the right wood is about more than just aesthetics; it’s about durability and long-term performance. By considering the type of wood, its moisture content, and its grain pattern, you can significantly reduce the risk of splitting in your woodworking projects. Remember, a well-chosen piece of wood is like a solid foundation for a house—it supports everything else built upon it.
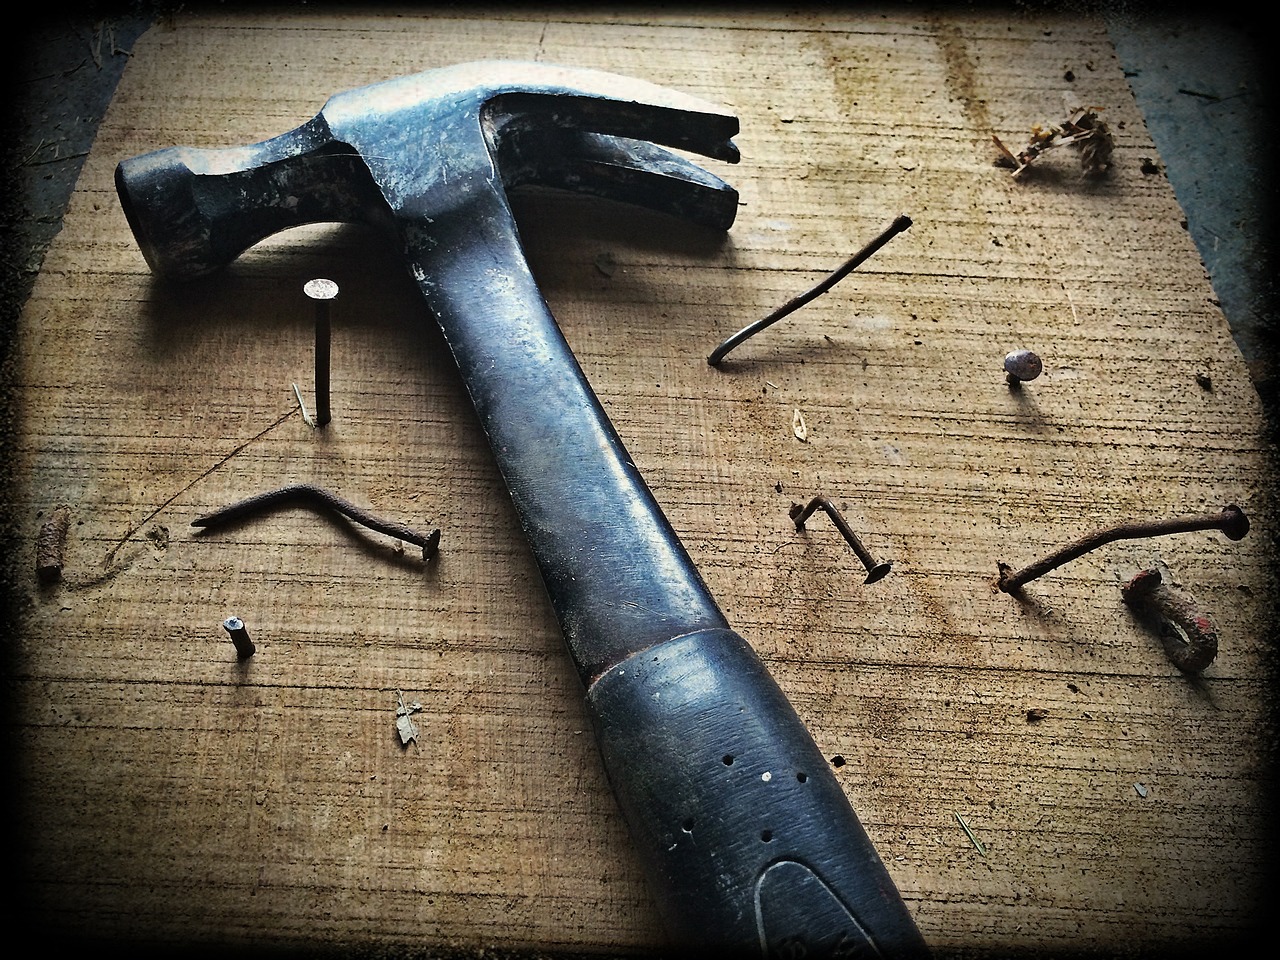
Softwoods vs. Hardwoods
When diving into the world of woodworking, one of the first decisions you'll face is choosing between softwoods and hardwoods. Each type of wood offers its own unique characteristics, making them suitable for different applications. But what exactly sets them apart? Let’s break it down!
Softwoods, which come from coniferous trees like pine, spruce, and cedar, are generally lighter and easier to work with. They grow faster than hardwoods, which means they are often more readily available and less expensive. This makes softwoods a popular choice for beginners and those looking to create larger projects without breaking the bank. However, they can be more susceptible to splitting, especially if not properly cared for. Their natural resin content can also help resist moisture, but this can vary widely among different species.
On the other hand, hardwoods come from deciduous trees such as oak, maple, and cherry. These woods are typically denser and more durable, making them ideal for furniture and cabinetry that require a bit more strength. Their slow growth rate contributes to their density, which can make them harder to work with, but the payoff is often a stunning finish and long-lasting quality. Hardwoods generally have tighter grain patterns, which not only adds to their aesthetic appeal but also helps in resisting splits and cracks when properly seasoned and maintained.
To give you a clearer picture, here's a brief comparison of the two:
| Feature | Softwoods | Hardwoods |
|---|---|---|
| Density | Lower | Higher |
| Cost | Generally cheaper | Typically more expensive |
| Workability | Easier to cut and shape | More challenging but rewarding |
| Durability | Less durable | More durable |
| Common Uses | Building frames, outdoor furniture | Fine furniture, cabinetry |
In summary, the choice between softwoods and hardwoods ultimately depends on the specific needs of your project. If you're looking for something affordable and easy to work with, softwoods might be your best bet. However, if you're aiming for durability and a high-quality finish, investing in hardwoods could be the way to go. Remember, understanding these differences not only helps you choose the right material but also equips you with the knowledge to tackle splitting issues effectively!
- What is the best wood for outdoor projects? Softwoods like cedar and redwood are great for outdoor projects due to their natural resistance to moisture and insects.
- Can I use hardwood for outdoor furniture? While hardwoods can be used, they may require additional treatments to withstand outdoor conditions.
- How can I prevent wood from splitting? Proper seasoning, storage, and treatment techniques can significantly reduce the risk of splitting.
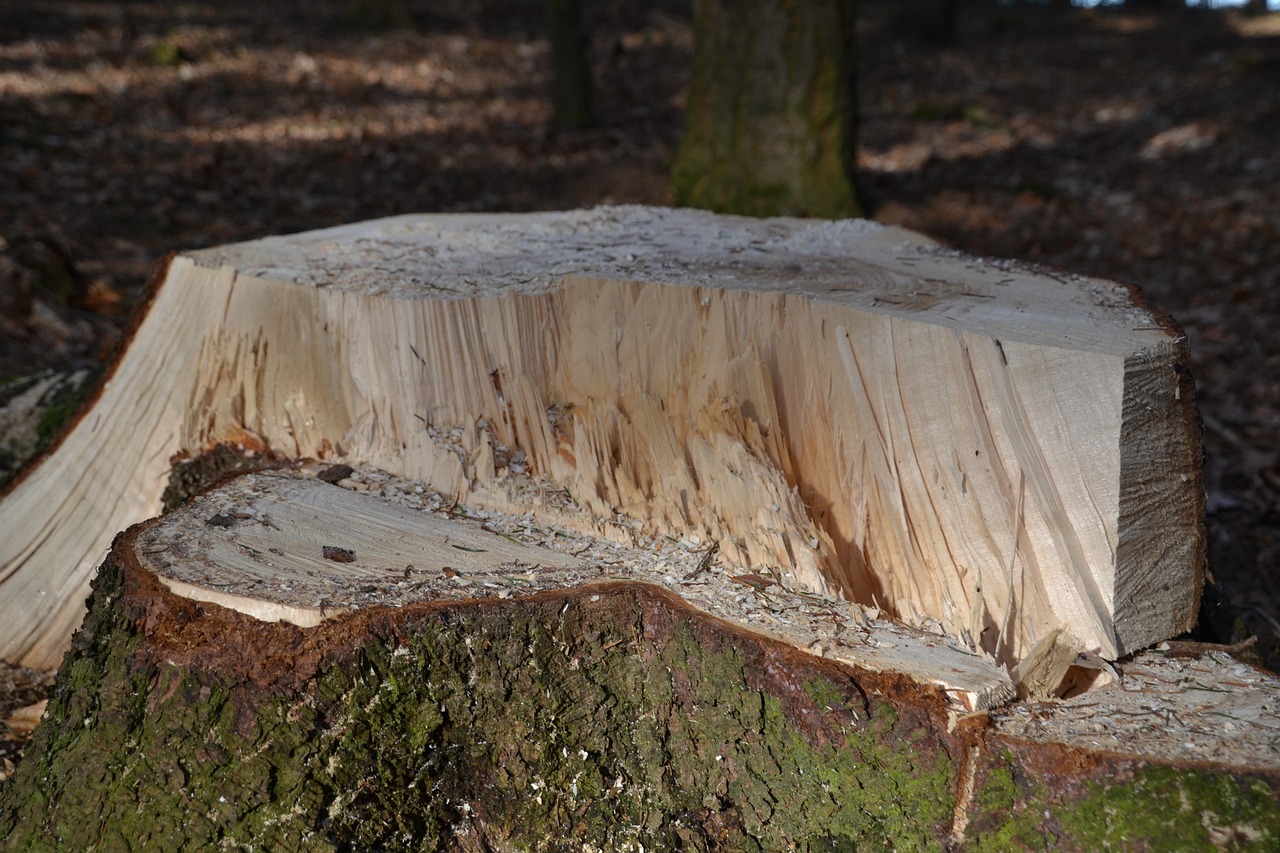
Moisture Content
Understanding in wood is crucial for any woodworker aiming to create durable and long-lasting projects. Wood is a natural material that is highly affected by its surrounding environment, particularly humidity levels. If the wood is too dry, it can crack and split, while overly moist wood can swell and warp. The sweet spot lies in maintaining an optimal moisture level, typically between 6% and 8% for indoor applications and 10% to 12% for outdoor uses.
To achieve this balance, it’s essential to properly season your wood before starting any project. Seasoning refers to the process of drying out the wood to reduce its moisture content to a stable level. This can be done through air drying or kiln drying. Air drying is a more traditional method that involves stacking the wood in a well-ventilated area, allowing it to dry naturally over time. On the other hand, kiln drying uses controlled heat to expedite the drying process. While kiln drying is faster, it can sometimes lead to uneven moisture content if not done correctly.
Additionally, proper storage of wood is vital. Here are some tips to keep in mind:
- Store in a controlled environment: Keep your wood in a space where temperature and humidity are regulated to prevent drastic changes.
- Use stickers: When stacking wood, place small spacers (stickers) between the boards to allow air circulation, promoting even drying.
- Avoid direct sunlight: Prolonged exposure to sunlight can cause the surface of the wood to dry out faster than the interior, leading to splits.
It's also important to check the moisture content of your wood before use. A moisture meter can be a valuable tool here, providing you with a quick and accurate reading. This proactive approach can help you address any potential issues before they escalate into significant problems. Remember, the goal is to work with wood that is stable and at a moisture level that suits your specific project needs.
In summary, keeping a close eye on moisture content is not just a minor detail; it's a fundamental aspect of woodworking that can make or break your project. By understanding how moisture affects wood and implementing the right techniques for seasoning and storage, you can enhance the durability of your creations and avoid the dreaded splitting that can undermine all your hard work.
- What is the ideal moisture content for woodworking? The ideal moisture content typically ranges from 6% to 8% for indoor projects and 10% to 12% for outdoor applications.
- How can I tell if my wood is too wet or too dry? Using a moisture meter is the most effective way to measure the moisture content of wood accurately.
- What are the best methods for drying wood? Air drying and kiln drying are the two primary methods, each with its pros and cons.
- How can I prevent my wood from splitting? Proper seasoning, storage, and maintaining optimal moisture levels are key strategies to prevent wood from splitting.
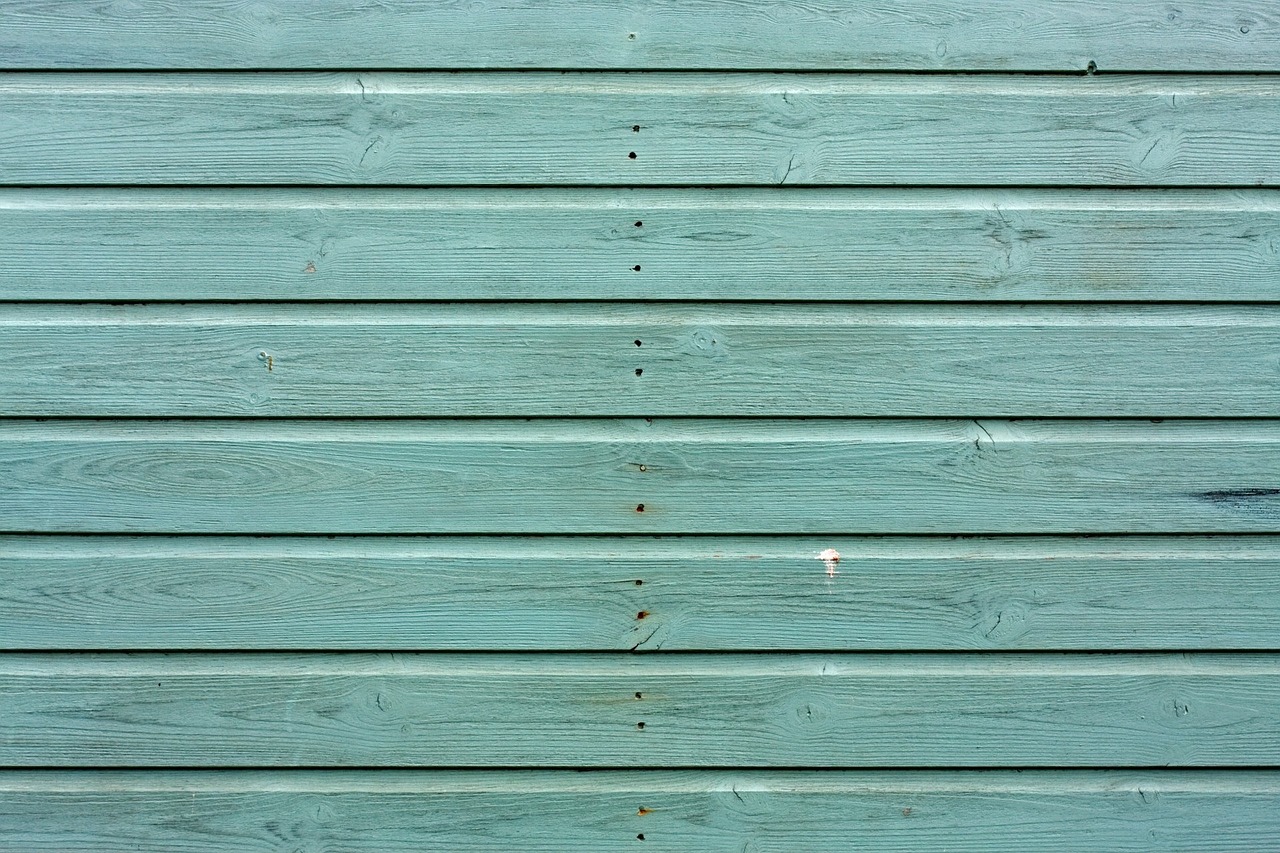
Grain Patterns
When it comes to woodworking, the grain pattern of the wood is not just a visual element; it’s a fundamental aspect that can significantly influence the wood's performance and durability. Imagine the wood grain as the fingerprint of a tree—each pattern tells a story about its growth and environmental conditions. Understanding how to select wood with favorable grain patterns is crucial for preventing splits and ensuring longevity in your projects.
The orientation of the grain can determine how the wood reacts under stress. For instance, wood with straight grain patterns tends to be more stable and less prone to splitting compared to wood with irregular or wavy grains. This is because straight grains allow for even distribution of stress, while irregular grains can create weak points that are susceptible to splitting. When choosing wood, always look for the following characteristics:
- Straight Grain: Offers the best strength and stability.
- Interlocked Grain: Provides resistance to splitting but can be tricky to work with.
- Wavy Grain: Often beautiful but can lead to unpredictable behavior under stress.
Additionally, the size of the wood grain also plays a role. Fine-grained woods are generally denser and more resilient, making them less likely to split. On the other hand, coarse-grained woods, while easier to work with, may not hold up as well over time. Therefore, when selecting wood for your next project, consider not just the aesthetic appeal but also how the grain pattern can affect the structural integrity of your final product.
Moreover, it's essential to think about how seasoning and cutting techniques can impact grain patterns. For example, quarter-sawn lumber tends to have straighter grain lines, which can enhance the wood's strength and reduce the risk of splitting. In contrast, flat-sawn lumber may exhibit more pronounced grain patterns but can be more vulnerable to warping and splitting. By being mindful of these factors, you can make informed decisions that contribute to the success of your woodworking projects.
In conclusion, understanding grain patterns is not just about aesthetics; it's about making choices that enhance the durability of your work. So, the next time you're at the lumber yard, take a moment to examine the grain of the wood. Your projects will thank you for it!
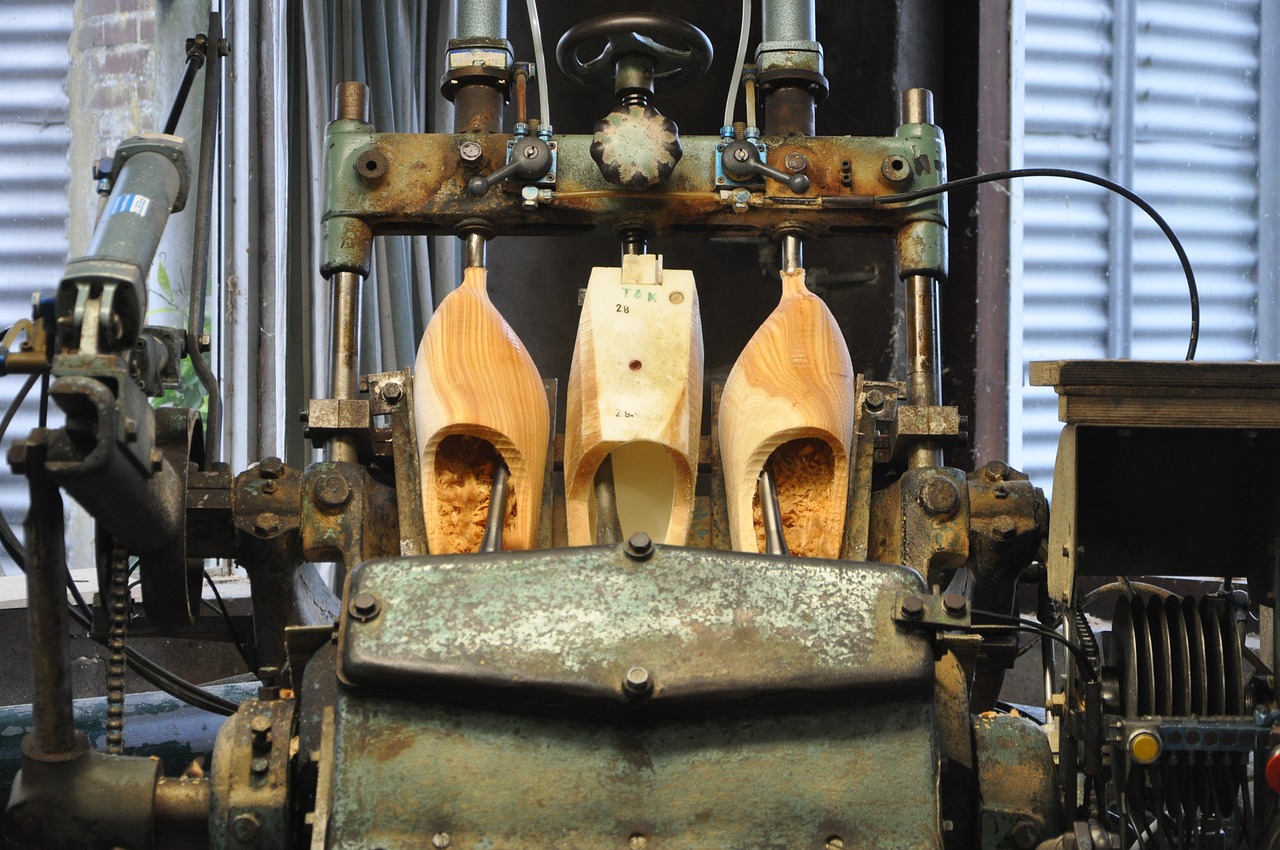
Wood Treatment Techniques
When it comes to woodworking, one of the most crucial aspects to consider is how to treat the wood properly. not only enhance the aesthetics of your project but also significantly improve its durability and resistance to splitting. Think of wood treatment as giving your wood a protective armor, shielding it from the elements, pests, and the wear and tear of time. There are several effective methods you can employ to ensure your wood remains in top-notch condition.
One of the most common techniques is sealing. Sealing involves applying a protective layer on the surface of the wood to prevent moisture from penetrating. This is particularly important because moisture is a major culprit in causing wood to swell and eventually split. A good sealant creates a barrier that keeps the wood's moisture content stable, allowing it to expand and contract without cracking. There are various types of sealants available, including polyurethane, varnish, and lacquer, each offering different levels of protection and finish.
Another effective treatment is oiling. Wood oils, such as tung oil or linseed oil, penetrate deep into the wood fibers, nourishing and protecting them from within. This method not only enhances the wood's natural beauty but also helps to maintain its moisture balance. By using oils, you're essentially treating the wood like a fine wine, allowing it to breathe while keeping it safe from drying out and splitting. Regular application of oil can revitalize the wood and extend its life significantly.
Additionally, using preservatives is a great way to protect your wood from pests and decay. Wood preservatives contain chemicals that inhibit the growth of fungi and deter insects, which can wreak havoc on your projects. When choosing a preservative, be sure to consider the intended use of the wood—whether it's for indoor furniture or outdoor structures—as different formulations are designed for specific environments. Applying these treatments during the initial stages of your project can save you a lot of headaches down the line.
In summary, employing appropriate wood treatment techniques is vital for anyone serious about woodworking. By sealing, oiling, and using preservatives, you can enhance the durability and beauty of your creations while minimizing the risk of splitting. Remember, treating your wood is like giving it a spa day; it rejuvenates and prepares it to face the world!
- What is the best treatment for preventing wood splitting?
Using a combination of sealing and oiling is often the most effective strategy. - How often should I apply wood treatments?
It depends on the type of treatment and the environment; generally, every six months to a year is a good rule of thumb. - Can I use regular paint as a sealant?
While paint can provide some protection, it doesn't allow the wood to breathe like dedicated sealants do.
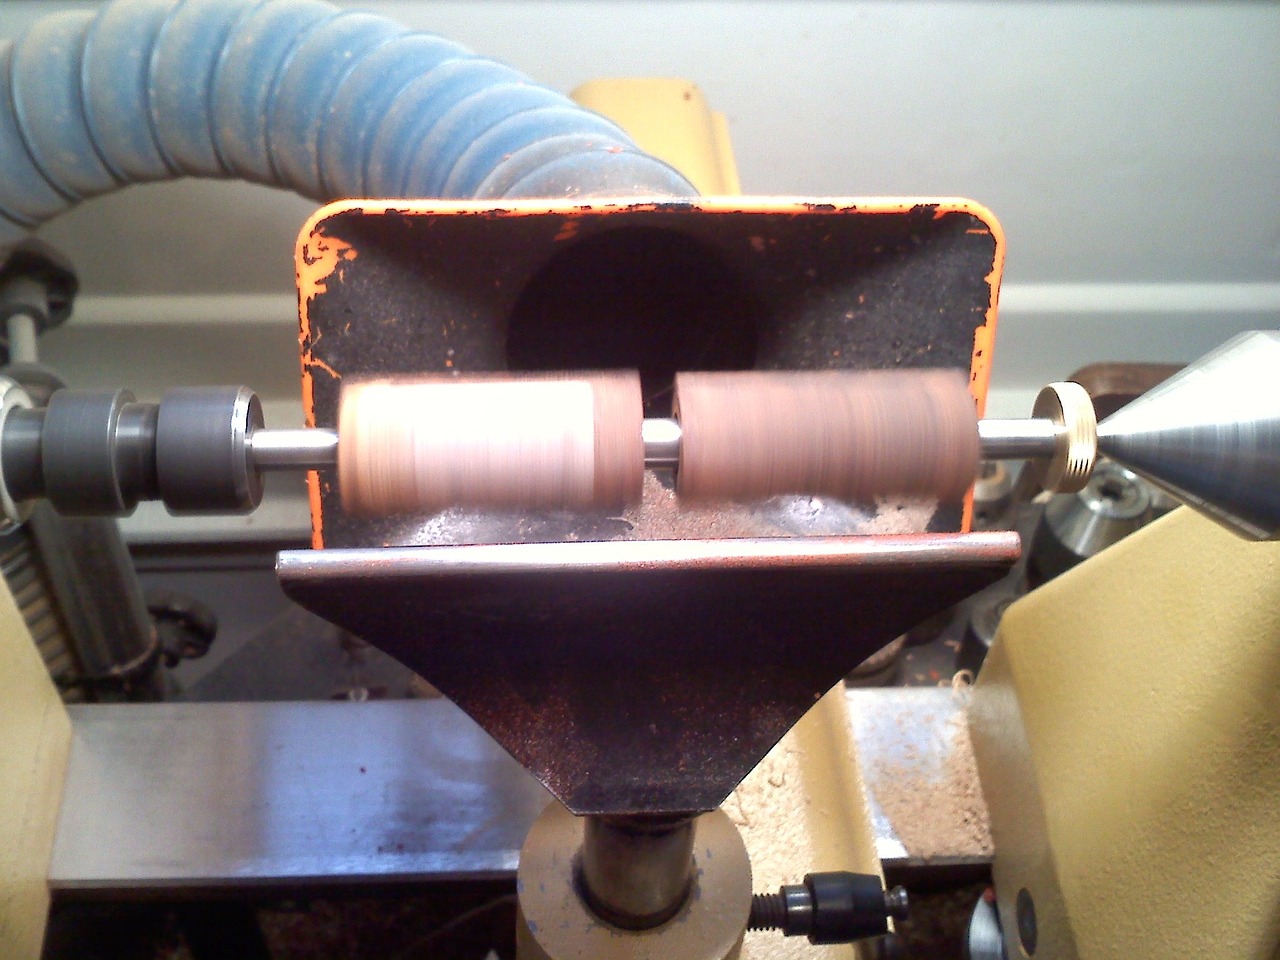
Repairing Split Wood
When your beautiful woodworking project suffers from the dreaded split, it can feel like a disaster. But fear not! Repairing split wood is not only possible but can also be a rewarding experience that breathes new life into your creation. The key is to understand the right techniques and materials to use, which will restore the integrity of the wood while preserving its natural beauty.
First off, let’s talk about wood glue. This is the go-to solution for minor splits and cracks. It’s like the superhero of woodworking repairs! When choosing the right glue, look for options specifically designed for wood, such as PVA (polyvinyl acetate) glue or polyurethane glue. These adhesives offer strong bonds and are often waterproof, which is a must if your project will face moisture. To apply wood glue effectively:
- Clean the area around the split to remove any dust or debris.
- Apply a generous amount of glue into the split, ensuring it fills the gap.
- Clamp the wood pieces together firmly and allow the glue to cure according to the manufacturer's instructions.
Now, what if the split is larger and requires a bit more muscle? Enter epoxy. Epoxy is a fantastic filler that can handle larger gaps and restore the appearance of the wood. It’s like the magic potion that makes your wood whole again! Here’s how to use epoxy:
- Prepare the epoxy according to the package instructions, mixing the resin and hardener thoroughly.
- Apply the epoxy into the split, ensuring it overfills slightly, as it will shrink as it cures.
- Use a putty knife to smooth the surface and remove any excess epoxy.
- Once cured, sand the area to achieve a smooth finish that blends with the surrounding wood.
In addition to using glue and epoxy, it’s important to consider the aesthetic aspect of your repair. If the split is in a visible area, you might want to think about staining or finishing the repaired section to match the rest of the wood. This not only enhances the appearance but also provides an additional layer of protection against future damage.
Finally, after you’ve successfully repaired the split, it’s crucial to monitor the wood for any signs of further splitting. Regular maintenance and proper care can prevent future issues. Remember, a little attention goes a long way in preserving the beauty and integrity of your woodworking projects!
Q: Can I use regular super glue for wood repairs?
A: While super glue can work for very small splits, it’s not recommended for larger repairs. Wood glue or epoxy is a better choice for stronger, more durable bonds.
Q: How long does it take for wood glue to dry?
A: Drying times can vary by brand, but generally, wood glue takes about 30 minutes to set and 24 hours to fully cure.
Q: Is it possible to prevent splits from happening in the first place?
A: Yes! Choosing the right wood, maintaining proper moisture levels, and storing wood correctly can significantly reduce the risk of splits.
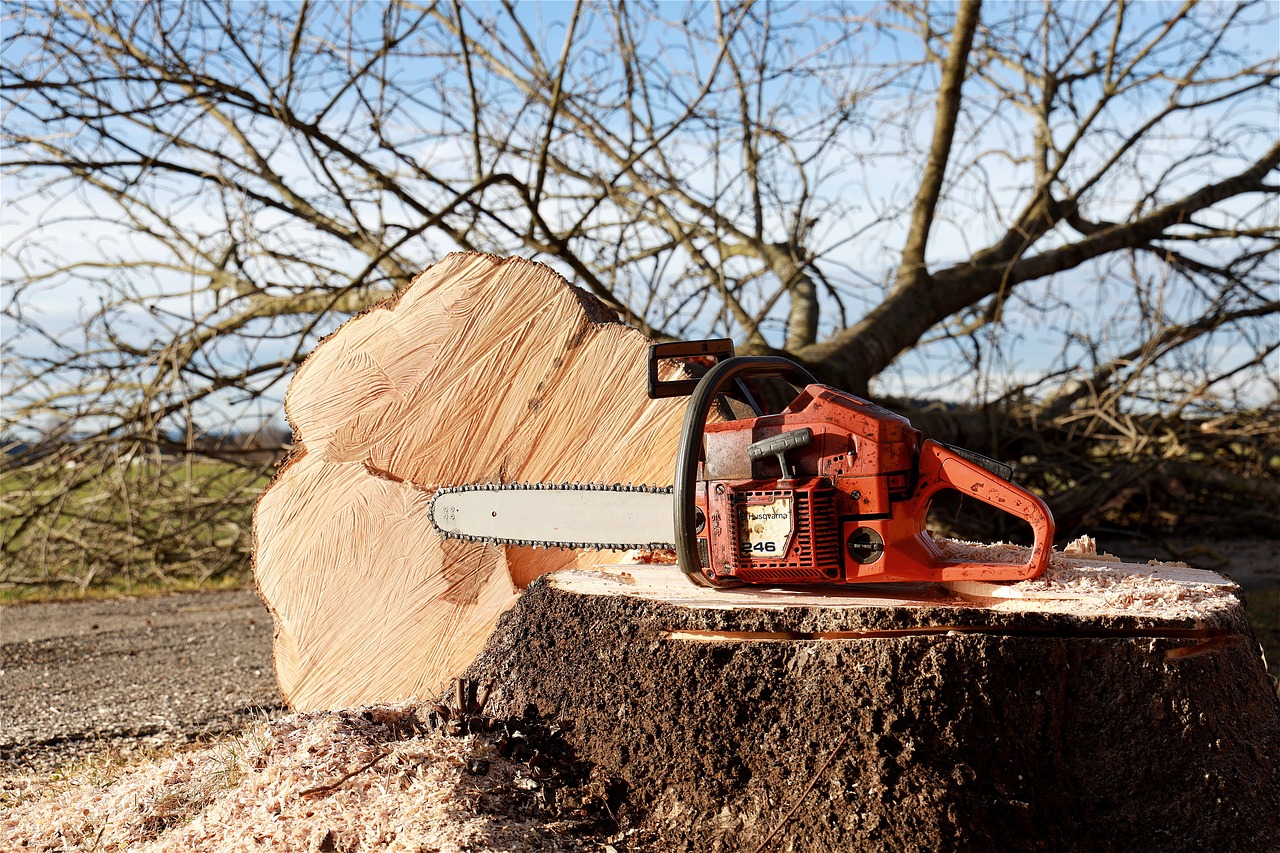
Using Wood Glue
When it comes to repairing splits in wood, wood glue is often the go-to solution for many woodworkers. Why? Because it’s not only effective but also incredibly easy to use! Think of wood glue as the superhero of your woodworking toolkit, swooping in to save the day when splits threaten to ruin your beautiful creations. But, not all wood glues are created equal, and understanding which type to use and how to apply it can make a world of difference in the durability of your repairs.
First off, let's talk about the types of wood glue available. There are several varieties out there, but the most common ones include:
- PVA Glue (Polyvinyl Acetate): This is the classic white or yellow glue that’s perfect for indoor projects. It dries clear and creates a strong bond.
- Polyurethane Glue: Known for its incredible strength, this glue expands as it dries, which can fill gaps but requires careful application to avoid mess.
- Epoxy: While often used for larger splits, epoxy can also serve as a wood glue. It’s great for tough jobs, providing a waterproof bond.
Now, how do you apply wood glue effectively? Here’s a simple step-by-step guide to ensure your repairs are as solid as a rock:
- Clean the Area: Before applying glue, make sure the split is clean and free from dust or debris. A clean surface allows for a better bond.
- Apply the Glue: Squeeze a generous amount of glue into the split. Don’t be shy; you want to ensure it fills the gap adequately.
- Clamp It Down: Use clamps to hold the split tightly together while the glue dries. This step is crucial as it ensures a strong bond.
- Clean Up Excess: Wipe away any excess glue that squeezes out with a damp cloth before it dries. Once it hardens, it can be a pain to remove!
It’s also important to consider the drying time of the glue you choose. Most PVA glues take about 30 minutes to set, but full curing can take up to 24 hours. Patience is key here; rushing the process can lead to weak joints that may split again in the future. Always refer to the manufacturer's instructions for the best results.
In conclusion, using wood glue is a straightforward yet effective way to tackle splits in your woodworking projects. With the right type of glue, proper application, and a little patience, you can restore the integrity of your wood pieces and keep them looking great for years to come. Remember, every woodworking project is a journey, and knowing how to effectively use wood glue is just one of the many tools in your arsenal.
- What is the best type of wood glue for outdoor projects? Polyurethane glue is often recommended for outdoor projects due to its waterproof properties.
- How long does wood glue take to dry? Most wood glues dry in about 30 minutes but can take up to 24 hours to fully cure.
- Can I sand wood glue after it dries? Yes, once the glue is fully cured, you can sand it down to achieve a smooth finish.
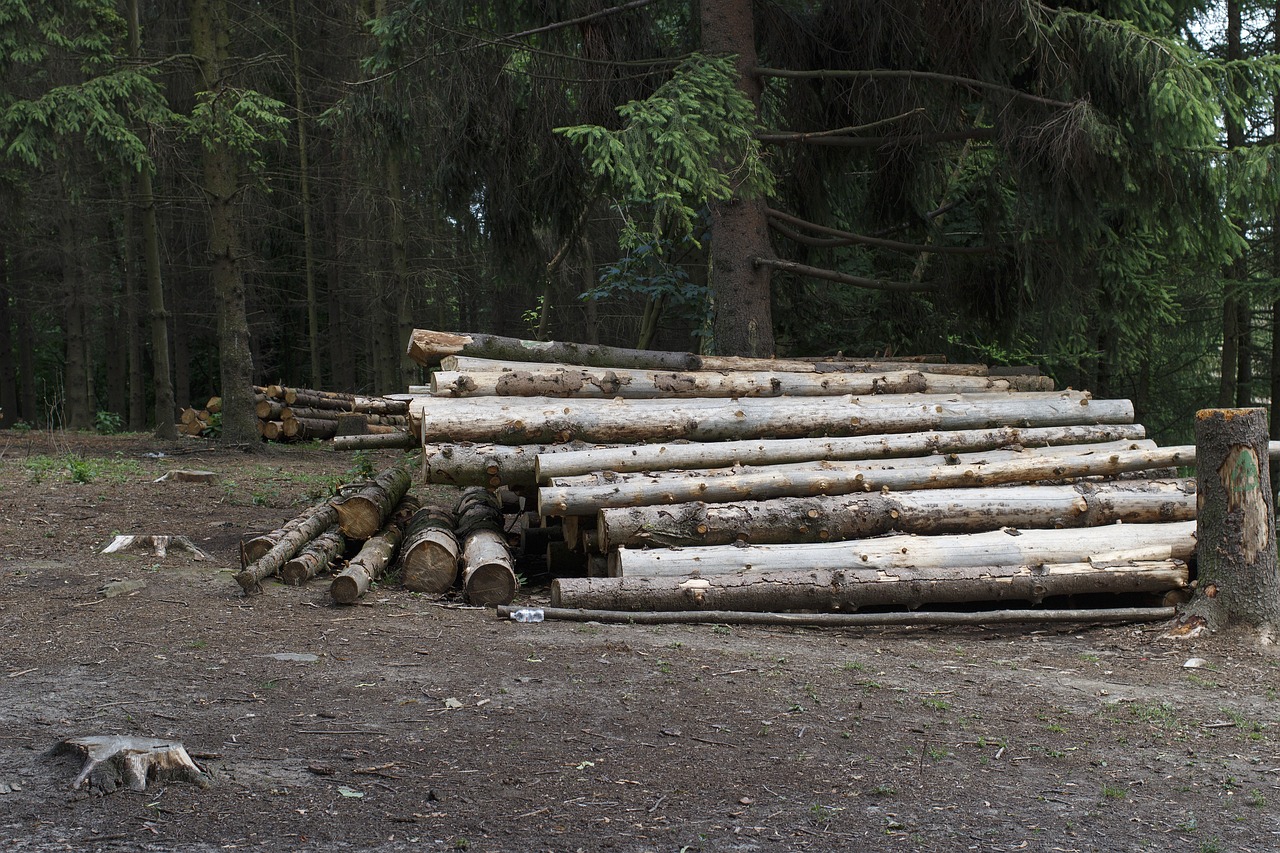
Filling Splits with Epoxy
When it comes to repairing larger splits in wood, epoxy is a game changer. Unlike traditional wood glue, which works well for smaller cracks, epoxy provides a robust solution that not only fills gaps but also reinforces the structural integrity of the wood. Imagine trying to patch a tire with a small hole; sometimes, a simple patch won't cut it, and that's when you need something more substantial—just like how epoxy serves in woodworking.
Before diving into the application process, it’s crucial to understand the types of epoxy available. Generally, there are two main categories: two-part epoxies and one-part epoxies. Two-part epoxies require mixing a resin and a hardener, which activates the adhesive properties, while one-part epoxies come ready to use, often requiring just a simple application. For most woodworking projects, a two-part epoxy is recommended due to its superior bonding strength and durability.
Here’s a quick rundown of the steps to effectively fill splits with epoxy:
- Prepare the Area: Clean the split thoroughly to remove any dust, debris, or loose wood fibers. This ensures the epoxy adheres properly.
- Mix the Epoxy: If you’re using a two-part epoxy, follow the manufacturer’s instructions for mixing the resin and hardener. Make sure to mix only what you can use within the working time specified.
- Apply the Epoxy: Use a putty knife or a small spatula to force the epoxy into the split, ensuring it fills the entire gap. Overfill slightly, as epoxy will shrink a bit as it cures.
- Let it Cure: Allow the epoxy to cure as per the instructions. This is usually between 4 to 24 hours, depending on the product.
- Sand and Finish: Once cured, sand the area smooth to match the surrounding wood. You can then apply a finish to blend it in seamlessly.
One of the advantages of using epoxy is its versatility. It can be tinted with colorants to match the wood, making repairs nearly invisible. Additionally, epoxy is resistant to moisture and temperature changes, which is essential for maintaining the integrity of your woodworking projects over time. However, keep in mind that while epoxy is a fantastic filler, it’s not a substitute for proper wood selection and maintenance.
In summary, filling splits with epoxy not only restores the wood's appearance but also enhances its strength. Whether you're working on a cherished heirloom or a new project, using epoxy can make all the difference in achieving a long-lasting, beautiful finish. Remember, prevention is key, but when splits do occur, epoxy is your best friend!
- Can I use epoxy on all types of wood? Yes, epoxy can be used on most wood types, but always check the manufacturer's recommendations for best results.
- How long does epoxy take to cure? Curing time varies based on the type of epoxy used, but it typically ranges from 4 to 24 hours.
- Is epoxy waterproof? Yes, most epoxies are waterproof once cured, making them suitable for both indoor and outdoor projects.
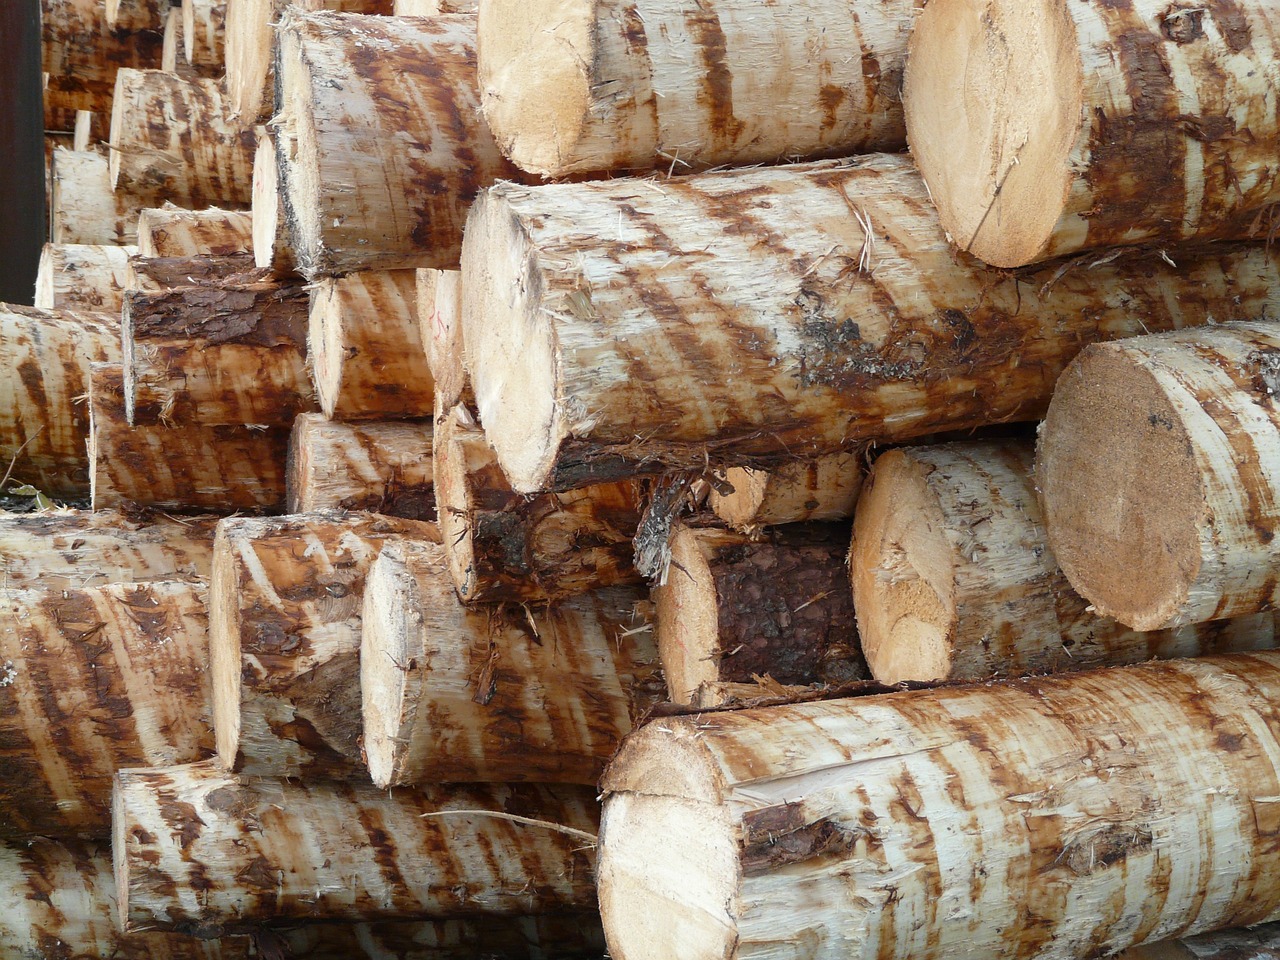
Preventive Measures
When it comes to woodworking, prevention is always better than cure. Taking proactive steps can significantly reduce the chances of wood splitting, which can be a real headache during your projects. One of the most effective preventive measures is to ensure proper storage techniques. Wood is a natural material that reacts to its environment, so keeping it in a stable environment is crucial. For instance, storing your wood in a cool, dry place away from direct sunlight can help maintain its moisture content and prevent warping or splitting. Think of wood like a sponge; if it’s exposed to too much moisture or heat, it will expand and contract, leading to potential splits.
Another key aspect is regular maintenance. Just like you wouldn’t ignore a small crack in your wall or a leaky faucet, you shouldn’t overlook the condition of your wood items. Regularly checking your wooden pieces for signs of wear and tear can help you catch any potential issues before they escalate. This could involve inspecting furniture for any minor splits or checking outdoor pieces for weather-related damage. A little attention can go a long way, and maintaining your wood can extend its life significantly.
Moreover, using proper sealing techniques can be a game-changer. Applying a sealant creates a protective barrier that helps lock in moisture and keeps out harmful elements. There are various types of sealants available, including oils, varnishes, and lacquers. Each has its own benefits, and choosing the right one depends on your specific project needs. For example, if you’re working on outdoor furniture, a weather-resistant sealant will be essential to protect against rain and sun damage.
In addition to these methods, understanding the wood’s moisture content is crucial. Wood that is too dry can become brittle, while wood that is too moist can swell and crack. A moisture meter can be a handy tool for any woodworker, providing you with accurate readings to ensure your wood is in the optimal range. Ideally, you want your wood to be around 6-8% moisture content for indoor projects and slightly higher for outdoor projects. Keeping track of these levels can help you avoid splits and maintain the integrity of your creations.
In summary, preventing wood from splitting is not just about using the right materials; it’s about creating the right environment and practicing good maintenance habits. By taking these preventive measures, you can enjoy your woodworking projects without the worry of unsightly splits ruining your hard work.
Q: How can I tell if my wood is too dry or too moist?
A: Using a moisture meter is the best way to get an accurate reading. Ideally, indoor wood should be around 6-8% moisture content.
Q: What type of sealant should I use for outdoor projects?
A: Look for weather-resistant sealants specifically designed for outdoor use, such as marine varnish or exterior-grade polyurethane.
Q: Can I fix a split wood piece, or should I replace it?
A: Many splits can be repaired using wood glue or epoxy, depending on the size and severity of the split. However, if the damage is extensive, replacement may be necessary.
Q: How often should I check my wooden items for maintenance?
A: Regular checks every few months are advisable, especially for items exposed to the elements. Keeping an eye out for any signs of wear can help you address issues early.

Proper Storage Techniques
When it comes to woodworking, are absolutely crucial for maintaining the integrity of your wood. Imagine buying a beautiful piece of lumber, only to find it warped and split after a few weeks in your garage! To avoid such disappointments, you need to treat your wood like the precious material it is. The first step is to ensure that your wood is stored in a climate-controlled environment. Extreme temperatures and humidity levels can wreak havoc on wood, causing it to expand and contract, leading to splits and cracks. Ideally, your storage area should have a constant temperature and humidity level.
Another essential aspect of storing wood is to keep it off the ground. Moisture from the floor can seep into the wood, increasing the chances of splitting. Use wooden pallets or racks to elevate your lumber. This not only prevents moisture absorption but also allows for better airflow around the wood. Speaking of airflow, make sure to space your wood properly. Stacking it too tightly can trap moisture and create a breeding ground for mold. A good rule of thumb is to leave at least a few inches between each piece of wood.
Additionally, it's important to consider the orientation of your wood. Store boards flat and avoid leaning them against walls, as this can cause them to bow over time. If you’re dealing with larger pieces, consider using support braces to keep them stable. For smaller cuts, a vertical storage system can be a great space-saver, but be cautious about how tightly you pack them. Each piece should have enough room to breathe, preventing any unnecessary stress on the wood.
Lastly, always keep an eye on your wood inventory. Regularly check for any signs of moisture or damage. If you notice something amiss, take action immediately. Remember, an ounce of prevention is worth a pound of cure! By following these , you can significantly reduce the risk of wood splitting and ensure that your projects turn out beautifully.
- Q: What is the best humidity level for storing wood?
A: Ideally, wood should be stored in an environment with a humidity level between 30-50% to prevent splitting and warping. - Q: Can I store wood outside?
A: It's not recommended to store wood outside unless it's properly covered and protected from the elements, as moisture and temperature fluctuations can cause damage. - Q: How often should I check my stored wood?
A: Regular checks every few weeks can help you catch any potential issues early, ensuring your wood remains in good condition.

Regular Maintenance
Regular maintenance is the unsung hero of woodworking, often overlooked but absolutely essential for keeping your projects in top shape. Just like you wouldn't drive a car without regular oil changes and check-ups, your wooden creations need a little TLC to prevent splits and cracks from forming over time. Think of maintenance as a health check for your wood—it's all about catching potential issues before they escalate into bigger problems.
So, what does regular maintenance entail? First off, it’s important to inspect your wooden items regularly, especially if they’re exposed to varying environmental conditions. Look for signs of wear and tear, such as small cracks or changes in color, which can indicate that the wood is drying out or becoming damaged. It’s like being a detective for your wood—spotting those tiny clues can save you a lot of heartache later on.
Another key aspect of maintenance is ensuring that your wood is properly conditioned. This involves applying a suitable finish or treatment that protects against moisture and UV damage. Depending on the type of wood and its use, you might want to consider:
- Oils: These penetrate the wood and provide a natural finish that enhances grain while offering protection.
- Varnishes: These create a hard protective layer on the surface, making it ideal for high-traffic areas.
- Sealants: These are great for outdoor projects, as they fend off moisture and prevent splitting.
Additionally, maintaining the right humidity levels in your storage area is crucial. Wood is a natural material that reacts to its environment, and fluctuations in humidity can lead to expansion and contraction, which increases the risk of splitting. Ideally, you should aim for a humidity level between 30% and 50%. Consider investing in a hygrometer to monitor these conditions. If your environment tends to be on the dry side, using a humidifier can help keep your wood happy and healthy.
Finally, don’t forget about routine cleaning. Dust and debris can accumulate on the surface of your wooden items, which not only detracts from their beauty but can also trap moisture. A simple wipe-down with a soft, dry cloth can make a world of difference. For more stubborn grime, a damp cloth with a mild soap solution can help, but be sure to dry the wood thoroughly afterward to avoid water damage.
In summary, regular maintenance is not just a chore; it’s a proactive approach to preserving the beauty and integrity of your woodworking projects. By staying vigilant and implementing these simple practices, you can ensure that your creations remain durable and stunning for years to come.
Q: How often should I perform maintenance on my wooden items?
A: It’s best to inspect your wooden items at least once a season, but if they’re exposed to harsh conditions, more frequent checks may be necessary.
Q: What’s the best way to clean my wood furniture?
A: Use a soft, dry cloth for regular dusting. For deeper cleaning, a damp cloth with mild soap is effective, but always dry the surface afterward.
Q: Can I use any oil for treating my wood?
A: No, it’s important to use oils specifically designed for wood, such as tung oil or linseed oil, to ensure proper absorption and protection.
Q: How do I know if my wood is too dry?
A: Signs of dryness include visible cracks, splintering, or a dull appearance. Maintaining proper humidity levels can help prevent this.
Frequently Asked Questions
- What causes wood to split?
Wood splitting can occur due to various factors, including environmental conditions like humidity and temperature changes, as well as the inherent characteristics of the wood itself. Understanding these causes can help you take preventive measures before starting a project.
- How can I choose the right wood to prevent splitting?
Selecting the right type of wood is crucial. Softwoods tend to split more easily than hardwoods. Additionally, some species are naturally more resistant to splitting due to their grain patterns and moisture content. Researching wood types and their properties can guide you in making the best choice.
- What is the importance of moisture content in wood?
Moisture content plays a significant role in wood stability. Too much or too little moisture can lead to splitting. Properly seasoning and storing your wood helps maintain optimal moisture levels, which can drastically reduce the risk of splits.
- How can I repair a split in wood?
Repairing a split can be done effectively using wood glue for smaller splits or epoxy for larger gaps. Make sure to clean the area, apply the adhesive properly, and clamp it until it dries for the best results.
- What are some preventive measures I can take?
To prevent wood from splitting, store it in a controlled environment, maintain consistent moisture levels, and perform regular maintenance checks. These proactive steps can help extend the life of your wood projects.
- Can I use any type of glue for wood repairs?
Not all glues are created equal! For wood repairs, it's best to use wood glue specifically designed for this purpose. It provides a stronger bond and better results than regular adhesives.
- What should I do if I notice splits forming over time?
If you notice splits developing, it’s essential to address them immediately. Regular maintenance and timely repairs can prevent further damage and maintain the integrity of your wood items.


