Unleashing Your Craftsmanship: Making a Wooden Sword
Have you ever dreamed of wielding your very own sword, crafted by your own hands? The journey of making a wooden sword is not just about creating a weapon; it’s about embracing the art of craftsmanship and channeling your creativity into a tangible form. Whether you're a seasoned woodworker or a curious beginner, the process of crafting a wooden sword is both rewarding and exhilarating. In this article, we will explore the essential steps, materials, and techniques needed to bring your wooden sword to life. So, grab your tools and let’s dive into this exciting adventure!
Selecting the appropriate type of wood is crucial for durability and aesthetics. The wood you choose will not only determine the strength of your sword but also its overall look and feel. Different types of wood have unique properties that can significantly impact the final product. For example, hardwoods like oak and maple are known for their durability and resistance to wear, making them excellent choices for a sturdy sword. On the other hand, softer woods like pine may be easier to work with but can lack the strength needed for a functional piece. Here’s a quick look at some popular wood options:
| Type of Wood | Properties | Best For |
|---|---|---|
| Oak | Strong and durable | Functional swords |
| Maple | Hard and dense | Decorative swords |
| Pine | Lightweight and easy to carve | Beginners and practice swords |
A well-equipped workshop is vital for crafting a wooden sword. The right tools can make your experience smoother and more enjoyable. Here’s a list of essential tools and materials you’ll need:
- Saws: For cutting the wood to shape.
- Chisels: For carving intricate details.
- Sandpaper: For smoothing surfaces.
- Wood glue: For assembling components.
Having these tools on hand will set you up for success. Remember, a well-prepared workspace can enhance your focus and creativity, allowing you to immerse yourself in the crafting process.
Understanding the difference between hand tools and power tools can influence your crafting style. Hand tools require more manual effort and can provide a sense of connection to the craft, while power tools can significantly speed up the process. Each has its own pros and cons, which we’ll explore:
- Hand Tools: Great for precision and detail, but require more time and physical effort.
- Power Tools: Increase efficiency and reduce labor, but can be less forgiving if you make a mistake.
Choosing between them depends on your comfort level and the intricacy of your design. If you’re aiming for detailed craftsmanship, consider incorporating both types of tools into your workflow.
Hand tools are essential for achieving intricate details in your wooden sword. Chisels, files, and hand saws allow for precise control, enabling you to shape the wood exactly how you envision. Each tool serves a unique purpose:
- Chisels: Ideal for carving and shaping.
- Files: Perfect for smoothing and refining edges.
- Hand Saws: Useful for making straight cuts.
If you're looking to speed up your crafting process, power tools can be your best friend. Tools like routers and band saws can help streamline your wooden sword creation, allowing you to focus on the finer details once the bulk of the work is done. Just remember to use them safely and with caution!
Safety is paramount in woodworking. Working with sharp tools and heavy materials can pose risks, so it’s essential to take precautions. Always wear protective gear such as goggles and gloves, and ensure your workspace is tidy to prevent accidents. Remember, it’s better to take a few extra minutes to set up safely than to rush and risk injury.
A well-thought-out design is key to a successful wooden sword. Start by sketching out your ideas, considering both style and functionality. Think about what you want your sword to represent—perhaps a fantasy theme or a historical replica. The design phase is where your creativity can truly shine!
Finding inspiration for your sword design can come from various sources. Look at different sword styles, from fantasy to historical, to help you conceptualize your unique creation. Whether you’re inspired by classic medieval swords or sleek, modern designs, let your imagination run wild!
A detailed blueprint serves as a roadmap for your project. Accurate measurements and proportions are vital to ensure that your sword not only looks good but feels right in your hands. Spend time on this step; it will pay off during the crafting process.
Mastering various crafting techniques can elevate your wooden sword from ordinary to extraordinary. Techniques like shaping, sanding, and finishing are crucial to enhancing the overall quality of your sword. Each step plays a significant role in the final outcome, so pay attention to detail!
Shaping the blade is a critical step in the crafting process. Use your saws and chisels to carve out the basic shape of your sword, taking care to maintain symmetry and balance. This is where the vision in your mind starts to take form, and it’s incredibly satisfying to see your hard work begin to materialize.
Proper sanding and finishing techniques can enhance the appearance and feel of your sword. Start with coarse sandpaper to remove any rough edges, then gradually move to finer grits for a smooth finish. Consider staining or sealing your wooden sword to protect it and bring out the natural beauty of the wood.
Q: What type of wood is best for a beginner?
A: Pine is a great choice for beginners due to its softness and ease of carving.
Q: Do I need power tools to make a wooden sword?
A: No, you can definitely make a wooden sword using only hand tools, although power tools can speed up the process.
Q: How long does it take to make a wooden sword?
A: The time varies based on your skill level and the complexity of the design, but expect it to take anywhere from a few hours to several days.
Choosing the Right Wood
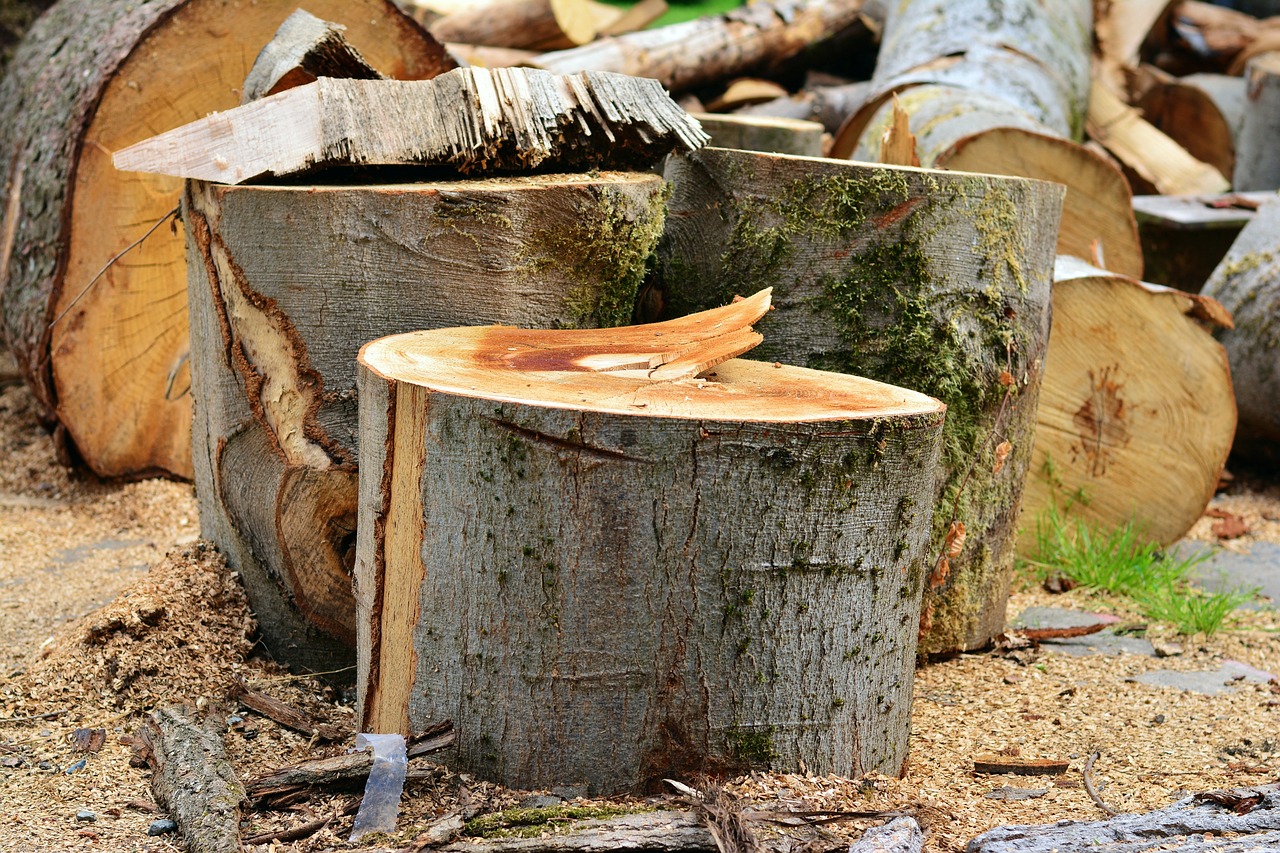
When it comes to crafting a wooden sword, the choice of wood is not just a matter of preference; it is a critical decision that can impact the durability, aesthetics, and overall functionality of your masterpiece. Think of wood as the canvas for your art—different types will yield different results. So, what should you look for? Let’s delve into some of the best options available.
One of the most popular choices among woodworkers is maple. Known for its strength and fine grain, maple not only provides a sturdy base but also allows for intricate detailing. Its light color can be stained to achieve various looks, making it a versatile option for both beginners and seasoned craftsmen. However, if you’re looking for something a bit more exotic, consider mahogany. This wood is renowned for its rich, deep hues and excellent workability, making it a favorite for those who want a visually striking sword.
Another excellent choice is oak, particularly white oak. It’s incredibly durable and has a beautiful grain that adds character to any project. Oak swords can stand the test of time, making them ideal for display pieces or even functional replicas. On the other hand, if you’re aiming for a lightweight sword that’s easy to handle, poplar might be your best bet. It’s softer than the other woods mentioned, which means it’s easier to work with, especially for those just starting out in woodworking.
Here’s a quick comparison of these woods to help you decide:
| Wood Type | Durability | Workability | Aesthetics |
|---|---|---|---|
| Maple | High | Easy | Light color, fine grain |
| Mahogany | Medium | Moderate | Rich color, beautiful finish |
| Oak | Very High | Moderate | Distinctive grain, sturdy |
| Poplar | Low | Very Easy | Light color, easy to paint |
In addition to these characteristics, it’s essential to consider the thickness and moisture content of the wood you choose. A thicker piece will provide more durability and strength, while the moisture content can affect how the wood behaves during the crafting process. Ideally, you want wood that has been properly dried to avoid warping or cracking as you work on your sword.
Ultimately, the right wood for your wooden sword will depend on your personal style, the intended use of the sword, and your level of expertise. So, take your time to explore your options, feel the textures, and envision how each type will contribute to your final creation. Remember, this is not just a project; it’s an expression of your craftsmanship and creativity!
Essential Tools and Materials
When it comes to crafting a wooden sword, having the right tools and materials is absolutely essential. Think of your workshop as a painter's palette; without the right colors, you can't create a masterpiece. Similarly, without the right tools, your sword-making journey might turn into a frustrating experience. So, let’s dive into the must-have tools and materials that will help you transform a simple piece of wood into a stunning sword.
First and foremost, you'll need to select your wood. The type of wood you choose can significantly influence the durability and aesthetics of your sword. Hardwoods like oak, maple, or walnut are excellent choices due to their strength and beautiful grain patterns. On the other hand, softer woods, such as pine, are easier to work with but may not hold up as well over time. Here's a quick comparison of some common woods used in sword-making:
| Type of Wood | Durability | Appearance | Ease of Work |
|---|---|---|---|
| Oak | High | Rich grain | Moderate |
| Maple | High | Light color, fine grain | Moderate |
| Walnut | High | Dark, rich color | Moderate |
| Pine | Low | Light color, knots | Easy |
Now that you have a basic understanding of wood types, let’s talk about tools. A well-equipped workshop is your best friend in this endeavor. You’ll need a combination of hand tools and power tools to achieve the best results. Hand tools are fantastic for precision work, while power tools can save you time and effort. Here’s a quick rundown of essential tools you’ll want to have:
- Hand Tools: Chisels, hand saws, and files are indispensable for detailed work.
- Power Tools: Routers and band saws can help you shape and cut your wood more efficiently.
- Safety Gear: Don’t forget safety goggles, gloves, and a dust mask to protect yourself while working.
But remember, the tools themselves won’t make you a master craftsman; it’s all about how you use them. Each tool has its unique purpose, and understanding this can help you make informed choices. For instance, while a band saw can quickly cut the rough shape of your sword, finer details may require the delicate touch of a chisel. Balancing the use of both hand and power tools will enhance your crafting experience.
In addition to tools, you will also need various materials for finishing touches. Sandpaper in different grits is crucial for smoothing out surfaces, while wood stain and sealant will protect your sword and add a professional finish. Think of these materials as the icing on the cake; they elevate your project from good to great. Always remember to choose high-quality products, as they can make a significant difference in the final outcome.
In summary, having the right tools and materials is fundamental to your wooden sword-making journey. Whether you are a beginner or an experienced woodworker, investing in quality tools and understanding their uses can make all the difference in achieving a stunning final product. So gather your supplies, roll up your sleeves, and let your creativity flow!
Q: What type of wood is best for a beginner?
A: Pine is often recommended for beginners due to its softness and ease of work. However, if you're looking for something more durable, consider oak or maple.
Q: Do I need both hand and power tools?
A: While you can start with just hand tools, incorporating power tools can significantly speed up the process and improve precision.
Q: How important is safety gear?
A: Extremely important! Always wear safety goggles, gloves, and a dust mask to protect yourself from potential hazards.
Hand Tools vs. Power Tools
When it comes to crafting a wooden sword, the choice between hand tools and power tools can significantly impact your crafting experience and the final product. Both have their unique advantages and challenges, and understanding these can help you make an informed decision tailored to your personal style and project needs. Imagine hand tools as the gentle brush strokes of a painter, allowing for intricate details and a personal touch, while power tools are like a high-speed camera, offering efficiency and precision in a fraction of the time.
Hand tools, such as chisels, hand saws, and files, require a bit more physical effort but provide unparalleled control over your work. They allow you to connect more intimately with the material, feeling every grain and curve as you shape your sword. This tactile experience can be incredibly rewarding, especially for those who appreciate the art of craftsmanship. However, using hand tools can be time-consuming and may require a steep learning curve for beginners.
On the other hand, power tools like routers, band saws, and sanders can dramatically accelerate the crafting process. They are designed for efficiency and can handle larger pieces of wood with ease. For instance, if you're looking to quickly cut out the rough shape of your sword, a band saw will save you hours compared to a hand saw. However, the downside is that power tools can sometimes lead to a less personal connection with the craft, and they require a good understanding of safety measures due to their speed and strength.
Here's a quick comparison to help you decide:
| Feature | Hand Tools | Power Tools |
|---|---|---|
| Control | High - More tactile feedback | Moderate - Less direct feedback |
| Speed | Slow - More time-consuming | Fast - Efficient for large tasks |
| Cost | Generally lower | Can be higher, especially for quality tools |
| Learning Curve | Steeper for beginners | Moderate, but requires safety knowledge |
Ultimately, the choice between hand tools and power tools depends on your personal preferences and the specific requirements of your project. Some woodworkers even choose to combine both methods, using hand tools for detailed work and power tools for the bulk of the shaping. This hybrid approach can yield the best of both worlds, allowing you to enjoy the craftsmanship while also benefiting from the efficiency of modern tools.
As you embark on your wooden sword-making journey, consider what feels right for you. Are you looking for a meditative experience, or do you want to see results quickly? The beauty of woodworking lies in its versatility, so embrace the tools that resonate with your creative spirit!
- What are the best hand tools for beginners? A good starter kit includes a hand saw, chisels, and a file.
- Are power tools worth the investment? Yes, especially if you plan to undertake multiple projects, as they can save you a lot of time.
- How do I ensure safety when using power tools? Always wear protective gear, follow the manufacturer's instructions, and never rush your work.
Common Hand Tools
When it comes to crafting a wooden sword, having the right hand tools at your disposal is essential for achieving precision and intricate details. Hand tools allow for a level of control that power tools often can't match, making them invaluable for fine work. Let's dive into some of the most common hand tools you'll need for this project, along with their unique purposes and benefits.
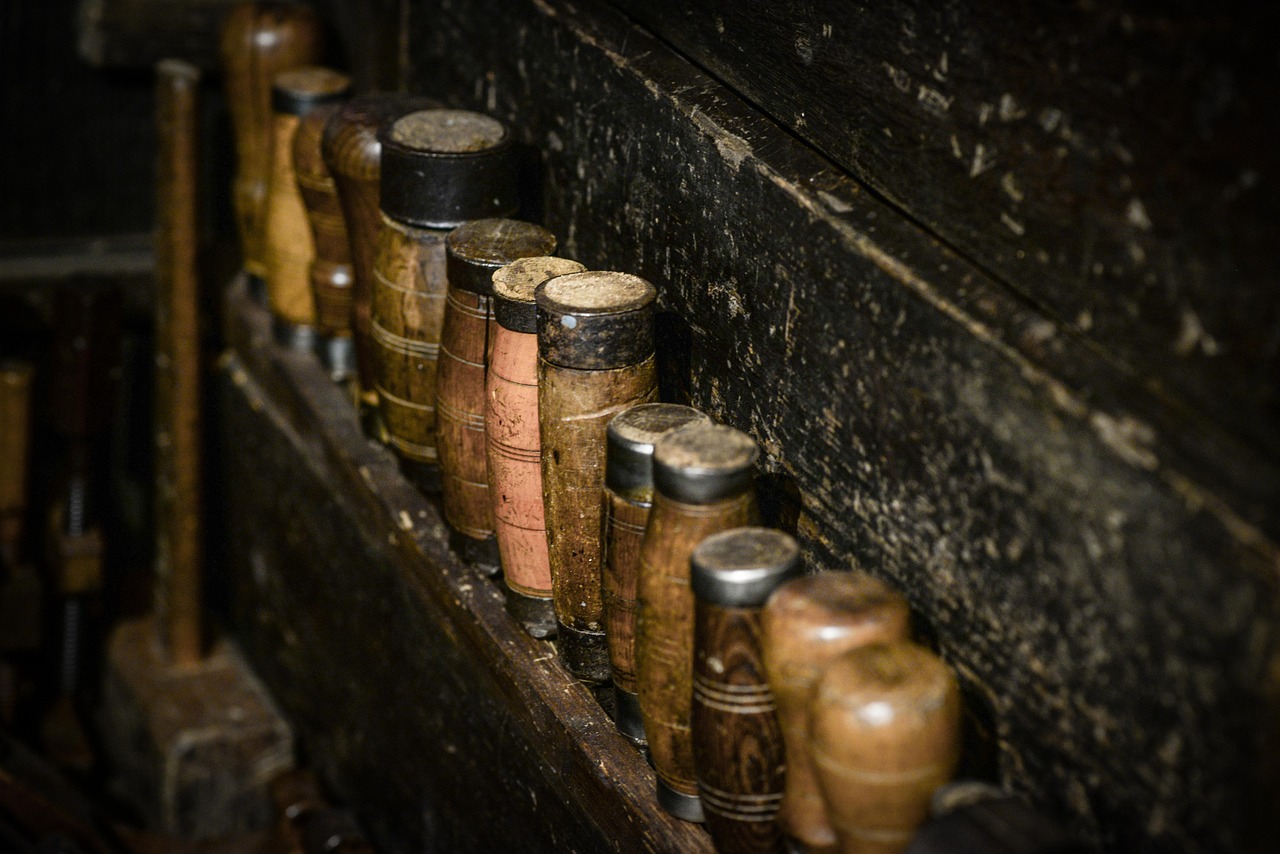
First up is the chisel. This tool is your best friend when it comes to carving out specific shapes and details in the wood. A good set of chisels, ranging from wide to narrow, can help you create everything from simple grooves to complex designs. Remember, the sharpness of your chisel is key; a dull chisel can lead to frustration and subpar results.
Next, we have the hand saw. While power saws are great for quick cuts, a hand saw gives you the ability to make more controlled and precise cuts. This is particularly important when you're shaping the blade of your sword. Whether you choose a backsaw for fine cuts or a panel saw for larger pieces, having a quality hand saw is a must-have in your toolbox.
Another essential tool is the file. Files are perfect for smoothing out rough edges and refining the shape of your sword. They come in various shapes and sizes, allowing you to get into tight corners or work on flat surfaces. Using a file can be likened to an artist adding the final touches to their masterpiece; it’s all about the details!
Additionally, sandpaper is crucial for achieving a smooth finish. Once you've shaped your sword, sanding helps to remove any imperfections and prepares the surface for finishing. It’s advisable to start with a coarser grit and gradually move to a finer grit to achieve that silky-smooth feel. Don’t rush this step; the finish of your sword can make all the difference.
Lastly, consider having a ruler and a pencil handy for marking out your measurements. Precision is key in woodworking, and a good ruler will help you maintain accurate dimensions, while a sharp pencil allows for clear markings that can be easily erased or sanded away later.
In summary, while it may be tempting to rush into the crafting process, taking the time to familiarize yourself with these common hand tools will set you up for success. Each tool plays a vital role in transforming a simple piece of wood into a beautifully crafted wooden sword. So, gather your tools, and let your creativity flow!
- What type of wood is best for making a wooden sword? - Hardwoods like oak or maple are ideal due to their durability and aesthetic appeal.
- Can I use power tools instead of hand tools? - Yes, power tools can speed up the process, but hand tools offer better control for detailed work.
- How do I ensure safety while using these tools? - Always wear protective gear, such as goggles and gloves, and follow safety guidelines for each tool.
- Is it difficult to make a wooden sword? - While it can be challenging, with practice and the right tools, anyone can create a beautiful wooden sword!
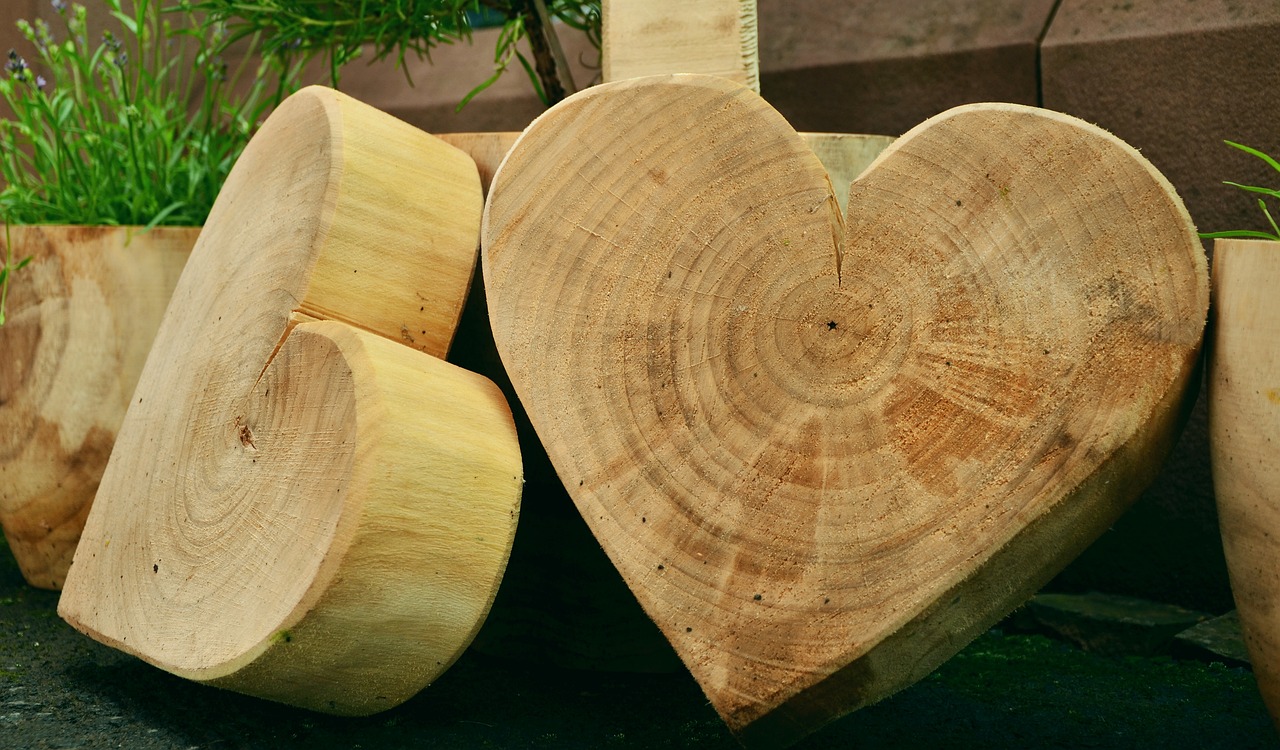
Power Tools for Efficiency
When it comes to crafting a wooden sword, efficiency is key, and that's where power tools come into play. These tools can significantly reduce the time and effort required to shape, cut, and finish your sword. Imagine trying to carve a block of wood with just a hand saw; it would be a laborious task! Now, picture how much easier it would be with a band saw or a router at your disposal. Power tools are essentially the magic wands of woodworking, transforming tedious processes into smooth, enjoyable experiences.
Among the most essential power tools for sword-making, the band saw stands out. This tool allows you to make intricate cuts with precision, which is especially useful when shaping the blade. It can handle both straight cuts and curves, giving you the freedom to explore various designs. Another invaluable tool is the router, which helps in creating decorative edges and grooves, adding that extra flair to your sword. With a router, you can easily achieve professional-grade finishes that make your sword stand out.
Furthermore, using a sander is crucial for ensuring that your wooden sword has a smooth, polished surface. While hand sanding can achieve great results, a power sander will save you a significant amount of time and effort. You can quickly remove rough edges and prepare the surface for finishing. It's like going from a rough draft to a beautifully polished piece of art in no time!
However, it's important to remember that power tools should be used with caution. They can be incredibly powerful, and without the right safety measures, accidents can happen. Always wear appropriate protective gear, such as safety goggles and ear protection, to safeguard yourself while working. Remember, the goal is to create a masterpiece, not to end up in the emergency room!
In summary, integrating power tools into your woodworking process can dramatically enhance your efficiency and the quality of your wooden sword. By investing in the right tools, you not only save time but also elevate your craftsmanship to new heights. So, whether you’re a seasoned woodworker or a curious beginner, consider adding power tools to your arsenal for a smoother crafting experience.
- What type of wood is best for making a wooden sword? The best woods for sword-making include oak, maple, and poplar due to their durability and ease of shaping.
- Do I need to use power tools to make a wooden sword? While power tools can greatly enhance efficiency, it is possible to create a wooden sword using only hand tools if you prefer a more traditional approach.
- How can I ensure my wooden sword is safe to handle? Proper sanding and finishing techniques, along with rounded edges, will ensure your sword is safe to handle.
- What safety gear should I wear when using power tools? Always wear safety goggles, ear protection, and a dust mask to protect yourself from debris and noise while working.

Safety Precautions
When it comes to crafting your own wooden sword, safety should always be your top priority. After all, the last thing you want is to turn your creative endeavor into a trip to the emergency room! Before you even think about picking up a tool, take a moment to set up a safe workspace. Make sure your area is well-lit and free from clutter; this will not only help you work more efficiently but also reduce the risk of accidents.
Now, let’s talk about the essential protective gear you should have on hand. Wearing a good pair of safety goggles is a must to protect your eyes from flying debris. Additionally, a dust mask can help filter out sawdust and other particles that can irritate your lungs. Don’t forget about sturdy gloves! While they can protect your hands, be cautious not to wear loose-fitting gloves that could get caught in machinery. Here’s a quick rundown of the gear you’ll want to have:
- Safety Goggles: Protect your eyes from sawdust and debris.
- Dust Mask: Keep your lungs clear from harmful particles.
- Cut-Resistant Gloves: Safeguard your hands while maintaining dexterity.
- Ear Protection: Use earplugs or earmuffs when working with loud power tools.
In addition to personal protective equipment, understanding the tools you’re using is crucial. Each tool has its own set of risks. For example, when using a band saw, always ensure that the blade is properly tensioned and that the guards are in place. Similarly, when working with chisels, always cut away from your body to minimize the risk of injury. Remember, a moment of carelessness can lead to serious accidents.
Furthermore, it’s wise to keep a first aid kit nearby. Accidents can happen even to the most cautious woodworkers, so being prepared is key. Make sure your kit includes band-aids, antiseptic wipes, and any necessary medications. If you’re working with power tools, be sure to familiarize yourself with their operation and safety features. Always unplug tools when changing blades or making adjustments to avoid accidental starts.
Lastly, never work while tired or under the influence of alcohol or drugs. Your focus and coordination are vital when handling sharp tools and heavy materials. If you feel fatigued, take a break! Remember, woodworking should be enjoyable, not hazardous. By following these safety precautions, you’ll create a secure environment that allows you to focus on unleashing your creativity and craftsmanship.
Here are some common questions that often arise when it comes to safety in woodworking:
- What should I do if I get a minor cut? Clean the wound with soap and water, apply an antiseptic, and cover it with a bandage.
- How can I prevent sawdust from affecting my health? Always wear a dust mask and ensure proper ventilation in your workspace.
- Is it safe to work alone? While it’s possible, having someone nearby can be helpful in case of an emergency.

Designing Your Sword
When it comes to crafting a wooden sword, is the heart and soul of the project. Think of it as the blueprint for a house; without a solid plan, you're bound to run into issues down the line. So, grab a sketchbook and let your imagination run wild! Start by considering the style of sword you want to create. Are you drawn to the elegance of a classic katana, the boldness of a broadsword, or perhaps the whimsical flair of a fantasy sword? Each style has its own unique characteristics and can influence how your sword feels in hand and its overall aesthetic.
As you sketch, keep in mind the functionality of your sword. Will it be purely decorative, or do you want it to be a functional piece that can withstand some light use? This decision will guide your design choices, from the thickness of the blade to the shape of the handle. Consider the balance of the sword as well; a well-balanced sword feels good to wield, while a poorly balanced one can be cumbersome and awkward.
Next, think about adding your own personal flair. This is where you can truly make the sword your own, incorporating unique elements that reflect your personality or interests. Maybe you want to engrave a meaningful symbol on the blade or choose a handle shape that fits comfortably in your grip. The possibilities are endless! To help you visualize your design, you might want to create a detailed blueprint that includes measurements and proportions. This will serve as a roadmap throughout the crafting process.
Creating a blueprint doesn’t have to be daunting. Start by measuring the desired length of your sword, which typically ranges from 30 to 40 inches for most styles. Use these measurements to sketch the outline of the blade, guard, and handle. Here’s a simple table to illustrate typical sword dimensions:
| Sword Type | Blade Length (inches) | Overall Length (inches) |
|---|---|---|
| Katana | 28-30 | 40-44 |
| Broadsword | 30-36 | 40-48 |
| Fantasy Sword | 24-36 | 36-48 |
Once you have your blueprint, it’s time to think about the materials and colors you want to use. The type of wood can significantly affect the look and feel of your sword. For instance, maple offers a light color with a fine grain, while walnut provides a rich, dark finish. Don’t forget about the finishing touches! A well-chosen stain or sealant can bring out the grain of the wood and add a layer of protection.
Inspiration can come from anywhere! Browse through books, movies, or even historical references to spark your creativity. You might find that the sword designs in your favorite fantasy series resonate with you, or perhaps the sleek lines of a historical saber catch your eye. The key is to let your creativity flow while keeping functionality in mind. Remember, the sword you design should not only look stunning but also feel great in your hands.
So, are you ready to dive into the exciting world of sword crafting? With a little imagination and a solid design, you'll be well on your way to creating a unique wooden sword that you can be proud of. Stay tuned for the next section, where we'll explore the essential crafting techniques to bring your design to life!

Inspiration and Styles
When it comes to crafting a wooden sword, the design is everything. Inspiration can strike from various sources, whether it's a beloved movie, a historical figure, or even a fantasy novel. The beauty of creating your own wooden sword lies in the freedom to choose a style that resonates with you personally. Are you drawn to the sleek, elegant lines of a katana, or perhaps the broad, powerful blade of a broadsword? The possibilities are endless!
To help you navigate through the vast world of sword styles, consider the following popular categories:
- Fantasy Swords: Think of the iconic weapons wielded by heroes in epic tales. These swords often feature elaborate designs, intricate engravings, and unique shapes that reflect their mythical origins.
- Historical Swords: If you have a penchant for history, why not replicate a sword from a specific era? From medieval longswords to ancient Roman gladii, historical swords offer a glimpse into the past and their designs often carry significant meaning.
- Personalized Designs: This is where your creativity can truly shine! You can mix and match elements from different styles or even add personal symbols and motifs that represent your journey or values.
Finding the right inspiration may require some research. Look at various artworks, movies, and historical texts to gather ideas. You might even consider visiting local museums or participating in reenactment events to see real swords up close. Engaging with communities online, such as forums or social media groups dedicated to sword-making, can also provide a wealth of ideas and feedback.
Once you have a style in mind, sketching your ideas can be a great way to visualize your sword. Don’t be afraid to experiment! Use different shapes and sizes until you find a design that feels just right. Remember, your wooden sword is a reflection of your craftsmanship and creativity, so let your imagination run wild!
In conclusion, the journey of crafting a wooden sword is as much about the inspiration behind it as it is about the actual crafting process. Embrace the styles that resonate with you, and let them guide your hands as you bring your unique vision to life.
Q: What type of wood is best for making a wooden sword?
A: Hardwoods like oak, maple, or cherry are excellent choices due to their durability and aesthetic appeal. Softwoods can work too, but they may not hold up as well over time.
Q: Do I need special tools to craft a wooden sword?
A: While basic hand tools can suffice, having power tools can significantly speed up the process. Essential tools include saws, chisels, and sanders.
Q: Can I customize my wooden sword?
A: Absolutely! Personalizing your wooden sword with unique designs and engravings is part of the fun and creativity in the crafting process.
Q: How long does it take to make a wooden sword?
A: The time it takes can vary greatly depending on your skill level, the complexity of the design, and the tools you use. A simple sword might take a few hours, while a more intricate design could take several days.
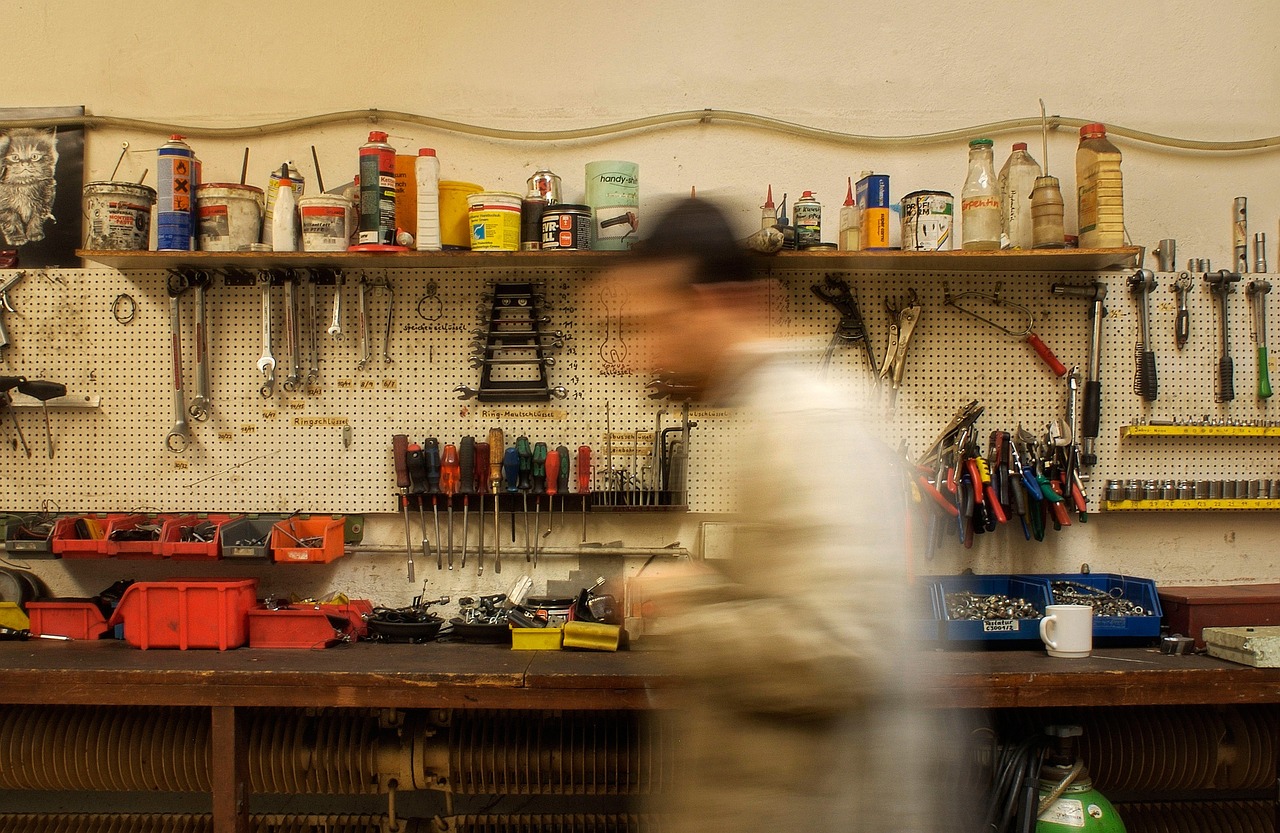
Creating a Detailed Blueprint
Creating a detailed blueprint for your wooden sword is like drawing the map before embarking on an adventurous journey. It not only provides a clear direction but also helps you visualize the end product. The blueprint serves as a roadmap, ensuring that every cut, carve, and finish aligns with your original vision. So, how do you go about crafting this essential guide? Let’s break it down step by step.
First and foremost, you need to decide on the dimensions of your sword. Standard sword lengths can vary greatly depending on the style you wish to emulate. For instance, a typical longsword could be around 40-48 inches long, while a short sword might measure between 24-36 inches. To make this easier, you can create a simple
| Sword Type | Length (inches) | Width (inches) |
|---|---|---|
| Longsword | 40-48 | 3-4 |
| Short Sword | 24-36 | 2-3 |
| Katana | 28-32 | 2.5 |
| Rapier | 36-48 | 1-2 |
Next, sketching your design is an exciting part of the process. Grab a pencil and some graph paper, and start outlining the sword’s shape. Think about the blade profile, the hilt design, and any decorations you want to include. Don’t hesitate to use references from historical swords or fantasy designs that inspire you. This is your chance to let your creativity shine!
Once you have your initial sketch, it’s time to focus on the details. Measure the width of the blade, the length of the hilt, and the curvature of the blade if applicable. Remember, precision is key! You might want to use a ruler and protractor to ensure that your angles and lengths are accurate. If you’re feeling adventurous, consider incorporating a unique feature, like a fuller (a groove running along the blade) or intricate engravings.
After finalizing your design, creating a scaled version can be incredibly helpful. This means reducing your sketch to a smaller size while maintaining the proportions. You can use a photocopier for this, or simply draw it smaller by hand. Having a scaled version allows you to test the design's aesthetics without committing to the full-sized piece right away.
Lastly, don’t forget to label your blueprint with all the necessary measurements and notes. Include details like the thickness of the blade, the size of the hilt, and any other specifications that will guide you during the crafting process. This documentation will be invaluable as you progress, ensuring you stay true to your original vision.
In conclusion, creating a detailed blueprint is an essential step in the craftsmanship of your wooden sword. It sets the foundation for your project, allowing for creativity while ensuring precision. So grab your tools, sketch out your ideas, and let your imagination run wild!
- What type of wood is best for making a wooden sword? - Hardwoods like oak or maple are ideal due to their durability and aesthetic appeal.
- Do I need special tools to create a wooden sword? - While basic hand tools can suffice, power tools can significantly speed up the process and improve precision.
- Can I decorate my wooden sword? - Absolutely! Consider painting, staining, or adding carvings to personalize your sword.
- How long does it take to craft a wooden sword? - The time can vary based on your skill level and the complexity of your design, but expect anywhere from a few hours to several days.
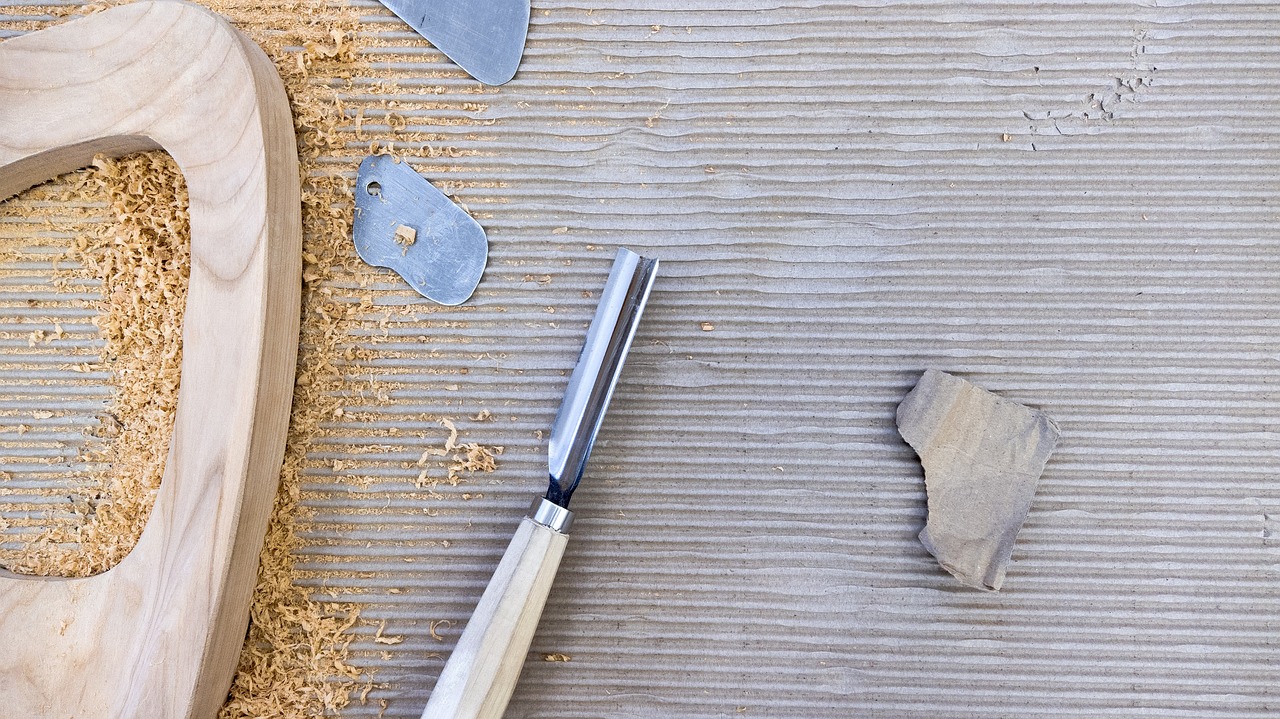
Crafting Techniques
Mastering various can elevate your wooden sword from ordinary to extraordinary. Each technique contributes to the overall aesthetics and functionality of the sword, making it essential to understand and apply them correctly. Whether you're a novice or a seasoned woodworker, honing these skills will ensure your creation stands out. Let’s dive into some critical techniques that will help you achieve a stunning piece of craftsmanship.
One of the first and most crucial steps in the crafting process is shaping the blade. This involves defining the sword's profile and ensuring it has the right balance and design. To achieve the desired blade shape, you can utilize both hand tools and power tools. Hand tools, such as chisels and hand saws, allow for more control and precision, while power tools, like band saws, can expedite the initial shaping process. The key is to find a balance between the two, using each tool where it excels. For instance, you might start with a power tool to remove large amounts of material quickly, then switch to hand tools for detailed shaping.
Once the blade is shaped, the next step is sanding. Proper sanding is not just about making the sword smooth; it’s about enhancing its overall appearance. Start with a coarse grit sandpaper to remove any rough edges, then gradually move to finer grits for a polished finish. This process is vital because it prepares the surface for any stains or finishes you plan to apply later. Remember, the smoother the surface, the better the final result will look. A good tip is to sand in the direction of the wood grain to avoid scratches that can mar the beauty of your sword.
After sanding, it’s time for the finishing touches. Finishing involves applying stains, paints, or sealants to protect the wood and enhance its visual appeal. Choosing the right finish can dramatically change the look of your sword. For a more traditional appearance, you might opt for a natural wood stain that highlights the grain. If you're going for a more dramatic effect, consider using a darker stain or even a paint that reflects your personal style. Additionally, applying a sealant is crucial to protect the wood from moisture and wear, ensuring your sword remains beautiful for years to come.
Throughout these crafting techniques, it’s important to remember that patience is key. Rushing through any of these steps can lead to mistakes that could compromise the integrity and beauty of your sword. Take your time, and don’t be afraid to experiment. Each sword you create will teach you something new, allowing you to refine your skills further.
- What type of wood is best for crafting a wooden sword?
Hardwoods like oak, maple, or cherry are excellent choices due to their durability and aesthetic appeal. - Do I need special tools to make a wooden sword?
While basic hand tools can suffice, power tools can significantly speed up the process and improve precision. - How long does it take to craft a wooden sword?
The time varies based on your skill level and the complexity of the design, but expect anywhere from a few hours to several days. - Can beginners successfully craft a wooden sword?
Absolutely! With the right tools, materials, and a bit of patience, anyone can create a beautiful wooden sword.
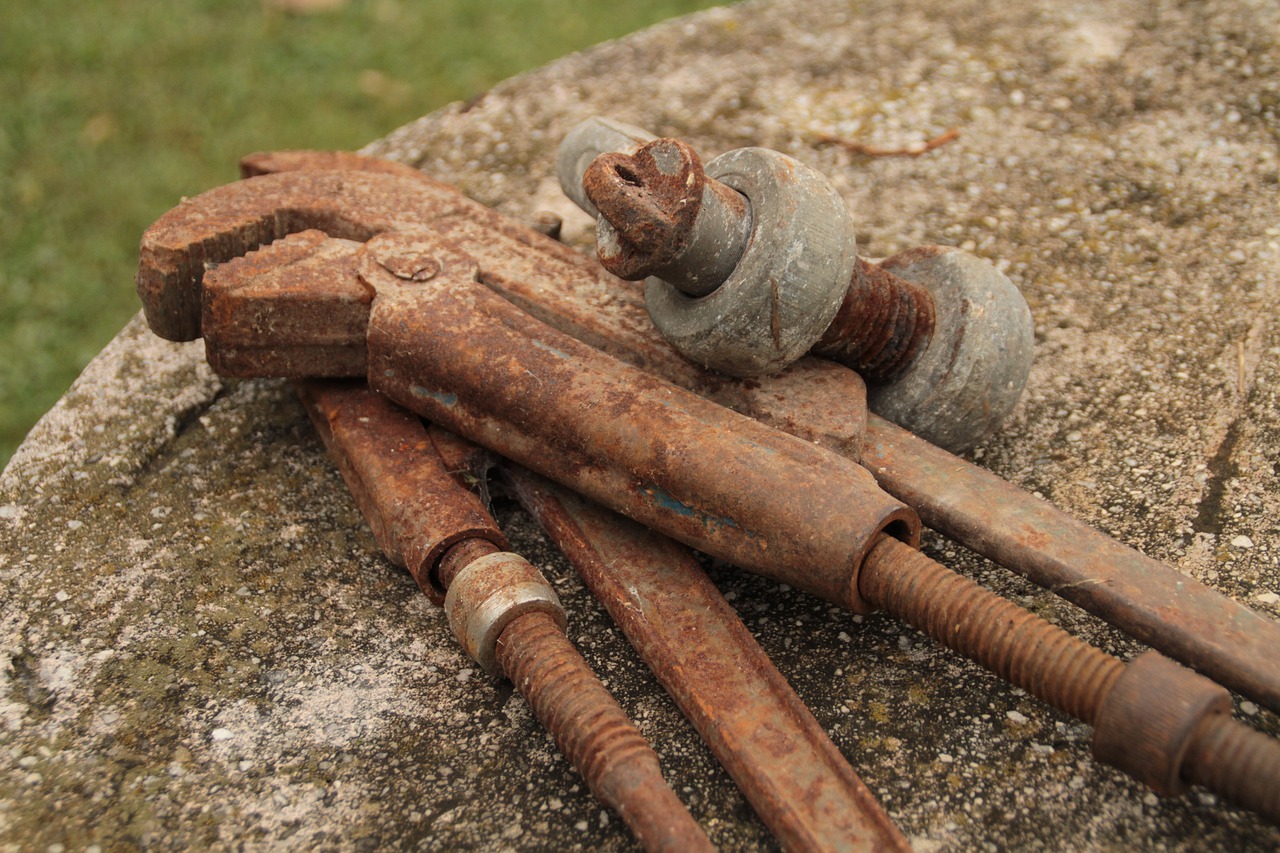
Shaping the Blade
Shaping the blade is arguably one of the most critical steps in the process of crafting your wooden sword. It’s where your vision starts to take form, and the raw piece of wood transforms into something that resembles a weapon of art. To begin, you’ll want to sketch out the desired shape of your blade on the wood. This initial outline serves as a guide for your cutting and shaping process. Think of it as the blueprint for a building; without it, you may end up with a structure that doesn’t stand tall!
Once your outline is ready, it’s time to bring in the tools. Depending on your comfort level and the complexity of your design, you can choose between hand tools or power tools. Hand tools, like chisels and hand saws, allow for a more intimate connection with the wood and can provide a level of detail that power tools might miss. However, if you’re looking for speed and efficiency, power tools such as band saws and routers can help you achieve your desired shape much quicker.
Here’s a quick breakdown of the shaping process:
- Cutting the Rough Shape: Start by using a band saw or a hand saw to cut the rough shape of the blade. Don’t worry about achieving perfection at this stage; just focus on getting close to your outline.
- Refining the Shape: After the rough cut, use a chisel or a file to refine the edges. This is where you can start to add curves and contours that give your sword character.
- Checking Balance: As you shape the blade, frequently check its balance. A well-balanced sword feels good in your hands and enhances the overall experience of wielding it.
During this shaping process, be patient. It’s easy to get carried away and accidentally remove too much material. If you find yourself in a situation where you’ve trimmed away more than intended, don’t panic! You can always fill in gaps with wood glue and sawdust, but it’s better to take your time and shape gradually.
Lastly, once you’re satisfied with the blade's shape, it’s essential to sand the edges and surfaces to remove any rough spots. This step not only improves the aesthetic appeal of your sword but also ensures safety when handling it. A smooth blade is a happy blade!
- What type of wood is best for shaping a sword blade? Hardwoods like oak or maple are excellent choices due to their durability and ability to hold fine details.
- Can I use only hand tools for shaping? Absolutely! Hand tools can provide a high level of detail and control, making them perfect for intricate designs.
- How do I know if my blade is balanced? A balanced blade should feel comfortable in your hands, with the weight evenly distributed along its length. You can test this by holding the sword at its hilt and seeing if it naturally points forward without tipping excessively.

Sanding and Finishing Touches
Once you've shaped your wooden sword to perfection, the real magic begins with sanding and finishing. This step is crucial not only for aesthetics but also for the longevity of your creation. Think of it as giving your sword a final polish before it steps into the spotlight. The goal here is to achieve a smooth, refined surface that feels good in your hands and showcases the beauty of the wood.
Start by using a coarse grit sandpaper, around 80 to 120 grit, to remove any rough edges and imperfections. This initial sanding is like the rough draft of a story; it sets the foundation for the masterpiece to come. Make sure to sand with the grain of the wood to avoid unsightly scratches. As you progress, gradually switch to finer grits—220, 320, and even up to 400 grit—for that ultra-smooth finish. Each step is like fine-tuning a musical instrument, bringing out the best in your wooden sword.
After sanding, it's time to consider staining and sealing. Staining not only enhances the wood's natural grain but also allows you to add a personal touch. You can choose from a variety of stains, from rich mahogany to deep ebony, depending on the look you want to achieve. Apply the stain with a clean cloth or brush, following the manufacturer's instructions for the best results. Remember, this is your chance to express your creativity, so don’t be afraid to experiment!
Once the stain has dried, sealing your sword is essential to protect it from moisture and wear. A good sealant will create a barrier that keeps your masterpiece looking fresh for years to come. You can opt for a polyurethane finish for added durability, or a natural oil finish for a more organic look. Apply the sealant in thin, even coats, allowing each coat to dry completely before adding the next. This process can be likened to layering a cake; each layer adds depth and character to your final product.
Finally, don't forget to give your sword a final buff with a soft cloth after the last coat of sealant has dried. This will enhance the shine and make your wooden sword look truly exceptional. The satisfaction of holding your finished product, with its smooth surface and rich color, is akin to the feeling of completing a challenging puzzle. You’ve transformed raw materials into a stunning piece of craftsmanship that tells a story.
- How long does the finishing process take? The drying time for stains and sealants can vary, but typically you should allow 24 hours between coats.
- Can I use a power sander for sanding? Yes, a power sander can speed up the process, but be cautious to avoid removing too much material too quickly.
- What type of wood is best for staining? Hardwoods like oak and maple absorb stains beautifully, making them excellent choices for a wooden sword.
- Is it necessary to seal the sword? Yes, sealing protects the wood from moisture and enhances durability, ensuring your sword remains beautiful for years.
Frequently Asked Questions
-
What type of wood is best for making a wooden sword?
When it comes to crafting a wooden sword, the type of wood you choose can make all the difference! Hardwoods like oak, maple, or cherry are fantastic options due to their durability and fine grain. They provide a sturdy structure while also looking great. If you're after something lighter, pine can work too, but keep in mind it may not hold up as well over time.
-
Do I need special tools to make a wooden sword?
While you don’t need a full-fledged workshop, having the right tools is essential for a smooth crafting experience. Basic hand tools like chisels, hand saws, and files will get you started. If you want to speed things up, investing in power tools like a band saw or router can really help you achieve precision and efficiency. Just remember, safety first!
-
How do I ensure my sword design is functional?
Creating a functional sword design starts with understanding the balance and weight distribution. Sketching out your design and considering the sword's purpose—whether for display or practice—can guide your choices. Make sure to create a detailed blueprint with accurate measurements to ensure everything fits together nicely!
-
What safety precautions should I take while crafting?
Safety is key when you're working with sharp tools and heavy materials. Always wear protective gear, such as goggles and gloves, to shield yourself from dust and debris. It's also wise to keep your workspace organized and free of clutter to avoid accidents. Remember, a little caution goes a long way in preventing injuries!
-
Can I personalize my wooden sword?
Absolutely! Personalizing your wooden sword is part of the fun. You can add unique designs, engravings, or even choose a specific finish that reflects your style. Whether you want a sleek modern look or a rustic feel, the possibilities are endless. Let your creativity shine!
-
How do I finish my wooden sword for a professional look?
Finishing your wooden sword involves sanding it down smoothly and applying a stain or sealant to enhance its appearance and protect the wood. Start with coarse sandpaper and gradually move to finer grits. Once you’re satisfied with the smoothness, choose a stain that complements your wood type, and finish it off with a clear coat for that polished look!


