Creating DIY Blackboard Paint Decor for Your Home
Are you ready to unleash your inner artist and transform your living space into a canvas of creativity? Blackboard paint is not just for classrooms anymore! With its versatility and charm, it opens up a world of DIY decor possibilities that can add a playful touch to your home. Imagine being able to jot down reminders, create stunning wall art, or even design a functional calendar right on your walls. This article explores the creative possibilities of using blackboard paint in home decor, offering tips, techniques, and project ideas to inspire your next DIY adventure.
When it comes to using blackboard paint, selecting the appropriate surface is crucial for achieving the best results. You might be wondering, "What surfaces work best?" Well, the good news is that blackboard paint can adhere to a variety of materials, including wood, drywall, and even metal. However, each surface has its own quirks. For instance, if you're painting on wood, ensure it's sanded and smooth to avoid an uneven finish. On the other hand, drywall may require a primer to prevent the paint from soaking in too much. Remember, a little prep work goes a long way in ensuring your blackboard paint project is both functional and aesthetically pleasing!
Before diving into your DIY blackboard project, it's essential to gather all the necessary tools and materials. This ensures a smooth and successful application process. Here’s what you’ll need:
- Blackboard Paint: Choose between water-based or oil-based options based on your project needs.
- Brushes and Rollers: Different application methods can yield different textures.
- Sandpaper: For prepping your surface and ensuring a smooth finish.
- Primer: Especially important for porous surfaces.
- Painter’s Tape: To create clean lines and protect areas you don’t want to paint.
Having these materials on hand will set you up for success and allow your creative juices to flow without interruption.
With a plethora of blackboard paint options available, it’s essential to understand the differences to choose the best one for your project. Traditional blackboard paint is a classic choice, providing that authentic chalkboard look. However, modern options now include various colors and finishes, allowing for a more personalized touch. For instance, you can find magnetic blackboard paint that lets you hang notes and reminders with magnets, adding both functionality and flair to your decor.
Now, let’s dive deeper into the pros and cons of water-based and oil-based blackboard paints. Water-based paints are easier to clean up and dry faster, making them a popular choice for indoor projects. However, they may not be as durable as oil-based options, which offer a tougher finish but come with longer drying times and a more complex cleanup process. Ultimately, your choice will depend on your specific needs and the environment of your project.
Don’t forget about specialty blackboard paints! These unique formulations can add exciting features to your projects. For example, some paints come in vibrant colors, while others may have a matte finish that enhances the chalk writing experience. If you’re feeling adventurous, consider using a chalkboard paint that can be applied to surfaces like glass or tiles, expanding your creative possibilities!
Proper preparation is the backbone of a successful blackboard paint application. Start by cleaning your chosen surface to remove any dust or grease. Next, if you're working with wood or an uneven surface, sanding it down will help achieve that smooth finish you desire. If you’re using a porous surface like drywall, applying a primer is a must to prevent the paint from absorbing unevenly. Follow these steps to ensure your blackboard paint adheres well and looks fantastic:
- Clean the surface thoroughly.
- Sand down any rough spots.
- Apply a primer if necessary.
- Let everything dry completely before painting.
Applying blackboard paint isn’t just about slapping on a coat and calling it a day. There are specific techniques that can help you achieve the best results. First, consider whether you’ll use a brush or a roller. Each method has its advantages: brushes allow for more control, especially in detailed areas, while rollers can cover large surfaces quickly and evenly.
Choosing between a brush or roller can significantly impact the texture and finish of your blackboard surface. Brushes are great for edges and corners, ensuring no area is left untouched. On the flip side, rollers can create a smoother, more uniform finish over larger areas. If you want a more textured look, try using a brush for the first coat and a roller for the second.
Layering your blackboard paint can create a rich and dynamic appearance. Applying multiple coats not only enhances the depth of color but also increases the durability of your finish. Just remember to let each layer dry completely before applying the next. This will help you avoid any unsightly drips or uneven spots that could mar your beautiful new decor!
Feeling inspired yet? Here are some creative project ideas to get those wheels turning:
- Wall Murals: Transform a wall into a stunning blackboard mural that can serve as a focal point in any room.
- Functional Decor Items: Create calendars, to-do lists, and even menus that add both style and practicality to your home.
Imagine walking into a room where a beautifully designed blackboard mural captures your attention. This can be a stunning focal point that not only looks amazing but also serves a purpose. Planning your design is key, so sketch it out on paper first. Once you’re happy with the design, use painter’s tape to outline your mural on the wall before applying the paint. This will ensure clean lines and a polished look.
Integrating blackboard paint into everyday items around your home can add a touch of practicality to your decor. Consider creating a family calendar where everyone can jot down important dates, or design a to-do list that helps keep your household organized. The best part? You can easily erase and update these items as needed, making them both functional and fun!
As you embark on your blackboard paint journey, you might have some questions. Here are a few common queries:
- How long does blackboard paint take to dry? Typically, blackboard paint dries to the touch within 30 minutes, but it's best to wait 24 hours before using it.
- Can I paint over existing chalkboard paint? Yes, you can! Just ensure the surface is clean and lightly sanded before applying a new coat.
- Is blackboard paint safe for kids? Most blackboard paints are non-toxic, but always check the label to be sure.
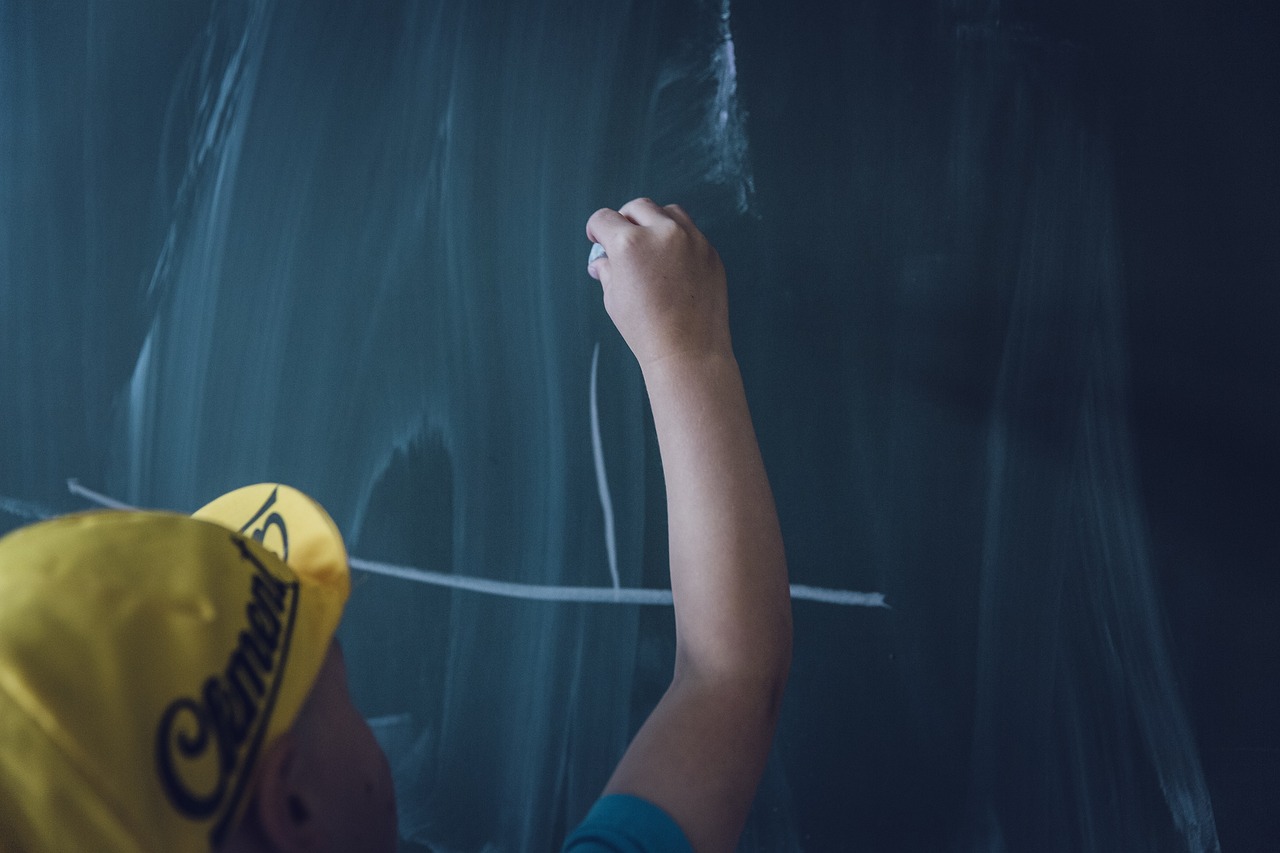
Choosing the Right Surface
When it comes to creating a stunning DIY blackboard paint project, is absolutely crucial. Imagine trying to write on a piece of paper that’s crumpled or dirty; it just wouldn't work, right? The same principle applies here. You want a smooth, clean canvas that will not only look great but also function well for your intended use. So, what surfaces can you consider? Let’s dive into some of the best options available!
First off, wood is a classic choice. It’s versatile, easy to work with, and can be cut into various shapes and sizes. Whether you’re upcycling an old wooden board or crafting a brand-new piece, wood provides an excellent base for blackboard paint. Just make sure to sand it down to eliminate any rough patches, as this will help the paint adhere better and create a smooth writing surface.
Another fantastic option is drywall. If you’re looking to transform a wall into a blackboard, drywall is your go-to. It’s readily available and can be painted directly with blackboard paint. Just remember to prime it first to prevent the paint from soaking in too much, which can lead to a less-than-ideal finish. A well-prepped drywall surface can become a functional and stylish feature in any room!
Metal surfaces can also be a unique choice, especially if you’re considering a magnetic blackboard paint. This allows you to not only write on the surface but also attach notes, photos, or reminders with magnets. It’s a great way to add a modern twist to your decor. However, ensure that the metal is clean and free from rust or grease before applying the paint.
Lastly, glass surfaces can be surprisingly effective for blackboard paint. You might be thinking, “Glass? Really?” Yes! Glass can create a sleek and contemporary look. Just be aware that you’ll need to use a special type of blackboard paint designed for non-porous surfaces to ensure proper adhesion. Once done, you’ll have a chic blackboard that’s easy to wipe clean and looks fabulous!
In summary, here are some surfaces you might consider for your blackboard paint project:
- Wood
- Drywall
- Metal
- Glass
By carefully selecting the right surface, you’ll set the stage for a successful and visually appealing blackboard paint project. Remember, the smoother and cleaner your surface, the better your final result will be. So take your time, choose wisely, and get ready to unleash your creativity!
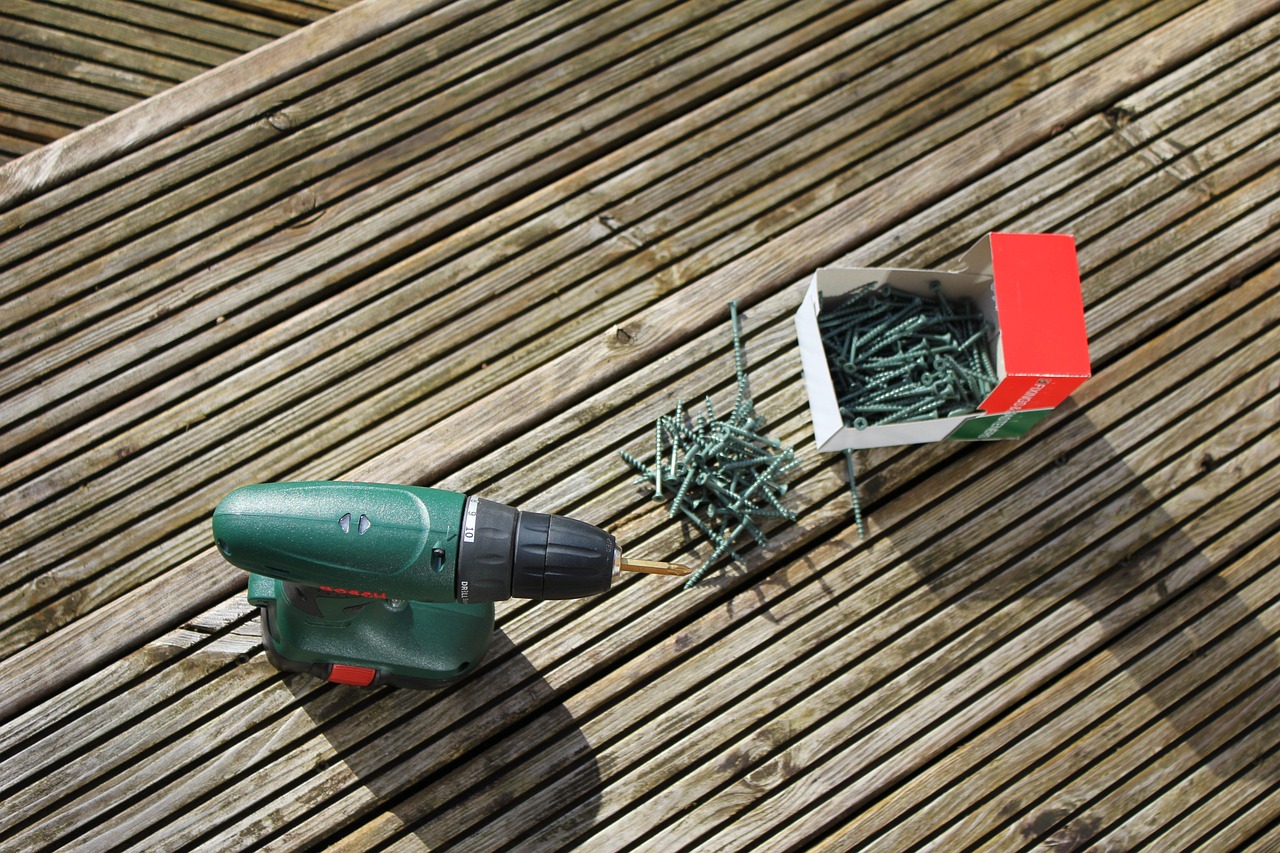
Essential Tools and Materials
Before diving headfirst into your DIY blackboard paint project, it's essential to gather all the necessary tools and materials. Think of this as your treasure map; having the right items at your disposal will ensure a smooth and successful journey. First and foremost, you will need blackboard paint, which comes in various types and finishes. Choosing the right paint is crucial, as it will determine the overall look and functionality of your project.
Next on the list is a selection of brushes and rollers. Brushes are great for detailed work and edges, while rollers can cover larger areas quickly. You might find yourself asking, "Which one should I use?" The answer often lies in the size of your project. For smaller, intricate designs, a brush is your best friend. However, for larger surfaces, a roller can save you time and effort.
Don't forget about primer. A good primer can enhance the adhesion of the blackboard paint, ensuring that your surface is prepared for the best results. If you're working on a porous surface, a primer is even more critical. It creates a barrier that not only improves the paint's durability but also helps prevent any unwanted absorption.
In addition to these main components, consider having the following materials handy:
- Sandpaper: For smoothing out imperfections on your surface.
- Drop cloths: To protect your floors and furniture from paint splatters.
- Painter’s tape: To achieve clean lines and protect areas you don’t want to paint.
- Cleaning supplies: Such as soap and water for cleaning brushes and rollers after use.
Finally, a level and a measuring tape can be invaluable tools for ensuring that your designs are straight and proportionate. Imagine trying to draw a perfectly straight line without these tools—it's like trying to navigate without a compass! Having a well-planned layout can save you from a world of frustration.
In summary, gathering the right tools and materials is a critical step in your DIY adventure. It not only sets the stage for a successful project but also enhances your creative process. So, take a moment to gather everything you need, and you’ll be ready to unleash your inner artist with blackboard paint!
As you embark on your DIY blackboard paint journey, you might have some questions. Here are some frequently asked questions that can help guide you:
- Can I use blackboard paint on any surface? Most surfaces can be painted with blackboard paint, but it's best to choose smooth, non-porous materials for optimal results.
- How long does blackboard paint take to dry? Generally, blackboard paint can dry to the touch within 30 minutes, but it's advisable to wait at least 24 hours before using the surface.
- Is blackboard paint washable? Yes, blackboard paint is designed to be washable, allowing you to easily wipe off chalk with a damp cloth.
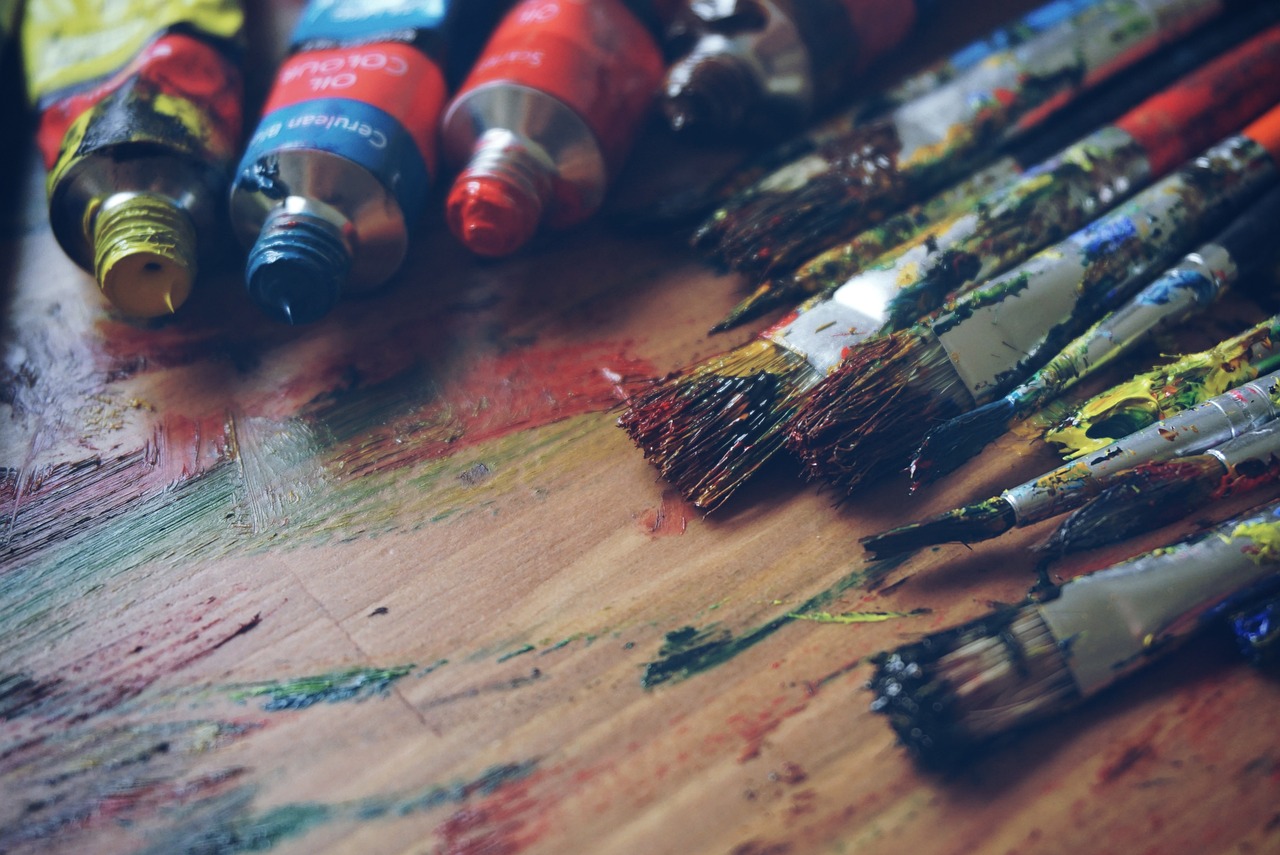
Types of Blackboard Paint
When it comes to choosing the right blackboard paint for your DIY projects, it's important to understand that not all blackboard paints are created equal. The market is filled with various options, each designed to cater to different needs and preferences. The two primary types you’ll encounter are traditional blackboard paint and modern blackboard paint. Each type has its own unique characteristics and advantages, making them suitable for various applications in your home decor.
Traditional blackboard paint is typically a matte finish that resembles the classic chalkboard you might remember from school. It’s perfect for creating a nostalgic vibe in your spaces. This type of paint is usually available in standard black or green colors, offering a timeless look. Its surface is designed to be written on with chalk, making it ideal for creating menus, reminders, or even art. However, it can be a bit tricky to clean, as chalk dust can accumulate over time.
On the other hand, modern blackboard paint has evolved significantly. It often comes in a wider variety of colors and finishes, including magnetic options that allow you to attach magnets directly to the painted surface. This versatility opens up a world of creative possibilities. Imagine a vibrant blue or a chic gray wall that not only serves as a writing surface but also as a functional space for displaying notes and reminders! Modern blackboard paint usually has a smoother finish, making it easier to wipe clean, which is a major plus for busy households.
To help you decide which type of blackboard paint is best for your project, here’s a quick comparison:
| Feature | Traditional Blackboard Paint | Modern Blackboard Paint |
|---|---|---|
| Color Options | Limited (Black, Green) | Wide Range (Various Colors) |
| Finish | Matte | Matte and Glossy |
| Cleaning | Chalk Dust Accumulation | Easy to Wipe Clean |
| Magnetic Properties | No | Yes (in some options) |
Understanding these differences can help you make an informed decision based on your specific needs. If you’re looking for a classic chalkboard experience, traditional paint is your go-to. However, if you want to explore more creative avenues with color and functionality, modern blackboard paint is the way to go.
Ultimately, the choice between traditional and modern blackboard paint boils down to your personal style and the intended use of the painted surface. Whichever you choose, both types offer a fantastic way to add a touch of creativity and functionality to your home decor!
- Can I use blackboard paint on furniture? Yes, blackboard paint can be applied to various furniture pieces, giving them a unique and functional twist.
- Is blackboard paint safe for children? Most blackboard paints are non-toxic and safe for children, but always check the label to be sure.
- How long does blackboard paint last? With proper preparation and application, blackboard paint can last for several years, but it may require touch-ups over time.
- Can I use markers on blackboard paint? While traditional chalk works best, some modern blackboard paints are designed to be used with liquid chalk markers for a more vibrant look.
Water-Based vs. Oil-Based
When it comes to choosing the right blackboard paint for your DIY project, one of the most crucial decisions you'll face is whether to go with water-based or oil-based paints. Each type has its own set of characteristics that can significantly affect the outcome of your project. So, how do you decide which one is best for you? Let’s break it down.
Water-based blackboard paints are known for their easy application and quick drying times. They typically have lower levels of volatile organic compounds (VOCs), making them a more environmentally friendly choice. This means you can enjoy a safer indoor air quality, especially if you’re working on a project inside your home. Plus, clean-up is a breeze—just soap and water will do the trick! However, one downside is that water-based paints may not be as durable as their oil-based counterparts, so you might need to reapply them more frequently.
On the flip side, oil-based blackboard paints offer a harder finish and are generally more resistant to scratches and chips. This makes them an excellent choice for high-traffic areas or surfaces that will see a lot of use. However, they do come with their own set of challenges. For starters, oil-based paints take longer to dry, which can slow down your project timeline. Additionally, they have a stronger odor and require solvents for cleanup, which can be a hassle.
| Feature | Water-Based Paint | Oil-Based Paint |
|---|---|---|
| Drying Time | Fast | Slow |
| Durability | Less Durable | More Durable |
| Cleanup | Soap and Water | Solvents Required |
| VOCs | Low | Higher |
Ultimately, the choice between water-based and oil-based blackboard paint comes down to your specific needs and preferences. If you’re looking for a quick, easy, and eco-friendly option, water-based paint might be the way to go. But if you need something that can stand up to heavy use and wear, oil-based paint could be your best bet. Consider the location of your project, how much wear and tear it will endure, and your comfort level with the application process. This decision can make all the difference in the success of your DIY blackboard paint decor!
- Can I use blackboard paint on any surface? - While blackboard paint adheres well to many surfaces, it's best to use it on smooth, clean, and primed surfaces for optimal results.
- How long does blackboard paint last? - With proper care, blackboard paint can last several years, but it may require touch-ups depending on usage.
- Can I write on blackboard paint with regular chalk? - Yes, regular chalk works well on blackboard paint, but you may also want to try chalk markers for more vibrant colors.
- Is blackboard paint removable? - While it can be painted over, removing blackboard paint completely can be challenging and may require sanding.
Specialty Blackboard Paints
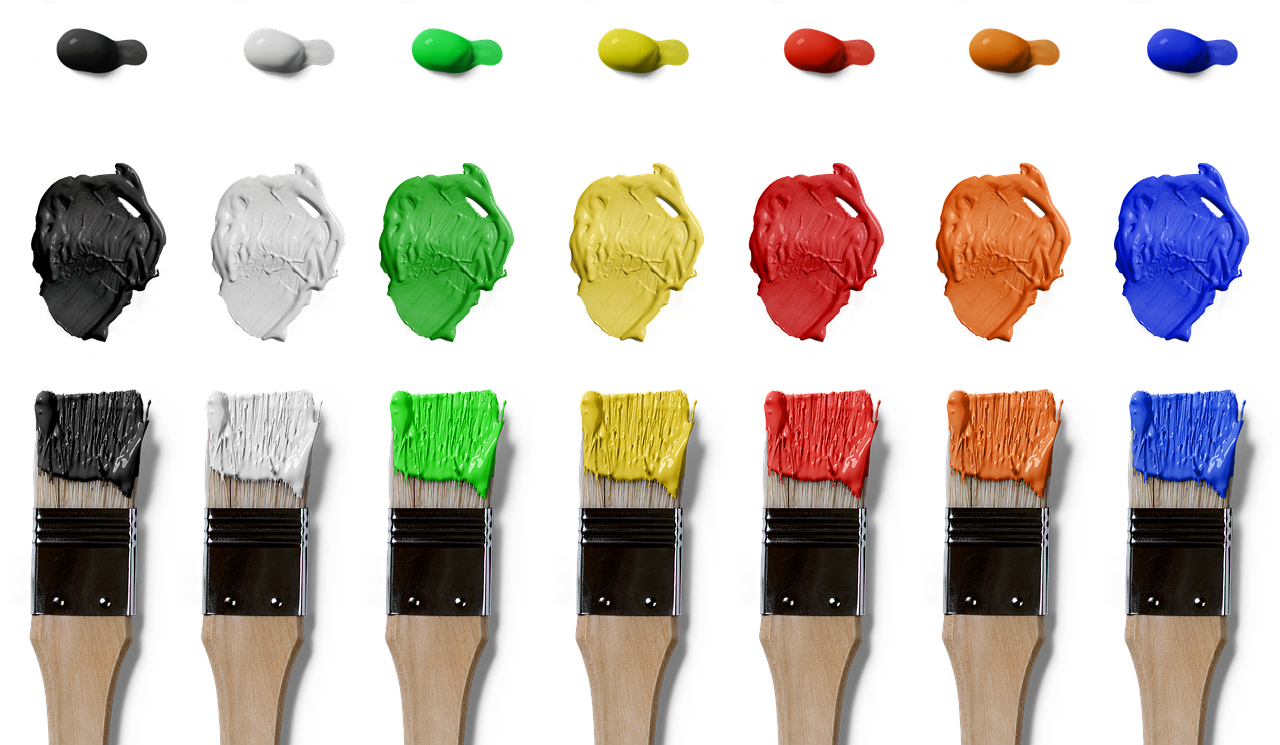
When it comes to adding a unique touch to your home decor, can open up a world of creative possibilities. Unlike traditional blackboard paint, these specialty options come with unique features that can enhance both functionality and aesthetics in your living space. For instance, some blackboard paints have magnetic properties, allowing you to attach notes or pictures directly to the painted surface. Imagine turning your kitchen wall into an interactive hub where you can easily swap out your grocery list or display your kids' artwork!
Another exciting option is colored blackboard paints. These come in a variety of hues, from vibrant greens to soft pastels, giving you the ability to create a chalkboard effect that complements your existing decor. This means you can have a playful and functional piece of art in your home without sticking to the classic black or green. With colored blackboard paint, you can unleash your inner artist and create a stunning focal point that is both practical and visually appealing.
Furthermore, some specialty blackboard paints are designed for specific surfaces, like metal or glass. This versatility allows you to explore different textures and finishes, ensuring that your DIY project stands out. Whether you're looking to create a chic menu board for your dining area or a fun drawing space for your kids, specialty blackboard paints can help you achieve that effortlessly.
To give you a clearer idea of the options available, here’s a quick comparison of some popular specialty blackboard paints:
| Type | Features | Best For |
|---|---|---|
| Magnetic Blackboard Paint | Allows magnets to stick; interactive | Kitchens, offices |
| Colored Blackboard Paint | Available in various colors; fun aesthetics | Children's rooms, creative spaces |
| Metal Blackboard Paint | Ideal for metal surfaces; durable | Furniture, decor items |
| Glass Blackboard Paint | Transforms glass into a writable surface | Windows, picture frames |
In conclusion, specialty blackboard paints are a fantastic way to elevate your DIY projects. They not only provide the classic chalkboard functionality but also add a twist that can enhance your home decor. So, whether you're looking to create a unique art piece or a practical organizational tool, these specialty options are definitely worth considering!
Preparing Your Surface
When it comes to applying blackboard paint, the secret to a stunning finish lies in the preparation of your surface. Think of it like laying the groundwork for a beautiful garden; without proper soil, your plants won’t thrive. Similarly, a well-prepared surface is essential for ensuring that your blackboard paint adheres properly and looks fantastic. So, let’s dive into the steps you need to take to get your surface ready!
First and foremost, you’ll want to clean the surface thoroughly. Dust, grease, or any other contaminants can prevent the paint from sticking effectively. Use a mild detergent mixed with water to wipe down the area, and make sure to rinse it well. After cleaning, let the surface dry completely. If you’re working with wood or a porous material, it’s a great idea to sand it lightly. This not only removes any rough spots but also creates a texture that helps the paint adhere better.
Next up, sanding your surface is crucial, especially if you’re working with something like wood or drywall. Grab a medium-grit sandpaper and give the surface a good rubdown. This step is like giving your canvas a little bit of a rough texture, making it more receptive to the paint. Once you’ve sanded it, don’t forget to wipe away the dust with a damp cloth. You want a clean slate for your masterpiece!
After sanding, consider applying a primer, especially if you're painting over a slick or glossy surface. A primer can help the paint adhere better and improve the overall finish. Look for a primer that is compatible with your chosen blackboard paint. Once you’ve applied the primer, allow it to dry according to the manufacturer’s instructions. This step is often overlooked but can make a significant difference in the longevity of your project.
Here’s a quick recap of the preparation steps:
- Clean the surface thoroughly.
- Sand the surface lightly to create texture.
- Wipe away any dust or debris.
- Apply a compatible primer if necessary.
- Allow everything to dry completely before applying blackboard paint.
By following these steps, you’ll set yourself up for success. Remember, a little bit of effort in the preparation phase can lead to a stunning final result that you’ll be proud to showcase in your home. So roll up your sleeves, get your materials ready, and let’s make that surface shine!
Application Techniques
When it comes to applying blackboard paint, the technique you choose can make all the difference in achieving that smooth, professional finish you desire. It's not just about slapping some paint on a surface; it's about mastering the art of application. Whether you're a seasoned DIYer or just starting, understanding the nuances of different application methods can elevate your project to the next level.
One of the first decisions you'll face is whether to use a brush or a roller. Each tool has its own set of advantages and disadvantages. A brush can provide more control, especially for intricate areas or edges, allowing you to get into the nooks and crannies with precision. However, it can also leave visible brush strokes if not applied correctly. On the other hand, a roller can cover larger areas more quickly, giving you a smooth and even finish, but it may not be as effective for detailed work. Think of it like choosing between a pen and a paintbrush; one is great for details, while the other speeds up the process. Ultimately, the choice depends on the specific needs of your project.
Another important aspect to consider is the layering technique. Applying multiple coats of blackboard paint can create a richer, more durable finish. It’s essential to allow each coat to dry completely before applying the next one. This not only helps to avoid peeling but also enhances the overall depth of color. Think of layering like building a cake; each layer adds flavor and texture, making it more delightful in the end. To achieve the best results, aim for at least two to three coats, especially if you’re working with lighter colors or on porous surfaces.
For those who want to take their application skills even further, consider the texturing techniques. You can experiment with different tools, such as sponges or even crumpled plastic wrap, to create unique textures on your blackboard surface. This can add a creative twist to your decor, making it not just functional but also visually appealing. Imagine transforming a plain wall into a canvas that invites touch and interaction!
Lastly, remember to keep your workspace organized and clean. A clutter-free area will not only help you focus but will also minimize the risk of accidents that could mar your project. Before you start painting, lay down drop cloths, and make sure to have all your materials within reach. This will ensure a smooth application process, making it easier to enjoy the creative journey.
Q: Can I apply blackboard paint over existing paint?
A: Yes, you can apply blackboard paint over existing paint, but it's crucial to ensure that the surface is clean, dry, and in good condition. Sanding the surface lightly can help the new paint adhere better.
Q: How long does blackboard paint take to dry?
A: Drying times can vary based on the type of paint and environmental conditions, but generally, blackboard paint dries to the touch within 30 minutes to an hour. However, it's best to wait at least 24 hours before using the surface for writing.
Q: Can I use colored chalk on blackboard paint?
A: Yes! While traditional blackboard paint is designed for use with white chalk, many people enjoy the vibrant look of colored chalk. Just keep in mind that some colors may be harder to erase than others.
Q: Is blackboard paint suitable for outdoor use?
A: There are specific blackboard paints designed for outdoor use, but you'll need to check the product label to ensure it's weather-resistant. Using indoor paint outside can lead to peeling and fading.

Brush vs. Roller
When it comes to applying blackboard paint, one of the most common dilemmas DIY enthusiasts face is choosing between a brush and a roller. Both tools have their unique advantages and disadvantages, and the decision ultimately boils down to your specific project needs and personal preferences. Let's dive into the characteristics of each method to help you make an informed choice.
Using a brush can be beneficial for projects that require precision, especially when working on smaller surfaces or intricate designs. Brushes allow you to easily reach into corners and tight spaces, ensuring that every nook and cranny gets a nice coat of paint. However, using a brush can result in visible brush strokes, which might not be the desired effect for everyone. If you're looking for a more textured finish, a brush can deliver that, adding a bit of character to your blackboard surface.
On the other hand, rollers are fantastic for covering large areas quickly and efficiently. They provide a smooth, even finish that is often preferred for bigger projects, like entire walls or large signs. The downside? Rollers can sometimes miss the edges or corners, requiring a brush to touch up those areas afterward. Additionally, if you're not careful, you might end up with a bit of excess paint pooling in some spots, which can lead to drips if not managed properly.
Here’s a quick comparison to help you visualize the pros and cons:
| Tool | Advantages | Disadvantages |
|---|---|---|
| Brush |
|
|
| Roller |
|
|
Ultimately, the best choice depends on the specific requirements of your project. If you're working on a detailed sign or a small piece of furniture, a brush might be your best bet. However, if you're tackling a larger surface, a roller could save you time and effort. Some DIYers even choose to use both tools in tandem, starting with a roller for the bulk of the surface and finishing with a brush for the edges and details. This hybrid approach can often yield the best results, giving you the efficiency of a roller with the precision of a brush.
Whichever method you choose, remember that practice makes perfect. Don’t be afraid to experiment with both tools to see which one feels right for you. After all, the journey of creating your DIY blackboard project should be as enjoyable as the final result!
Q: Can I use any type of brush or roller for blackboard paint?
A: While you can technically use any brush or roller, it's recommended to choose ones specifically designed for use with paint. For blackboard paint, a medium to high-quality synthetic brush works well, and a foam roller can provide a smooth finish.
Q: How do I clean my brushes and rollers after using blackboard paint?
A: If you used water-based blackboard paint, you can clean your brushes and rollers with warm soapy water. For oil-based paints, you'll need to use mineral spirits or paint thinner.
Q: Can I apply blackboard paint over existing paint?
A: Yes, you can apply blackboard paint over existing paint, but make sure the surface is clean, dry, and in good condition. You may need to sand the surface lightly to help the new paint adhere properly.

Layering for Depth
When it comes to using blackboard paint, one of the most exciting techniques you can employ is layering. This method not only enhances the visual appeal of your project but also adds a sense of depth that can transform a simple blackboard surface into a stunning work of art. Imagine creating a canvas where vibrant colors peek through a rich black backdrop, or where subtle textures bring your designs to life. Sounds intriguing, right? Well, let’s dive into how you can achieve this!
To start layering effectively, it’s essential to choose the right base color for your first coat. A common approach is to use a lighter shade, such as a soft grey or pastel, as your initial layer. This not only provides a beautiful contrast but also allows for more vibrant top layers. Once your base coat is dry, you can begin to add darker layers of blackboard paint. The key here is to allow each layer to dry completely before applying the next. This ensures that the colors don’t mix and that you maintain the integrity of each layer.
Here’s a simple step-by-step guide to help you master the layering technique:
- Step 1: Prepare your surface as previously discussed, ensuring it’s clean and primed.
- Step 2: Apply your base coat using a brush or roller, ensuring an even application.
- Step 3: Allow the base coat to dry completely, which may take several hours depending on the paint type.
- Step 4: Once dry, apply your first layer of blackboard paint. Use a brush for more control or a roller for a smoother finish.
- Step 5: After this layer dries, feel free to experiment with different colors or textures in subsequent layers.
Layering not only adds depth but also allows for creativity. You can experiment with various techniques, such as sponging or stippling, to create unique textures that will make your blackboard stand out. Imagine using a sponge to dab on lighter shades of paint, creating a cloud-like effect against the dark blackboard surface. Or, you could use a stencil to create a patterned look, layering different colors to achieve a stunning visual effect.
Remember, the beauty of layering lies in its imperfection. Each layer can tell a story, reflecting your personal style and creativity. Don’t be afraid to try different combinations and techniques—after all, DIY is all about experimentation! Just keep in mind that patience is key; taking the time to let each layer dry properly will pay off in the end, resulting in a beautiful, durable finish.
Q: How many layers of paint should I apply?
A: The number of layers can vary based on your desired effect. Typically, 2-3 layers are sufficient to create depth and richness. Just ensure each layer dries completely before adding the next.
Q: Can I use colored blackboard paint for layering?
A: Absolutely! Colored blackboard paints can add a unique twist to your projects. Just remember to choose contrasting colors for layering to maintain visibility and impact.
Q: What if I make a mistake while layering?
A: Mistakes are part of the creative process! If you’re unhappy with a layer, you can sand it down gently and repaint over it. Just ensure the surface is clean before applying new paint.

Creative Project Ideas
When it comes to unleashing your creativity with blackboard paint, the possibilities are as limitless as your imagination! Whether you’re looking to add a splash of fun to your home or create something uniquely functional, blackboard paint can transform ordinary surfaces into extraordinary canvases. Imagine walking into your kitchen and seeing a beautiful blackboard mural that not only serves as art but also as a message board for your family. Sounds exciting, right? Let's dive into some inspiring project ideas that will spark your creativity and give your home a personal touch!
One of the most popular and visually striking projects you can undertake is creating a wall mural. Picture this: a large blank wall in your living room or playroom, just waiting to be transformed into a stunning blackboard mural. You can sketch out a whimsical design or even a favorite quote that resonates with you and your family. The best part? You can change it up whenever you want! Use chalk to create seasonal themes or fun drawings that keep your space fresh and engaging. To get started, follow these simple steps:
- Choose a design that reflects your personality or the mood of the room.
- Use painter's tape to outline your design on the wall, ensuring clean lines.
- Apply your blackboard paint within the taped areas, using a roller for a smooth finish.
- Once dry, unleash your creativity with chalk!
Another fantastic idea is to create functional decor items that seamlessly blend style with practicality. Imagine having a beautifully painted blackboard calendar hanging in your entryway, allowing you to jot down important dates, appointments, or even grocery lists. Not only does it keep your life organized, but it also serves as a lovely decorative piece. To make one, you’ll need a framed board or a piece of wood. Simply paint it with blackboard paint, then use chalk to create a monthly layout. You can even add hooks for keys or small baskets for mail, making it a multifunctional masterpiece!
Additionally, consider making personalized signs for different areas of your home. Whether it’s a welcome sign for your front porch or labels for your kitchen jars, blackboard paint can add a charming touch. For instance, you can take small wooden boards, paint them with blackboard paint, and write fun messages like “Coffee Bar” or “Family Game Night” to enhance your decor. These signs are not just decorative; they also guide guests and family members, making your home feel warm and inviting.
Finally, don’t forget about the kids! Engaging them in DIY projects using blackboard paint can be a fun family activity. You can create a mini blackboard wall in their playroom or bedroom, allowing them to express their creativity freely. This space can be used for drawing, writing stories, or even practicing math problems. It’s a fantastic way to encourage learning while having fun. Just make sure to set some ground rules about where they can draw to keep your home looking tidy!
In conclusion, blackboard paint is a versatile medium that can add a unique flair to your home decor while serving practical purposes. From stunning wall murals to functional items, the creative project ideas are endless. So grab your paintbrush and chalk, and let your imagination run wild! You might just surprise yourself with what you can create!
Q1: Can I use blackboard paint on any surface?
A1: While blackboard paint can adhere to many surfaces, it's best to use it on smooth, clean materials like wood, drywall, or metal for optimal results.
Q2: How do I clean my blackboard once it's painted?
A2: You can easily clean your blackboard using a damp cloth or a chalkboard eraser. For tougher marks, a mixture of vinegar and water can work wonders!
Q3: Is it safe to use blackboard paint in children's rooms?
A3: Yes, most blackboard paints are non-toxic and safe for children. Just ensure proper ventilation while painting and allow it to cure completely before letting kids use it.

Wall Murals
Transforming a wall into a blackboard mural can be a stunning focal point in any room. Imagine stepping into your kitchen and being greeted by a vibrant, hand-drawn mural that not only adds character but also serves as a functional space for notes, reminders, or even doodles. The beauty of using blackboard paint for murals is that it offers endless possibilities for creativity. You can create anything from whimsical designs to intricate patterns, making your wall a canvas for self-expression.
Before diving into your mural project, it’s essential to plan your design carefully. Start by sketching out your ideas on paper or using digital tools to visualize how the mural will look on your wall. Consider the size of the area you want to cover and the overall theme of your room. For instance, if you have a cozy, rustic kitchen, a mural featuring herbs or vegetables might be a delightful addition, while a playful design of animals could brighten a child’s playroom.
Once you have your design, the next step is to prepare your wall. Make sure the surface is clean, dry, and smooth. If necessary, sand down any rough patches and apply a primer to ensure the blackboard paint adheres properly. Remember, a well-prepared surface is key to achieving a professional-looking finish. After priming, you can start applying the blackboard paint. Depending on your design, you might want to use painter's tape to create sharp lines and defined edges, which will help your mural stand out even more.
When applying the paint, consider using a brush for detailed areas and a roller for larger sections. This combination allows you to achieve both precision and coverage, ensuring your mural looks polished. Depending on the color and texture of the paint, you may need to apply multiple coats. Allow each coat to dry completely before adding the next to prevent smudging and ensure a smooth finish.
After your mural is complete, you can add the finishing touches. Use chalk or chalk markers to bring your design to life, adding details and highlights that make your mural pop. One of the most exciting aspects of blackboard murals is their versatility; you can change the design whenever you feel inspired. So, if you want to update your mural for the seasons or simply for a fresh look, just wipe it clean and start anew!
In conclusion, creating a blackboard mural is not only a fun DIY project but also a fantastic way to personalize your space. Whether you’re an experienced artist or a beginner, the process can be incredibly rewarding. So grab your brushes, unleash your creativity, and let your walls tell your story!
- How long does blackboard paint take to dry? - Typically, blackboard paint can take about 1-2 hours to dry to the touch, but it’s best to wait 24 hours before using the surface for writing.
- Can I use chalk markers on blackboard paint? - Yes, chalk markers work well on blackboard paint, but make sure to test a small area first to ensure they can be easily wiped off.
- Is blackboard paint safe for children's rooms? - Most blackboard paints are non-toxic and safe for children's rooms, but always check the label for safety certifications.
- Can I paint over blackboard paint? - Yes, you can paint over blackboard paint, but you’ll need to sand the surface lightly first to ensure the new paint adheres properly.
Functional Decor Items
When it comes to DIY blackboard paint projects, the possibilities are endless, especially when you think about creating that not only look great but also serve a purpose in your home. Imagine having a beautiful chalkboard calendar hanging in your kitchen, where you can jot down important dates and reminders while adding a personal touch to your space. It’s like having a piece of art that also keeps your life organized!
One of the best things about using blackboard paint is its versatility. You can transform just about any surface into a functional decor item. For instance, consider using blackboard paint on a wooden board to create a custom to-do list. This not only helps you stay on top of your tasks but also adds a rustic charm to your home. You can hang it in your office or entryway, making it a practical yet stylish addition.
Another fantastic idea is to create a menu board in your dining area. This can be particularly useful for families who want to plan their meals for the week. By painting a section of your wall or a large frame with blackboard paint, you can easily write out your weekly meals and even get creative with doodles or quotes. It’s a fun way to engage everyone in the family when it comes to meal planning!
For those who love to entertain, why not create a drink menu for your next gathering? A chalkboard painted surface can serve as a charming way to display your cocktail options. Guests will appreciate the personal touch, and it allows you to showcase your creativity. Plus, it’s a great conversation starter!
Here are a few more ideas for functional decor items you can create with blackboard paint:
- Shopping List Board: Keep a running list of items you need to buy, right in your pantry or kitchen.
- Kids' Art Gallery: Dedicate a wall space where kids can showcase their artwork, and easily change it out as they create new pieces.
- Reminder Board: Set up a space for important reminders, appointments, or motivational quotes that you can change frequently.
To ensure that your functional decor items not only look great but also last, remember to apply multiple coats of blackboard paint for durability. Layering can enhance the depth of color and make your projects more visually appealing. Plus, the more time you spend on the application, the more satisfaction you’ll get from the finished product.
In summary, using blackboard paint to create functional decor items is a wonderful way to blend practicality with creativity. Whether it’s a calendar, a menu board, or a simple to-do list, each piece can be personalized to reflect your style and meet your needs. So grab some chalk, unleash your creativity, and watch your home transform into a space that’s not only beautiful but also incredibly functional!
Q: Can I use blackboard paint on any surface?
A: While blackboard paint can adhere to a variety of surfaces, it's best to use it on smooth, non-porous materials like wood, metal, or drywall for optimal results.
Q: How long does blackboard paint last?
A: With proper application and care, blackboard paint can last for several years. Regular maintenance, such as cleaning and re-coating as needed, will help extend its life.
Q: Can I use colored chalk on blackboard paint?
A: Yes, you can use colored chalk! However, be cautious as some colors may stain the paint if left on for too long. It's best to wipe it off regularly.
Q: Is blackboard paint easy to apply?
A: Absolutely! With the right preparation and tools, applying blackboard paint is a straightforward process that even beginners can manage.
Frequently Asked Questions
- What surfaces can I use blackboard paint on?
You can use blackboard paint on a variety of surfaces including wood, metal, drywall, and even certain plastics. Just make sure the surface is clean and smooth for the best results!
- Do I need to prime the surface before applying blackboard paint?
Yes, priming is recommended for achieving a smooth finish. Cleaning and sanding the surface will also help the paint adhere better and provide a more even look.
- What is the difference between water-based and oil-based blackboard paint?
Water-based blackboard paints dry quicker and have less odor, making them easier to work with. Oil-based paints, on the other hand, tend to be more durable but require longer drying times and have stronger fumes.
- Can I use colored blackboard paint?
Absolutely! There are specialty blackboard paints available in various colors, allowing you to get creative and add a pop of color to your decor!
- How many coats of blackboard paint should I apply?
It’s generally recommended to apply at least two coats of blackboard paint for a rich and durable finish. Just make sure to let each coat dry completely before applying the next.
- Can I use chalk markers on blackboard paint?
Yes, chalk markers can be used on blackboard paint! Just ensure that the paint is fully cured before using markers to avoid smudging.
- How do I clean my blackboard surface?
To clean your blackboard surface, simply use a damp cloth or a blackboard eraser. For tougher stains, a mixture of water and vinegar can work wonders!
- Are there any special techniques for applying blackboard paint?
Yes! Using a high-quality brush or roller can make a big difference. For a smoother finish, a foam roller is often recommended. Also, layering the paint can create a more dynamic look.
- What are some creative project ideas using blackboard paint?
You can create everything from wall murals to functional items like calendars and to-do lists. The possibilities are endless, so let your imagination run wild!


