Spruce up Your Home with DIY Rope Decor
Are you tired of the same old decor in your living space? Do you crave a fresh, unique look without breaking the bank? Well, you’re in the right place! DIY rope decor is not only a budget-friendly way to revamp your home, but it also adds a touch of creativity and warmth that can transform any room. Imagine walking into your living room and being greeted by stunning rope accents that make your space feel inviting and stylish. Sounds amazing, right? In this article, we’ll explore various projects, techniques, and tips to help you effectively incorporate rope into your home design. From wall art to shelving ideas, the possibilities are endless! So, let’s dive in and discover how you can spruce up your home with some fabulous DIY rope decor.
Before you embark on your DIY journey, it’s crucial to select the appropriate type of rope for your projects. Not all ropes are created equal, and the right choice can make a world of difference in the final outcome. When choosing your rope, consider the following factors:
- Material: Natural fibers like jute and sisal offer a rustic look, while synthetic ropes can provide durability and vibrant colors.
- Thickness: Thicker ropes can create a bold statement, while thinner ropes may be better for delicate details.
- Color: Choose colors that complement your existing decor. Neutral tones can blend seamlessly, while bright colors can serve as eye-catching accents.
By taking the time to choose the right rope, you set the foundation for a successful and visually appealing project. Trust me, the right rope can elevate your DIY decor from ordinary to extraordinary!
Creating wall art with rope is an excellent way to add texture and interest to your walls. Imagine a piece that not only serves as a focal point but also showcases your personal style. With just a few materials and a bit of creativity, you can craft unique pieces that will leave your guests in awe. In the following sections, we’ll provide step-by-step instructions for crafting stunning rope wall art that will breathe new life into your space.
Framing rope designs is an excellent way to showcase your creativity. It’s like turning your DIY project into a gallery-worthy piece of art! Here’s how you can create stunning framed art that complements your decor style.
Gathering the right materials is essential for a successful project. Here’s what you’ll need:
- Wooden frame (size of your choice)
- Rope (choose your preferred material and thickness)
- Hot glue gun and glue sticks
- Scissors
- Optional: paint or stain for the frame
Now that you have your materials ready, follow these detailed instructions to create beautiful framed rope art:
- Prepare the Frame: If desired, paint or stain your wooden frame to match your decor.
- Cut the Rope: Measure and cut your rope to the desired lengths. You can create various shapes or patterns, so let your imagination run wild!
- Glue the Rope: Starting from one edge of the frame, use the hot glue gun to attach the rope. Continue gluing the rope in your chosen pattern until the entire frame is covered.
- Let it Dry: Allow the glue to set completely before hanging your new artwork.
With these simple steps, you’ll have a stunning piece of wall art that reflects your personality and style!
Rope shelving adds a rustic touch to your home while being functional. Imagine floating shelves that not only hold your favorite books and decor but also serve as a conversation starter. Discover innovative ideas for incorporating rope into your shelving designs for a stylish look. You can create shelves suspended by rope from the ceiling or use rope to add a decorative element to existing shelves. The key is to balance functionality with aesthetics, ensuring your shelves are both practical and visually appealing.
Adding small rope accents can enhance your decor without overwhelming the space. Think of these accents as the icing on the cake – they complete the look! This section explores various ways to incorporate rope into everyday items for a cohesive look. From wrapping vases to creating rope coasters, the options are endless. You can even use rope to create unique curtain tiebacks that add a touch of charm to your windows.
Transforming furniture with rope wrapping can create a unique statement piece. Picture your ordinary furniture legs wrapped in thick, textured rope, instantly elevating their look. Learn how to wrap furniture legs and surfaces for a fresh, modern design that will surely impress. It’s a simple yet effective way to breathe new life into old pieces!
Incorporating rope into lighting fixtures can add charm and character. Imagine a beautiful chandelier adorned with rope accents, casting a warm glow over your dining area. This subsection discusses creative ideas for using rope in lamps and chandeliers to elevate your lighting design. Whether you’re wrapping a lamp base or creating a rope pendant light, the result will be a stunning focal point in your home.
Q: Can I use any type of rope for these projects?
A: While you can use various types of rope, it's best to choose materials that suit your decor style and the specific project you have in mind. Natural fibers like jute are great for a rustic look, while synthetic ropes can offer durability and color options.
Q: How do I ensure my rope decor lasts?
A: To ensure longevity, choose high-quality rope and secure it properly with glue or knots. Avoid exposing your decor to excessive moisture or direct sunlight, which can cause wear and tear over time.
Q: Are these projects suitable for beginners?
A: Absolutely! Most of the projects mentioned are beginner-friendly and require minimal tools and skills. Just take your time, follow the instructions, and have fun!
Choosing the Right Rope
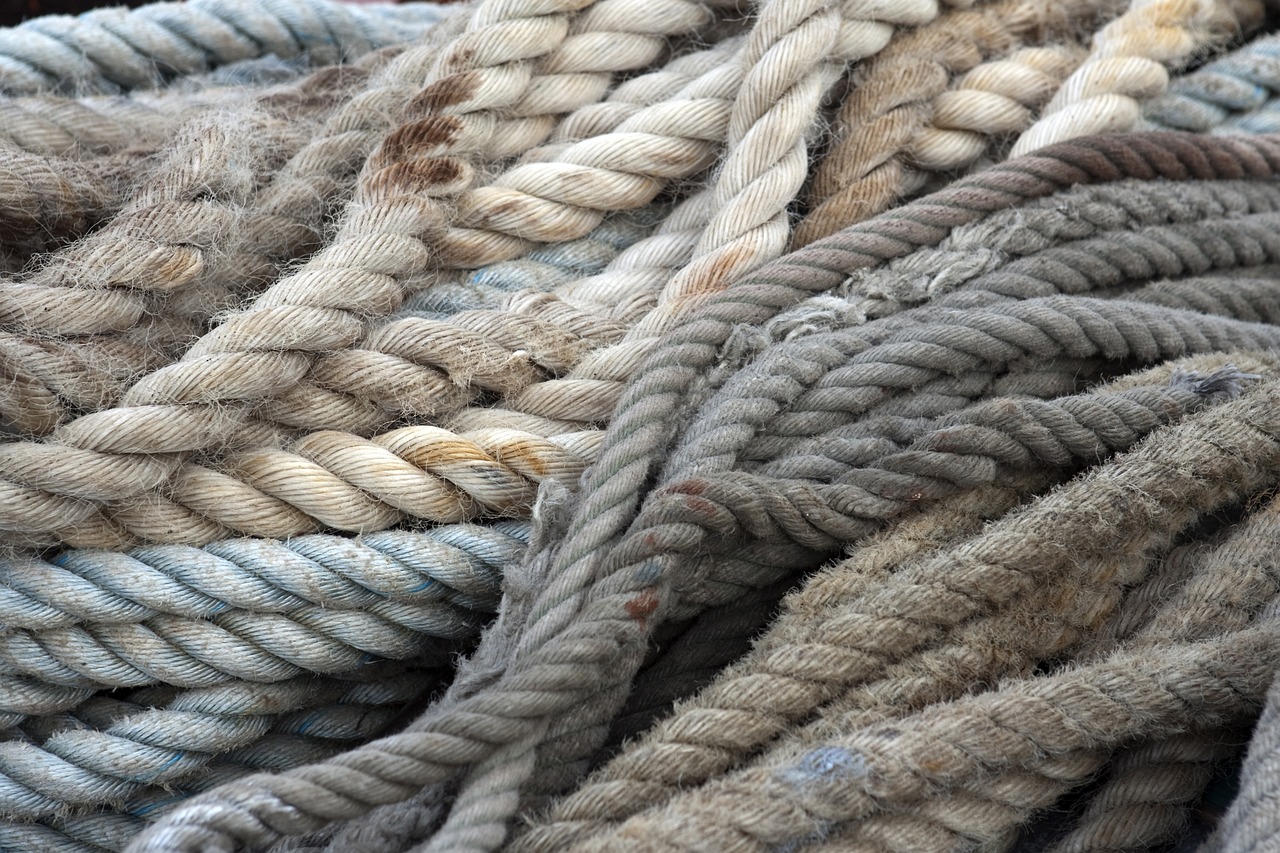
When it comes to DIY rope decor, the first step is to choose the right type of rope. The right rope can make or break your project, so it's essential to consider several factors before diving in. Think about the material, thickness, and color of the rope you want to use. Each of these elements contributes to the overall aesthetic and functionality of your decor.
Let's start with the material. There are various options available, each with its own unique qualities:
- Cotton Rope: Soft and versatile, cotton rope is perfect for indoor decor. It’s gentle on surfaces and can be easily dyed or painted.
- Sisal Rope: This natural fiber rope has a rough texture, which adds a rustic charm. It's great for outdoor projects due to its durability.
- Jute Rope: Known for its eco-friendliness, jute rope has a beautiful earthy tone. It’s ideal for creating bohemian-style decor.
- Nylon Rope: If you need something strong and weather-resistant, nylon is your go-to. It’s perfect for functional pieces like outdoor hammocks.
Now, let’s talk about thickness. The diameter of the rope can significantly affect the look of your decor. Thicker ropes can create a bold statement, while thinner ropes can add subtle texture. Here’s a quick guide to help you decide:
| Thickness | Best For |
|---|---|
| 1/4 inch | Delicate projects like wall hangings or small accents. |
| 1/2 inch | Medium-sized decor like shelving or furniture accents. |
| 3/4 inch and above | Statement pieces such as large wall art or outdoor projects. |
Finally, let’s not overlook the color. The color of the rope can dramatically influence the mood of a room. Natural fibers often come in earthy tones, but you can also find ropes in vibrant colors or even paint them yourself! Consider the existing color palette of your space. Do you want your rope decor to stand out and be a focal point, or would you prefer it to blend in seamlessly? This decision will guide your color choice.
In summary, choosing the right rope involves considering material, thickness, and color. By selecting the right rope, you can create stunning decor that reflects your personal style and enhances your home. Remember, the right choice not only elevates the aesthetic but also ensures the durability and functionality of your projects. So, take your time, explore your options, and let your creativity flow!

Simple Rope Wall Art
Creating wall art with rope can truly transform any room in your home, adding not just texture but also a unique character that can reflect your personal style. Imagine stepping into a space where the walls speak volumes about your creativity and taste. Rope wall art is not only visually appealing but also incredibly easy to make, which makes it a perfect DIY project for both beginners and seasoned crafters. So, are you ready to dive into the world of rope decor? Let's get started!
The beauty of rope wall art lies in its versatility. You can create everything from simple geometric shapes to intricate designs that tell a story. One popular method is to create a framed rope design, which can serve as a stunning focal point in your living room, bedroom, or even a hallway. By using different colors and thicknesses of rope, you can customize your art piece to match your existing decor. The key here is to let your imagination run wild and experiment with various patterns and styles.
Framing your rope designs is an excellent way to give them a polished look. It’s like dressing up your art for a special occasion! A simple frame can elevate the entire piece, making it feel more intentional and well-thought-out. To get started, you’ll need a few materials: a frame (wooden or metal works best), some rope, and a backing board. The backing board can be made from cardboard or a thin piece of wood, providing a sturdy foundation for your design.
Gathering the right materials is essential for a successful project. Here’s a quick rundown of what you’ll need:
- Frame (size of your choice)
- Rope (natural fiber like jute or cotton is recommended)
- Scissors
- Hot glue gun and glue sticks
- Backing board (cardboard or thin plywood)
Now that you have your materials, let’s get into the nitty-gritty of creating your framed rope art!
- Prepare your frame: Remove the glass and backing from the frame. You’ll only need the frame itself for this project.
- Cut the rope: Depending on your design, cut several lengths of rope. Remember, you can always trim them later if needed, so it's better to start with longer pieces.
- Design your layout: Before gluing anything down, lay out your rope on the backing board to visualize your design. This is your opportunity to play around with different arrangements!
- Glue the rope: Once you’re happy with the layout, start gluing the rope down, section by section, using your hot glue gun. Be careful not to burn yourself!
- Frame it up: After the glue has dried, place the backing board back into the frame, and secure it. Now your art is ready to hang!
And there you have it! A beautiful piece of wall art that you made yourself. The satisfaction of creating something unique for your home is unmatched. Plus, every time someone admires your handiwork, you’ll feel a swell of pride knowing you crafted it with your own two hands.
Rope wall art can be a conversation starter and a way to showcase your creativity. Whether you're looking to add a rustic touch to your decor or just want to try your hand at something new, this DIY project is a perfect choice. So, why not gather your materials and get started today? Your walls are waiting for a little love!
Here are some common questions you might have about creating rope wall art:
- What type of rope is best for wall art? Natural fibers like jute or cotton are popular choices as they are easy to work with and add a rustic charm.
- Can I use colored rope? Absolutely! Colored rope can add a fun pop of color to your design and match your decor perfectly.
- How do I clean my rope art? A gentle dusting with a soft cloth or a light vacuum with a brush attachment should do the trick.
Framed Rope Designs
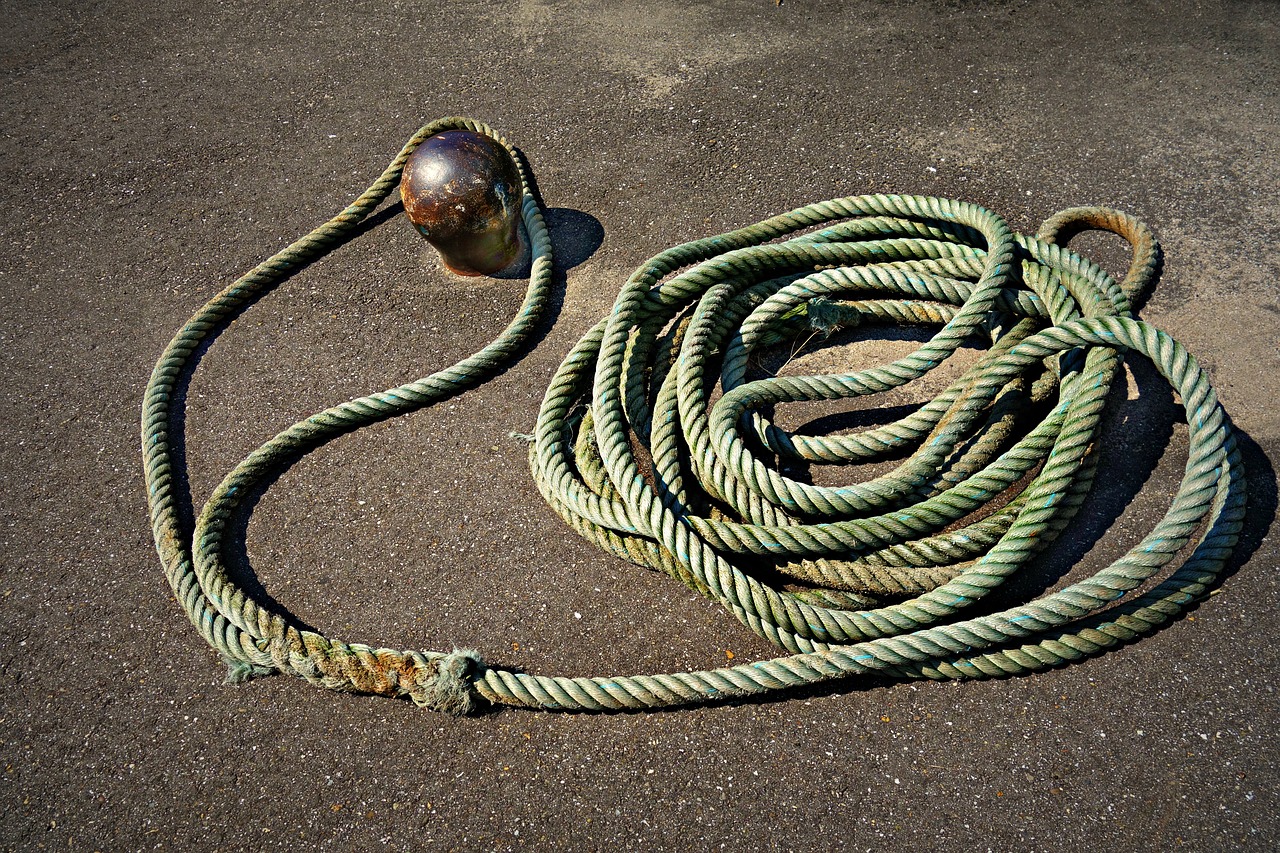
Framed rope designs are not just a trend; they’re a fantastic way to express your creativity while adding a touch of rustic charm to your home decor. Imagine walking into a room and being greeted by a stunning piece of art that not only looks great but also tells a story. The beauty of framed rope art lies in its versatility. You can customize it to suit your style, whether you prefer a modern minimalist look or something more eclectic and bohemian. Plus, the tactile nature of rope adds a unique texture that enhances the visual appeal of your walls.
To get started with your framed rope designs, you’ll need to gather some essential materials. Think of it like preparing for a fun adventure where you’ll be the artist! The basic supplies include a frame (wooden or metal, depending on your preference), a selection of rope in various colors and thicknesses, scissors, a hot glue gun, and perhaps some embellishments like beads or shells for that extra flair. Each of these elements plays a crucial role in crafting your masterpiece.
Now, let’s dive into the creative process! Begin by deciding on the design you want to create. Do you want a geometric pattern, a floral motif, or maybe something abstract? Once you have your design in mind, sketch it out on a piece of paper. This will serve as your blueprint. Next, cut the rope to the desired lengths based on your design. The beauty of rope is that it’s forgiving; you can always adjust as you go. Start gluing the rope onto the frame, following the outline of your design. This is where the magic happens! Watching your vision come to life is incredibly rewarding.
After you’ve glued the rope in place, allow it to dry completely. This is crucial to ensure that your artwork holds up over time. Once dry, you can add any embellishments you’ve chosen. Think of this as the icing on the cake! You can arrange beads along the rope or even attach small shells for a beachy vibe. The possibilities are endless, and this is where you can really let your personality shine through.
When it comes to displaying your framed rope designs, consider the placement carefully. A well-placed piece can become a focal point in your room. Hang it in a spot where it can catch the light, allowing the textures of the rope to stand out. You might even consider creating a gallery wall with multiple framed rope designs of varying sizes and styles. This will create a dynamic visual interest that draws the eye and sparks conversation.
In conclusion, framed rope designs are a brilliant way to spruce up your home decor while showcasing your artistic flair. They’re simple to make, and the satisfaction of creating something unique for your space is unmatched. So, gather your materials, unleash your creativity, and let your walls tell a story that’s distinctly yours!
- What type of rope is best for framed designs? Natural fibers like jute or cotton work well, but synthetic ropes can also be used for durability.
- Can I use any frame for my rope art? Absolutely! Choose a frame that complements your style—wooden frames add warmth, while metal frames offer a modern touch.
- How do I clean my framed rope art? Gently dust with a soft cloth. Avoid using water or cleaning solutions, as they can damage the rope.
Materials Needed
When diving into the world of DIY rope decor, having the right materials is absolutely essential. Not only does it make the process smoother, but it also ensures that your finished product looks polished and professional. So, what exactly do you need? Let’s break it down!
First and foremost, you'll need rope. The type of rope you choose can significantly impact the overall look of your project. Consider natural fibers like jute or sisal for a rustic feel, or opt for cotton or nylon for a more contemporary vibe. The thickness of the rope is also important; a thicker rope can create a bold statement, while a thinner one may be better suited for intricate designs.
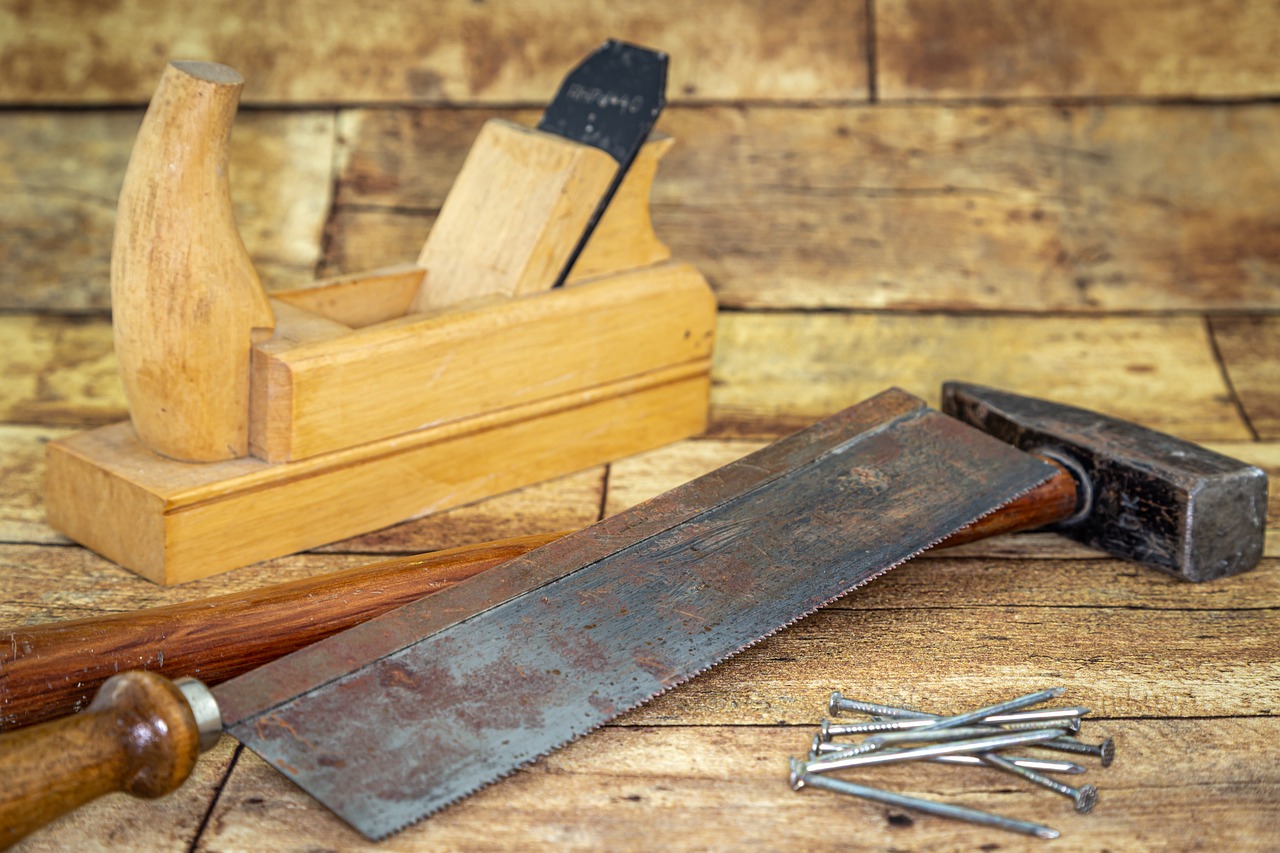
Next, gather your tools. A good pair of scissors is a must for cutting the rope to the desired length. If you're planning to create a more complex design, you might also need a hot glue gun or adhesive tape to secure the rope in place. Additionally, having a ruler or measuring tape handy will help you achieve precise measurements, ensuring that everything aligns perfectly.
Now, let’s not forget about the frame if you’re opting for wall art. You can either purchase a ready-made frame or get creative and build one yourself using wood or cardboard. If you're going for a rustic look, consider using reclaimed wood for a charming touch. For those who prefer a cleaner, modern aesthetic, a sleek metal frame could be the perfect choice.
Lastly, consider any accessories that can enhance your design. This could include decorative elements like beads, shells, or even paint. These small additions can really elevate your project and make it uniquely yours. Remember, the goal is to create something that reflects your personal style while adding character to your space.
Here’s a quick overview of the materials you’ll need:
| Material | Description |
|---|---|
| Rope | Choose from natural fibers like jute or sisal, or synthetic options like nylon. |
| Scissors | For cutting the rope to your desired lengths. |
| Glue Gun | For securing the rope in place, especially in more complex designs. |
| Frame | Wood or cardboard for wall art, or a pre-made frame for convenience. |
| Accessories | Decorative items like beads or shells to personalize your project. |
By gathering these materials, you’ll be well on your way to creating stunning DIY rope decor that will impress anyone who steps into your home. So, get ready to unleash your creativity and transform your living space!
Step-by-Step Instructions
Creating stunning framed rope art is not just a fun DIY project; it's a fantastic way to personalize your home decor. To get started, you'll need to gather a few materials. Don't worry; you probably have most of them lying around! You'll need a frame (you can repurpose an old one), some rope (choose a thickness that suits your style), scissors, and a hot glue gun. If you're feeling adventurous, consider adding some paint or embellishments to the frame to give it a unique flair.
Now, let’s get down to the nitty-gritty. First, take your frame and remove the glass and backing. This step is crucial because you want to work with just the frame itself. Next, measure the length of rope you'll need by wrapping it around the frame to determine how much you’ll require. It's always better to cut a little extra than to fall short!
Once you have your rope cut to size, it’s time to start gluing. Apply a thin line of hot glue to the back of the frame and press one end of the rope into the glue. Hold it in place for a few seconds until it sets. Continue this process, wrapping the rope around the frame, adding glue as you go. Make sure to keep the rope tight and even for a polished look. If you want to create patterns, feel free to experiment with different wrapping techniques! You could even create a spiral or a crisscross design for added flair.
When you reach the end of the frame, simply cut the rope and secure it with more hot glue. Make sure to tuck in any loose ends so they don’t stick out. After you’ve finished gluing the rope, let it dry completely. This step is crucial because you want to ensure everything is secure before displaying your new art piece.
While you wait for the glue to dry, consider what you want to put inside the frame. You could use a beautiful piece of fabric, a colorful piece of paper, or even a photo that holds special meaning to you. Once the glue is dry, reinsert the backing into the frame, and voilà! You now have a stunning piece of rope art that adds a rustic charm to any room.
If you're feeling particularly crafty, why not create multiple pieces in varying sizes and arrangements? Hanging them in a gallery wall style can create a striking focal point in your living space. Remember, the beauty of DIY is that you can customize everything to fit your personal style and home decor. So, let your creativity run wild!
Q: What types of rope are best for this project?
A: Natural fibers like jute or cotton work beautifully for a rustic look, while synthetic ropes can offer a modern twist. Choose based on the style you want to achieve!
Q: Can I use this technique on other surfaces?
A: Absolutely! This rope-wrapping technique can be applied to various objects like mirrors, vases, or even trays for a cohesive decor theme.
Q: How do I clean my rope decor?
A: Gently dust your rope decor with a soft cloth. If it gets particularly dirty, a damp cloth should do the trick, but avoid soaking the rope to prevent damage.

Rope Shelving Ideas
If you’re looking to add a touch of rustic charm to your home while also maximizing your space, rope shelving might just be the perfect solution for you! Imagine sturdy wooden shelves held up by thick, durable rope that not only provides functionality but also serves as a stunning decorative element. The beauty of rope shelving is that it combines both form and function, allowing you to showcase your favorite books, plants, and decorative items in a way that feels both casual and chic.
One of the most exciting aspects of rope shelving is its versatility. You can create a variety of styles depending on the type of rope and wood you choose. For instance, using a natural jute rope with reclaimed wood can give you that cozy, farmhouse vibe, while a sleek, modern design might incorporate a synthetic rope paired with smooth, minimalist shelves. The options are endless! Picture yourself walking into a room where the shelves not only hold items but also tell a story through their design.
When planning your rope shelving, consider the placement and size of your shelves. Are you looking to create a statement piece in your living room, or do you want to add some functional storage in your kitchen? Think about the weight of the items you plan to display, as this will influence the thickness of the rope and the dimensions of the shelves. A good rule of thumb is to use thicker rope for heavier items and lighter rope for decorative pieces. Here’s a quick table to help you decide:
| Item Weight | Recommended Rope Thickness | Suggested Shelf Material |
|---|---|---|
| Light (e.g., books, decor) | 1/4 inch | Plywood or reclaimed wood |
| Medium (e.g., plants, small appliances) | 3/8 inch | Solid wood or thick plywood |
| Heavy (e.g., large books, kitchenware) | 1/2 inch | Thick solid wood or metal |
To create your own rope shelving, start by selecting two sturdy wall brackets to support the shelves. These can be anything from metal brackets for a modern look to wooden brackets for a more rustic feel. Once you have your brackets, cut your wood to the desired length and sand it down for a smooth finish. Next, drill holes into each end of the wood, ensuring they’re aligned for the rope to pass through. This is where the magic happens! Thread the rope through the holes, tie secure knots underneath the shelves, and hang them up. Voilà! You have a beautiful, functional piece of decor that’s sure to impress.
Don’t forget to accessorize your rope shelves! Adding small potted plants, framed photos, or even a few decorative boxes can help to create a cohesive look that ties in with your overall home decor. The key is to balance functionality with aesthetics, so your shelves not only look good but also serve their purpose. Think of your rope shelves as a blank canvas waiting for your personal touch—what story will you tell with your decor?
In conclusion, rope shelving is more than just a clever storage solution; it’s an opportunity to express your creativity and enhance your home’s aesthetic appeal. So gather your materials, get a little crafty, and let your imagination run wild! You’ll be amazed at how a simple piece of rope and some wood can transform your space into something truly special.
- What type of rope is best for shelving? Natural fibers like jute or sisal are popular for a rustic look, while synthetic ropes are great for durability.
- How much weight can rope shelves hold? This depends on the thickness of the rope and the type of wood used. Always ensure your materials are suitable for the weight you plan to display.
- Can I use rope shelving in a bathroom? Yes! Just make sure to choose materials that can withstand humidity.

Creating Rope Accents
When it comes to home decor, sometimes the smallest details can make the biggest impact. Rope accents are a fantastic way to add a touch of charm and personality to your living space without overwhelming it. Whether you're looking to spruce up your existing decor or want to create a cohesive theme throughout your home, incorporating rope into your design can be both fun and rewarding. Imagine walking into a room where the furniture, lighting, and even small accessories all share a common thread—literally! Rope accents can tie everything together, creating a warm and inviting atmosphere.
One of the most appealing aspects of using rope in your decor is its versatility. You can use it in various ways—think of wrapping furniture legs, embellishing light fixtures, or even creating unique wall hangings. The beauty of rope lies in its ability to blend seamlessly with different styles, from rustic to modern. For instance, a simple rope-wrapped vase can transform a mundane centerpiece into a stunning focal point. It’s like giving your home a mini makeover without breaking the bank!
Let’s dive into some creative ideas for incorporating rope accents into your decor. First, consider rope-wrapped furniture. This technique isn’t just about aesthetics; it also adds a tactile element to your pieces. You can wrap the legs of a chair or table with rope to give it a rustic, beachy vibe. Not only does this look great, but it also provides extra grip, making your furniture more stable. Just imagine how inviting your living room would feel with a few of these unique pieces!
Next up, let’s talk about lighting fixtures. Adding rope to your lamps or chandeliers can instantly elevate your lighting design. Picture a pendant light with a rope-wrapped base, casting a warm glow over your dining area. It’s not just about functionality; it’s about creating a mood. The natural texture of rope can soften harsh lighting and create a cozy ambiance that’s perfect for gatherings or quiet evenings at home.
In addition to furniture and lighting, you can also use rope in smaller decor items to create a cohesive look. Try wrapping a simple glass jar with rope and using it as a candle holder or a planter. This not only adds a rustic touch but also allows you to personalize your decor. You can paint the jar or add decorative elements like shells or pebbles to enhance the overall effect. The possibilities are endless!
To help you visualize the various ways you can incorporate rope accents into your home, here’s a quick summary of ideas:
- Rope-Wrapped Furniture: Add a rustic touch to your chairs and tables.
- Rope in Lighting Fixtures: Elevate your lamps and chandeliers with rope accents.
- Decorative Accessories: Use rope to personalize jars, vases, and other small items.
In conclusion, creating rope accents is an exciting and accessible way to enhance your home decor. With just a bit of creativity and some basic materials, you can transform everyday items into stunning statement pieces. So, why not grab some rope and start experimenting? Your home deserves that special touch!
Q: What type of rope should I use for home decor?
A: Natural fibers like jute or sisal are popular choices for a rustic look, while cotton rope is great for a softer, more modern feel. Choose based on your style preference!
Q: Can I use rope outdoors?
A: Absolutely! Just make sure to choose weather-resistant materials if you plan to use rope accents outside.
Q: How do I clean rope decor items?
A: Most rope items can be lightly vacuumed or wiped down with a damp cloth. Avoid soaking them in water to prevent damage.
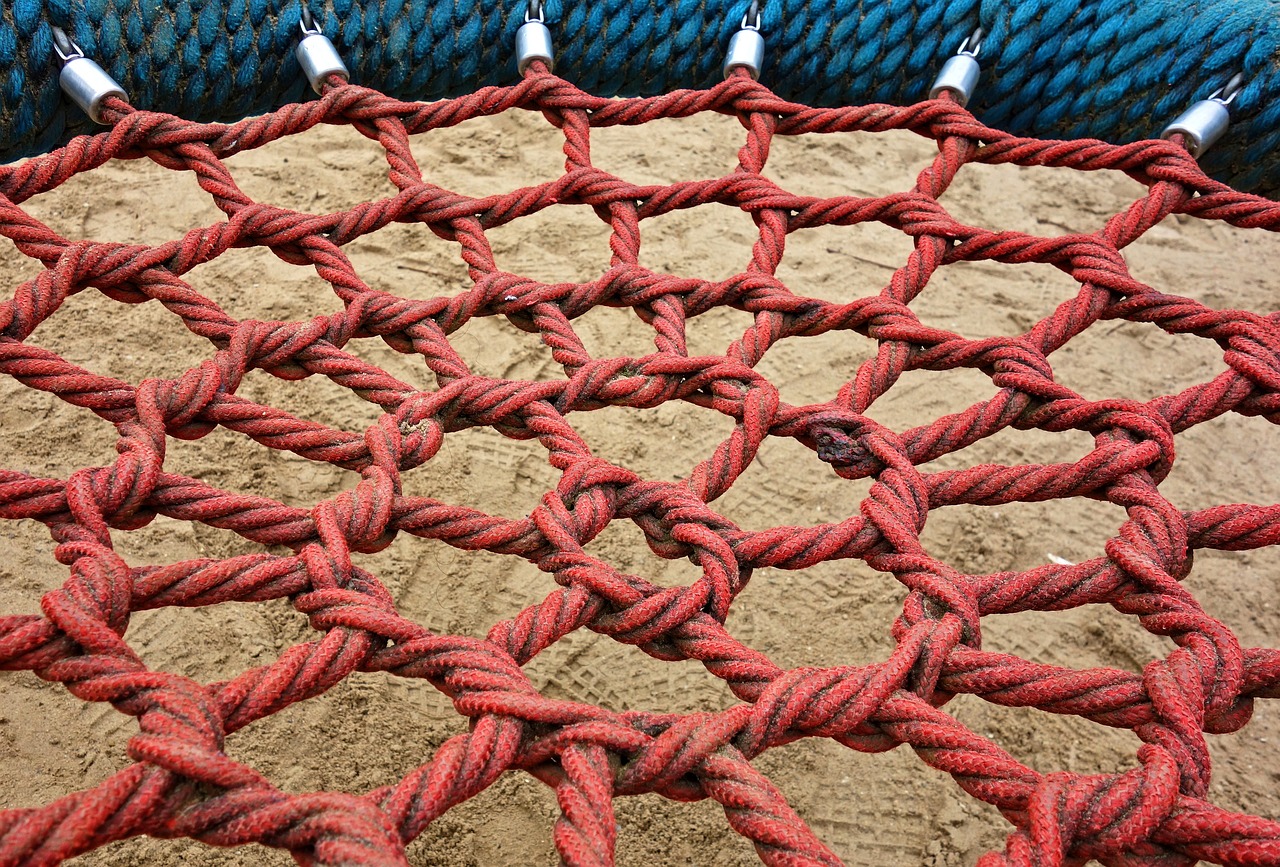
Rope-Wrapped Furniture
Transforming your furniture with rope wrapping is not just a trend; it’s a way to breathe new life into your home decor. Imagine your tired old chair or a dull table suddenly becoming a stunning focal point in your living room. Rope wrapping combines functionality with an earthy aesthetic, making it an ideal choice for those who love a rustic or coastal vibe. The best part? It’s an easy DIY project that anyone can tackle, regardless of skill level!
So, why rope? Well, rope adds a unique texture and warmth to your pieces. It’s versatile too! You can use it on a variety of furniture items, from chairs and tables to shelves and even headboards. When you wrap furniture with rope, you’re not just enhancing its appearance; you’re also creating a tactile experience that invites touch and interaction. Plus, it’s a sustainable option that can help reduce waste by upcycling existing furniture.
Before diving into your project, consider the type of rope you want to use. Natural fibers like jute or sisal offer a more organic look, while synthetic ropes can provide durability and come in various colors. When choosing your rope, think about the overall aesthetic you want to achieve. A thicker rope can create a bold statement, while a thinner one might lend a more delicate touch. Below is a quick comparison of different rope types:
| Rope Type | Material | Best For |
|---|---|---|
| Jute | Natural Fiber | Rustic Decor |
| Sisal | Natural Fiber | Durable Projects |
| Polypropylene | Synthetic | Outdoor Use |
| Cotton | Natural Fiber | Soft Touch |
Once you've selected your rope, it’s time to get wrapping! Start by cleaning your furniture piece thoroughly. This ensures that the rope adheres properly and looks its best. Begin at one end and secure the rope with a bit of glue or tape, then start wrapping tightly, keeping the strands close together. As you wrap, you can create patterns or designs by varying the direction or spacing of the rope. Don’t forget to secure the end of the rope with glue when you finish to prevent any unraveling.
And here’s a little tip: if you want to add an extra pop of color, consider painting the furniture before wrapping it. This will create a striking contrast against the natural tones of the rope and give your piece a customized look. Just make sure the paint is fully dry before you start wrapping!
Rope-wrapped furniture not only enhances the visual appeal of your home but also tells a story of creativity and sustainability. So roll up your sleeves, grab some rope, and let your imagination run wild. You’ll be amazed at how a simple wrapping technique can transform your space into something truly special!
What type of rope is best for wrapping furniture? Natural fibers like jute or sisal are great for a rustic look, while synthetic ropes are more durable and come in various colors.
Can I wrap any type of furniture? Yes! You can wrap chairs, tables, shelves, and even headboards. Just ensure the surface is clean and stable.
How do I secure the rope when I finish wrapping? Use a strong adhesive or glue to secure the end of the rope to prevent it from unraveling.
Is this a difficult project for beginners? Not at all! Rope wrapping is a beginner-friendly project that allows for creativity and personal expression.

Rope in Lighting Fixtures
When it comes to lighting fixtures, the right design can make all the difference in creating an inviting atmosphere in your home. not only offers a unique aesthetic but also adds a touch of rustic charm that can elevate any space. Imagine walking into a room where the warm glow of a lamp is beautifully intertwined with natural fibers, creating a cozy ambiance that feels both stylish and welcoming. Sounds appealing, right? Let’s dive into how you can incorporate rope into your lighting designs!
One of the most popular ways to use rope in lighting is by wrapping it around lamp bases or cords. This technique not only adds texture but also gives a modern twist to traditional lighting. You can choose from various types of rope, such as jute, sisal, or cotton, depending on the look you want to achieve. For a more bohemian vibe, opt for thicker, textured ropes, while thinner ropes can lend a more minimalist feel. The color of the rope is also important; natural tones work well in most settings, but don't shy away from experimenting with dyed options to match your decor!
Another creative idea is to create a rope chandelier. This project might sound daunting, but it’s surprisingly simple and can be a real showstopper in your dining room or entryway. Start with a basic chandelier frame, and then wrap the arms with rope, securing it with hot glue or wire. The result? A stunning focal point that draws the eye and sparks conversation. If you're feeling especially adventurous, you can even hang small plants or decorative items from the chandelier for an added touch of whimsy!
If you’re looking for something a bit different, consider making rope pendant lights. These fixtures can be customized to fit any space and style. Begin by selecting a pendant light kit, which is readily available at most hardware stores. Then, wrap the cord with your chosen rope, attaching it securely at the top. You’ll be left with a chic lighting solution that perfectly complements your home’s decor. Plus, you can easily switch out the rope for different seasons or occasions, keeping your decor fresh and exciting!
For those who love DIY projects, creating a rope lamp shade is another fantastic option. This project allows you to showcase your creativity while adding a personal touch to your lighting. Start with a plain lampshade and wrap it with rope, securing it with glue. You can create patterns or even write words to make it truly one-of-a-kind. When the lamp is lit, the rope will cast beautiful shadows and create a warm glow that transforms your space.
Incorporating rope into your lighting fixtures not only enhances the aesthetic appeal of your home but also allows you to express your personal style. So, why not give it a try? Whether you’re wrapping, weaving, or crafting, the possibilities are endless. Remember, the key is to have fun and let your creativity shine!
Q: What type of rope is best for lighting fixtures?
A: Natural fibers like jute and cotton are popular choices due to their aesthetic appeal and durability. However, you can also experiment with synthetic ropes if you prefer a specific color or texture.
Q: Can I use rope on any type of light fixture?
A: Yes, you can use rope on various types of fixtures, including lamps, chandeliers, and pendant lights. Just ensure that the materials used are safe and do not pose a fire hazard.
Q: How do I clean rope light fixtures?
A: To clean rope light fixtures, gently dust them with a soft cloth. For deeper cleaning, you can use a damp cloth with mild soap, but be cautious not to soak the rope.
Frequently Asked Questions
- What type of rope is best for DIY decor projects?
Choosing the right rope depends on your project. For most home decor, natural fibers like jute or cotton are popular because they offer a rustic look and are easy to work with. If you're after a more modern vibe, consider nylon or polyester, which come in various colors and thicknesses.
- Can I use rope for outdoor decor?
Absolutely! Just be sure to choose weather-resistant materials like synthetic ropes. They can withstand the elements and keep your outdoor decor looking fresh. Remember, a little maintenance goes a long way!
- How do I make sure my rope wall art stays secure?
To ensure your rope wall art is secure, use a strong adhesive or nails to attach the rope to the frame. Additionally, consider using a sturdy backing for your art piece to provide extra support and stability.
- What tools do I need for creating framed rope designs?
You’ll need a few basic tools: scissors for cutting the rope, a hot glue gun for attaching the rope, and a frame to hold your design. Optional items include a ruler for measuring and a pencil for marking your design.
- How can I incorporate rope into my lighting fixtures?
Incorporating rope into your lighting fixtures can be as simple as wrapping the cord of a lamp or chandelier. You can also create a rope shade by gluing rope around a wire frame, giving your lighting a unique twist that adds character to any room.
- Are there any safety concerns when using rope in decor?
Yes, safety is key! Make sure that any rope used near heat sources, like lamps, is non-flammable. Additionally, ensure that any furniture or shelving you create is stable and can support the weight of items placed on them.
- Can I customize the color of the rope?
Definitely! You can dye natural fiber ropes using fabric dyes or paint them with spray paint. Just make sure to let them dry completely before using them in your projects to avoid any mess!
- How do I clean and maintain my rope decor?
To keep your rope decor looking fresh, simply dust it regularly with a soft cloth. For deeper cleaning, you can spot clean with mild soap and water. Just be careful not to soak the rope, as this can weaken its fibers over time.


