Easy DIY Decor Projects to Liven up a Small Space
Are you feeling a little cramped in your small space? Does your home lack personality and vibrancy? Fear not! This article explores simple and creative DIY decor projects that can transform your modest abode into a vibrant and inviting haven. With just a sprinkle of creativity and a dash of effort, you can enhance both the aesthetics and functionality of your living area. Imagine walking into a room that reflects your unique style, making you feel right at home. Let's dive into some exciting projects that will breathe new life into your space!
One of the most rewarding aspects of DIY decor is the ability to upcycle old furniture. Instead of tossing out that worn-out chair or coffee table, consider how you can give it a fresh twist. Upcycling not only saves you money but also adds a personal touch to your home. For instance, you could paint an old dresser in a bold color to make it a statement piece or reupholster a chair with funky fabric to bring it back to life. The possibilities are endless! Just think of your furniture as a blank canvas waiting for your artistic flair.
When it comes to small spaces, wall decor is your best friend. It allows you to express your personality without taking up precious floor space. Let's explore some creative DIY wall art projects that can add personality and color to your walls.
Creating stunning fabric panels is a fantastic way to add texture and warmth to your small room. These panels can serve as unique wall art that speaks to your style. Start by selecting fabrics that resonate with your decor theme. Think about colors and patterns that will complement your existing furniture. Once you have your fabrics, frame them in simple wooden frames to create a chic gallery effect. Not only are these panels visually appealing, but they also add a cozy touch to your space.
When choosing fabrics, consider the mood you want to create. Light, airy fabrics can make a small space feel larger, while bold patterns can add a pop of excitement. Here are some tips for selecting the right fabrics:
- Stick to a color palette that complements your existing decor.
- Mix textures for added depth—think linen paired with velvet.
- Consider seasonal fabrics, like lightweight cotton for summer and thicker materials for winter.
Once you've selected your fabrics, it's crucial to mount them securely. You can use adhesive strips for a no-damage solution or opt for traditional nails if you're okay with making holes. Make sure to measure and space your frames evenly for a professional look. With the right mounting techniques, your fabric panels will enhance the overall aesthetic of your walls!
Why not create an eye-catching gallery wall? This is a perfect way to showcase a mix of personal photos, art pieces, and decorative items that reflect your style and interests. Start by gathering a collection of frames in various sizes and colors. Lay them out on the floor to find a layout that you love before hanging them up. Remember, there are no rules—let your creativity shine!
Let’s talk about lighting! The right lighting can completely change the ambiance of your small space. DIY lighting projects can not only brighten up your area but also serve as decorative elements. Consider making your own pendant lights or using string lights creatively.
Crafting your own pendant lights can be a fun project. Using affordable materials, you can design lights that not only illuminate your space but also add a stylish touch. Think about using materials like wire, fabric, or even repurposed items like jars or bottles. The result will be a unique lighting fixture that’s sure to impress!
String lights are not just for the holidays! You can use them year-round to add a cozy and whimsical touch to your small space. Drape them along walls, wrap them around furniture, or hang them from the ceiling for an enchanting effect. They can transform an ordinary room into a magical retreat.
In a small space, organization is key. Clever DIY storage solutions can help keep your area tidy while adding decorative flair. It's all about maximizing your space without sacrificing style.
Don't let the space under your bed go to waste! Create stylish under-bed storage options using decorative bins or even build your own drawers. This often-overlooked space can be a game-changer for keeping your room clutter-free.
Another great way to maximize space is by installing wall-mounted shelves. Not only do they provide essential storage, but they also showcase decorative items. You can build shelves from reclaimed wood or even old crates for a rustic vibe. The best part? They draw the eye upward, making your small space feel larger!
Q: What are some easy DIY projects for beginners?
A: Start with simple projects like framed fabric panels or string light decor. These require minimal tools and can be completed in a short amount of time.
Q: How can I make my small space feel larger?
A: Use light colors, mirrors, and vertical storage solutions to create an illusion of more space. Additionally, keep your decor minimal to avoid clutter.
Q: Where can I find inspiration for my DIY projects?
A: Websites like Pinterest and Instagram are excellent sources for DIY inspiration. You can also check out local craft stores for ideas and materials.
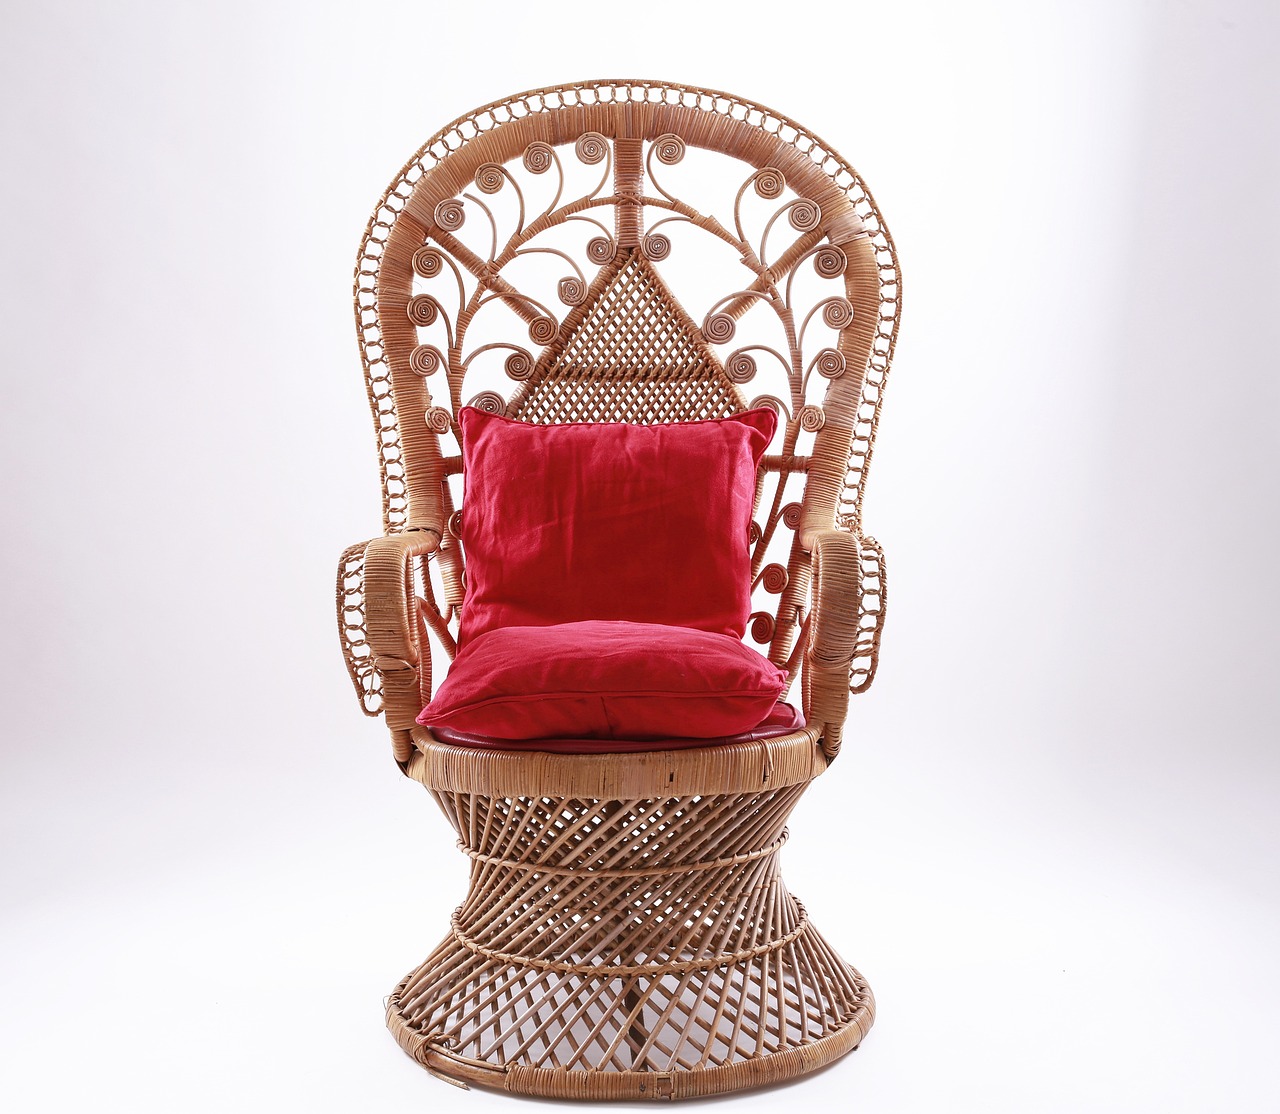
Upcycling Furniture
Upcycling furniture is not just a trend; it's a way to breathe new life into old, forgotten pieces that may otherwise end up in a landfill. Imagine transforming a worn-out chair into a stunning statement piece or turning a dull coffee table into a vibrant focal point of your living room. The beauty of upcycling lies in its ability to combine creativity with sustainability, allowing you to express your personal style while also being eco-friendly.
When considering which furniture pieces to upcycle, think about items that have good bones but may need a little love. For instance, an old dresser can become a chic entryway console with a fresh coat of paint and new hardware, while a tired bookshelf can be revamped with some colorful wallpaper backing. The possibilities are endless, and the only limit is your imagination!
To get started, gather some essential tools and supplies. Here's a quick rundown of what you might need:
- Sandpaper - to smooth out rough surfaces
- Paint or Stain - for a fresh new look
- Brushes or Rollers - to apply your chosen finish
- Fabric - for reupholstering seating or adding texture
- Power Tools - such as a drill or saw for more complex projects
One popular upcycling technique is reupholstering. This method can completely transform the look of a chair or sofa. Choose a fabric that complements your existing decor, or go bold with a vibrant pattern that adds a pop of color. Don't forget to use a staple gun and foam padding to ensure comfort and durability.
Another exciting approach is to use decoupage to create unique designs on furniture surfaces. By applying decorative paper, fabric, or even old book pages with mod podge, you can give your furniture a custom look that tells a story. This technique works beautifully on tabletops, dressers, and even light fixtures.
For those who love a rustic vibe, consider distressing your furniture. This method involves intentionally creating a worn look through sanding, painting, or using special techniques to give your piece character. A distressed finish can add warmth and charm, making your space feel cozy and inviting.
Lastly, don’t underestimate the power of accessorizing. Sometimes, a simple change like swapping out the hardware on your cabinets or adding decorative knobs can make a significant impact. Combine these small changes with a fresh coat of paint, and you’ll be amazed at how much a little effort can transform your space.
In conclusion, upcycling furniture is an exciting journey that allows you to unleash your creativity while making your home more personal and inviting. So, roll up your sleeves, gather your materials, and start transforming those old pieces into something spectacular!
Wall Art Ideas
When it comes to decorating a small space, wall art can be a game-changer. Unlike bulky furniture, art can transform your walls into a canvas of creativity, allowing you to express your personality without sacrificing valuable floor space. Whether you're a seasoned DIY enthusiast or just starting out, there are countless ways to create stunning wall art that reflects your style and adds vibrancy to your home. Imagine walking into a room where every wall tells a story, where colors and textures dance together, creating an atmosphere that's both inviting and inspiring.
One of the most exciting aspects of DIY wall art is the ability to customize it to fit your unique taste. You can play with various materials, colors, and techniques to craft pieces that resonate with you. From framed fabric panels to a dynamic gallery wall, the options are endless. Let's dive into some creative projects that will not only beautify your space but also make it feel like home.
Framed fabric panels are a fantastic way to add texture and warmth to your walls. They serve as unique wall art that can easily be changed out with the seasons or whenever you feel like refreshing your space. To start, you'll need some fabric that speaks to you. Whether it's a bold geometric pattern or a soft floral print, the right fabric can set the tone for your entire room.
When selecting fabrics, consider the existing color palette of your room. You want your fabric panels to complement your decor rather than clash with it. Here are some tips for choosing the right fabrics:
- Color Coordination: Choose fabrics that either match or provide a striking contrast to your wall color.
- Texture Variety: Mix different textures to create depth—think linen, cotton, or even velvet.
- Pattern Play: Use patterns to add interest; just ensure they don’t overwhelm the space.
Once you've selected your fabrics, it’s time to mount them. You can use simple wooden frames or even create a gallery-style look by using clipboards or washi tape. The key is to ensure that your panels are securely displayed. Here are some effective mounting techniques:
- Framing: Use traditional frames for a polished look. Make sure the fabric is taut and wrinkle-free.
- Canvas Stretching: Stretch fabric over a canvas frame for a more contemporary feel.
- Command Strips: If you’re renting or want a non-damaging option, Command Strips work wonders.
A gallery wall is another fantastic way to showcase your personality. It allows you to mix personal photos, art pieces, and decorative items in a way that feels cohesive yet eclectic. Think of it as a visual diary, where every piece has a story to tell. The beauty of a gallery wall lies in its versatility; you can curate it with anything from framed prints and mirrors to three-dimensional objects like shelves or plants.
To create a gallery wall, start by laying out your pieces on the floor to find the perfect arrangement. Once you’re happy with the layout, you can begin hanging them on the wall. Remember to consider the spacing between each item; usually, 2-4 inches works well for a cohesive look. For a more dynamic arrangement, vary the frame styles and sizes, which can add an exciting visual rhythm to your wall.
In summary, transforming your small space with DIY wall art is not only feasible but also incredibly rewarding. By utilizing fabric panels and creating a gallery wall, you can inject personality and warmth into your home, making it a true reflection of who you are. So grab those materials, unleash your creativity, and watch as your walls come to life!
Q: How do I choose the right wall art for a small space?
A: Opt for pieces that are proportional to the size of your walls. Large art can make a bold statement, while smaller pieces can be grouped together for a gallery effect.
Q: What materials can I use for DIY wall art?
A: You can use a variety of materials, including fabric, paper, wood, and even found objects. The key is to choose materials that resonate with your style.
Q: How can I change my wall art seasonally?
A: Consider using removable wall decals or frames that allow you to swap out prints easily. This way, you can refresh your decor without much hassle.
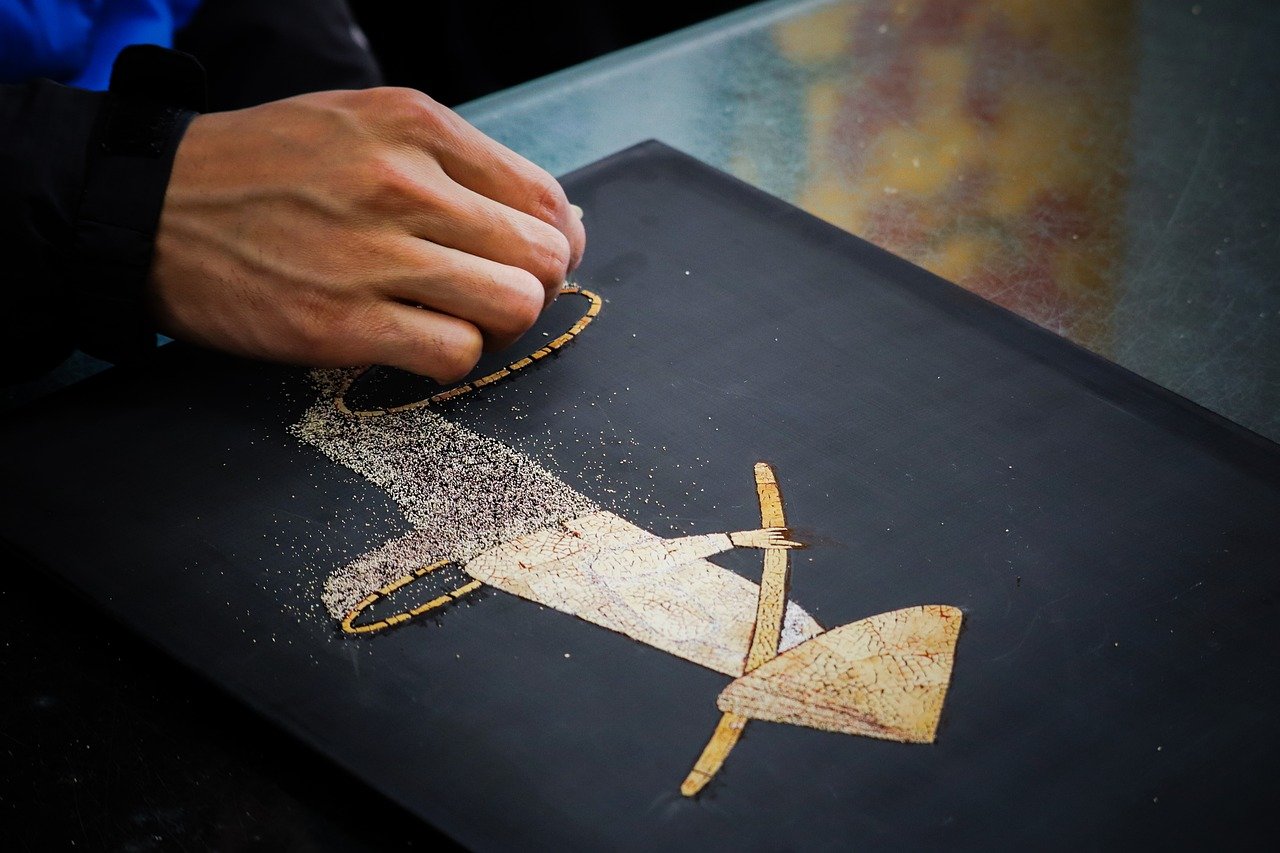
Framed Fabric Panels
Framed fabric panels are a fantastic way to inject personality and warmth into your small space without overwhelming it. Imagine walking into a room where the walls are adorned with vibrant patterns and textures, instantly creating an inviting atmosphere. These panels not only serve as stunning wall art but also provide a unique way to express your style. The best part? They are incredibly easy to make, requiring minimal materials and effort. So, let’s dive into the world of framed fabric panels and discover how you can transform your space!
First, you need to choose the right fabrics. This is where your creativity can truly shine. Look for fabrics that resonate with you—whether it's a bold geometric print, a soft floral design, or even a textured linen. Consider the color palette of your room; you want your panels to complement the existing decor. For example, if your space features cool tones, opt for fabrics in similar hues to create a cohesive look. Conversely, if you want to make a statement, go for contrasting colors that pop!
Next, let’s talk about the mounting techniques. Once you've selected your fabrics, it's time to frame them. You can purchase inexpensive frames at craft stores or even repurpose old ones you have lying around. Simply cut the fabric to fit the frame and secure it tightly. If you’re feeling particularly crafty, you can also stretch the fabric over a canvas for a more modern look. Make sure to use a staple gun or fabric glue to ensure everything stays in place. Once framed, these panels can be hung in a grid pattern or staggered for a more dynamic display. The arrangement you choose can dramatically affect the room's overall feel, so play around until you find what feels right!
To give you an idea of how to choose fabrics, here’s a quick comparison table:
| Fabric Type | Best For | Color Considerations |
|---|---|---|
| Cotton | Everyday use, easy to clean | Available in a vast array of colors and patterns |
| Linen | Textured, elegant look | Neutral tones work well in sophisticated settings |
| Canvas | Durable, modern appeal | Bright colors can create a bold statement |
In conclusion, framed fabric panels are a simple yet effective way to enhance your small space. They allow for creativity, personalization, and a touch of elegance without taking up any floor space. So, gather your materials, unleash your imagination, and let your walls tell your story!
- What materials do I need to create framed fabric panels?
You will need fabric, frames (or canvas), a staple gun or fabric glue, scissors, and a ruler for measuring. - Can I use any type of fabric?
While you can use various types of fabric, it's best to choose something that complements your decor and is easy to work with, like cotton or linen. - How do I hang the panels?
Use picture hooks or nails to hang the frames on the wall. Make sure to measure and mark where you want them to go for a neat arrangement.

Choosing the Right Fabrics
When it comes to for your DIY decor projects, it's essential to consider both aesthetics and functionality. The fabric you select can dramatically affect the overall vibe of your space. Imagine walking into a room adorned with soft, inviting textures versus one filled with harsh, unwelcoming materials. Which would you prefer? The right fabric can add warmth, character, and a sense of style to your small area. Here are some tips to help you make the best choices:
First and foremost, think about the color palette of your room. Fabrics come in a myriad of colors, and selecting hues that harmonize with your existing decor can create a cohesive look. For instance, if your walls are painted in soft pastel shades, consider fabrics in complementary colors to enhance the overall aesthetic. On the other hand, bold patterns can serve as a statement piece, drawing attention and adding a pop of excitement to your decor.
Next, consider the texture of the fabric. Different textures can evoke various feelings; for example, a soft velvet can create a luxurious feel, while a rough burlap can lend a rustic charm. Mixing textures can also add depth to your decor. For instance, pairing a smooth cotton fabric with a textured linen can create a visually appealing contrast that captivates the eye.
Additionally, think about the durability of the fabric, especially if you have pets or children. You want materials that can withstand wear and tear while still looking fabulous. Fabrics like canvas or denim are not only stylish but also robust, making them perfect for high-traffic areas. If you're creating something that will be used frequently, such as throw pillows or curtains, opting for durable fabrics will ensure your creations stand the test of time.
Lastly, don't forget to consider the pattern of the fabric. Patterns can add personality and flair to your DIY projects. Whether you prefer floral designs, geometric shapes, or classic stripes, choose patterns that resonate with your personal style. Mixing different patterns can also create a unique and eclectic look, just be sure to balance them out with solid colors to avoid overwhelming the space.
In summary, choosing the right fabrics involves a careful consideration of color, texture, durability, and pattern. By keeping these factors in mind, you can elevate your DIY decor projects and create a small space that feels vibrant, inviting, and uniquely yours.
- What types of fabrics are best for wall art projects? Lightweight fabrics like cotton and linen work well, as they are easy to mount and manipulate.
- How can I ensure the fabric I choose will match my existing decor? Bring color swatches or photos of your space when shopping for fabrics to help you visualize how they will look together.
- Are there any fabrics I should avoid for DIY projects? Avoid fabrics that are too delicate or slippery, as they may not hold up well for projects like wall art or furniture upholstery.

Mounting Techniques
When it comes to displaying your stunning fabric panels, the right can make all the difference. You want your artwork to be not only visually appealing but also securely attached to your walls. After all, the last thing you want is for your carefully crafted decor to come crashing down! So, let’s dive into some effective methods that will elevate your wall art while keeping it safe and sound.
First off, consider using staples or tacks for a simple and straightforward approach. This technique works particularly well if you’re dealing with lightweight fabrics. Just stretch the fabric panel taut against the wall and secure it with a staple gun or decorative tacks. This method not only keeps your fabric in place but also adds a charming touch, especially if you choose colorful or unique tacks that can enhance the overall look.
If you’re looking for a more polished finish, using a frame is an excellent option. Framing your fabric panels can give them a gallery-worthy appearance. You can either purchase ready-made frames or create your own using wood or even cardboard. Just make sure to choose a frame that complements the fabric pattern and colors. Once framed, simply hang them on the wall using picture-hanging strips or nails, ensuring they’re level for a professional look.
Another innovative approach is to use adhesive hooks or velcro strips. These options are particularly great for renters or those who prefer not to damage their walls. Simply attach the adhesive hooks or velcro to the corners of your fabric panel and stick them directly onto the wall. This allows for easy removal and repositioning without leaving any marks behind. Plus, it’s a breeze to swap out fabrics whenever you feel like a change!
For a more artistic flair, consider the hanging rod method. This technique involves installing a decorative rod or dowel at the top of your wall and using clips or rings to hang your fabric panels. This not only adds a touch of elegance but also allows for easy adjustment of the fabric's height and position. It’s especially effective for wider panels, giving a flowing, draped look that can soften the edges of your room.
Finally, don't forget about the power of magnetic strips. If you’re feeling particularly crafty, you can sew or attach magnetic strips to the top and bottom of your fabric panels, allowing them to cling to metal surfaces. This is a unique way to display your art while keeping it easy to change out. Just imagine being able to swap out your fabric panels with the seasons or your mood!
In summary, the right mounting technique can enhance the beauty of your fabric panels while ensuring they're securely displayed. Whether you opt for staples, frames, adhesive hooks, hanging rods, or magnetic strips, each method offers its own unique charm and functionality. So, get creative, and let your fabric art shine!
- What materials do I need for mounting fabric panels? You'll need staples or tacks, adhesive hooks, frames, or rods depending on the method you choose.
- Can I use these techniques on any type of fabric? Yes, but lightweight fabrics work best for tacks and staples, while heavier materials may require frames or rods.
- Will using adhesive hooks damage my walls? Most adhesive hooks are designed to be removable without damaging the paint or drywall.
- How do I ensure my fabric panels are level? Use a level tool when hanging to make sure everything is straight and even.
Gallery Walls
Creating a gallery wall is like throwing a personal art show right in your living room! It’s an exciting way to showcase your personality, interests, and memories in a visually stunning manner. Imagine walking into a room where every glance reveals a piece of your story, from cherished family photos to vibrant art pieces that spark joy. The beauty of a gallery wall lies in its versatility; it can be as eclectic or as cohesive as you want it to be. With a little creativity and a few tips, you can transform any blank wall into a captivating focal point that draws the eye and invites conversation.
To get started, gather a collection of items that resonate with you. This could include:
- Your favorite photographs, framed or unframed
- Art prints or paintings that inspire you
- Decorative pieces like mirrors or wall hangings
- Quotes or typography art that speaks to you
When arranging your gallery wall, think about the overall layout. Do you want a symmetrical look that feels organized and polished, or an asymmetrical arrangement that feels more casual and free-spirited? A symmetrical layout often works best in smaller spaces, as it creates a sense of balance and order. On the other hand, an asymmetrical layout can add an element of surprise and dynamism, making your wall feel alive. You might want to lay everything out on the floor first to visualize how it will look before committing to the wall.
Another crucial aspect of a gallery wall is the color scheme. Consider the colors already present in your room. If your space has a neutral palette, adding vibrant pieces can create a stunning contrast. Conversely, if your decor is already colorful, you may want to choose art that complements rather than competes with your existing colors. A cohesive color palette can tie everything together, making your gallery wall feel intentional and well-thought-out.
Once you’ve decided on the arrangement and color scheme, it’s time to hang your pieces! The key is to ensure that they are at eye level—typically between 57 to 60 inches from the floor to the center of your gallery wall. This height allows for comfortable viewing and creates a more inviting atmosphere. Use painter’s tape to outline where each piece will go on the wall, which can help you visualize the final look without making unnecessary holes. Remember, it’s okay to mix different frame styles and sizes; this adds character and keeps the eye moving across the wall.
Finally, don’t forget to incorporate personal elements that reflect your journey. Perhaps a travel memento from your favorite destination or a piece of art created by a friend. These touches will make your gallery wall uniquely yours and will undoubtedly spark conversations with guests who visit. So, grab your tools, unleash your creativity, and let your gallery wall tell your story!
Q: How do I choose the right size for my gallery wall?
A: Start by measuring the wall space you want to use. A good rule of thumb is to cover about two-thirds of the wall for a balanced look. Arrange your items on the floor first to visualize the size and layout.
Q: Can I mix different frame styles?
A: Absolutely! Mixing frame styles adds depth and interest to your gallery wall. Just make sure to maintain a cohesive color palette to keep everything looking harmonious.
Q: What if I make a mistake while hanging my pieces?
A: Don’t worry! You can easily patch small holes with spackle. If you’re unsure about placement, use adhesive strips that allow for easy repositioning without damaging the wall.

Creative Lighting Solutions
Lighting is one of those magical elements in home decor that can completely transform a space. Imagine walking into a small room that feels cramped and dull, and then flicking on a few carefully chosen lights to create a cozy, inviting atmosphere. It’s like flipping a switch on your mood! In this section, we’ll explore some innovative DIY lighting projects that not only brighten up your small area but also serve as stunning decorative pieces. So, grab your tools and let’s get creative!
First up, let’s talk about DIY Pendant Lights. These are fantastic because they can be tailored to fit your style and the overall vibe of your room. You can use materials like wire, fabric, or even recycled items to create unique pendant lights that hang from the ceiling. Not only do they provide essential lighting, but they also act as a focal point in your room. The best part? You can easily make them with a few simple steps:
- Choose Your Materials: Look around your home for items you can repurpose. Old lampshades, glass jars, or even wood can make stunning light fixtures.
- Design Your Fixture: Sketch out a design that suits your taste. Think about the size and shape that would best fit your space.
- Install with Care: Make sure to follow safety guidelines when installing your pendant lights. If you’re unsure, consulting a professional is always a good idea.
Next, let’s shed some light on the charming world of String Lights Decor. These little beauties are not just for the holidays; they can be a year-round decor staple! String lights can add a cozy and whimsical touch to any small space. You can drape them over your bed frame, wrap them around a mirror, or even hang them along a wall to create a dreamy atmosphere. The soft glow they emit can make your room feel inviting and warm, perfect for those relaxing evenings at home.
To get the most out of your string lights, consider these creative ideas:
- Layering: Combine string lights with other types of lighting to create depth. For instance, pair them with a floor lamp for a warm glow.
- Use in Unexpected Places: Think outside the box! String lights look great in jars, inside shadow boxes, or even hanging from the ceiling like stars.
- Colorful Options: Don’t just stick to the classic white lights; explore colored string lights for a fun, festive vibe.
Finally, let’s not forget about the importance of task lighting. In a small space, every inch counts, so having lighting that serves a purpose is crucial. Consider adding a stylish desk lamp or a reading light next to your favorite chair. Not only does this provide necessary illumination for tasks, but it also adds character to your decor. You can even make your own lamp using a few basic materials! Just think of it as a fun project that enhances both the look and functionality of your small space.
In conclusion, lighting is an essential aspect of home decor that can elevate your small space from ordinary to extraordinary. With a little creativity and some DIY spirit, you can create stunning lighting solutions that reflect your style while providing the warmth and brightness your home deserves. So, don’t shy away from experimenting with different ideas. Your small space is just waiting to shine!
Q: What are some affordable materials to use for DIY pendant lights?
A: You can use items like old lampshades, mason jars, or even paper lanterns. Be creative with what you have at home!
Q: How can I safely install string lights?
A: Make sure to use lights that are rated for indoor use, and avoid overloading circuits. If you’re hanging them high, use sturdy hooks to secure them.
Q: What is task lighting and why is it important?
A: Task lighting is focused light that helps you perform specific tasks, like reading or working. In small spaces, it’s essential for maximizing functionality without compromising style.
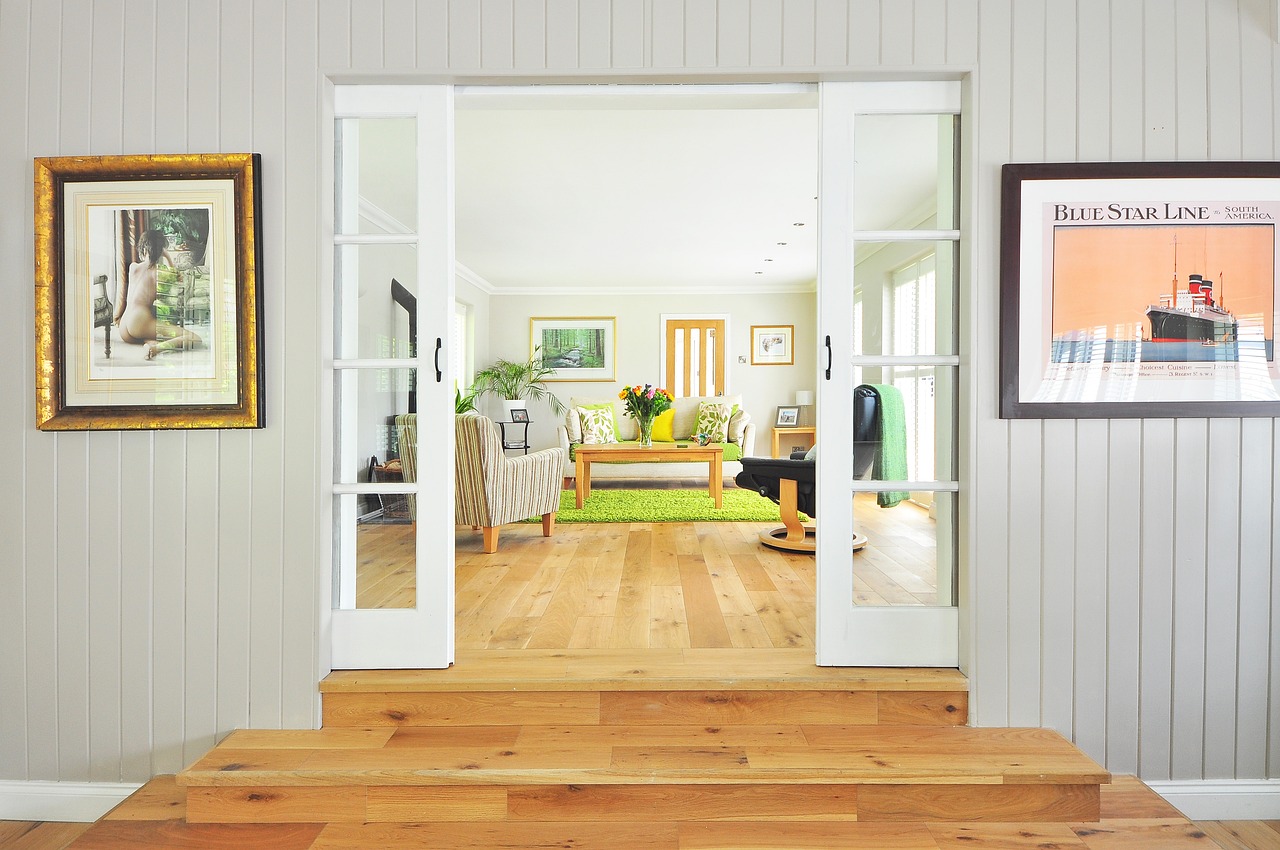
DIY Pendant Lights
Are you tired of the same old boring lighting fixtures that do nothing to enhance the character of your small space? Well, it’s time to roll up your sleeves and unleash your inner designer! Crafting your own can be a fun and rewarding project that not only brightens up your room but also adds a personal touch to your decor. Imagine hanging a beautiful pendant light that you made yourself, casting a warm glow over your living area and impressing your guests. Sounds enticing, right? Let's dive into how you can create stunning pendant lights without breaking the bank!
First things first, you'll need to gather some materials. The beauty of DIY projects is that you can use a variety of items, from recycled materials to inexpensive supplies from your local craft store. Here’s a quick rundown of what you might need:
- Light bulb and socket kit
- Wire or chain for hanging
- Shade materials (think metal, glass, or even fabric)
- Paint or decorative finishes (optional)
Once you have your materials, the next step is to decide on a design. Are you envisioning a sleek modern look, or something more rustic and cozy? Here are a few ideas to get your creative juices flowing:
- Industrial Style: Use a metal shade and expose the bulb for a trendy industrial vibe.
- Bohemian Charm: Create a pendant light using a woven basket or natural fibers for a relaxed, boho feel.
- Minimalist Elegance: Opt for a simple glass globe with a filament bulb for a clean and sophisticated look.
After settling on a design, it’s time to assemble your pendant light. Start by attaching the light bulb socket to your chosen shade, ensuring it’s secure. If you’re using a fabric shade, you might want to reinforce it with a wire frame to maintain its shape. Next, attach the wire or chain to hang your light from the ceiling. This is where you can get creative—consider different lengths or arrangements to make your lighting fixture a statement piece!
Finally, it’s crucial to remember safety when working with electrical components. Make sure to follow the instructions that come with your light bulb and socket kit. If you're unsure about any electrical work, it might be wise to consult with a professional. Once everything is set up, flip the switch and enjoy the beautiful ambiance your new DIY pendant light creates!
In conclusion, DIY pendant lights not only serve as functional lighting but also as a reflection of your personal style. They can transform your small space into a cozy haven, making it feel more inviting. So, gather your materials, unleash your creativity, and let there be light!
Q: What materials can I use for a DIY pendant light shade?
A: You can use a variety of materials such as metal, glass, fabric, or even natural elements like wood or wicker. The choice depends on the style you want to achieve!
Q: How do I ensure my DIY pendant light is safe to use?
A: Always follow the manufacturer's instructions for the light bulb and socket kit. If you're unsure about the electrical connections, it's best to consult with a professional electrician.
Q: Can I customize the height of my pendant light?
A: Absolutely! You can adjust the length of the wire or chain to hang your pendant light at the desired height. Just make sure it’s not too low to avoid obstruction.

String Lights Decor
When it comes to adding a touch of magic to your small space, string lights are the unsung heroes of home decor. Imagine walking into a room where soft, twinkling lights greet you, creating an ambiance that feels both cozy and inviting. These lights are not just for the holiday season; they can be a year-round solution to transform your space into a warm haven. Whether you’re looking to create a romantic vibe for date night or a whimsical atmosphere for a gathering with friends, string lights can do it all!
One of the best things about string lights is their versatility. They can be draped, hung, or wrapped around almost anything. For instance, you can easily string them along a wall, across a ceiling, or even around furniture. The possibilities are endless! You might want to consider creating a canopy effect over your bed or seating area, which can make your small space feel larger and more open. Just picture those lights softly glowing above you, like a starry night sky right in your home.
Here are some creative ideas to incorporate string lights into your decor:
- Wall Art: Create a stunning backdrop by arranging string lights in a shape or pattern on your wall. This can be a heart, a star, or even your initials. It adds a personal touch while illuminating the space.
- Jar Lanterns: Fill mason jars with string lights to make adorable lanterns. You can place these on shelves or hang them from hooks for a charming effect.
- Bookshelf Accents: Weave string lights through your bookshelf to highlight your favorite books and decorative items, turning a simple shelf into a captivating display.
When choosing string lights, consider the color temperature. Warm white lights tend to create a cozy atmosphere, while cool white lights can feel more modern and crisp. Also, think about the length of the lights; make sure they’re long enough to cover the area you want to decorate without looking sparse. And don’t forget about the power source! Battery-operated string lights offer more flexibility in placement, especially if you don’t have easy access to outlets.
In addition, you can enhance your string lights with additional decor elements. Consider pairing them with greenery, like artificial vines or fresh flowers, to add a natural touch. You can also mix them with other lighting sources, such as candles or lanterns, for a layered lighting effect that brings depth to your small space.
So, why not let your creativity shine? String lights are an affordable and fun way to inject personality into your home. They can easily transform a dull corner into a lively nook that invites relaxation and enjoyment. The next time you feel your space is lacking a little something, grab some string lights and get decorating!
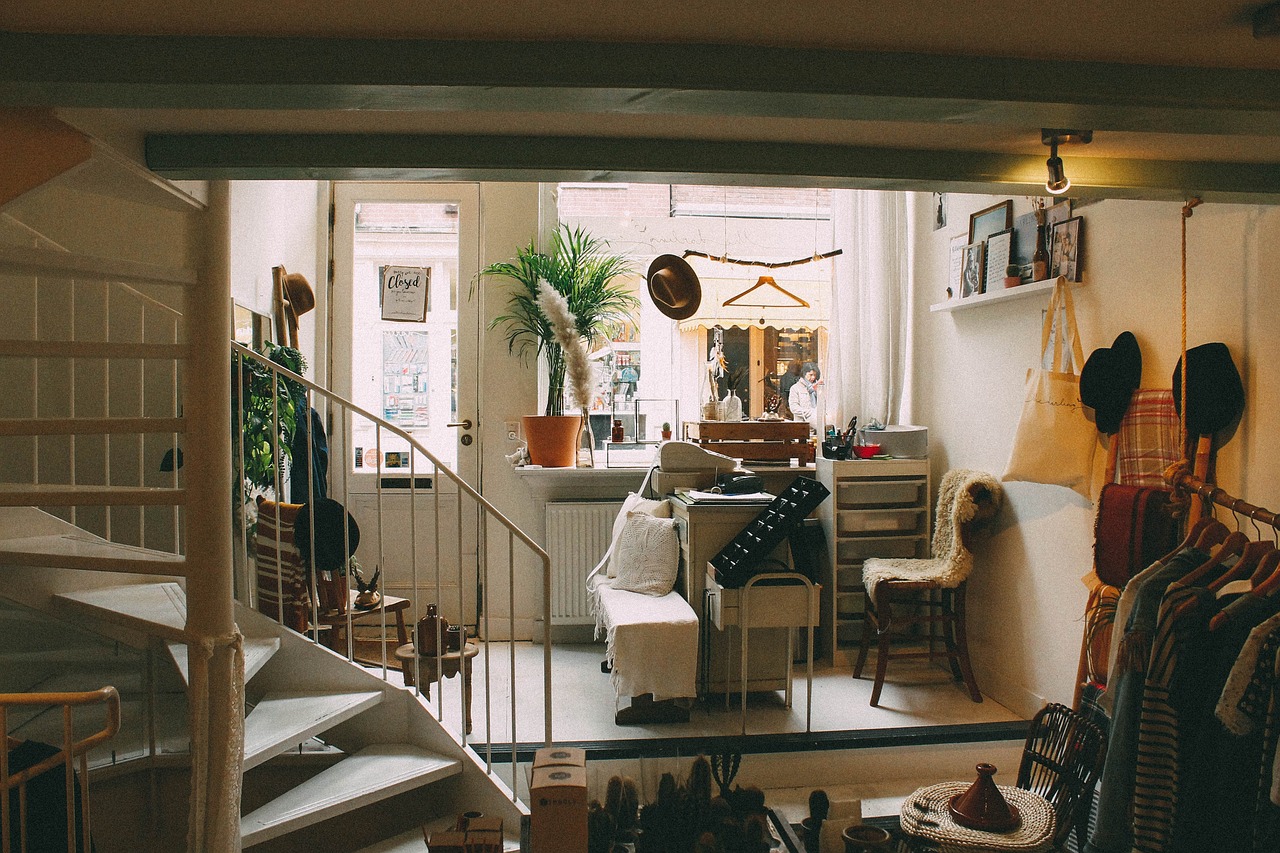
Functional Storage Solutions
In a small space, every inch counts, and finding is crucial to maintaining a tidy and inviting environment. The key is to think creatively and utilize areas that are often overlooked. One of the most effective strategies is to maximize vertical space. By installing shelves, you can not only store items but also display your favorite decor, making your walls work double duty. Imagine transforming a blank wall into a beautiful showcase of your personality while keeping your essentials organized!
Another fantastic way to enhance your storage capabilities is by utilizing under-bed storage. This area is often a wasteland for dust bunnies, but with a little creativity, it can become a treasure trove of organization. You can easily create stylish storage solutions by using decorative bins or even repurposing old drawers. Not only does this keep your belongings out of sight, but it also frees up valuable closet space for other items. Think of under-bed storage as a secret compartment in your home, hiding away clutter while maintaining a clean aesthetic.
When it comes to wall-mounted shelves, the options are virtually endless. You can build your own shelves using reclaimed wood for a rustic touch or opt for sleek, modern designs that blend seamlessly with your decor. Consider installing floating shelves to create an illusion of more space. These shelves appear to defy gravity, offering a contemporary feel while providing functional storage. Plus, they can be arranged in various configurations to suit your style, whether it's minimalist or eclectic.
To give you a clearer idea of how to implement these ideas, here's a simple comparison table highlighting different storage solutions:
| Storage Solution | Benefits | Ideal For |
|---|---|---|
| Under-Bed Storage | Maximizes hidden space, keeps items out of sight | Bedrooms, guest rooms |
| Wall-Mounted Shelves | Utilizes vertical space, adds decor | Living rooms, kitchens, offices |
| Multi-Functional Furniture | Combines storage with usability | Any small space |
Finally, consider investing in multi-functional furniture. Pieces that serve dual purposes, such as ottomans with storage or coffee tables that open up to reveal hidden compartments, can be game-changers in small spaces. They not only provide a place to sit or set down your drink but also help keep your area organized. Think of them as the Swiss Army knives of furniture—versatile and practical!
Q: How can I make the most of my closet space?
A: Use organizers, such as hanging shelves or shoe racks, to maximize vertical space and keep items easily accessible.
Q: What are some creative ideas for under-bed storage?
A: Consider using rolling bins, vacuum-sealed bags, or even old suitcases to store seasonal clothes or extra linens.
Q: How can I incorporate storage into my decor?
A: Use decorative baskets or stylish boxes on shelves to store items while enhancing your overall decor.
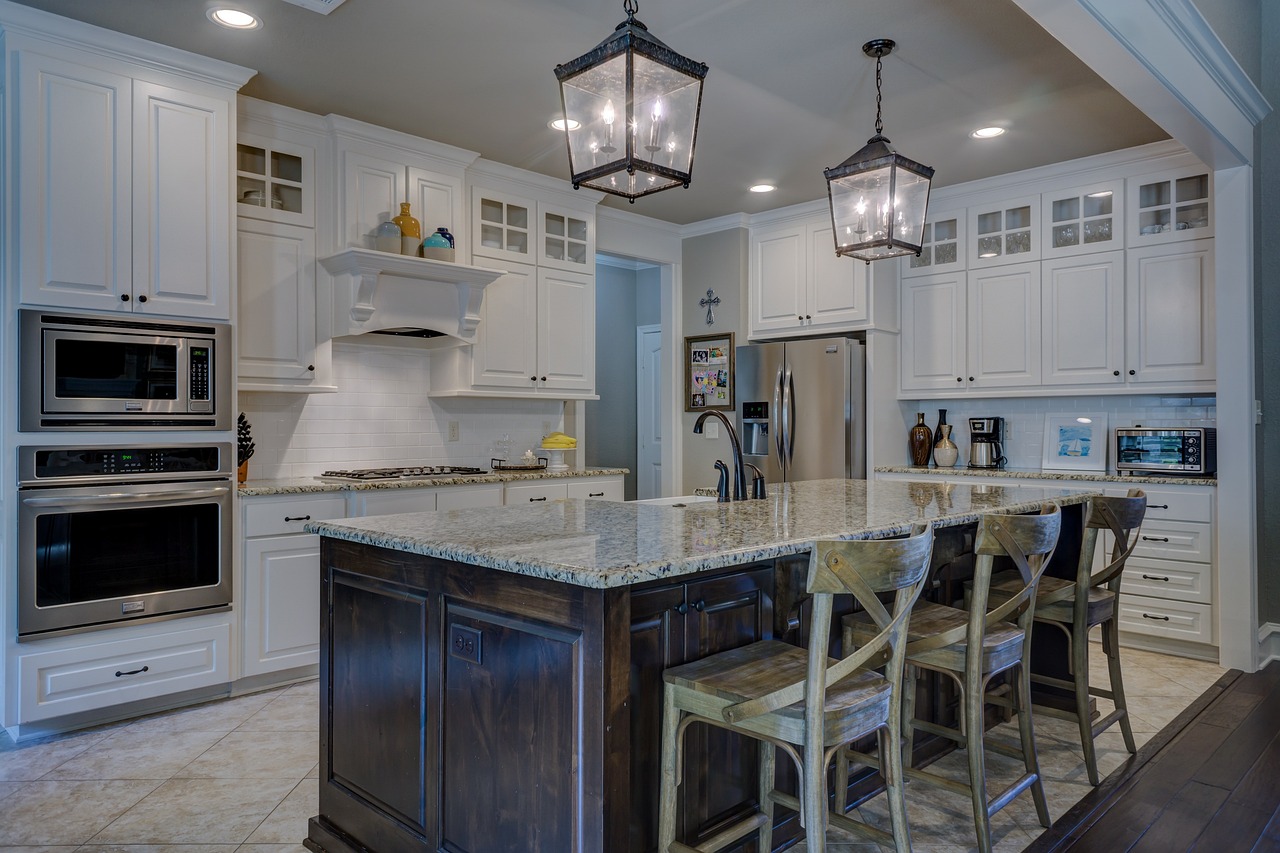
Under-Bed Storage
When it comes to maximizing space in a small room, is a game changer. This often-overlooked area can become a treasure trove of organization and style, allowing you to declutter while keeping your essentials within reach. Think of it as the hidden compartment of your room, where you can stow away items that you don't use every day, yet still want to keep close at hand. Imagine sliding out a beautifully crafted storage box that not only serves a purpose but also adds a touch of flair to your bedroom.
Creating under-bed storage doesn't have to be complicated or expensive. In fact, you can get creative with materials you already have at home. For instance, old wooden crates can be easily transformed into chic storage solutions with a bit of paint and some wheels. This way, you can simply roll them in and out with ease. Alternatively, consider using fabric bins or storage bags that can be tucked away neatly. Not only do they keep your items organized, but they also come in various colors and patterns, allowing you to match them with your room's decor.
Here’s a quick overview of some popular under-bed storage options:
| Storage Type | Benefits | Best For |
|---|---|---|
| Plastic Bins | Durable and easy to clean | Seasonal clothing, shoes |
| Fabric Storage Bags | Soft, flexible, and lightweight | Extra linens, blankets |
| Wooden Crates | Stylish and sturdy | Books, toys, decorative items |
When implementing under-bed storage, it's essential to consider what items you want to store. Are they seasonal clothing, extra linens, or perhaps books? Keeping similar items together can save you time when you're searching for something specific. Additionally, labeling your storage bins can make it even easier to find what you need without rummaging through everything. Just imagine how much more peaceful your space will feel when it’s organized and clutter-free!
Lastly, don't forget about the aesthetic aspect of your under-bed storage. You can easily enhance the look of your room by choosing storage solutions that complement your overall decor. Whether you prefer a rustic vibe with wooden crates or a modern touch with sleek plastic bins, the choice is yours. The goal is to create a harmonious balance between functionality and style, making your small space not just livable, but also enjoyable.
- What items are best suited for under-bed storage? Under-bed storage is ideal for seasonal clothing, shoes, extra linens, and even books or toys that you want to keep out of sight but still accessible.
- How do I ensure my under-bed storage remains organized? Use clear bins or labeled storage bags to keep similar items together, making it easier to find what you need without creating a mess.
- Can I make my own under-bed storage solutions? Absolutely! You can repurpose items like old wooden crates, fabric bins, or even create custom drawers that fit perfectly under your bed.
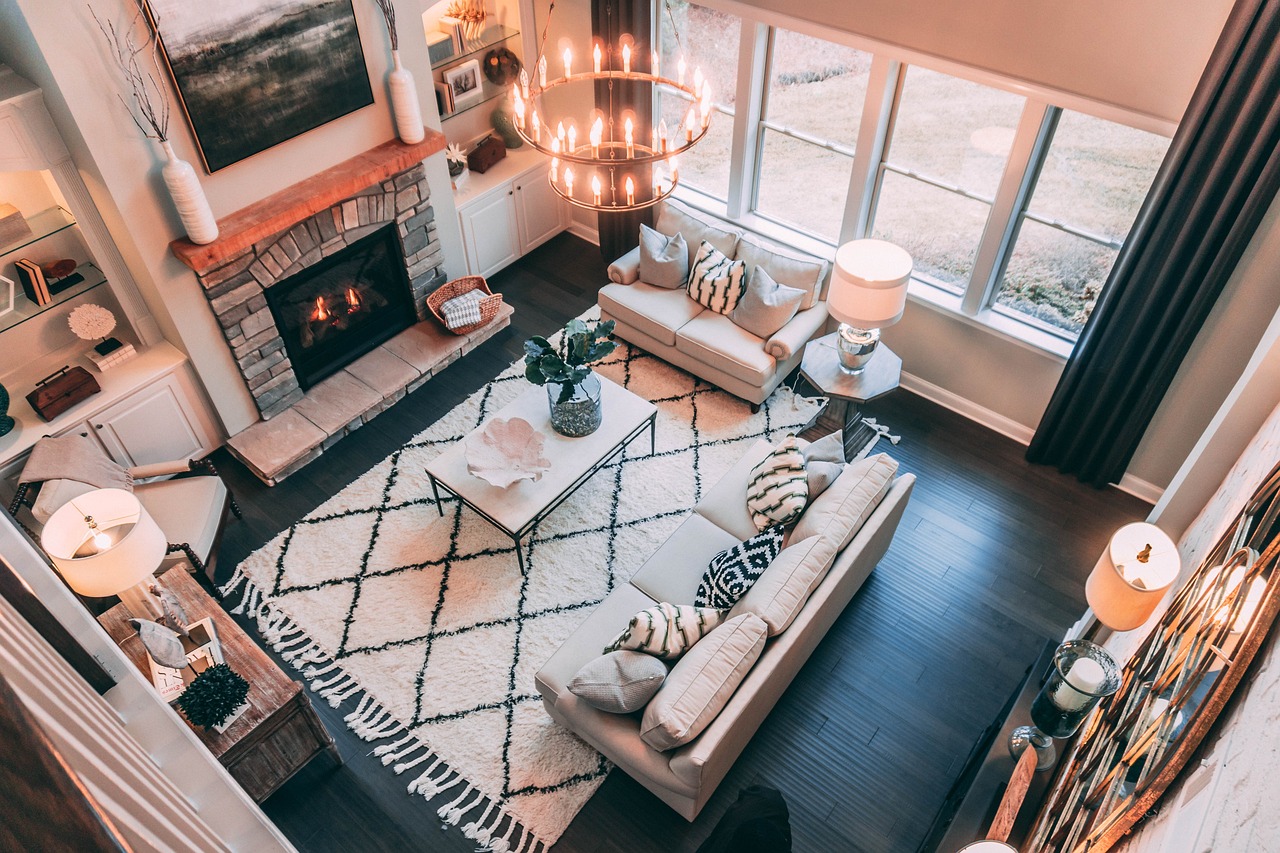
Wall-Mounted Shelves
When it comes to maximizing space in a small area, are like the superheroes of home decor. They not only offer a practical solution for storage but also serve as a stunning aesthetic element that can transform your walls from bland to beautiful. Imagine having a place to showcase your favorite books, plants, or decorative items without sacrificing precious floor space. Sounds like a dream, right? Well, it’s entirely achievable with a little creativity and effort!
First off, the beauty of wall-mounted shelves lies in their versatility. You can choose from various materials—wood, metal, or even glass—to match your existing decor. For instance, reclaimed wood can add a rustic charm, while sleek metal shelves can bring a modern edge to your space. The choice is yours! Plus, you can customize the size and shape to fit your specific needs, whether you want a single floating shelf or an entire shelving unit that spans an entire wall.
Now, let’s talk about installation. It might seem daunting, but mounting shelves is easier than you think! Most shelves come with brackets and installation guides, making it a straightforward DIY project. Just make sure to use the right tools and anchors, especially if you’re mounting on drywall. If you're unsure, a quick trip to your local hardware store can provide you with all the materials you need, along with a few helpful tips from the experts.
Once your shelves are up, the fun really begins! Styling them can be an enjoyable endeavor. Here are a few ideas to get your creative juices flowing:
- Mix and Match: Combine different items like books, plants, and art pieces to create an eclectic look.
- Color Coordination: Use a color palette that complements your room to create a cohesive feel.
- Layering: Don’t be afraid to layer items; place larger items at the back and smaller ones in front for depth.
Moreover, wall-mounted shelves can also serve a functional purpose beyond mere decoration. You can use them to organize your workspace by placing office supplies or books within arm's reach. In the kitchen, they can hold spices or cookbooks, making your culinary area both stylish and functional. The possibilities are truly endless, and that’s what makes wall-mounted shelves such a fantastic addition to any small space.
In summary, wall-mounted shelves are not just a storage solution; they are a canvas for your creativity. They allow you to express your personality while keeping your space organized and visually appealing. So, roll up your sleeves, grab your tools, and start creating your very own wall-mounted shelving masterpiece!
Q: What materials are best for wall-mounted shelves?
A: The best materials depend on your style and needs. Wood offers warmth and a classic look, metal provides a modern touch, and glass can create an airy feel. Consider your room's overall theme when choosing.
Q: How much weight can wall-mounted shelves hold?
A: This varies based on the type of shelf and how it's installed. Floating shelves generally hold less weight than those with brackets. Always check the manufacturer's specifications and ensure proper installation for safety.
Q: Can I install wall-mounted shelves on drywall?
A: Yes, you can install shelves on drywall, but it's crucial to use appropriate anchors to prevent the shelves from pulling away from the wall. If you're hanging heavier items, consider locating the studs for added support.
Q: How do I style my wall-mounted shelves?
A: Start by choosing a theme or color palette, then mix different items like books, plants, and decorative objects. Layering items and varying heights can create visual interest.
Frequently Asked Questions
- What are some easy DIY decor projects for small spaces?
There are tons of easy DIY decor projects that can really make a small space pop! You can try upcycling old furniture, creating unique wall art like framed fabric panels or gallery walls, and even making your own lighting solutions. Each of these projects adds a personal touch while maximizing the space you have.
- How can I upcycle old furniture?
Upcycling old furniture is all about creativity! You can repaint, re-stain, or even reupholster pieces to give them a fresh look. Adding new hardware or mixing and matching different styles can also breathe new life into your furniture. The key is to envision how you can transform what you already have!
- What types of fabrics work best for wall art?
When choosing fabrics for wall art, consider textures and colors that complement your space. Bold patterns can add excitement, while softer tones can create a calming atmosphere. Natural fabrics like cotton or linen work well, as they hang beautifully and add warmth to your decor.
- How do I securely mount fabric panels on the wall?
To securely mount fabric panels, you can use adhesive strips, picture hanging brackets, or even a simple wooden frame. Make sure to measure and mark where you want to hang them to ensure they are level. This way, your fabric panels will stay in place and look fantastic!
- What are some creative lighting solutions for small spaces?
Creative lighting solutions can really enhance a small space! Consider DIY pendant lights made from materials like mason jars or even paper lanterns. String lights can also add a cozy vibe when draped over shelves or along walls. They’re not just functional; they’re decorative too!
- How can I maximize storage in a small space?
Maximizing storage in a small space is all about thinking outside the box! Under-bed storage bins can utilize that often-overlooked area, while wall-mounted shelves can keep things organized and display decorative items at the same time. Every inch counts, so get creative with your storage solutions!
- Can I create my own wall-mounted shelves?
Absolutely! Building your own wall-mounted shelves is a fun and rewarding DIY project. You can use materials like wood or metal brackets to create shelves that fit your style. Just be sure to anchor them securely into the wall to hold your items safely!


