Fun DIY Project: Creating a Chalkboard Wall
Are you looking for a way to spice up your home or office space? A chalkboard wall might just be the perfect solution! Not only does it provide a unique canvas for creativity, but it also serves as a functional area for notes, reminders, and doodles. Imagine transforming a dull wall into a vibrant, interactive surface where you can express your thoughts, ideas, and even artwork. This article will guide you through the exciting process of creating your very own chalkboard wall, from gathering materials to personalizing your space. So, let’s dive in and unleash your inner artist!
Before you embark on this fun DIY adventure, it’s essential to gather all the necessary materials. Having everything on hand will ensure a smooth and enjoyable experience. Here’s a quick rundown of what you’ll need:
- Chalkboard paint – the star of the show!
- Paintbrushes – both wide and narrow for different applications.
- Painter’s tape – to keep your lines crisp and clean.
- Sandpaper – for prepping the wall surface.
- Drop cloths – to protect your floors and furniture.
With these materials in tow, you’re ready to start transforming your space into a chalkboard wonderland!
Now that you have your materials, it’s time to choose the perfect spot for your chalkboard wall. This decision is crucial because the location will determine how functional and visually appealing your wall will be. Consider the following factors:
- Wall size: Ensure that the wall you select is large enough to accommodate your creative ideas.
- Lighting: A well-lit area will enhance the visibility of your chalkboard drawings.
- Functionality: Think about how you plan to use the chalkboard. Is it for family messages, artistic expression, or a combination of both?
By carefully selecting the right location, you’ll maximize the potential of your chalkboard wall and ensure it becomes a beloved feature in your home.
Accurate measurements are the backbone of a successful project. To ensure your chalkboard fits perfectly, follow these simple tips:
- Use a measuring tape to determine the height and width of your chosen wall.
- Mark the corners with a pencil so you can visualize the area you’ll be painting.
- Double-check your measurements to avoid any surprises later on!
By taking the time to measure correctly, you’ll set yourself up for success and avoid unnecessary mistakes.
Now that you have your measurements, it’s time to calculate how much chalkboard paint you’ll need. This step is essential to avoid excess waste and ensure you have enough paint to cover the entire wall. A general rule of thumb is that one quart of chalkboard paint typically covers about 100 square feet. So, here’s a quick formula:
    Total Area  Height x Width
    Paint Needed  Total Area / Coverage per Quart
By using this calculation, you can confidently purchase the right amount of paint for your project.
Proper wall preparation can make a significant difference in the final appearance of your chalkboard wall. Start by cleaning the surface to remove any dust or grease. Next, use sandpaper to smooth out any imperfections. Finally, consider applying a primer to ensure optimal paint adhesion. This preparation will lead to a smoother, more professional-looking finish.
Once your wall is prepped, it’s time to apply the chalkboard paint! Start by using painter’s tape to outline the area you’ll be painting. Then, using your paintbrush, apply the first coat of chalkboard paint, making sure to go with the grain of the wall. Allow it to dry completely before applying a second coat. For a more durable finish, consider applying a third coat, especially in high-traffic areas.
Congratulations! Your chalkboard wall is complete, but the fun doesn’t stop there. Now it’s time to get creative and personalize your space. Here are some exciting ideas to consider:
Adding artwork to your chalkboard wall can enhance its visual appeal. Whether you’re drawing intricate designs, writing inspiring quotes, or letting your kids unleash their creativity, the options are endless. Use different colors of chalk to create a vibrant display that reflects your personality and style.
Don’t forget to enhance your chalkboard wall with fun accessories! Consider adding:
- Chalk holders – to keep your chalk organized and accessible.
- Erasers – for quick clean-up and maintenance.
- Decorative frames – to give your chalkboard a polished look.
These accessories will not only elevate your DIY project but also make it more functional and enjoyable.
Q: Can I use regular paint instead of chalkboard paint?
A: No, regular paint will not have the same chalkboard effect. It’s best to use specially formulated chalkboard paint for optimal results.
Q: How do I clean my chalkboard wall?
A: Use a damp cloth or sponge to wipe away chalk dust. For tougher stains, a gentle cleaner can be used.
Q: Can I paint over my chalkboard wall?
A: Yes, if you decide to change the look, you can paint over it with regular wall paint. Just make sure to properly clean and prepare the surface before painting.
Materials Needed
Before diving into the exciting world of creating your very own chalkboard wall, it's essential to gather all the necessary materials. Think of this as assembling your toolkit for a creative adventure! You wouldn’t go on a road trip without a map, right? Similarly, having the right supplies is crucial for a smooth DIY experience. Here’s a rundown of what you’ll need:
- Chalkboard Paint: This is the star of the show! You can find it in various colors, but classic black or green is often preferred for that authentic chalkboard vibe.
- Paint Brushes or Rollers: Depending on the size of your wall, you might want to use a brush for edges and a roller for larger areas to ensure an even application.
- Painter's Tape: This will help you create clean lines and protect adjacent surfaces from paint splatter.
- Sandpaper: A fine-grit sandpaper is essential for smoothing out the wall surface, ensuring the paint adheres well.
- Primer (if necessary): If your wall has a glossy finish or is particularly stained, a primer will help the chalkboard paint stick better.
- Chalk: Of course, you’ll need some chalk to write on your new masterpiece! Consider getting both traditional chalk and chalk markers for versatility.
- Ruler or Measuring Tape: Accurate measurements are key to making your chalkboard wall look professional.
- Drop Cloths: Protect your floors and furniture from paint drips and spills with some old sheets or plastic coverings.
Having these materials on hand will not only streamline the process but also make it more enjoyable. Imagine the satisfaction of transforming a plain wall into a canvas for your creativity! Plus, it’s a fantastic way to add a personal touch to your space, whether it’s in a kitchen, playroom, or home office. Each stroke of chalkboard paint is like laying down the foundation of your artistic expression.
Now, before you rush off to the store, take a moment to visualize how you want your chalkboard wall to look. Do you want it to be a central feature, or just a subtle addition? This thought process will guide you in choosing the right materials and colors, ensuring that your DIY project isn’t just a task but a fun and fulfilling experience!

Choosing the Right Location
When it comes to your chalkboard wall, the location you choose is absolutely crucial. It's like picking the right stage for a performance; the spotlight needs to shine just right! You want to find a spot that not only looks great but also serves a purpose in your home. Think about where you spend the most time or where creativity flows the easiest. Is it in the kitchen where you can jot down grocery lists? Or maybe in the living room for family doodles? The possibilities are endless, but let’s break down a few key factors to consider.
First off, consider the size of the wall. A small wall may feel cramped if you plan to fill it with artwork or notes, while a large wall can become a blank canvas for your imagination. Measure your space carefully to ensure you have enough room for the chalkboard without overwhelming the area. Additionally, think about lighting. Natural light can enhance the beauty of your chalkboard wall, making the colors pop and creating an inviting atmosphere. If your chosen spot is too dark, it might not be as effective for writing or drawing.
Another important factor is functionality. Ask yourself how you plan to use the chalkboard wall. Will it serve as a family message center, a place for kids to express their creativity, or a professional brainstorming space? Each function may influence your location decision. For instance, if you're using it for meal planning, placing it near the dining area or kitchen can make it more accessible.
Lastly, consider the surrounding decor. You want your chalkboard wall to blend seamlessly with your home’s aesthetic. Will it complement your existing color scheme? Will it clash with your furniture? Think of this wall as a piece of art that needs to harmonize with its surroundings.
In summary, the right location for your chalkboard wall can transform it from just a painted surface to a vibrant part of your home. By considering wall size, lighting, functionality, and decor, you’ll set the stage for a stunning and practical addition to your space. So, grab that measuring tape and start envisioning where your chalkboard wall will shine the brightest!
Measuring the Space
When it comes to creating your very own chalkboard wall, one of the most critical steps is accurately. Imagine trying to fit a square peg in a round hole; that’s what it feels like when your chalkboard doesn’t fit the designated area! So, let’s make sure you get this right from the get-go.
First off, grab a reliable measuring tape and a notepad. You’ll want to jot down the dimensions of the wall where you plan to apply the chalkboard paint. Measure the height and width of the wall in inches or centimeters, whichever you prefer. It’s essential to measure at multiple points because sometimes walls can be a bit wonky, especially in older homes. This will help you ensure that you have the most accurate measurements possible.
Now, while measuring, consider the following factors:
- Height: Decide how high you want your chalkboard wall to be. Do you want it to cover the entire wall or just a portion? If kids will be using it, make sure it’s accessible for them!
- Width: Think about how wide you want the chalkboard to be. A narrow strip can be charming, but a larger area allows for more creativity.
- Surrounding Space: Take note of any furniture or fixtures that might obstruct the wall. You wouldn’t want to paint over a light switch or a wall outlet, right?
Once you have your measurements, it’s time to visualize how the chalkboard will look in your space. You can use painter's tape to outline the area on the wall. This not only gives you a visual representation but also helps you see if the size works well with the surrounding décor. If you find the dimensions are off, don’t hesitate to adjust your plans! After all, this is your canvas, and you want it to be perfect.
Lastly, it's essential to keep in mind that the measuring process is not just about getting the numbers right. It’s about creating a space that feels right for you and your family. So, take your time, double-check your measurements, and make sure you’re excited about the area you’re about to transform. Remember, this chalkboard wall is a blank slate for creativity and fun, so let’s make sure it fits just right!
Calculating Paint Quantity
Understanding how much chalkboard paint you'll need is essential for your DIY project. Imagine standing in front of your freshly painted wall, only to realize you have too little paint left for a complete finish. To avoid this scenario, it's crucial to calculate the paint quantity accurately before you begin. The first step is to measure the dimensions of your wall. Grab a tape measure and jot down the height and width of the area you plan to cover. Multiplying these two numbers will give you the total square footage of the wall.
For example, if your wall is 8 feet high and 10 feet wide, the calculation would look like this:
| Dimension | Measurement (feet) |
|---|---|
| Height | 8 |
| Width | 10 |
| Total Square Footage | 80 |
Most chalkboard paints cover approximately 100 square feet per gallon. Therefore, for our example, you would need less than one gallon of paint. However, it's wise to consider a few additional factors:
- Number of Coats: Depending on the color and finish of your wall, you may want to apply more than one coat. If you plan on doing two coats, you should double your paint quantity.
- Surface Texture: If your wall has a rough texture, it may require more paint to achieve a smooth finish.
- Paint Absorption: Some wall materials absorb paint differently. For instance, a porous surface may need more paint than a smooth one.
After considering these factors, it's always a good idea to purchase a little extra paint. This way, you won’t run out mid-project, and you’ll have some left over for touch-ups in the future. Remember, having that extra can be a lifesaver for any future repairs or modifications you might want to make!
Preparing the Wall Surface
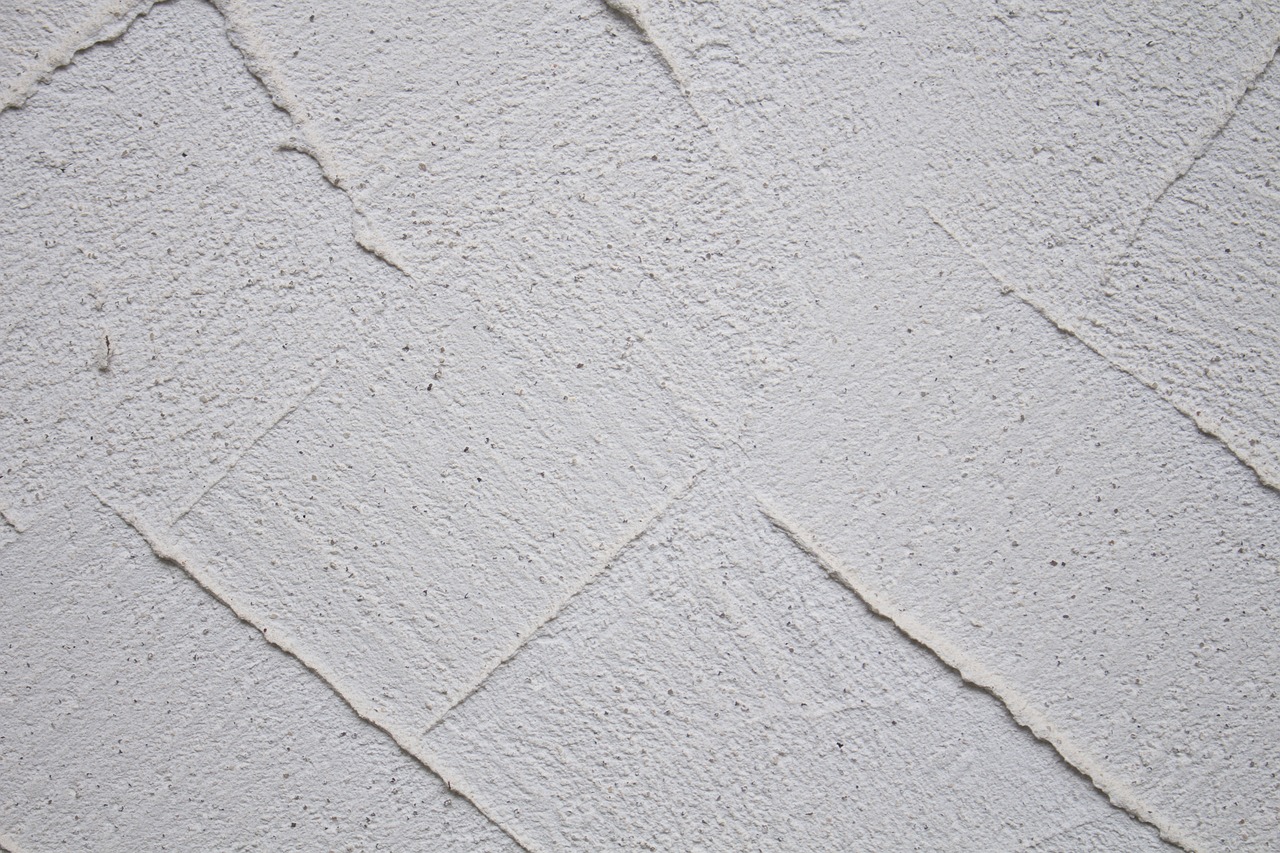
Before diving headfirst into the excitement of painting your chalkboard wall, it’s crucial to take a moment to prepare the wall surface properly. Think of this step as laying the foundation for a sturdy house; if the foundation is weak, everything built on it will suffer. Start by ensuring that your wall is clean, smooth, and primed for the best results. This preparation will not only enhance the paint's adhesion but also improve the overall appearance of your chalkboard wall.
First things first, grab a damp cloth and wipe down the wall to remove any dust, dirt, or grease. A clean surface is key to achieving that smooth, professional finish you’re aiming for. If your wall has any stains or marks that won’t budge, consider using a gentle cleaning solution. Once the wall is clean, it’s time to inspect it for any imperfections. Look for holes, cracks, or rough patches that could disrupt the smooth surface of your chalkboard.
If you find any holes or cracks, don’t panic! A little spackling compound can work wonders. Fill in those imperfections and let the compound dry completely. After it dries, sand the area gently to make it flush with the rest of the wall. Sanding is essential because it eliminates any rough spots that could prevent the chalkboard paint from adhering properly. You want your chalkboard to be as smooth as possible, so don’t skip this step!
Next, consider the texture of your wall. If you’re working with a textured surface, you might want to apply a primer first. This will create a smoother base for the chalkboard paint to adhere to. Choose a primer that is compatible with chalkboard paint and follow the manufacturer’s instructions for application. Typically, a roller works best for large areas, while a brush can help you get into corners and edges.
Once the primer is dry, you’re almost ready to paint! But before you grab that paintbrush, take a moment to think about the color of your chalkboard. While traditional black is a classic choice, you can get creative with colors that match your decor. Just remember, lighter colors may require more coats of paint to achieve the desired opacity. As you prepare, keep in mind that this wall will be a canvas for your creativity, so choose a color that inspires you!
In summary, preparing your wall surface involves a few key steps:
- Cleaning the wall thoroughly
- Inspecting and repairing any imperfections
- Sanding the surface for a smooth finish
- Applying primer if necessary
- Choosing the right chalkboard paint color
By taking the time to prepare your wall surface properly, you’ll set yourself up for success and ensure that your chalkboard wall looks fantastic for years to come. So, roll up your sleeves, grab your cleaning supplies, and let’s get this project started!
Q: How long does chalkboard paint take to dry?
A: Most chalkboard paints dry to the touch within 30 minutes, but it's best to wait at least 24 hours before applying a second coat or using the surface.
Q: Can I use chalkboard paint on any surface?
A: Chalkboard paint can be applied to various surfaces, including drywall, wood, and even metal. Just ensure the surface is properly prepared before painting.
Q: How do I clean my chalkboard wall?
A: Use a damp cloth or a chalkboard eraser to wipe off chalk. For deeper cleaning, a solution of water and vinegar can be used.
Q: Can I use colored chalk on my chalkboard wall?
A: Yes, colored chalk works great on chalkboard walls! Just be aware that some colors may stain if left on too long.

Applying Chalkboard Paint
Now that you’ve prepared your wall and gathered all the necessary materials, it’s time to dive into the fun part—applying the chalkboard paint! This step is where your vision starts to come to life, and it’s easier than you might think. First, ensure that your workspace is well-ventilated; open windows or use fans to keep the air flowing. You wouldn’t want to inhale those paint fumes, right?
Before you start painting, gather your tools. You’ll need a high-quality chalkboard paint, a paint roller or brush, painter’s tape, and a paint tray. If you're aiming for a professional finish, consider using a foam roller for a smoother application. Now, let’s break this down into manageable steps:
- Step 1: Use painter’s tape to outline the area where you’ll be applying the chalkboard paint. This will help you achieve clean, crisp edges and prevent any paint from getting onto surfaces you don’t want to cover.
- Step 2: Stir your chalkboard paint thoroughly before pouring it into your paint tray. This ensures an even consistency, which is crucial for a smooth finish.
- Step 3: Start applying the paint using your roller. Work in small sections and apply it in a W pattern to avoid streaks. Make sure to cover the entire area evenly.
- Step 4: Allow the first coat to dry completely. This usually takes about 1-2 hours, but check the paint can for specific drying times. If you’re feeling ambitious, you can apply a second coat for added durability.
- Step 5: Once the final coat is dry, carefully remove the painter’s tape while the paint is still slightly tacky. This will help prevent any peeling.
After you’ve applied your chalkboard paint, it’s essential to let it cure for about 3 days before using it. This waiting period allows the paint to harden and adhere properly to the wall, ensuring that your chalkboard lasts for years to come. It might feel like a long time, but trust me, it’s worth the wait!
Finally, once your chalkboard wall is fully cured, you can start having fun with it! Grab some colorful chalk and let your creativity flow. Whether you’re jotting down reminders, doodling, or creating masterpieces, your new chalkboard wall is a blank canvas ready for your personal touch.
Q: Can I use regular paint instead of chalkboard paint?
A: No, regular paint won’t give you the chalkboard effect. Chalkboard paint is specially formulated to allow chalk to write on it and be easily erased.
Q: How do I clean my chalkboard wall?
A: Simply use a damp cloth or a chalkboard eraser to wipe away chalk. For tougher marks, a mild soap solution can help.
Q: Can I paint over my chalkboard wall?
A: Yes, you can repaint it with chalkboard paint or any other paint, but make sure to properly prepare the surface first.
Q: What if my chalkboard paint gets scratched?
A: Minor scratches can usually be touched up with a little extra paint. For deeper scratches, you may need to repaint that section.
Personalizing Your Chalkboard Wall
Once your chalkboard wall is complete, it’s time to unleash your creativity and make it truly yours! Personalizing your chalkboard wall can transform a simple black surface into a vibrant, functional piece of art that reflects your personality and style. Think of it as a blank canvas where you can express your thoughts, ideas, and even your dreams. So, how do you go about making this wall uniquely yours? Let’s dive into some exciting ideas!
First off, consider incorporating artwork directly onto your chalkboard wall. This could range from intricate drawings to simple doodles that can brighten up your space. You might want to sketch out your favorite quotes, motivational phrases, or even seasonal themes that keep your wall feeling fresh and lively. Imagine walking into a room and being greeted by a beautifully illustrated quote that inspires you every day! To get started, keep a few essential chalk colors handy, and don’t hesitate to experiment. Remember, the beauty of chalk is that it can be easily erased and redone, so let your imagination run wild!
In addition to artwork, think about adding some functional elements to your chalkboard wall. This could be anything from a calendar to a to-do list or even a menu board for the week. By integrating these features, you not only make your wall aesthetically pleasing but also incredibly practical. For instance, if you’re a busy parent, having a weekly schedule drawn on the wall can help keep everyone organized and on track. You can use different colored chalks to signify different family members or types of activities, making it visually appealing and easy to read at a glance.
Moreover, don’t forget about chalkboard accessories that can enhance your wall’s functionality. Consider using stylish chalk holders, erasers, and decorative frames to give your chalkboard wall an extra flair. You could even create a small shelf to hold your chalk and accessories, making it easy to grab what you need while adding an extra design element. These accessories can not only serve a practical purpose but also contribute to the overall aesthetic of your space.
To help you visualize your options, here’s a simple table outlining some popular personalization ideas for your chalkboard wall:
| Personalization Idea | Description |
|---|---|
| Artwork | Drawings, doodles, and quotes that reflect your personality. |
| Functional Elements | Calendars, to-do lists, or menu boards for organization. |
| Chalkboard Accessories | Stylish holders, erasers, and frames to enhance functionality and aesthetics. |
Ultimately, personalizing your chalkboard wall is all about making it a reflection of you. Whether you choose to fill it with colorful illustrations, practical lists, or a combination of both, the key is to have fun with the process. Don’t be afraid to change things up regularly; after all, chalk is meant to be temporary! This way, your wall can evolve with your mood, the seasons, or even special occasions. So grab your chalk, and let your creativity flow!
Q: How do I remove chalk from my chalkboard wall?
A: Simply use a damp cloth or an eraser to wipe away any chalk. For stubborn marks, a mixture of water and vinegar can help.
Q: Can I use colored chalk on my chalkboard wall?
A: Yes! Colored chalk can add a vibrant touch to your designs and make your wall even more eye-catching.
Q: How do I maintain my chalkboard wall?
A: Regularly clean the surface to prevent chalk dust buildup. You can also reapply a fresh coat of chalkboard paint every few years to keep it looking new.
Incorporating Artwork
Once your chalkboard wall is complete, it's time to unleash your creativity and make it truly yours! Incorporating artwork into your chalkboard wall not only adds a personal touch but also transforms it into a vibrant canvas that reflects your personality. Think of your chalkboard wall as a blank page in a sketchbook, waiting for your imagination to bring it to life. Whether you want to doodle, write inspirational quotes, or create intricate designs, the options are endless. Why not start by sketching out your ideas before diving in? This way, you can visualize how everything will come together.
One of the most exciting aspects of a chalkboard wall is its ability to evolve. You can change your artwork based on the seasons, holidays, or simply your mood! For instance, during the fall, you might want to draw pumpkins and autumn leaves, while in the spring, vibrant flowers could take center stage. This flexibility allows you to keep your space fresh and engaging. Plus, if you make a mistake, no worries! Just erase it and start anew. It's like having a perpetual art project right in your home!
To get started, consider the following ideas for incorporating artwork into your chalkboard wall:
- Quotes and Sayings: Write down your favorite quotes or motivational sayings that inspire you daily. Use different fonts and sizes to create a visually appealing display.
- Doodles and Sketches: Let your inner artist shine! Draw whimsical doodles or sketches that resonate with you. This can be anything from simple shapes to elaborate illustrations.
- Seasonal Themes: Change your artwork to reflect the seasons or upcoming holidays. For example, you could draw snowflakes in winter and beach scenes in summer.
Additionally, don't shy away from using colored chalk or even chalk markers to add depth and vibrancy to your designs. These tools can help your artwork pop and make your chalkboard wall a focal point in the room. If you're feeling particularly adventurous, you might even want to incorporate a frame around your chalkboard wall. This can be done using painter's tape to create the illusion of a framed artwork, giving your designs a polished look.
Remember, the beauty of a chalkboard wall lies in its impermanence. You can always erase and recreate, so don't be afraid to experiment! Try layering different designs or combining various artistic styles. Who knows? You might discover a unique blend that becomes your signature style. So grab your chalk, let your creativity flow, and watch your chalkboard wall become a masterpiece that evolves with you!
Q: Can I use regular chalk on my chalkboard wall?
A: Yes, you can use regular chalk! However, for more vibrant colors and finer details, consider using chalk markers.
Q: How do I clean my chalkboard wall?
A: To clean your chalkboard wall, simply use a damp cloth or sponge. For stubborn marks, a mild soap solution can be used.
Q: Can I paint over my chalkboard wall?
A: Absolutely! If you ever want to change the look of your wall, you can paint over it with regular wall paint. Just ensure the chalkboard paint is completely dry before applying a new coat.
Using Chalkboard Accessories
Once your chalkboard wall is complete, the fun doesn’t stop there! It's time to elevate your DIY project with some **exciting chalkboard accessories**. These additions not only enhance functionality but also add a touch of personality to your space. Imagine stepping into a room where your chalkboard wall isn't just a blank slate but a lively canvas filled with creativity and inspiration!
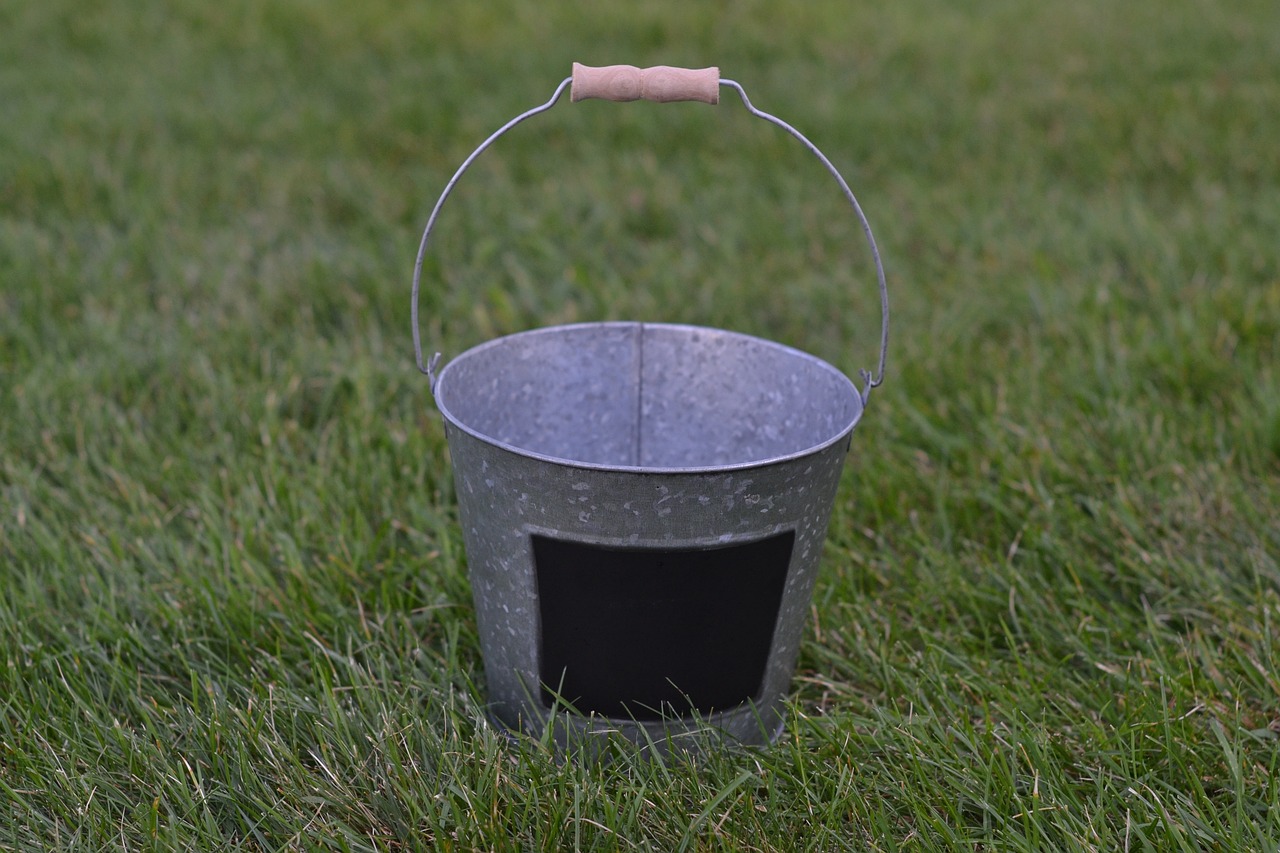
First up, let’s talk about **chalk holders**. These nifty little tools can keep your chalk organized and easily accessible. You can choose from various styles, including wall-mounted holders or decorative containers that fit seamlessly into your overall design. A well-placed chalk holder can transform your chalkboard wall into a more functional space, making it easy to grab a piece of chalk whenever inspiration strikes.
Next, consider adding **erasers**. While it may seem like a simple accessory, the right eraser can make all the difference in maintaining your chalkboard wall. Look for options that are easy to grip and effective at wiping away chalk without leaving smudges. Some erasers even come with fun designs that can complement your chalkboard art. You might find that a cute, themed eraser can spark even more creativity as you sketch and doodle!
But wait, there’s more! Why not think about incorporating **decorative frames** around your chalkboard? A stylish frame can turn your chalkboard wall into a stunning focal point in the room. You can choose from sleek modern frames to rustic wooden ones, depending on your decor style. This not only enhances the visual appeal but also gives your chalkboard a finished look, making it feel like a piece of art rather than just a functional wall.
Another fantastic accessory to consider is **chalkboard stickers**. These playful elements allow you to create designated areas for notes, reminders, or even doodles. You can stick them on furniture, jars, or any surface that could use a little creative flair. The beauty of chalkboard stickers is their versatility; they can be easily repositioned or removed, giving you the freedom to change things up whenever you want.
To wrap up your chalkboard wall experience, think about adding **lighting**. Whether it's a string of fairy lights or a stylish lamp, good lighting can highlight your artwork and make your chalkboard wall even more inviting. Imagine the warm glow of lights illuminating your creative expressions, making it a perfect spot for brainstorming sessions or family gatherings.
In summary, the right chalkboard accessories can transform your chalkboard wall from a simple DIY project into a vibrant and personalized space. From organizing your chalk with holders to enhancing the aesthetics with frames and lighting, each accessory adds a unique touch that reflects your personality. So, what are you waiting for? Dive into the world of chalkboard accessories and let your creativity shine!
Here are some common questions people have about using chalkboard accessories:
- What type of chalk works best on chalkboard walls? Generally, traditional chalk works well, but you can also experiment with chalk markers for vibrant colors.
- How do I clean my chalkboard wall? Use a damp cloth to wipe it down, and for tougher stains, a mixture of vinegar and water can work wonders.
- Can I repaint my chalkboard wall if I want a different color? Yes! Just make sure to properly prepare the surface before applying a new coat of chalkboard paint.
Frequently Asked Questions
- What materials do I need to create a chalkboard wall?
To create a chalkboard wall, you'll need chalkboard paint, a paint roller or brush, painter's tape, sandpaper, a primer (if necessary), and a clean cloth for prepping the wall. Having these materials ready will ensure a smooth DIY experience!
- How do I choose the best location for my chalkboard wall?
Choosing the right location is key! Consider wall size, lighting conditions, and how you plan to use the chalkboard. A well-lit area can enhance visibility, while a larger wall gives you more space to express your creativity!
- What is the best way to measure my wall for the chalkboard?
Accurate measurements are crucial! Use a measuring tape to determine the height and width of the wall. Don't forget to account for any outlets or light switches, so your chalkboard fits perfectly without any interruptions.
- How do I calculate the amount of chalkboard paint needed?
To calculate the amount of chalkboard paint, measure the total square footage of your wall (height x width) and check the paint can for coverage information. This will help you avoid buying too much or too little paint!
- What preparation steps should I take before painting?
Preparation is key! Start by cleaning the wall to remove dust and grease. If the surface is rough, sand it down for a smoother finish. If you're painting over a dark color, consider priming the wall first for better paint adhesion.
- Can I use regular chalk on my chalkboard wall?
Absolutely! Regular chalk works perfectly on chalkboard walls. You can also use liquid chalk markers for more vibrant colors and designs, but make sure they're removable to keep your wall looking fresh!
- How can I personalize my chalkboard wall?
Personalizing your chalkboard wall is where the fun begins! You can incorporate artwork, quotes, or doodles that reflect your personality. Use different colors of chalk or even decorative frames to make it uniquely yours!
- What accessories can enhance my chalkboard wall?
There are plenty of fun accessories to elevate your chalkboard wall! Consider adding chalk holders, erasers, or decorative borders. These little touches can make your chalkboard not just functional but also a stylish part of your decor!


