Making a Stylish DIY Jewelry Box for Your Home
Have you ever found yourself tangled in a mess of necklaces, bracelets, and rings, desperately searching for that perfect accessory to complete your look? Creating a DIY jewelry box not only helps you organize your treasures but also adds a personal touch to your home decor. Imagine walking into your room and being greeted by a beautifully crafted jewelry box that showcases your style and creativity. It’s not just a storage solution; it’s a statement piece!
In this article, we’ll explore the creative process of designing and building your very own jewelry box. We’ll cover everything from choosing the right materials to incorporating personal touches that reflect your unique taste. Whether you’re a seasoned DIY enthusiast or just starting out, this guide will provide you with the tips and techniques you need to create a stunning jewelry box that’s both functional and stylish.
So, grab your tools and let’s dive into the world of DIY jewelry box making. By the end of this journey, you’ll not only have a beautiful piece to display but also a sense of accomplishment that comes from creating something with your own hands.
When it comes to making a jewelry box, the materials you choose play a crucial role in both durability and aesthetic appeal. You want your box to withstand the test of time while also looking fabulous on your dresser. Here are some popular options:
- Wood: A classic choice, wood offers a warm and timeless look. You can opt for various types like oak, pine, or even reclaimed wood for an eco-friendly option.
- Fabric: If you’re looking for a softer touch, consider using fabric. Upholstered jewelry boxes can add a cozy element to your decor.
- Metal: For a sleek and modern vibe, metal boxes can be both stylish and durable. Think of using materials like aluminum or brass.
Each material has its own charm and can be tailored to suit your personal style. So, take a moment to think about what speaks to you and how you want your jewelry box to fit into your home.
Now that you have your materials, it’s time to get creative! A well-thought-out design can elevate your DIY project from ordinary to extraordinary. Start by sketching out your ideas on paper. Consider the dimensions of your jewelry box; you want it to be functional but also proportional to your space.
Think about incorporating features like:
- Compartments: These are essential for keeping different types of jewelry organized.
- Drawers: A great way to hide away larger items or those you don’t wear as often.
- Mirrors: Adding a small mirror inside the lid can be a lovely touch for quick checks before heading out.
Don’t forget to visualize how you want your box to look when it’s finished. This will help guide your decisions as you move forward with the project.
What makes a jewelry box truly special are the personal touches you add. This is your chance to let your personality shine! Consider including:
- Monograms: Personalize your box with your initials for a chic and sophisticated look.
- Decorative Elements: Think about adding embellishments like beads, lace, or even painted designs that reflect your hobbies or interests.
- Color Schemes: Choose colors that complement your room decor or express your personal style.
These details not only make your jewelry box unique but also turn it into a conversation starter for guests.
Choosing the right paint or stain can significantly enhance the look of your jewelry box. The finish you select can make a world of difference. For instance, a glossy finish can provide a modern feel, while a matte finish offers a more rustic charm. Be sure to test your paint or stain on a small area first to see how it interacts with your chosen material.
Applying paint or stain is an art in itself. Here are some tips:
- Always prepare your surface by sanding it down to ensure a smooth application.
- Use thin coats and allow drying time between applications for a professional finish.
- Seal your paint or stain with a protective coating to enhance durability.
Don’t underestimate the power of decorative hardware! Knobs, handles, and hinges can elevate your jewelry box's overall design. Choose pieces that not only function well but also add a touch of flair. For example, ornate brass handles can give your box a vintage feel, while sleek, modern knobs can bring a contemporary edge.
Mastering basic building techniques is essential for a successful DIY project. Whether you’re cutting, joining, or assembling your materials, precision is key. Make sure you have the right tools on hand, such as a saw, drill, and clamps. Take your time with each step; rushing can lead to mistakes that may be hard to fix later on.
Once the structure of your jewelry box is complete, it’s time for the finishing touches. These little details can transform your box into a stunning piece of art. Consider polishing the surfaces, sealing the wood, or adding protective coatings to ensure longevity and beauty. A well-finished box not only looks good but also protects your jewelry from damage.
A soft lining can protect your jewelry from scratches and keep it looking pristine. Materials like velvet or felt are excellent choices for lining. Measure and cut these materials carefully to ensure a perfect fit within your box. Not only does this add a luxurious touch, but it also enhances the overall functionality of your jewelry box.
Once your box is complete, the final step is organizing your jewelry. Categorize your pieces by type or color for easy access. Think about using small trays or dividers within your box to keep everything in its place. A well-organized jewelry box not only looks beautiful but makes finding your favorite pieces a breeze!
Q: How long does it take to make a DIY jewelry box?
A: The time it takes varies based on complexity, but you can expect anywhere from a few hours to a couple of days, depending on your skill level and the materials used.
Q: Do I need special tools to build a jewelry box?
A: While basic tools like a saw, drill, and sandpaper are helpful, you can often get by with just a few essentials if you're working with simpler designs.
Q: Can I customize the size of my jewelry box?
A: Absolutely! You can design your box to fit your space and storage needs perfectly.
So there you have it! With a little creativity and effort, you can craft a beautiful DIY jewelry box that not only keeps your accessories organized but also adds a personal touch to your home. Happy crafting!
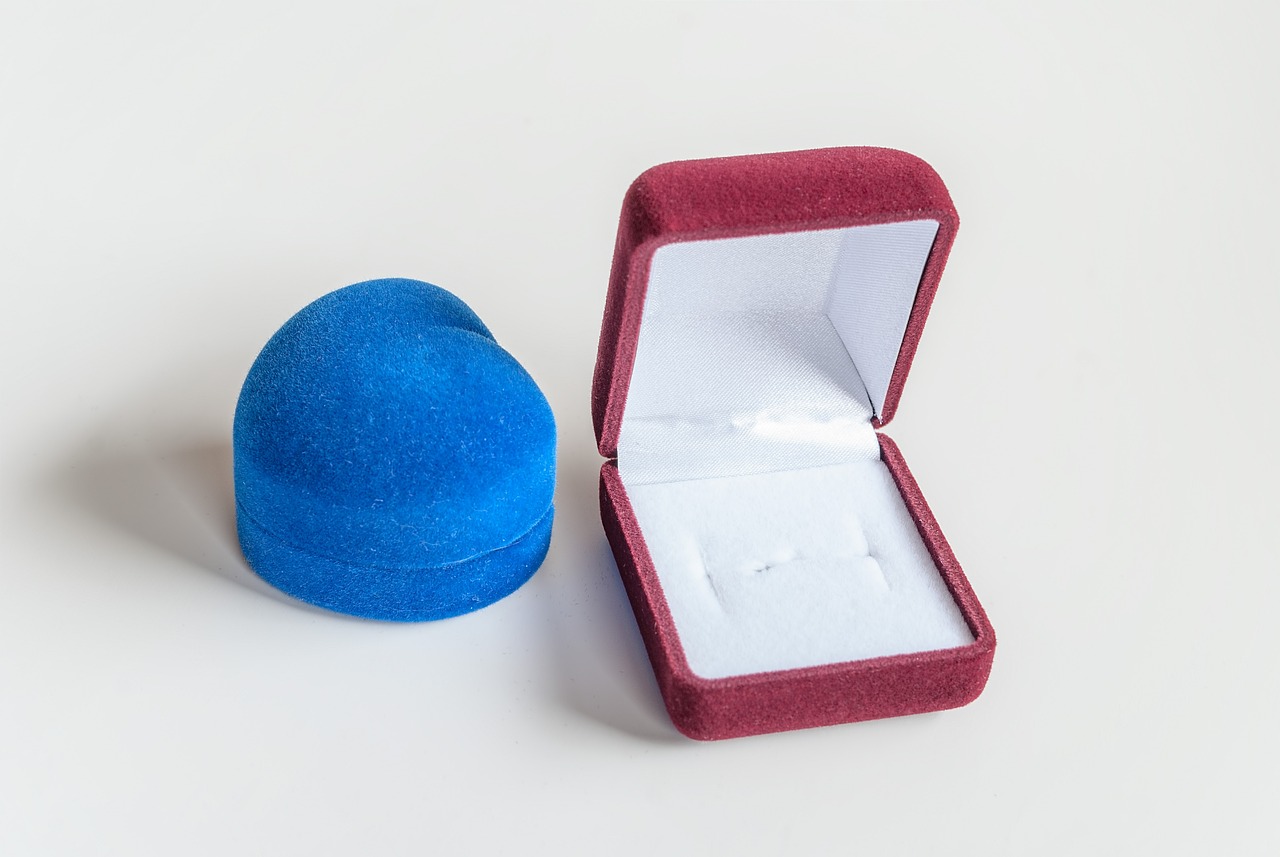
Choosing the Right Materials
When it comes to creating a stylish DIY jewelry box, is crucial for both durability and aesthetic appeal. Think of your jewelry box as a canvas; the materials you select will set the tone for the entire piece. You want to ensure that it not only looks stunning but also stands the test of time. So, let's dive into some fantastic options that will help you craft a box that complements your unique style.
One of the most popular choices for DIY jewelry boxes is wood. It offers a classic charm and can be easily customized with paint or stains. When selecting wood, consider options like pine for a budget-friendly choice, or oak for a more luxurious feel. The natural grains and textures of wood can add a rustic or elegant touch, depending on how you finish it. Remember, the type of wood you choose can significantly impact the overall look and feel of your jewelry box.
Another exciting option is fabric. If you’re looking for something soft and inviting, consider using fabrics like velvet or cotton. These materials can be used to create a plush exterior or a cozy lining for your jewelry box. The tactile experience of fabric can make your jewelry box feel more personal and unique. When working with fabric, don’t forget to choose colors and patterns that resonate with your personal style. Imagine a rich, deep burgundy velvet—doesn't that sound luxurious?
For those who want a modern twist, metal can be an excellent choice. Metals like brass or aluminum can give your jewelry box a sleek and contemporary look. You might opt for a minimalist design with clean lines, or you could go all out with intricate cutouts and embellishments. Metal not only provides a sturdy structure but can also be a conversation starter, adding a touch of sophistication to your decor.
When selecting materials, it’s also essential to consider their environmental impact. Sustainable options, like reclaimed wood or organic fabrics, can help you create a beautiful piece while being kind to the planet. Plus, using eco-friendly materials can add a unique story to your jewelry box, making it even more special.
To summarize, here’s a quick look at some of the materials you might consider for your jewelry box:
- Wood: Classic, customizable, and durable.
- Fabric: Soft, inviting, and versatile.
- Metal: Modern, sleek, and sturdy.
- Sustainable Options: Eco-friendly choices that tell a story.
Ultimately, the materials you choose will not only influence the durability of your jewelry box but also how it fits within your home decor. So take your time, explore different options, and let your creativity flow. Whether you go for the warmth of wood, the softness of fabric, or the sleekness of metal, your DIY jewelry box will surely be a reflection of your personal style.
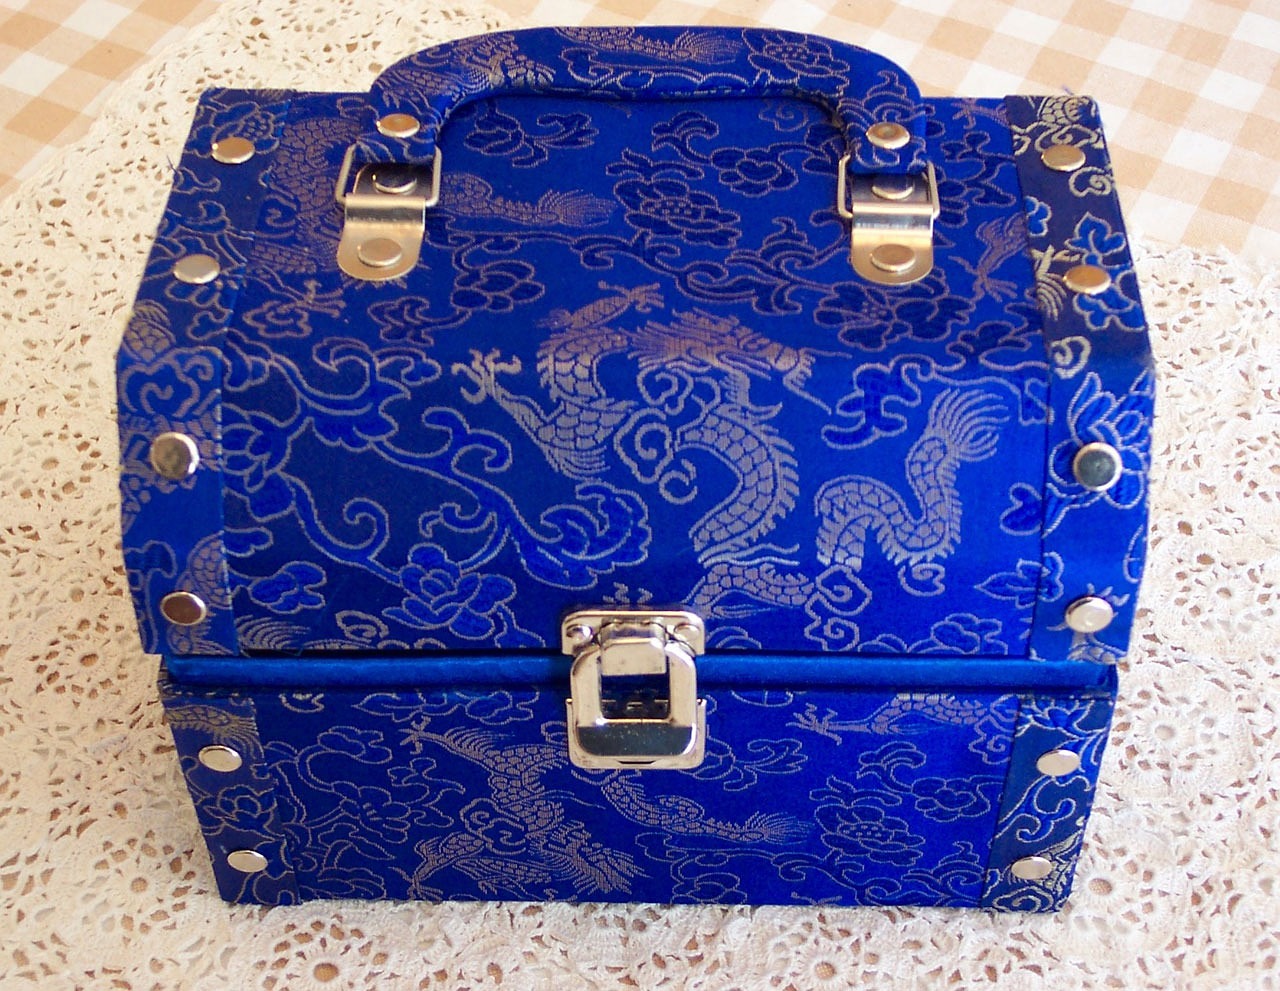
Designing Your Jewelry Box
When it comes to , the sky's the limit! This is your chance to let your creativity shine and craft something that not only holds your treasures but also reflects your unique style. Start by sketching out your ideas on paper. Don’t worry about being a Picasso; simple shapes and lines will do. Think about the dimensions of your box; it should be large enough to hold your collection but compact enough to fit in your desired space. Consider the functionality of the box. Do you want compartments for rings, drawers for necklaces, or a special section for watches? Mapping out these features before you start building can save you a lot of headaches later on.
Now, let’s talk about the layout. A well-organized jewelry box can be a game-changer. Imagine opening your box and seeing everything neatly arranged, rather than a tangled mess of chains and bracelets. You might want to include features like:
- Compartments: Small sections for rings, earrings, and other small items.
- Drawers: Perfect for larger items like necklaces and bracelets.
- Removable trays: For added versatility and easy access.
Once you have a rough design, think about the overall aesthetic. What colors and styles resonate with you? Are you drawn to a rustic wooden look, or do you prefer a sleek modern finish? Incorporating elements that match your home decor can make your jewelry box a stunning focal point in the room. You might even want to consider a theme—like vintage, contemporary, or bohemian—that can guide your design choices.
Don’t forget about the accessibility of your jewelry. If you have a collection that you wear often, it might be wise to design your box with easy access in mind. Perhaps a flip-top lid or a sliding drawer would work best for your needs. Alternatively, if your jewelry is more for special occasions, you might prioritize aesthetics over convenience.
Lastly, as you finalize your design, think about how you want to incorporate personal touches. This could be anything from a monogram to decorative carvings that tell your story. By adding these elements, your jewelry box will not only be a storage solution but also a cherished keepsake. So grab your pencil and start sketching—your dream jewelry box is just a design away!
Incorporating Personal Touches
When it comes to crafting your very own jewelry box, can truly transform a simple project into a cherished piece of art. Think of your jewelry box as a blank canvas, waiting for your unique flair to bring it to life. Whether you want to showcase your personality or commemorate special moments, the options are endless!
One of the most delightful ways to personalize your jewelry box is by adding monograms. A beautifully engraved initial or name can instantly elevate the elegance of your design. You can choose to use wood burning tools for a rustic charm or opt for metal engraving for a sleek finish. Imagine opening your jewelry box and seeing your name elegantly displayed—it's a small detail that makes a big impact!
Moreover, consider decorative elements that resonate with your style. Perhaps you have a passion for nature? Incorporating floral patterns or leaf motifs can add a fresh touch. If you lean towards a minimalist aesthetic, simple geometric shapes might be more your speed. The key is to find designs that reflect your personality and make you smile each time you see them.
Don't forget about color schemes! The colors you choose can set the mood and tone of your jewelry box. For a calming effect, soft pastels work wonders, while bold colors can make a striking statement. You can even use a color palette that matches your home decor, creating a cohesive look throughout your space. It's like dressing your jewelry box in the perfect outfit!
If you're feeling adventurous, why not try a mixed media approach? Combine different materials, such as fabric, wood, and metal, to create a multidimensional look. For instance, you could line the inside of your jewelry box with luxurious velvet while using reclaimed wood for the exterior. This juxtaposition of textures not only enhances the visual appeal but also adds depth to your creation.
Lastly, remember that the story behind your jewelry box can be a personal touch in itself. Consider incorporating elements that tell your story—perhaps a small compartment for a family heirloom or a section dedicated to travel souvenirs. This way, every time you open your jewelry box, you’re reminded of beautiful memories and experiences.
- What materials are best for personalizing a jewelry box? You can use wood, fabric, metal, or even paper for embellishments. Choose materials that resonate with your style!
- How can I add a monogram to my jewelry box? You can use wood burning tools, engraving, or even paint to add your initials or name.
- What type of lining should I use for my jewelry box? Velvet or felt are popular choices for lining, as they protect your jewelry from scratches and add a touch of luxury.
- Can I mix different materials in my jewelry box design? Absolutely! Mixing materials can create a unique and visually appealing design.
Using Paint and Stains
When it comes to giving your DIY jewelry box that polished and professional look, the choice of paint or stain is absolutely vital. Think of paint and stains as the makeup for your jewelry box; they can completely transform its appearance and elevate its overall aesthetic. So, how do you choose the right one? First, consider the material of your box. If you’re working with wood, stains can enhance the natural grain, while paint can provide a vibrant pop of color. On the other hand, if you’re using fabric or metal, your options might differ, but the principles remain the same.
Understanding the differences between various finishes is essential. For instance, a matte finish can give your box a modern and understated elegance, while a glossy finish can make it look sleek and contemporary. If you want to add depth and character, consider using a distressed finish. This technique can give your jewelry box a charming vintage feel, as if it has a story to tell. To help you choose, here’s a quick comparison of different finishes:
| Finish Type | Characteristics | Best For |
|---|---|---|
| Matte | Non-reflective, soft look | Modern designs |
| Glossy | Shiny, reflective surface | Contemporary styles |
| Distressed | Worn, vintage appearance | Rustic themes |
Once you've selected your finish, it’s time to get down to the fun part: application! Preparation is key here. Make sure to sand your jewelry box thoroughly to create a smooth surface. This step is crucial because it helps the paint or stain adhere better. After sanding, wipe down the surface with a damp cloth to remove any dust. If you’re using paint, applying a primer can also be beneficial, especially if you're going for a lighter color on a darker wood.
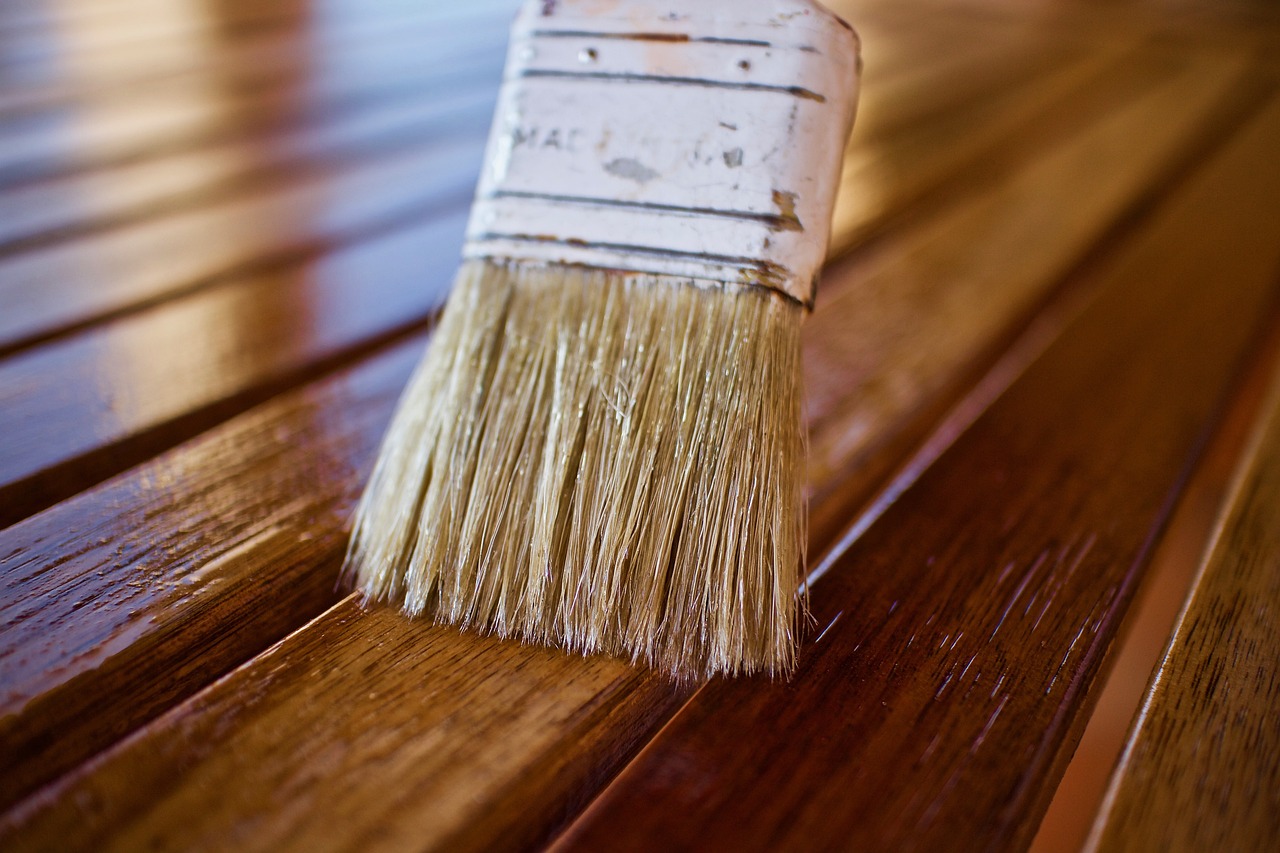
When it comes to applying the paint or stain, consider using a high-quality brush or a foam applicator for a smooth finish. If you're using a spray paint, make sure to work in a well-ventilated area and wear a mask to avoid inhaling fumes. Start with thin coats and allow each layer to dry completely before applying the next. This way, you can achieve an even coat without drips or uneven patches. Remember, patience is your friend in this process!
After you've painted or stained your jewelry box, it’s a good idea to seal it with a protective topcoat. This will not only enhance the durability of your finish but also make it easier to clean. Choose a clear sealant that matches your finish type—matte, semi-gloss, or glossy—to maintain the look that you’ve worked so hard to achieve.
In conclusion, using paint and stains effectively can turn your DIY jewelry box into a stunning centerpiece that reflects your personal style. So grab your brushes and get creative—your jewelry deserves a beautiful home!
- What type of paint is best for a wooden jewelry box? Acrylic paint is often recommended for its durability and ease of use.
- Can I use stains on painted surfaces? It’s generally not advisable to apply stain over paint, as it won’t penetrate properly.
- How long does it take for paint or stain to dry? Drying time can vary, but typically, it takes about 1-2 hours for paint and 2-4 hours for stain to dry.
Adding Decorative Hardware
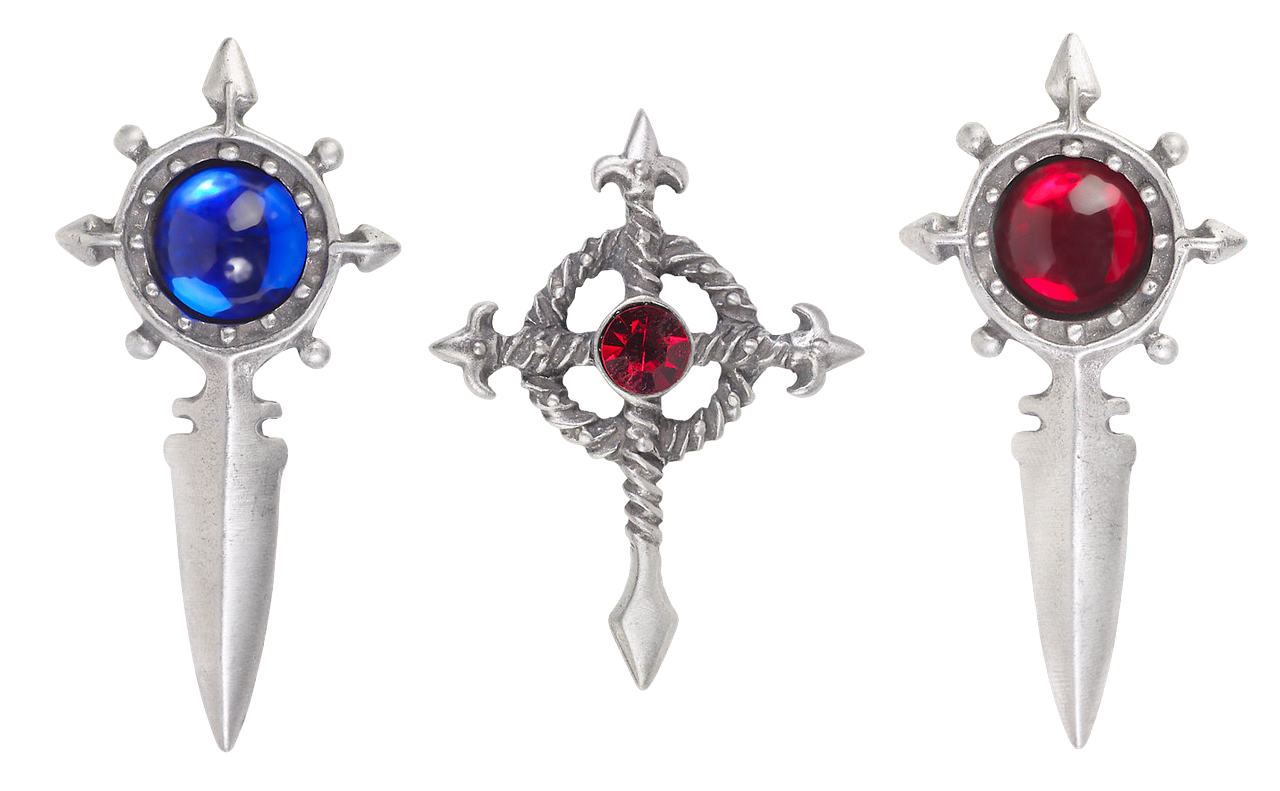
When it comes to DIY projects, the devil is truly in the details, and adding decorative hardware to your jewelry box can make a world of difference. Think of hardware as the jewelry for your jewelry box! It’s not just about functionality; it’s about making a statement. The right knobs, handles, and hinges can elevate your creation from a simple storage solution to a stunning piece of art that reflects your personal style.
First things first, let's talk about knobs and handles. These little elements can completely change the look of your box. Whether you prefer a modern minimalist vibe or a vintage charm, you’ll find a plethora of options available. For instance, ceramic knobs with intricate patterns can add a pop of color and whimsy, while sleek metal handles can give a contemporary feel. When choosing, consider the overall theme of your room and how the jewelry box will fit into that aesthetic.
Next up are hinges. While they might seem like a minor detail, the hinges can significantly affect both the look and functionality of your box. Decorative hinges, such as ornate brass or antique-style options, can add a vintage flair, while hidden or soft-close hinges offer a more modern touch. Just imagine opening your beautifully crafted jewelry box to find a stunning interior, all thanks to the elegant hinges that complement your design.
To really personalize your piece, consider incorporating embellishments. Think about using decorative corner brackets or even small metal accents that can be attached to the sides. These little touches can give your jewelry box a more cohesive and polished look. You can also opt for a theme—like nautical, bohemian, or industrial—and select hardware that aligns with that vision.
Lastly, don’t forget about the finishing touches. Once you’ve installed your hardware, consider applying a protective sealant to ensure that everything stays in place and looking fresh. This step is crucial, especially if you’ve used paint or stain on your box, as it helps to protect against wear and tear. A well-sealed box not only enhances durability but also gives it that professional finish that will make your friends and family do a double-take!
In summary, adding decorative hardware is not just about functionality; it's about expressing your unique style and enhancing the overall beauty of your DIY jewelry box. So, let your creativity flow and choose pieces that resonate with you. After all, this is your personal treasure chest, and it deserves to shine!
- What type of hardware should I choose for my jewelry box? The choice of hardware depends on your style. For a vintage look, opt for ornate metal pieces; for a modern vibe, choose sleek and simple designs.
- How do I install decorative hardware? Most hardware comes with screws or adhesive. Simply follow the manufacturer's instructions to secure them properly.
- Can I paint my hardware? Yes, you can paint hardware, but make sure to use a primer and paint that adheres well to metal for a long-lasting finish.
- Where can I find decorative hardware? You can find decorative hardware at craft stores, home improvement stores, or online retailers specializing in DIY supplies.
Building Techniques
When it comes to creating your very own jewelry box, mastering some basic building techniques is crucial. Think of it as laying the foundation for a house; if the foundation is shaky, the whole structure could collapse. So, let’s dive into some essential techniques that will help you craft a sturdy and visually appealing piece.
First and foremost, cutting your materials accurately is vital. Whether you’re working with wood, fabric, or metal, precise cuts ensure that all pieces fit together seamlessly. Use a good-quality saw for wood, a sharp pair of scissors for fabric, and a metal cutter for any metallic components. Remember, measure twice and cut once! This old adage rings true in DIY projects, helping you avoid costly mistakes.
Next up is joining your materials. There are several methods to connect the pieces of your jewelry box, and the choice often depends on the materials you're using. For wood, wood glue and screws are popular options. If you’re using fabric, consider sewing or fabric glue. Metal components can be joined using rivets or welding. Each method has its own advantages, so choose what aligns best with your project and skill level.
Once your pieces are cut and joined, it’s time to focus on assembling your jewelry box. This is where your design truly comes to life! Start by laying out all components and ensure everything fits as planned. If you’ve designed compartments or drawers, make sure they can open and close smoothly. A little tip: use clamps to hold pieces in place while the glue dries, ensuring a tight bond.
As you assemble, consider reinforcing the corners of your box. Adding corner brackets or additional wood supports will provide extra strength and durability. Think of this as giving your jewelry box a sturdy backbone. This attention to detail not only enhances functionality but also adds to the overall aesthetic.
Finally, always remember to sand your surfaces before applying any finishes. This step is crucial for achieving a professional look. Sanding smooths out rough edges and prepares the surface for paint or stain. Use a fine-grit sandpaper for a polished finish, and don’t forget to wipe off any dust before moving on to the next steps!
In summary, mastering these building techniques is essential for creating a high-quality DIY jewelry box. With careful cutting, strong joining methods, thoughtful assembly, and meticulous finishing, your project will not only be functional but also a beautiful addition to your home decor. So, roll up your sleeves, unleash your creativity, and get building!
- What materials are best for a DIY jewelry box?
Wood is a popular choice due to its durability and versatility, but fabric and metal can also create stunning designs. Choose based on your style and the look you want to achieve.
- How can I ensure my jewelry box lasts long?
Using high-quality materials and following proper building techniques will enhance durability. Additionally, applying protective coatings can help maintain its appearance.
- Can I customize the size of my jewelry box?
Absolutely! One of the great things about DIY projects is that you can tailor the size to fit your collection. Just remember to adjust your measurements accordingly.
Finishing Touches
When it comes to creating your stunning DIY jewelry box, the are what truly make it shine. Think of these final steps as the icing on the cake; they can elevate your project from good to absolutely fabulous! After all, you want your jewelry box to not only be functional but also a beautiful addition to your home decor. So, what are some essential techniques you can employ to ensure your jewelry box looks professional and polished?
First and foremost, polishing is key. Depending on the materials you've chosen, a gentle polish can bring out the natural beauty of the wood or metal. For wooden boxes, consider using a soft cloth and a suitable wood polish to buff the surface until it gleams. If your box is made from metal, a specialized metal polish can help remove tarnish and add a reflective finish. Remember, less is more—apply the polish sparingly and work it into the surface gently.
Next, think about sealing your jewelry box. This step is crucial for protecting your hard work from scratches, dust, and moisture. A good sealant will ensure that your box remains in great condition for years to come. You can opt for a clear varnish or a protective spray, depending on the finish you desire. Just make sure to follow the manufacturer's instructions for the best results.
Additionally, consider adding a protective coating to your jewelry box. This can be especially important if you’ve used paint or stains. A clear coat will not only enhance the color but also provide an extra layer of protection against wear and tear. If you’re unsure about which coating to use, a quick visit to your local craft store can provide you with plenty of options tailored for your specific material.
To give your jewelry box a truly unique flair, think about incorporating a soft lining. Not only does this protect your precious jewelry from scratches, but it also adds a touch of luxury. Materials like velvet or felt are excellent choices for lining. Measure the interior dimensions carefully and cut the lining to fit snugly. You can even use fabric glue to secure it in place, ensuring that it stays put while adding a plush feel to your jewelry box.
Finally, don't underestimate the power of decorative hardware. Knobs, handles, and hinges can be the cherry on top of your beautifully crafted box. They not only serve a functional purpose but can also serve as eye-catching design elements. Choose hardware that complements the color and style of your jewelry box, whether that’s sleek modern metal or ornate vintage designs. This small detail can make a big difference in the overall aesthetic.
So there you have it! By focusing on these finishing touches, you can transform your DIY jewelry box into a stunning piece that not only organizes your accessories but also showcases your personal style. Now, let’s dive into some frequently asked questions to help you further in your DIY journey!
- What type of wood is best for a jewelry box? - Hardwoods like oak, maple, or cherry are excellent choices due to their durability and beautiful grain.
- How can I prevent my jewelry from tarnishing? - Consider using anti-tarnish pouches or lining your box with anti-tarnish fabric.
- Can I paint my jewelry box? - Absolutely! Just ensure to use paint suitable for your material and seal it afterward for longevity.
- What’s the best way to organize different types of jewelry? - Use compartments for rings, necklaces, and earrings to keep everything neatly arranged and easy to find.
Creating a Lining
When it comes to crafting your very own jewelry box, one of the most delightful aspects is that not only protects your precious pieces but also adds a touch of elegance. Imagine opening your jewelry box to reveal a soft, inviting interior that cradles your rings, necklaces, and earrings, making them feel like treasures. The lining serves a dual purpose: it prevents scratches and damage while enhancing the overall aesthetic of your DIY project.
To start, you'll want to choose a material that resonates with your style and the vibe of your jewelry box. Popular options include velvet, felt, and even silk. Velvet is a luxurious choice that provides a plush feel, while felt offers a more casual yet soft alternative. Silk, on the other hand, can give your box a sophisticated flair. Each material brings its own charm, so think about what best suits your taste and the type of jewelry you'll be storing.
Once you've selected your lining material, it's time to measure and cut it. First, take precise measurements of the interior dimensions of your jewelry box. Don't forget to account for any compartments or drawers you might have! A simple way to ensure accuracy is to use a measuring tape and jot down the dimensions. After that, you can transfer these measurements onto your lining material. For a clean finish, use sharp scissors or a rotary cutter to get those edges just right.
When it comes to attaching your lining, you have a few options. You can use a strong adhesive, such as fabric glue, which allows for a seamless application without the need for sewing. Alternatively, if you're feeling crafty, you could stitch the lining in place for a more traditional approach. Just imagine the satisfaction of knowing you crafted every detail by hand!
To make the lining even more special, consider incorporating padding. Adding a layer of foam or batting underneath the fabric can provide extra cushioning for your jewelry. This is particularly useful for delicate items, like vintage pieces or heirlooms. You’ll want to cut the padding to size just like you did with the lining material, ensuring it fits snugly within the box.
Finally, don't shy away from adding decorative elements to your lining. You could use contrasting colors or patterns to create a stunning visual effect. For example, if your jewelry box has a rustic wooden exterior, a vibrant floral lining might add a fun pop of color. Remember, this is your creation, and it should reflect your unique style!
In summary, creating a lining for your jewelry box is not just about function; it's also about making a statement. By selecting the right materials, measuring accurately, and adding personal touches, you can elevate your DIY project from ordinary to extraordinary. So, roll up your sleeves and let your creativity shine!
- What materials can I use for lining my jewelry box?
You can use velvet, felt, silk, or any soft fabric that suits your style. - Do I need to sew the lining in place?
No, you can use fabric glue for a cleaner finish, but sewing is also an option if you prefer. - How can I ensure my lining fits perfectly?
Measure the interior dimensions of your jewelry box carefully and cut your lining material accordingly. - Can I add padding to my lining?
Yes! Adding foam or batting can provide extra protection for your jewelry.
Organizing Your Jewelry
Once you've put in the time and effort to create a stunning jewelry box, the next step is to organize your jewelry effectively. Imagine opening your beautifully crafted box to find everything in its place, sparkling like little treasures waiting to be worn. It’s not just about aesthetics; organization can save you time and frustration when you're in a hurry. So, how do you achieve that perfect balance of beauty and functionality?
First off, consider categorizing your jewelry. You might want to group pieces by type, such as necklaces, bracelets, earrings, and rings. This way, you can quickly locate what you're looking for without rummaging through a chaotic jumble. For instance, you could use small compartments or dividers within your jewelry box to create dedicated spaces for each category. Not only does this keep things tidy, but it also allows you to see all your options at a glance, making it easier to choose the perfect accessory for any outfit.
Another tip is to think about the size and shape of your jewelry. Larger items, like statement necklaces, may need more room, while smaller earrings can be tucked away in tiny sections. You might even want to use a combination of trays and pouches to store different types of jewelry. For example, using a small velvet pouch for delicate items can prevent tangling and scratches. When everything has its own designated spot, you’ll find it easier to keep your jewelry box organized.
Don't forget about the visual appeal! You can enhance your organization system by incorporating decorative elements. Consider using colorful dividers or even labels for each section. This not only adds a personal touch but also makes it easier to navigate through your collection. You could even create a small chart or a table to keep track of your jewelry pieces, noting where each item is stored. Here’s a simple example:
| Jewelry Type | Storage Location |
|---|---|
| Necklaces | Top compartment |
| Bracelets | Middle tray |
| Earrings | Small drawer |
| Rings | Bottom section |
Finally, consider your daily routine. If you wear certain pieces more often, it might make sense to keep those in the most accessible areas of your jewelry box. This way, you can grab your favorite items quickly without digging through everything else. Remember, the goal is to make your jewelry box not just a storage solution but a beautiful display of your collection.
By following these tips, you can create a jewelry organization system that not only looks good but also makes your life easier. So go ahead, dive into your jewelry box and let your creativity shine as you arrange your treasures in a way that reflects your unique style!
- How can I prevent my jewelry from tangling? Using compartments and keeping similar items together can help prevent tangling. Consider using small pouches for delicate pieces.
- What materials are best for organizing jewelry? Soft materials like velvet or felt are great for preventing scratches, while clear plastic dividers can help you see everything at a glance.
- How often should I reorganize my jewelry box? It’s a good idea to reorganize your jewelry box every few months or whenever you add new pieces to keep everything tidy and accessible.
Frequently Asked Questions
- What materials are best for making a DIY jewelry box?
Choosing the right materials is essential for both durability and style. Popular options include wood for a classic look, fabric for a soft touch, and metal for a modern vibe. Consider what complements your home decor and personal taste!
- How do I design my jewelry box?
Start by sketching your ideas on paper. Think about the dimensions and features you want, like compartments and drawers, to keep your jewelry organized. Remember, a well-thought-out design can make your project much more enjoyable!
- Can I add personal touches to my jewelry box?
Absolutely! Adding personal touches like monograms, unique color schemes, or decorative elements can make your jewelry box truly one-of-a-kind. It’s all about reflecting your personality and making it feel special!
- What type of paint or stain should I use?
Choosing the right paint or stain can significantly impact the look of your jewelry box. Consider the finish you want—matte, glossy, or something in between. Always test a small area first to see how it looks!
- How can I add decorative hardware?
Decorative hardware like knobs, handles, and hinges can add flair to your jewelry box. Look for pieces that match your design style and enhance the overall aesthetic. They’re functional and can be a standout feature!
- What basic building techniques should I know?
Mastering basic techniques like cutting, joining, and assembling materials is key to a successful DIY project. Take your time and ensure everything is aligned and secure for a sturdy finish!
- How do I apply finishing touches?
Finishing touches, like polishing and sealing, can transform your jewelry box into a stunning piece. Use protective coatings to enhance durability and beauty, ensuring it lasts for years to come!
- What materials can I use for lining?
A soft lining, such as velvet or felt, can protect your jewelry from scratches. Measure carefully and cut the lining to fit perfectly inside your box for that extra touch of luxury!
- How should I organize my jewelry in the box?
Once your jewelry box is complete, organizing your pieces is crucial. Categorize items by type, size, or occasion to make them easy to find. A visually appealing display can also make your box a beautiful part of your decor!


