Exquisite DIY Wooden Jewelry Box Design Ideas
Are you ready to unleash your creativity and craft something truly special? Well, look no further! This guide is all about exploring a variety of creative and elegant designs for DIY wooden jewelry boxes. Whether you’re a seasoned woodworker or just starting out, there’s something here for everyone. Imagine the satisfaction of creating a unique piece that not only showcases your jewelry but also reflects your personal style. In this article, we’ll dive into different styles, materials, and techniques that will help you design and build your very own wooden jewelry box.
When it comes to crafting a jewelry box, selecting the right type of wood is crucial for both durability and aesthetics. The wood you choose can significantly affect the finished look and longevity of your piece. Popular choices include oak, walnut, and cherry, each offering distinct characteristics:
| Type of Wood | Characteristics | Best For |
|---|---|---|
| Oak | Strong, durable, and has a beautiful grain | Modern and rustic designs |
| Walnut | Rich color with a fine grain, easy to work with | Elegant and sophisticated styles |
| Cherry | Warm color that darkens with age, smooth texture | Classic and vintage designs |
Choosing the right wood not only enhances the beauty of your jewelry box but also ensures that it will stand the test of time. So, think about the look you want to achieve and select the wood that best suits your vision!
Before diving into your project, it’s essential to gather the necessary tools and materials. Having everything on hand makes for a smoother crafting experience, and trust me, you don’t want to be running around looking for tools when inspiration strikes. Here’s a rundown of what you’ll need:
- Basic Hand Tools: Saws, chisels, and sanders are your best friends when it comes to precision woodworking.
- Power Tools Overview: Drills and routers can enhance your efficiency and accuracy.
- Finishing Materials: Stains and varnishes will elevate the look of your jewelry box.
By gathering these tools and materials beforehand, you’ll set yourself up for success, allowing your creativity to flow without interruption!
Hand tools are essential for precision and control in woodworking. They allow you to work closely with the wood, ensuring that every cut and detail is just right. Here are some of the basic hand tools you should consider:
- Saws: A good hand saw or coping saw is vital for making clean cuts.
- Chisels: Perfect for carving out intricate designs and details.
- Sanders: Essential for smoothing surfaces and edges, giving your jewelry box a polished look.
While hand tools are great for detail work, power tools can significantly speed up the process. Imagine how much easier it is to drill holes or shape wood with a router! Here’s a quick overview of some useful power tools:
- Drills: For creating holes and driving screws.
- Routers: For shaping edges and adding decorative details.
Using power tools can greatly enhance both the efficiency and accuracy of your woodworking projects, allowing you to focus on creativity rather than labor.
The right finishing materials can truly elevate the look of your jewelry box. Think of finishes as the final touch that brings your creation to life! Here are some popular options:
- Stains: Enhance the natural beauty of the wood and add depth to its color.
- Varnishes: Protect the wood and give it a glossy finish.
Choosing the right finish not only beautifies your piece but also protects it from wear and tear, ensuring your jewelry box remains stunning for years to come.
Once you’ve mastered the basics, it’s time to explore advanced woodworking techniques that can take your jewelry box to the next level. Techniques like dovetail joints and inlays can add intricate details that will impress anyone who sees your creation. These methods require a bit more skill but are incredibly rewarding, making your piece not just a box, but a work of art!
Finding the perfect design can be a source of inspiration for your creativity. The world of DIY wooden jewelry boxes is vast, and there are countless styles to choose from. Whether you prefer the sleek lines of modern minimalism or the charming aesthetics of vintage and rustic designs, the right design can help you visualize your final product and guide your crafting process.
Minimalist jewelry boxes emphasize simplicity and elegance. These designs focus on clean lines and functional storage, allowing your jewelry to take center stage. Think of a jewelry box that’s not just a container but a statement piece, showcasing your treasures in a clutter-free environment.
If you love warmth and character, rustic and vintage designs might be your jam. These styles often incorporate distressed finishes and antique hardware, creating a cozy aesthetic that feels inviting and nostalgic. Imagine a jewelry box that tells a story, with every scratch and imperfection adding to its charm!
Q: What type of wood is best for a jewelry box?
A: Popular choices include oak, walnut, and cherry, each offering unique characteristics. Choose based on the look and durability you desire.
Q: Do I need power tools to make a jewelry box?
A: While power tools can enhance efficiency, you can definitely create a beautiful jewelry box with just hand tools if you prefer.
Q: How can I ensure my jewelry box lasts a long time?
A: Use quality wood, apply protective finishes, and store your jewelry properly to maintain its beauty and functionality.
Choosing the Right Wood
Explore a variety of creative and elegant designs for DIY wooden jewelry boxes. This article will guide you through different styles, materials, and techniques to craft your unique piece.
When it comes to crafting your own jewelry box, is more than just a matter of aesthetics; it's about ensuring durability and functionality. The wood you select will influence not only the appearance of your box but also how well it holds up over time. Different types of wood come with their own unique characteristics, making it essential to understand what each type offers. For instance, hardwoods like oak and maple are known for their strength and resilience, while softer woods such as pine are easier to work with but may not withstand the test of time as well.
Here’s a quick overview of some popular wood choices:
| Type of Wood | Characteristics | Best For |
|---|---|---|
| Oak | Durable, strong, and has a beautiful grain | Long-lasting jewelry boxes |
| Maple | Hard, fine texture, and takes stain well | Elegant designs |
| Pine | Soft, lightweight, and easy to work with | Beginner projects |
| Walnut | Rich color, strong, and resistant to wear | High-end jewelry boxes |
Each wood type has its own unique appeal. For example, if you're aiming for a modern aesthetic, you might consider using maple or walnut for their smooth finishes and striking visuals. On the other hand, if you’re going for a more rustic vibe, oak or pine could provide the warmth and character you're looking for. Think about what kind of jewelry you’ll be storing as well; heavier pieces might require sturdier woods to support their weight without warping.
Moreover, it's essential to consider the environmental impact of your wood choices. Sourcing sustainable wood not only helps the planet but can also add a unique story to your jewelry box. Look for woods that are certified by organizations like the Forest Stewardship Council (FSC) to ensure you're making an eco-friendly decision.
In conclusion, taking the time to choose the right wood will pay off in the long run, both in terms of durability and aesthetic appeal. So, before you dive into your project, weigh your options carefully. Your choice of wood will set the foundation for your beautiful DIY wooden jewelry box.
Before starting your project, it’s important to gather the necessary tools and materials. This section outlines everything you will need, from saws to finishes, ensuring a smooth crafting experience.
Hand tools are essential for precision and control in woodworking. Here, we detail the basic hand tools required for creating a jewelry box, including saws, chisels, and sanders.
Power tools can greatly enhance efficiency and accuracy in your project. This section provides an overview of useful power tools for woodworking, including drills and routers, and their applications.
The right finishing materials can elevate the look of your jewelry box. This part discusses various finishes, such as stains and varnishes, to enhance the natural beauty of the wood.
Once you master the basics, you can explore advanced woodworking techniques. This section introduces methods like dovetail joints and inlays to add intricate details to your jewelry box.
Finding the perfect design can inspire your creativity. This section showcases various design ideas, from minimalist styles to ornate patterns, helping you visualize your final product.
Minimalist jewelry boxes emphasize simplicity and elegance. Here, we explore modern designs that focus on clean lines and functional storage without unnecessary embellishments.
Rustic and vintage designs bring warmth and character. This section highlights charming styles that incorporate distressed finishes and antique hardware, perfect for a cozy aesthetic in your jewelry box.
Q: What is the best type of wood for a beginner?
A: Pine is often recommended for beginners due to its softness and ease of handling. It allows for simpler cuts and is more forgiving if mistakes are made.
Q: How can I ensure my jewelry box lasts a long time?
A: Choosing a durable wood like oak or maple and applying a good finish will help protect your jewelry box from wear and tear.
Q: Can I mix different types of wood in my design?
A: Absolutely! Mixing woods can create a stunning contrast and add visual interest to your jewelry box.

Essential Tools and Materials
Before diving into the exciting world of crafting your own wooden jewelry box, it's essential to gather all the necessary tools and materials. Think of this preparation phase as setting the stage for a grand performance; without the right instruments, you can't expect to create a masterpiece. The tools you choose will not only impact the quality of your work but also the ease with which you can bring your vision to life. So, let’s break down the essentials you’ll need to ensure a smooth crafting experience.
First and foremost, you’ll need to select your wood. Popular choices include maple, walnut, and pine. Each type of wood has its unique characteristics that can influence the final appearance of your jewelry box. For instance, maple is known for its durability and fine grain, making it an excellent choice for a polished look. On the other hand, walnut offers a rich, dark hue that can add a touch of elegance and sophistication. Pine, being more affordable and lightweight, is perfect for beginners.
Once you've decided on the wood, it’s time to gather your tools. At a minimum, you will need a few basic hand tools to get started. These include:
- Saws: A hand saw or a jigsaw will help you cut your wood to the desired dimensions.
- Chisels: Essential for carving out details and creating joints.
- Sanders: To smooth the edges and surfaces, ensuring a polished finish.
While hand tools are essential, incorporating power tools can significantly enhance your efficiency and accuracy. A drill is a must-have for making precise holes, while a router can help you add decorative edges and grooves. These tools are like the secret sauce that can elevate your woodworking game from good to extraordinary.
Don't forget about finishing materials! The right finish can transform your jewelry box from a simple wooden structure into a stunning piece of art. You might consider using stains to enhance the wood's natural grain and colors, or varnishes to provide a protective coat that will ensure longevity. A well-finished jewelry box not only looks beautiful but also stands the test of time.
In summary, the essential tools and materials for crafting a wooden jewelry box include a selection of quality wood, basic hand tools for precision, power tools for efficiency, and finishing materials to enhance the final product. By equipping yourself with these essentials, you’ll be well on your way to creating a unique and beautiful jewelry box that showcases your personal style and craftsmanship.
Q: What type of wood is best for beginners?
A: Pine is often recommended for beginners due to its affordability and ease of use.
Q: Do I need power tools to make a jewelry box?
A: While it's possible to create a jewelry box using only hand tools, power tools can make the process faster and more precise.
Q: How do I choose the right finish for my jewelry box?
A: The right finish depends on the look you want to achieve. Stains can enhance the wood's natural beauty, while varnishes provide a protective layer.
Basic Hand Tools
When embarking on your journey to craft a stunning DIY wooden jewelry box, having the right hand tools is essential for achieving precision and control. Think of hand tools as the artist's brush; they allow you to shape, carve, and refine your creation to perfection. Among the most important tools you'll need are saws, chisels, and sanders. Each of these tools plays a unique role in the woodworking process.
First up, let's talk about saws. A good quality saw is your best friend when it comes to cutting wood accurately. There are several types of saws you might consider:
- Hand Saw: Ideal for straight cuts, it's a classic choice for beginners.
- Back Saw: Perfect for making precise cuts, especially in joints.
- Coping Saw: Excellent for intricate curves and shapes.
Each of these saws has its strengths, so choosing the right one depends on the design of your jewelry box. Remember, a sharp blade is crucial for clean cuts, so keep your tools well-maintained.
Next, we have chisels. These handy tools are essential for carving out details or hollowing out sections of wood. A set of chisels in various sizes will allow you to tackle different tasks, from fine detailing to larger grooves. When using a chisel, always ensure you have a sturdy work surface and consider using a mallet to gently tap the chisel into the wood. This technique gives you greater control and reduces the risk of slipping.
Sanding is another critical aspect of woodworking that shouldn’t be overlooked. A smooth finish is what elevates your jewelry box from good to great. Sanding blocks or hand sanders are perfect for this task. Start with a coarser grit to remove any rough spots, and gradually move to finer grits for a silky smooth finish. Always sand in the direction of the wood grain to avoid scratches.
Lastly, don't forget about measuring tools. Accurate measurements are the foundation of any successful woodworking project. A reliable tape measure, square, and marking gauge will ensure that your cuts are precise and your joints fit perfectly. After all, a well-measured piece is half the battle won!
In summary, investing in quality basic hand tools is crucial for crafting your DIY wooden jewelry box. With the right tools in hand, you'll find that the process becomes not only easier but also more enjoyable. So gather your tools, roll up your sleeves, and let your creativity flow!
Q: What is the best type of wood for a jewelry box?
A: Popular choices include oak for its durability, walnut for its rich color, and pine for a budget-friendly option.
Q: How can I ensure my cuts are precise?
A: Always use a square to mark your lines and take your time while cutting. A slow and steady approach yields the best results.
Q: Is it necessary to use power tools?
A: While power tools can speed up the process, they are not necessary for a beginner. Hand tools provide excellent control and can produce beautiful results.
Power Tools Overview
When it comes to woodworking, especially for projects like creating a stunning DIY wooden jewelry box, having the right tools can make a world of difference. Power tools are not just about speed; they also enhance precision and efficiency, allowing you to achieve professional-looking results even if you’re a beginner. Imagine trying to carve out intricate designs using just a hand saw—it can be frustrating! Instead, with the right power tools, you can turn that daunting task into a fun and rewarding experience.
Let’s dive into some of the most useful power tools that can elevate your woodworking game. First up is the drill. A versatile tool, the drill is essential for creating holes for screws and dowels. It’s like the Swiss Army knife of woodworking. You can also use it with various bits to accomplish different tasks, such as sanding or mixing finishes. Next, we have the router. This tool is perfect for adding decorative edges to your jewelry box or hollowing out areas of wood. Think of it as a sculptor’s chisel, allowing you to create beautiful details that can make your piece truly unique.
Another fantastic tool to consider is the jigsaw. This tool is ideal for making intricate cuts and curves, giving you the freedom to explore creative designs. Need to cut out a heart shape for a romantic jewelry box? The jigsaw has got your back! Additionally, the table saw is a must-have for making precise straight cuts. This tool is perfect for ripping boards down to size and ensuring that your pieces fit together seamlessly.
Here’s a quick overview of some essential power tools and their primary applications:
| Tool | Application |
|---|---|
| Drill | Creating holes for screws, dowels, and mixing finishes |
| Router | Adding decorative edges and hollowing out wood |
| Jigsaw | Making intricate cuts and curves |
| Table Saw | Making precise straight cuts |
While power tools can significantly speed up your work, safety should always be your top priority. Make sure to wear protective gear, such as goggles and ear protection, and always read the manual before using a new tool. After all, you want your woodworking journey to be enjoyable and safe!
In conclusion, investing in the right power tools can transform your DIY wooden jewelry box project from a simple task into a creative adventure. Whether you're drilling holes, routing edges, or making intricate cuts, these tools will help you unleash your creativity and build a piece that you can be proud of. So, grab your tools, and let’s get crafting!

Finishing Materials
When it comes to crafting your stunning wooden jewelry box, the finishing materials you choose can truly make or break the final look. Imagine spending hours meticulously shaping and assembling your box, only to find that the finish detracts from its natural beauty. The right finish not only enhances the wood's grain but also provides protection against wear and tear. So, let's dive into the world of finishing materials and discover how they can elevate your creation!
There are several types of finishes available, each offering unique characteristics and benefits. Here’s a brief overview of some popular options:
- Stains: Stains can transform the color of your wood while allowing the grain to show through. They come in a variety of shades, from rich mahogany to soft pastels, giving you the flexibility to match your jewelry box with your personal style.
- Varnishes: Varnishes provide a hard protective layer that is resistant to scratches and moisture. They are available in different sheens, from matte to high gloss, allowing you to choose how shiny you want your box to be.
- Oil Finishes: Oils, such as tung oil or linseed oil, penetrate the wood and enhance its natural beauty. They offer a warm, hand-rubbed finish that feels luxurious to the touch.
- Lacquers: Lacquer finishes dry quickly and create a durable, glossy surface. They are great for achieving a sleek, modern look but require careful application to avoid runs or drips.
Before applying any finish, it's essential to prepare the wood properly. This involves sanding the surface to a smooth finish, which not only helps the finish adhere better but also enhances the overall appearance of your jewelry box. Start with a coarser grit sandpaper and gradually move to a finer grit for a silky-smooth surface.
Once your jewelry box is sanded and dust-free, you can start applying your chosen finishing material. It's often recommended to test the finish on a scrap piece of wood first. This way, you can see how the wood reacts and ensure that you love the look before committing to your jewelry box. Remember, patience is key! Allow each coat to dry thoroughly before applying the next one, and don’t rush the process—great things take time.
In summary, selecting the right finishing materials is crucial for achieving a beautiful and durable wooden jewelry box. Whether you prefer the deep hues of stains or the protective qualities of varnishes, each option has its own charm. Take your time to explore different finishes, and don’t hesitate to mix and match until you find the perfect combination that reflects your style!
Q: What is the best finish for a wooden jewelry box?
A: The best finish depends on your personal preference and the look you want to achieve. Varnishes and lacquers offer durability, while oils provide a more natural feel.
Q: How do I prepare my wood for finishing?
A: Proper preparation includes sanding the wood to a smooth finish and ensuring it's free of dust and debris before applying any finish.
Q: Can I apply a stain over an existing finish?
A: Generally, it's not recommended to apply stain over an existing finish unless it's specifically designed for that purpose. It's best to strip the old finish before staining.
Q: How many coats of finish should I apply?
A: It varies based on the type of finish and desired look, but typically, two to three coats are sufficient for a beautiful and protective finish.
Advanced Techniques
Once you've got the basics down, it's time to elevate your woodworking game with some that can truly transform your DIY wooden jewelry box into a masterpiece. Imagine your jewelry box not just being a storage solution, but a stunning piece of art that showcases your craftsmanship. Techniques like dovetail joints and inlays can add intricate details and structural integrity, making your project stand out.
Dovetail joints are a classic woodworking method that not only provide strength but also create a beautiful visual effect. These joints are formed by interlocking wedge-shaped elements, which can be a bit challenging to master, but the results are worth the effort. If you take the time to learn this technique, your jewelry box will have a professional finish that impresses anyone who sees it. Plus, the durability of dovetail joints means your box will last for generations, just like the treasures you plan to store inside it.
On the other hand, inlays offer a wonderful opportunity to express your creativity. Picture this: you can embed different types of wood, metal, or even resin into the surface of your jewelry box, creating stunning patterns and designs. This technique allows you to personalize your piece, making it uniquely yours. For example, you could create a floral design using contrasting woods or a geometric pattern for a modern touch. The possibilities are endless!
To help you visualize these techniques, here’s a quick comparison of the two:
| Technique | Benefits | Challenges |
|---|---|---|
| Dovetail Joints |
|
|
| Inlays |
|
|
Incorporating these advanced techniques into your woodworking projects not only enhances the beauty of your jewelry box but also boosts your skills as a craftsman. So, why not challenge yourself? Start with a simple dovetail joint or a basic inlay design, and with practice, you’ll be creating jaw-dropping pieces in no time. Remember, every expert was once a beginner, and the journey of mastering these techniques will make the final product all the more rewarding.
Q: What is the best wood for beginners to use when making a jewelry box?
A: Pine is a great choice for beginners due to its softness, ease of work, and affordability. It allows for easy cutting, shaping, and sanding.
Q: How do I ensure my jewelry box has a smooth finish?
A: Sanding is key! Start with a coarse grit and gradually move to finer grits. After sanding, apply a finish like varnish or oil to enhance the wood's natural beauty.
Q: Can I use power tools for advanced techniques?
A: Absolutely! Power tools can help you achieve precision and efficiency, especially when creating dovetail joints or making intricate inlays.
Q: How long does it typically take to make a DIY jewelry box?
A: The time can vary based on your skill level and the complexity of the design. A simple box might take a few hours, while more intricate designs can take several days.
Design Inspirations
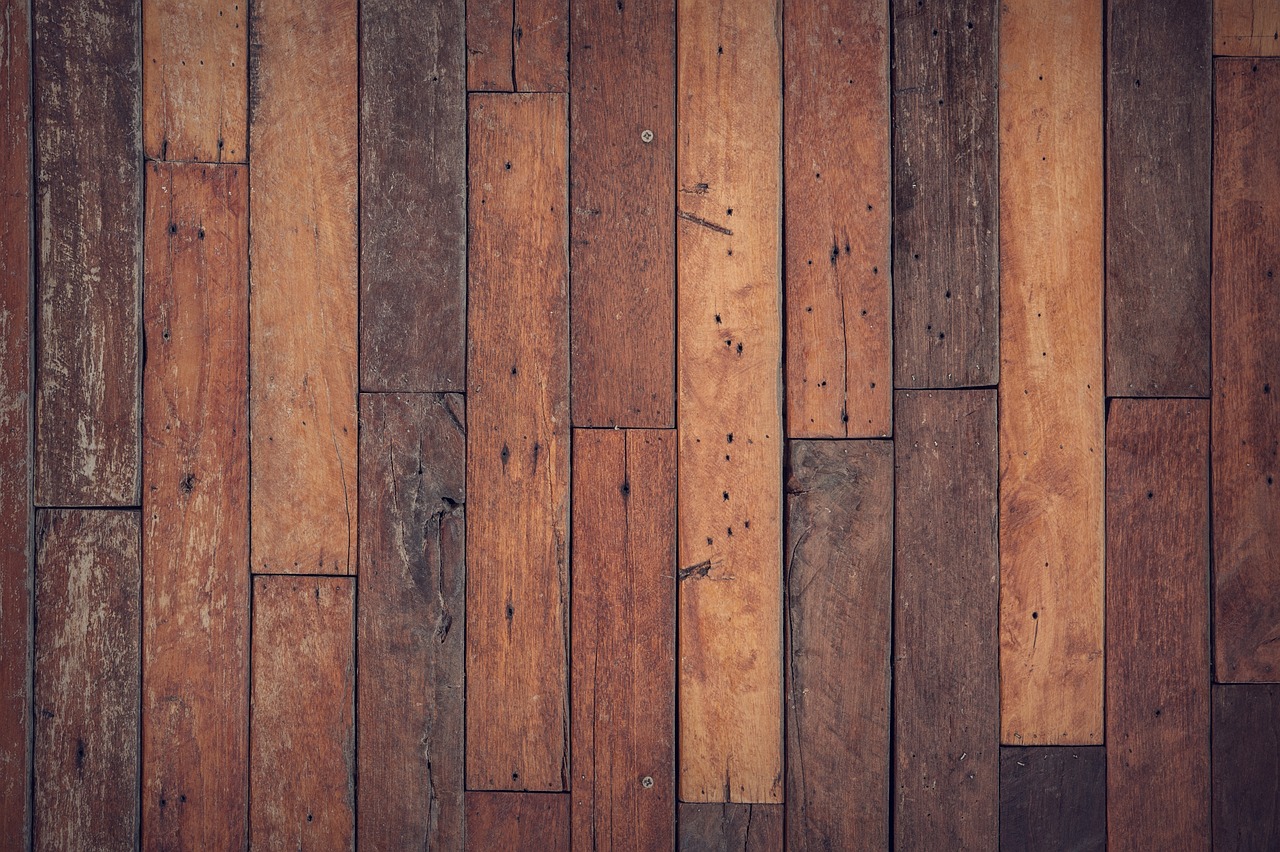
Finding the perfect design for your DIY wooden jewelry box can be an exhilarating journey filled with creativity and imagination. Whether you're looking for a sleek, modern aesthetic or a charming vintage vibe, the possibilities are endless. can come from various sources, including nature, architecture, and even your personal style. Think about what resonates with you—do you prefer clean lines, or are you drawn to intricate details? This section will explore a variety of design ideas that can help you visualize your final product and kickstart your creative process.
One of the most popular styles today is the modern minimalist design. These jewelry boxes are all about simplicity and functionality. Imagine a box with smooth, straight edges, perhaps made from a light-colored wood like birch or maple. The beauty of this design lies in its understated elegance. You might incorporate a sliding lid or a simple latch to keep your treasures secure. The idea is to create a piece that not only serves a purpose but also enhances your space without overwhelming it.
On the flip side, if you’re someone who appreciates a bit of nostalgia, then vintage and rustic styles might be more your speed. Picture a beautifully crafted box with a distressed finish, giving it that charming, worn-in look. You could use reclaimed wood for an eco-friendly twist, adding character and history to your piece. Antique hardware, like ornate hinges or a vintage clasp, can elevate the design even further, making your jewelry box a statement piece in any room. This style speaks to those who love cozy aesthetics and want their jewelry box to tell a story.
To help you visualize these concepts, here’s a simple comparison of these two styles:
| Style | Characteristics | Materials |
|---|---|---|
| Modern Minimalist | Clean lines, functional storage, understated elegance | Birch, Maple, Oak |
| Vintage/Rustic | Worn-in look, charming details, cozy aesthetics | Reclaimed wood, distressed finishes, antique hardware |
Ultimately, the design you choose should reflect your personality and style. Don’t be afraid to mix and match elements from different styles. For instance, you might incorporate a minimalist design but use vintage hardware to create a unique fusion that speaks to you. Remember, the beauty of crafting your own jewelry box lies in the freedom to express yourself. So, gather inspiration from various sources—be it a stroll through a local craft fair, a peek on Pinterest, or even a visit to a museum. Let your imagination run wild!
As you embark on your DIY wooden jewelry box project, you may have some questions. Here are some frequently asked questions that can guide you along the way:
- What type of wood is best for a jewelry box? - Popular choices include oak, maple, and cherry due to their durability and aesthetic appeal.
- Do I need power tools to create a jewelry box? - While hand tools can suffice, power tools can significantly speed up the process and improve accuracy.
- How can I finish my jewelry box for a professional look? - Consider using stains, varnishes, or oils to enhance the wood’s natural beauty and protect it from wear.
- Can I personalize my jewelry box? - Absolutely! Adding engravings or custom designs is a great way to make your box unique.
Modern Minimalist Designs
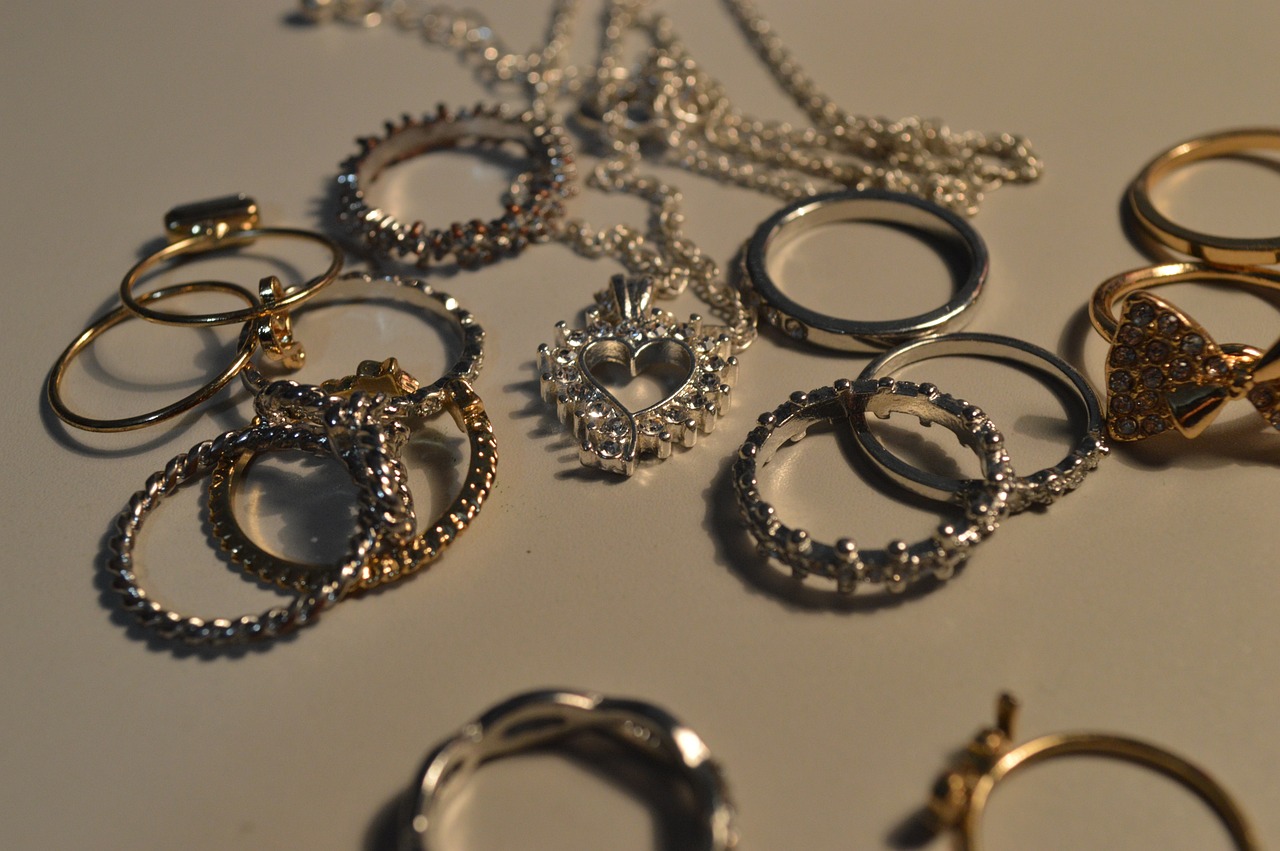
When it comes to crafting a modern minimalist jewelry box, the key is to embrace simplicity while ensuring functionality. Think of it as creating a canvas where your jewelry can shine without distractions. Minimalism isn't just about less; it's about making a statement with what you choose to include. Imagine a beautifully crafted box that speaks volumes through its clean lines and uncluttered design.
The beauty of modern minimalist designs lies in their ability to blend seamlessly with any decor. These boxes often feature natural wood finishes that highlight the grain and texture of the wood, creating a stunning visual appeal. A minimalist jewelry box can be as simple as a rectangular shape with a smooth finish, or it can incorporate subtle design elements like a rounded edge or a unique lid. The goal is to keep it elegant yet functional.
In designing your modern minimalist jewelry box, consider the following elements:
- Clean Lines: Use straight edges and geometric shapes to create a sleek appearance.
- Neutral Colors: Opt for whites, grays, and natural wood tones that complement any space.
- Functional Storage: Create compartments that serve a purpose without overcomplicating the design.
For instance, you might choose to incorporate a single drawer with a soft-close mechanism, allowing for a smooth and quiet operation. This not only enhances the user experience but also adds a touch of luxury to the box. Another popular feature in minimalist designs is the use of hidden hinges, which maintain the clean lines of the box while providing seamless functionality.
Moreover, consider adding a minimalist touch with hardware. Instead of bulky handles, you could use subtle cut-outs or even magnetic closures that keep the design streamlined. The essence of a minimalist jewelry box is to ensure that every element serves a purpose while contributing to the overall aesthetic.
As you embark on your DIY journey, remember that the beauty of minimalism is in the details. Each choice you make—from the type of wood to the finish—should reflect a balance of form and function. So, whether you're displaying your favorite rings or necklaces, let your modern minimalist jewelry box be a testament to your personal style.
Q1: What is a minimalist jewelry box?
A minimalist jewelry box is designed with simplicity in mind, focusing on clean lines and functional storage without unnecessary embellishments. It allows the jewelry to be the focal point.
Q2: What materials are best for a modern minimalist jewelry box?
The best materials include high-quality woods like oak, maple, or walnut, which offer durability and a natural aesthetic. You can also consider using materials like acrylic for a contemporary look.
Q3: How can I personalize my minimalist jewelry box?
You can personalize your box by adding subtle engravings, choosing a unique finish, or incorporating compartments tailored to your specific jewelry pieces.
Q4: Are there any specific design techniques for creating a minimalist jewelry box?
Yes, focus on using geometric shapes, hidden hardware, and neutral color palettes. Prioritize functionality while maintaining a clean aesthetic.
Vintage and Rustic Styles
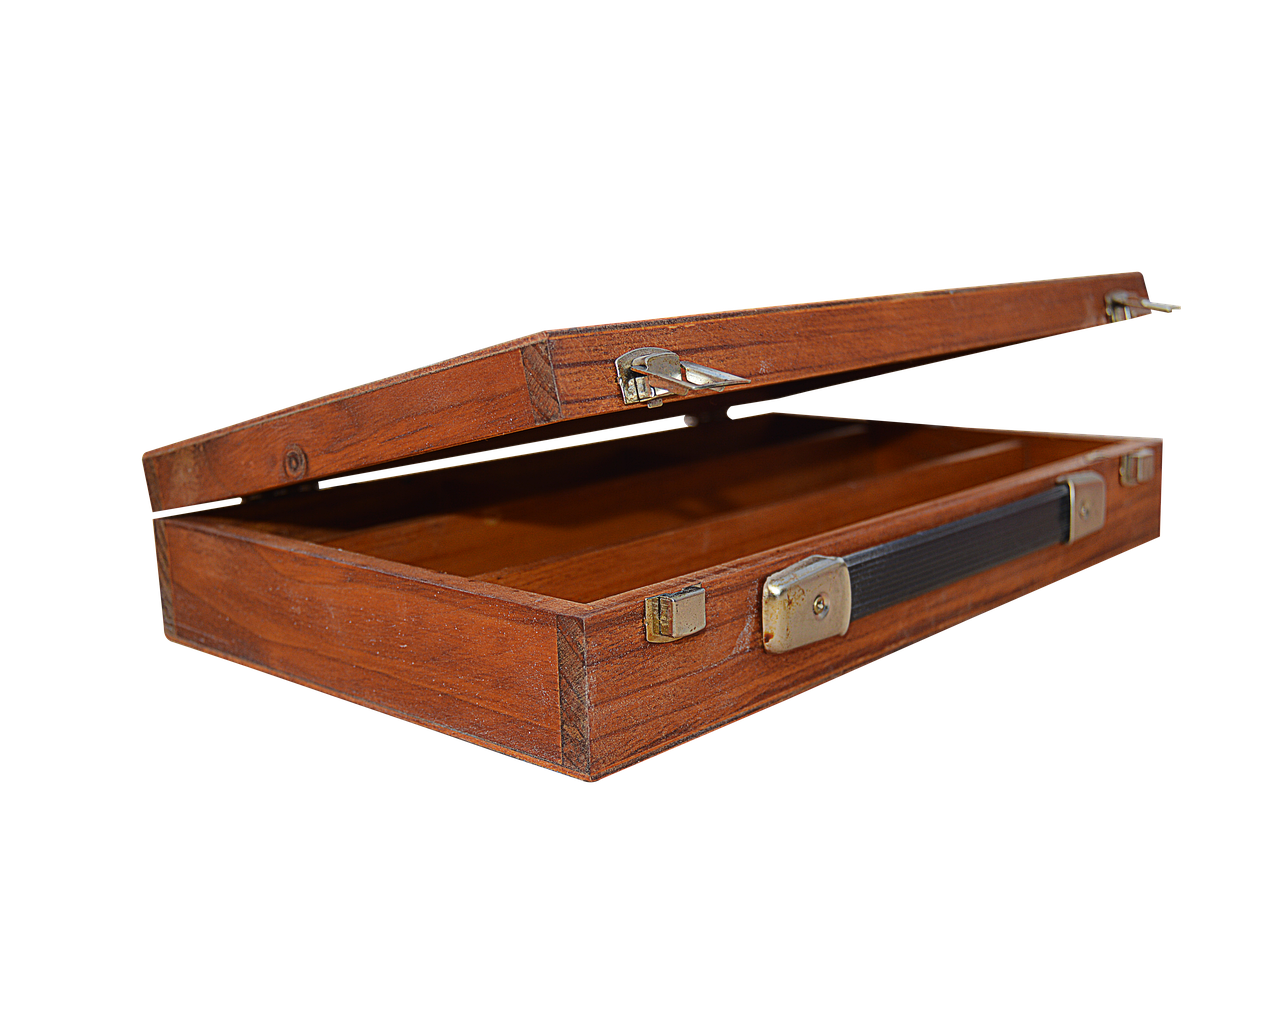
When it comes to crafting a jewelry box that tells a story, are the perfect choices. These designs evoke a sense of nostalgia and warmth, making them ideal for housing your treasured pieces. Imagine a jewelry box that not only serves a purpose but also adds character to your space! The beauty of vintage and rustic styles lies in their ability to blend seamlessly with various home decors, from modern to traditional. The key elements of these styles often include distressed finishes, natural wood tones, and charming hardware that exudes a sense of history.
To achieve that coveted rustic look, consider using reclaimed wood. Not only does it have a unique texture and color, but it also carries a story of its own, making your jewelry box even more special. You can also incorporate antique hardware such as old-fashioned hinges and handles, which can be found at flea markets or online. These small details can transform a simple box into a stunning statement piece, reflecting your personal style and appreciation for craftsmanship.
When designing your vintage-inspired jewelry box, think about incorporating features that enhance its rustic charm. For instance, a sliding drawer or a hidden compartment can add functionality while keeping the design visually appealing. You might also consider using a combination of finishes; a matte stain can highlight the wood's natural grain, while a glossy topcoat can protect it from wear and tear. The contrast between these finishes can create a beautiful depth, making your jewelry box a true work of art.
Here are some popular elements to consider when crafting your vintage or rustic jewelry box:
- Distressed Finishes: Sanding down edges or applying a whitewash can give your box that time-worn look.
- Natural Textures: Incorporate elements like burlap or lace to add softness and warmth.
- Unique Shapes: Consider unconventional designs, like rounded edges or asymmetrical shapes, to enhance visual interest.
In addition to aesthetics, functionality should also be a priority. Think about how you want to organize your jewelry. Dividers or compartments can help keep everything neat and easily accessible. You might even create a small mirror inside the lid, adding a touch of elegance while allowing for easy accessorizing. Ultimately, the goal is to create a piece that not only looks beautiful but also serves its purpose well.
As you embark on your DIY journey, don't forget to let your creativity shine! Vintage and rustic styles are all about embracing imperfections and celebrating the beauty of handmade items. So, whether you’re repurposing old wood or adding your personal touch with paint or embellishments, remember that each choice you make contributes to the story your jewelry box will tell.
Q: What type of wood is best for creating a vintage-style jewelry box?
A: Reclaimed wood is ideal for a rustic look, while hardwoods like oak or walnut can also provide durability and beauty.
Q: How can I achieve a distressed finish on my jewelry box?
A: You can achieve a distressed look by sanding edges, using a whitewash technique, or applying a glaze over your paint to give it an aged appearance.
Q: Can I mix different styles in my jewelry box design?
A: Absolutely! Mixing styles can create a unique piece that reflects your personal taste. Just ensure that the elements you choose complement each other.
Frequently Asked Questions
- What type of wood is best for a DIY jewelry box?
Choosing the right wood is essential for both durability and aesthetics. Popular options include maple for its hardness, walnut for its rich color, and pine for its affordability and ease of use. Each type of wood offers unique characteristics, so consider what fits your style and budget!
- What tools do I need to start making a wooden jewelry box?
To kick off your DIY project, you’ll need a few essential hand tools like a saw, chisel, and sander. If you’re feeling adventurous, power tools like a drill and router can really speed up the process and enhance precision. Don’t forget about safety gear!
- How can I achieve a professional finish on my jewelry box?
Finishing is where your jewelry box can truly shine! Start by sanding the surface smoothly, then apply a wood stain to enhance the grain. Finally, seal it with a clear varnish or lacquer for protection and a glossy look. Remember, patience is key—allow each layer to dry completely before moving on!
- Can I incorporate advanced techniques into my design?
Absolutely! Once you’re comfortable with the basics, you can explore advanced techniques like dovetail joints for strong corners or inlays for decorative touches. These methods can add a level of sophistication and uniqueness to your jewelry box that will impress anyone who sees it!
- What are some popular design inspirations for jewelry boxes?
Design inspirations are endless! You might lean towards modern minimalist styles that focus on clean lines or opt for vintage and rustic styles that bring warmth with distressed finishes. Consider what speaks to you and your personal style, and let that guide your design journey!


