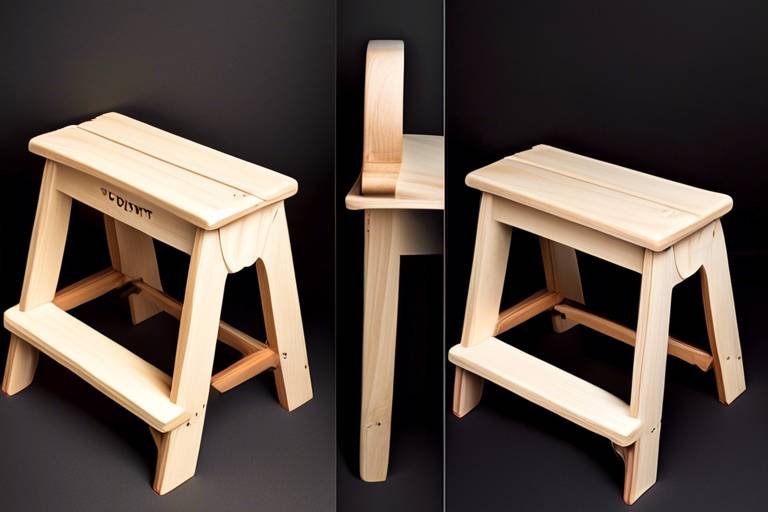
Through Tenon Joints: A Detailed Tutorial
Welcome to the world of woodworking, where creativity meets craftsmanship! In this comprehensive guide, we will dive deep into the art of through tenon joints. Whether you're a novice woodworker just starting out or a seasoned pro looking to refine your skills, this tutorial is designed to enhance your understanding and execution of this essential joint. Through tenon joints are not just functional; they embody the very essence of strength and stability in woodworking. Imagine constructing a beautiful piece of furniture that not only looks stunning but also stands the test of time. That's the power of a well-made tenon joint!
So, what exactly are through tenon joints? In simple terms, a through tenon joint is a type of joint where a tenon (a protruding piece of wood) passes completely through a mortise (a cavity cut into another piece of wood). This design allows for a strong connection between two pieces of wood, making it a popular choice in furniture making and cabinetry. The beauty of through tenon joints lies in their visibility; they add character and craftsmanship to your projects. You'll often find them in tables, chairs, and cabinets, where strength and aesthetics go hand in hand.
Before you start crafting your through tenon joints, you need to gather the right tools. Having the right equipment can make all the difference in achieving precise and clean cuts. Here are some essential tools you will need:
- Saws: A tenon saw or a miter saw works best for making accurate cuts.
- Chisels: A set of chisels will help you clean up the mortise and shape the tenon.
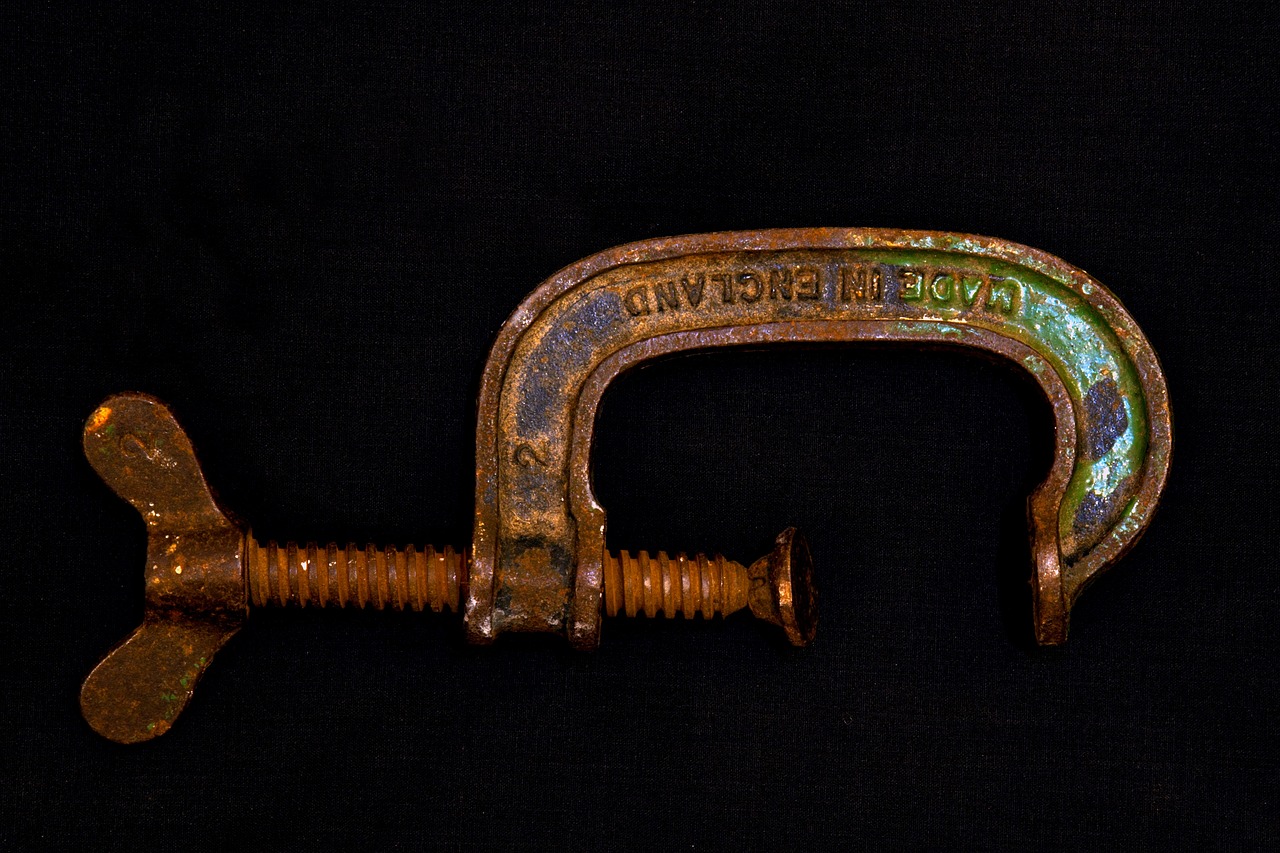
- Clamps: These are crucial for holding your pieces together while the glue dries.
- Measuring Tools: A tape measure and square will ensure your dimensions are spot on.
Having these tools at your disposal will set you up for success as you embark on your woodworking journey.
Now that you have your tools ready, let’s talk about wood selection. Choosing the right type of wood is essential for the success of your tenon joints. Different woods have unique characteristics that can affect the strength, durability, and appearance of your joints. Some of the best options for through tenon joints include:
- Oak: Known for its strength and beautiful grain, oak is a favorite among woodworkers.
- Maple: This hardwood is not only durable but also has a fine, even texture.
- Pine: A popular softwood choice, pine is easy to work with and great for beginners.
When selecting your wood, consider factors like grain patterns, hardness, and how well the wood will hold up to wear and tear. The right choice will ensure your project not only looks good but also lasts for years to come.
When it comes to wood, the debate between softwoods and hardwoods is ongoing. Softwoods, like pine and cedar, are generally easier to work with and more affordable. They are great for beginners or projects that require quick assembly. On the other hand, hardwoods like oak and maple are denser and more durable, making them ideal for high-quality furniture that needs to withstand daily use. Think of softwoods as the reliable, everyday car, while hardwoods are like a luxury vehicle—both have their place, but they serve different purposes!
Understanding grain direction is crucial when constructing through tenon joints. The direction of the wood grain can significantly impact the joint's strength. When aligning your pieces, make sure the grain runs in the same direction to prevent splitting. Imagine trying to bend a piece of paper; if you bend it against the grain, it tears easily. The same principle applies to wood! Aligning the grain properly will ensure your joints are robust and long-lasting.
Ready to create your first through tenon joint? Let’s break it down into manageable steps:
- Measure and Mark: Start by measuring the dimensions of your tenon and mortise. Use a square for accuracy.
- Cut the Tenon: Using a saw, cut the tenon to the desired size, ensuring it fits snugly into the mortise.
- Shape the Mortise: Use a chisel to clean up the mortise, ensuring it matches the tenon perfectly.
- Dry Fit: Before gluing, dry fit the pieces together to check for any adjustments.
- Glue and Clamp: Apply wood glue to the joint and clamp it securely until the glue dries.
Following these steps will help you achieve a clean and precise through tenon joint, showcasing your woodworking skills!
Even the most experienced woodworkers can stumble when making through tenon joints. Here are some common pitfalls to watch out for:
One of the most critical aspects of woodworking is accurate measurements. A small error can lead to a poorly fitting joint, which can compromise the strength of your project. Always double-check your measurements before making cuts. Remember, measure twice, cut once!
Dry fitting is a crucial step that many woodworkers overlook. It allows you to identify any issues before the final assembly. By dry fitting your pieces together, you can spot misalignments or gaps that could cause problems later on. Think of it as a dress rehearsal for your woodworking project; it’s better to fix mistakes before the final performance!
Once your through tenon joints are complete, it’s time to think about finishing. A good finish not only enhances the appearance of your project but also protects it from wear and tear. Here are some finishing techniques to consider:
- Sanding: Smooth out any rough edges to prepare for the finish.
- Staining: Enhance the wood’s natural beauty with a stain that complements your design.
- Sealing: Apply a sealant to protect the wood from moisture and damage.
By taking the time to finish your project properly, you’ll ensure that your through tenon joints look fantastic and stand the test of time.
Q: What is the best wood for through tenon joints?
A: Hardwoods like oak and maple are excellent choices for durability, while softwoods like pine are great for beginners.
Q: How do I ensure my tenon fits snugly?
A: Accurate measurements and dry fitting are key. Always double-check your dimensions before cutting.
Q: Can I use through tenon joints in outdoor furniture?
A: Yes, but make sure to use weather-resistant wood and finishes to protect against the elements.
Understanding Through Tenon Joints
Through tenon joints are a fundamental component in the world of woodworking, celebrated for their remarkable strength and stability. These joints are essentially a type of mortise and tenon joint where the tenon extends completely through the material, making it visible on both sides. This design not only enhances the structural integrity of the piece but also adds an aesthetic element, showcasing the craftsmanship involved in the construction. You might wonder why these joints are so popular—well, it’s because they offer a perfect blend of functionality and beauty!
When we delve deeper into the structure of through tenon joints, we find that they consist of two main components: the mortise and the tenon. The mortise is the cavity cut into one piece of wood, while the tenon is the protruding piece that fits snugly into this cavity. This connection is what gives through tenon joints their strength, making them ideal for applications such as tables, chairs, and cabinetry. Imagine the tenon as a key that fits perfectly into a lock—the tighter the fit, the more secure the joint!
Through tenon joints are commonly used in various woodworking projects, particularly in furniture making and cabinetry. They are especially favored for their ability to withstand stress and strain, which is crucial in items that undergo frequent use. For example, consider a dining table that hosts family gatherings; the last thing you want is for it to wobble or break under pressure. By using through tenon joints, you ensure that the table remains sturdy and reliable, even when the whole family gathers for a feast.
Moreover, the versatility of through tenon joints allows woodworkers to employ them in a multitude of styles, from traditional to contemporary. Whether you're crafting a rustic farmhouse table or a sleek modern shelf, these joints can be adapted to fit the aesthetic of your project. They can also be enhanced with decorative pegs or wedges, adding an extra touch of flair. So, if you're looking to elevate your woodworking game, mastering through tenon joints is a fantastic place to start!
In summary, understanding through tenon joints is crucial for any woodworker, whether you're just starting out or you're a seasoned pro. Their combination of strength, stability, and aesthetic appeal makes them an invaluable technique in the woodworking arsenal. So, grab your tools, and let’s dive deeper into the world of through tenon joints!
- What is the main advantage of using through tenon joints? Through tenon joints provide exceptional strength and stability, making them ideal for high-use furniture.
- Can beginners use through tenon joints? Absolutely! With the right tools and guidance, beginners can successfully create through tenon joints.
- What types of wood are best for through tenon joints? Hardwoods like oak and maple are often preferred due to their durability, but softwoods can also be used effectively.
Tools Required for Making Through Tenon Joints
Creating through tenon joints requires a variety of tools that are essential for achieving precision and quality in your woodworking projects. Whether you're a novice or a seasoned woodworker, having the right tools can make a significant difference in the outcome of your work. The primary tools you'll need include saws, chisels, and clamps, each serving a unique purpose in the construction of these joints.
Firstly, a tenon saw is crucial for making clean and accurate cuts. This saw is specifically designed for cutting tenons and allows you to maintain control and precision. Alongside it, a chisel set is indispensable for fine-tuning the fit of your joints. Chisels come in various sizes, and having a range will enable you to tackle different joint dimensions effectively.
Additionally, a router can be a valuable tool for creating the mortise portion of the joint. It allows for smooth and consistent cuts, enhancing the overall quality of the joint. If you're looking to speed up the process, a mortising machine can also be a great investment, especially for larger projects. This machine takes the guesswork out of mortise cutting, providing precision and efficiency.
Don't forget about the importance of clamps! They are essential for holding your pieces together while the glue dries and ensuring that everything stays aligned. A good set of clamps can make or break the integrity of your joint. You might want to consider using bar clamps or pipe clamps for larger assemblies, as they provide even pressure across the joint.
Here's a quick overview of the essential tools you'll need:
| Tool | Purpose |
|---|---|
| Tenon Saw | For making precise cuts on the tenon |
| Chisel Set | For refining the fit of the joint |
| Router | For creating mortises with precision |
| Mortising Machine | For efficient mortise cutting |
| Clamps | For securing joints during assembly |
In addition to these primary tools, you may find other items useful, such as a square for ensuring your cuts are at right angles, a marking gauge for measuring, and a good quality workbench to provide a solid foundation for your projects. Investing in quality tools will not only improve your craftsmanship but also make the woodworking process more enjoyable.
With the right tools in hand, you're well on your way to mastering the art of through tenon joints. Remember, precision is key, and the better your tools, the better your results will be!
Here are some common questions that woodworkers often have regarding through tenon joints:
- What is the best wood for making through tenon joints? - Hardwoods like oak and maple are excellent choices due to their durability and strength.
- Can I use power tools instead of hand tools? - Yes, power tools can speed up the process, but hand tools offer greater control and precision.
- How do I ensure my tenon fits perfectly? - Accurate measurements and dry fitting before final assembly are crucial for a perfect fit.

Choosing the Right Wood
When it comes to woodworking, the choice of wood can make or break your project, especially when you're crafting through tenon joints. Imagine trying to build a sturdy bridge with flimsy materials; it just won't hold up! The right type of wood not only enhances the strength and durability of your joints but also impacts the overall aesthetics of your finished piece. So, what should you consider when selecting wood for your tenon joints?
First and foremost, you need to think about the grain. The grain direction plays a crucial role in the strength of your joints. Aligning the grain correctly can prevent splitting and ensure that the tenon fits snugly into the mortise. For instance, if you choose wood with a straight grain, it will provide better strength compared to wood with a wavy or irregular grain. Additionally, the hardness of the wood is another vital factor. Hardwoods, like oak and maple, generally offer superior durability, making them ideal for high-traffic furniture pieces. On the other hand, softwoods like pine and cedar are easier to work with and can be perfect for less demanding applications.
Another consideration is the workability of the wood. Some woods are notoriously difficult to cut and shape, which can lead to frustration, especially for beginners. For example, while hardwoods can be challenging to work with due to their density, they often yield beautiful finishes. Softwoods, in contrast, are more forgiving and allow for easier manipulation, making them a popular choice for novice woodworkers. However, if you're aiming for a project that demands elegance and longevity, investing time in learning how to work with hardwoods can pay off in the long run.
To help you decide, here's a quick comparison of common wood types:
| Wood Type | Grain | Hardness | Workability |
|---|---|---|---|
| Oak | Straight | Hard | Moderate |
| Maple | Curly | Hard | Difficult |
| Pine | Straight | Soft | Easy |
| Cedar | Wavy | Soft | Easy |
Ultimately, the choice of wood boils down to the specific requirements of your project. If you're looking for strength and durability, hardwoods are your best bet. However, if you're just starting out or working on a less demanding project, softwoods can provide a great experience without overwhelming you. Remember, the wood you choose will not only affect the functionality of your through tenon joints but also the beauty of your final creation. So take your time, do your research, and choose wisely!
- What is the best wood for beginners? Softwoods like pine are often recommended for beginners due to their ease of workability.
- Can I use any wood for through tenon joints? While it's possible, it's best to choose woods with good grain structure for strength.
- How do I know if the wood is suitable for my project? Consider factors like hardness, grain direction, and the intended use of the finished product.

Softwoods vs. Hardwoods
When it comes to woodworking, the choice between softwoods and hardwoods can significantly influence the outcome of your projects, especially when working with through tenon joints. Softwoods, which come from coniferous trees, are known for their lightweight and easy-to-work-with nature. Common examples include pine, cedar, and fir. These woods are generally less dense, making them ideal for beginners or projects that require quick assembly. However, their softness can sometimes lead to dent and scratch issues, which may not be suitable for high-traffic furniture.
On the other hand, hardwoods, derived from deciduous trees, such as oak, maple, and cherry, offer a level of durability and strength that softwoods often lack. They tend to be more resistant to wear and tear, making them perfect for furniture that needs to withstand daily use. The denser nature of hardwoods also means they can hold up to the stress of joints better, providing a sturdy base for your tenons. However, working with hardwoods can be more challenging due to their density, requiring sharper tools and more effort during cutting and shaping.
To help you understand the key differences, here’s a quick comparison:
| Characteristic | Softwoods | Hardwoods |
|---|---|---|
| Density | Less dense | More dense |
| Workability | Easier to work with | More challenging |
| Durability | Less durable | More durable |
| Cost | Generally cheaper | Generally more expensive |
| Common Uses | Furniture, construction, and crafts | High-quality furniture, cabinetry, and flooring |
Ultimately, the choice between softwoods and hardwoods comes down to the specific needs of your project. If you’re looking for a budget-friendly option that’s easy to manipulate, softwoods may be the way to go. However, if you’re aiming for a long-lasting piece that can endure the test of time, hardwoods will likely serve you better. Remember, the wood you choose will impact not only the structural integrity of your through tenon joints but also the aesthetic appeal of your finished product.
- What is the best wood for making through tenon joints? The best wood depends on your project needs; hardwoods offer durability, while softwoods are easier to work with.
- Can I use softwood for outdoor furniture? Yes, but ensure it is treated to withstand moisture and pests.
- How do I know if my wood is suitable for tenon joints? Look for straight grain and minimal knots, as these factors contribute to strength.
Grain Direction Considerations
When it comes to woodworking, understanding grain direction is absolutely crucial for achieving strong and durable through tenon joints. The grain of the wood refers to the direction in which the wood fibers run, and aligning your cuts with this grain can make all the difference in the strength and longevity of your joints. Imagine trying to pull apart two pieces of wood that are glued together against the grain; it would be like trying to tear a piece of fabric by pulling it sideways instead of along the threads. The grain direction can either enhance the strength of your joint or lead to catastrophic failure, so let’s delve into why this matters and how to get it right.
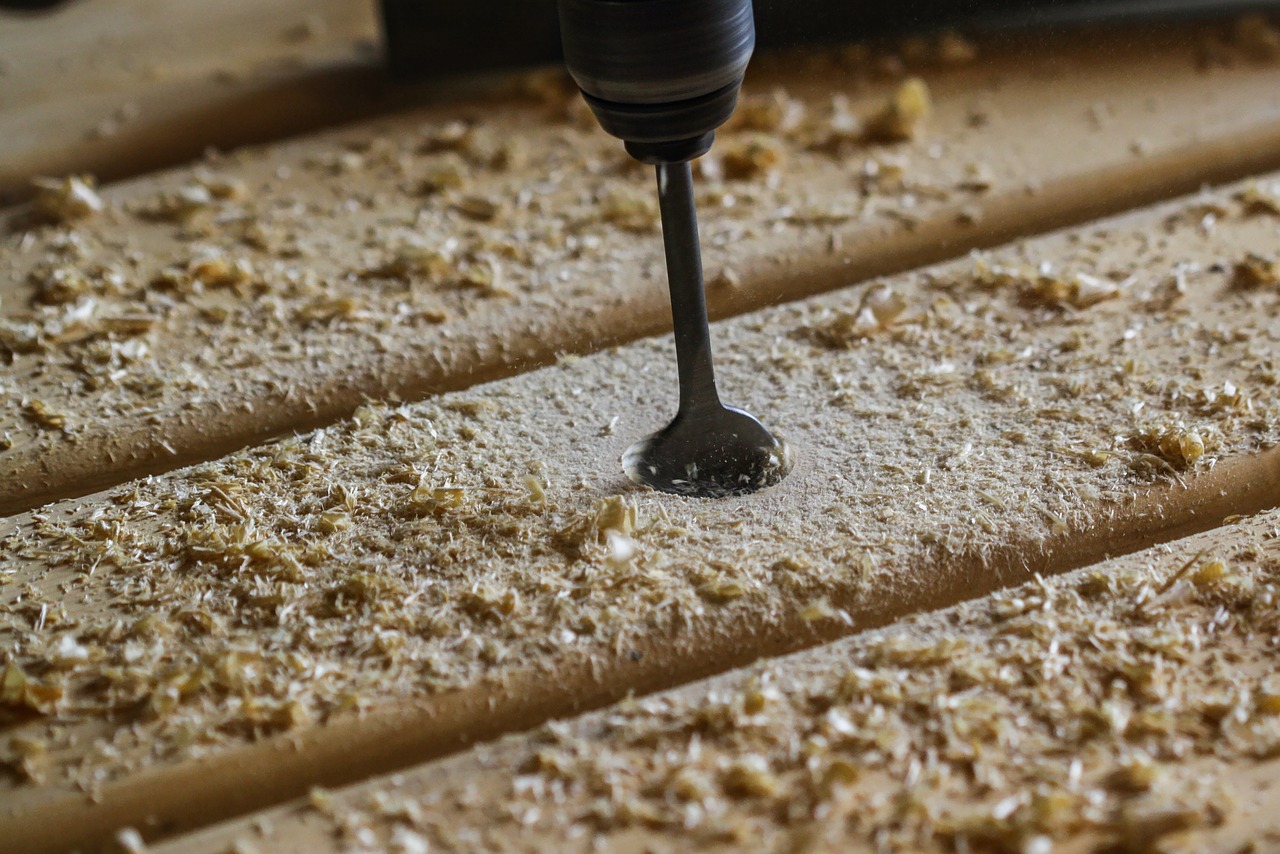
To ensure that your through tenon joints are as strong as possible, you should always aim to cut the tenon with the grain. This alignment minimizes the risk of splitting, which can occur when the wood fibers are forced apart in the wrong direction. When the tenon is cut parallel to the grain, it allows the fibers to remain intact, providing a solid connection between the mortise and tenon. Conversely, if the tenon is cut against the grain, you risk creating weak points that can compromise the entire joint.
Additionally, it’s important to consider the orientation of the wood in relation to its grain. For example, if you are using a piece of wood that has a pronounced grain pattern, such as oak or walnut, you’ll want to pay close attention to how that pattern flows. Aesthetically, you want the grain to look uniform and pleasing, but functionally, you need it to support the joint. For instance, if you have a piece of wood where the grain runs in a spiral or has knots, these features can affect the strength of your tenon joint. Always inspect your wood before cutting and choose the best orientation to enhance both the beauty and the strength of your project.
One effective way to visualize and plan your cuts is to create a simple diagram of the wood piece, marking the grain direction. You can use a table to outline the different pieces and their respective grain orientations:
| Wood Piece | Grain Direction | Recommended Cut Direction |
|---|---|---|
| Side Panel | Vertical | Along the grain |
| Top Rail | Horizontal | Along the grain |
| Tenon | Diagonal | Parallel to the grain |
In summary, grain direction is not just a technical detail; it’s a fundamental aspect of woodworking that can significantly impact the quality of your projects. By aligning your cuts with the grain and being mindful of the wood's natural characteristics, you can enhance the durability and aesthetic appeal of your through tenon joints. Remember, a well-crafted joint is the backbone of any sturdy piece of furniture!
- What happens if I cut against the grain? Cutting against the grain can lead to splitting and weak joints, compromising the overall integrity of your project.
- How can I determine the grain direction? Look closely at the wood surface; the grain will appear as lines or patterns that indicate the direction of the fibers.
- Is grain direction more important for certain types of wood? Yes, woods with pronounced grain patterns, like oak or cherry, are more sensitive to grain direction than softer woods.
Step-by-Step Guide to Creating Through Tenon Joints
Creating through tenon joints can seem daunting at first, but with the right approach, it’s a rewarding process that enhances both your skills and your woodworking projects. Let’s break it down into manageable steps that even beginners can follow. First, start by gathering all your materials and tools. You’ll need a few essential items: a saw (preferably a tenon saw), chisels, a square, a marking knife, and clamps. Having everything at your fingertips will make the process smoother and more enjoyable.
The first step is to measure and mark your wood accurately. Use your square to ensure that your markings are straight and true. It’s crucial to take your time here; a small mistake in measurement can lead to significant issues down the line. Once you’ve marked where the tenon will go, it’s time to cut. Carefully use your saw to cut along the marked lines, ensuring you stay within the lines to maintain precision. Remember, patience is key! If you rush, you might end up with uneven cuts.
After cutting the tenon, it’s time to create the mortise in the corresponding piece of wood. This is where your chisels come into play. Start by marking the mortise location on the wood, ensuring it aligns perfectly with your tenon. Then, using your chisel, carefully remove the wood to create a snug fit for the tenon. It’s often best to make several shallow cuts rather than one deep cut. This technique not only gives you better control but also reduces the risk of splitting the wood.
Once the mortise is prepared, perform a dry fit of the tenon into the mortise. This step is crucial! It allows you to check whether your tenon fits properly. If it’s too tight, you may need to shave off a bit more wood. Conversely, if it’s too loose, you might have to start over. A snug fit is essential for the strength of the joint.
Next, it’s time to apply glue. Use a good quality wood glue and apply it generously to both the tenon and the mortise. Then, insert the tenon into the mortise and clamp the pieces together. Make sure to wipe away any excess glue that seeps out; this will save you a lot of hassle during the finishing process. Allow the glue to dry completely according to the manufacturer’s instructions.
Finally, once the glue is dry, you can sand the joint area to smooth out any rough edges and ensure a seamless finish. This step not only improves the appearance but also enhances the overall strength of the joint. And there you have it—a through tenon joint that is both strong and visually appealing!
As you practice this technique, you’ll find that it becomes easier and more intuitive over time. Remember, woodworking is all about patience and precision. Don’t be afraid to experiment and make adjustments as you learn. Happy woodworking!
- What is the best wood for making through tenon joints? Hardwoods like oak and maple are excellent choices due to their durability and ability to hold joints well.
- Can I use power tools to create through tenon joints? Yes, power tools can speed up the process, but precision hand tools often provide more control for intricate work.
- How do I ensure my tenon fits tightly? Always measure accurately and perform dry fittings before gluing to ensure a snug fit.
- What should I do if my tenon is too loose? You can add a thin shim or use wood glue to fill in gaps, but starting over with a new piece is often the best solution.

Common Mistakes to Avoid
Even the most seasoned woodworkers can stumble upon common pitfalls when crafting through tenon joints. It’s like navigating a maze; one wrong turn can lead to frustration and wasted materials. Understanding these mistakes not only helps you avoid them but also enhances your overall woodworking experience. So, what are these common blunders, and how can you sidestep them? Let's dive into the details!
One of the most significant mistakes is improper measurements. Accurate measurements are the backbone of any successful woodworking project, particularly when it comes to fitting tenons. Imagine trying to fit a square peg into a round hole—frustrating, right? To ensure that your tenons fit snugly into their mortises, it’s crucial to measure twice and cut once. This old adage rings true in woodworking! Use precise measuring tools like a digital caliper or a good old-fashioned tape measure. Additionally, marking your measurements clearly on the wood can save you from costly errors.
Another common error is insufficient dry fitting. Think of dry fitting as a dress rehearsal before the big show. It allows you to see how everything fits together without committing to glue or screws just yet. By assembling your pieces without adhesive, you can identify potential issues—like misalignments or gaps—before they become permanent. Skipping this step can lead to disastrous results, where you might find yourself disassembling your work after realizing that something doesn’t fit as it should. So, take the time to dry fit your joints; it’s a small investment of time that can yield significant rewards in the end.
In addition to these mistakes, be wary of neglecting wood grain direction. The orientation of the grain can significantly affect the strength and durability of your joints. If the grain is not aligned properly, the wood is more likely to split when pressure is applied. Always consider the grain direction when planning your cuts. A good rule of thumb is to position the tenon so that the grain runs parallel to the joint. This simple adjustment can make a world of difference in the longevity of your project.
Finally, don’t overlook the importance of finishing techniques. Many woodworkers rush through the finishing process, thinking it’s just an afterthought. However, proper finishing is essential for both aesthetics and protection. A well-finished joint not only looks appealing but also resists moisture and wear, ensuring that your hard work stands the test of time. Remember to sand your joints thoroughly, apply stain evenly, and seal them properly to enhance their durability.
- What is a through tenon joint? A through tenon joint is a type of woodworking joint where the tenon extends through the material, providing added strength and stability.
- How do I avoid splitting the wood? To prevent splitting, ensure that your cuts are precise and that you respect the wood grain direction.
- Why is dry fitting important? Dry fitting allows you to check the fit and make adjustments before permanently assembling the joint, saving time and materials.
- What tools do I need for making through tenon joints? Essential tools include a saw, chisels, clamps, and measuring tools to ensure accuracy in your cuts.
Improper Measurements
When it comes to woodworking, accuracy is key. One of the most common pitfalls that even seasoned woodworkers encounter is improper measurements. Imagine working tirelessly on a beautiful piece, only to find that your tenons don’t fit snugly into their mortises. It's like baking a cake and forgetting to measure the flour—no matter how great the frosting looks, the foundation will crumble. To avoid this frustration, it's crucial to understand the importance of precise measurements throughout the entire process of creating through tenon joints.
First and foremost, always use a reliable measuring tool. Whether it’s a tape measure, a combination square, or a caliper, having a quality tool can make all the difference. Double-check your measurements before making any cuts. A simple mistake of a fraction of an inch can lead to joints that are either too tight or too loose, compromising the integrity of your project. Remember, “measure twice, cut once” isn't just a catchy phrase; it’s a mantra that can save you time and materials.
Here are some tips to ensure your measurements are spot on:
- Use Clear Markings: Make sure your markings are visible and distinct. A faint line can lead to confusion when cutting.
- Account for Saw Blade Width: Always remember to factor in the width of the saw blade when measuring your cuts. This is often overlooked and can lead to errors.
- Check for Square: Ensure that your cuts are square, as any angle can affect the fitting of your joints.
Additionally, consider creating a measurement template. This can be a simple piece of scrap wood that you can use to test the fit of your tenons before making the final cuts. By doing this, you can catch any discrepancies early in the process, allowing for adjustments before committing to the actual workpiece.
In summary, improper measurements can lead to a cascade of issues in your woodworking projects. By prioritizing accuracy, using quality tools, and implementing a few simple strategies, you can significantly enhance the quality of your through tenon joints. Remember, it’s not just about getting the job done; it’s about doing it right.
Q: What tools are best for measuring wood accurately?
A: A combination square, tape measure, and calipers are great tools for ensuring accurate measurements in woodworking.
Q: How can I ensure my tenons fit properly?
A: Always double-check your measurements, account for the saw blade width, and consider dry fitting your joints before final assembly.
Q: What should I do if my tenons are too tight?
A: If your tenons are too tight, you can carefully sand them down or make adjustments to the mortise to achieve a better fit.

Insufficient Dry Fitting
When it comes to woodworking, one of the most critical yet often overlooked steps is dry fitting. This process involves assembling your pieces without glue or fasteners to ensure everything fits perfectly before the final assembly. Imagine trying to put together a jigsaw puzzle without checking if the pieces fit first; it’s a recipe for frustration and wasted materials! Insufficient dry fitting can lead to a myriad of problems, including misaligned joints, gaps, and even structural weaknesses that can compromise the integrity of your project.
Many woodworkers, especially beginners, might be tempted to skip this step to save time. However, this decision can backfire spectacularly. Here are some common issues that can arise from insufficient dry fitting:
- Misalignment: If your tenons don’t fit snugly into the mortises, the entire joint can be off, leading to a wobbly structure.
- Gaps: Gaps can occur at the joints if the pieces are not properly aligned, resulting in an unattractive finish.
- Uneven Pressure: When the pieces are not dry-fitted, the pressure applied during clamping can lead to cracks or splits.
To avoid these pitfalls, take the time to dry fit your joints thoroughly. Start by assembling your pieces in their intended positions and check for any discrepancies. Use clamps to hold the pieces together temporarily and inspect the joints from different angles. Look for gaps, and ensure that the tenons fit snugly into the mortises. If you notice any issues, this is your opportunity to make adjustments before the final assembly.
Remember, dry fitting is not just a precaution; it's a critical step in ensuring your project turns out as envisioned. It can save you time, effort, and materials in the long run. So, next time you’re working on a project, don’t rush through this essential step. Your future self will thank you!
- What is dry fitting? Dry fitting is the process of assembling pieces of a woodworking project without adhesive or fasteners to check for fit and alignment.
- Why is dry fitting important? It ensures that all components fit together correctly, preventing issues like misalignment and gaps in the final assembly.
- How do I dry fit my pieces? Simply assemble your pieces in their intended positions, use clamps to hold them temporarily, and check for fit and alignment.
- Can I skip dry fitting? While it may save time initially, skipping this step can lead to significant problems that could require extensive repairs.
Finishing Techniques for Through Tenon Joints
Once you've skillfully crafted your through tenon joints, the next step is to focus on finishing. Finishing is not just about aesthetics; it's also about protecting your hard work from the elements and wear over time. Think of it as the cherry on top of your woodworking masterpiece! There are several techniques you can use to ensure your project looks stunning and lasts for years to come.
One of the most popular methods is sanding. Start with a coarse grit sandpaper to remove any rough spots and then gradually move to finer grits. This process smoothens the surface and prepares it for staining or sealing. Don’t rush it—taking your time with sanding will yield a beautiful finish. Remember, a well-sanded joint not only looks better, but it also helps the finish adhere properly.
Next comes staining. Staining enhances the natural beauty of the wood and can dramatically change the appearance of your joints. You can choose from a variety of stains, ranging from light to dark shades. When applying stain, use a clean cloth or a brush to ensure an even application. It’s a good idea to test the stain on a scrap piece of wood first to see how it interacts with your chosen material. This way, you’ll avoid any unpleasant surprises!
Another essential finishing technique is sealing. Sealing protects your wood from moisture, dirt, and other damaging elements. You can use polyurethane, lacquer, or even oil finishes, depending on the look you want to achieve. Each type of sealant has its own characteristics. For instance, polyurethane provides a durable finish that’s great for high-traffic areas, while oil finishes offer a more natural look but may require more frequent reapplication. Your choice will depend on the intended use of your project.
Here’s a quick reference table summarizing the finishing techniques:
| Technique | Description | Best For |
|---|---|---|
| Sanding | Removes rough spots and prepares the surface. | All wood projects |
| Staining | Enhances wood's natural beauty with color. | Aesthetic appeal |
| Sealing | Protects wood from moisture and wear. | Durability and longevity |
Finally, don’t forget about the final touches. After applying your finishes, consider buffing the surface lightly with a soft cloth for a polished look. This step can elevate your project from good to great, giving it that professional feel. And remember, patience is key in finishing. Allow each layer to dry completely before moving on to the next to ensure the best results.
Q1: How long should I wait between coats of finish?
A1: It typically depends on the type of finish you’re using. Generally, waiting at least 2-4 hours between coats is advisable, but always check the manufacturer’s instructions for specific guidance.
Q2: Can I use a water-based stain over an oil-based finish?
A2: It’s not recommended. Water-based stains do not adhere well to oil-based finishes. Always ensure compatibility between your stain and sealant for the best outcome.
Q3: What is the best way to apply a sealant?
A3: Using a high-quality brush or a foam applicator can provide a smooth and even application. Brush in the direction of the grain to avoid streaks.
By following these finishing techniques, your through tenon joints will not only be structurally sound but also visually appealing, ensuring your woodworking projects stand the test of time!
Frequently Asked Questions
- What is a through tenon joint?
A through tenon joint is a type of woodworking joint where a tenon extends completely through the material it is fitting into. This design not only provides strength and stability but also allows for visible joinery, adding a decorative element to your projects.
- What tools do I need to create through tenon joints?
To make through tenon joints, you'll need a few essential tools, including a saw (preferably a tenon saw or a table saw), chisels for refining the fit, clamps to hold everything securely, and a marking gauge to ensure accurate measurements.
- Which type of wood is best for through tenon joints?
Choosing the right wood is crucial. Hardwoods like oak or maple are often preferred for their durability and strength, but softwoods like pine can also be used for lighter projects. Always consider the grain and workability of the wood to achieve the best results.
- How do I avoid common mistakes when making through tenon joints?
To avoid mistakes, ensure that you measure accurately and double-check your cuts before making them. Additionally, practice dry fitting your joints before final assembly to catch any issues early on, saving time and materials.
- What finishing techniques should I use for my through tenon joints?
Once your joints are complete, finishing is key to enhance their appearance and protect the wood. Techniques such as sanding, staining, and sealing can help achieve a beautiful finish while ensuring the longevity of your project.


