Dig into Woodworking: DIY Wooden Sandbox for Kids
This article explores the steps and materials needed to create a fun and safe wooden sandbox for children, fostering creativity and outdoor play while enhancing woodworking skills.
Selecting an appropriate spot for your sandbox is crucial. Imagine your kids playing happily in a safe environment, surrounded by laughter and creativity. To achieve this, consider factors like sunlight, drainage, and proximity to play areas. A sunny spot encourages outdoor play, while good drainage prevents water from pooling, keeping the sand dry and inviting. Ideally, place the sandbox near other play areas so your kids can easily transition from one activity to another. Avoid areas with overhanging branches or shrubs that can drop debris into the sandbox. Ensuring a safe and enjoyable experience for your kids is the ultimate goal!
Gathering the right materials is essential for building a durable sandbox. Think of it as gathering your ingredients before cooking a delicious meal. You wouldn’t want to start cooking without all your ingredients, right? Here’s what you’ll need to create a fantastic sandbox:
Different types of wood offer varying levels of durability and resistance to the elements. When choosing wood, consider options like cedar, redwood, or pressure-treated pine. Cedar and redwood are naturally resistant to decay and insects, making them excellent choices for outdoor projects. Pressure-treated pine, while more affordable, requires careful consideration due to chemical treatments that can leach into the sand. Here’s a quick comparison:
| Type of Wood | Durability | Cost | Maintenance |
|---|---|---|---|
| Cedar | High | Moderate | Low |
| Redwood | High | High | Low |
| Pressure-Treated Pine | Moderate | Low | Moderate |
Understanding the difference between treated and untreated wood is vital. Treated wood has been chemically treated to resist rot and pests, which is great for longevity but may pose risks if children ingest sand containing these chemicals. Untreated wood, on the other hand, is safer but may require more frequent replacement. Weigh the pros and cons carefully to choose what’s best for your sandbox.
Explore alternative materials for constructing a sandbox, such as composite or recycled plastics. These materials can offer unique benefits, including lower maintenance and a reduced environmental impact. Composite materials are often designed to mimic wood while providing superior durability and weather resistance. Plus, they come in various colors, allowing you to customize the look of your sandbox!
A list of essential tools for building your sandbox will ensure you have everything needed for a smooth construction process. You’ll need:
- Saw - for cutting wood to size
- Drill - to create holes for screws
- Measuring Tape - for accurate measurements
- Level - to ensure your sandbox is even
- Screwdriver - for assembling the pieces
Follow this comprehensive guide to build your sandbox, detailing each step from planning and cutting to assembly and finishing touches, ensuring a seamless project experience. Building a sandbox is not just about the end product; it’s about the journey and the joy it brings to your family.
Proper site preparation is key to a stable sandbox. Start by leveling the ground where you plan to place your sandbox. This ensures that your structure remains stable and prevents any unwanted water pooling. You might want to dig a shallow area to create a solid foundation, which will help keep the sand in place and make the sandbox more enjoyable for your kids.
Detailed assembly instructions will guide you through the process of putting your sandbox together. Begin by cutting your wood to the desired dimensions, then assemble the frame using screws for a sturdy construction. Make sure to sand any rough edges to prevent splinters. Once assembled, fill your sandbox with clean, safe sand, and watch your kids dive into a world of creativity and fun!
Here are some common questions that might pop up while you’re planning your DIY sandbox:
- What type of sand is best for a sandbox? - Look for play sand that is specifically designed for sandboxes, as it is clean and safe for children.
- How often should I replace the sand? - It’s a good idea to check the sand regularly for cleanliness and replace it annually or as needed.
- Can I add a cover to my sandbox? - Absolutely! A cover can help keep debris out and protect the sand from rain.
Choosing the Right Location
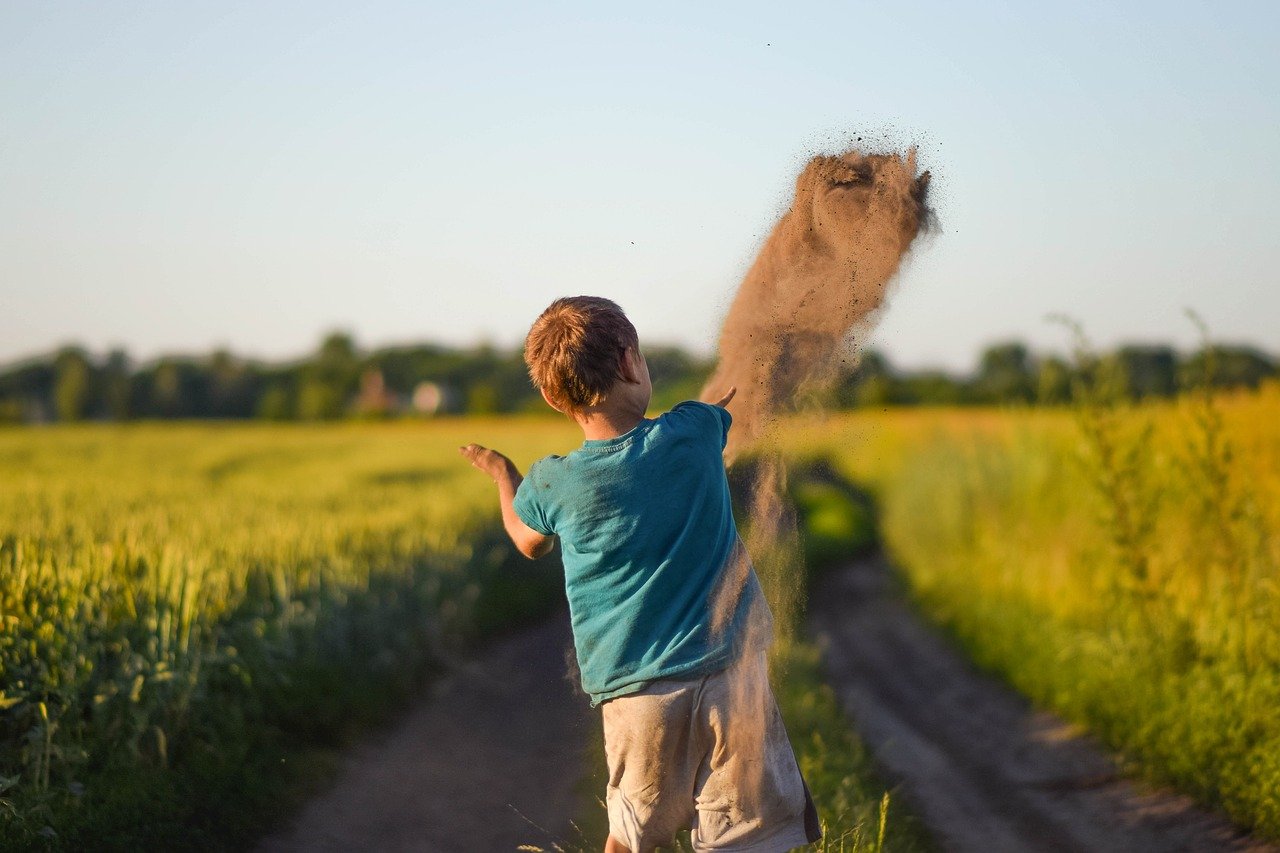
When it comes to building a wooden sandbox for your kids, is absolutely crucial. Think of it as laying the foundation for a great adventure! You want a spot that not only sparks joy but also ensures safety and comfort during playtime. So, where do you begin? Here are some key factors to consider:
First off, consider the amount of sunlight the area receives. Kids love to dig and play, but too much sun can lead to overheating and sunburn. Aim for a location that gets a mix of sun and shade throughout the day. A tree nearby can provide a natural canopy, but make sure it doesn't drop leaves or fruits into the sandbox, as this can create a mess and attract unwanted pests.
Next up, think about drainage. You don’t want your sandbox to turn into a muddy pit after a rainstorm. Look for a spot that is slightly elevated or away from areas where water tends to pool. If you have a flat yard, you might want to create a slight slope or even consider adding some drainage tiles to keep things dry. A dry sandbox is a happy sandbox!
Another important aspect is the proximity to other play areas. Ideally, your sandbox should be close to where your kids already play, like a swing set or a playhouse. This way, they can easily transition from one activity to another, keeping their playtime dynamic and engaging. However, make sure it’s not too close to any hazards, like a busy driveway or sharp garden tools.
Lastly, think about the visibility of the sandbox. You’ll want to keep an eye on your little ones while they play, so placing it within your line of sight is a smart move. This not only gives you peace of mind but also allows you to join in on the fun whenever you can. After all, who doesn’t love a little sandcastle building?
In summary, when choosing the right location for your sandbox, keep these factors in mind:
- Sunlight: A mix of sun and shade is ideal.
- Drainage: Ensure the area is well-drained to avoid puddles.
- Proximity to other play areas: Keep it close to enhance playtime.
- Visibility: Place it where you can easily supervise your kids.
By taking the time to carefully select the perfect spot for your sandbox, you’re setting the stage for countless hours of fun and creativity. So go ahead, dig in and let those imaginations run wild!
Materials Needed
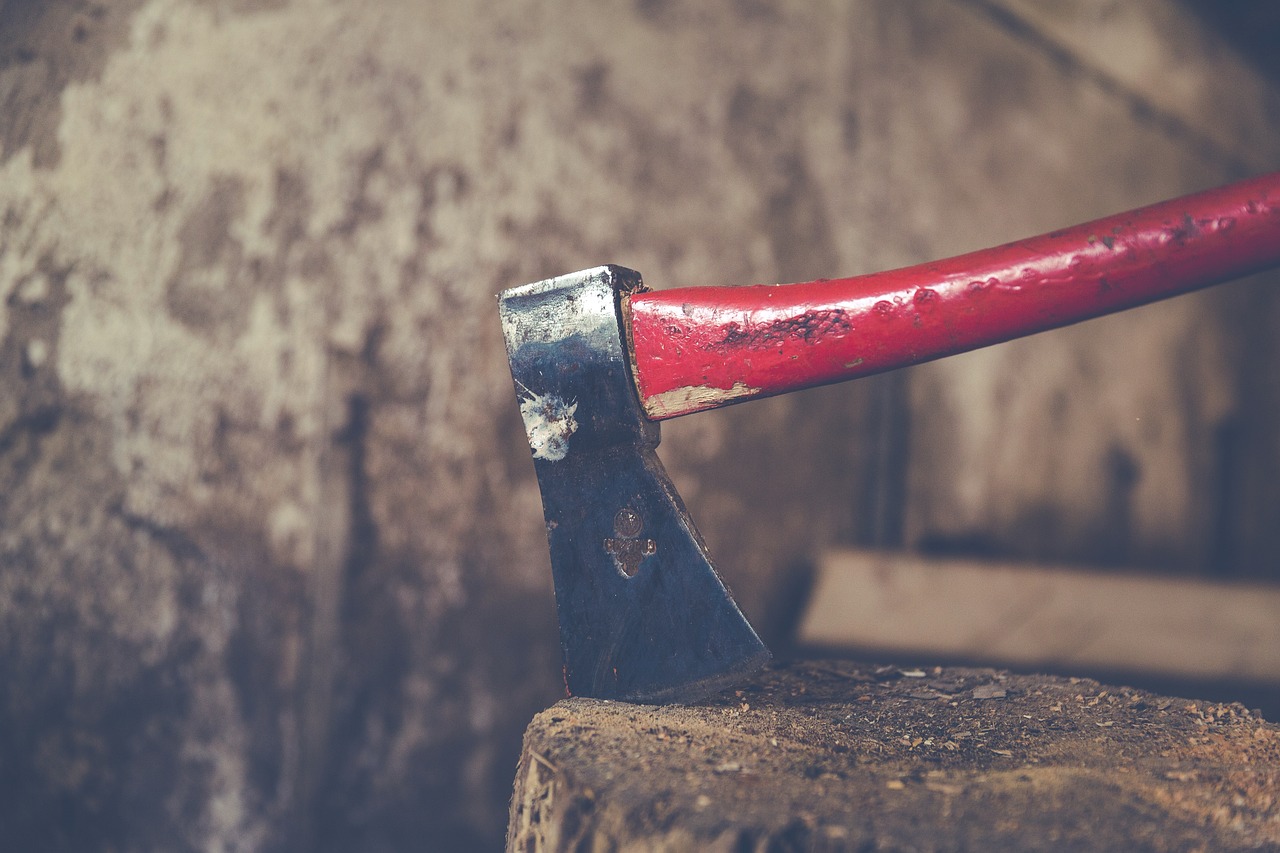
When embarking on the exciting journey of building a DIY wooden sandbox for your kids, gathering the right materials is absolutely essential. Not only does this ensure the durability of your sandbox, but it also guarantees a safe and enjoyable play environment for your children. Let’s dive into what you’ll need to make this project a success.
First and foremost, you'll need to choose the right type of wood. The most common choices are cedar, redwood, and pressure-treated lumber. Each of these options comes with its own set of advantages:
| Type of Wood | Durability | Resistance to Elements | Cost |
|---|---|---|---|
| Cedar | High | Excellent | Moderate |
| Redwood | Very High | Excellent | High |
| Pressure-Treated Lumber | High | Good | Low |
As you can see from the table, while cedar and redwood are fantastic for their natural resistance to decay and insects, pressure-treated lumber is a more budget-friendly option that can still provide decent longevity. However, be mindful of using pressure-treated wood, especially if your kids are young, as it may contain chemicals not suitable for direct contact.
Next, let’s talk about some essential tools you’ll need to have on hand. You don’t have to be a master carpenter to pull this off, but having the right tools will make the job much easier. Here’s a quick rundown:
- Measuring Tape: Accurate measurements are crucial.
- Power Saw: A circular saw or miter saw will make cutting easier.
- Screwdriver: For assembling the pieces.
- Drill: To create pilot holes and drive screws.
- Sandpaper: To smooth out rough edges for safety.
Safety gear is another important aspect of your material list. Always prioritize safety when working with tools. Make sure you have:
- Safety Goggles: Protect your eyes from sawdust and debris.
- Gloves: To prevent splinters and protect your hands.
- Dust Mask: To avoid inhaling sawdust.
Finally, you’ll need some additional materials to complete the sandbox. This includes:
- Wood Screws: To hold everything together securely.
- Landscape Fabric: To line the bottom and prevent weeds from growing through.
- Play Sand: The most important part! Ensure it’s clean and safe for children.
With all these materials gathered, you’re well on your way to creating a fun and safe space for your kids to unleash their creativity. Remember, the right materials not only enhance the sandbox's durability but also contribute to a safe play environment. So, take your time to gather everything you need before diving into the construction process!

Types of Wood
When embarking on your DIY wooden sandbox project, choosing the right type of wood is not just a matter of aesthetics; it’s about ensuring durability and safety for your little ones. Different types of wood have unique properties that can significantly impact the lifespan of your sandbox, especially when exposed to the elements. Let’s dive into the best wood options available for your project, so you can make an informed choice.
One of the most popular choices for outdoor projects is cedar. This wood is naturally resistant to rot and insects, making it an excellent option for a sandbox that will endure the test of time. Its lightweight nature also makes it easier to work with, which is a bonus for novice woodworkers. However, cedar can be a bit pricier than other options, so it’s essential to weigh your budget against its long-term benefits.
Another great option is redwood, which shares many of the same properties as cedar. Known for its beautiful color and grain, redwood is not only durable but also adds a touch of elegance to your backyard. However, like cedar, it can be on the expensive side. If you’re looking for something a bit more affordable, consider pressure-treated pine. While it’s less resistant to decay compared to cedar and redwood, it can still be a suitable choice if you apply a protective sealant to extend its life. Just make sure that the treatment used is safe for children, as some chemicals can leach into the sand.
For those who are environmentally conscious, reclaimed wood is a fantastic option. Not only does it give a rustic charm to your sandbox, but it also promotes sustainability by repurposing materials that would otherwise go to waste. However, be cautious about the source of the reclaimed wood to ensure it hasn’t been treated with harmful chemicals.
Here’s a quick comparison of the wood types:
| Type of Wood | Durability | Cost | Insect Resistant |
|---|---|---|---|
| Cedar | High | $$$ | Yes |
| Redwood | High | $$$ | Yes |
| Pressure-Treated Pine | Medium | $ | No |
| Reclaimed Wood | Varies | Varies | Depends on source |
In conclusion, the type of wood you choose for your sandbox will significantly affect its longevity and safety. By considering factors such as cost, durability, and environmental impact, you can select the best option that fits your needs and budget. Remember, investing in quality wood is investing in countless hours of fun and creativity for your children!
- What type of wood is best for a sandbox? Cedar and redwood are excellent choices due to their durability and insect resistance.
- Can I use pressure-treated wood? Yes, but ensure that it is safe for children, as some treatments may leach chemicals.
- How do I maintain my wooden sandbox? Regularly check for splinters and apply a sealant every couple of years to protect the wood.
- Is reclaimed wood safe for a sandbox? It can be safe if sourced properly, but check for any chemical treatments.
Treated vs. Untreated Wood
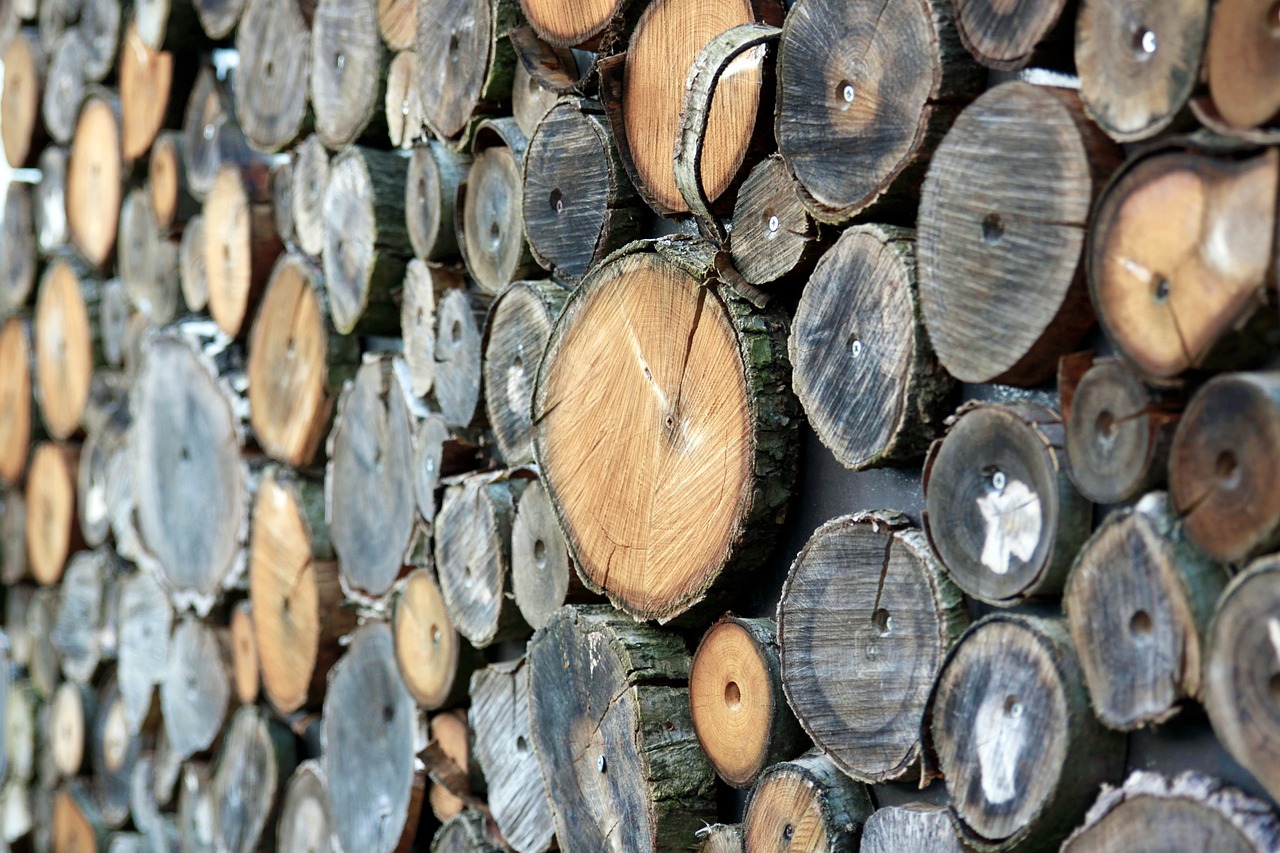
When it comes to building a sandbox for your kids, one of the most important decisions you'll face is whether to use treated or untreated wood. Each option has its own set of advantages and disadvantages, and understanding these can help you make the best choice for your project. Let's dive into the nitty-gritty!
Treated wood is wood that has been infused with chemical preservatives to help protect it from rot, insects, and other environmental factors. This means your sandbox will have a longer lifespan, standing strong against the elements. However, there are some concerns regarding the safety of treated wood, especially when it comes to children playing in close proximity. The chemicals used in the treatment process can leach into the soil and sand, raising questions about potential health risks.
On the other hand, untreated wood does not contain these preservatives, which makes it a safer option for children. However, it's important to note that untreated wood is more vulnerable to decay and insect damage. Without the protective chemicals, you may find yourself replacing parts of your sandbox sooner than you'd like. If you choose untreated wood, you might want to consider using a wood species that naturally resists rot, such as cedar or redwood.
Here’s a quick comparison to help visualize the differences:
| Feature | Treated Wood | Untreated Wood |
|---|---|---|
| Durability | High | Medium |
| Resistance to Insects | High | Low |
| Health Risks | Potential | Minimal |
| Cost | Higher | Lower |
Ultimately, the choice between treated and untreated wood boils down to your priorities. If you’re looking for a long-lasting structure and don’t mind taking extra precautions regarding safety, treated wood might be the way to go. However, if you prioritize the health and safety of your children, opting for untreated wood could be the better choice, provided you are willing to invest a little more time and effort into maintenance.
As a final thought, consider using a protective sealant on untreated wood. This can help extend its life while minimizing any potential risks, giving you the best of both worlds!
- Is treated wood safe for children? While treated wood is durable, it contains chemicals that can pose health risks. It's advisable to use caution and consider alternatives.
- How long can I expect untreated wood to last? Untreated wood can last several years, but factors like weather and maintenance will impact its lifespan.
- Can I use a sealant on untreated wood? Yes! Applying a sealant can help protect untreated wood from moisture and pests.

Wood Alternatives
When it comes to building a sandbox, wood is often the go-to choice due to its natural appeal and ease of use. However, there are several wood alternatives that can offer unique benefits, especially for those looking to minimize maintenance or environmental impact. One popular option is composite materials, which are made from a blend of recycled wood fibers and plastic. These materials are not only durable and resistant to rot but also require less upkeep than traditional wood. Imagine a sandbox that can withstand the elements without the worry of splintering or decay!
Another alternative is recycled plastic. This material is often used in playground equipment and outdoor furniture due to its resilience and weather resistance. It doesn’t warp or fade like wood, making it an excellent choice for a sandbox that will see plenty of action from little hands. Plus, using recycled plastic contributes to a more sustainable environment, as it repurposes materials that might otherwise end up in a landfill.
When considering these alternatives, it’s important to weigh the pros and cons. For instance, while composite materials might be more expensive upfront, their longevity can save you money in the long run. On the other hand, recycled plastic is often less expensive but may not have the same aesthetic appeal as natural wood. Here’s a quick comparison:
| Material | Durability | Maintenance | Environmental Impact | Aesthetic Appeal |
|---|---|---|---|---|
| Composite | High | Low | Good (recycled content) | Moderate |
| Recycled Plastic | Very High | Very Low | Excellent (100% recycled) | Low |
| Untreated Wood | Moderate | High | Poor (not recycled) | High |
| Treated Wood | High | Moderate | Moderate (chemicals used) | High |
Ultimately, the choice of material will depend on your specific needs and preferences. If you’re leaning towards an eco-friendly solution that requires minimal maintenance, composite or recycled plastic could be the way to go. However, if you love the natural look and feel of wood and don’t mind a bit of upkeep, traditional wood might still be your best bet. Whichever option you choose, your kids will surely enjoy hours of imaginative play in their new sandbox!
Essential Tools
This article explores the steps and materials needed to create a fun and safe wooden sandbox for children, fostering creativity and outdoor play while enhancing woodworking skills.
Selecting an appropriate spot for your sandbox is crucial. Consider factors like sunlight, drainage, and proximity to play areas to ensure a safe and enjoyable experience for your kids.
Gathering the right materials is essential for building a durable sandbox. This section outlines the necessary wood types, tools, and safety gear to ensure a successful project.
Different types of wood offer varying levels of durability and resistance to the elements. Learn about the best options for constructing a long-lasting sandbox that can withstand outdoor conditions.
Understanding the difference between treated and untreated wood is vital. This section discusses the pros and cons of each type concerning safety and longevity in outdoor settings.
Explore alternative materials for constructing a sandbox, such as composite or recycled plastics, which may offer unique benefits in terms of maintenance and environmental impact.
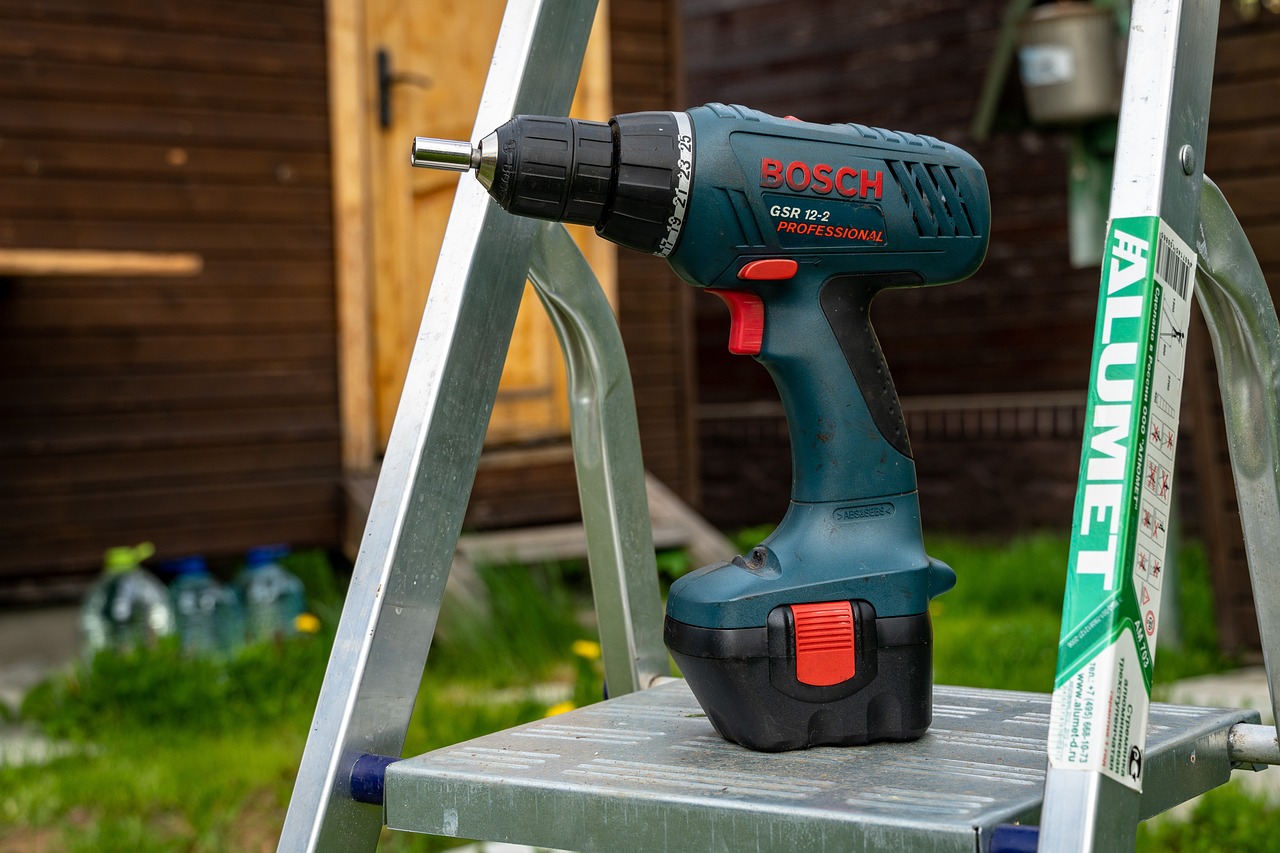
When it comes to building your wooden sandbox, having the right tools can make all the difference. Think of it like assembling a puzzle: each piece (or tool) plays a vital role in bringing your vision to life. Here’s a rundown of essential tools you’ll need:
- Measuring Tape: Accurate measurements are crucial for ensuring your sandbox is the right size. A measuring tape will help you achieve precision.
- Circular Saw: This tool is perfect for making straight cuts in your wood. If you want clean, professional-looking edges, a circular saw is your best friend.
- Drill: A drill will be necessary for making pilot holes and driving screws. It's a versatile tool that you'll find useful in many DIY projects.
- Screwdriver: While a drill can do most of the work, having a screwdriver on hand for tight spots can save you a lot of frustration.
- Level: To ensure your sandbox is even, a level is essential. An uneven sandbox can lead to drainage issues and instability.
- Safety Gear: Don’t forget your safety goggles and gloves! Protecting yourself while working with power tools is a must.
With these tools at your disposal, you’ll be well-equipped to tackle the construction of your sandbox. Just imagine the satisfaction of watching your kids play in a sandbox you built with your own hands! It’s not just about the sandbox; it’s about the memories you’ll create together.
Follow this comprehensive guide to build your sandbox, detailing each step from planning and cutting to assembly and finishing touches, ensuring a seamless project experience.
Proper site preparation is key to a stable sandbox. This section covers leveling the ground and ensuring a solid foundation for your structure.
Detailed assembly instructions will guide you through the process of putting your sandbox together, ensuring it is sturdy and safe for children to play in.
Q: How big should I make my sandbox?
A: The size of your sandbox can vary, but a common size is 4 feet by 4 feet. This gives plenty of room for multiple children to play comfortably.
Q: What type of sand should I use?
A: It's best to use play sand, which is specifically designed for sandboxes. Avoid using beach sand, as it can contain shells and debris.
Q: How can I keep the sandbox clean?
A: Covering the sandbox when not in use can help keep out debris and animals. Regularly check for any foreign objects and clean the sand as needed.
Step-by-Step Construction Guide
Building a wooden sandbox for your kids is not only a fun project but also a fantastic way to enhance their outdoor play experience. This will walk you through the entire process, ensuring you create a safe and enjoyable space for your children. So, roll up your sleeves and let's get started!
First things first, planning is essential. Before you dive into cutting wood and assembling pieces, take the time to sketch out your sandbox design. Consider the size that will best fit your yard and the number of kids who will be playing in it. A typical sandbox is about 4 feet by 4 feet, but feel free to adjust the dimensions based on your needs. Once you have your design, it’s time to gather all the materials and tools.
Next, we move on to site preparation. This step is crucial for the longevity of your sandbox. Choose a location that gets plenty of sunlight but is also shaded during the hottest parts of the day. Begin by clearing the area of any grass, rocks, or debris. You want a clean slate! After clearing, use a level to ensure the ground is even. If the ground is uneven, you may need to dig down or add soil to create a flat surface.
Once your site is ready, it’s time for the assembly instructions. Start by cutting your wood to the required lengths based on your design. For a simple square sandbox, you will need four pieces for the sides and four corner posts. Here’s a basic breakdown of how to assemble:
- Attach the Corner Posts: Begin by placing your corner posts in the ground at the four corners of your sandbox area. Ensure they are at least 12 inches deep for stability.
- Attach the Side Panels: Using screws or nails, attach the side panels to the corner posts. Make sure everything is level and square as you go.
- Secure the Structure: Once the sides are up, reinforce the structure by adding additional screws or brackets at the corners.
After the main structure is complete, it’s time to add some finishing touches. Consider adding a bottom layer of landscape fabric to help with drainage and keep weeds at bay. Then, fill the sandbox with clean, non-toxic sand. Aim for about 6-8 inches of sand depth – enough for digging and building sandcastles!
Finally, you might want to think about adding a cover for your sandbox. A simple tarp or a custom-built lid can keep the sand clean and safe from pets and pests when not in use. Plus, it can extend the life of your sandbox by protecting it from the elements.
And there you have it! With a little bit of effort and creativity, you can create a beautiful and functional sandbox that will provide hours of fun for your children. Remember, the key is to make it safe and enjoyable, so always double-check your work and ensure everything is secure. Happy building!
Here are some common questions that might arise during your sandbox building journey:
- What type of sand should I use? It's best to use play sand that is specifically designed for sandboxes. Avoid using beach sand as it can contain shells and debris.
- How can I keep the sandbox clean? Regularly check for debris and cover the sandbox when not in use. You can also add a layer of mulch around the sandbox to minimize dirt and grass clippings.
- Is treated wood safe for sandboxes? Yes, treated wood is generally safe, but it’s important to let it weather for a few months before filling the sandbox with sand to allow any chemicals to dissipate.
Preparing the Site
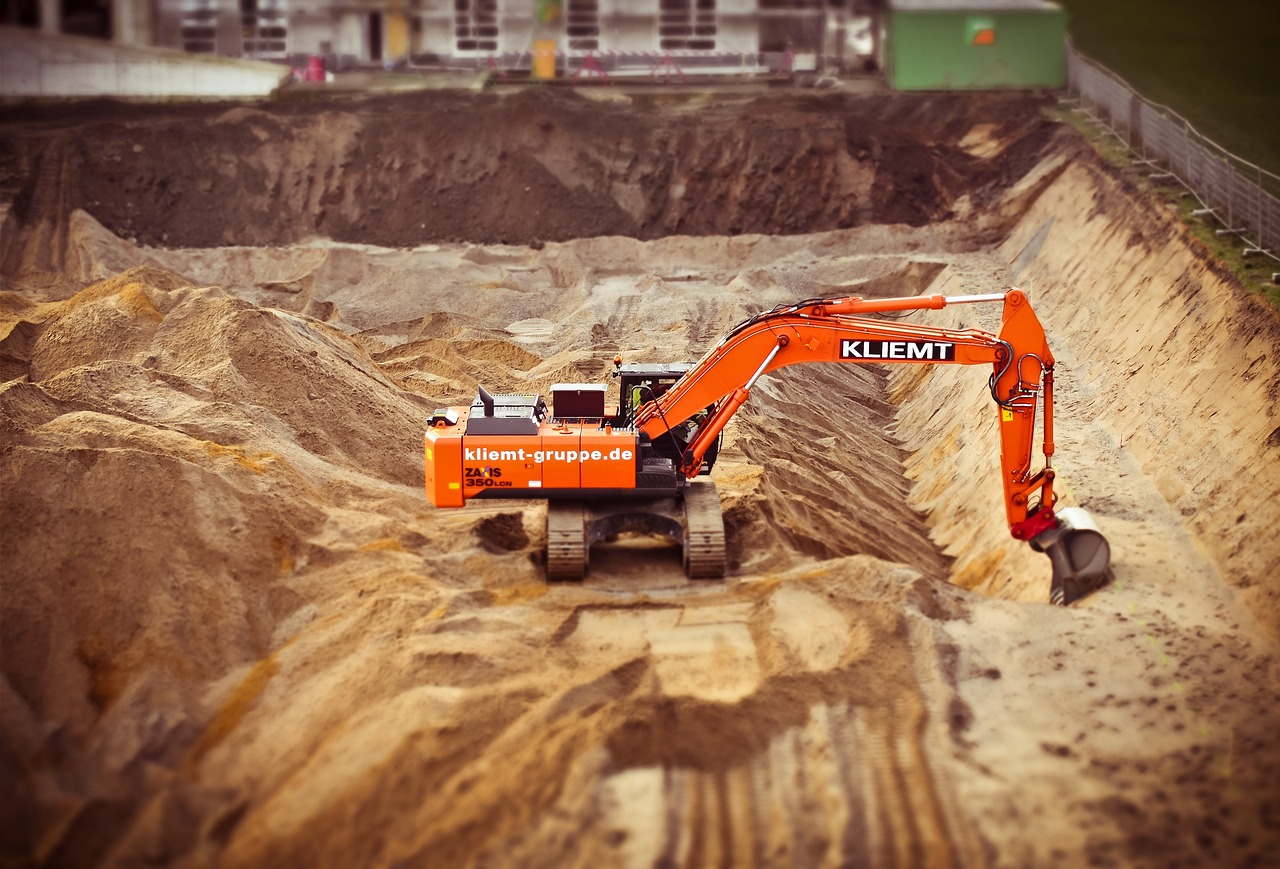
Before diving into the exciting world of sandbox construction, it's essential to prepare the site properly. Think of this step as laying the foundation for a magnificent castle—without a solid base, everything else might crumble! Start by choosing a location that is not only safe but also convenient for your children to access. Ideally, the site should be a flat area that receives a good amount of sunlight throughout the day, as this will keep the sand dry and inviting for play. However, make sure to avoid spots that are too exposed to harsh weather conditions or heavy foot traffic.
Once you've selected the perfect spot, it's time to get down to the nitty-gritty of site preparation. First, you'll want to clear the area of any debris, rocks, or vegetation. This will create a clean slate for your sandbox. Next, you'll need to level the ground. A level surface is crucial for ensuring that your sandbox is stable and safe for your little ones. You can use a simple tool like a carpenter's level or even a long piece of wood to check if the ground is even. If you find any low spots, fill them in with soil and pack it down firmly.
After leveling the ground, consider adding a layer of landscape fabric or a similar material to the bottom of the sandbox area. This will help prevent weeds from growing through the sand and keep maintenance to a minimum. It's like putting a protective barrier between your child's play area and the wild, unpredictable nature of the outdoors! Finally, you might want to outline the perimeter of your sandbox with stakes and string to visualize its size and shape before you start building. This way, you can make any necessary adjustments before the actual construction begins.
In summary, preparing the site for your sandbox is a crucial step that will set the stage for countless hours of outdoor fun. By selecting the right location, clearing and leveling the ground, and adding protective layers, you ensure that your sandbox will be a safe and enjoyable space for your children to unleash their creativity. Remember, a well-prepared site is the first step toward a successful DIY project!
- What is the best size for a sandbox? The ideal size depends on the number of children who will use it. A 4x4 foot sandbox is suitable for a couple of kids, while a 6x6 foot sandbox can accommodate more friends.
- How deep should I make the sandbox? A depth of 12 to 18 inches is generally recommended. This allows for enough sand for digging and playing while keeping it safe.
- What type of sand should I use? Look for play sand that is specifically labeled as safe for children. Avoid using beach sand, as it can contain harmful contaminants.
- How can I keep the sandbox clean? Covering the sandbox when not in use can help keep out debris and animals. Regularly check the sand for cleanliness and replace it as needed.
Assembly Instructions
As you embark on the exciting journey of building your wooden sandbox, it's essential to follow a systematic approach that ensures safety and durability. First, gather all your materials and tools in one place to avoid unnecessary trips back and forth. This not only saves time but also keeps your workspace organized. Begin by laying out the pieces of wood according to your design. Visualizing the final structure at this stage can help you identify any adjustments needed.
Start by constructing the frame of the sandbox. Use corner brackets to secure the corners firmly. This will make the sandbox sturdy enough to withstand enthusiastic play. Once the frame is assembled, it's time to attach the bottom. A layer of plywood is ideal for this, as it provides a solid base while allowing for drainage. Make sure to use galvanized screws to prevent rusting over time.
The next step involves adding a protective layer of landscaping fabric over the bottom. This fabric will help keep the sand in while allowing water to drain, preventing any unwanted puddles from forming. Cut the fabric slightly larger than the sandbox base and staple it down securely. Now, you’re ready to add the sand. Aim for a depth of about 6 to 8 inches to give your kids plenty of room to dig and build.
Once the sandbox is filled with sand, consider adding a lid. This can be as simple as a couple of pieces of plywood that can be hinged or removable. A lid not only keeps the sand clean but also protects it from pets and rain. Finally, don’t forget to sand down any rough edges on the wood to avoid splinters. A smooth finish is crucial for the safety of your little ones!
To ensure everything is done correctly, here’s a quick overview of the assembly process:
| Step | Description |
|---|---|
| 1 | Gather materials and tools. |
| 2 | Assemble the frame using corner brackets. |
| 3 | Attach plywood to the bottom for stability. |
| 4 | Lay down landscaping fabric for drainage. |
| 5 | Fill with sand to the appropriate depth. |
| 6 | Add a lid for protection. |
| 7 | Smooth any rough edges to ensure safety. |
With these instructions, your sandbox will not only be a fun play area but also a safe environment for your children to explore their creativity. Enjoy the process, and remember, the joy on your kids' faces will be the best reward!
Here are some common questions that might arise during your sandbox project:
- What type of sand should I use? - It's best to use play sand that is specifically designed for sandboxes, as it is cleaner and safer for children.
- How do I maintain the sandbox? - Regularly check for debris, and consider replacing the sand every couple of years to keep it fresh.
- Can I paint or stain the wood? - Yes, but ensure that any products used are non-toxic and safe for children.
- What size should my sandbox be? - A size of 4x4 feet is a good starting point, but you can adjust based on your available space and the number of kids playing.
Frequently Asked Questions
- What type of wood is best for a sandbox?
When it comes to choosing wood for your sandbox, cedar and redwood are excellent options due to their natural resistance to rot and insects. If you're on a budget, pressure-treated pine is a more affordable alternative, but make sure to use it safely, as chemicals can leach out.
- How do I choose the right location for the sandbox?
Choosing the right spot is crucial! Look for an area that gets plenty of sunlight but also has some shade to keep the sand from overheating. Ensure it's away from any large trees to avoid falling branches, and consider drainage to prevent water from pooling in the sandbox.
- Is treated wood safe for kids?
This is a common concern among parents. While pressure-treated wood is durable, it can contain chemicals. If you're worried, consider using untreated wood and applying a non-toxic sealant to protect it from the elements while keeping it safe for your little ones.
- What size should I make the sandbox?
The size of your sandbox can depend on the space available and how many kids will be playing in it. A good rule of thumb is to make it at least 4 feet by 4 feet to allow multiple children to play comfortably. Just remember, the bigger it is, the more sand you'll need!
- How do I keep the sand clean?
Keeping the sand clean can be a bit of a challenge. Consider adding a cover to your sandbox to keep out debris and animals when it's not in use. Regularly raking the sand and removing any trash or leaves can also help maintain a clean play area.
- What alternatives are there to traditional wood?
If you're looking for alternatives, composite materials or recycled plastics can be great options! They tend to require less maintenance and are resistant to rot and insects, making them a durable choice for outdoor play.
- How deep should I dig for the sandbox?
A depth of about 6 inches is typically sufficient for a sandbox. This allows enough sand for kids to dig and play while ensuring stability for the structure. Just make sure to level the ground before placing your sandbox!
- Can I build a sandbox on concrete?
Yes, you can build a sandbox on concrete, but it's essential to add a layer of sand at the bottom to help with drainage. This will prevent water from pooling and keep the sand dry and comfortable for play.


