Crafting a Wooden Salad Bowl: Top Techniques and Tips
Creating a wooden salad bowl is not just a woodworking project; it’s a journey into the heart of craftsmanship. Imagine the satisfaction of holding a piece of art that you’ve shaped with your own hands, a bowl that not only serves a purpose but also tells a story. This article explores essential techniques and tips for crafting a wooden salad bowl, covering materials, tools, and finishing methods to create a beautiful and functional kitchen piece.
Selecting the appropriate type of wood is crucial for durability and aesthetics. When it comes to crafting a salad bowl, you want to choose a wood that not only looks stunning but also stands the test of time. Here are some popular wood options:
- Maple: Known for its fine grain and durability, maple is a classic choice that can withstand daily use.
- Cherry: This wood darkens beautifully over time, adding a rich color to your bowl.
- Walnut: With its deep, dark hues, walnut provides a striking contrast and a luxurious feel.
- Birch: A lighter option that is easy to work with and has a subtle grain pattern.
Each type of wood has its unique characteristics, so consider what will best suit your style and needs. Remember, the right choice can elevate your salad bowl from ordinary to extraordinary!
Understanding the tools required for bowl turning is vital for success. To embark on this exciting journey, you’ll need a few key tools that will make the process smoother and more enjoyable. Here’s a breakdown of the essential tools:
| Tool | Purpose |
|---|---|
| Lathe | The heart of bowl turning, it rotates the wood so you can shape it. |
| Chisels | Used for cutting and shaping the wood; essential for detail work. |
| Safety Gear | Includes goggles and face shields to protect against flying debris. |
Equipping yourself with the right tools is like having the right ingredients for a recipe. Without them, your crafting experience might not be as fulfilling!
Proper lathe setup is key to effective bowl turning. Start by ensuring your lathe is on a stable surface and that all parts are secure. Here’s a simple guide to get you started:
- Align the lathe bed to ensure accuracy.
- Install the appropriate chuck for your wood size.
- Adjust the tool rest to the correct height for comfort.
- Check that all safety features are operational before turning it on.
Once everything is set, you can start shaping your bowl with confidence!
Safety should always be a priority when working with wood. Here are some essential safety precautions to keep in mind:
- Always wear protective goggles and a face shield.
- Keep your workspace clean to avoid tripping hazards.
- Make sure your hair is tied back and loose clothing is secured.
By following these precautions, you can focus on your craft without worrying about accidents.
Regular maintenance of your lathe can enhance its performance and longevity. Here are some tips to keep your lathe in top condition:
- Clean the lathe after each use to prevent dust buildup.
- Check and tighten any loose bolts or screws regularly.
- Lubricate moving parts as recommended by the manufacturer.
Taking care of your tools is like nurturing a plant; it ensures they thrive and serve you well for years to come.
Shaping the bowl is a critical step in the crafting process. As you begin, think of the bowl as a canvas waiting for your artistic touch. Use your chisels to carve out the interior and exterior shapes, paying attention to the depth and curvature. The goal is to create a bowl that is not only functional but also visually appealing. Take your time, and don’t rush this process; after all, good things come to those who wait!
Finishing your wooden salad bowl is essential for protection and aesthetics. A well-finished bowl enhances the wood's natural beauty while ensuring it can withstand the rigors of kitchen use. You can choose from various finishing techniques, including:
- Sanding: Start with a coarse grit and gradually move to finer grits for a smooth surface.
- Oiling: Applying food-safe mineral oil can nourish the wood and enhance its grain.
- Sealing: A good sealant protects against moisture and stains, prolonging the life of your bowl.
Each finishing method serves a purpose, so consider your bowl's intended use when selecting the right one.
Selecting the right finish can significantly impact the bowl's appearance and usability. For example, if you want a natural look, a simple oil finish might be best. However, if you’re looking for something more durable, consider a polyurethane finish. Here’s a quick comparison of different finishes:
| Finish Type | Benefits |
|---|---|
| Mineral Oil | Easy to apply, enhances grain, food-safe. |
| Polyurethane | Durable, water-resistant, offers a glossy finish. |
Choosing the right finish is like picking the perfect outfit; it can make all the difference in how your bowl looks and performs!
Proper care and maintenance will extend the life of your wooden salad bowl. To keep it looking great, follow these simple tips:
- Hand wash with mild soap and warm water; avoid soaking.
- Dry immediately and avoid placing it in the dishwasher.
- Reapply mineral oil every few months to maintain its luster.
With a little TLC, your bowl will be a cherished piece in your kitchen for years to come!
Q: Can I use any type of wood for my salad bowl?
A: Not all woods are suitable for food use. Always choose food-safe woods like maple, cherry, or walnut.
Q: How do I know when to reapply the finish?
A: If the wood appears dry or dull, it’s time to reapply oil or finish to keep it nourished.
Q: Can I use my wooden bowl for hot foods?
A: It’s best to avoid hot foods, as they can damage the finish and warp the wood.
Choosing the Right Wood
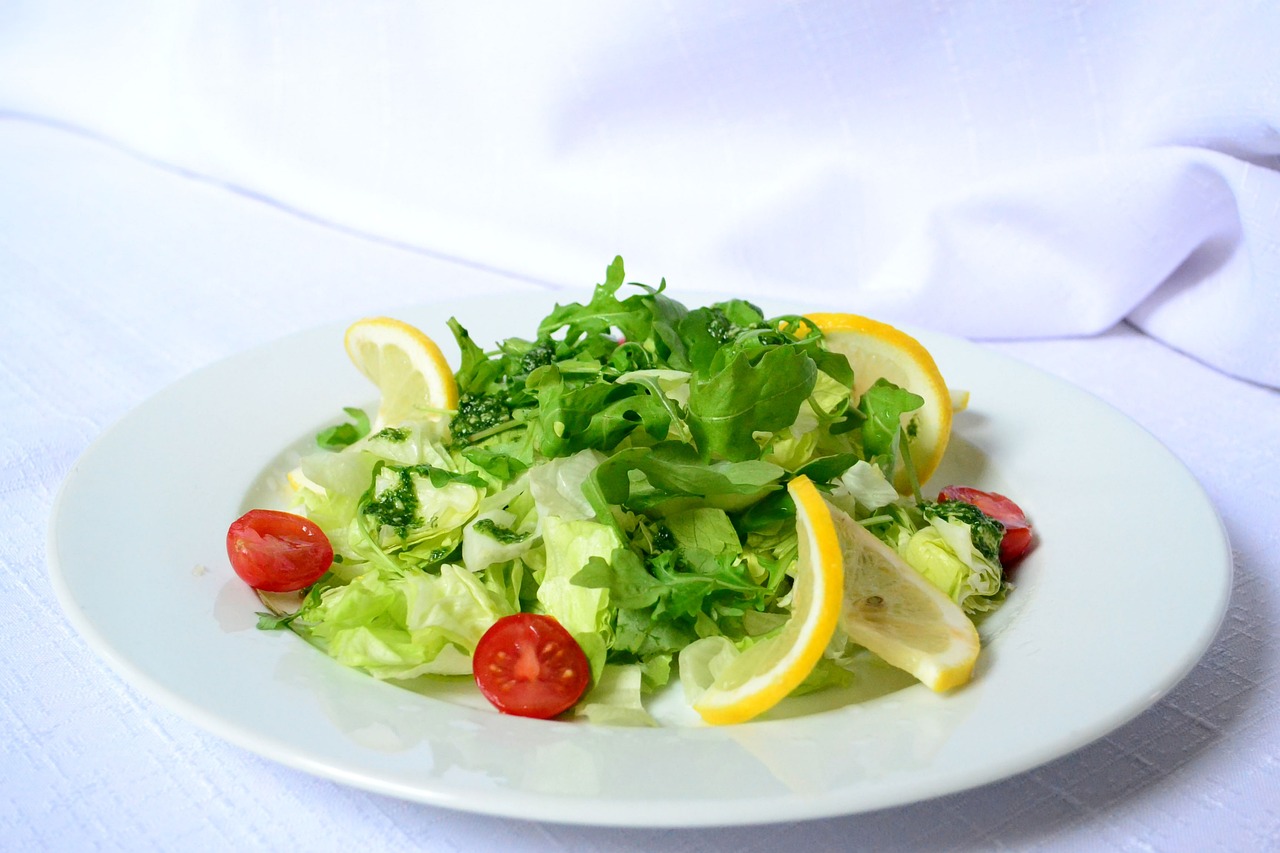
When it comes to crafting a wooden salad bowl, is one of the most pivotal decisions you'll make. The type of wood you select not only influences the bowl's durability but also affects its aesthetic appeal. Imagine serving a fresh salad in a bowl that not only looks stunning but also stands the test of time. Sounds ideal, right? So, let’s dive into some popular wood options and their unique characteristics to help you make an informed choice.
First up, we have maple. Known for its strength and fine grain, maple is a fantastic choice for salad bowls. It has a light color that can brighten up your kitchen, and its smooth surface makes it easy to clean. Plus, it’s resistant to moisture, which is a huge bonus when dealing with wet salads. On the other hand, if you’re looking for something a bit more exotic, consider teak. Teak is not only beautiful with its rich golden-brown hue, but it’s also incredibly durable and water-resistant. This makes it an excellent choice for a salad bowl that can withstand the test of time and frequent use.
Another great option is cherry. Cherry wood is celebrated for its stunning reddish-brown color that deepens over time, adding character to your bowl. It’s also relatively easy to work with, which is a plus for those new to woodturning. However, it’s worth noting that cherry is softer than maple or teak, so while it’s beautiful, it may require more care to maintain its appearance.
To help you visualize your options, here’s a quick comparison table of these popular woods:
| Wood Type | Color | Durability | Ease of Work |
|---|---|---|---|
| Maple | Light | High | Easy |
| Teak | Golden-brown | Very High | Moderate |
| Cherry | Reddish-brown | Moderate | Easy |
In addition to these options, you might also want to explore walnut. Walnut is known for its rich, dark color and unique grain patterns, making it a favorite among woodworkers. It’s durable but can be a bit more challenging to work with compared to softer woods. If you want your salad bowl to be a statement piece, walnut might just be the way to go!
Ultimately, the choice of wood for your salad bowl should align with your personal style and the intended use of the bowl. Are you looking for something that will last through years of family dinners? Or perhaps a bowl that will impress guests at your next gathering? Whatever your needs, take the time to explore these options and choose a wood that resonates with you.
As you embark on this woodworking journey, remember that the right wood will not only enhance the beauty of your salad bowl but will also make the crafting experience all the more enjoyable. So, go ahead, pick your favorite, and get ready to create a masterpiece that’s both functional and beautiful!
- What is the best wood for a salad bowl? Maple, teak, and cherry are all excellent choices due to their durability and aesthetic appeal.
- Can I use softwoods like pine for a salad bowl? While softwoods can be used, they are less durable and may absorb moisture more easily, which could affect the bowl's longevity.
- How do I maintain the wood's finish? Regularly oiling the bowl with food-safe mineral oil will help maintain its finish and prevent drying out.
Essential Tools for Bowl Turning
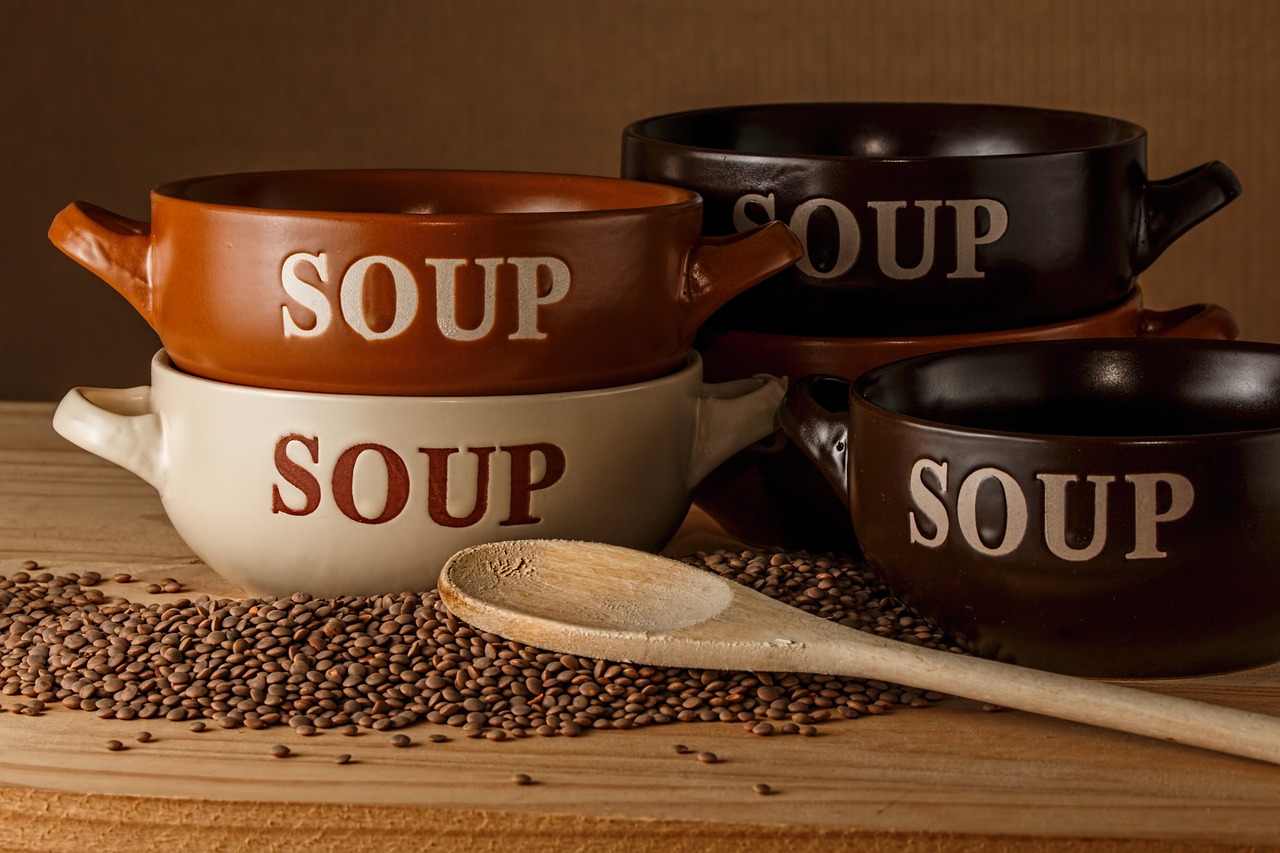
When it comes to crafting a stunning wooden salad bowl, having the right tools is not just a luxury—it's a necessity. Imagine trying to bake a cake without a whisk or a pan; it just wouldn't work, right? Similarly, the art of bowl turning requires specific tools that will help you transform a simple block of wood into a beautiful kitchen centerpiece. So, what do you need to get started? Let's dive into the essential tools you’ll need for a successful bowl turning project.
First and foremost, the lathe is the heart of your bowl turning setup. This powerful machine spins the wood, allowing you to shape it with precision. There are many types of lathes available, ranging from benchtop models for beginners to larger, more advanced versions for seasoned woodworkers. When selecting a lathe, consider factors like size, power, and whether it can accommodate the diameter of the bowls you plan to create.
Next up, you'll need a variety of chisels. These come in different shapes and sizes, each designed for specific tasks. For example, a roughing gouge is perfect for quickly removing material and shaping the outer contour of your bowl, while a bowl gouge is ideal for hollowing out the interior. Don’t forget to invest in a good set of scrapers as well, which will help you achieve a smooth finish on the inside of your bowl.
In addition to these primary tools, having a reliable caliper is essential for measuring the thickness of your bowl walls. This ensures consistency and helps you avoid any unpleasant surprises when you’re halfway through the turning process. A parting tool is also important, as it allows you to separate the finished bowl from the waste wood at the end of your project.
Now, let’s not forget about safety equipment. Woodturning can be hazardous if proper precautions aren't taken. Always wear a good pair of safety goggles to protect your eyes from flying debris. A dust mask is also a must, as the fine wood dust can be harmful to your lungs. Additionally, consider investing in some noise-canceling ear protection, especially if you're using a loud lathe for extended periods.
To summarize, here’s a quick table of the essential tools for bowl turning:
| Tool | Purpose |
|---|---|
| Lathe | Spins the wood for shaping |
| Chisels | Used for shaping and hollowing |
| Caliper | Measures wall thickness |
| Parting Tool | Separates the bowl from the waste wood |
| Safety Gear | Protects against dust and debris |
With these tools in hand, you’re well on your way to creating a stunning wooden salad bowl. Remember, the right tools not only make the job easier but also enhance the quality of your work. So, take your time to gather what you need, and don’t rush the process. After all, crafting a beautiful bowl is an art form that deserves your full attention!
Lathe Setup and Operation
Setting up your lathe properly is like laying the foundation for a house—without it, everything else is at risk of crumbling. First and foremost, ensure your lathe is placed on a sturdy, level surface. This is crucial because a wobbly lathe can lead to inaccuracies and even accidents while turning. Once your lathe is positioned correctly, it's time to check the alignment of the tailstock and headstock. You want them to be perfectly aligned to avoid any issues when you start turning your wood. A misaligned lathe can make your work more difficult and could ruin your project.
Next, let's talk about securing your wood blank. This is where the magic happens! The wood needs to be firmly attached to the lathe's spindle. If you're using a faceplate, make sure it’s tightly screwed into the wood. Alternatively, for those using a scroll chuck, ensure that the jaws grip the wood securely. A loose blank can fly off at high speeds, posing a serious danger to you and anyone nearby. So, double-check that everything is snug and secure!
Now that your wood is in place, it’s time to power up the lathe. Start with a low speed to get a feel for how your specific wood responds to the cutting tools. Different woods behave differently—some are soft and easy to shape, while others are hard and require more effort. As you gain confidence, you can gradually increase the speed. Just remember, higher speeds can lead to smoother finishes but also increase the risk of losing control.
When it comes to operating the lathe, using the right tools is essential. Chisels, gouges, and scrapers are your best friends in this process. Each tool has its unique purpose, and understanding how to wield them effectively can make all the difference in the quality of your bowl. For instance, a roughing gouge is perfect for removing large amounts of material quickly, while a skew chisel helps create a fine finish. It’s like choosing the right brush for a painting; the right tool will help you achieve the desired effect.
As you begin shaping your bowl, keep your hands and fingers clear of the cutting area. It might seem obvious, but it’s easy to get caught up in the moment and forget about safety. Always maintain a safe distance from the spinning wood, and use your tools to guide the material rather than your hands. This not only keeps you safe but also allows for more precise control over the shape of your bowl.
In summary, setting up and operating your lathe is a blend of precision, safety, and artistry. By ensuring everything is aligned, securely fastened, and that you're using the right tools, you'll be well on your way to crafting a stunning wooden salad bowl. Remember, practice makes perfect, so don't be afraid to experiment and learn as you go!
- What type of wood is best for salad bowls? Hardwoods like maple, cherry, and walnut are excellent choices due to their durability and aesthetic appeal.
- How do I maintain my lathe? Regularly clean your lathe and lubricate moving parts to ensure smooth operation. Also, check for any wear and tear on the belts and bearings.
- Can I use my salad bowl for serving food? Yes, as long as you properly finish and maintain the bowl, it can be a beautiful addition to your dining experience.
- What safety gear should I wear while using a lathe? Always wear safety goggles, a dust mask, and ear protection to safeguard against wood chips, dust, and noise.

Safety Precautions
When it comes to crafting a wooden salad bowl, safety should always be your top priority. Working with power tools and sharp instruments can be hazardous, but with the right precautions, you can minimize risks and enjoy the crafting process. First and foremost, always wear appropriate personal protective equipment (PPE). This includes safety goggles to protect your eyes from flying debris, a dust mask to prevent inhalation of wood dust, and hearing protection if your tools are particularly loud. Think of it like gearing up for a sports game; you wouldn’t step onto the field without your helmet and pads, right?
Furthermore, ensure your workspace is organized and free from clutter. A clean workspace not only helps you find tools easily but also reduces the chances of accidents. You wouldn’t want to trip over a stray tool while trying to focus on your beautiful piece of wood! Additionally, make sure your tools are in good condition. Dull blades can slip and cause injuries, so it's essential to keep them sharp and well-maintained.
Another critical aspect of safety is understanding your tools. Before you start turning your bowl, take the time to read the user manuals and familiarize yourself with the operation of your lathe and other tools. Knowing how they work will not only enhance your efficiency but also keep you safe. Always follow the manufacturer's guidelines for safe operation and maintenance.
Lastly, if you're new to bowl turning, consider having an experienced woodworker supervise your initial attempts. Having a mentor can provide invaluable insights and immediate assistance in case of any mishaps. Just like learning to ride a bike, having someone there to guide you can make all the difference!
In summary, practicing safety is not just about wearing gear; it's about creating a culture of caution and respect for the tools and materials you’re working with. Here’s a quick recap of the essential safety precautions:
- Wear PPE: Safety goggles, dust masks, and hearing protection.
- Maintain a clean workspace: Keep tools organized and free from clutter.
- Keep tools sharp: Dull tools can lead to accidents.
- Understand your tools: Read user manuals and follow guidelines.
- Seek supervision: Work with experienced woodworkers when starting out.
By following these safety precautions, you can focus on the joy of crafting your wooden salad bowl while ensuring a safe and enjoyable experience. Remember, safety is not just a checklist; it's a mindset that allows you to create with confidence!
Maintaining Your Lathe
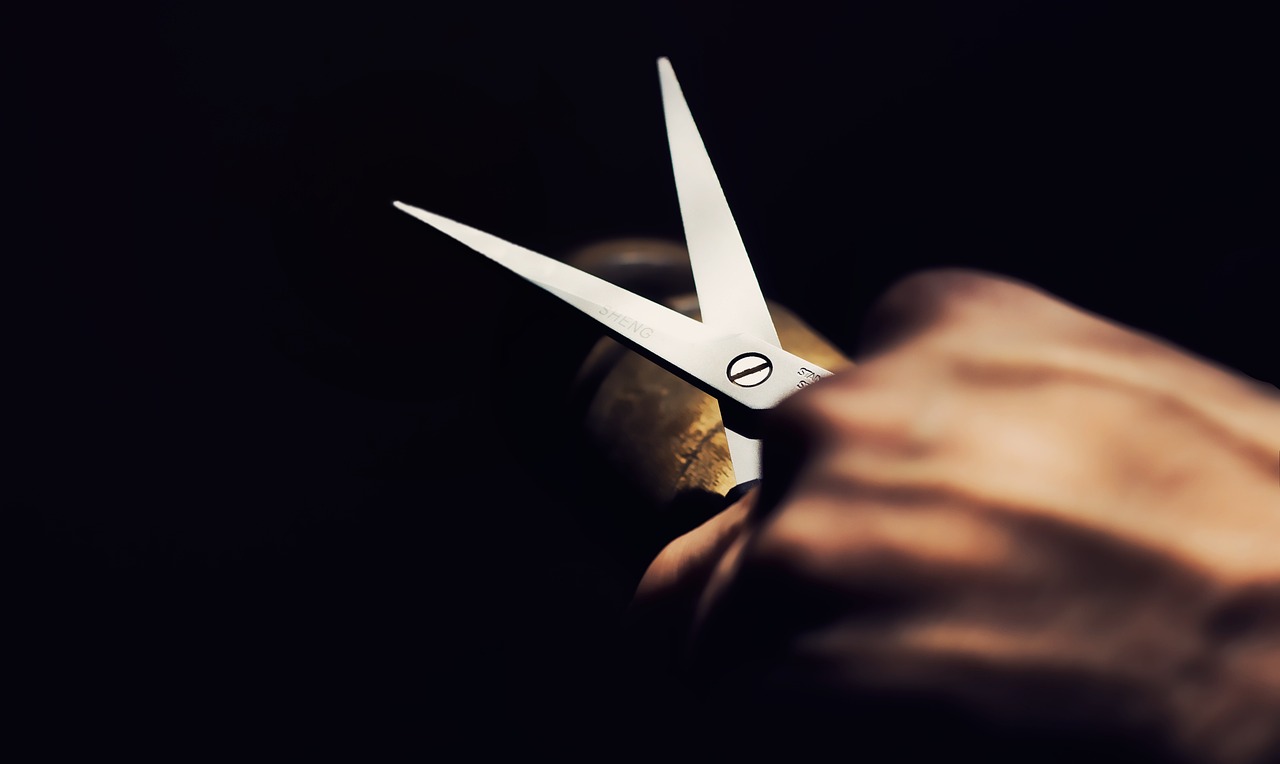
When it comes to woodworking, a lathe is one of your most valuable tools, and just like any prized possession, it deserves some tender loving care. Regular maintenance of your lathe not only enhances its performance but also extends its lifespan, ensuring that you can create beautiful wooden salad bowls for years to come. Think of your lathe as a trusty steed; if you don’t take care of it, it won’t be able to carry you through your creative journeys.
First and foremost, keeping your lathe clean is crucial. After each use, make it a habit to wipe down the bed and other components to remove any sawdust or wood shavings. These tiny particles can accumulate and affect the lathe's operation. A simple soft cloth or a brush can do wonders in maintaining cleanliness. If you notice any buildup of resin or pitch, a little mineral spirits can help break that down.
Next, lubrication is key. Just like how you wouldn’t drive a car without oil, your lathe requires lubrication to function smoothly. Check the manufacturer's guidelines for the recommended lubricants, as different lathes may have specific needs. Typically, you’ll want to lubricate the tailstock and headstock bearings to ensure everything runs smoothly. A light machine oil is often a good choice; just make sure to avoid over-lubricating, as that can attract dust and debris.
Now, let’s talk about checking the belts and pulleys. Over time, these components can wear down or become loose, which can negatively impact the performance of your lathe. Regularly inspect the belts for any signs of cracking or fraying. If you notice any issues, it’s best to replace them promptly. Additionally, ensure that the pulleys are aligned correctly to prevent unnecessary strain on the motor.
Moreover, it’s essential to keep the cutting tools sharp. Dull tools not only make your work harder but can also put undue stress on your lathe, leading to potential damage. Invest in a good sharpening system and make it a routine to sharpen your tools after several uses. A sharp chisel will glide through wood like a hot knife through butter, giving you clean cuts and a smoother finish.
Finally, consider the environment where your lathe is stored. Humidity and temperature fluctuations can affect the metal components, leading to rust or corrosion. If possible, keep your lathe in a climate-controlled area. Using a dehumidifier or silica gel packs can also help maintain a stable environment. Remember, a well-maintained lathe is a happy lathe, and a happy lathe means beautiful creations.
- How often should I clean my lathe? It's best to clean your lathe after every use to prevent dust and debris buildup.
- What type of lubricant should I use? A light machine oil is generally recommended, but always refer to your lathe's manual for specific guidelines.
- How can I tell if my lathe's belts need replacing? Look for signs of wear such as cracks, fraying, or if the belt appears loose during operation.
- What tools do I need for sharpening? A sharpening stone or a dedicated sharpening system will work well for keeping your tools in top condition.
Shaping the Bowl
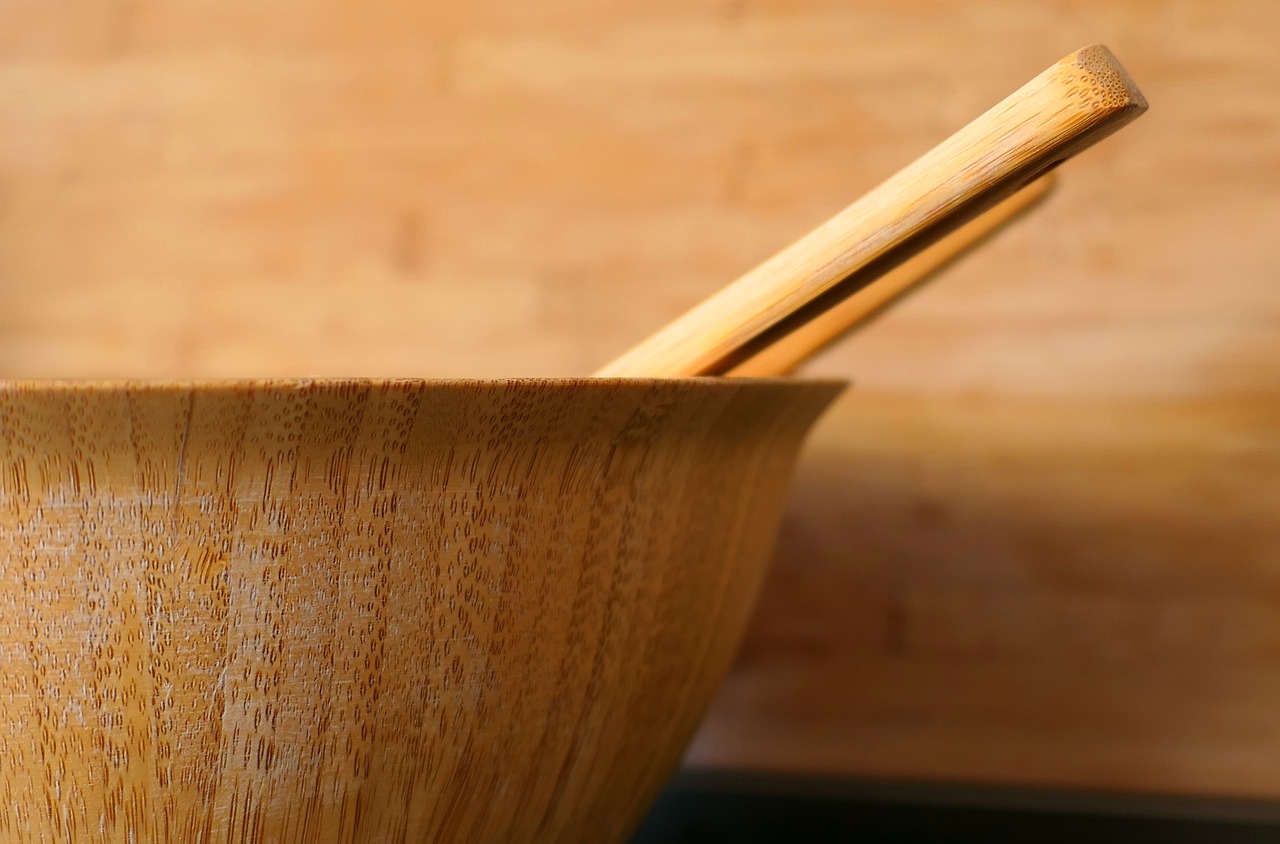
Shaping the bowl is not just about getting the dimensions right; it’s an art form that transforms a raw piece of wood into a stunning centerpiece for your dining table. Imagine your guests admiring a handcrafted bowl that’s not only functional but also a testament to your craftsmanship. To achieve that, you need to focus on a few key techniques that will help you create a bowl that’s both beautiful and practical.
First off, consider the design and depth of your bowl. Are you aiming for a shallow, wide bowl perfect for salads, or a deeper one that can hold soups or stews? The shape you choose will determine how you approach the turning process. A wider bowl will require different techniques compared to a more traditional, rounded shape. Visualizing the end product before you start can save you a lot of time and effort. Sketching out your design on paper can be incredibly helpful, as it gives you a roadmap to follow.
Once you have your design in mind, it’s time to get hands-on. Start by mounting your wood blank securely on the lathe. This is crucial; any wobble or instability can lead to uneven shaping and, worse, accidents. As you begin to turn the wood, use your bowl gouge to remove material from the outside edges first. This technique allows you to gradually shape the bowl, giving you more control over the final appearance. Keep your cuts light and shallow at first; you can always remove more material, but it’s much harder to add it back!
As you progress, pay attention to the grain direction of the wood. Cutting with the grain will give you a smoother finish, while cutting against it can lead to splintering. You might find it helpful to adjust your lathe speed depending on how hard the wood is. Softer woods can generally handle higher speeds, while harder woods may require a slower approach to prevent chipping.
Once you’ve shaped the exterior, it’s time to hollow out the interior. This can be a bit tricky, but with practice, you’ll find your rhythm. Use a scraper tool to refine the inside of the bowl, making sure to maintain an even thickness throughout. A good rule of thumb is to aim for about a quarter of an inch thickness, but this can vary based on your design. Always keep an eye on the shape as you work; if you notice any uneven areas, adjust your technique accordingly.
After you’ve achieved the desired shape, it’s essential to sand the bowl to smooth out any tool marks and imperfections. Start with a coarser grit sandpaper and gradually move to finer grits. This step is crucial as it prepares the surface for finishing. Remember, a well-sanded bowl not only looks better, but it also feels better in your hands and is more pleasant to use.
Finally, take a moment to admire your handiwork. Shaping a wooden bowl is a rewarding process, and seeing your vision come to life is truly satisfying. With the right techniques and a bit of patience, you’ll create a stunning piece that will be cherished for years to come.
- What type of wood is best for salad bowls? Hardwoods like maple, cherry, and walnut are excellent choices due to their durability and aesthetic appeal.
- How do I maintain my wooden salad bowl? Clean it with mild soap and water, and avoid soaking it. Regularly apply food-safe mineral oil to keep the wood hydrated.
- Can I use my lathe for other woodworking projects? Absolutely! A lathe is a versatile tool that can be used for various projects, including furniture making and decorative items.
Finishing Techniques
Finishing your wooden salad bowl is not just about aesthetics; it's a crucial step that ensures the longevity and usability of your piece. Think of the finish as the protective armor that shields your bowl from the elements while enhancing its natural beauty. There are several techniques you can employ, each offering unique benefits. Let's dive into the world of finishing techniques!
One of the most popular methods is sanding. This step is essential for achieving a smooth surface. Start with a coarser grit sandpaper to remove any rough spots, and gradually work your way to finer grits. This not only prepares the wood for finishing but also brings out its natural grain, making your bowl look stunning. Remember, patience is key here; the more time you spend sanding, the better the final result.
After sanding, you can choose to apply a finish that suits your style and needs. Oiling is a fantastic option, as it penetrates the wood, enhancing its color and grain while providing a layer of protection. Natural oils like mineral oil or walnut oil are excellent choices. They are food-safe and easy to apply. Just pour a small amount onto a clean cloth and rub it into the wood in circular motions, allowing it to soak in. You may need to repeat this process a few times to achieve the desired finish.
Another popular finishing technique is sealing. Sealers create a protective barrier on the surface of the wood, preventing moisture and food particles from penetrating. This is particularly important for salad bowls, which are often exposed to liquids. You can use a food-safe polyurethane or a beeswax-based finish. Applying a sealer is straightforward: simply brush or wipe it onto the surface, let it dry, and then buff it for a nice sheen.
Here's a quick comparison of some popular finishing options:
| Finish Type | Benefits | Application Method |
|---|---|---|
| Mineral Oil | Enhances color, food-safe, easy to apply | Wipe on with a cloth |
| Walnut Oil | Deep penetration, enhances grain | Wipe on with a cloth |
| Polyurethane | Durable, moisture-resistant | Brush or wipe on |
| Beeswax Finish | Natural, food-safe, adds shine | Buff onto the surface |
It's important to choose a finish that aligns with how you plan to use your bowl. For instance, if you intend to serve salads frequently, a finish that offers moisture resistance will be essential. On the other hand, if your bowl is more for decorative purposes, you might prioritize aesthetics over durability.
Finally, let’s talk about care and maintenance. Proper care will significantly extend the life of your wooden salad bowl. Always hand wash your bowl with mild soap and warm water; avoid soaking it in water, as this can lead to warping. After washing, dry it immediately and apply a light coat of oil every few months to keep the wood nourished and looking its best.
- How often should I oil my wooden salad bowl? It's recommended to oil your bowl every month or two, depending on how frequently you use it.
- Can I put my wooden bowl in the dishwasher? No, it's best to hand wash wooden bowls to prevent warping and cracking.
- What type of oil is best for finishing? Mineral oil and walnut oil are both excellent choices as they are food-safe and enhance the wood's appearance.
Choosing the Right Finish
When it comes to crafting your wooden salad bowl, is not just a matter of aesthetics; it's also about functionality and longevity. The finish you select can greatly influence how your bowl looks, feels, and protects the wood from moisture and stains. So, what should you consider when picking the perfect finish? Let’s dive in!
First and foremost, you need to think about the type of wood you’re using. Different woods absorb finishes differently, and some may require a specific type of finish to enhance their natural beauty. For instance, softer woods like pine may benefit from a penetrating oil, while hardwoods like maple or cherry might look stunning with a more durable varnish. Each finish has its unique properties, so understanding these can help you make a well-informed choice.
There are several popular finishing options available, each with its own set of advantages:
- Mineral Oil: This is a food-safe option that penetrates the wood, providing a natural look while keeping it hydrated. It's easy to apply and reapply, making it a favorite among woodworkers.
- Tung Oil: Known for its durability, tung oil provides a water-resistant finish that enhances the wood's grain. It takes longer to dry, but the results are worth the wait.
- Polyurethane: This finish offers a tough, protective layer that can withstand heavy use. However, it may not be food-safe, so it’s best used on bowls that are for decorative purposes.
- Shellac: This natural finish is easy to apply and gives a warm glow to the wood. However, it’s not as durable as other options and may require more frequent reapplication.
Now that you have a grasp of the different finishes, consider how you plan to use your salad bowl. If your bowl will see frequent use, opting for a more durable finish like tung oil or polyurethane is wise. On the other hand, if it’s primarily for display or special occasions, a simpler finish like mineral oil or shellac may suffice.
Application is another crucial factor. Some finishes require multiple coats and specific techniques to ensure a smooth, even application. For instance, when using oil finishes, it’s often recommended to apply several thin coats, allowing each to dry completely before adding the next. This not only enhances durability but also gives your bowl a beautiful, rich finish.
Lastly, remember that maintenance is key. The finish you choose will affect how you care for your bowl over time. Oil finishes might need to be reapplied every few months, while more durable finishes may last for years with minimal upkeep. Always refer to the manufacturer’s instructions for the best results.
In conclusion, selecting the right finish for your wooden salad bowl is a decision that can significantly affect its beauty and longevity. By considering the type of wood, the intended use of the bowl, and the application method, you can ensure that your finished product is not only stunning but also functional for years to come.
Here are some common questions regarding the finishing of wooden salad bowls:
- Can I use any finish on my salad bowl? - No, it's important to choose food-safe finishes to ensure your bowl is safe for food contact.
- How often should I reapply the finish? - It depends on the type of finish you use. Oil finishes may need reapplication every few months, while others can last years.
- What is the best way to clean my finished bowl? - Hand wash with mild soap and water, and avoid soaking or placing it in the dishwasher.

Care and Maintenance of Your Bowl
Once you've crafted your beautiful wooden salad bowl, the next step is to ensure it remains in pristine condition for years to come. Just like a beloved pair of shoes or a cherished book, your salad bowl requires a bit of love and attention to maintain its charm and functionality. The care you provide can significantly enhance the longevity of your bowl, allowing it to become a staple in your kitchen and a centerpiece at gatherings.
First and foremost, it's essential to understand how to clean your wooden bowl properly. Unlike plastic or metal, wood is porous and can absorb moisture and odors. To clean your bowl, simply rinse it with warm water and use a mild soap if necessary. Avoid soaking it or putting it in the dishwasher, as this can warp the wood and lead to cracks. Instead, gently scrub it with a soft sponge and dry it immediately with a clean towel. This simple routine will help keep your bowl looking fresh and free from unwanted smells.
After cleaning, consider applying a food-safe mineral oil or beeswax to your bowl regularly. This treatment not only enhances the wood's natural beauty but also provides a protective barrier against moisture and stains. To apply, pour a small amount of oil onto a clean cloth and rub it into the wood in the direction of the grain. Allow it to soak in for a few hours or overnight, then wipe off any excess oil. This process can be done every month or whenever you notice the wood looking dry or dull.
Storage is another critical aspect of maintaining your salad bowl. Always store it in a cool, dry place away from direct sunlight, which can cause the wood to fade or crack. If possible, keep it in a cabinet or on a shelf where it won’t be knocked around. Avoid stacking heavy items on top of it, as this can lead to warping or damage over time. Remember, your bowl is not just a kitchen tool; it’s a piece of art that deserves a special spot in your home.
Lastly, be mindful of how you use your bowl. While it’s designed for serving salads and mixing ingredients, avoid using it for hot foods or liquids, as extreme temperatures can cause the wood to warp. Instead, reserve it for cold dishes, and always use utensils that won’t scratch the surface. With these simple care tips, your wooden salad bowl will not only serve its purpose but also become a cherished item in your kitchen for generations to come.
- How often should I oil my wooden salad bowl? It's recommended to oil your bowl once a month or whenever it appears dry.
- Can I put my wooden bowl in the dishwasher? No, you should avoid putting your wooden bowl in the dishwasher as it can warp and crack.
- What type of oil is best for my wooden bowl? Food-safe mineral oil or beeswax is ideal for treating your wooden salad bowl.
- How can I remove stains from my wooden bowl? For tough stains, you can use a mixture of baking soda and water to gently scrub the affected area.
Frequently Asked Questions
- What type of wood is best for crafting a salad bowl?
When it comes to crafting a salad bowl, hardwoods like maple, cherry, and walnut are excellent choices. They are durable, have beautiful grain patterns, and are less likely to warp. Each type of wood brings its own unique aesthetic and durability, so consider what appearance and longevity you desire for your bowl.
- What tools do I need to turn a wooden salad bowl?
To successfully turn a wooden salad bowl, you'll need a few essential tools: a lathe for shaping, wood chisels for carving, and safety gear like goggles and a dust mask. These tools help ensure a smooth crafting process and keep you safe while you work. Don't forget to have a good set of sandpaper handy for finishing touches!
- How do I set up my lathe for bowl turning?
Setting up your lathe involves securing the wood blank properly and adjusting the speed settings to match the size of your bowl. Start by placing the blank on the lathe, ensuring it's centered and tight. Then, adjust the tool rest to a comfortable height and position it close to the wood for easy access. Always double-check your setup before turning it on!
- What safety precautions should I take while using a lathe?
Safety is paramount when using a lathe. Always wear protective goggles to shield your eyes from flying debris, and use a dust mask to avoid inhaling wood dust. Keep your hands clear of the lathe's moving parts, and never wear loose clothing or jewelry that could get caught in the machinery. Following these precautions will help prevent accidents and injuries.
- How can I maintain my lathe for optimal performance?
Regular maintenance of your lathe is crucial for its longevity. Clean the lathe after each use to remove dust and debris, and periodically check for any loose screws or parts. Lubricate moving parts as needed and ensure the belts are in good condition. A well-maintained lathe will perform better and last longer, making your woodworking projects more enjoyable!
- What techniques should I use to shape my salad bowl?
Shaping your salad bowl involves using various chisels to carve out the desired shape and depth. Start with roughing out the exterior shape and then gradually work on the interior. Use a combination of gouges and scrapers to achieve smooth curves. Take your time and don’t rush the process; shaping is where your bowl really comes to life!
- What finishing techniques should I use on my wooden salad bowl?
Finishing your wooden salad bowl is essential for protection and enhancing its beauty. Common techniques include sanding the surface to a smooth finish, applying food-safe oils like mineral oil or tung oil, and sealing it with a protective coat. Each finish option has its benefits, so choose one that suits your bowl's intended use and aesthetic.
- How can I care for and maintain my wooden salad bowl?
To care for your wooden salad bowl, wash it gently with warm, soapy water and avoid soaking it. Dry it immediately to prevent warping. Every few months, reapply a food-safe oil to keep the wood hydrated and looking fresh. Proper care will extend the life of your bowl and keep it a stunning centerpiece in your kitchen!


