Creating Storage Solutions: DIY Wooden Cabinets
Are you tired of clutter taking over your home? Do you find yourself constantly searching for that one item buried beneath a pile of things? If so, it might be time to consider creating your own storage solutions. Building wooden cabinets can not only help you organize your space but also add a touch of personal style to your home. Imagine transforming a chaotic room into a serene sanctuary, where everything has its place. In this article, we’ll explore the exciting journey of DIY wooden cabinets, offering you tips, design ideas, and step-by-step guidance to make your home organization dreams a reality.
Building your own cabinets is a rewarding project that allows you to customize every detail to fit your needs and preferences. Whether you’re looking to create a small cabinet for your bathroom or a large storage unit for your garage, the possibilities are endless. Plus, the sense of accomplishment you feel when you complete the project is simply unmatched. So, roll up your sleeves, grab your tools, and let’s dive into the wonderful world of DIY wooden cabinets!
When it comes to building wooden cabinets, the first step is selecting the right type of wood. The choice of wood not only affects the durability of your cabinets but also their overall aesthetics. Different types of wood come with unique characteristics that can enhance or detract from your design. For instance, hardwoods like oak and maple are known for their strength and beautiful grain patterns, making them ideal for a high-quality finish. On the other hand, softwoods like pine are more budget-friendly and easier to work with, but they may not hold up as well over time.
Here are some popular wood options to consider:
- Oak: Durable and resistant to scratches, oak is perfect for cabinets that will see a lot of use.
- Pine: Lightweight and easy to work with, pine is great for beginners.
- Maple: Offers a smooth finish and is less prone to warping.
- Birch: Known for its fine grain, birch is a versatile option that can be stained or painted.
Ultimately, the wood you choose should reflect your style and the practical needs of your space. Take your time to explore different options and envision how each type will look in your home.
Before you embark on your DIY cabinet-building adventure, it’s crucial to gather all the necessary tools and materials. Having everything at your fingertips will make the process smoother and more enjoyable. Here’s a comprehensive list of items you’ll need:
| Tool/Material | Purpose |
|---|---|
| Saw | For cutting wood to size. |
| Drill | For making holes and driving screws. |
| Screwdriver | For assembling parts. |
| Measuring Tape | To ensure accurate measurements. |
| Sandpaper | For smoothing surfaces. |
Now that you have an idea of what you need, let’s talk about hand tools versus power tools.
Understanding the difference between hand tools and power tools can significantly impact your project’s efficiency and outcome. Hand tools, like chisels and hand saws, allow for greater precision and control, making them ideal for detailed work. However, they can be labor-intensive and time-consuming. On the flip side, power tools, such as circular saws and power drills, can speed up the process and make tasks like cutting and drilling much easier. But they require a bit more caution and skill to handle safely. The choice between the two often comes down to your personal preference and the specific needs of your project.
Safety should always be your number one priority when working with tools. Here are some essential safety measures to keep in mind:
- Always wear safety goggles to protect your eyes from dust and debris.
- Use ear protection when operating loud power tools.
- Ensure your workspace is clean and free of hazards.
- Keep tools in good condition to prevent accidents.
By following these precautions, you can enjoy a safe and productive cabinet-building experience.
Q: What type of wood is best for building cabinets?
A: Hardwoods like oak or maple are great for durability and aesthetics, while softwoods like pine are more budget-friendly.
Q: Do I need special tools to build cabinets?
A: While basic tools like saws and drills are essential, having a mix of hand and power tools can make the process easier and more efficient.
Q: How can I ensure my cabinet fits perfectly in my space?
A: Accurate measurements are crucial. Take your time to measure your space and sketch your design before cutting any wood.
By following the guidance in this article, you’ll be well on your way to creating beautiful and functional wooden cabinets that will enhance your home organization. Happy building!
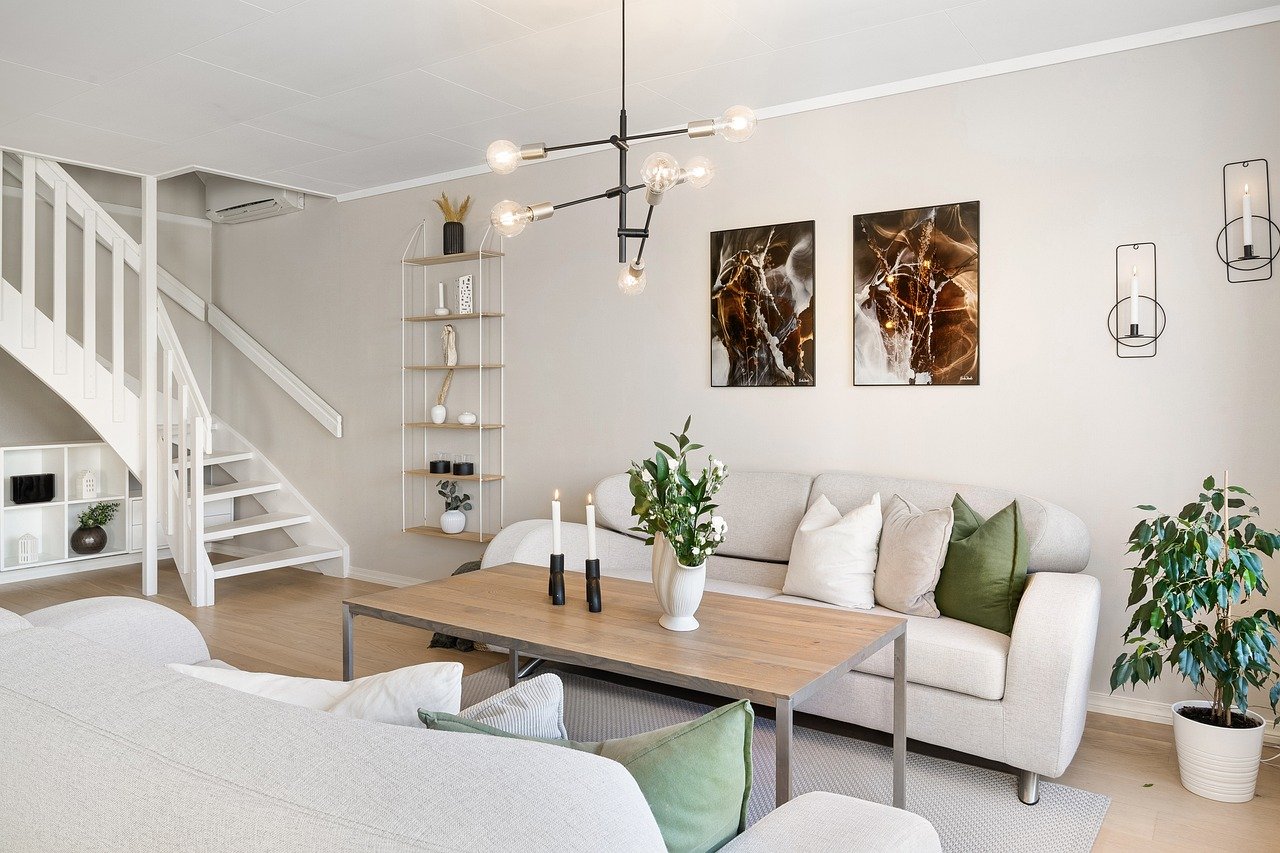
Choosing the Right Wood
When it comes to building your own wooden cabinets, choosing the right type of wood is a crucial step that can significantly impact both the durability and aesthetics of your final product. Imagine investing hours of hard work into a project only to have it fall apart or look less than appealing because of poor material choices. That's why understanding the characteristics of different types of wood is essential. Let’s dive into some popular options and their unique qualities!
First off, you might want to consider hardwoods. These types of wood, such as oak, maple, and cherry, are known for their strength and resistance to wear. They provide a classic and elegant look that can elevate any space. Hardwoods are often more expensive, but their durability can make them a worthwhile investment. For example, oak is not only strong but also features a beautiful grain pattern that adds character to your cabinets.
On the other hand, if you’re looking for something more budget-friendly, softwoods like pine, fir, and cedar could be your best bet. Softwoods are generally easier to work with and are lighter in weight, making them ideal for DIY projects. However, keep in mind that they may not be as durable as hardwoods and can be more susceptible to dents and scratches. If you choose softwood, consider using a protective finish to enhance its longevity.
Another option worth mentioning is plywood. This engineered wood is made from thin layers of wood veneer glued together, which gives it remarkable strength and stability. Plywood is often used for cabinet boxes and shelves, as it can hold heavy items without warping. Plus, it’s available in various grades, allowing you to select one that fits your budget and aesthetic needs.
When selecting wood, also consider the environmental impact. Opting for sustainably sourced wood can help reduce your carbon footprint. Look for certifications like the Forest Stewardship Council (FSC) label, which indicates that the wood comes from responsibly managed forests. This choice not only benefits the planet but can also add value to your cabinets.
To summarize, here’s a quick comparison table of the wood options:
| Type of Wood | Durability | Cost | Aesthetic Appeal |
|---|---|---|---|
| Hardwoods (e.g., Oak, Maple) | High | High | Elegant, Rich Grain |
| Softwoods (e.g., Pine, Cedar) | Medium | Low to Medium | Warm, Natural Look |
| Plywood | High | Medium | Versatile, Clean Finish |
Ultimately, the choice of wood depends on your personal style, budget, and the specific requirements of your cabinet project. Take your time to explore the different options, and don’t hesitate to ask for samples from your local lumberyard. After all, selecting the right wood is the first step towards creating a stunning and functional storage solution that you can proudly display in your home!
Essential Tools and Materials
Before diving into the exciting world of DIY wooden cabinets, it’s essential to gather all the necessary tools and materials. Think of this phase as packing your toolbox for an adventure; you wouldn't want to find yourself halfway through your project without the right gear! Having everything ready not only speeds up the process but also ensures that you can focus on creating something beautiful without interruptions.
First and foremost, you need to decide on the type of wood you'll be using. Popular choices include pine, oak, and birch, each bringing its own unique character to your cabinet. Pine is lightweight and easy to work with, making it perfect for beginners, while oak offers durability and a stunning grain pattern that can elevate your cabinet's aesthetics. Birch, on the other hand, provides a smooth finish that can be painted or stained beautifully. Understanding these characteristics will help you choose the best wood for your project.
Next, let’s talk tools. The tools you select can make or break your cabinet-building experience. You’ll want a mix of both hand tools and power tools to tackle various tasks. For instance, a circular saw is excellent for making straight cuts, while a jigsaw can help you navigate curves and intricate designs. On the hand tool side, a chisel will be invaluable for fine details, and a tape measure is essential for ensuring everything fits perfectly.
To help you visualize what you might need, here's a quick breakdown of essential tools and materials:
| Tool/Material | Purpose |
|---|---|
| Circular Saw | For making straight cuts in wood. |
| Jigsaw | For cutting curves and intricate shapes. |
| Drill | For making holes and driving screws. |
| Tape Measure | For accurate measurements. |
| Chisel | For detailed work and carving. |
| Sandpaper | For smoothing surfaces before finishing. |
| Wood Glue | For strong bonding between pieces. |
In addition to tools, you’ll need some materials to complete your cabinet. This includes wood, screws, wood glue, and finish (like paint or stain). Remember, the quality of materials can significantly affect the outcome of your project. Investing in good-quality screws and wood glue will ensure your cabinet stands the test of time.
Lastly, don't forget about safety gear! A good pair of safety glasses and a dust mask will protect you from debris and dust, ensuring a safe and enjoyable building experience. After all, the last thing you want is to get hurt while creating your masterpiece.
So, gather your tools and materials, and get ready to unleash your creativity! Building your own wooden cabinets not only enhances your home organization but also gives you a sense of accomplishment that is hard to beat.
Q: What type of wood is best for beginners?
A: Pine is often recommended for beginners due to its affordability and ease of handling.
Q: Can I use reclaimed wood for my cabinets?
A: Absolutely! Reclaimed wood can add character and uniqueness to your cabinets, but ensure it’s in good condition before use.
Q: How long does it take to build a wooden cabinet?
A: The time varies based on complexity, but a simple cabinet can typically be completed in a weekend.
Q: Do I need power tools to build a cabinet?
A: While power tools can significantly speed up the process, you can still build a cabinet using hand tools if you prefer.
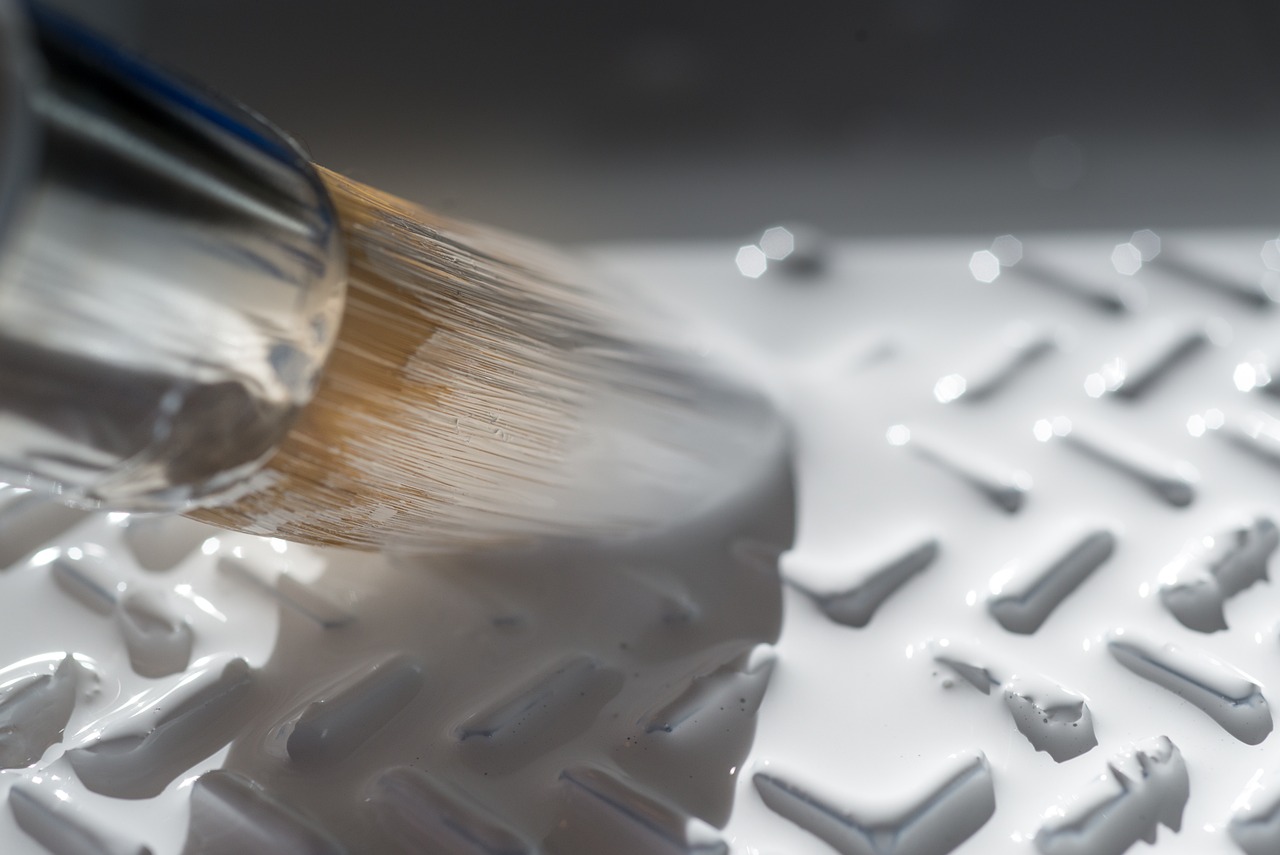
Hand Tools vs. Power Tools
When it comes to building your DIY wooden cabinets, one of the most critical decisions you’ll face is whether to use hand tools or power tools. Each type of tool has its own unique advantages and disadvantages that can significantly impact your project. Think of hand tools as the traditional artists, relying on skill and precision, while power tools are like the modern-day machines, designed for speed and efficiency. So, how do you choose between the two?
Hand tools, such as chisels, hand saws, and screwdrivers, are excellent for detailed work and allow for a level of control that can be hard to achieve with power tools. They are typically lighter, quieter, and can be more affordable. Plus, using hand tools can sometimes feel more rewarding, as you witness the fruits of your labor through each careful cut and joint. However, they can be physically demanding and time-consuming, particularly for larger projects.
On the other hand, power tools like circular saws, drills, and routers can make the cabinet-building process significantly faster. If you’re working on multiple cabinets or larger pieces, power tools can save you a lot of time and effort. They are designed to handle tough materials and provide consistent results, which is particularly beneficial for beginners who may struggle with precision using hand tools. However, they do come with a few caveats. Power tools can be more expensive, require a certain level of skill to operate safely, and may pose safety risks if not used properly.
To help you weigh your options, let’s break it down further:
| Tool Type | Advantages | Disadvantages |
|---|---|---|
| Hand Tools |
|
|
| Power Tools |
|
|
Ultimately, the choice between hand tools and power tools comes down to your specific needs, preferences, and the scope of your project. If you’re a beginner, you might want to start with a few basic hand tools to get the hang of things before moving on to power tools. Remember, the best tool is the one that feels right for you and helps you create the beautiful wooden cabinets you envision!
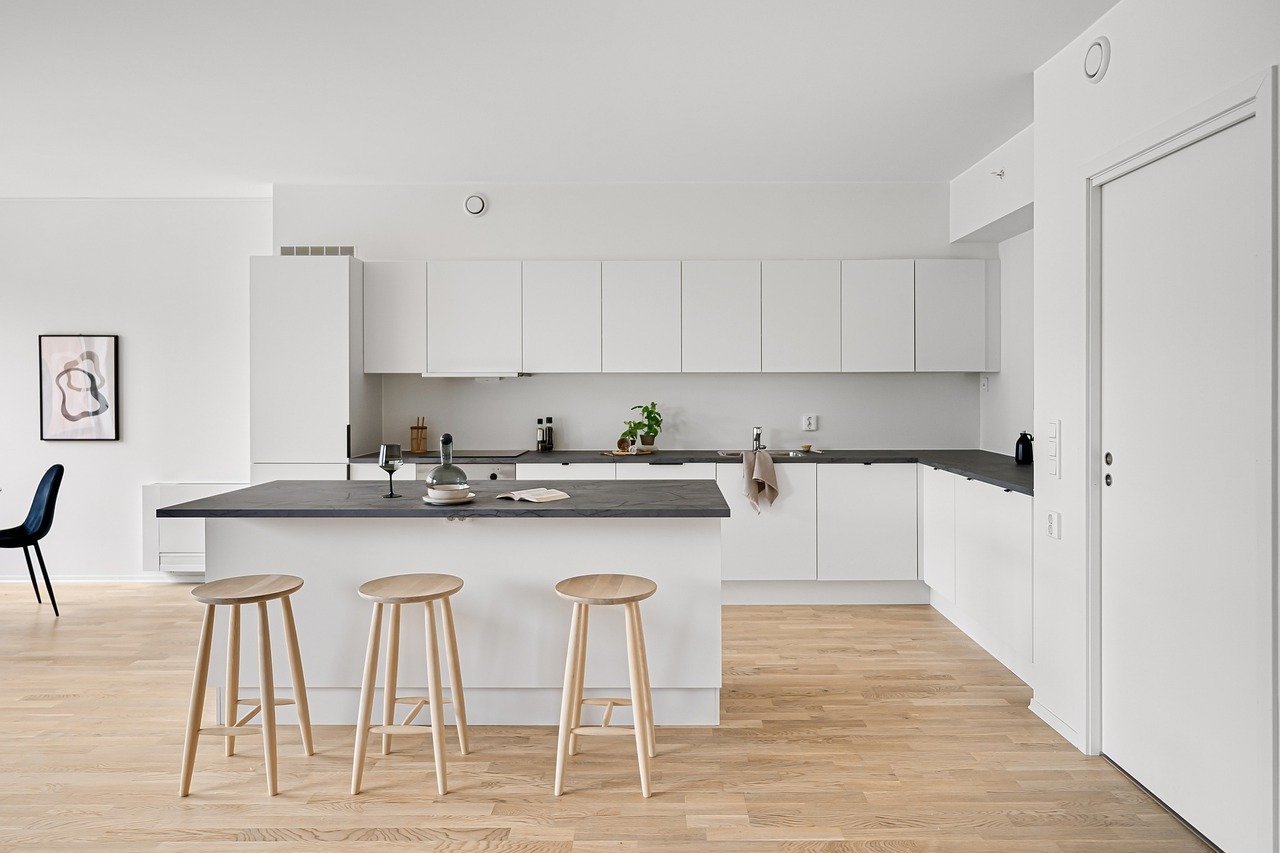
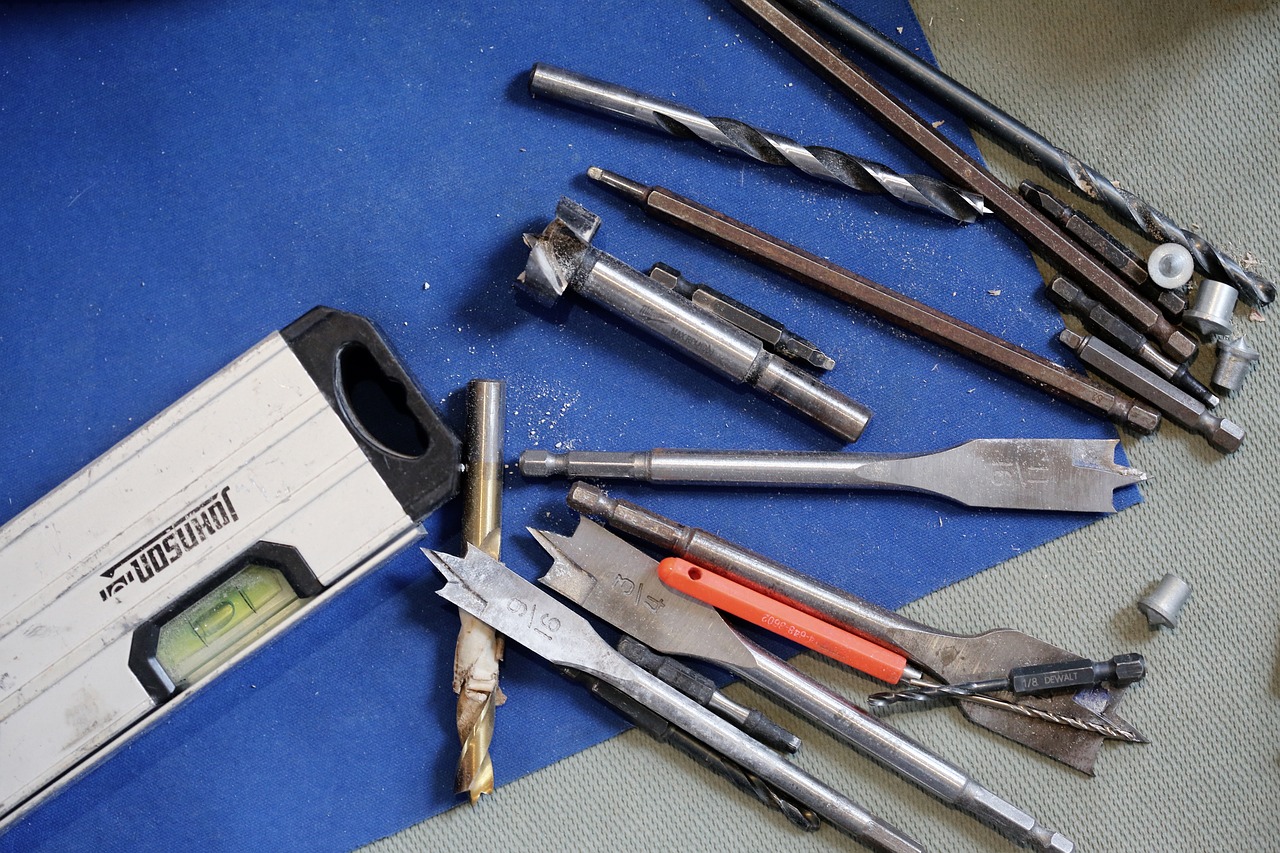
Recommended Hand Tools
When embarking on your DIY wooden cabinet project, having the right hand tools can make a world of difference. These tools not only help you achieve precise cuts and measurements but also ensure that your cabinet is built to last. Think of hand tools as the classic, reliable friends you turn to when you need to get the job done right. Below, I’ll walk you through some essential hand tools that every DIY enthusiast should have in their arsenal.
First and foremost, a measuring tape is indispensable. Accurate measurements are the foundation of any successful cabinet build. You wouldn’t want to cut a beautiful piece of wood only to find it doesn’t fit in your designated space, right? A good measuring tape will help you avoid such mishaps. Pair it with a square, which is crucial for ensuring that your cuts are straight and your corners are perfectly squared. This tool is your best friend when it comes to achieving that professional finish.
Next up is a handsaw. While power saws are fantastic, a handsaw allows for greater control and finesse, especially for detailed cuts. It’s like having a paintbrush for wood, enabling you to create beautiful lines and shapes. If you’re feeling a bit adventurous, consider investing in a jigsaw for those intricate curves and designs. This tool can elevate your cabinet’s aesthetic appeal and provide a unique touch.
Don’t forget about a chisel set. These tools are perfect for carving out joints and adding intricate details to your cabinet. A well-sharpened chisel can turn a simple design into a stunning piece of craftsmanship. And speaking of joints, a mallet is essential for driving those chisels without damaging the wood. Think of it as the gentle giant of your toolkit, providing just the right amount of force.
Finally, a clamp is a must-have. When assembling your cabinet, clamps help hold everything in place while the glue dries or while you secure screws. They’re like the supportive friend who keeps everything together during tough times. Without clamps, you might find yourself wrestling with your project, which can lead to frustration and mistakes.
To summarize, here’s a quick recap of the recommended hand tools:
- Measuring Tape
- Square
- Handsaw
- Chisel Set
- Mallet
- Clamps
Having these hand tools on hand will not only make your cabinet-building process smoother but also enhance the quality of your work. With the right tools, you’ll find that creating beautiful, functional storage solutions becomes an enjoyable and rewarding experience.
Q1: Do I need to have all the recommended hand tools to start my project?
A1: While having all the recommended tools can certainly help, you can start with just a few essentials like a measuring tape, square, and handsaw. You can gradually add more tools as you become more comfortable with your skills.
Q2: Can I use power tools instead of hand tools?
A2: Absolutely! Power tools can speed up the process, but hand tools allow for more precision and control. It often depends on your comfort level and the specific tasks at hand.
Q3: How do I maintain my hand tools?
A3: Regular maintenance is key. Keep your tools clean, sharpened, and stored properly. For wooden handles, a bit of oil can help keep them in good condition.
Recommended Power Tools
When it comes to building wooden cabinets, having the right power tools can make all the difference. These tools not only save time but also ensure precision and quality in your work. Whether you’re a seasoned DIYer or just starting out, here are some power tools that are essential for your cabinet-making project.
First on the list is a table saw. This versatile tool allows for straight, accurate cuts and is invaluable for ripping large sheets of plywood into manageable sizes. Think of it as your trusty sidekick, helping you tackle the bulk of your cutting tasks with ease. If you're aiming for smooth edges and uniformity, a table saw is a must-have.
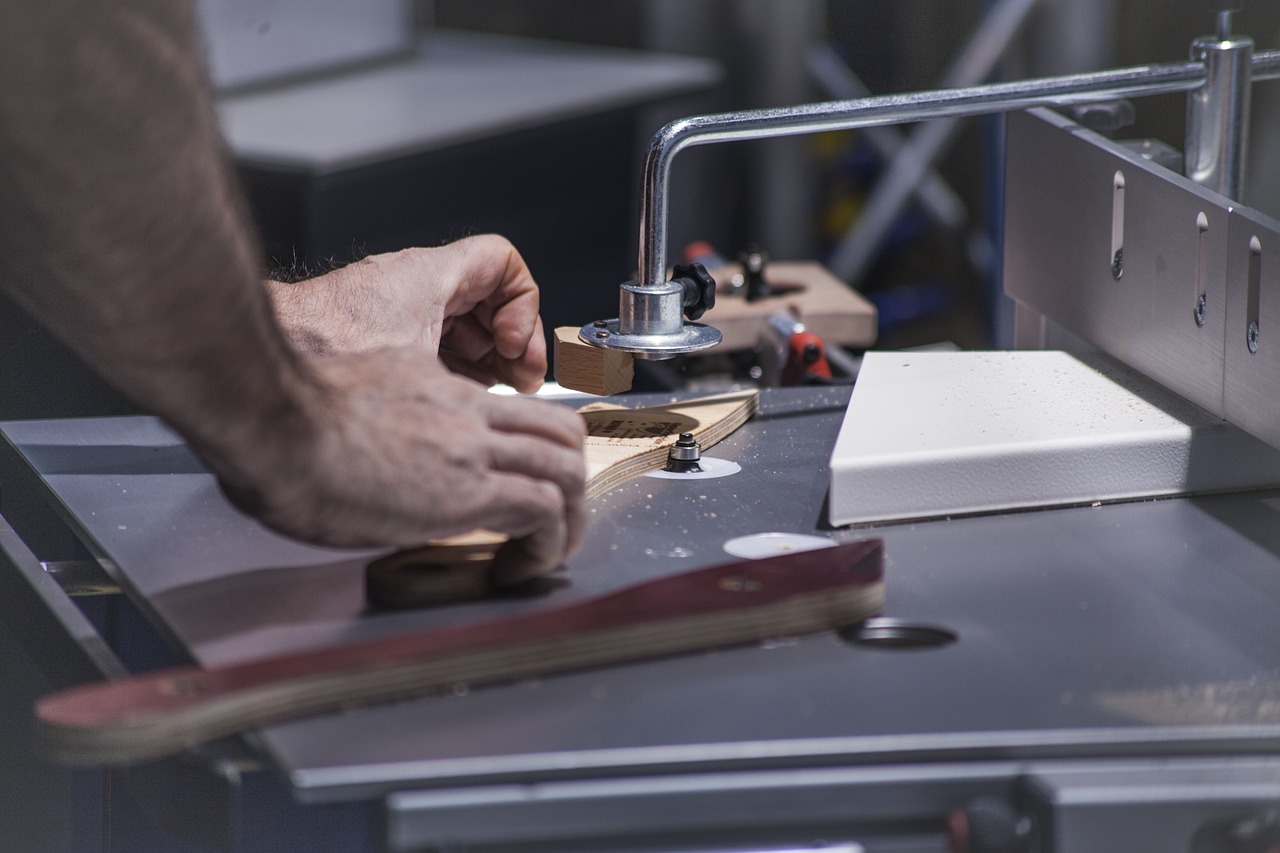
Next up is the router. This tool is perfect for adding decorative edges to your cabinet doors or creating grooves for joints. A router can transform a simple piece of wood into a work of art, giving your cabinets that professional touch. It’s like the icing on the cake—essential for that final flourish.
Another important tool is the drill/driver. This tool is essential for making holes and driving screws, which are crucial for assembling your cabinet. A cordless drill/driver offers the flexibility to work without being tethered to an outlet, allowing you to move freely around your workspace. It’s your trusty steed, galloping through the assembly process, making quick work of what could otherwise be a tedious task.
Lastly, consider investing in a jigsaw. This tool is perfect for making intricate cuts and curves, which can be particularly useful if your cabinet design includes unique shapes or details. It’s like having a magic wand that can carve out exactly what you envision, giving you the freedom to experiment with your designs.
To summarize, here’s a quick table of the recommended power tools for your DIY wooden cabinet project:
| Power Tool | Purpose |
|---|---|
| Table Saw | For accurate straight cuts and ripping plywood |
| Router | For decorative edges and grooves |
| Drill/Driver | For drilling holes and driving screws |
| Jigsaw | For intricate cuts and curves |
By equipping yourself with these power tools, you'll not only streamline your cabinet-building process but also enhance the overall quality of your work. Remember, investing in the right tools is like setting a solid foundation for a house; it makes everything that follows much easier and more successful.
Q: Do I need all these power tools to build a cabinet?
A: While it's possible to build a cabinet with just a few essential tools, having a range of power tools will significantly improve your efficiency and the quality of your work.
Q: Can I use hand tools instead of power tools?
A: Yes, hand tools can be used, but they often require more time and effort. Power tools help speed up the process and provide more precise cuts.
Q: What safety gear should I wear when using power tools?
A: Always wear safety goggles to protect your eyes, ear protection for loud tools, and a dust mask to avoid inhaling sawdust.
Q: Are there alternative tools for beginners?
A: Yes, you can start with basic tools like a hand saw and a manual drill. As you gain confidence and skill, you can gradually invest in power tools.
Safety Precautions
When diving into the world of DIY wooden cabinets, safety should be your **top priority**. Just like a superhero wouldn’t leap into action without their cape, you shouldn’t start your project without the right safety gear. Think of your safety equipment as your shield against potential hazards. It's essential to protect yourself from wood splinters, flying debris, and the powerful tools you’ll be using. So, what should you keep in mind?
First and foremost, always wear **safety goggles**. These little wonders protect your eyes from sawdust and any unexpected flying bits. Imagine the horror of a splinter in your eye—yikes! Next, don’t forget about **ear protection**. Power tools can be loud, and prolonged exposure can damage your hearing. A good pair of earplugs or noise-canceling headphones can save you from a ringing in your ears later on.
Additionally, wearing a **dust mask** is a must. When you start cutting and sanding wood, a cloud of dust can fill the air, which isn’t just annoying but can also be harmful to your lungs. Think of it like trying to breathe in a snowstorm—definitely not pleasant! And let’s not overlook the importance of wearing **sturdy gloves**. They provide a barrier against sharp edges and splinters while giving you a better grip on your tools.
Now, let’s talk about the workspace. Keeping your area clean and organized is crucial. A cluttered workspace is like a minefield waiting for an unsuspecting foot to stumble. Always clear away any unnecessary tools and materials, and ensure that your floor is free of tripping hazards. If you’re working with power tools, make sure to have a **fire extinguisher** nearby, just in case. It’s better to be safe than sorry!
Another important aspect is to read the manuals for your tools. Understanding how to use each tool correctly can prevent accidents. If you’re unsure about a tool, don’t hesitate to ask for help or watch instructional videos. Knowledge is power, and in this case, it can also be a lifesaver!
In summary, here are the key safety precautions to keep in mind:
- Wear safety goggles to protect your eyes.
- Use ear protection to shield your hearing.
- Don a dust mask to avoid inhaling harmful particles.
- Wear sturdy gloves for grip and protection.
- Keep your workspace clean to prevent accidents.
- Have a fire extinguisher nearby when using power tools.
- Read tool manuals for proper usage.
By following these safety precautions, you’ll create a safe environment that allows you to focus on your project and unleash your creativity without worry. Remember, a well-protected DIY enthusiast is a happy one!
Q: What should I wear while working on my cabinet?
A: It's best to wear safety goggles, ear protection, a dust mask, sturdy gloves, and comfortable clothing that won’t get caught in tools.
Q: How can I ensure my workspace is safe?
A: Keep your workspace organized and free of clutter, and ensure that all tools are stored properly when not in use.
Q: What should I do if I’m unsure how to use a tool?
A: Always read the manual for guidance, and consider watching tutorial videos or asking someone more experienced for help.
Q: Are there specific safety measures for using power tools?
A: Yes, ensure you wear protective gear, keep the area clear, and always follow the manufacturer’s instructions for safe operation.
Designing Your Cabinet
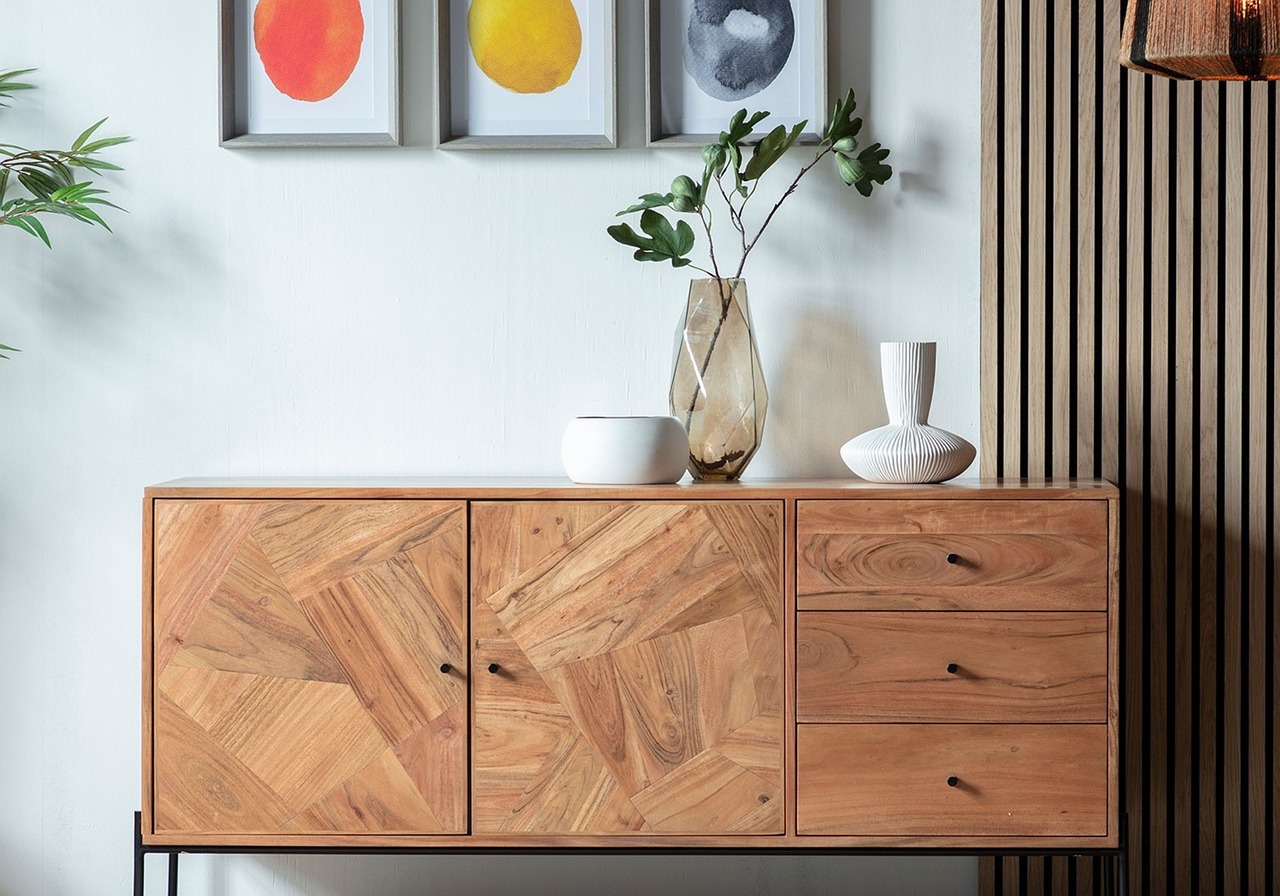
Designing your cabinet is not just about aesthetics; it's about creating a functional space that meets your storage needs. Think of your cabinet as a blank canvas where you can express your style while also addressing practical concerns. Whether you’re looking for something sleek and modern or rustic and cozy, the design phase is where all your ideas begin to take shape.
First and foremost, you need to consider the dimensions of the area where the cabinet will reside. Accurate measurements are crucial to ensure that your cabinet fits perfectly and complements the existing decor. Imagine trying to squeeze a large cabinet into a small nook—it's like trying to fit a square peg into a round hole! To avoid such mishaps, take multiple measurements of your space, including height, width, and depth. Don't forget to account for any protruding elements like baseboards or electrical outlets.
Once you have your measurements, it’s time to unleash your creativity by sketching out your design. This can be as simple or as detailed as you like. Consider using graph paper to maintain proportions, or even digital design software if you’re tech-savvy. Your sketch should include not just the cabinet's exterior but also the internal layout. Think about how you want to organize your items—shelves, drawers, and compartments can all play a role in maximizing your storage efficiency. Visualizing the final product will help you identify any potential design flaws before you start cutting wood.
When it comes to style, there are countless options to choose from. Do you prefer a minimalist look with clean lines and a monochromatic palette, or are you drawn to a more eclectic design with vibrant colors and intricate details? Here are a few popular styles to consider:
- Modern: Characterized by sleek surfaces, open shelves, and a lack of ornate details.
- Traditional: Features rich woods, intricate moldings, and classic hardware.
- Rustic: Emphasizes natural materials, distressed finishes, and a cozy, homey feel.
- Industrial: Incorporates metal accents, raw wood, and a utilitarian aesthetic.
Choosing the right style is essential, as it should harmonize with the rest of your home. You want your cabinet to stand out, but not clash with your existing decor. Think of it as an important piece in a puzzle—each piece needs to fit perfectly to create a beautiful picture.
Finally, don’t forget about the functional aspects of your design. Consider what you’ll be storing in your cabinet. Will it be used for books, kitchenware, or perhaps a collection of knick-knacks? This will influence your design choices, such as the number of shelves, the height of the cabinet, and the type of doors. For example, if you're planning to store taller items, you might want to incorporate adjustable shelving to accommodate different sizes. Always ask yourself: “How will I use this space?” This question is your guiding light during the design process.
In summary, designing your cabinet is a blend of creativity, practicality, and personal expression. By carefully measuring your space, sketching out your ideas, selecting a style that complements your home, and considering functionality, you’ll be well on your way to creating a stunning and useful piece of furniture that enhances your living environment.
Q: How do I choose the right style for my cabinet?
A: Consider your existing decor and personal preferences. Look for inspiration in magazines or online to find a style that resonates with you.
Q: What materials should I use for my cabinet?
A: The choice of materials depends on your budget and the desired look. Plywood is a cost-effective option, while solid wood offers durability and a classic appearance.
Q: Can I modify my design after starting the project?
A: Absolutely! Flexibility is key in DIY projects. If you find something isn’t working as planned, don’t hesitate to make adjustments.
Measuring Your Space
When it comes to building your own wooden cabinet, accurate measurements are not just important; they are absolutely crucial. Imagine you’ve spent hours crafting the perfect cabinet, only to find out it doesn’t fit in the designated space! To avoid such a heart-wrenching scenario, let’s dive into the essentials of measuring your space effectively.
First off, you’ll want to gather some basic tools: a measuring tape, a pencil, and a notepad. These will be your trusty companions on this measuring journey. Start by determining the area where you plan to place your cabinet. Measure the width, height, and depth of this space. Don’t just take a single measurement; it’s a good idea to measure a couple of times to ensure accuracy. Sometimes, walls aren’t perfectly straight, or floors might not be level, so a second or even a third measurement can save you from future headaches.
Once you have your measurements, it’s time to jot them down. Use a simple format like this:
| Dimension | Measurement (inches) |
|---|---|
| Width | [Your Measurement] |
| Height | [Your Measurement] |
| Depth | [Your Measurement] |
Next, consider any obstacles that could interfere with your cabinet installation. Are there electrical outlets, light switches, or baseboards in the way? Make a note of these as well. If your cabinet will have doors, ensure you measure the swing space needed for them to open freely. It’s a common oversight, but nothing feels worse than a beautiful cabinet that can’t fully open because it’s too close to another fixture.
After you’ve measured the space, think about the design and functionality of your cabinet. Will it be a simple storage unit, or do you envision it holding specific items? If you have a collection of books, for instance, you might want to measure the average height of your books to ensure your shelves accommodate them perfectly. This is where a bit of foresight can go a long way.
Lastly, don’t forget about the surrounding area. Consider how the cabinet will fit in with the overall aesthetics of your room. You might want to measure the heights of other furniture pieces to ensure your new cabinet complements your existing décor. After all, a well-measured cabinet can elevate the entire look of your space!
In summary, measuring your space is about more than just numbers; it’s about ensuring that your DIY project not only fits but also enhances your environment. So grab your tools, take those measurements, and get ready to create something amazing!
- How do I ensure my measurements are accurate? Always measure twice and consider using a level to check for straightness.
- What if my space isn’t a standard size? Don’t worry! Custom cabinets can be built to fit any space.
- Should I account for flooring variations? Yes, if your floor isn’t level, measure from the highest point to ensure a proper fit.
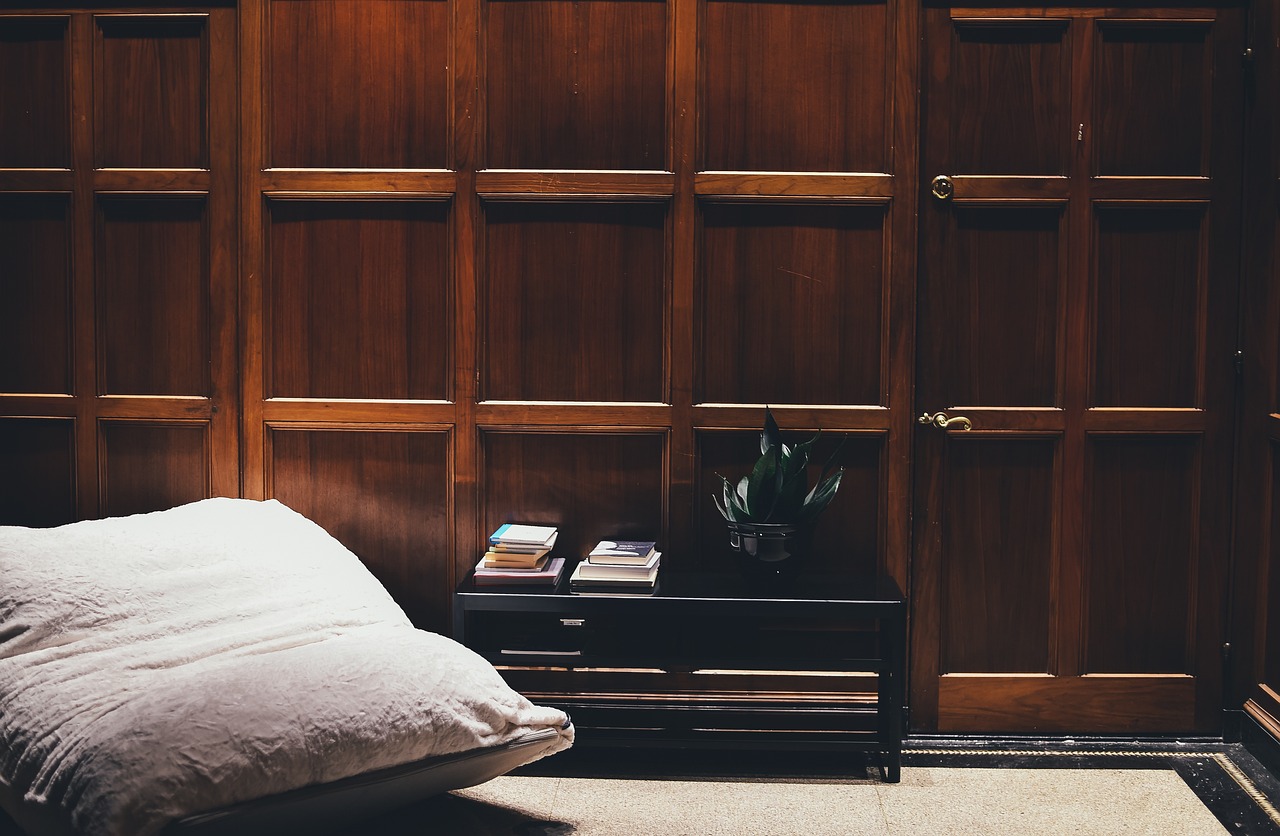
Sketching Your Design
When it comes to building your own wooden cabinet, sketching your design is not just a preliminary step; it's a crucial part of the entire process. Imagine trying to assemble a jigsaw puzzle without the picture on the box—frustrating, right? A well-thought-out sketch acts as your blueprint, guiding you through the construction phase while ensuring that your cabinet meets both your functional needs and aesthetic preferences.
Start by gathering all the necessary materials for sketching. A simple pencil and paper will do, but if you're feeling tech-savvy, software like SketchUp or AutoCAD can elevate your design game. Begin with a rough outline of your cabinet's dimensions. Consider the space where the cabinet will reside; is it a cozy corner in your living room or a spacious garage? This will influence the size and style of your cabinet.
As you sketch, think about the functionality of your cabinet. Will it hold books, tools, or perhaps kitchenware? Each item has its own space requirement, so make sure to account for the height, width, and depth of the shelves or compartments you'll include. It's also wise to visualize the flow of the cabinet. For instance, if it's in a high-traffic area, having doors that swing open might not be the best idea. Instead, consider sliding doors or open shelving for easy access.
Don't forget to incorporate design elements that reflect your personal style. Are you aiming for a rustic charm, a modern sleekness, or a classic elegance? Add notes or symbols to your sketch to indicate materials, colors, and finishes. For example, you might want to use reclaimed wood for a rustic look or paint it in a vibrant color to make it pop in a contemporary setting.
Once you've got a solid sketch, it can be beneficial to create a scale model. This doesn't mean you have to build a miniature cabinet, but rather, you can use cardboard or foam board to cut out the dimensions and visualize the space it will occupy. This hands-on approach will help you identify any potential issues before you start cutting wood.
Lastly, don't hesitate to seek feedback on your design. Share your sketch with friends or family who have experience in DIY projects. Their insights might highlight aspects you hadn't considered, allowing you to refine your design further. Remember, your sketch is a living document; feel free to adjust and modify it as you go along. After all, the goal is to create a cabinet that not only meets your storage needs but also enhances the beauty of your space.
In summary, sketching your design is about more than just putting pencil to paper. It's a process that involves understanding your space, defining functionality, and expressing your personal style. So grab that pencil and start sketching; your dream cabinet is just a drawing away!
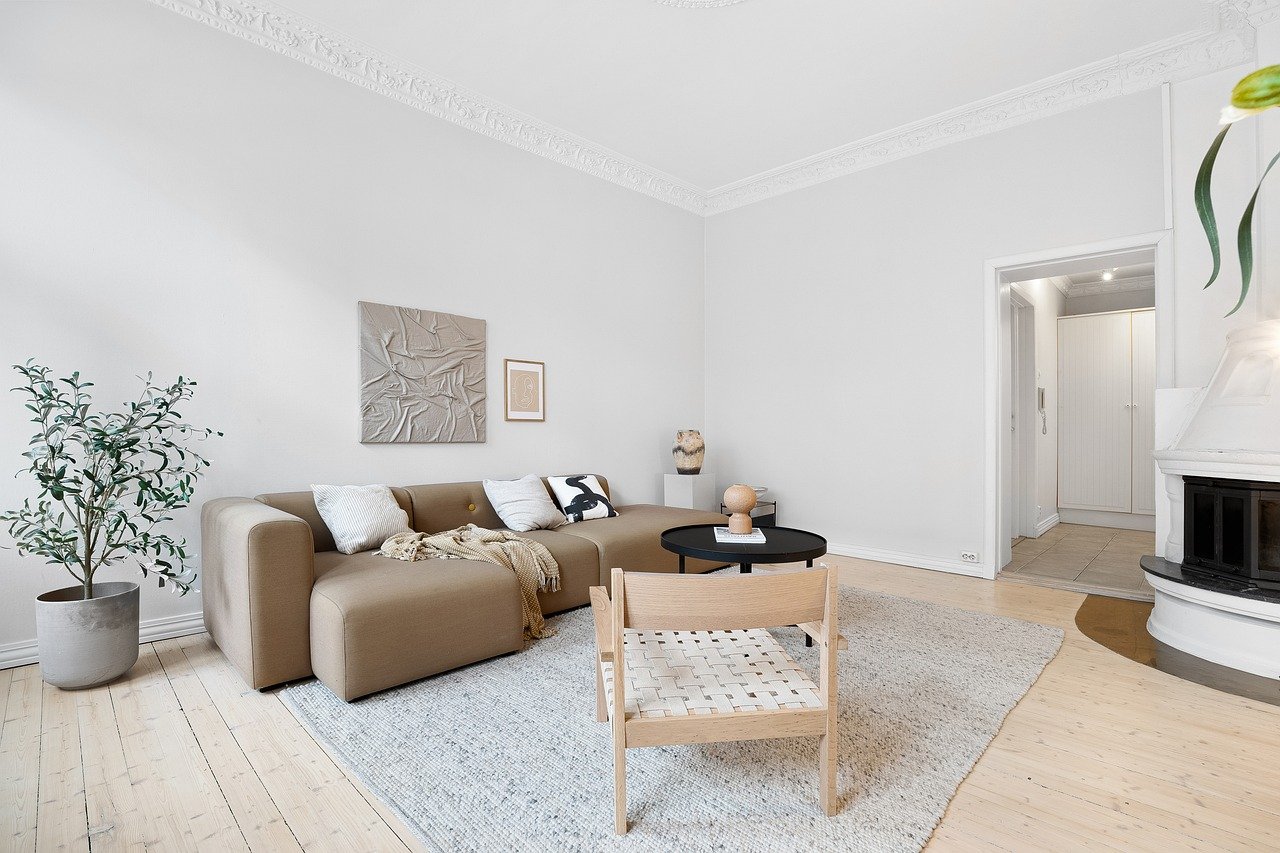
Building Your Cabinet
Now that you’ve gathered your materials and tools, it’s time to dive into the exciting phase of . This is where your vision starts to take shape, and you can truly express your creativity. Whether you’re a seasoned DIY enthusiast or a first-timer, following a systematic approach will ensure that your cabinet is both functional and aesthetically pleasing. Let’s break down the process into manageable steps that will guide you from start to finish.
First and foremost, it’s essential to have a clear plan in place. Refer back to your sketches and measurements to ensure that everything aligns perfectly. When you begin the assembly, consider the order of operations. Typically, you will start with the frame of the cabinet, followed by the back panel, shelves, and finally, the doors. Each component plays a vital role in the overall structure, so pay close attention to detail.
One of the most crucial aspects of building your cabinet is the assembly techniques you choose to employ. Here are a few methods that can enhance the strength and durability of your cabinet:
- Doweling: This technique involves drilling holes and inserting wooden dowels to align and connect pieces. It creates a strong joint that can withstand weight.
- Pocket Holes: Using a pocket hole jig, you can create angled holes that allow screws to be hidden, providing a clean finish while ensuring a sturdy connection.
- Mortise and Tenon: This traditional method involves cutting a mortise (a hole) in one piece and a tenon (a tongue) on another, allowing for a tight fit that adds strength.
As you assemble the cabinet, take your time to ensure that everything is square and level. This step is critical; any misalignment can lead to problems later on, such as doors that don’t close properly or uneven shelves. A carpenter’s square and level are your best friends in this stage.
Once the main structure is complete, it’s time to focus on the finishing touches. This is where you can really let your personality shine through! Whether you prefer a rustic wood finish or a sleek modern look, the options are endless. You can choose to paint, stain, or seal your cabinet. Each option has its own benefits:
| Finish Type | Description | Benefits |
|---|---|---|
| Paint | Provides a solid color finish. | Unlimited color options, easy to clean. |
| Stain | Enhances the natural beauty of the wood. | Shows grain patterns, available in various shades. |
| Sealant | Protects the wood from moisture and wear. | Increases durability, maintains appearance. |
After applying your chosen finish, allow it to dry completely before moving on to the final assembly of doors and hardware. Installing the doors can be a bit tricky, so don’t hesitate to use a helper if needed. Ensure that the hinges are aligned correctly to avoid any issues with opening and closing.
Finally, step back and admire your work! Building your own cabinet not only provides you with a functional storage solution but also gives you a sense of accomplishment. Remember, each cabinet tells a story, and yours is no different. Embrace the imperfections; they add character to your creation.
Q: How long does it typically take to build a wooden cabinet?
A: The time can vary based on your skill level and the complexity of the design, but generally, it can take anywhere from a few hours to a couple of days.
Q: Do I need advanced woodworking skills to build a cabinet?
A: Not necessarily! Many DIY cabinet plans are designed for beginners, and with a little patience and practice, you can achieve great results.
Q: What type of wood is best for cabinet making?
A: Popular choices include plywood for affordability and durability, oak for a classic look, and maple for a modern finish. Your selection should depend on your design and budget.
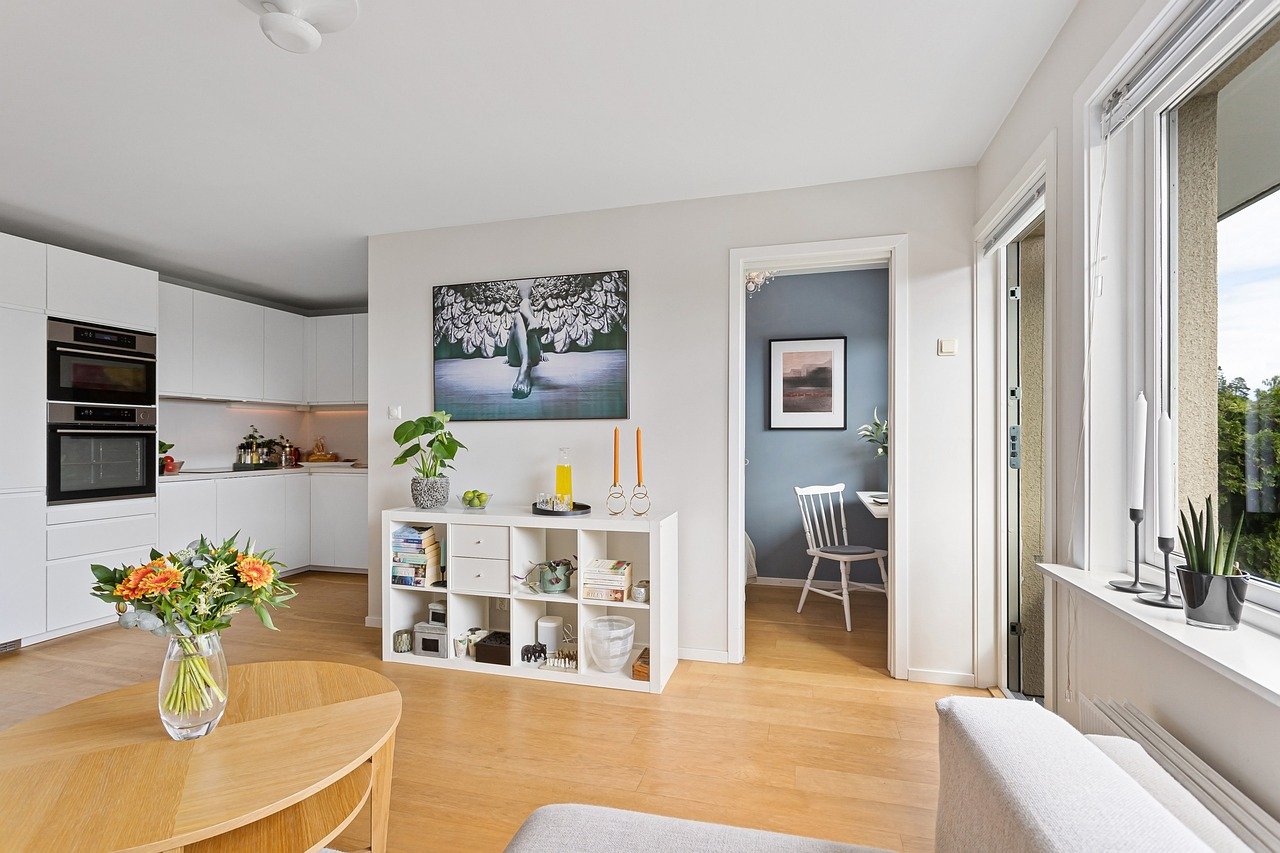
Assembly Techniques
When it comes to building your wooden cabinet, the you choose can make all the difference in terms of strength, durability, and overall aesthetics. Think of your cabinet as a puzzle; each piece must fit together perfectly to create a sturdy and functional end product. In this section, we will explore some popular assembly methods that can elevate your DIY project from ordinary to extraordinary.
One of the most common techniques is the dowel joint. This method involves drilling holes into both pieces of wood that you want to join, inserting wooden dowels into these holes, and then gluing them together. Dowels provide a strong, invisible joint that can withstand the test of time. It’s a bit like using a secret handshake; once you know how to do it, you can create connections that are both solid and discreet.
Another effective technique is the pocket hole joinery. This method uses a special jig to drill angled holes into one piece of wood, allowing you to screw it into another piece without the fasteners being visible from the outside. This technique is especially useful for cabinet frames where aesthetics matter. Imagine crafting a beautiful cabinet where all the screws are hidden away, giving it a clean and professional look.
For those looking for a more traditional approach, mortise and tenon joints can be an excellent choice. This technique involves creating a 'tenon' on one piece of wood that fits snugly into a 'mortise' on another piece. This joint is incredibly strong and is often used in furniture making, giving your cabinet a touch of craftsmanship that can be admired for years to come. It's like the marriage of two pieces of wood, bonded together for life.
Lastly, consider using glue and screws for a straightforward assembly method. While it may not have the elegance of the previous techniques, it is highly effective and perfect for beginners. By applying wood glue to the edges of your joints and securing them with screws, you can achieve a robust assembly that gets the job done. Just remember to clamp the pieces together while the glue dries to ensure a tight fit.
To help you choose the right technique for your project, here’s a quick comparison of these methods:
| Assembly Technique | Strength | Difficulty Level | Aesthetic Appeal |
|---|---|---|---|
| Dowel Joint | High | Medium | High |
| Pocket Hole Joinery | Medium | Easy | High |
| Mortise and Tenon | Very High | High | Very High |
| Glue and Screws | Medium | Easy | Medium |
In conclusion, the assembly technique you choose will not only impact the strength of your cabinet but also its visual appeal. Whether you opt for the hidden elegance of pocket holes or the robust tradition of mortise and tenon joints, each method has its unique advantages. So, roll up your sleeves, pick your technique, and let your creativity flow!
Q: What is the best assembly technique for beginners?
A: For beginners, using glue and screws is often the easiest and most straightforward method. It requires minimal tools and is effective for most DIY cabinet projects.
Q: How do I ensure my joints are strong?
A: Always make sure to use high-quality wood glue and ensure that the surfaces you are joining are clean and smooth. Clamping the joints while the glue dries will also help achieve a stronger bond.
Q: Can I mix different assembly techniques?
A: Absolutely! Many experienced woodworkers combine techniques for added strength and aesthetics. For example, you might use pocket holes for the frame and dowels for the shelves.
Q: Do I need special tools for these assembly techniques?
A: Some techniques, like doweling and pocket hole joinery, do require specific tools, but many can be accomplished with basic hand tools. Investing in a good quality jig for pocket holes can save you time and improve accuracy.
Finishing Touches
Once you've constructed your wooden cabinet, the are what truly bring it to life. This stage is where your cabinet transforms from a simple assembly of wood into a stunning piece of furniture that elevates the entire room. It's essential to consider both aesthetics and durability during this phase, ensuring your hard work pays off in both appearance and longevity.
One of the first decisions you'll face is whether to paint or stain your cabinet. If you opt for paint, you have a world of colors at your fingertips, allowing you to match or contrast with your existing decor. On the other hand, staining enhances the natural beauty of the wood grain, providing a rich, warm finish that can make your cabinet the focal point of the room. Stains come in various shades, from light to dark, so consider the overall theme of your space when making your choice.
After deciding on the finish, it's crucial to prepare the surface properly. Start by sanding your cabinet to create a smooth surface, which not only helps the paint or stain adhere better but also gives your cabinet a professional look. Use a fine-grit sandpaper and work your way up to a smoother finish. Remember, patience is key here; taking the time to sand thoroughly will pay off in the end.
Next, consider applying a sealant to protect your cabinet from wear and tear. A good sealant will guard against moisture, scratches, and stains, ensuring your cabinet remains beautiful for years to come. There are various types of sealants available, including polyurethane and varnish, so choose one that suits your finish. Be sure to follow the manufacturer's instructions for application, as this can vary significantly between products.
Finally, don't forget about the hardware! The right handles and knobs can make a world of difference in the overall look of your cabinet. Whether you prefer a modern, sleek design or a more traditional, ornate style, your choice of hardware should complement the finish of your cabinet. Take the time to explore different options, and consider how they will work with the colors and textures you've chosen.
In conclusion, the finishing touches are what will make your wooden cabinet stand out. Whether you choose to paint or stain, ensure a smooth surface, apply a protective sealant, and select beautiful hardware, these details will enhance the functionality and style of your cabinet. Remember, this is your creation, and it deserves to shine!
- What is the best type of wood for cabinets?
Hardwoods like oak, maple, and cherry are popular choices due to their durability and aesthetic appeal.
- How do I choose the right finish for my cabinet?
Consider the overall decor of your room and whether you want a vibrant color or a natural wood look. Test samples to see what you like best.
- What tools do I need for the finishing process?
Basic tools include sandpaper, brushes or rollers for paint/stain, and a sealant applicator. Make sure to have clean cloths for any spills!
- Can I change the finish later?
Yes, but it requires sanding down the existing finish and applying a new one. It's best to choose wisely the first time to minimize future work.
Frequently Asked Questions
- What type of wood is best for building cabinets?
Choosing the right wood can be a game changer! Hardwoods like oak, maple, and cherry are popular for their durability and beautiful grain. If you're on a budget, consider plywood or MDF, which can also provide great results when finished properly.
- What tools do I need to build a wooden cabinet?
You'll need a mix of hand tools and power tools to make your cabinet-building journey smooth. Essential hand tools include a saw, hammer, and measuring tape, while power tools like a drill and circular saw can save you time and effort. Think of them as your trusty sidekicks in this DIY adventure!
- How can I ensure my cabinet fits perfectly in my space?
Measuring your space accurately is key! Start by taking measurements of the area where you plan to place the cabinet. Don't forget to account for any obstructions like electrical outlets or baseboards. Sketching out a plan can help visualize everything before you start cutting wood.
- What assembly techniques should I use for strength?
Great question! Techniques like doweling and pocket hole joinery can significantly enhance the strength of your cabinet. These methods create strong joints that can withstand the test of time, making your cabinet not just beautiful, but also sturdy.
- How do I finish my cabinet for the best look?
The finishing touches are where your cabinet really shines! You can choose to paint, stain, or seal your wood. Each option offers a different aesthetic and level of protection. Think of it like dressing up your cabinet for a special occasion—make it look fabulous!
- What safety precautions should I take while building?
Safety first! Always wear protective gear like goggles and gloves, and ensure your workspace is clean and organized. Familiarize yourself with each tool before use, and never rush through any steps. Remember, it's better to take your time and be safe than to risk injury!
- Can I customize my cabinet design?
Absolutely! One of the joys of DIY is the ability to make it uniquely yours. Play around with different styles, sizes, and colors. Sketching your ideas can help you visualize your dream cabinet before you start building.


