Enrich Your Space with DIY Wood Bookshelves
Have you ever walked into a room and felt an instant connection to the space? It’s not just about the furniture or the color of the walls; it’s often the little details that make a house feel like a home. One of the best ways to add character and functionality to your living space is by creating your own wood bookshelves. Not only do they provide a practical solution for storage, but they also serve as a canvas for your creativity and personal style. Imagine showcasing your favorite books, family photos, and unique decor items on a custom-built bookshelf that reflects your personality. In this article, we will explore the numerous benefits of DIY wood bookshelves, guiding you through the design process, the materials you'll need, and the techniques to bring your vision to life.
Building your own bookshelves allows for a level of personalization that pre-made options simply can’t match. You can choose the dimensions that fit your space perfectly, select the wood type that complements your decor, and even decide on the finish that ties everything together. Plus, there’s something incredibly satisfying about creating something with your own hands. It’s not just furniture; it’s a piece of art that tells a story. So, whether you're a seasoned DIY enthusiast or a complete beginner, this guide will empower you to tackle your bookshelf project with confidence and flair.
Before diving into the nitty-gritty of measurements and tools, let’s take a moment to appreciate the transformative power of wood bookshelves. They can turn a bland corner into a cozy reading nook, elevate a simple wall into a gallery of your favorite things, and even enhance the overall aesthetic of your home. Think of them as the unsung heroes of home decor—functional yet stylish, they can adapt to any room, whether it’s a living room, bedroom, or home office.
In the following sections, we’ll delve into the specifics of choosing the right wood, gathering your tools, and mastering the techniques that will help you build a bookshelf that not only meets your storage needs but also becomes a stunning focal point in your home. So, roll up your sleeves, unleash your creativity, and let’s get started on this exciting journey of crafting your very own wood bookshelves!
When it comes to building your own wood bookshelves, selecting the right type of wood is crucial. Not only does the choice of wood affect the durability and functionality of your bookshelf, but it also plays a significant role in the overall aesthetic appeal. With so many options available, it’s essential to understand the characteristics, costs, and suitability of each type of wood for your specific design.
| Type of Wood | Characteristics | Cost | Best For |
|---|---|---|---|
| Oak | Strong, durable, and resistant to wear | $$$ | Traditional and rustic designs |
| Pine | Lightweight, easy to work with, and affordable | $ | Casual and modern designs |
| Maple | Hard, dense, and smooth finish | $$$ | Contemporary and sleek designs |
| Birch | Strong and versatile with a fine grain | $$ | Transitional styles |
Each type of wood brings its unique charm and functionality to your bookshelf project. For instance, if you're aiming for a rustic look, oak might be your best bet due to its strength and natural grain. On the other hand, if you’re looking for something more modern and budget-friendly, pine is a fantastic option that still offers great aesthetics. Consider your design vision and the overall vibe you want to create in your space when making your choice.
Before you jump into the exciting world of DIY bookshelves, it’s important to gather all the necessary tools and materials. Having everything at your fingertips will ensure a smooth construction process and help you avoid any last-minute trips to the hardware store. Here’s a quick rundown of what you’ll need:
- Tools:
- Measuring tape
- Miter saw or hand saw
- Drill
- Screwdriver
- Sandpaper or electric sander
- Materials:
- Wood planks (based on your design)
- Wood screws
- Wood glue
- Finish (paint, stain, or varnish)
With your tools and materials ready, you’re one step closer to building that stunning bookshelf. Let’s move on to the next phase—measuring and cutting your wood accurately for that professional finish!
1. How much does it cost to build a DIY wood bookshelf?
The cost can vary widely depending on the type of wood you choose and the size of the bookshelf. On average, you might spend anywhere from $50 to $300.
2. Do I need advanced woodworking skills to build a bookshelf?
Not at all! Many DIY bookshelf designs are beginner-friendly. With a little patience and the right tools, anyone can create a beautiful bookshelf.
3. What type of wood is best for bookshelves?
It depends on your style and budget. Oak is great for durability, while pine is more affordable and easier to work with for beginners.
4. How can I ensure my bookshelf is sturdy?
Using quality wood, proper joinery techniques, and secure fastening methods will ensure your bookshelf is stable and long-lasting.
Choosing the Right Wood
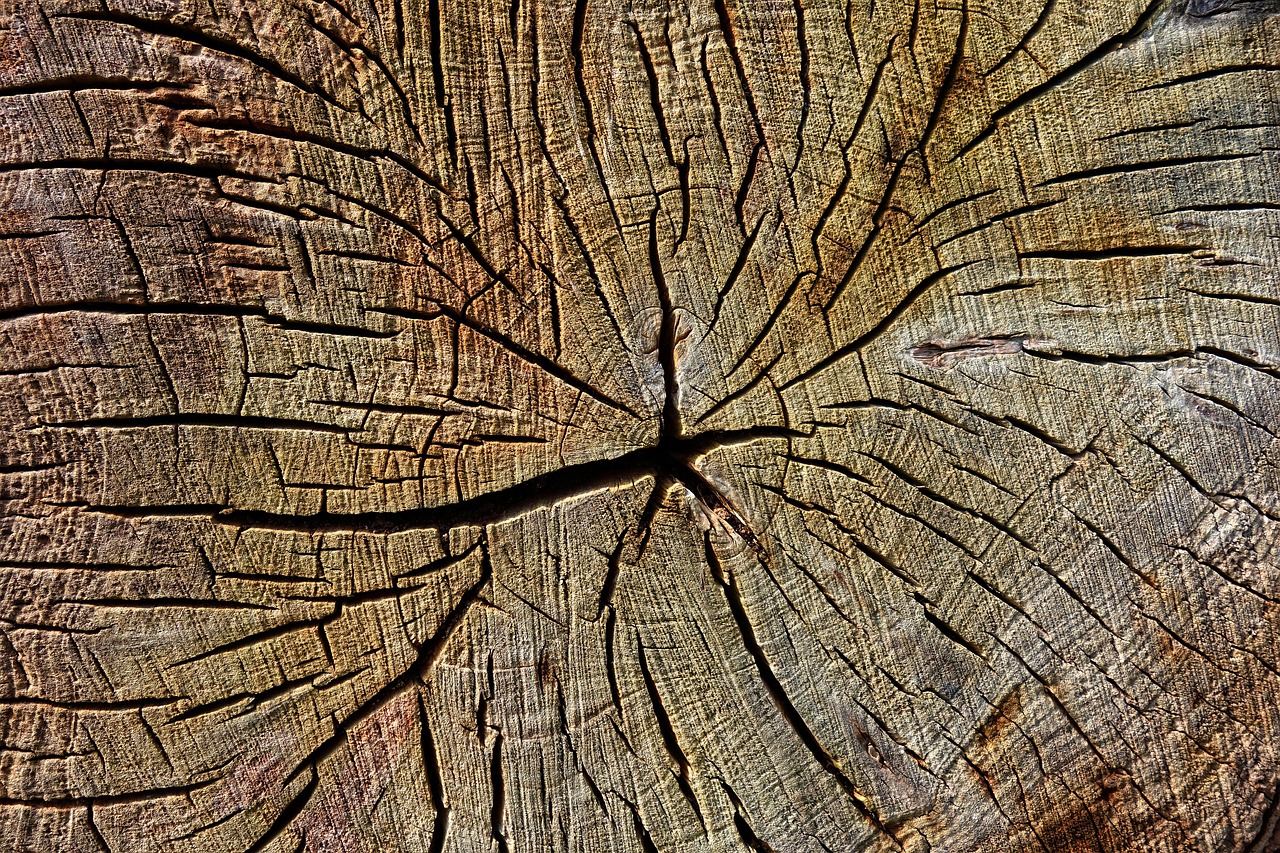
When it comes to crafting your own wood bookshelves, choosing the right type of wood is not just a matter of aesthetics; it's about ensuring durability and functionality. The wood you select will influence not only the look of your bookshelf but also its longevity and how well it holds up under the weight of your cherished books. With so many options available, it can feel overwhelming, but understanding the characteristics of different wood types can help you make an informed decision.
First off, let's talk about hardwoods versus softwoods. Hardwoods, such as oak, maple, and cherry, are known for their strength and durability. They tend to be more expensive but offer a rich grain and can withstand the test of time. On the other hand, softwoods like pine, cedar, and fir are generally more affordable and easier to work with, making them a popular choice for DIY projects. However, they may not be as resilient as their hardwood counterparts, especially in high-traffic areas.
Here’s a quick comparison table to help you understand the differences:
| Type of Wood | Characteristics | Cost | Best For |
|---|---|---|---|
| Hardwoods (e.g., Oak, Maple) | Durable, dense, rich grain | Higher | Long-lasting, high-quality furniture |
| Softwoods (e.g., Pine, Cedar) | Lightweight, easy to cut, less durable | Lower | Budget-friendly projects, quick builds |
Another important factor to consider is the wood's finish and treatment. Some woods are naturally resistant to moisture and pests, making them ideal for bookshelves that will be exposed to varying humidity levels. For instance, cedar not only provides a lovely aroma but also repels insects, making it a fantastic choice for a bookshelf that will house your favorite novels. Conversely, if you opt for a wood that is less resistant, you might want to treat it with a sealant or finish to enhance its durability.
Additionally, think about the design and style of your bookshelf. If you're aiming for a rustic look, reclaimed wood can add character and charm, while sleek, modern designs might call for a smooth finish with minimal grain. Ultimately, the right wood will complement your home’s décor while serving its purpose effectively.
In summary, selecting the right wood is a critical step in your DIY bookshelf project. Whether you lean towards the robust qualities of hardwoods or the affordability and ease of softwoods, understanding the properties of each type will guide you toward making a choice that not only meets your budget but also fulfills your aesthetic desires. So, take your time, explore your options, and envision how your new bookshelf will enrich your living space!
- What is the best wood for a DIY bookshelf? It depends on your budget and design preference. Hardwoods like oak are durable, while softwoods like pine are more affordable.
- Can I use reclaimed wood for my bookshelf? Absolutely! Reclaimed wood adds character and is often more sustainable.
- How do I treat wood for moisture resistance? You can use sealants or finishes designed for wood to protect it from moisture.
Essential Tools and Materials
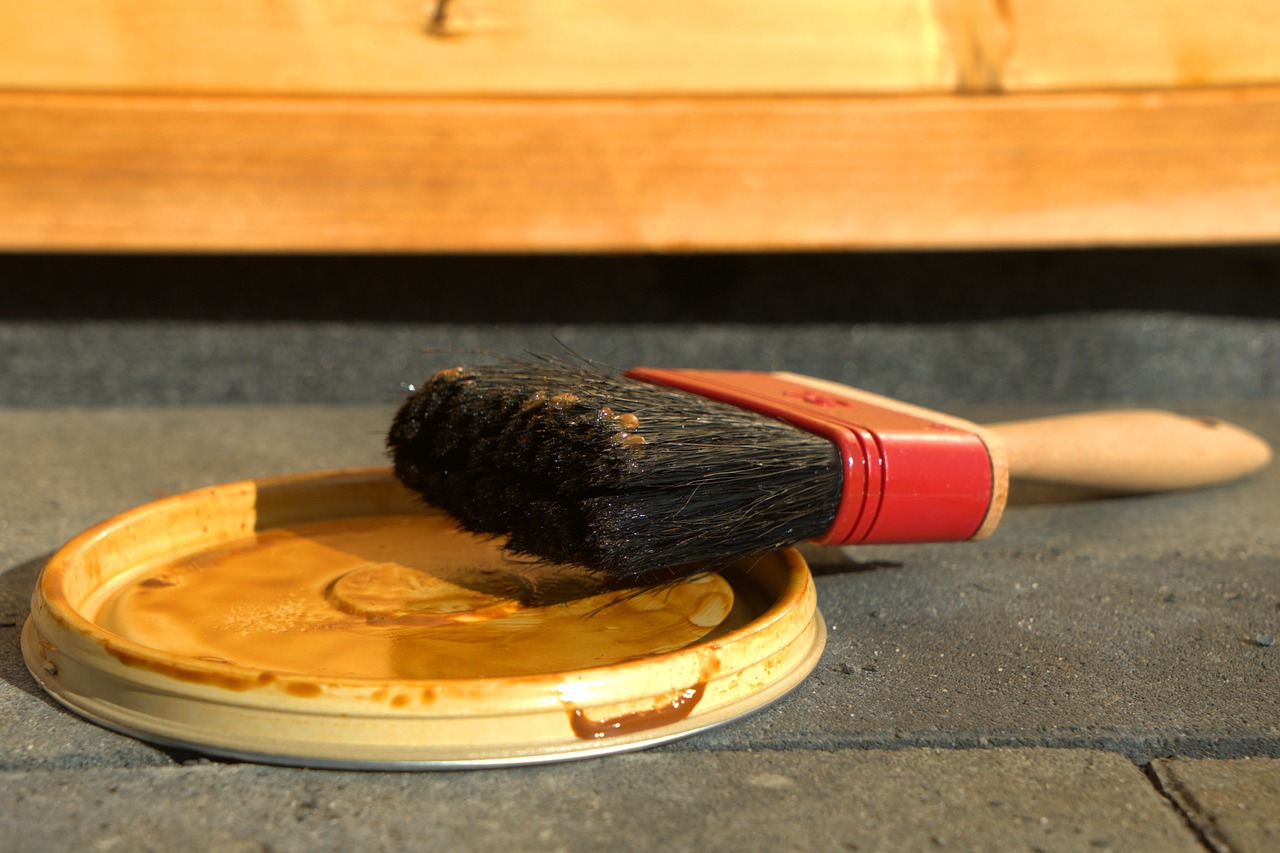
Before diving into your DIY wood bookshelf project, it's crucial to gather all the you'll need. Having everything on hand will not only streamline your workflow but also prevent those frustrating trips to the hardware store mid-project. Think of it like preparing for a road trip; you wouldn’t want to hit the highway without a full tank of gas and a map, right?
First and foremost, you'll need some basic tools that will make your woodworking journey smoother. Here’s a quick rundown of the must-haves:
- Measuring Tape: Accurate measurements are the backbone of any successful project. A good measuring tape ensures you get everything just right.
- Square: This tool helps you check for right angles, ensuring your bookshelf is perfectly aligned.
- Miter Saw: For those clean, angled cuts that make your bookshelf look professional.
- Drill: You’ll need this for making holes for screws and dowels.
- Screwdriver: Essential for assembling your bookshelf securely.
- Sander: To smooth out those rough edges and prepare your wood for finishing.
Now, let's talk about the materials you'll need. The type of wood you choose can greatly affect the durability and aesthetics of your bookshelf. Here’s a brief overview of some popular wood options:
| Type of Wood | Characteristics | Cost (per board foot) | Suitability |
|---|---|---|---|
| Pine | Lightweight, easy to work with, and affordable. | $2 - $5 | Great for beginners and rustic designs. |
| Oak | Strong and durable with a beautiful grain. | $5 - $10 | Ideal for sturdy, long-lasting bookshelves. |
| Maple | Hardwood with a fine, consistent grain. | $4 - $8 | Perfect for modern and sleek designs. |
| Birch | Strong and resistant to warping, with a light color. | $3 - $7 | Good for painted finishes. |
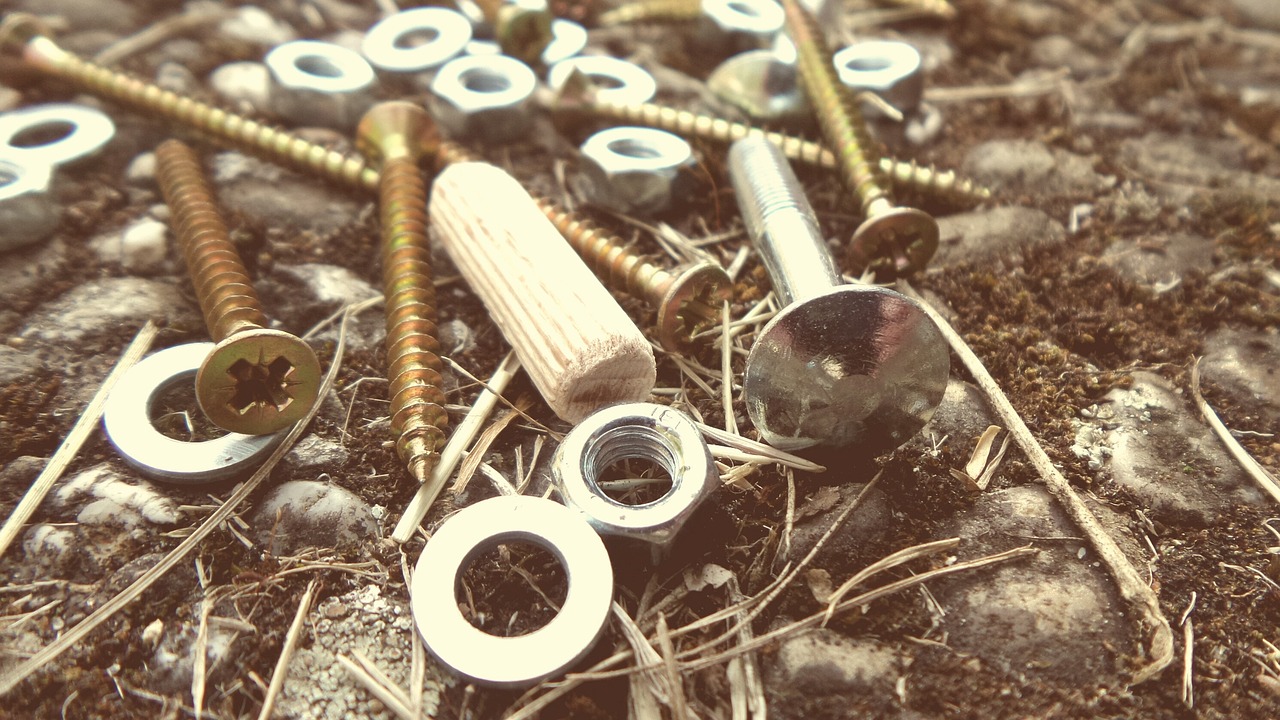
In addition to wood, don’t forget about fasteners and adhesives. Screws, wood glue, and brackets are your friends when it comes to keeping everything together. Investing in quality fasteners will ensure your bookshelf stands the test of time, much like a well-built house.
Lastly, consider any finishing products you'll want to use, such as stains, paints, or sealants. These not only enhance the appearance of your bookshelf but also protect the wood from wear and tear. Remember, the finish can make or break the overall look of your project, so choose wisely!
By gathering these tools and materials before you start, you’re setting yourself up for success. Just like a chef wouldn’t start cooking without all their ingredients, you shouldn't start building without your tools and materials. So gear up, and let’s get crafting!
Measuring and Cutting Wood
When it comes to building your own wood bookshelves, one of the most critical steps is measuring and cutting the wood accurately. Think of it as laying the foundation for a house; if the base isn't right, everything built on top will be off-kilter. First, gather your measuring tools—a tape measure, square, and pencil are your best friends here. Start by determining the dimensions of your bookshelf. Consider how many books you plan to store and the overall space available in your room. Remember, it’s not just about fitting everything; it’s also about creating a visually appealing piece that complements your decor.
Once you have your measurements, it’s time to translate those numbers into wood cuts. A common mistake is to rush this process. Take your time and double-check your measurements before making any cuts. A simple error can lead to wasted materials and frustration. To help you visualize, here’s a quick table of essential measurements and their purposes:
| Measurement | Purpose |
|---|---|
| Height | Determines the overall size of the bookshelf |
| Width | Defines how many books can fit side by side |
| Depth | Affects the stability and number of shelves |
After measuring, it's time for the cutting phase. If you’re using a power saw, such as a miter saw, ensure you follow safety precautions. Always wear protective eyewear and keep your fingers away from the blade. For those who prefer the traditional route, hand saws can be effective too, but they require a steady hand and a bit more practice. No matter the method, aim for clean, straight cuts. If you notice any splintering, consider using painter's tape along the cut line to minimize this issue.
Moreover, it's essential to cut your wood pieces according to the design you’ve chosen. If your bookshelf features adjustable shelves, you may want to cut additional pieces for shelf supports. Keep in mind that each cut should be made with precision, as this will affect the overall look and functionality of your bookshelf. After cutting, take a moment to sand the edges to ensure they are smooth and safe to handle. This is where your bookshelf starts to take shape, and trust me, seeing those fresh cuts can be incredibly satisfying!
In summary, measuring and cutting wood is a vital part of your DIY bookshelf project. By taking your time and ensuring accuracy, you set the stage for a beautiful and functional piece that you can be proud of. So grab your tools, measure twice, cut once, and let the magic of woodworking begin!
Using a Miter Saw
When it comes to crafting your own wood bookshelves, using a miter saw can be a game changer. This powerful tool is designed to make precise angled cuts, which are essential for achieving that polished, professional look you desire. Imagine trying to assemble a bookshelf with uneven cuts—yikes! It’s like trying to build a house on a shaky foundation. So, let’s dive into how to use a miter saw effectively and safely.
First off, make sure you have a solid understanding of the miter saw's components. Familiarize yourself with the blade, the miter gauge, and the adjustable arm. Knowing how these parts work together will help you operate the saw with confidence. Before making any cuts, always remember to wear safety glasses to protect your eyes from sawdust and debris. Safety first, right?
To get started, you’ll want to set your miter saw to the desired angle. Most bookshelf designs require cuts at 45 degrees for corners, but don’t hesitate to adjust based on your specific project needs. Place your wood securely against the fence of the saw, ensuring it’s stable and won’t shift during the cut. A good rule of thumb is to always measure twice and cut once—this old adage really does save you from mistakes!
Here’s a quick step-by-step guide to using a miter saw:
- Set the Angle: Adjust the miter saw to the desired angle.
- Secure the Wood: Position your wood against the fence and clamp it if necessary.
- Check the Blade: Ensure the blade is sharp and appropriate for the type of wood you’re cutting.
- Make the Cut: Lower the blade slowly and steadily, letting the saw do the work.
After you’ve made your cuts, take a moment to inspect them. They should be clean and precise, with no splintering or rough edges. If you notice any imperfections, don’t fret—sanding will help smooth out those edges later on. But ideally, with a miter saw, you should be able to achieve a clean cut right off the bat.
In summary, using a miter saw can significantly enhance your DIY bookshelf project. It not only saves time but also ensures that your cuts are accurate, making assembly a breeze. So, gear up, get your wood ready, and let that miter saw work its magic!
Q: What is a miter saw used for?
A: A miter saw is primarily used for making precise crosscuts and angled cuts in wood, making it ideal for furniture projects like bookshelves.
Q: Can I use a miter saw for other materials?
A: While miter saws are designed for wood, they can also be used on some other materials like plastic or aluminum, but make sure to use the right blade.
Q: How do I maintain my miter saw?
A: Regularly clean the blade and the base, check for any loose screws, and keep it covered when not in use to prolong its life.

Hand Saw Techniques
For those who prefer a more traditional approach to woodworking, mastering is essential. Using a hand saw can be incredibly rewarding, giving you a sense of craftsmanship and control over your project. But before diving into the cuts, it’s crucial to understand the basics of handling a hand saw effectively. First, ensure you have the right type of hand saw for your project. There are various types, including crosscut saws for cutting across the grain and rip saws for cutting along it. Each type has its unique purpose and will yield different results.
When using a hand saw, the key to achieving clean, precise cuts lies in your technique. Start by marking your cut line clearly on the wood with a pencil. This will serve as your guide and help you maintain accuracy. When positioning the saw, hold it at a comfortable angle—typically around 45 degrees. Begin your cut with light strokes to create a groove along your marked line. This groove will help guide the saw and prevent it from wandering off course.
As you progress, apply more pressure on the saw, but remember to let the tool do the work. Rushing through the cut can lead to mistakes and rough edges. A steady, controlled motion is key. If you find yourself struggling with a particularly tough piece of wood, consider using a saw with larger teeth, as these can cut through denser materials more efficiently.
Another vital aspect to consider is the maintenance of your hand saw. A dull blade can ruin your efforts and lead to frustration. Regularly sharpen your saw using a sharpening file to keep it in top condition. Additionally, after each use, wipe down the blade to remove any resin or debris that could hinder its performance. Keeping your tools in good shape not only extends their life but also enhances your overall woodworking experience.
For those new to hand saw techniques, practicing on scrap wood can be incredibly beneficial. This allows you to refine your skills without the pressure of ruining your main project. As you gain confidence, you’ll find that the satisfaction of using a hand saw can be unmatched, offering a connection to the craft that power tools often lack.
In summary, while hand saws may seem intimidating at first, with the right techniques and a bit of practice, you can achieve stunning results. Embrace the challenge, and you might just find that hand sawing becomes one of your favorite aspects of woodworking!
- What type of wood is best for beginners? Softwoods like pine or cedar are great choices for beginners due to their ease of cutting and lower cost.
- How do I know if my hand saw is dull? If you find yourself applying excessive force or the saw is not cutting smoothly, it’s likely time for a sharpen.
- Can I use a hand saw for all types of wood? While you can use a hand saw on most types of wood, hardwoods may require a saw with finer teeth for better results.

Assembling the Bookshelf
Now that you've meticulously measured and cut your wood, it's time to bring your masterpiece to life! Assembling your bookshelf can be one of the most satisfying parts of the DIY process. It’s like putting together a puzzle, but instead of a picture, you’re creating a functional piece of art for your home. Start by laying out your pieces in the order they will be assembled. This will give you a clear visual of how everything fits together, and trust me, it makes the process a whole lot smoother.
When it comes to joining the pieces, you have several options. The choice of joining technique can significantly affect the durability and look of your bookshelf. Here are a few popular methods:
- Wood Glue: This is a must-have for any bookshelf. It creates a strong bond and is often used in conjunction with other joining methods.
- Screws: Using screws provides extra strength. Make sure to pre-drill holes to avoid splitting the wood.
- Dowels: These small wooden rods can help align pieces perfectly and add strength to your joints.
- Brackets: For added support, especially for larger shelves, consider using brackets. They can also add a decorative touch!
Once you’ve decided on your joining method, it’s time to start assembling. Begin with the frame of the bookshelf. If you're building a simple rectangular shelf, start by attaching the top and bottom pieces to the side panels. Make sure everything is square by measuring the diagonals. If they are equal, you’re on the right track!
After the frame is complete, it’s time to add the shelves. Depending on your design, you may want to install them at fixed heights or make them adjustable. For adjustable shelves, consider using shelf pins that allow you to move the shelves up and down according to your needs. This flexibility can be a game changer when it comes to storing books of various sizes.
As you assemble, keep a cloth handy to wipe away any excess glue before it dries. This will save you a lot of time and effort in the finishing stages. Once everything is assembled, take a step back and admire your work. This is where you can identify any adjustments that may be needed to ensure everything looks perfect!
Finally, before moving on to the finishing touches, allow your bookshelf to dry completely. If you’ve used glue, it’s essential to let it cure as per the manufacturer's instructions. This will ensure that your bookshelf is stable and ready to hold your precious books and decorative items.
Q: How do I ensure my bookshelf is stable?
A: Stability is key! Make sure to use sturdy wood and consider anchoring your bookshelf to the wall, especially if it's tall or holds a lot of weight.
Q: Can I customize the size of my bookshelf?
A: Absolutely! One of the benefits of DIY is that you can tailor the dimensions to fit your space perfectly. Just be sure to adjust your measurements accordingly when cutting your wood.
Q: What type of wood should I use for a beginner project?
A: Pine is a great option for beginners. It's affordable, easy to work with, and has a nice finish when painted or stained.

Finishing Touches
When it comes to DIY wood bookshelves, the can truly make or break your project. Imagine putting hours into crafting a beautiful bookshelf, only to leave it looking unfinished or bland. The right finish not only enhances the aesthetic appeal but also provides protection against wear and tear. So, let’s dive into how you can elevate your bookshelf from ordinary to extraordinary!
First, consider sanding your bookshelf. This step is often overlooked but is crucial for achieving a smooth surface. Start with a coarse grit sandpaper to remove any rough spots, and gradually move to a finer grit for that silky finish. Think of sanding as giving your bookshelf a gentle massage; it helps to reveal its true beauty. Once you’ve sanded it down, wipe it clean with a damp cloth to remove any dust particles that could interfere with the finishing process.
Next up is the staining or painting stage. Here, you have a choice to make: do you want to showcase the natural beauty of the wood with a stain, or do you prefer to add a splash of color with paint? Each option has its own charm. Stains enhance the wood grain, giving a rustic feel, while paints can transform your bookshelf into a vibrant piece of art. If you opt for staining, apply it with a brush or cloth, following the wood grain for an even finish. For painting, make sure to use a primer first to ensure the paint adheres well and lasts longer.
After staining or painting, it's time to think about the protective finish. This is where you can choose between oils, varnishes, and sealants. Each provides a different level of protection and sheen. For instance, oils penetrate the wood, enhancing its natural beauty, while varnishes create a hard protective layer. Here’s a simple table to help you decide:
| Finish Type | Characteristics | Best For |
|---|---|---|
| Oil | Enhances grain, natural look | Rustic or natural styles |
| Varnish | Hard, glossy finish | Durability and water resistance |
| Paint | Colorful, opaque finish | Bold, modern designs |
Finally, don’t forget to add some decorative elements to personalize your bookshelf. This could be anything from unique shelving brackets to integrated lighting that highlights your favorite books or decorative items. Consider using LED strip lights along the edges for a modern touch or adding some vintage brackets for a classic look. These small details can really make your bookshelf stand out and reflect your personal style.
In conclusion, the finishing touches on your DIY wood bookshelf are what will make it a true centerpiece in your living space. By carefully choosing your finishes and adding personal elements, you not only protect your hard work but also create a functional piece of art that you can be proud of.
Q: What type of wood is best for bookshelves?
A: The best wood for bookshelves depends on your style and budget. Hardwoods like oak and maple are durable and visually appealing, while softer woods like pine are more affordable and easier to work with.
Q: How long does it take to build a DIY bookshelf?
A: The time it takes to build a DIY bookshelf can vary greatly depending on your experience level and the complexity of the design. A simple bookshelf can take a few hours, while more intricate designs may take several days.
Q: Can I use recycled wood for my bookshelf?
A: Absolutely! Using recycled wood not only adds character to your bookshelf but is also an eco-friendly choice. Just be sure to inspect the wood for any damage or rot before using it.
Q: What tools do I need to build a bookshelf?
A: Essential tools include a miter saw, drill, measuring tape, level, and sandpaper. Having the right tools will make the process smoother and more enjoyable.

Choosing the Right Finish
When it comes to finishing your DIY wood bookshelves, the right finish can make a world of difference. Not only does it enhance the visual appeal of your bookshelf, but it also protects the wood from wear and tear. Think of finishing as the icing on a cake; it not only adds flavor but also makes it look irresistible. So, what options do you have? Let's dive into some popular choices for finishes that can elevate your bookshelf's aesthetics while ensuring longevity.
One of the most common finishes is oil. It penetrates deep into the wood, enhancing its natural grain and providing a warm, rich appearance. Oils like linseed or tung oil are popular choices among DIY enthusiasts. They are relatively easy to apply and can be reapplied over time to maintain the finish. However, oils do require more maintenance compared to other finishes.
Another fantastic option is varnish. Unlike oil, varnish sits on the surface of the wood, creating a hard protective layer. This finish is ideal for bookshelves that will face daily use, as it offers excellent resistance to scratches and moisture. Varnish comes in different sheens, from matte to high gloss, allowing you to customize the look of your bookshelf to match your decor. However, applying varnish requires a bit more skill, as it can show brush strokes if not done properly.
If you're looking for something a bit more colorful, paint might be the way to go. Paint not only protects the wood but also allows for endless customization. You can choose from a myriad of colors to match your room's theme or even go for a bold statement with a bright hue. However, keep in mind that paint can chip over time, so it's essential to use a high-quality primer and paint designed for wood surfaces.
To help you decide, here’s a quick comparison of these finishes:
| Finish Type | Pros | Cons |
|---|---|---|
| Oil | Enhances natural grain, easy to apply | Requires regular maintenance |
| Varnish | Durable, multiple sheen options | More challenging to apply |
| Paint | Endless color options, protects wood | Can chip over time |
Ultimately, the choice of finish depends on your style and the functionality you need. Consider how often you'll be using the bookshelf and the environment it will be in. For example, if you have kids or pets, a durable varnish might be the best bet. On the other hand, if you want to showcase the natural beauty of the wood, an oil finish could be just what you need. Remember, the finish not only protects your investment but also reflects your personal style, so choose wisely!
- What is the best finish for a bookshelf? It depends on your needs! Oils are great for a natural look, varnishes for durability, and paints for color.
- How often should I reapply the finish? This varies by finish; oils may need reapplication every 6-12 months, while varnish can last for years with proper care.
- Can I mix finishes? Mixing finishes is generally not recommended, as it can lead to adhesion issues and an uneven appearance.

Adding Decorative Elements
Once you’ve built your beautiful wooden bookshelf, it’s time to take it to the next level by incorporating decorative elements that reflect your personal style and enhance the overall aesthetic of your space. Think of your bookshelf as a blank canvas; it’s not just for storing books, but also for showcasing your personality. So, how can you transform that functional piece into a stunning focal point? Let’s dive into some creative ideas!
First off, consider adding lighting to your bookshelf. A well-placed LED strip or small accent lights can create a warm, inviting glow that highlights your favorite books and decorative items. Imagine walking into a room where your bookshelf softly lights up, drawing attention to those cherished novels or art pieces. You can even use battery-operated lights for a hassle-free installation. Just remember to keep the lighting subtle and complementary to avoid overwhelming the space.
Next, think about the shelving brackets. Instead of opting for plain brackets, look for unique designs that add character to your bookshelf. Decorative brackets can range from industrial metal styles to ornate wooden ones, and they can significantly enhance the visual appeal of your shelves. This small detail can transform a simple structure into a statement piece.
Moreover, don’t forget about plants. Adding greenery can breathe life into your bookshelf. Small potted plants or succulents can create a vibrant contrast against the wood, making your bookshelf feel more dynamic. If you’re concerned about maintenance, consider low-light plants like snake plants or pothos, which are both hardy and stylish. Picture a lush green plant cascading down the side of your bookshelf, creating a beautiful juxtaposition with the hard edges of the wood.
If you want to go a step further, think about incorporating personal items such as photos, artwork, or travel souvenirs. These items can tell your story and make your bookshelf uniquely yours. Arrange them in a way that creates visual interest; for example, mix vertical and horizontal placements to break the monotony. You could even dedicate a shelf to a specific theme, like a travel shelf filled with mementos from your adventures around the world.
Lastly, don’t underestimate the power of color. Whether you choose to paint some of your books, use colorful bookends, or incorporate vibrant decorative objects, a splash of color can make your bookshelf pop. Consider using a color palette that complements your room’s decor to create a cohesive look. For instance, if your room features cool tones, opt for blues and greens in your decorative elements to maintain harmony.
In summary, adding decorative elements to your DIY wood bookshelf can elevate its appearance and make it a true reflection of your style. From lighting to plants, and personal items to color choices, there are countless ways to personalize your space. So, roll up your sleeves, let your creativity flow, and transform your bookshelf into a stunning showcase of who you are!
Q: What types of lighting are best for bookshelves?
A: LED strip lights or small accent lamps work well as they provide soft illumination without taking up too much space.
Q: How can I keep plants on my bookshelf without damaging the wood?
A: Use coasters or small trays under your plant pots to catch any water and prevent damage to the wood surface.
Q: Are there specific materials I should avoid for decorative elements?
A: It's best to avoid overly heavy items that could cause strain on the shelves, and be cautious with items that may leak or cause moisture damage.
Frequently Asked Questions
- What type of wood is best for DIY bookshelves?
Choosing the right wood depends on your budget and style preferences. Pine is affordable and easy to work with, while oak offers durability and a classic look. If you're looking for something more unique, consider maple or birch for their beautiful grain patterns.
- What tools do I need to build a wood bookshelf?
To successfully build your bookshelf, you'll need essential tools like a miter saw for precise cuts, a drill for assembling pieces, and screwdrivers for securing joints. Don't forget measuring tools like a tape measure and a square to ensure everything is aligned correctly!
- How do I measure and cut wood accurately?
Accurate measurements start with a good plan! Use a tape measure to mark your cuts clearly, and always double-check your dimensions before cutting. A miter saw can help you achieve clean, angled cuts, while a hand saw requires steady hands and practice for precision.
- What are the best techniques for assembling my bookshelf?
When assembling your bookshelf, consider using wood glue along with screws for a strong bond. Techniques like pocket hole joinery or doweling can also provide added stability. Remember to clamp pieces together while the glue dries for the best results!
- How can I finish my bookshelf to enhance its look?
Finishing your bookshelf can really make it pop! You can choose to sand it smooth, then apply a stain to bring out the wood's natural beauty, or go for a paint that matches your decor. Don't forget to seal it with a protective finish like varnish for durability!
- Can I add decorative elements to my bookshelf?
Absolutely! Adding decorative elements like unique lighting or stylish shelving brackets can personalize your bookshelf and make it a statement piece in your room. Consider incorporating plants or artwork on the shelves for an added touch of creativity!


