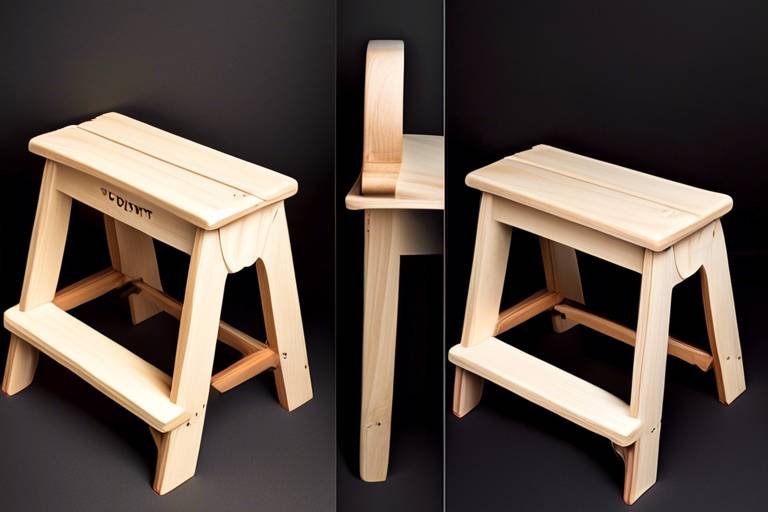
Making Wooden Toy Cars: A Fun Woodworking Project
Creating wooden toy cars is not just a delightful pastime; it’s an opportunity to unleash your creativity while diving into the world of woodworking. Whether you're a beginner with no experience or a seasoned woodworker looking for a new project, making these charming little vehicles can be incredibly rewarding. Imagine the joy on a child's face when they receive a handcrafted toy car, a unique gift that’s made with love and care. Plus, it’s a fantastic way to bond with family or friends, as you can easily involve kids in the process, teaching them valuable skills along the way.
In this article, we will guide you through every step of the process, from selecting the right wood to the final finishing touches. You'll learn about the essential tools and materials you need, how to design your toy car, and the best techniques for assembly. Not only will you end up with a beautifully crafted toy car, but you’ll also gain a sense of accomplishment and pride in your handiwork. So, roll up your sleeves and get ready to embark on this exciting journey of creativity and craftsmanship!
As we explore the intricate details of this woodworking project, remember that the journey is just as important as the destination. Each cut and every stroke of sandpaper brings you closer to a finished product that is not only functional but also a piece of art. So, let’s dive into the world of wooden toy cars and discover how you can make your very own masterpiece!
- What type of wood is best for making toy cars?
Softwoods like pine and cedar are excellent choices due to their workability and availability. Hardwoods like maple or oak are also great but may require more effort to work with.
- Can children help in making wooden toy cars?
Absolutely! Children can assist with simpler tasks such as sanding and painting, making it a fun family project.
- How do I ensure the toy car is safe for children?
Always use non-toxic paints and finishes, and ensure there are no sharp edges by sanding down all surfaces thoroughly.

Choosing the Right Wood
When it comes to crafting wooden toy cars, selecting the right type of wood is crucial not only for the durability of your creation but also for its aesthetic appeal. Different woods come with their unique characteristics, making them suitable for various projects. You want a wood that is not only sturdy but also easy to work with, especially if you are a beginner. Some popular choices for making toy cars include Pine, Maple, and Birch.
Pine is often favored for its lightweight properties and ease of cutting. It is an excellent choice for beginners as it is readily available and affordable. However, be mindful that pine can be softer than other woods, which may affect the durability of your toy car over time. On the other hand, Maple is denser and more durable, making it ideal for toys that will endure rough play. It also has a beautiful grain that can add a touch of elegance to your finished product. Birch is another fantastic option; it combines strength and a fine texture, which means your toy car can have a smooth finish that feels great in little hands.
When choosing your wood, consider the following factors:
- Durability: Will the toy withstand the wear and tear of play?
- Weight: Is the wood light enough for children to handle easily?
- Finish: Does the wood have a grain that will look good once painted or stained?
Furthermore, you might want to consider the environmental impact of your wood choice. Opting for sustainably sourced wood can not only contribute to conservation efforts but also add a story to your toy car. If you’re feeling adventurous, you can even explore reclaimed wood, which adds character and history to your project.
In summary, the wood you choose can significantly influence the overall quality and appearance of your wooden toy car. Take the time to explore different options and think about how each type will affect your project. Remember, the right wood will not only make your toy car look fantastic but will also ensure it lasts through countless hours of imaginative play.
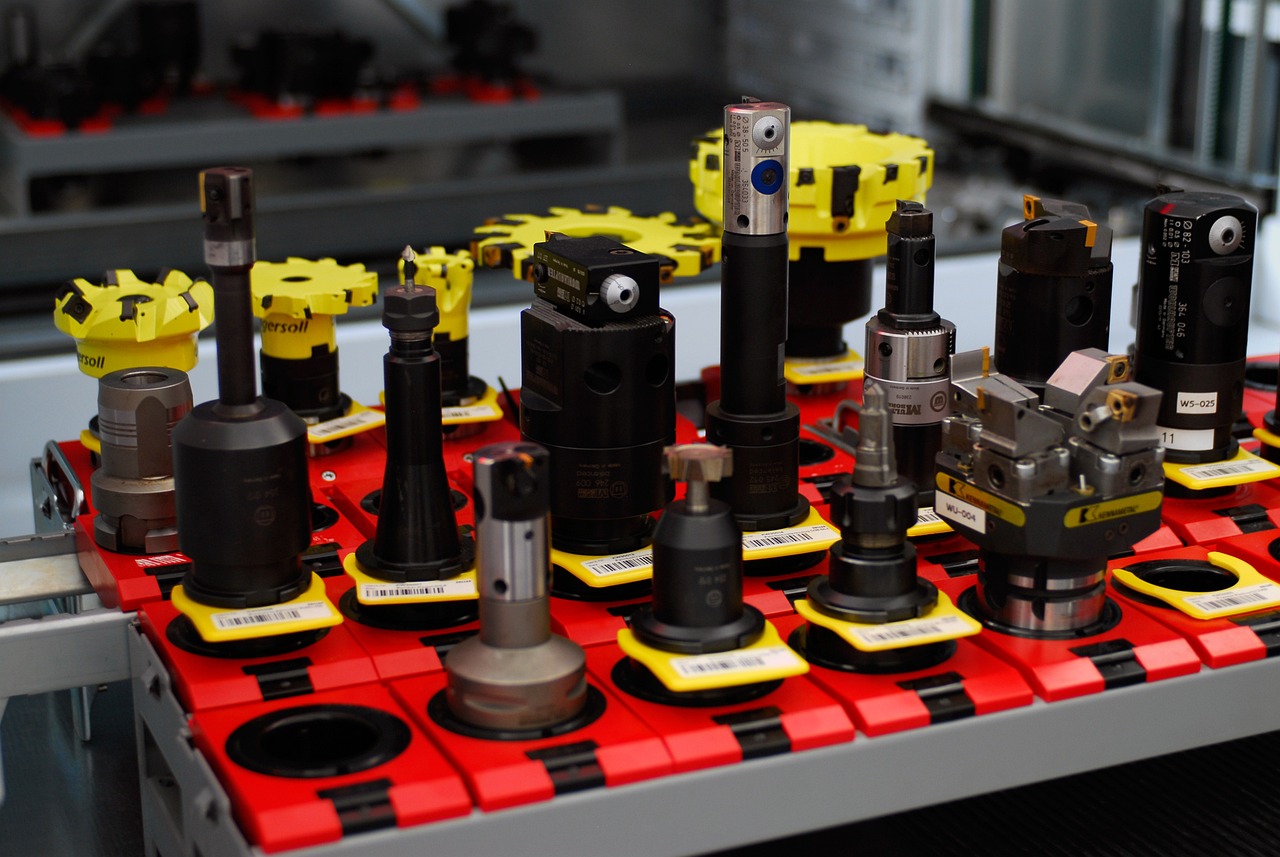
Essential Tools and Materials
Before diving into the exciting world of wooden toy car creation, it’s essential to gather all the necessary tools and materials. Having the right equipment at your fingertips not only makes the process smoother but also enhances the overall quality of your project. Think of it as gathering your superhero gadgets before embarking on a thrilling adventure!
First off, let’s talk about the materials. The type of wood you choose can significantly impact the durability and aesthetic appeal of your toy car. Common choices include pine, birch, and maple, each with its unique characteristics. Pine is lightweight and easy to work with, making it perfect for beginners. Birch is known for its fine grain and strength, while maple offers a beautiful finish and durability. When selecting your wood, consider the final look you want to achieve and how much wear and tear the toy will endure.
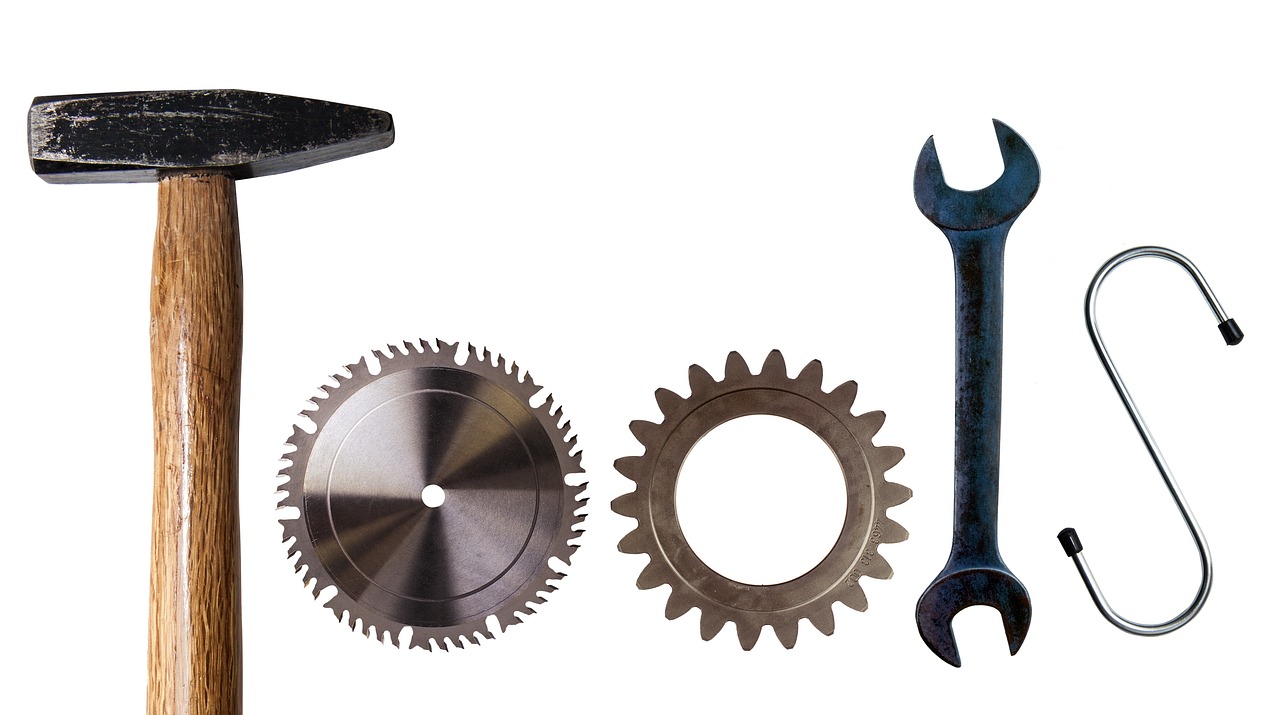
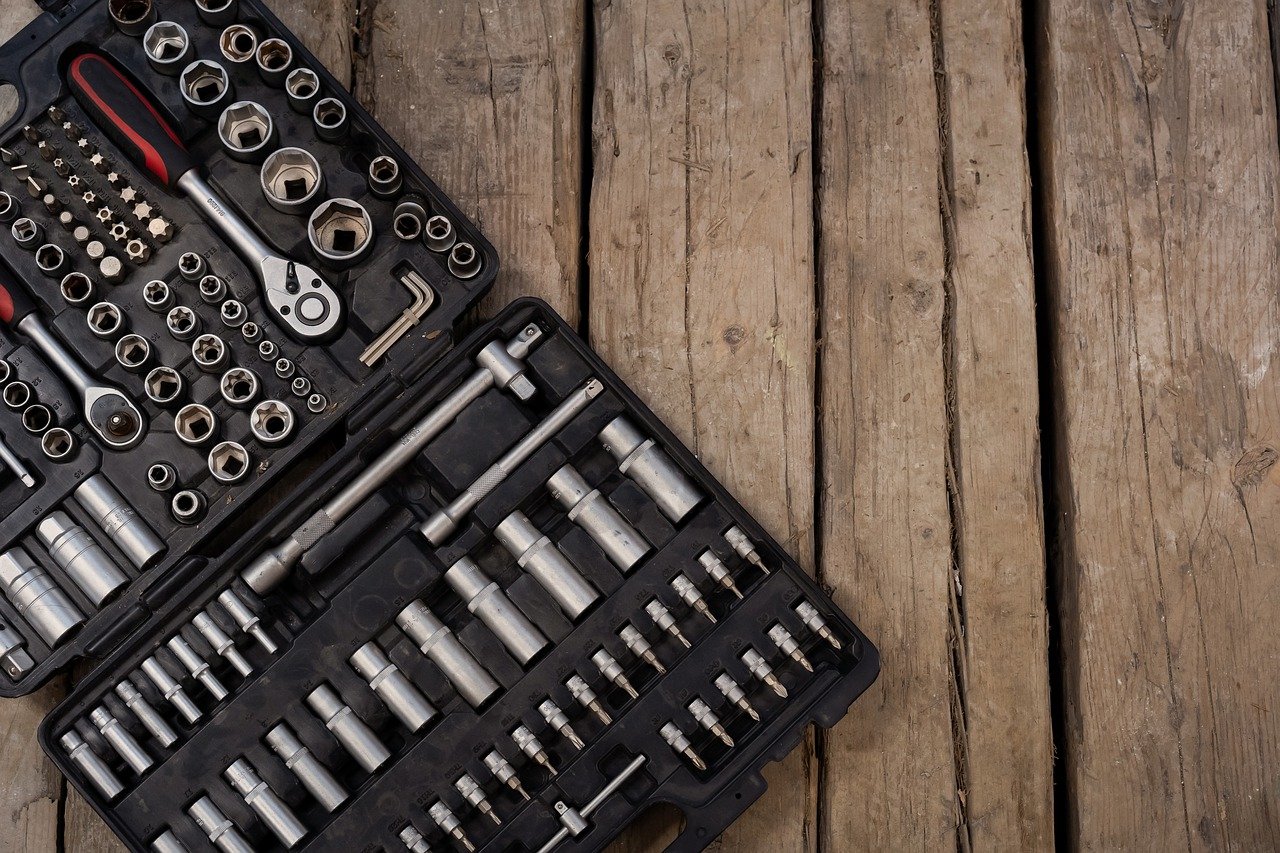
Now, onto the tools. Having the right tools is like having a trusty sidekick—essential for getting the job done right! Here’s a quick rundown of the must-have tools for your woodworking adventure:
- Saws: A reliable saw is crucial for cutting your wood pieces accurately. Whether you opt for a hand saw or a power saw, ensure it’s sharp and suited for the type of cuts you’ll be making.
- Sanders: Smooth surfaces are key to a polished finish. A combination of hand sanders and power sanders will help you achieve that perfect texture.
- Drills: For making holes for dowels or screws, a drill is indispensable. A cordless drill can offer flexibility and ease of use.
- Clamps: These are essential for holding your pieces together while the glue dries or when you’re making cuts.
In addition to these tools, don’t forget to stock up on some essential supplies like wood glue, screws, sandpaper of varying grits, and paint or finish for that final touch. A well-equipped workspace will save you time and frustration, allowing you to focus on the creative aspects of your project.
Here’s a quick reference table summarizing the essential tools and their purposes:
| Tool | Purpose |
|---|---|
| Saw | Cut wood pieces to size |
| Sander | Smooth surfaces for finishing |
| Drill | Create holes for joining parts |
| Clamps | Hold pieces together during assembly |
By ensuring you have these tools and materials ready, you’ll be setting yourself up for a successful and enjoyable woodworking experience. So, gather your gear, unleash your creativity, and let the crafting begin!
Q: What type of wood is best for making toy cars?
A: Popular choices include pine for beginners due to its lightweight nature, birch for its durability and fine grain, and maple for a beautiful finish.
Q: Do I need power tools to make wooden toy cars?
A: While hand tools can suffice, power tools can significantly speed up the process and enhance precision, especially for cutting and shaping wood.
Q: How can I ensure my wooden toy car is safe for children?
A: Always sand down any rough edges, use non-toxic paints, and ensure all parts are securely joined to prevent any small pieces from coming loose.
Hand Tools
Hand tools are the backbone of any woodworking project, especially when it comes to crafting delightful wooden toy cars. While power tools can speed up the process, nothing beats the precision and control that hand tools offer. When you're working on a project that requires fine details, having the right hand tools is essential. Imagine trying to carve out intricate designs on a toy car with a bulky power saw; it simply won’t work! That's why understanding the must-have hand tools is crucial for both beginners and seasoned woodworkers.
Let's dive into some of the essential hand tools that will help you bring your wooden toy car to life:
- Chisels: These are perfect for carving out shapes and details. A good set of chisels allows you to create smooth curves and sharp angles, enhancing the overall design of your toy car.
- Hand Saws: While power saws are great, a fine-toothed hand saw can give you the precision needed for cutting smaller pieces. It’s especially useful for making intricate cuts that require a steady hand.
- Files and Rasps: After cutting your wood, you’ll want to smooth the edges. Files and rasps are fantastic for refining shapes and making sure that everything fits together perfectly.
- Clamps: These are essential for holding your pieces together while the glue dries or while you’re working on them. They ensure that everything stays in place, allowing for a more seamless assembly.
Each of these tools plays a unique role in the woodworking process. For instance, chisels allow you to add a personal touch to your toy car, making it truly one-of-a-kind. Hand saws, on the other hand, provide the precision needed for those tricky cuts that can make or break your project. It's like having a toolbox full of magic wands—each one helps you create something special!
Moreover, using hand tools can also be a meditative experience. There’s something incredibly satisfying about manually shaping wood, feeling the grain beneath your fingers, and watching your creation come to life. It’s not just about the end product; it’s about the journey of crafting something with your own hands. So, as you embark on this woodworking adventure, remember to enjoy the process and let your creativity flow!
Saws
When it comes to crafting wooden toy cars, having the right saw is essential for achieving clean cuts and precise shapes. There are several types of saws that can help you navigate through your woodworking project, each serving a unique purpose. Understanding these saws will not only enhance your skills but also make your toy car-building experience more enjoyable.
First up, we have the hand saw, a classic tool that every woodworker should have in their arsenal. Hand saws come in various styles, including crosscut and rip saws, making them versatile for different types of cuts. If you’re looking for something more specialized, a jigsaw is an excellent choice for cutting curves and intricate designs in your toy car. Its ability to maneuver around tight corners makes it perfect for creating unique shapes.
For those who prefer power tools, a circular saw is a game changer. This tool can quickly cut through thicker pieces of wood, saving you time and effort. However, it’s important to use it with caution, as it can be powerful and requires careful handling. Additionally, a scroll saw is fantastic for detailed work; it allows you to make intricate cuts with ease, perfect for those decorative elements you might want to add to your toy car.
Here’s a quick comparison of the different saws you might consider:
| Type of Saw | Best For | Key Features |
|---|---|---|
| Hand Saw | General cutting | Manual operation, versatile styles |
| Jigsaw | Curved cuts | Easy maneuverability, various blade options |
| Circular Saw | Thick wood cutting | Powerful, fast cutting |
| Scroll Saw | Intricate designs | Precision cutting, fine details |
Ultimately, the choice of saw will depend on your specific project needs and your comfort level with each tool. If you’re just starting out, a hand saw and jigsaw might be the best options to get you familiar with the basics of cutting wood. As you gain more experience, you can invest in power tools like the circular and scroll saws to expand your capabilities. Remember, the right saw not only makes the job easier but also enhances the quality of your finished wooden toy car.

Sanders
When it comes to creating a smooth and polished finish on your wooden toy cars, are your best friends. These tools come in various shapes and sizes, each designed to tackle specific tasks in the sanding process. Whether you're a novice or a seasoned woodworker, understanding the different types of sanders available can significantly enhance the quality of your project.
The most common types of sanders you'll encounter include:
- Orbital Sanders: Perfect for general-purpose sanding, orbital sanders are versatile and easy to handle. They move in a random orbit pattern, which minimizes the risk of leaving swirl marks on your wood surface. This makes them ideal for achieving a smooth finish on your toy cars.
- Belt Sanders: If you have larger areas to sand down or need to remove a lot of material quickly, belt sanders are the go-to choice. They use a continuous loop of sandpaper to efficiently smooth rough surfaces, but caution is advised as they can easily remove too much material if not handled properly.
- Detail Sanders: For those tricky spots that require precision, detail sanders come to the rescue. Their compact design allows you to reach into corners and tight spaces, ensuring every part of your toy car is sanded to perfection.
In addition to these types, it's essential to consider the grit of sandpaper you will be using. Sandpaper comes in various grits, ranging from coarse to fine. Starting with a coarser grit (like 80 or 120) can help you remove imperfections, while finishing with a finer grit (like 220 or higher) will give your toy car that professional, smooth feel. Remember, the key to a great finish is patience; take your time and sand gradually.
Moreover, while sanding, always ensure you are working in a well-ventilated area and wearing appropriate protective gear, such as a dust mask and goggles. This not only protects your lungs and eyes from fine dust particles but also helps you focus on achieving the best results without distractions.
Ultimately, investing in a good quality sander will pay off in the quality of your finished product. With the right tools and techniques, your wooden toy car can be transformed from a simple block of wood into a stunning piece that is not only fun to play with but also a joy to behold. So, gear up, grab your sander, and let the magic of woodworking unfold!
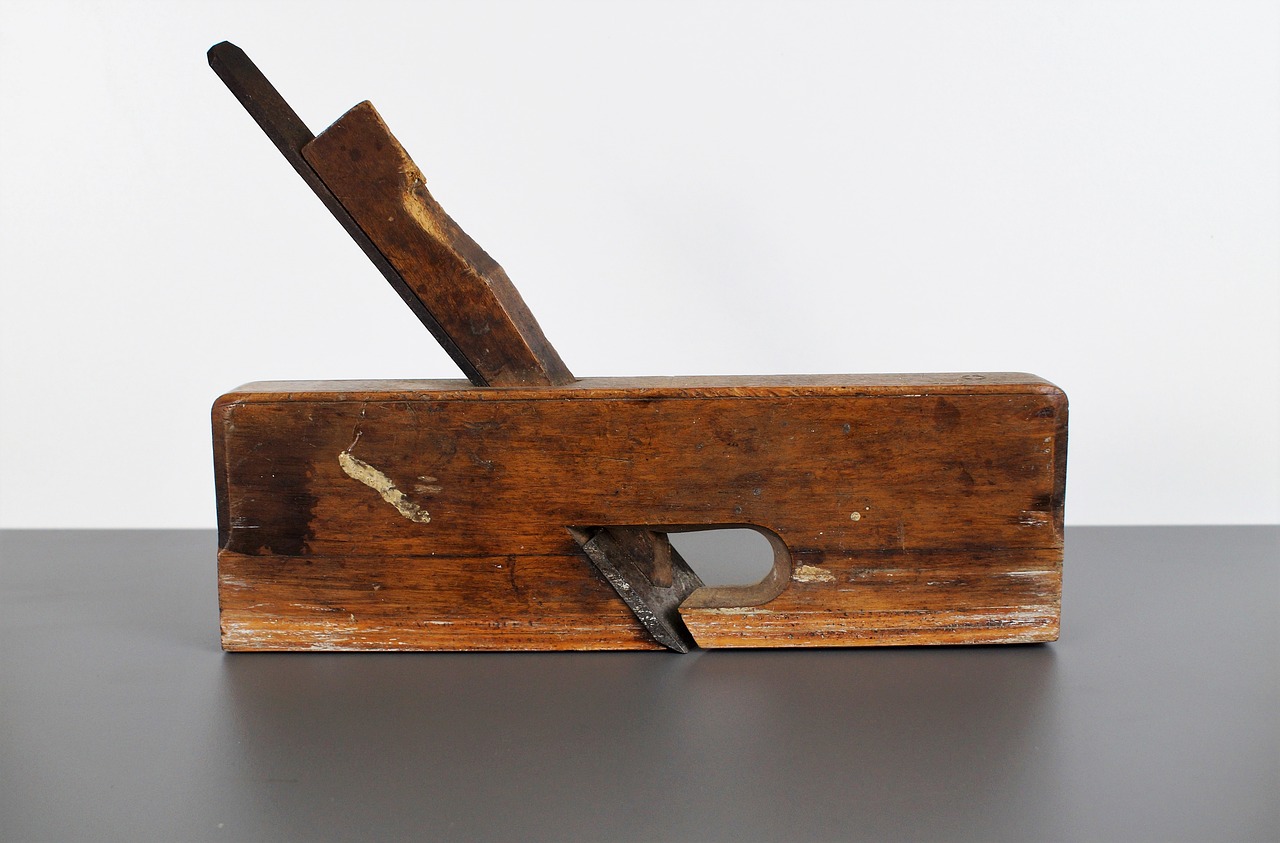
Power Tools
When it comes to woodworking, power tools can be your best friends, transforming a labor-intensive project into a smooth and enjoyable experience. Imagine having the ability to cut, shape, and finish wood with just a push of a button! Power tools not only save time but also enhance precision, allowing you to focus more on your creativity and less on the grunt work. If you're diving into the world of making wooden toy cars, here are some essential power tools you should consider adding to your toolkit.
First on the list is the jigsaw. This versatile tool is perfect for making intricate cuts and curves, which is particularly useful when crafting the body of your toy car. With a jigsaw, you can easily navigate around tight corners, giving your car a unique shape that stands out. Next, consider investing in a drill. Not only does it help in making holes for dowels and screws, but it can also be used with sanding attachments to smooth out edges. A drill is like the Swiss Army knife of woodworking—it's indispensable!
Another fantastic tool to have is a router. This tool allows you to create decorative edges and grooves, adding a professional touch to your toy car. Think of it as the artist's brush, giving you the ability to add flair and personality to your project. Lastly, a sander is crucial for achieving that smooth, polished finish. Whether you choose a palm sander for smaller areas or a belt sander for larger surfaces, sanding is a step you won't want to skip. Remember, a well-sanded surface not only looks better but also feels better, making it safer for little hands to play with.
In summary, power tools can dramatically enhance your woodworking experience. Each tool serves a unique purpose, and together they create a well-rounded arsenal for crafting your wooden toy cars. So, whether you're a beginner or a seasoned woodworker, investing in these power tools will surely elevate your projects to new heights!
- What is the best wood for making toy cars?
The best woods for making toy cars are typically hardwoods like maple, oak, or birch due to their durability and resistance to wear.
- Do I need to use power tools for this project?
While power tools can speed up the process and improve precision, hand tools can also be used effectively, especially for beginners.
- How can I ensure my toy car is safe for children?
Make sure to sand all edges smoothly, use non-toxic finishes, and avoid small parts that can be choking hazards.
- Can I customize my toy car's design?
Absolutely! Custom designs can be achieved through sketching, painting, and adding decorative elements to make the car uniquely yours.
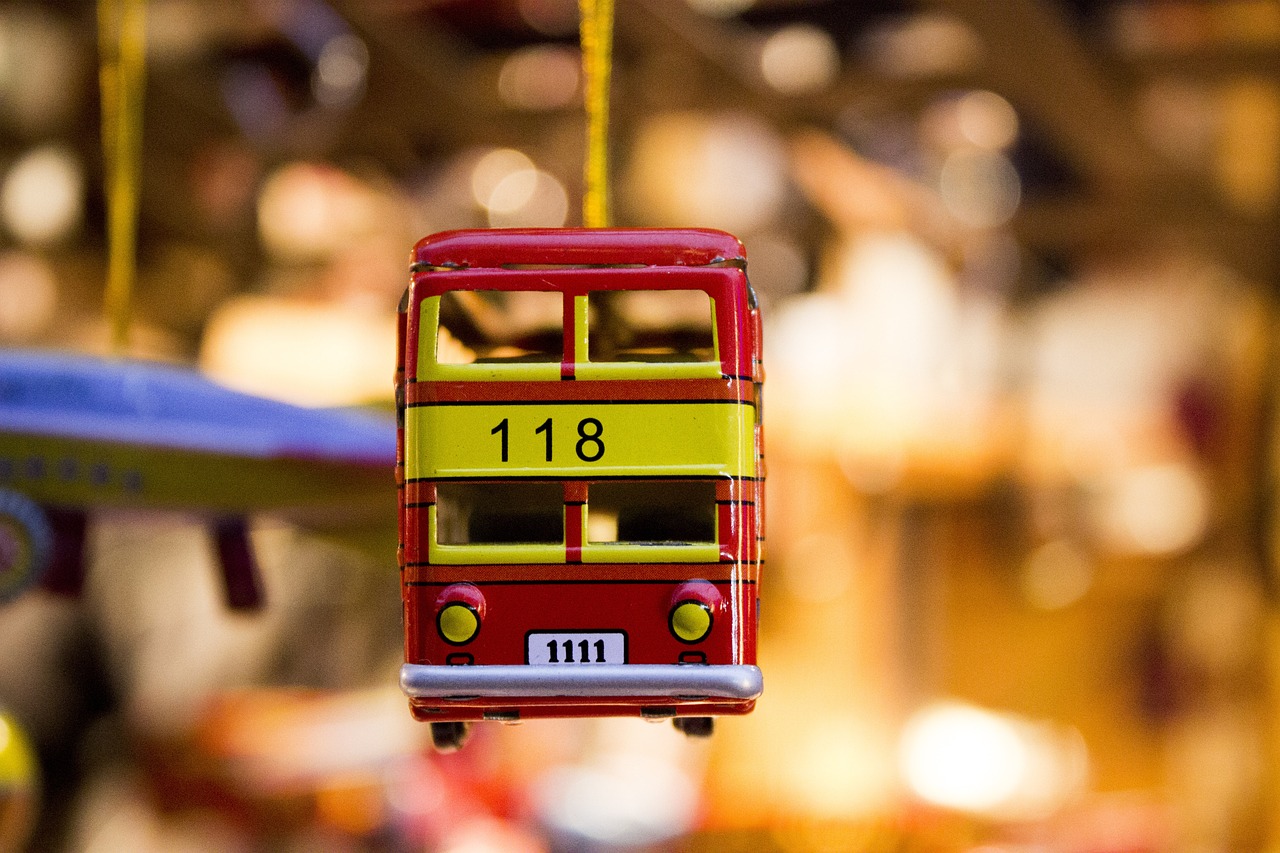
Designing Your Toy Car
Designing your wooden toy car is not just about making something that rolls; it's about unleashing your creativity and having a blast in the process! Before you dive into cutting wood, take a moment to visualize what you want your car to look like. Imagine the curves, the colors, and even the little details that will make your toy car unique. A well-thought-out design can significantly enhance both the creativity and functionality of your project.
One effective way to start is by sketching your ideas on paper. Grab a pencil and let your imagination run wild! Consider different shapes and sizes, and don't be afraid to think outside the box. Will your car be sleek and aerodynamic, or chunky and fun? Sketching allows you to explore various designs without committing to any one idea right away. Plus, it’s a fun way to brainstorm!
As you're sketching, think about the colors and finishes you want to use. The right colors can bring your toy car to life! You might choose bright, playful colors for a child’s toy, or go for a more natural wood finish for a classic look. When selecting your paint and finishes, consider the following:
- Non-toxic Paints: Always opt for paints that are safe for children.
- Variety of Finishes: You can choose from matte, glossy, or even textured finishes to give your car a unique touch.
- Application Techniques: Brush painting, spray painting, or even using sponges can create different effects.
Once you have a sketch and a color scheme in mind, it's time to refine your design. Think about the functionality of your toy car. Will it have moving parts, like wheels that spin or doors that open? These features can add an extra layer of fun and engagement for kids. Furthermore, consider the size of your car. It should be easy to handle and play with, so keep proportions in mind!
Lastly, don’t forget to include any special features that can make your toy car stand out. Maybe you want to add a little driver figure, or perhaps some decals to give it a personalized look. The sky's the limit when it comes to creativity, and your toy car can become a canvas for your artistic expression!
Q: What materials do I need to design my toy car?
A: You will need sketch paper, pencils, erasers, and possibly some reference images for inspiration. Once you finalize your design, you'll also need wood, paint, and finishing materials.
Q: Can I modify the design later?
A: Absolutely! Woodworking is flexible, and you can always adjust your design as you go. Just be sure to plan carefully to avoid wasting materials.
Q: What if I’m not good at drawing?
A: No worries! Your sketches don’t have to be perfect. The goal is to convey your ideas visually. Even rough sketches can serve as a guide for your project.

Sketching Ideas
When it comes to creating your wooden toy car, is an essential first step that allows your imagination to run wild. Think of it as laying the foundation for a beautiful building; without a solid base, everything else might crumble. Grab a pencil and some paper, and let’s dive into the exciting world of design! Start by brainstorming different shapes and styles you might want your toy car to have. Do you envision a classic race car, a sleek sports model, or perhaps a whimsical vehicle that sparks joy? The options are endless!
Don’t worry about making your sketches perfect at this stage. The goal here is to capture your thoughts and explore various concepts. Consider different elements like the size of the wheels, the shape of the body, and any unique features you might want to include. You can even create a few quick thumbnails—small, rough sketches that help you visualize the overall design without getting bogged down in details. As you sketch, think about the following:
- Proportions: How do the dimensions of the car's body relate to the size of the wheels?
- Functionality: Will your design allow for smooth movement? How will the wheels attach?
- Creativity: What unique features can you add to make your car stand out? Perhaps a cool spoiler or a funky paint job?
Once you have a few sketches, take a step back and evaluate them. Which designs resonate with you the most? Which ones seem practical for your woodworking skills? You might even want to combine elements from different sketches to create a hybrid design that captures the best of both worlds. Remember, this is your project, so let your creativity shine!
After finalizing your design, consider creating a more detailed drawing. This can include measurements and specific notes on how you plan to cut and assemble each piece. A well-thought-out plan can save you time and frustration down the line, making the assembly process smoother and more enjoyable.
In conclusion, sketching is not just about making pretty pictures; it’s about visualizing your ideas and setting the stage for a successful woodworking project. So, grab those pencils, unleash your creativity, and let the journey of crafting your wooden toy car begin!

Choosing Colors and Finishes
When it comes to bringing your wooden toy car to life, choosing the right colors and finishes is essential. The colors you select can evoke emotions, spark imagination, and even influence playtime scenarios. Imagine a bright red race car zooming through a child's mind or a classic blue vintage car that takes them on adventures through time! The finish you apply not only enhances the aesthetic appeal but also protects the wood from wear and tear.
First, consider the type of paint you want to use. There are several options available, each with its unique qualities:
- Acrylic Paint: Quick-drying and non-toxic, making it a popular choice for children’s toys.
- Watercolor Paint: Ideal for a softer look, but may not be as durable.
- Spray Paint: Provides a smooth, even coat but requires careful application and ventilation.
Once you've picked your paint, think about the finishing touches. A good finish can protect your toy car from scratches and moisture. Here are a few options:
- Clear Varnish: Offers a glossy finish that highlights the wood grain.
- Matte Finish: Gives a more natural look and feel to the toy.
- Oil Finish: Penetrates the wood, enhancing its durability and beauty.
Before applying paint or finish, always remember to prepare your surface. Sand the wood to a smooth finish, removing any rough edges or splinters. This step is crucial because it allows the paint to adhere better and results in a more professional appearance. After sanding, wipe the surface with a damp cloth to remove dust and debris.
When painting, consider layering your colors. Start with a base coat and allow it to dry completely before adding additional colors or designs. This technique can create depth and make your toy car visually striking. For those who want to add a personal touch, consider using stencils or decals to incorporate unique designs or patterns.
In summary, choosing the right colors and finishes for your wooden toy car can transform it from a simple craft project into a cherished keepsake. The right choices not only enhance the visual appeal but also ensure that your toy car remains a source of joy and creativity for years to come!
Q: What type of paint is safe for children's toys?
A: Acrylic paint is a great option as it is non-toxic and quick-drying, making it safe for children.
Q: How can I ensure my finish is durable?
A: Using a clear varnish or oil finish can help protect the wood and enhance its durability. Make sure to follow the manufacturer's instructions for the best results.
Q: Can I mix different types of paint?
A: It is generally not recommended to mix different types of paint, as they may not adhere properly. Stick to one type for the best outcome.
Q: How do I clean my painted toy car?
A: For cleaning, use a damp cloth and mild soap. Avoid soaking the toy or using harsh chemicals that could damage the paint or finish.

Step-by-Step Assembly
Assembling your wooden toy car is where the magic truly happens! This part of the project is not just about putting pieces together; it's about bringing your creative vision to life. It can be incredibly rewarding to see your hard work transform into a playful masterpiece. To ensure a smooth assembly process, follow these detailed steps that will guide you through cutting, shaping, and joining your wooden parts effectively.
The first step in the assembly process involves cutting and shaping the wooden parts. Before you dive in, make sure you have all your materials ready and your workspace organized. Start by laying out your design and measuring the dimensions of each part. Using a saw, carefully cut the wood according to your measurements. Precision is key here, as each piece needs to fit snugly with the others. If you’re using a jigsaw or scroll saw, take your time and follow the lines closely. Remember, patience pays off!
Once you have all your pieces cut, it's time to shape them. This is where your creativity can shine! You might want to round the edges or create unique contours that will make your toy car stand out. A sander is your best friend here; it will help you achieve that smooth finish that’s not only visually appealing but also safe for little hands. After sanding, take a moment to inspect each piece. If you notice any rough spots, don’t hesitate to sand them down further. It’s all about the details!
Next comes one of the most critical parts of assembly: joining the pieces together. There are several techniques you can use, depending on your design and the materials at hand. Here are a few popular joining methods:
- Gluing: Wood glue is a fantastic option for a strong bond. Apply a generous amount to the edges of the pieces you want to join, press them together, and clamp them until the glue dries.
- Dowel Joints: For added strength, consider using dowels. Drill holes into the edges of the pieces and insert dowels to hold them together securely.
- Screws: If you want a more robust assembly, screws can provide extra stability. Just be sure to pre-drill holes to prevent the wood from splitting.
As you join your pieces, keep an eye on alignment. It’s important that everything fits together well, as misaligned parts can affect the functionality and appearance of your toy car. Take your time during this stage; a well-assembled car will be more durable and enjoyable to play with.
After you’ve joined all the parts, let everything dry completely before moving on to the next steps. This is crucial for ensuring that your toy car is sturdy and ready for some serious playtime! Once the glue has dried or the screws are secured, you can give your car a final sanding to smooth out any rough edges from the assembly process.
In conclusion, the assembly stage is where your wooden toy car truly begins to take shape. By carefully cutting, shaping, and joining each piece, you’re not just creating a toy; you’re crafting a unique piece of art that can spark joy and imagination in children. So roll up your sleeves, grab your tools, and let the assembly adventure begin!
Q: What type of wood is best for making toy cars?
A: Softwoods like pine or cedar are great for beginners due to their ease of cutting and shaping. Hardwoods like maple or birch offer durability but can be more challenging to work with.
Q: Do I need special tools to assemble a wooden toy car?
A: While basic hand tools like saws and sanders are essential, having some power tools can make the process easier and faster. However, you can certainly create a beautiful toy car with just hand tools!
Q: How can I ensure my toy car is safe for children?
A: Always sand down sharp edges and use non-toxic paints and finishes. Additionally, ensure that all parts are securely joined to prevent any pieces from coming loose during play.
Q: Can I personalize my wooden toy car?
A: Absolutely! You can paint it in your favorite colors, add decals, or even carve designs into the wood to make it uniquely yours.
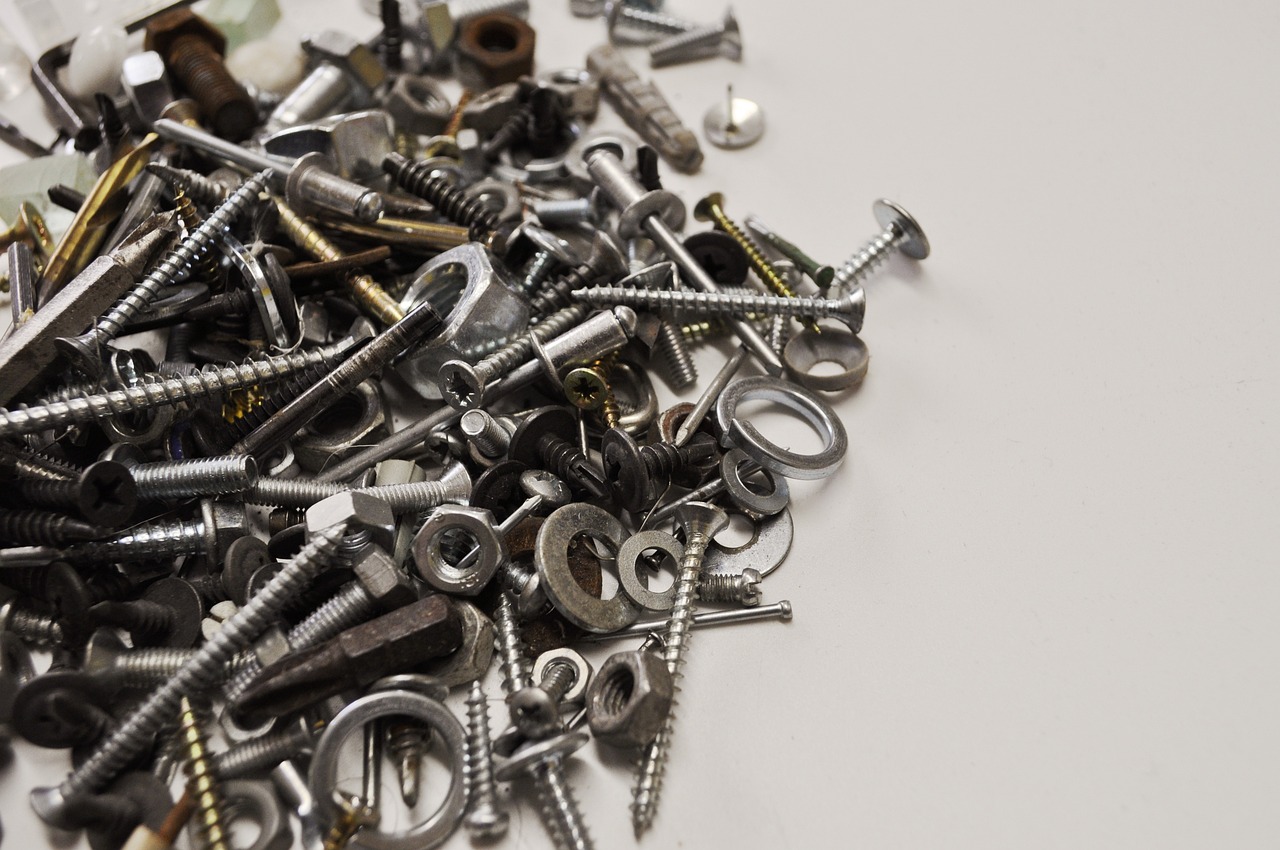
Cutting and Shaping Parts
When it comes to creating wooden toy cars, the first step is cutting and shaping the wooden parts. This is where your vision starts to take form, and it can be both exciting and a bit daunting. To achieve a well-structured toy car, you need to focus on precision and technique. Begin by selecting your wood pieces based on your design. Remember, the type of wood you choose can affect the overall look and feel of your finished product. For instance, softer woods like pine are easier to work with, while hardwoods like oak offer durability but can be more challenging to cut.
Before you start cutting, it’s essential to measure and mark your wood accurately. A good rule of thumb is to double-check your measurements. A small mistake can lead to mismatched parts that won't fit together properly. Use a square to ensure your lines are straight, and don't hesitate to use a pencil for marking; it can easily be erased or sanded away later. Once your wood is marked, it’s time to cut! Depending on the complexity of your design, you may need a variety of saws. Here’s a quick overview of some common saws and their uses:
| Type of Saw | Use |
|---|---|
| Hand Saw | Best for straight cuts in smaller pieces of wood. |
| Jigsaw | Great for intricate shapes and curves. |
| Band Saw | Ideal for cutting thicker pieces and more complex designs. |
After cutting, the next step is shaping the parts. This is where you can really get creative! Use a variety of tools to achieve the desired contours and details. A chisel can help refine edges, while a rasp or file can smooth out rough spots. Sanding is also crucial at this stage; it not only prepares the surface for painting but also ensures that there are no sharp edges that could hurt little hands. Start with a coarser grit sandpaper to remove any major imperfections, and then switch to a finer grit for a smooth finish. Don’t forget to sand the edges of the wheels and body of the car to give them a polished look.
As you shape the parts, keep your design in mind. Each curve, cut, and angle should enhance the overall aesthetics and functionality of your toy car. If you find that a piece isn’t fitting as intended, take a moment to reassess your cuts and make adjustments. Remember, woodworking is as much about patience as it is about skill. Enjoy the process, and don’t rush it; the more care you take during this stage, the more rewarding the final product will be.
- What type of wood is best for making toy cars? Softwoods like pine are great for beginners, while hardwoods like maple offer durability.
- Do I need special tools to cut wood? Basic hand tools like a saw and chisel will suffice, but power tools can make the process easier.
- How can I ensure my cuts are straight? Use a square and measure twice before cutting to minimize errors.
- What should I do if my parts don’t fit together? Reassess your measurements and make adjustments as needed; sanding can also help refine the fit.

Joining Techniques
When it comes to creating a sturdy wooden toy car, the you choose can make all the difference. It's not just about sticking pieces together; it's about ensuring your creation can withstand the rough and tumble of playtime. There are several methods to consider, each with its own advantages, and understanding these will help you make the best choice for your project.
One of the most common techniques is gluing. Using a high-quality wood glue creates a strong bond that can last for years. It’s essential to apply the glue evenly and clamp the pieces together until it dries to achieve the best results. Remember, patience is key here; allowing the glue to cure completely will enhance the strength of the joint.
Another effective method is using dowels. This technique involves drilling holes into both pieces of wood and inserting wooden dowels to align and secure them. Doweling provides excellent strength and stability, making it ideal for parts that will endure significant stress. If you’re looking for a clean and professional look, dowels are a fantastic option.
For those who prefer a mechanical approach, screws can be used to join pieces together. This method is particularly useful for areas that might need disassembly in the future. When using screws, it’s vital to pre-drill holes to prevent the wood from splitting. Additionally, consider using countersink screws, which will allow the screw heads to sit flush with the wood surface, enhancing the car's aesthetic appeal.
In some cases, a combination of these techniques may be the best solution. For example, you could use glue for initial bonding and then reinforce the joint with screws or dowels for added durability. This hybrid approach not only ensures strength but also offers flexibility in your design.
Ultimately, the choice of joining technique will depend on the specific design of your toy car, the materials you’re using, and your personal preference. Take some time to experiment with these methods on scrap wood before committing to your final project. Remember, the goal is to create a toy that is not only fun to play with but also safe and durable for years to come.
- What is the best glue for woodworking? A high-quality PVA wood glue is generally recommended for its strong bond and ease of use.
- Can I use screws without glue? Yes, but using both screws and glue together will provide a more durable joint.
- What are dowels used for? Dowels are used to create strong, aligned joints by inserting them into drilled holes in the wood.
- How do I prevent wood from splitting when using screws? Pre-drilling holes for screws will help prevent the wood from splitting.
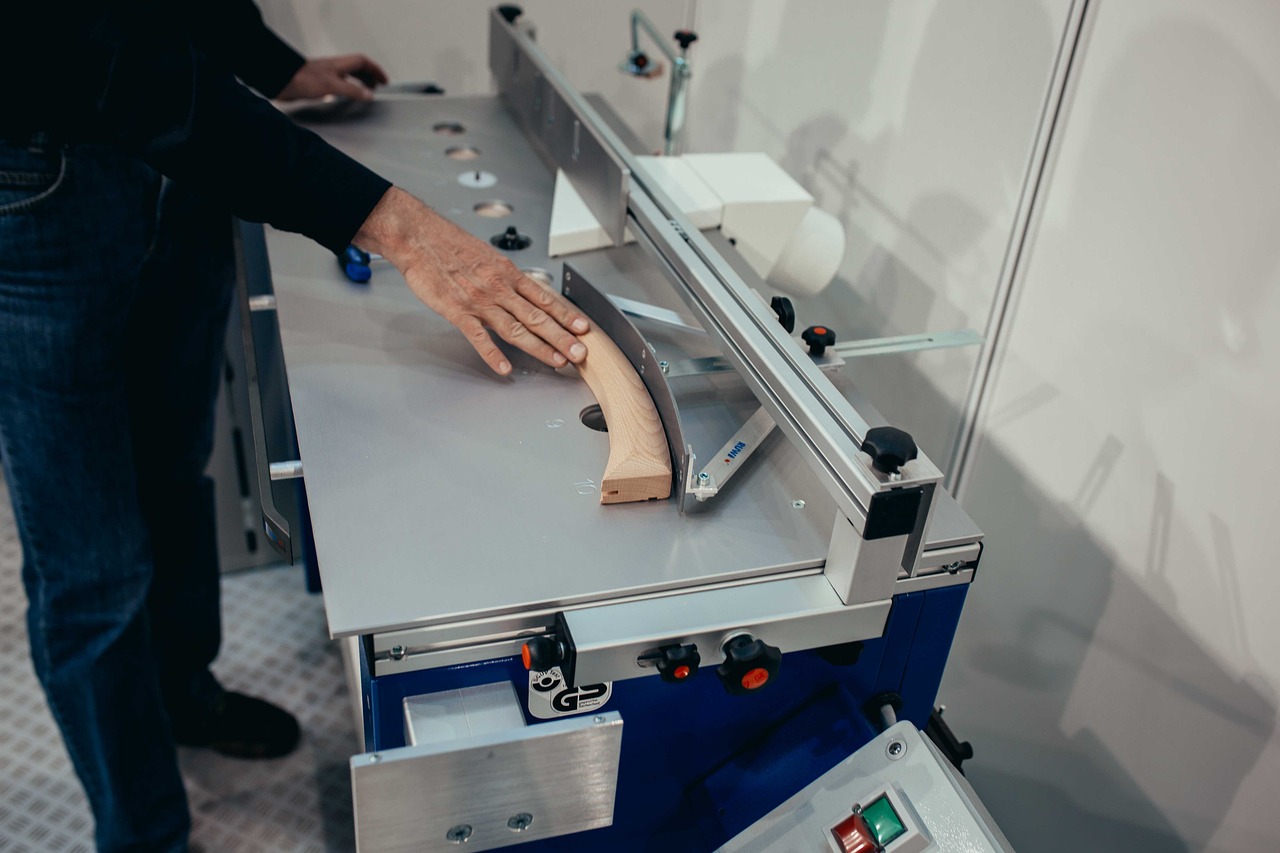
Safety Tips for Woodworking
When diving into the world of woodworking, especially when crafting something as delightful as wooden toy cars, safety should always be at the forefront of your mind. It's easy to get caught up in the excitement of creating, but taking a few precautions can prevent accidents and ensure a smooth woodworking experience. First and foremost, always wear the right protective gear. This includes safety goggles to shield your eyes from flying debris, ear protection to guard against the loud noises of power tools, and a dust mask to keep harmful particles out of your lungs. Think of these items as your armor; they protect you from the potential hazards lurking in your workshop.
Additionally, maintaining a clean and organized workspace is crucial. A cluttered area can lead to accidents, so make it a habit to keep your tools neatly arranged and materials stored properly. Consider using a pegboard for tool organization or labeled bins for wood pieces. This not only enhances safety but also boosts your efficiency. Imagine trying to find a tool in a chaotic environment; it’s like searching for a needle in a haystack! By cultivating a tidy workspace, you’ll minimize distractions and potential mishaps.
Another vital aspect of woodworking safety is understanding your tools. Each tool has specific uses and safety precautions. For instance, table saws and routers can be incredibly powerful, but they can also be dangerous if not used correctly. Always read the manufacturer's instructions and familiarize yourself with the functions of your tools before using them. If you're unsure about a particular tool, don't hesitate to ask for guidance from more experienced woodworkers or consult online resources. Knowledge is your best defense against accidents.
Moreover, it’s essential to be mindful of your surroundings while you work. Ensure that your workspace is well-lit and that there are no tripping hazards, like loose cords or scattered tools. If you’re working with a partner, communicate clearly to avoid any unexpected surprises. Think of it like a dance; both partners need to be in sync to avoid stepping on each other's toes! This teamwork can enhance not only safety but also the overall enjoyment of the woodworking process.
Finally, remember to take breaks and stay focused. Fatigue can lead to careless mistakes, so if you find yourself feeling tired or distracted, step away for a moment. A quick break can help you recharge and return to your project with a fresh perspective. After all, woodworking should be a fun and enjoyable experience, not a race. By following these safety tips, you can ensure that your journey into woodworking is both productive and enjoyable.
- What protective gear should I wear while woodworking? It's crucial to wear safety goggles, ear protection, and a dust mask to safeguard against debris, noise, and harmful particles.
- How can I maintain a safe workspace? Keep your area clean and organized, ensure good lighting, and remove any tripping hazards to prevent accidents.
- What should I do if I'm unsure about using a tool? Always read the manufacturer's instructions and seek advice from experienced woodworkers or reliable online resources.
- Is it important to take breaks while woodworking? Yes! Taking breaks helps prevent fatigue and keeps you focused, reducing the risk of accidents.
Protective Gear
When diving into the world of woodworking, especially when crafting something as delightful as wooden toy cars, safety should always be at the forefront of your mind. The tools and materials you’ll be working with can pose risks, so it’s essential to equip yourself with the right . Think of it as your personal suit of armor against potential hazards. Here’s a breakdown of the essential gear you should consider:
- Safety Glasses: Protect your eyes from sawdust, splinters, and debris. It’s easy to overlook eye safety, but a moment of carelessness can lead to serious injuries.
- Dust Mask: Woodworking can generate a lot of fine dust that can irritate your lungs. A good dust mask or respirator will help you breathe easier while you work.
- Hearing Protection: If you’re using power tools, the noise can be quite loud. Invest in earplugs or earmuffs to protect your hearing.
- Gloves: While gloves can sometimes be a hindrance, they are essential for protecting your hands from splinters and cuts when handling rough wood. Just be cautious around rotating tools!
- Apron: A sturdy woodworking apron can protect your clothes and keep your tools handy. Plus, it adds a touch of professionalism to your workshop attire!
Wearing the right protective gear not only keeps you safe but also allows you to focus on your project without unnecessary distractions. It’s like wearing a seatbelt in a car; it’s a small step that can make a huge difference in your safety. Always remember to check your gear before starting your project. If something is worn out or damaged, replace it. Safety should never be compromised!
Lastly, it’s important to create a habit of wearing your protective gear every time you step into your workshop. Just like brushing your teeth in the morning, it should become second nature. By prioritizing safety, you’ll enjoy your woodworking experience even more, knowing you’re taking the necessary precautions to protect yourself while creating beautiful wooden toys.
Q: What protective gear is absolutely necessary for woodworking?
A: At a minimum, you should wear safety glasses, a dust mask, and hearing protection. Gloves and an apron are also highly recommended for added safety and convenience.
Q: Can I use regular gloves for woodworking?
A: While regular gloves can protect against splinters, they may not offer the best grip or dexterity. It’s better to use gloves specifically designed for woodworking.
Q: How often should I replace my protective gear?
A: Inspect your gear regularly. If you notice any signs of wear, such as cracks in safety glasses or tears in gloves, it’s time to replace them to ensure maximum protection.
Workspace Safety
When it comes to woodworking, is paramount. Creating a safe environment not only protects you from injuries but also enhances your overall productivity. Imagine trying to focus on crafting a beautiful wooden toy car while constantly worrying about tripping over tools or inhaling sawdust. To avoid this, start by organizing your workspace effectively. Ensure that all tools are stored in designated areas, making them easy to access but also keeping them out of the way when not in use. This not only minimizes clutter but also reduces the risk of accidents.
Furthermore, it's essential to maintain a clean workspace. Regularly sweep up sawdust and wood shavings, as these can create slippery surfaces. You might also consider using a vacuum or dust collection system to keep your area tidy. Additionally, always check your lighting; a well-lit workspace can significantly reduce the likelihood of errors and accidents. Think of your workspace as a canvas—if it's messy and dim, your masterpiece won't shine.
Another critical aspect of workspace safety is ensuring that your tools are in good condition. Regularly inspect your power tools and hand tools for any signs of wear or damage. A dull blade, for instance, can lead to slips and accidents, while a frayed power cord can pose a serious electrical hazard. Always replace or repair tools that are not functioning properly. You wouldn't drive a car with a flat tire, right? The same logic applies to your woodworking tools.
Moreover, be mindful of your posture and movements while working. Use ergonomic practices to avoid strain injuries. For instance, when lifting heavy pieces of wood, bend your knees and keep your back straight. This simple adjustment can save you from long-term pain. Also, consider using anti-fatigue mats if you stand for extended periods; they can make a world of difference in comfort.
Finally, don't forget about the importance of having a first aid kit readily available. Accidents can happen, even in the safest environments. Having a well-stocked first aid kit can help you address minor injuries quickly, allowing you to continue your project without significant interruptions. Remember, safety is not just a set of rules; it's a mindset. By prioritizing safety in your workspace, you're setting yourself up for a successful and enjoyable woodworking experience.
- What are the essential safety gear items I should wear while woodworking? A good pair of safety goggles, ear protection, and a dust mask are crucial. Additionally, consider wearing gloves and a sturdy pair of shoes to protect your hands and feet.
- How can I prevent dust accumulation in my workspace? Regularly clean your area and consider investing in a dust collection system or a shop vacuum to keep dust levels manageable.
- What should I do if I have a woodworking injury? For minor injuries, clean the wound and apply a bandage. For severe injuries, seek medical attention immediately.

Finishing Touches
Once you've meticulously crafted your wooden toy car, it's time to add those that will make it truly shine! The finishing process is where your creativity can really take flight, transforming a simple wooden structure into a vibrant, eye-catching toy. This stage not only enhances the aesthetic appeal of your car but also protects it from wear and tear, ensuring it lasts for years of imaginative play.
First and foremost, sanding is an essential step in achieving a smooth and polished finish. After assembling your car, you should go over all surfaces with sandpaper, starting with a coarser grit and gradually moving to a finer grit. This technique will help eliminate any rough edges and splinters, making the car safer for little hands. Remember, a well-sanded surface is the perfect canvas for paint and finishes!
Speaking of paint, choosing the right colors can really bring your toy car to life. You might want to consider using non-toxic paints, especially if the toy is intended for young children. Water-based acrylic paints are a great option as they are easy to apply and clean up. When applying paint, use a foam brush or a fine paintbrush to get into all the nooks and crannies. A few light coats are better than one heavy coat, as this helps prevent drips and uneven coverage.
After painting, you might want to add a protective finish. Clear sealants, such as polyurethane or varnish, can provide a durable layer of protection against scratches and moisture. Just be sure to let the paint dry completely before applying any sealant. This will ensure that you don't disturb your beautiful paint job. Apply the sealant in thin layers, allowing each coat to dry thoroughly before adding the next.
To further personalize your toy car, consider adding decorative elements. This could include decals, stickers, or even hand-painted designs that reflect your child's interests. You could also use small accessories like tiny headlights or racing stripes to make the car stand out. The goal here is to let your imagination run wild and create a unique piece that resonates with the little one who will be playing with it.
Finally, don't forget about the wheels. Ensure that they are securely attached and can spin freely. You might want to give them a coat of paint or a shiny finish to make them pop. If you're feeling extra creative, you could even add some unique designs or colors to the wheels to match the rest of the car!
In summary, the finishing touches are what elevate your wooden toy car from ordinary to extraordinary. By carefully sanding, painting, sealing, and personalizing your car, you'll create a beautiful, durable toy that will spark joy and creativity in playtime. So grab your tools, unleash your creativity, and enjoy the process of bringing your wooden toy car to life!
- What type of paint is safe for children's toys?
Non-toxic, water-based acrylic paints are generally the safest choice for children's toys. - How can I ensure my toy car is safe for young children?
Sand all edges thoroughly, use non-toxic finishes, and avoid small parts that can pose choking hazards. - What is the best way to clean my wooden toy car?
Use a damp cloth to wipe it down, and avoid soaking it in water to prevent damage to the wood.

Applying Paint
Applying paint to your wooden toy car is where the magic truly happens! It’s not just about slapping on some color; it’s about transforming that raw wood into a vibrant masterpiece that sparks joy and imagination. First things first, you want to choose the right type of paint. Acrylic paints are a fantastic choice for toy cars because they are non-toxic, quick-drying, and come in a dazzling array of colors. But remember, preparation is key! Before you even open that paint can, make sure your wooden surface is smooth and free of dust. A quick sanding with fine-grit sandpaper will help the paint adhere better and give you a polished finish.
Once your surface is prepped, it's time to get creative! You might want to use a brush for detailed work, but a spray paint can help you cover larger areas quickly and evenly. If you opt for spray paint, hold the can about 12 inches away from the surface to avoid drips and runs. Here’s a little tip: apply several thin coats instead of one thick coat. This technique not only prevents drips but also ensures a more even color distribution. After each coat, allow the paint to dry completely before applying the next one. This patience will pay off in the end!
After your final coat has dried, it’s time to add those special touches that will make your toy car uniquely yours. You can use paint pens or fine brushes to add details like racing stripes, polka dots, or even your child’s name. If you’re feeling adventurous, consider using stencils for more intricate designs. Just remember to secure the stencil firmly to avoid any paint bleed. Once you’re satisfied with your design, a clear coat of sealant can protect your artwork and give it a glossy finish, making those colors pop even more!
In conclusion, painting your wooden toy car is not just a step in the process; it’s an opportunity to express creativity and personal style. So roll up your sleeves, unleash your imagination, and let your toy car reflect the fun and joy it’s meant to bring!
- What type of paint is best for wooden toy cars? Acrylic paints are recommended because they are non-toxic and provide vibrant colors.
- How can I prevent paint from dripping? Apply several thin coats of paint instead of one thick coat and ensure you hold the spray can at the proper distance.
- Do I need to seal the paint? Yes, applying a clear coat sealant can protect your paint job and enhance the finish.
- Can I use regular spray paint? It's best to use non-toxic spray paint, especially for toys intended for children.

Adding Decorative Elements
When it comes to crafting wooden toy cars, the fun doesn't stop at just assembling the pieces. In fact, one of the most exciting parts of the process is adding decorative elements that can truly make your creation stand out. Think of it as the cherry on top of a delicious sundae; it elevates the whole experience! So, what are some ways you can personalize your toy car and give it that unique flair? Let's dive in!
First off, consider using paint to add vibrant colors to your toy car. Whether you want a classic red race car or a whimsical blue pickup, the choice is yours! But don’t just slap on any color; think about your design theme. For instance, if your car has a retro vibe, muted colors might be more appropriate. You can also use stencils to create patterns or shapes, adding a professional touch. Just make sure to use non-toxic paints, especially if kids will be playing with the car!
Another fantastic way to personalize your wooden toy car is by adding decals. These can be anything from racing numbers to fun stickers featuring cartoon characters. You can either buy pre-made decals or create your own using printable sticker paper. This not only allows for creativity but also gives your car a custom look that can reflect the personality of its owner. Just imagine a toy car adorned with stickers of your favorite superhero or a funky design that makes it truly one-of-a-kind!
Furthermore, think about incorporating natural elements into your design. For example, you can use small pebbles or twigs to create a rustic feel. These elements can serve as wheels or decorative features, making your toy car not only visually appealing but also a conversation starter. If you want to go a step further, you could even add a tiny flag made from fabric or paper, giving your car a playful touch that sparks the imagination.
Don’t forget about the finishing touches! Once you’ve painted and decorated your car, consider adding a coat of non-toxic sealant to protect your artwork. This will not only preserve the colors but also make your toy car more durable for playtime adventures. After all, you want your creation to last through countless races and imaginative journeys!
In the end, adding decorative elements is all about expressing creativity and making your wooden toy car a reflection of your style. Whether you choose to paint, use decals, or incorporate natural materials, the possibilities are endless. So grab your tools, unleash your imagination, and let your wooden toy car become a masterpiece!
- What type of paint is best for wooden toy cars? Non-toxic acrylic paints are ideal as they are safe for children and provide vibrant colors.
- Can I use regular stickers for decoration? Yes, but ensure they are made from non-toxic materials if the car will be used by young children.
- How can I seal the paint on my toy car? A non-toxic clear sealant can be applied after the paint dries to protect your design.
- What if I want to change the design later? You can easily sand down the paint and start fresh, allowing for endless customization!
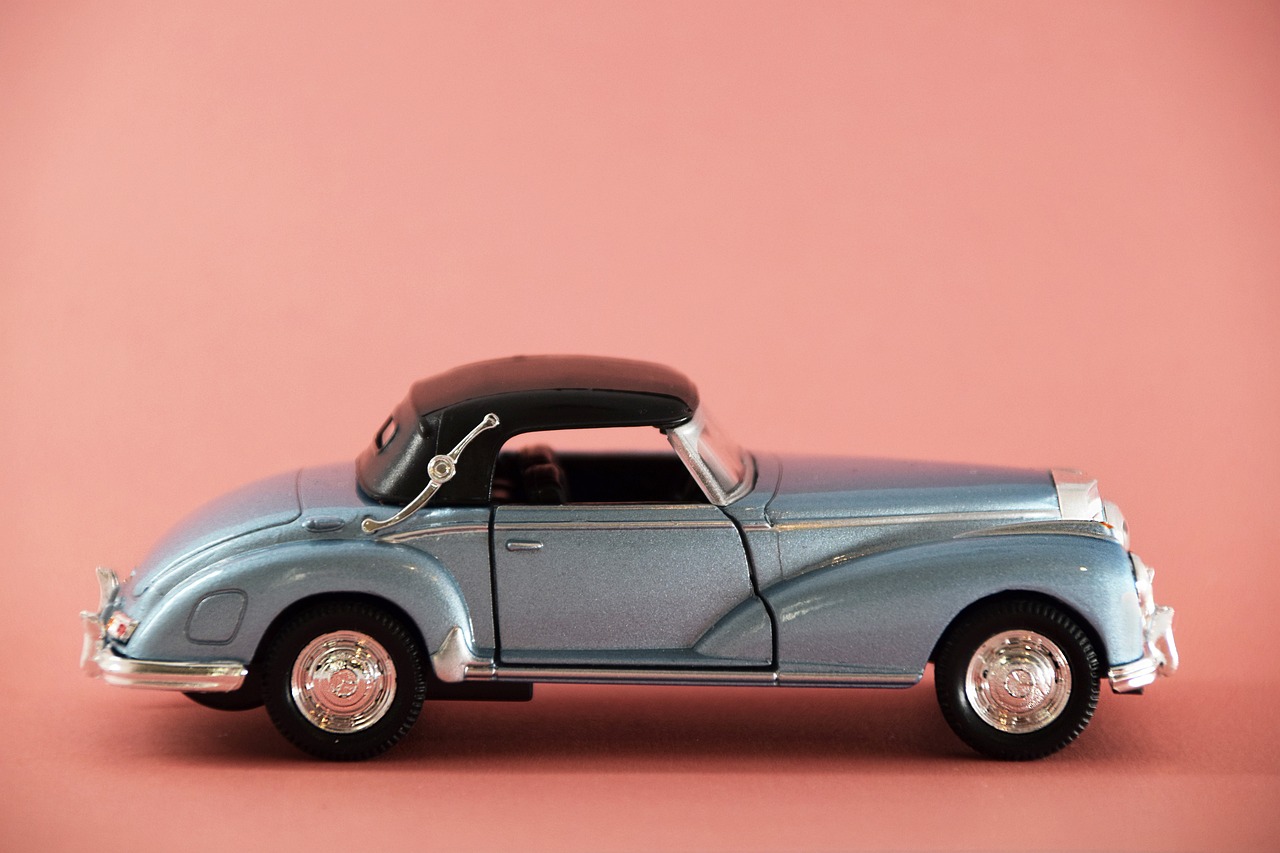
Playing and Caring for Your Toy Car
Once you've put in the time and effort to craft your very own wooden toy car, it's time to dive into the fun part: playing with it! These charming little creations are not just for display; they are designed to spark creativity and provide endless hours of imaginative play. Whether zooming down a makeshift racetrack in your living room or embarking on a grand adventure in the backyard, your wooden toy car can be a gateway to a world of fantasy and storytelling.
Encouraging imaginative play is essential for children, as it helps develop their creativity, problem-solving skills, and social interactions. You can enhance their play experience by creating themed scenarios. For instance, set up a mini city with blocks and other toys where your child can drive their wooden car around, or organize a "car race" with friends. The possibilities are as vast as their imagination! Remember, every twist and turn in their play can lead to new stories and adventures.
Now, while playing is all about fun, it's also important to think about the care and maintenance of your wooden toy car. Just like any cherished possession, a little bit of TLC can go a long way in keeping it in great condition. Here are some simple yet effective maintenance tips:
- Regular Cleaning: Use a soft, damp cloth to wipe down the surface of the toy car to remove dust and dirt. Avoid soaking the wood, as excess moisture can warp it.
- Inspect for Damage: Periodically check for any signs of wear and tear, such as scratches or loose parts. Addressing these issues early can prevent further damage.
- Store Properly: When not in use, store your wooden toy car in a dry place away from direct sunlight to prevent fading and drying out.
With these simple steps, your wooden toy car can remain a beloved companion for years to come. Not only will it continue to inspire play, but it will also serve as a beautiful reminder of the creativity and effort that went into making it. So, go ahead, enjoy those imaginative journeys, and cherish the memories you create along the way!
Q1: How can I encourage my child to play with the wooden toy car?
A1: Create engaging play scenarios, such as building a city with blocks or organizing races with friends. You can also join in the fun and help them develop stories around their playtime adventures.
Q2: What is the best way to clean my wooden toy car?
A2: Use a soft, damp cloth to gently wipe the surface. Avoid using harsh chemicals or soaking the toy in water, as this can damage the wood.
Q3: How can I repair minor damages on my wooden toy car?
A3: For small scratches, you can use fine sandpaper to smooth out the area, then apply a matching finish or paint. If parts are loose, consider using wood glue or small screws for a secure fix.
Encouraging Imaginative Play
Wooden toy cars are not just simple playthings; they are gateways to a world of creativity and imagination! When children engage with these beautifully crafted toys, they embark on adventures that can take them anywhere—from racing on a bustling city street to exploring uncharted territories in a magical land. To truly encourage imaginative play, it's essential to create an environment that stimulates creativity and allows children to express their ideas freely.
One effective way to foster this imaginative spirit is by setting up a designated play area that mimics real-world scenarios. For instance, you could create a miniature road system using cardboard or fabric. Add some traffic signs, buildings made from blocks, and perhaps even a few toy figurines to populate the scene. This not only enhances the play experience but also allows children to engage in storytelling as they navigate their toy cars through the landscape.
Additionally, consider introducing themed play sessions. You might have a "race day" where kids can compete with their toy cars, or a "rescue mission" where they have to save a toy character in distress. These scenarios can spark their imagination and encourage them to think outside the box. Children can also take turns being the announcer or the referee, which adds an exciting layer of role-playing and teamwork to their playtime.
Another fantastic idea is to incorporate storytelling elements into their play. Encourage children to come up with backstories for their toy cars—what adventures have they had, where do they come from, and what challenges do they face? This narrative aspect can significantly enhance their engagement and make the play more meaningful. You might even consider reading stories about cars or adventures before playtime to inspire their creativity.
Finally, don’t forget the power of collaboration. Invite friends or siblings to join in the fun! Group play can lead to shared adventures and collaborative storytelling, allowing children to bounce ideas off each other and expand their imaginative horizons. The joy of playing together can also teach valuable social skills, such as sharing, negotiating, and problem-solving.
In conclusion, encouraging imaginative play with wooden toy cars is all about creating an inspiring environment, introducing engaging themes, and fostering collaboration among children. The possibilities are endless, and by nurturing their creativity, you're not just providing them with a toy; you're giving them a tool for exploration and self-expression that can last a lifetime.
- What age is appropriate for wooden toy cars? Wooden toy cars are generally suitable for toddlers and up, as they are durable and safe for young children.
- Are wooden toys better than plastic ones? Many parents prefer wooden toys because they are more environmentally friendly, durable, and often free from harmful chemicals.
- How can I clean wooden toy cars? Use a damp cloth to wipe them down. Avoid soaking them in water, as this can damage the wood.
- Can I customize my child's wooden toy car? Absolutely! You can paint, add decals, or even carve designs to personalize the toy car.
Maintenance Tips
Once you've put in the time and effort to create your beautiful wooden toy car, you want to ensure it lasts for many play sessions to come. Regular maintenance is key to preserving both its appearance and functionality. First and foremost, always keep your toy car clean. Dust and dirt can accumulate over time, so a gentle wipe with a soft, damp cloth can do wonders. Avoid using harsh chemicals, as these can damage the wood and any finish you’ve applied.
Another important aspect of maintenance is checking for any signs of wear and tear. Look for scratches, dents, or loose parts. If you notice any issues, address them promptly to prevent further damage. For instance, if a wheel becomes loose, a simple tightening or a drop of wood glue can often fix the problem. Additionally, consider giving your toy car a light sanding every now and then to smooth out any rough spots that may have developed over time. Just make sure to follow up with a fresh coat of finish to protect the wood.
When it comes to storage, keep your wooden toy car in a dry place, away from direct sunlight or extreme moisture, as these elements can warp the wood or fade its color. A dedicated shelf or a toy box lined with soft material can be a perfect home for your creation. This way, you not only protect the car but also keep it looking nice for when it’s time to play again.
Lastly, if you want to add a personal touch, think about applying a new coat of paint or a fun design every few months. This not only keeps the toy looking fresh but also allows your child to express their creativity. Remember, the goal of maintaining your wooden toy car is to ensure it remains a cherished part of playtime, inspiring imaginative adventures for years to come.
Q1: How often should I clean my wooden toy car?
A1: It's best to clean your wooden toy car regularly, especially if it’s played with often. A quick wipe-down with a damp cloth once a week can help maintain its appearance.
Q2: Can I use regular paint to touch up my wooden toy car?
A2: Ideally, you should use non-toxic, water-based paints designed for wood. These are safer for children and will adhere better to the wood surface.
Q3: What should I do if my toy car gets wet?
A3: If your wooden toy car gets wet, dry it immediately with a soft cloth. Avoid heat sources like hair dryers, as they can warp the wood. Let it air dry completely before using it again.
Q4: Is it necessary to apply a finish to my wooden toy car?
A4: Yes, applying a finish helps protect the wood from moisture, dirt, and wear. It can also enhance the color and beauty of the wood.
Frequently Asked Questions
- What type of wood is best for making wooden toy cars?
When it comes to crafting wooden toy cars, softwoods like pine and cedar are popular choices due to their workability and light weight. However, hardwoods such as maple and oak offer greater durability and a more polished finish. Ultimately, the choice depends on your desired balance between ease of use and longevity.
- What essential tools do I need to start this woodworking project?
For a successful wooden toy car project, you'll need a few essential tools. A handsaw or jigsaw will help you cut the wood accurately, while a sander is crucial for achieving that smooth finish. Don't forget about wood glue or screws for joining pieces, and a clamp to hold everything securely while it dries!
- How can I design my wooden toy car?
Designing your wooden toy car can be a fun and creative process! Start by sketching your ideas on paper to visualize the shape and features you want. Consider aspects like size, wheel placement, and any decorative elements you might want to add. Remember, the sky's the limit—let your imagination run wild!
- What safety precautions should I take while woodworking?
Safety is paramount in woodworking! Always wear protective gear such as goggles and a dust mask to shield yourself from sawdust and debris. Ensure your workspace is organized and free of hazards. Keep your tools in good condition, and never rush through a cut—take your time to avoid accidents!
- How do I finish my wooden toy car?
Finishing your wooden toy car involves a few steps to ensure it looks great and lasts long. Start by sanding the surface to remove any rough edges. Then, apply your chosen paint or finish evenly. For a personal touch, consider adding decals or custom designs. Finally, let everything dry thoroughly before it's ready for play!
- How can I encourage imaginative play with my wooden toy car?
Encouraging imaginative play with your wooden toy car is all about creating scenarios! Set up a mini racetrack or create a story involving the car's adventures. You can even involve friends or family in playtime, sparking creativity and storytelling. The more you engage with the toy, the more fun and imaginative the play becomes!
- What are the maintenance tips for wooden toy cars?
To keep your wooden toy car in tip-top shape, regular maintenance is key! Wipe it down with a damp cloth to remove dust, and avoid soaking it in water. If you notice any scratches, a light sanding followed by a fresh coat of finish can help. Store it in a cool, dry place to prevent warping or damage!


