Easy and Creative DIY Home Decor Ideas on Budget
Are you looking to spruce up your living space without draining your wallet? Well, you’re in luck! This article explores innovative and budget-friendly DIY home decor ideas that can transform your living space without breaking the bank. Imagine walking into your home and feeling a wave of freshness wash over you, all thanks to a few simple projects that add a personal touch to your decor. Whether you're a seasoned DIY enthusiast or just starting out, these ideas will inspire you to get creative and make your home truly yours.
First off, let’s talk about the joy of upcycling furniture. Have you ever looked at an old chair or a worn-out table and thought, “This could be something special”? Upcycling is all about breathing new life into those forgotten pieces. With just a little paint, some new hardware, or even a fresh upholstery job, you can turn that old furniture into a unique statement piece. Not only do you save money, but you also reduce waste and contribute to a more sustainable lifestyle. Imagine transforming a drab dresser into a vibrant storage solution with just a splash of color and some creativity!
Now, let’s shift our focus to wall art creations. Your walls are a blank canvas just waiting for your artistic touch. You don’t have to spend a fortune on expensive art pieces. Instead, consider creating stunning wall art using inexpensive materials. From canvas paintings to wall hangings, the possibilities are endless. How about displaying your favorite memories by framing photos in unique ways? This simple project adds a personal touch to your decor without significant expenses. You can create a gallery wall that showcases your style and interests. Just imagine a wall filled with your favorite travel memories, family portraits, and artistic prints all harmoniously arranged.
Creating a gallery wall can be a fun challenge. Here are some tips to consider:
- Choose a color scheme that ties your pieces together.
- Mix different frame styles for an eclectic look.
- Use a template on the floor to arrange your pieces before hanging them.
And if you’re feeling particularly adventurous, why not try your hand at DIY canvas prints? This cost-effective project allows you to customize your decor with artwork that resonates with you. You can use stencils, paint, or even fabric to create your masterpiece. The best part? You can easily switch it out whenever you feel like a change!
As the seasons change, so should your decor. Seasonal decor changes can keep your home feeling fresh and inviting. You don’t need to invest in new decorations for every season. Instead, find easy and affordable ideas to transition your space. Swap out throw pillows, change up your wall art, or add seasonal plants to enhance your home’s warmth and charm.
Let’s not forget about the impact of budget-friendly textiles. Textiles can dramatically change a room's ambiance. Choosing affordable fabrics for curtains, cushions, and throws can elevate your home decor without straining your budget. For instance, making your own throw pillows using budget-friendly fabric options can add color and comfort to your living space. It’s a simple project that can yield stunning results.
Additionally, consider creating beautiful table linens that can enhance your dining experience. Simple sewing techniques can transform basic fabrics into stunning table runners and placemats, making every meal feel special.
Another way to breathe life into your home is by incorporating indoor plants. Not only do plants improve air quality, but they also create a calming atmosphere. Explore creative ways to display plants that enhance your decor. Crafting your own plant holders is a fun and affordable project. You can use materials like wood, metal, or even repurposed items to create unique holders that complement your home decor.
Lastly, why not learn how to create beautiful terrariums? This stylish way to showcase indoor plants is not only budget-friendly but also adds a touch of nature to your decor. Imagine a mini ecosystem right in your living room, a conversation starter that also brings a sense of tranquility.
Q: Do I need to be an expert to start DIY projects?
A: Absolutely not! DIY projects are all about creativity and experimentation. Start small, and as you gain confidence, you can tackle more complex projects.
Q: What are some inexpensive materials I can use for my DIY projects?
A: Look for materials like reclaimed wood, fabric remnants, paint samples, and even items you already have at home that can be repurposed.
Q: How can I find inspiration for my DIY decor?
A: Inspiration can be found everywhere! Check out social media platforms like Pinterest, Instagram, or even local craft stores for ideas. Don’t be afraid to put your own spin on what you see!
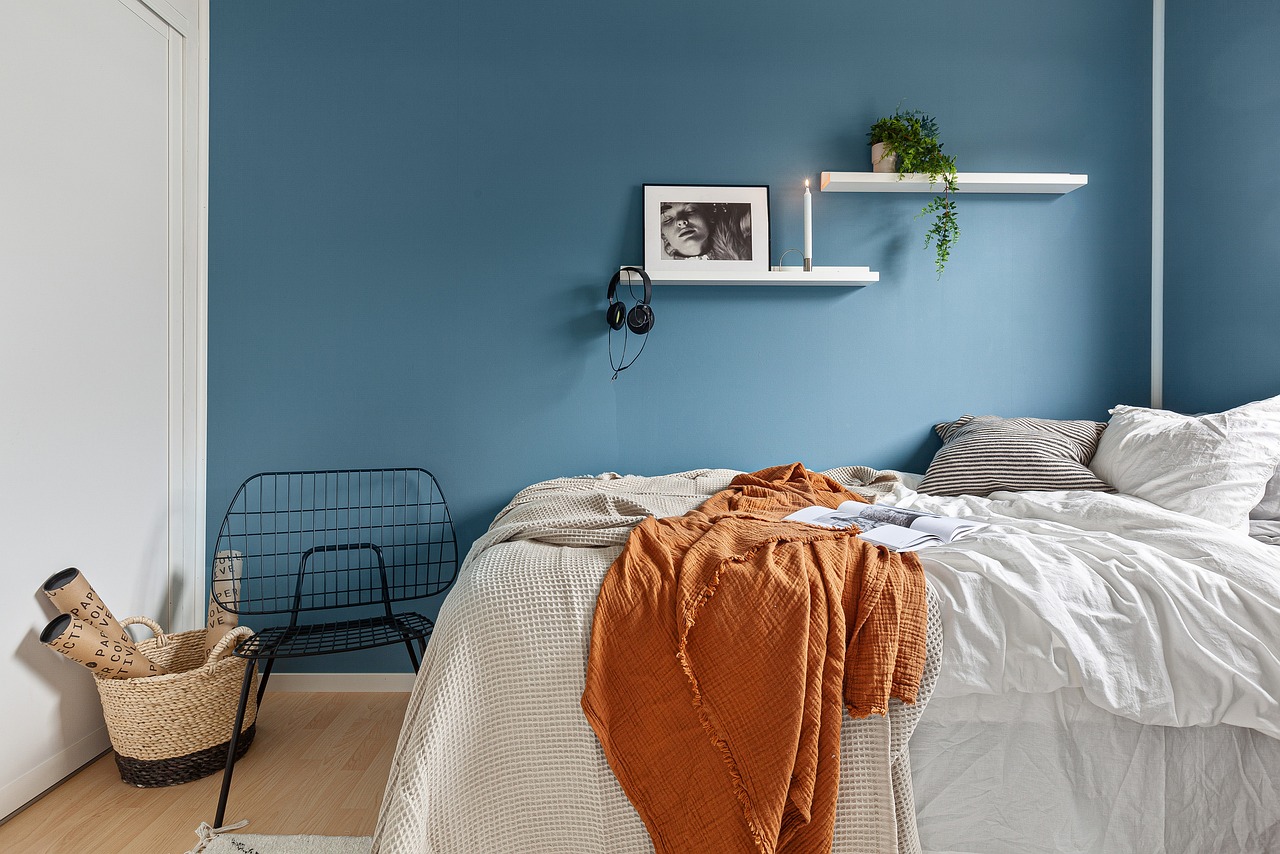
Upcycling Furniture
Are you staring at that old chair or worn-out dresser, wondering what to do with it? is not just a trend; it's a creative and sustainable way to breathe new life into your living space. Instead of tossing that old piece of furniture, why not transform it into something spectacular? You'll not only save money but also reduce waste and contribute to a more sustainable lifestyle. It's like giving your furniture a second chance at life!
Imagine turning a drab, outdated piece into a stunning focal point in your room. The beauty of upcycling lies in its versatility. You can paint, reupholster, or even repurpose items into something entirely different. For instance, an old wooden ladder can become a chic bookshelf, or a vintage suitcase can be transformed into a stylish side table. The possibilities are endless! Here are a few simple techniques to get you started:
- Painting: A fresh coat of paint can completely alter the look of any furniture. Choose bold colors to make a statement or soft pastels for a more subtle touch.
- Reupholstering: If your chair or sofa is looking tired, consider reupholstering it with vibrant fabric. This project can be as simple or as complex as you wish, depending on your skill level.
- Adding New Hardware: Sometimes, all it takes is a change in hardware. Swap out old knobs and handles for modern or vintage ones to give your furniture an instant upgrade.
Not only does upcycling save you money, but it also allows you to express your creativity. You get to choose the colors, patterns, and styles that resonate with your personal taste. Plus, there's nothing quite like the satisfaction of seeing your handiwork come to life! Imagine your friends admiring your unique creations and asking where you bought them, only for you to smile and say, "I made it!"
As you embark on your upcycling journey, remember that the key is to embrace imperfections. Vintage pieces often come with their own character and charm, so don’t shy away from showing off those quirks. Whether it's a scratch or a dent, these imperfections tell a story and add to the piece's uniqueness.
To help you visualize your upcycling projects, here’s a quick table that outlines some common furniture pieces and their potential transformations:
| Original Furniture | Upcycled Idea |
|---|---|
| Old Wooden Chair | Paint and reupholster for a fresh look |
| Vintage Suitcase | Turn into a stylish side table |
| Wooden Pallet | Create a rustic coffee table |
| Old Dresser | Convert into a bathroom vanity |
In conclusion, upcycling furniture is not just about saving money; it's about creating something that reflects your personality and style. So, roll up your sleeves, grab some paint, and let your imagination run wild. Your home deserves a touch of your creativity, and who knows? You might just discover a hidden talent for DIY projects along the way!
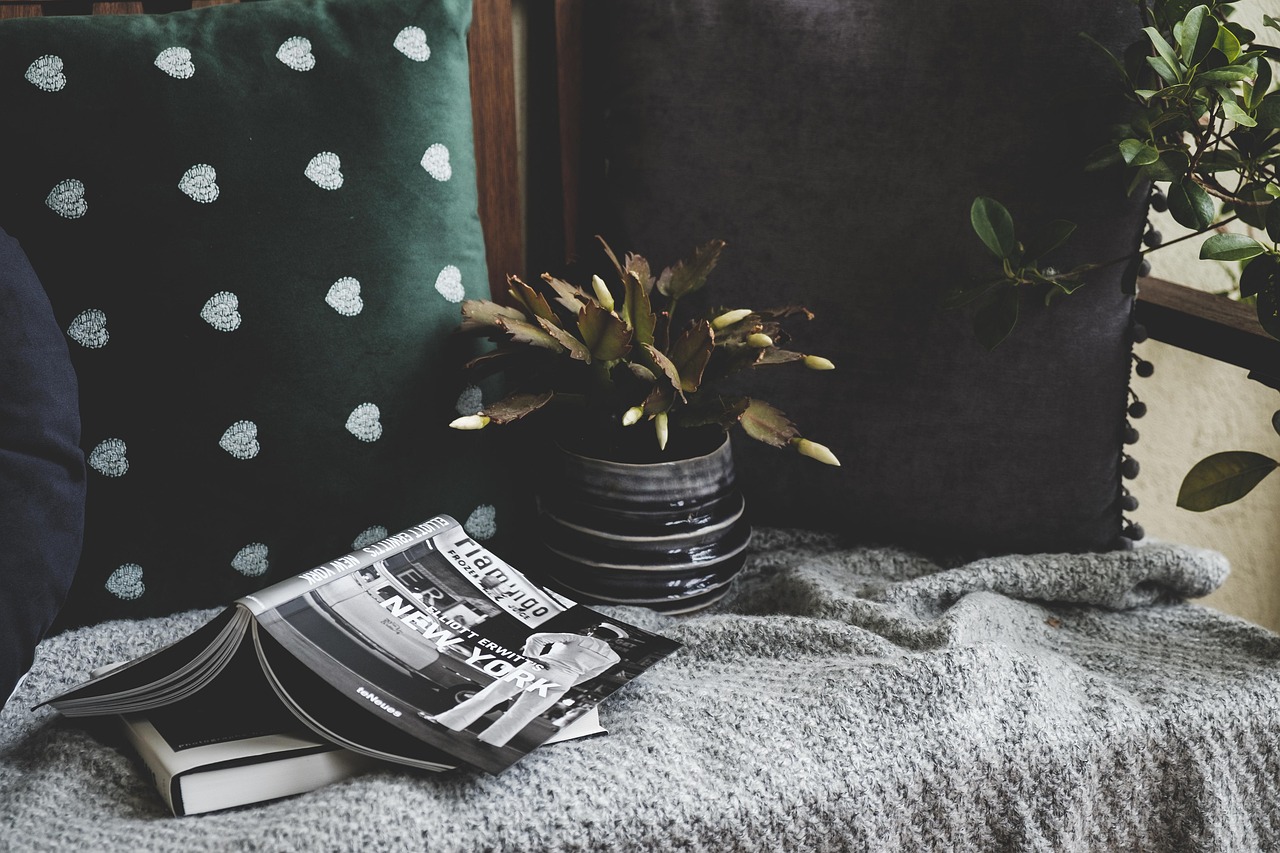
Wall Art Creations
When it comes to sprucing up your home, wall art can make a significant impact without requiring a hefty budget. The beauty of creating your own wall art lies in the freedom to express your personality and style in ways that store-bought pieces simply can't match. Whether you're a seasoned artist or a complete novice, there are various methods to unleash your creativity and transform your walls into a stunning gallery that reflects who you are.
One of the most popular ways to create wall art is through canvas paintings. You don’t need to be Picasso to make something beautiful. With just a few brushes, some paint, and a blank canvas, you can create abstract designs, landscapes, or even simple color blocks that can brighten up any room. Imagine splashing vibrant colors on a canvas and hanging it in your living room—it's like bringing a piece of your imagination to life!
Another fantastic option is to craft wall hangings. Using materials like yarn, fabric scraps, or even natural elements like twigs and leaves, you can create unique pieces that add texture and warmth to your space. For instance, a macramé wall hanging can serve as a stunning focal point, while also offering a bohemian flair to your decor. The best part? You can often find these materials around your home or at local thrift stores, making it an economical choice.
One of the simplest yet most effective ways to personalize your walls is by displaying your favorite memories through framed photos. Instead of going for conventional frames, consider using mismatched ones for an eclectic look. You can paint them in a uniform color for a cohesive vibe or leave them as they are for a more rustic feel. This project not only adds a personal touch but also makes your space feel more inviting. After all, what better way to fill your walls than with moments that bring you joy?
Creating a gallery wall can be a fun project that showcases your style and interests. Start by choosing a central theme—maybe travel memories, family portraits, or even your favorite quotes. Arrange the frames on the floor first to find the perfect layout before hanging them up. This method allows you to play around with the arrangement until it feels just right. A well-curated gallery wall can be a conversation starter and a visual delight for anyone who enters your home.
If you’re looking to add a touch of artistry to your home without the hefty price tag of original artwork, DIY canvas prints are the way to go. You can use your own photographs or digital designs, print them on canvas, and stretch them over a frame. This project is not only cost-effective but also allows you to customize your decor with pieces that resonate with you. Imagine walking into your living space and seeing a canvas print of your favorite landscape or a cherished moment—it's a beautiful way to make your home feel uniquely yours.
In conclusion, wall art creations are a fantastic way to add personality and charm to your home without spending a fortune. With just a little creativity and effort, you can transform your walls into a canvas of your life, filled with memories, colors, and stories that speak to who you are. So, gather your materials, unleash your inner artist, and start creating a space that truly feels like home!
Q1: What materials do I need to create DIY wall art?
A1: Common materials include canvases, paints, brushes, yarn, fabric, and frames. You can also use recycled items like cardboard or wood for unique designs.
Q2: How do I choose a theme for my gallery wall?
A2: Consider your interests and what makes you happy. You can choose themes like travel, family, or your favorite quotes. Ensure that the colors and styles complement each other for a cohesive look.
Q3: Can I create wall art if I'm not good at painting?
A3: Absolutely! Wall art can be created using various methods, including photography, fabric art, or even collage. Focus on what you enjoy and express yourself in that medium.
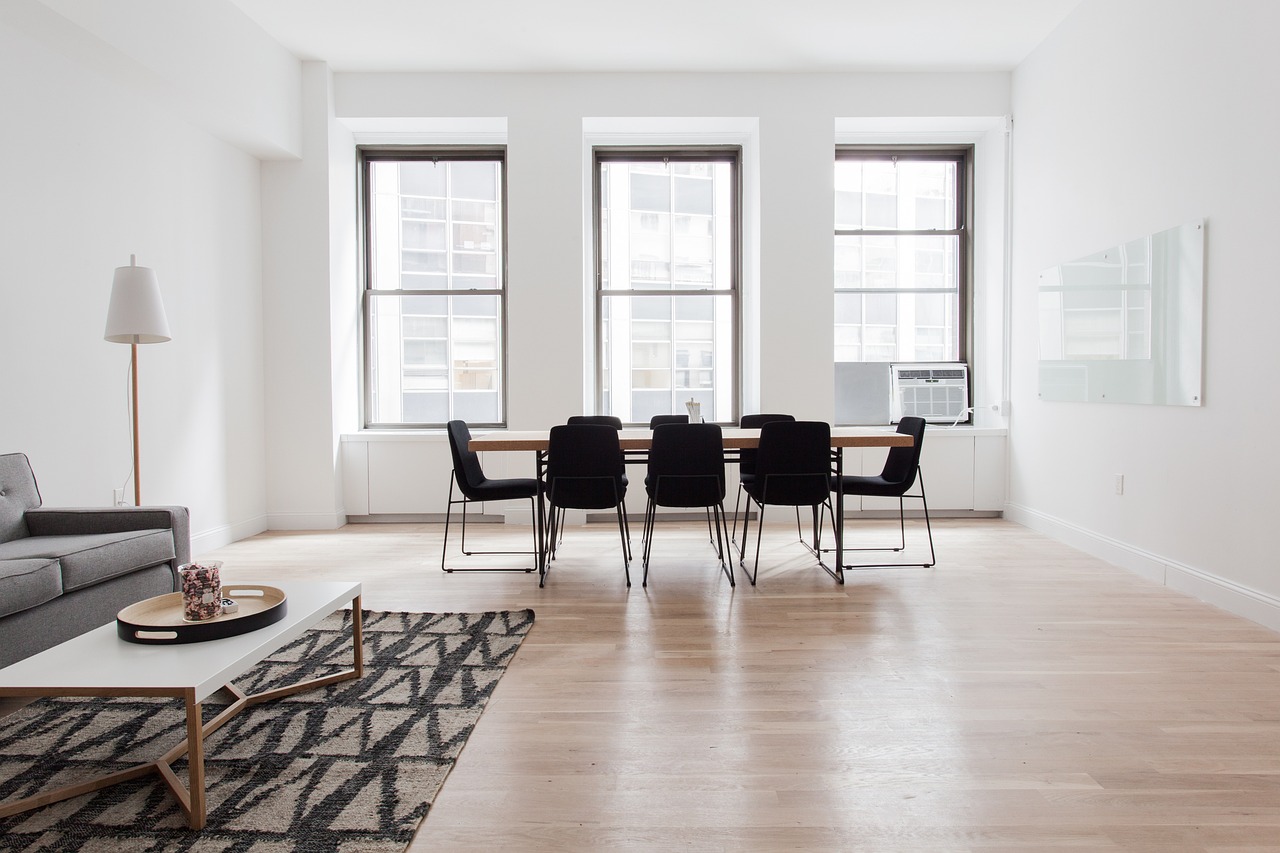
Framed Photos
Framing your favorite photos is a fantastic way to add a personal touch to your home decor. Instead of just sticking them in a drawer or scrolling through them on your phone, why not showcase those memories in a way that brings warmth and character to your space? Framed photos can tell stories, spark conversations, and make your house feel like a home. Plus, the best part is that you don’t have to spend a fortune to do it!
To get started, consider the style and theme you want to convey. Are you going for a modern look, or do you prefer something more rustic? The frames you choose can make a significant impact on the overall aesthetic. You can find affordable frames at thrift stores or even create your own using materials like wood or cardboard. Imagine the satisfaction of transforming a simple piece of wood into a beautiful frame that holds your cherished memories!
Here are a few creative ideas to consider when framing your photos:
- Mix and Match: Use different frame styles and colors to create an eclectic gallery that reflects your personality.
- Go Big: Consider enlarging a favorite photo and using a large frame to make a bold statement.
- Theme It: Group photos by theme, such as travel, family, or friends, for a cohesive look.
Additionally, think about how you want to display your framed photos. A gallery wall is a popular choice, allowing you to create a stunning visual display. But don’t overlook other options like:
- Using shelves to lean frames against the wall for a casual look.
- Creating a photo ledge where you can easily swap out photos as new memories are made.
- Incorporating framed photos into your existing decor, such as placing them on a mantel or side table.
To make your framed photos even more special, consider adding personal touches. You can write little notes about the memories behind each photo and attach them to the back of the frame. This not only adds a sentimental value but also makes it easier for others to appreciate the stories behind the images. Remember, the goal is to create a space that resonates with you and reflects your journey.
In conclusion, framing photos is an easy and cost-effective way to enhance your home decor while celebrating the moments that matter most. So grab those photos, get creative with your framing options, and let your walls tell your story!
Q: What types of frames should I use for my photos?
A: It really depends on your style! You can use anything from sleek modern frames to vintage wooden ones. Just make sure they complement your decor.
Q: How do I create a gallery wall?
A: Start by laying out your frames on the floor to find a layout you like. Once you're happy, hang them on the wall, starting with the center piece and working your way outwards.
Q: Can I frame digital photos?
A: Absolutely! You can print digital photos at a local print shop or use an online service. Just ensure you choose the right size for your frames!
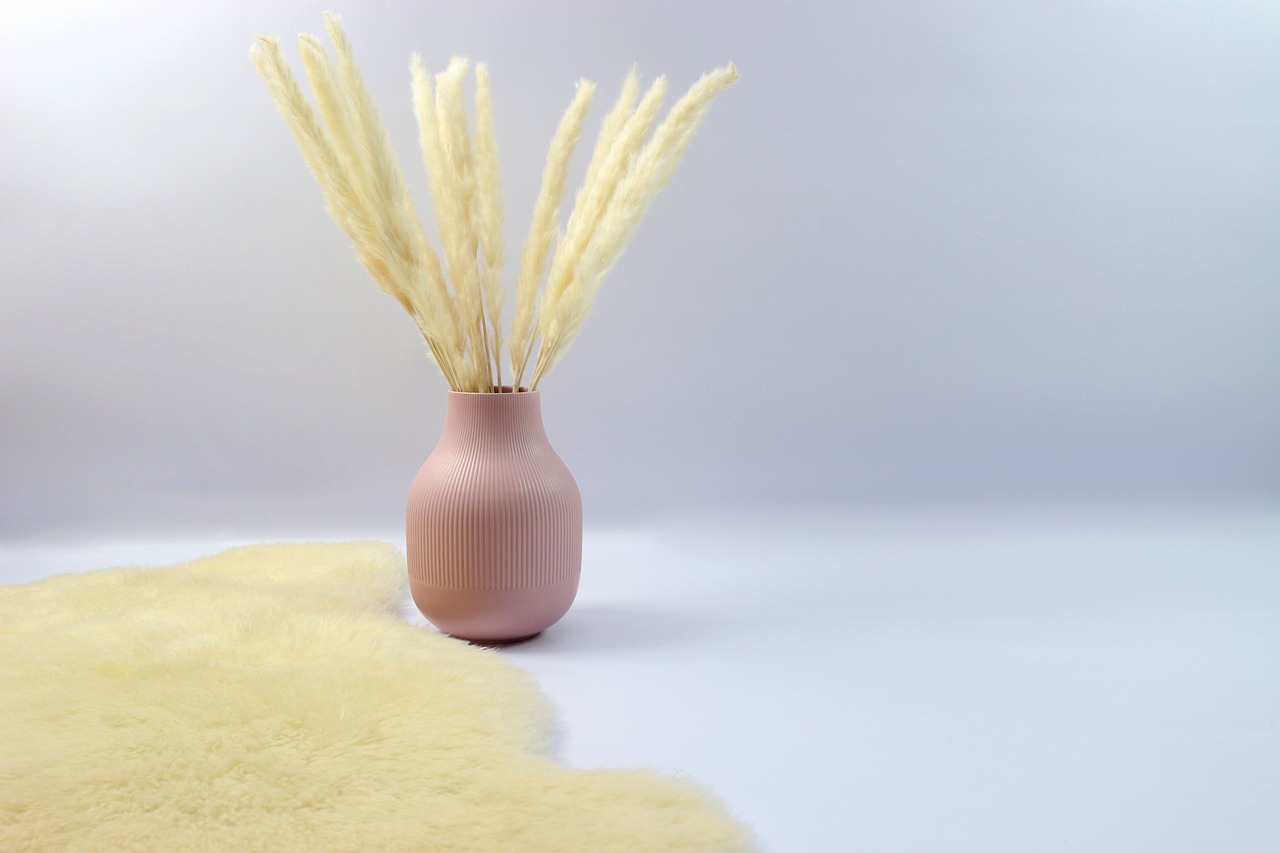
Gallery Wall Ideas
Creating a gallery wall in your home is like curating your personal art exhibit. It’s a fantastic way to showcase your unique style and interests while adding a splash of personality to any room. But how do you go about designing one that feels cohesive yet eclectic? Let’s dive into some creative ideas that will help you transform your wall into a stunning focal point.
First, consider the theme of your gallery wall. A unified theme can create a harmonious look, while a mix of different styles can make it feel more dynamic. Popular themes include:
- Travel Memories: Use photos from your adventures, souvenirs, and maps.
- Family Heritage: Frame old family photos or heirlooms that tell your family’s story.
- Artistic Expressions: Incorporate your own artwork or prints from local artists.
Once you've settled on a theme, it's time to gather your materials. You’ll need an assortment of frames in different sizes, colors, and styles. Mixing and matching can add depth to your display. For instance, consider using:
| Frame Style | Color | Size |
|---|---|---|
| Wooden | Natural | Small |
| Metallic | Gold | Medium |
| Vintage | Black | Large |
Now that you have your frames, it’s time to play with the arrangement. Lay everything out on the floor first to see how it looks. Try different layouts until you find one that feels right. Don’t be afraid to overlap frames or mix vertical and horizontal orientations for added interest. The key is to create a balance that feels pleasing to the eye.
Another great tip is to incorporate 3D elements into your gallery wall. This could be anything from small shelves displaying decorative items to hanging plants or even an antique clock. These elements can break up the flatness of the wall and add a new dimension to your decor.
Finally, remember to keep your gallery wall updated. As you acquire new pieces or your tastes evolve, feel free to swap out photos or art. This way, your gallery wall remains a living representation of your journey and creativity.
In summary, a gallery wall is not just about hanging pictures; it’s about telling your story in a visually engaging way. So grab those frames, unleash your creativity, and let your walls speak volumes about who you are!
Q: How do I choose the right wall for my gallery?
A: Look for a wall that is visible and has enough space to accommodate your desired arrangement. Hallways, living rooms, and even staircases can be great options.
Q: Can I mix different frame styles?
A: Absolutely! Mixing different frame styles can create a more dynamic and interesting gallery wall. Just ensure that there is some commonality, like color or theme, to tie it all together.
Q: How do I hang the frames without damaging the wall?
A: Use adhesive hooks or picture hanging strips for a damage-free solution. Alternatively, if you prefer nails, consider using small nails that leave minimal marks.

DIY Canvas Prints
Are you ready to unleash your inner artist? are not only a fantastic way to express your creativity, but they also allow you to customize your home decor in a way that reflects your personal style. Imagine walking into a room adorned with vibrant colors and unique designs that you created yourself! The best part? You can do all of this without spending a fortune.
Creating your own canvas prints is surprisingly simple and can be done using a few basic materials. Here’s what you’ll need:
- Canvas panels or stretched canvases
- Acrylic paints or watercolors
- Paintbrushes in various sizes
- Palette for mixing colors
- Optional: stencils, sponges, or other tools for texture
Start by deciding on a theme or color palette that resonates with your space. Whether you prefer abstract designs, landscapes, or even inspirational quotes, the choice is yours! Once you have your concept, sketch it lightly on the canvas with a pencil. This step can help you visualize the final product and make adjustments as needed.
Now comes the fun part: painting! Use your brushes to bring your sketch to life. Don’t be afraid to experiment with different techniques. For example, you can create texture by applying paint with a sponge or layering colors to add depth. If you’re feeling adventurous, try using stencils to create intricate patterns or shapes. The beauty of DIY canvas prints is that there are no strict rules—just let your creativity flow!
Once your masterpiece is dry, consider how you want to display it. You can hang it on the wall, place it on an easel, or even create a collection of smaller canvases for a gallery wall effect. The options are endless! Not only will these prints add a personal touch to your home, but they also serve as great conversation starters when guests come over.
Feeling a bit overwhelmed? Don’t worry! Here are a few tips to keep in mind:
- Start small: If you're new to painting, begin with a smaller canvas to build your confidence.
- Use high-quality materials: Investing in good paint and canvas can make a significant difference in the outcome.
- Don’t rush: Allow each layer of paint to dry before adding more to avoid muddy colors.
In the end, creating DIY canvas prints is not just about decorating your walls; it’s about making a space that feels uniquely yours. So grab your brushes and get started on a project that will not only beautify your home but also bring you joy every time you see it!
Q: What type of paint is best for canvas prints?
A: Acrylic paints are popular for canvas prints due to their vibrant colors and quick drying time. Watercolors can also be used for softer effects.
Q: How can I hang my canvas prints?
A: You can use picture hooks, nails, or even adhesive strips designed for wall art. Make sure to choose a method that suits the weight of your canvas.
Q: Can I use photos for my canvas prints?
A: Absolutely! You can print your favorite photos onto canvas using photo transfer techniques or by using printable canvas sheets.
Q: How do I maintain my canvas prints?
A: To keep your canvas prints looking fresh, avoid direct sunlight and dust them regularly with a soft cloth.
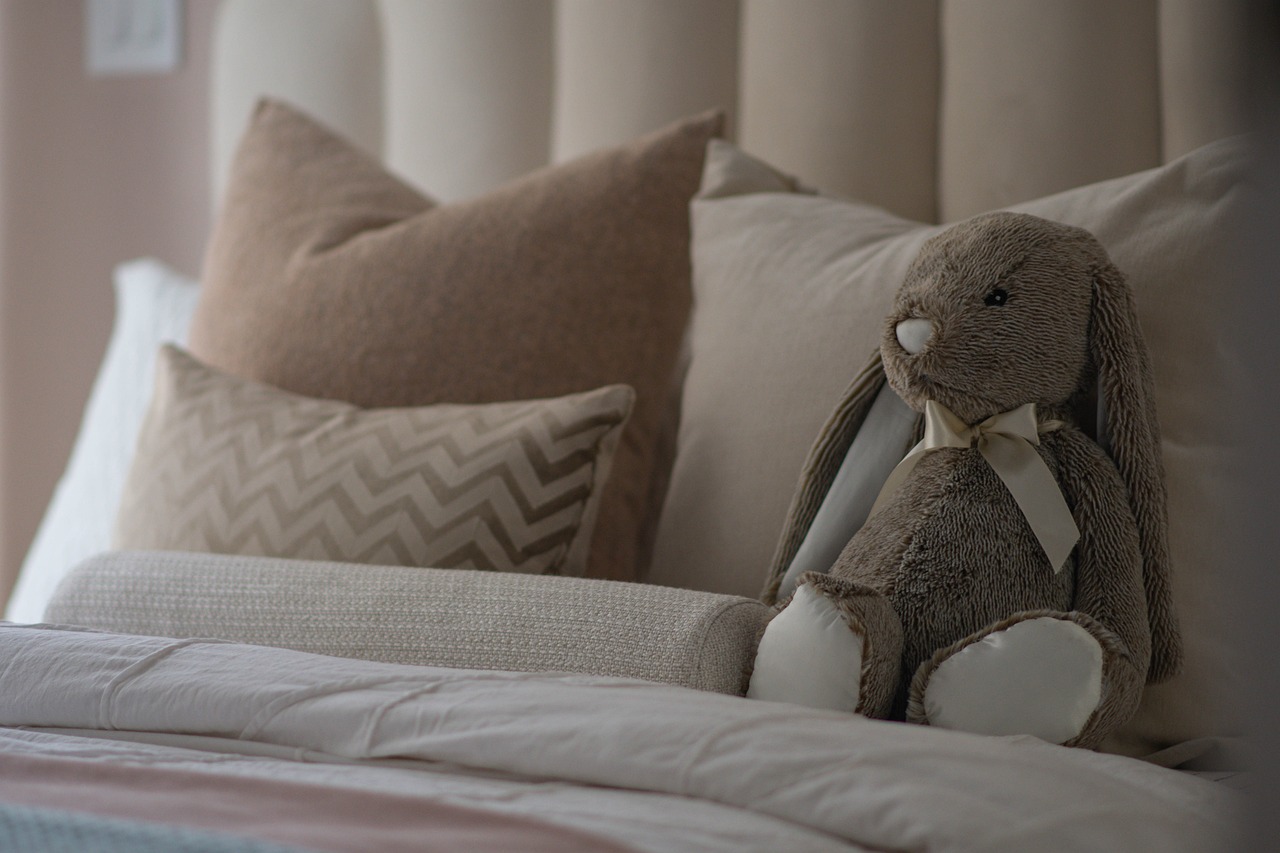
Seasonal Decor Changes
Changing your home decor with the seasons is like giving your space a refreshing makeover, and it doesn’t have to cost a fortune! Imagine walking into your living room and feeling the warmth of autumn with cozy hues of orange and gold, or the refreshing vibe of spring with pastel colors and floral accents. Seasonal decor changes can keep your home feeling alive and inviting throughout the year. But how do you achieve this without breaking the bank? The secret lies in simple, budget-friendly ideas that can easily transform your space.
One of the easiest ways to transition your decor is by swapping out key elements like cushions, throws, and table linens. For instance, during the winter months, you might opt for thick, knitted throws and rich, warm colors. As spring approaches, consider switching to lighter fabrics and brighter colors that reflect the blooming nature outside. This simple swap can dramatically change the ambiance of your room, making it feel more seasonally appropriate and inviting.
Another fantastic idea is to incorporate seasonal centerpieces on your dining table or coffee table. Think about using natural elements like pinecones and branches in the fall, or fresh flowers and greenery in the spring. You can even create a seasonal table display that reflects the current holiday or season. For example, during the summer, a vibrant arrangement of sunflowers can bring a cheerful touch, while in the fall, a centerpiece of pumpkins and gourds can add a cozy feel.
Don’t forget about your walls! Changing up your wall art can also give your home a seasonal refresh. You could create a simple gallery wall that showcases seasonal prints or photos. For instance, in winter, hang up some beautiful snowy landscapes, and in summer, opt for bright beach scenes. This not only adds a seasonal touch but also allows you to express your creativity and personal style.
Lastly, consider adding seasonal scents to your home. While this might not be a physical decor change, the ambiance created by scents can significantly enhance the seasonal feel of your space. Use candles, essential oils, or potpourri that reflect the season—think cinnamon and pine for winter, or citrus and floral scents for spring. This multi-sensory approach ensures that your home feels cohesive and welcoming, no matter the time of year.
In conclusion, making seasonal decor changes is a fun and creative way to keep your home feeling fresh and inviting. With just a few simple swaps and a bit of creativity, you can transform your space to reflect the beauty of each season. So, what are you waiting for? Dive into your decor box and start planning your next seasonal update!
Q: How often should I change my seasonal decor?
A: It's all about personal preference! Many people change their decor with each season, while others may prefer to update it quarterly or even monthly. The key is to enjoy the process and keep your space feeling fresh.
Q: What are some budget-friendly materials for seasonal decor?
A: You can use items like fabric remnants, natural elements from your garden or local park, and even thrift store finds. DIY projects can also be a great way to save money while expressing your creativity!
Q: Can I mix seasonal decor with my everyday decor?
A: Absolutely! Mixing seasonal elements with your everyday decor can create a harmonious and inviting atmosphere. Just ensure that the seasonal items complement your existing decor for a cohesive look.
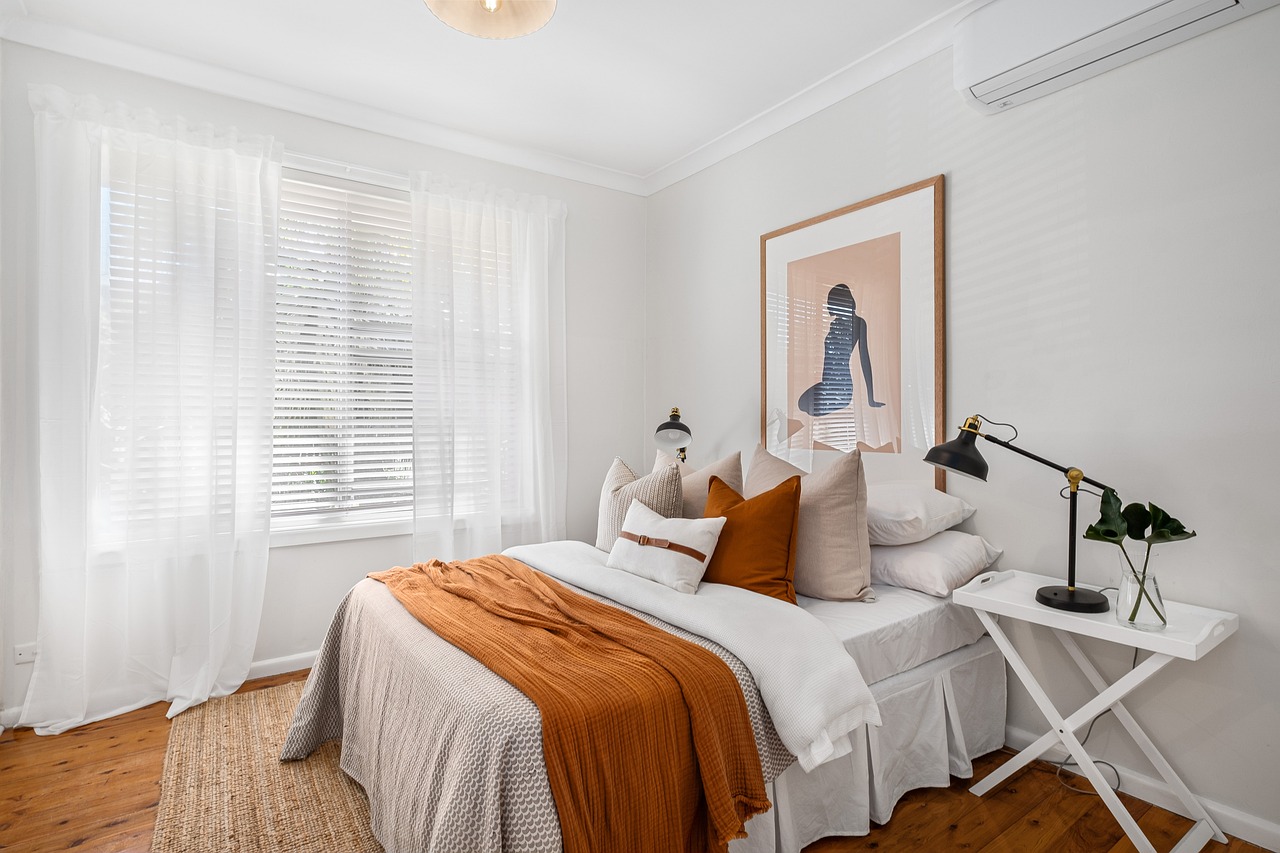
Budget-Friendly Textiles
Textiles play a crucial role in defining the ambiance of any room. They can transform a dull space into a vibrant haven without requiring a hefty budget. By choosing affordable fabrics for curtains, cushions, and throws, you can elevate your home decor significantly. Imagine walking into a room where the colors and textures harmoniously blend, creating a cozy and inviting atmosphere. Doesn’t that sound appealing? The best part is that you don’t need to be a professional designer to achieve this look; you just need a little creativity and some budget-friendly materials.
When selecting textiles, consider the mood you want to create. For instance, light and airy fabrics can make a space feel larger and more open, while rich, textured materials can add warmth and intimacy. One of the simplest ways to start is by focusing on a few key pieces. Think about how a few well-placed throw pillows or a vibrant table runner can make a world of difference. Here are some ideas to get your creative juices flowing:
- Throw Pillows: Making your own throw pillows is not only budget-friendly but also incredibly rewarding. You can choose fabrics that match your existing decor or go bold with patterns that pop. Just grab some fabric, a sewing machine (or needle and thread), and let your imagination run wild!
- Table Linens: Creating beautiful table linens can enhance your dining experience. Simple sewing techniques can transform basic fabrics into stunning table runners and placemats. This is a fantastic way to impress your guests without spending a fortune.
Another option is to explore thrift stores or fabric remnants. Often, you can find unique pieces that tell a story or add character to your home. Mixing and matching different textures can lead to stunning visual contrasts that highlight your personal style. For example, pairing a soft, velvet cushion with a rugged burlap throw creates an interesting juxtaposition that can captivate anyone who enters the room.
In addition, don’t overlook the power of color. A splash of vibrant fabric can breathe new life into an old piece of furniture or an otherwise bland room. Whether you’re looking to create a calming oasis with soft blues and greens or a lively space with bright yellows and reds, the right textiles can set the tone. Remember, the goal is to reflect your personality while keeping it budget-friendly. So, roll up your sleeves, and let’s get sewing!
Q1: Where can I find affordable fabrics for my DIY projects?
A1: You can find affordable fabrics at local fabric stores, thrift shops, or online marketplaces. Look for sales or clearance sections to snag great deals!
Q2: Do I need to be an expert sewer to create my own textiles?
A2: Not at all! Many simple sewing projects require minimal skills. Start with basic shapes and work your way up as you gain confidence.
Q3: Can I mix different fabric patterns?
A3: Yes! Mixing patterns can create a vibrant and eclectic look. Just ensure that the colors complement each other to maintain a cohesive feel.
Throw Pillows
Throw pillows are more than just decorative cushions; they are the secret ingredient to transforming your living space from drab to fab! Imagine walking into a room that feels cozy and inviting, all thanks to a few carefully chosen throw pillows. The best part? You can create your own stunning throw pillows using budget-friendly fabric options that suit your personal style. This DIY project not only allows you to save money but also gives you the freedom to customize your decor.
First, let’s talk about fabric. When choosing materials for your throw pillows, consider options like cotton, linen, or even upcycled fabric from old clothes. These materials are not only affordable but also come in a variety of colors and patterns that can easily match your existing decor. For a fun twist, you can mix and match different fabrics to create a more eclectic look. Picture a vibrant floral print paired with a solid color; it’s like a breath of fresh air for your couch!
To get started, you’ll need to gather a few supplies:
- Fabric of your choice (about half a yard per pillow)
- Pillow inserts or stuffing
- Sewing machine or needle and thread
- Scissors
- Measuring tape
Once you have your materials, the process is quite simple. Measure and cut your fabric into squares or rectangles, depending on the size you want your pillows to be. A common size is 18x18 inches, which works well for most couches and chairs. After cutting the fabric, place the right sides together and sew around the edges, leaving a small opening for stuffing. Turn the fabric inside out, fill it with the pillow insert or stuffing, and sew the opening closed. Voila! You’ve just made your very own throw pillow!
For those who may not want to sew, there are no-sew options available too! You can use fabric glue or iron-on adhesive to create pillow covers. Simply cut your fabric to size, fold the edges, and secure them with glue or adhesive. This method is perfect for those who want a quick and easy solution without the need for sewing skills.
Now, let’s not forget about the placement of your newly crafted throw pillows. A good rule of thumb is to layer them. Start with larger pillows at the back, then add medium-sized ones, and finish with smaller ones in front. This creates a visually appealing arrangement that draws the eye and adds depth to your seating area. You can also play with different shapes—square, rectangular, or even round pillows—to create a dynamic look.
Throw pillows are also a fantastic way to introduce seasonal decor into your home. Swap out your bright summer patterns for warm autumn hues or cozy winter textures. This simple change can completely refresh the look of your room without requiring a complete overhaul.
In conclusion, throw pillows are a small detail that can make a big impact. They are an easy, affordable, and fun way to express your style and enhance the comfort of your living space. So why not grab some fabric and get creative? Your couch (and your guests) will thank you!
Q: What materials are best for DIY throw pillows?
A: Cotton, linen, and upcycled fabrics are great choices for DIY throw pillows as they are affordable and come in various designs.
Q: Do I need to sew to make throw pillows?
A: No, you can use fabric glue or iron-on adhesive for no-sew options, making it accessible for everyone!
Q: How many throw pillows should I use on a couch?
A: It depends on the size of your couch, but a good mix is usually between three to five pillows, varying in size and shape.
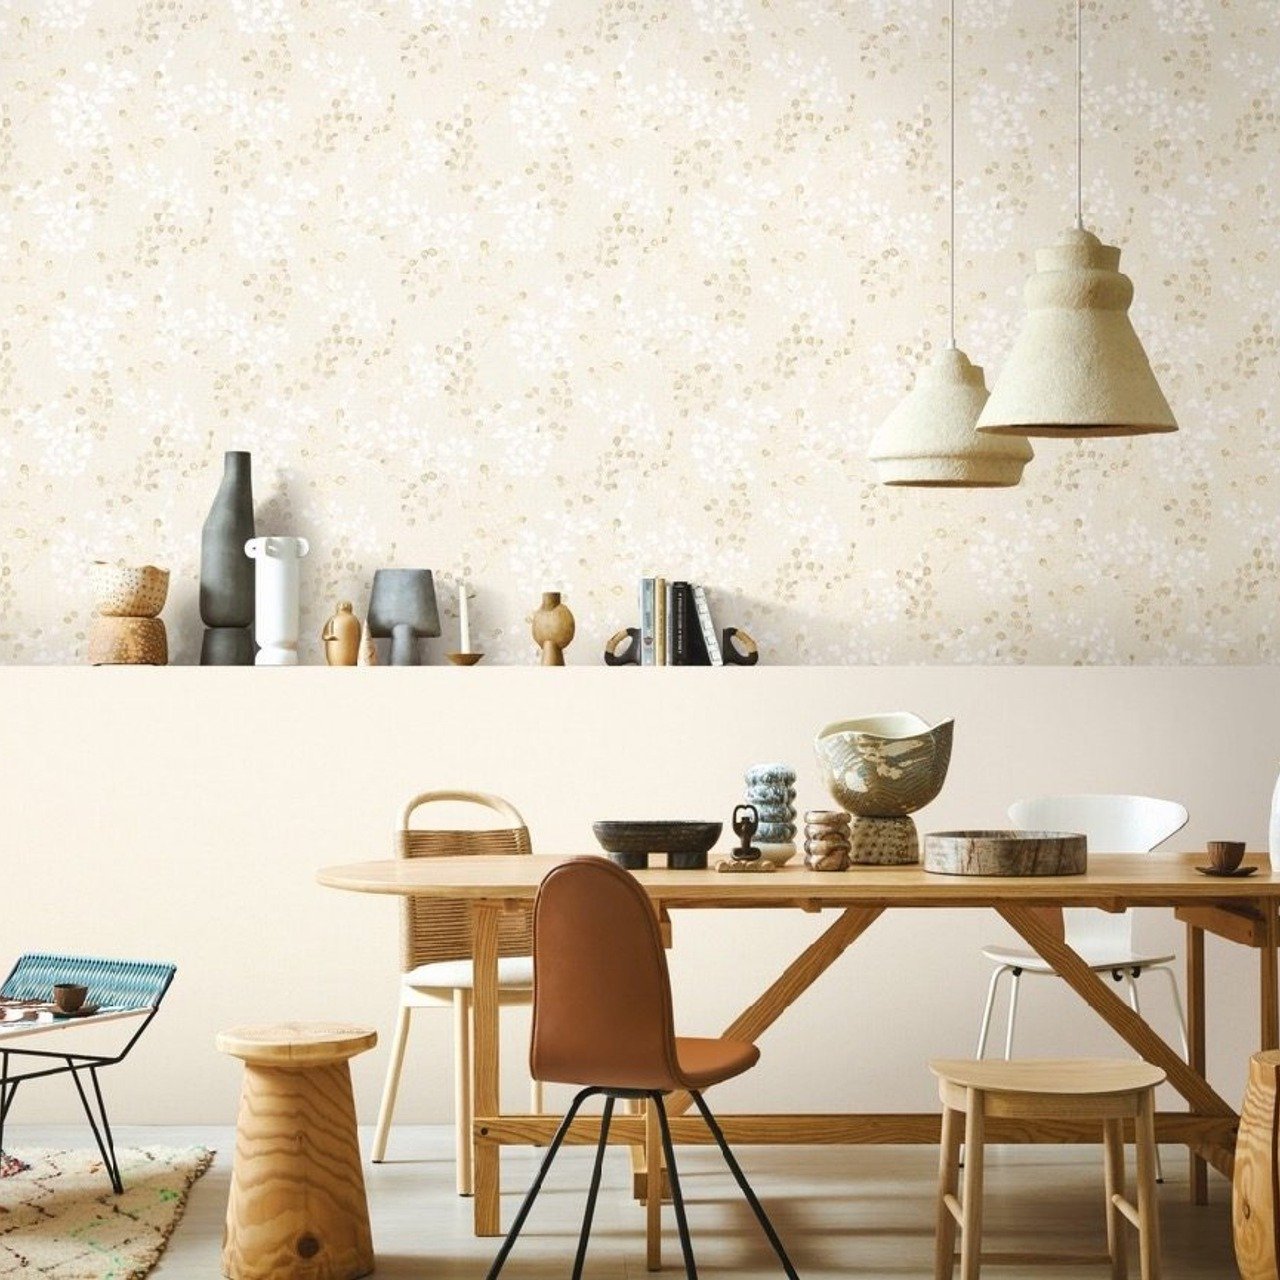
Table Linens
When it comes to sprucing up your dining area, are a game-changer. They can dramatically alter the atmosphere of your meals, making even the simplest dinner feel like a special occasion. Imagine hosting a casual brunch with friends, and instead of serving on plain old tables, you lay down vibrant, patterned table runners and matching placemats. Instantly, the vibe shifts from mundane to magical!
Creating your own table linens doesn't have to be a daunting task. With just a few materials and a little creativity, you can craft stunning pieces that reflect your personal style. Start by selecting affordable fabrics that resonate with you—think cottons, linens, or even repurposed materials. You can find these at local fabric stores or even thrift shops. The beauty of making your own table linens is that you can choose colors and patterns that harmonize with your existing decor.
Here are a few ideas to inspire your DIY journey:
- Table Runners: These are perfect for adding a pop of color down the center of your table. Simply cut your fabric to the desired length and width, then hem the edges to prevent fraying. You can even get creative with stencils or fabric paint to add unique designs!
- Placemats: These can be made to match your table runner or can be a contrasting piece that adds interest. Again, cut the fabric to size and finish the edges. Consider using heat-resistant fabric if you're worried about hot dishes.
- Napkins: Don’t forget about napkins! Making your own cloth napkins is an excellent way to elevate your dining experience. You can cut squares of fabric, hem them, and even add a personal touch with embroidery or fabric paint.
To give you a clearer idea of how to approach this, here's a simple table outlining the materials and steps needed for each type of table linen:
| Type of Linen | Materials Needed | Steps |
|---|---|---|
| Table Runner | Fabric, scissors, sewing machine (or fabric glue), measuring tape | 1. Measure and cut fabric to desired length and width. 2. Hem the edges. 3. Optional: Add designs with stencils. |
| Placemats | Fabric, scissors, sewing machine (or fabric glue), measuring tape | 1. Measure and cut fabric to size. 2. Hem the edges for a clean finish. |
| Napkins | Fabric, scissors, sewing machine (or fabric glue) | 1. Cut fabric into squares. 2. Hem the edges. 3. Optional: Embellish as desired. |
By choosing to create your own table linens, not only do you save money, but you also get the satisfaction of having personalized decor that showcases your creativity. Plus, every time you set the table, you'll feel a sense of pride knowing you crafted each piece with your own hands. So, gather your materials, unleash your inner designer, and watch as your dining space transforms into a beautifully styled area that invites warmth and conversation!
Indoor Plant Decor
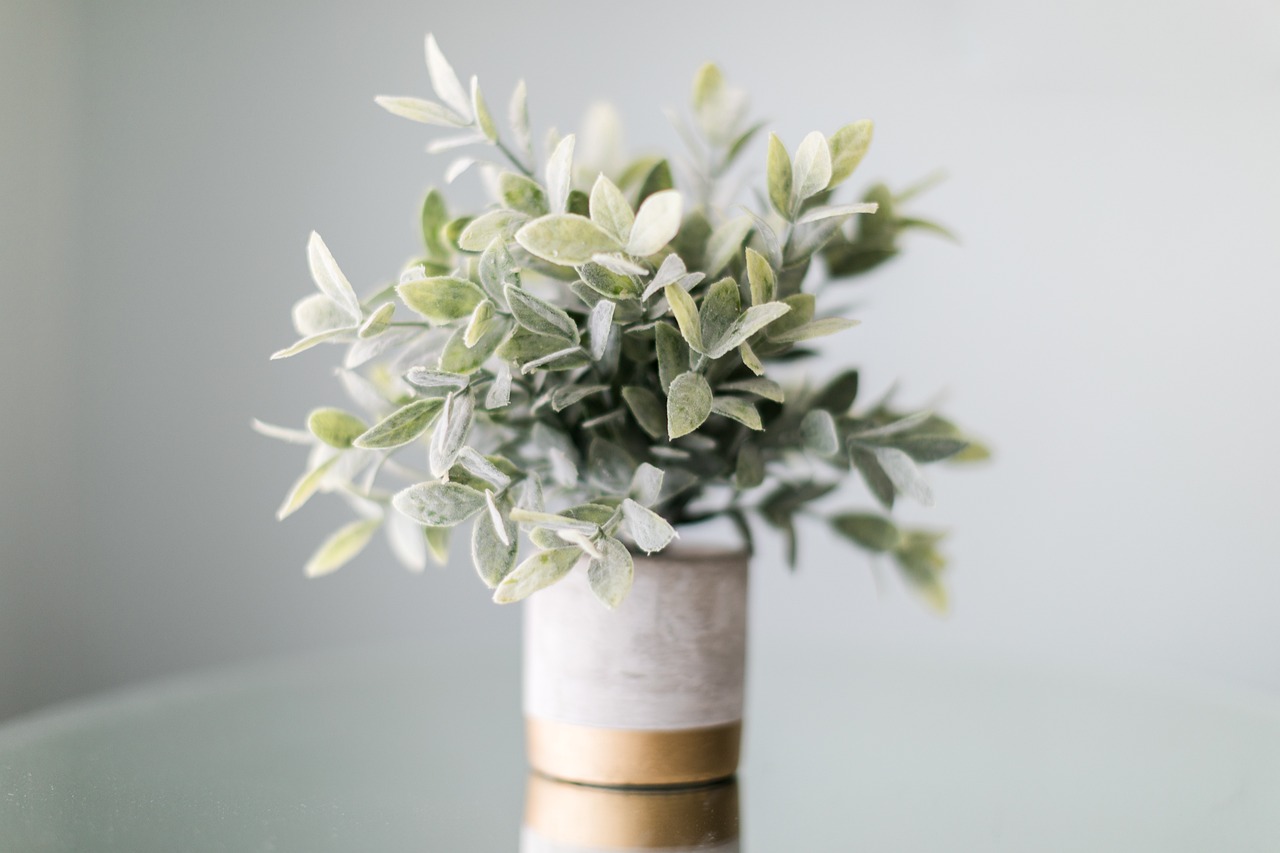
Incorporating indoor plants into your home decor is like adding a breath of fresh air to your living space. Not only do plants beautify your environment, but they also offer numerous benefits such as improving air quality and creating a calming atmosphere. Imagine walking into a room filled with vibrant greens, where the gentle rustle of leaves provides a soothing backdrop to your daily life. The best part? You don’t need a green thumb to make your home a plant paradise; with a few creative ideas, you can easily showcase these natural beauties.
One of the most exciting aspects of indoor plant decor is the variety of creative displays you can create. From hanging planters to stylish shelves, the options are endless. For instance, you can hang trailing plants like string of pearls from the ceiling or place them on wall-mounted shelves for a stunning visual effect. If you’re short on space, consider using vertical gardens or wall planters that allow you to maximize your greenery without cluttering your surfaces.
Another fun project is crafting your own plant holders. This DIY endeavor not only saves money but also adds a personal touch to your decor. You can use materials like wood, macrame, or even recycled containers to create unique holders that complement your home’s aesthetic. Picture a rustic wooden planter on your coffee table or a chic macrame hanger in the corner of your living room—both will enhance the overall vibe of your space.
For those looking to add a touch of whimsy, consider creating terrariums. These mini ecosystems are not only visually appealing but also serve as a conversation starter. You can fill glass containers with small plants, pebbles, and decorative elements like tiny figurines or colored sand. The beauty of terrariums lies in their versatility; you can design them to suit any style, whether it’s modern, bohemian, or even vintage. Plus, they require minimal maintenance, making them perfect for busy lifestyles.
To help you get started, here’s a simple table outlining some popular indoor plants and their care requirements:
| Plant Name | Light Requirement | Watering Frequency |
|---|---|---|
| Snake Plant | Low to bright indirect light | Every 2-6 weeks |
| Pothos | Low to bright indirect light | Every 1-2 weeks |
| Peace Lily | Low to bright indirect light | Once a week |
| Spider Plant | Bright indirect light | Once a week |
As you embark on your indoor plant decor journey, remember that the goal is to create a space that feels inviting and reflective of your personality. Don’t be afraid to experiment with different plants and arrangements until you find what works best for you. Each plant has its own unique charm, and by mixing various types, you can create a lush and vibrant display that brings your home to life.
Q: How often should I water my indoor plants?
A: It depends on the plant type, but a general rule is to water when the top inch of soil feels dry. Always check the specific needs of your plants.
Q: What are the best indoor plants for beginners?
A: Some great options include snake plants, pothos, and spider plants, as they are low-maintenance and thrive in various conditions.
Q: Can I use regular potting soil for my indoor plants?
A: Yes, regular potting soil works well for most indoor plants. However, certain plants may require specific soil types, so it's good to research your plant's needs.
DIY Plant Holders
Are you looking to add a touch of greenery to your home without spending a fortune? might just be the perfect solution! Not only do they allow you to showcase your favorite plants, but they also add a unique flair to your decor. Imagine transforming an ordinary corner of your room into a vibrant oasis with just a few simple materials. The best part? You can create stunning plant holders that reflect your personal style while keeping your budget intact.
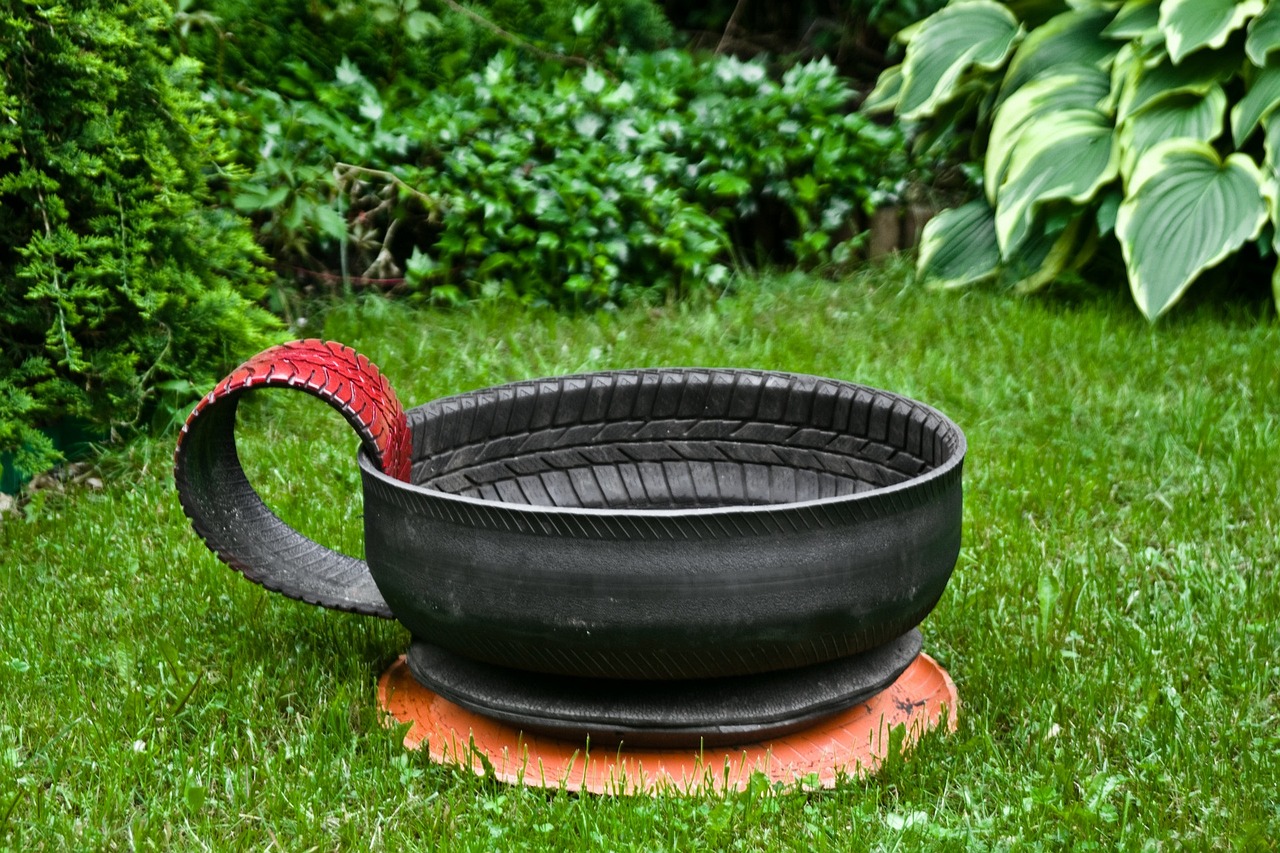
When it comes to crafting your own plant holders, the possibilities are endless. You can use recycled materials such as old jars, tin cans, or wooden crates. These items not only save you money but also contribute to a more sustainable lifestyle. For instance, a simple glass jar can be turned into a charming hanging planter by adding some twine and a few pebbles for drainage. This idea is not only budget-friendly but also adds a rustic touch to your decor.
Another exciting option is to create wall-mounted plant holders. These can be made from wooden pallets or even repurposed shelves. By attaching small pots or containers to the wall, you can create a stunning vertical garden that saves space and draws the eye upward, making your room feel larger and airier. Plus, you can arrange them in various patterns to suit your taste, whether you prefer a symmetrical look or something more eclectic.
Here are a few ideas to get you started on your DIY plant holder journey:
- Macrame Plant Hangers: If you’re feeling crafty, try your hand at macrame. This technique involves knotting cords to create beautiful hangers that can hold your plants. You can customize the colors and lengths to match your decor.
- Painted Terracotta Pots: Grab some terracotta pots and unleash your creativity! A splash of paint can transform plain pots into vibrant decor pieces. Use stencils for intricate designs or go freehand for a more artistic approach.
- Wooden Crate Planters: If you have old wooden crates lying around, consider turning them into rustic plant holders. Stack them or hang them on the wall for a unique display that adds character to your space.
Creating your own plant holders not only enhances your decor but also allows you to express your creativity. As you explore different styles and materials, you’ll find that each project becomes a reflection of your personality. So, gather your supplies, roll up your sleeves, and let your imagination run wild!
Now, you might be wondering about the best plants to use in your DIY holders. Consider opting for low-maintenance varieties like succulents or pothos, which thrive in various conditions and require minimal care. These plants not only look great but also purify the air, making your home feel fresher and more inviting.
Q: What materials do I need to make DIY plant holders?
A: You can use a variety of materials including recycled jars, wooden crates, terracotta pots, and macrame cords. The choice depends on the style you want to achieve.
Q: Are there specific plants that work best in DIY holders?
A: Yes! Low-maintenance plants like succulents, pothos, and snake plants are excellent choices for DIY holders, as they require minimal care and adapt well to different environments.
Q: How can I ensure my plants thrive in DIY holders?
A: Make sure your holders have proper drainage. If using jars or pots without drainage holes, add a layer of pebbles at the bottom to prevent water from accumulating.
Q: Can I paint my plant holders?
A: Absolutely! Painting your plant holders can add a personal touch and enhance your decor. Just make sure to use non-toxic paint that is safe for plants.

Terrariums
Creating terrariums is a delightful way to bring a touch of nature indoors while adding a unique decorative element to your home. These miniature ecosystems not only look stunning but also serve as a conversation starter, showcasing your creativity and love for plants. Imagine having a tiny garden thriving inside a glass container, where you can observe the beauty of nature in a compact form. The best part? You can easily craft one without spending a fortune!
To get started with your own terrarium, you'll need a few basic materials. Here’s a quick rundown of the essentials:
- Glass Container: This can be anything from a mason jar to a fishbowl. The size and shape are entirely up to your personal style!
- Small Plants: Choose low-maintenance plants like succulents, air plants, or moss that thrive in a confined space.
- Soil: Use potting soil suitable for the plants you select, ensuring it provides the right drainage and nutrients.
- Decorative Elements: Think about adding stones, pebbles, or small figurines to enhance the visual appeal of your terrarium.
Once you have your materials, the process is quite simple. Start by layering the bottom of your glass container with small pebbles for drainage. This step is crucial because it prevents water from pooling at the base, which can lead to root rot. Next, add a layer of activated charcoal to keep your terrarium fresh and odor-free. After that, it's time to add the potting soil where your plants will take root. Gently place your chosen plants in the soil, making sure to give them enough space to grow.
After planting, you can get creative! Arrange decorative stones or figurines around the plants to create a whimsical scene. You might even want to add a little fairy garden touch or a miniature landscape to reflect your personality. The beauty of terrariums is that they are customizable; you can change the elements as your style evolves or as the seasons change.
Maintaining your terrarium is relatively easy. Ensure it gets indirect sunlight and water it sparingly—too much water can be detrimental. A good rule of thumb is to check the soil; if it feels dry a couple of inches down, it’s time for a little sprinkle. Depending on the plants you choose, your terrarium can thrive for months with minimal care.
In conclusion, terrariums are not just a fun DIY project; they are a way to bring life into your home while expressing your creativity. Whether you’re a seasoned plant parent or a beginner, crafting a terrarium can be a fulfilling experience. So, gather your materials, unleash your imagination, and let your indoor garden flourish!
Q: What types of plants are best for terrariums?
A: Low-maintenance plants such as succulents, moss, and air plants work well in terrariums due to their small size and ability to thrive in a confined environment.
Q: How often should I water my terrarium?
A: Generally, you should water your terrarium when the soil feels dry a couple of inches down. Overwatering can lead to mold and root rot, so it's essential to be cautious.
Q: Can I use any type of glass container for my terrarium?
A: Yes! You can use various glass containers, including jars, bowls, or even vases. Just ensure it has enough space for your plants to grow.
Q: Do terrariums need drainage holes?
A: Terrariums typically do not have drainage holes, which is why it's crucial to layer pebbles at the bottom for drainage and to avoid overwatering.
Frequently Asked Questions
- What are some easy DIY home decor ideas on a budget?
There are countless DIY home decor ideas that won’t break the bank! You can start by upcycling old furniture, creating stunning wall art with inexpensive materials, or even making your own throw pillows. The key is to use your creativity and think outside the box. For example, a simple coat of paint can transform a worn-out chair into a stylish statement piece.
- How can I upcycle old furniture effectively?
Upcycling old furniture is all about giving those pieces a new life! Start by cleaning and prepping the furniture, then consider painting or staining it to match your current decor. You can also add new hardware or even reupholster it for a fresh look. Remember, the goal is to make it unique to your style while keeping costs low!
- What materials can I use for DIY wall art?
When it comes to DIY wall art, the possibilities are endless! You can use canvas, wood, or even recycled materials like cardboard. Paint, fabric, and paper are great for creating textures and layers. Don't forget to incorporate personal items like photos or mementos to make your art truly special and reflective of your personality.
- How do I create a gallery wall?
Creating a gallery wall is a fun way to showcase your style! Start by gathering your favorite photos and art pieces. Lay them out on the floor to find a layout you love before hanging them on the wall. Mix different frame styles and sizes for an eclectic look, and don’t be afraid to include other elements like mirrors or decorative objects to add depth.
- What are some budget-friendly textile options for home decor?
There are many budget-friendly textiles you can use to elevate your home decor! Look for discount fabric stores or even check out thrift shops for unique finds. Cotton, linen, and polyester blends are often affordable and come in a variety of colors and patterns. You can create your own table linens or throw pillows without spending a fortune!
- How can I incorporate indoor plants into my decor?
Indoor plants can bring life and freshness to your home! You can use simple pots or get creative with DIY plant holders made from materials like macramé or reclaimed wood. Terrariums are also a stylish way to display plants while adding a touch of nature to your decor. Plus, they improve air quality and create a calming atmosphere!


