Achieving Precision in Woodworking: Hints and Tips
This article explores essential techniques and tips to enhance precision in woodworking, ensuring accuracy and quality in your projects. Learn how to achieve the best results with expert advice and practical strategies.
When it comes to woodworking, understanding the properties of different types of wood is crucial. Each species has unique characteristics, such as density, grain pattern, and moisture content, which can significantly impact your project's precision. For instance, hardwoods like oak and maple are known for their strength and durability, making them ideal for furniture. In contrast, softwoods like pine are easier to work with but may not hold up as well over time. By familiarizing yourself with these properties, you can select the right materials for your projects, ensuring better outcomes and reducing errors during the woodworking process.
Investing in the right tools is crucial for achieving precision in woodworking. Having the proper equipment not only makes your job easier but also enhances the accuracy of your work. Some must-have tools include saws, measuring devices, and clamps. Each tool serves a specific purpose and, when used effectively, can lead to remarkable results. For example, a high-quality miter saw can make clean, precise cuts, while clamps ensure that your pieces stay in place during assembly. Remember, the right tools can make a world of difference!
Accurate measurements are the foundation of precision woodworking. Without them, even the most skilled woodworkers can end up with uneven joints or misaligned pieces. Various measuring tools, such as calipers, squares, and tape measures, are essential for ensuring exact dimensions in your projects. Each tool has its strengths; for instance, calipers are great for measuring the thickness of materials, while squares help you check and mark right angles. Knowing how to use these tools effectively will set you on the path to achieving exceptional results.
Calipers are versatile measuring tools essential for woodworking. They come in various types, including digital and dial calipers, each offering distinct advantages. For instance, digital calipers provide quick readings, while dial calipers are often favored for their simplicity and reliability. Using calipers allows you to take precise measurements of thickness and depth, which is vital when creating joints or fitting pieces together. By mastering the use of calipers, you can elevate your woodworking game to new heights.
A square is vital for ensuring angles are accurate in woodworking. It helps you check and mark right angles, which are crucial for creating sturdy joints and ensuring your projects look professional. To effectively use a square, place it against the edge of your material and draw a line along the other side. This simple technique can save you a lot of headaches down the line, as it ensures your cuts are straight and your joints fit together seamlessly.
Proper cutting techniques play a significant role in achieving precision. Whether you're making straight cuts or angled cuts, the way you approach cutting can make or break your project. For straight cuts, ensure your saw is aligned correctly and use a guide to keep your line straight. When it comes to angled cuts, take your time to measure and mark accurately before you start cutting. Remember, a little patience goes a long way in woodworking!
Joinery is critical for creating strong, precise connections in woodworking. The way you join pieces together can affect the overall strength and appearance of your project. Different joinery methods, such as dovetail and mortise-and-tenon, each have their own set of challenges and benefits. Mastering these techniques will not only improve the quality of your work but also give you the confidence to tackle more complex projects.
Dovetail joints are known for their strength and aesthetic appeal. They are often used in drawers and cabinets, where both durability and beauty are important. To create these joints accurately, you'll need to measure and cut carefully. Start by marking your wood, ensuring that your measurements are precise. Then, use a saw to make your cuts, taking care to follow your lines closely. With practice, you'll be able to create dovetail joints that are not only strong but also visually stunning.
Mortise-and-tenon joints are a staple in woodworking, providing a strong and reliable connection. To achieve precise mortises and tenons, start by marking your wood accurately. Use a chisel and mallet to create the mortise, ensuring that the sides are clean and straight. For the tenon, cut it to fit snugly into the mortise. This technique, when done correctly, results in a joint that can withstand the test of time.
The finishing process can impact the overall appearance and precision of your woodworking project. A well-applied finish enhances the wood's natural beauty and protects it from damage. Various finishing techniques, including sanding and staining, are essential for achieving a professional look. Pay attention to the details during this stage, as a flawless finish can elevate your project from good to great.
Sanding is crucial for achieving a smooth surface. It removes imperfections and prepares the wood for finishing. When sanding, start with a coarser grit and gradually move to finer grits. This process helps you achieve a flawless finish on your woodworking projects. Remember, patience is key—take your time to sand thoroughly, and you'll be rewarded with a beautifully smooth surface.
Applying stains and finishes requires precision to enhance wood's natural beauty. Use a clean brush or cloth to apply your stain evenly, ensuring that you avoid common pitfalls like streaking or pooling. Allow the stain to dry completely before applying a protective finish. This step is essential for achieving a professional-looking result that showcases your hard work.
- What type of wood is best for beginners? Softwoods like pine are often recommended for beginners due to their ease of use and availability.
- How can I improve my measuring skills? Practice using different measuring tools and double-check your measurements to build confidence.
- What is the best finish for woodworking projects? It depends on the project, but polyurethane and lacquer are popular choices for durability and appearance.
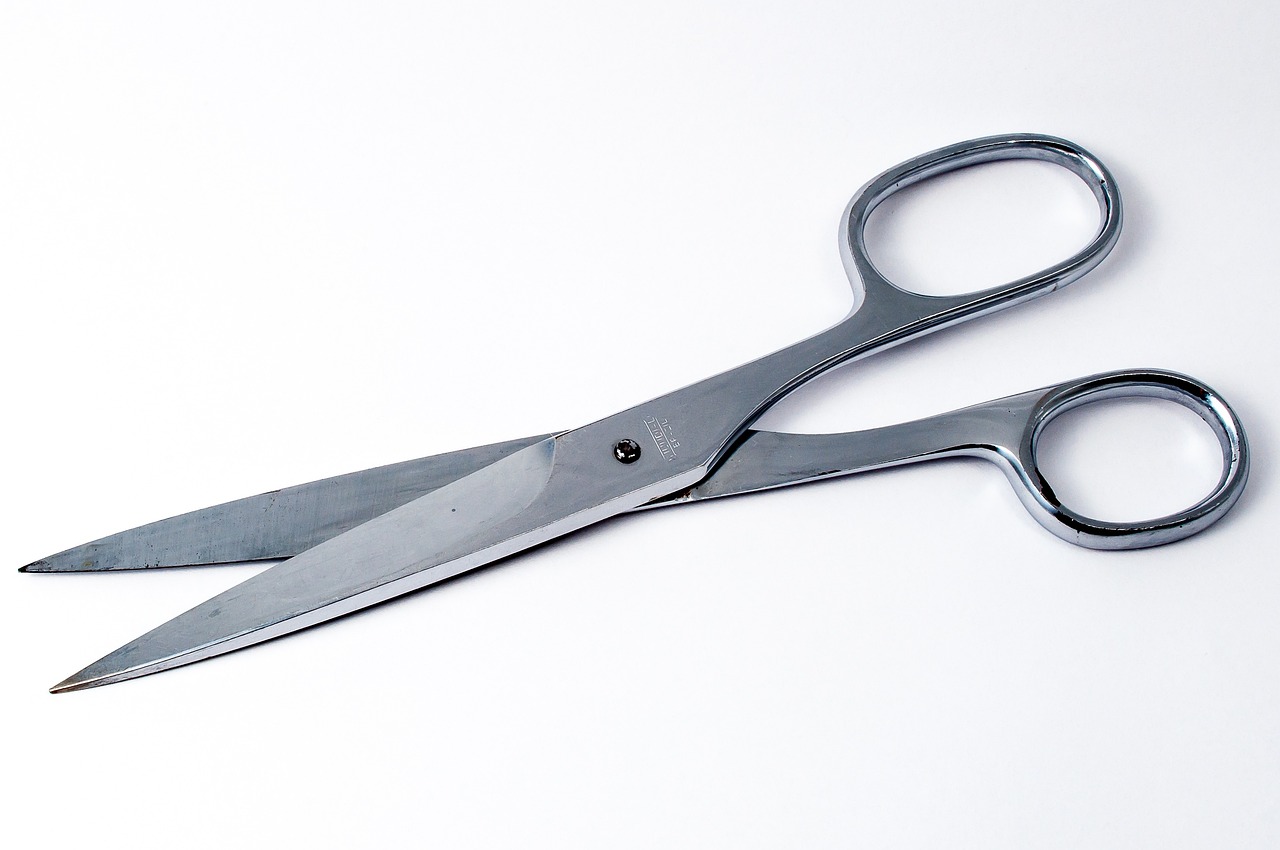
Understanding Wood Properties
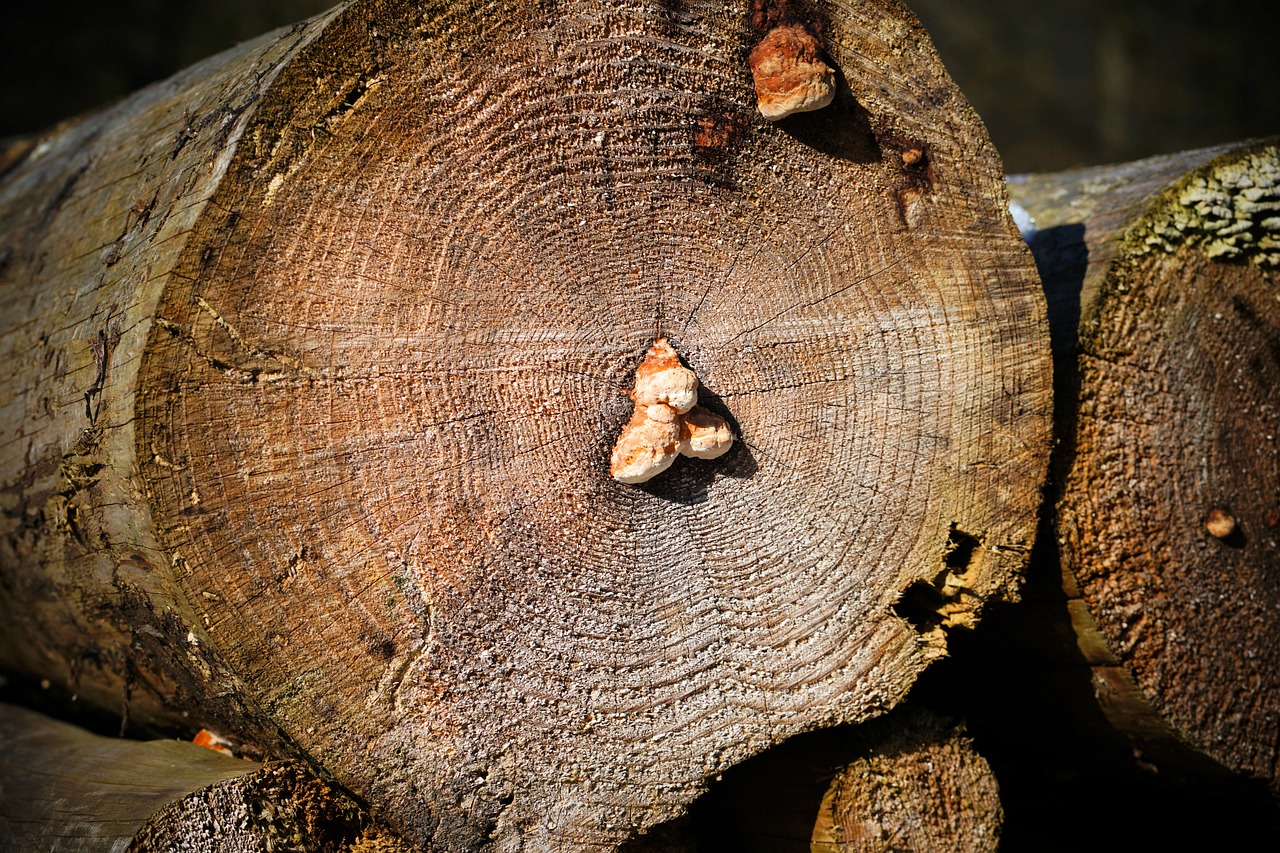
When diving into the world of woodworking, one of the most crucial aspects you need to grasp is the properties of wood. Just like how different spices can transform a dish, each type of wood brings its own unique characteristics to your projects. Understanding these properties not only helps you choose the right materials but also enhances the overall quality of your work. So, what should you be looking out for?
First off, consider the density of the wood. Denser woods, like oak or maple, tend to be more durable and resistant to wear, making them ideal for furniture that sees a lot of use. On the other hand, lighter woods like pine are easier to work with but may not hold up as well over time. It's a bit like choosing between a sturdy SUV and a lightweight sports car; both have their advantages depending on your needs.
Next, let’s talk about moisture content. Wood is a natural material that expands and contracts based on humidity levels. If you're working with wood that has a high moisture content, it can lead to warping or cracking as it dries. Therefore, it's essential to select wood that has been properly seasoned. Think of it as letting your favorite cheese come to room temperature before serving; it just tastes better that way!
Another important property is the grain pattern. The way the wood fibers are arranged can affect both the strength and aesthetic appeal of your project. For instance, a straight grain is typically stronger and easier to work with, while a wavy or curly grain can add a beautiful visual element but may complicate cutting and joining. It's like choosing the right fabric for a dress; the pattern can make or break the final look.
Furthermore, the wood’s hardness plays a significant role in determining its suitability for various applications. Hardwoods, such as cherry and walnut, are often preferred for fine furniture due to their strength and rich appearance, while softwoods, like fir and spruce, are commonly used for structural purposes. Here’s a quick comparison of some common woods:
| Type of Wood | Density (lbs/ft³) | Common Uses |
|---|---|---|
| Oak | 40-50 | Furniture, flooring |
| Pine | 25-35 | Framing, cabinetry |
| Maple | 40-45 | Countertops, furniture |
| Cherry | 30-35 | Fine furniture, cabinetry |
Lastly, don’t overlook the finish of the wood. The surface treatment can enhance the wood's natural beauty while also providing protection. Different finishes can highlight the grain and color of the wood, making it look more vibrant and polished. It's like putting the final touches on a masterpiece; the right finish can elevate your project to a whole new level.
In conclusion, understanding the properties of wood is essential for any woodworking enthusiast. By considering factors like density, moisture content, grain patterns, hardness, and finish, you can make informed choices that lead to outstanding results. Remember, the more you know about your materials, the better your projects will turn out!
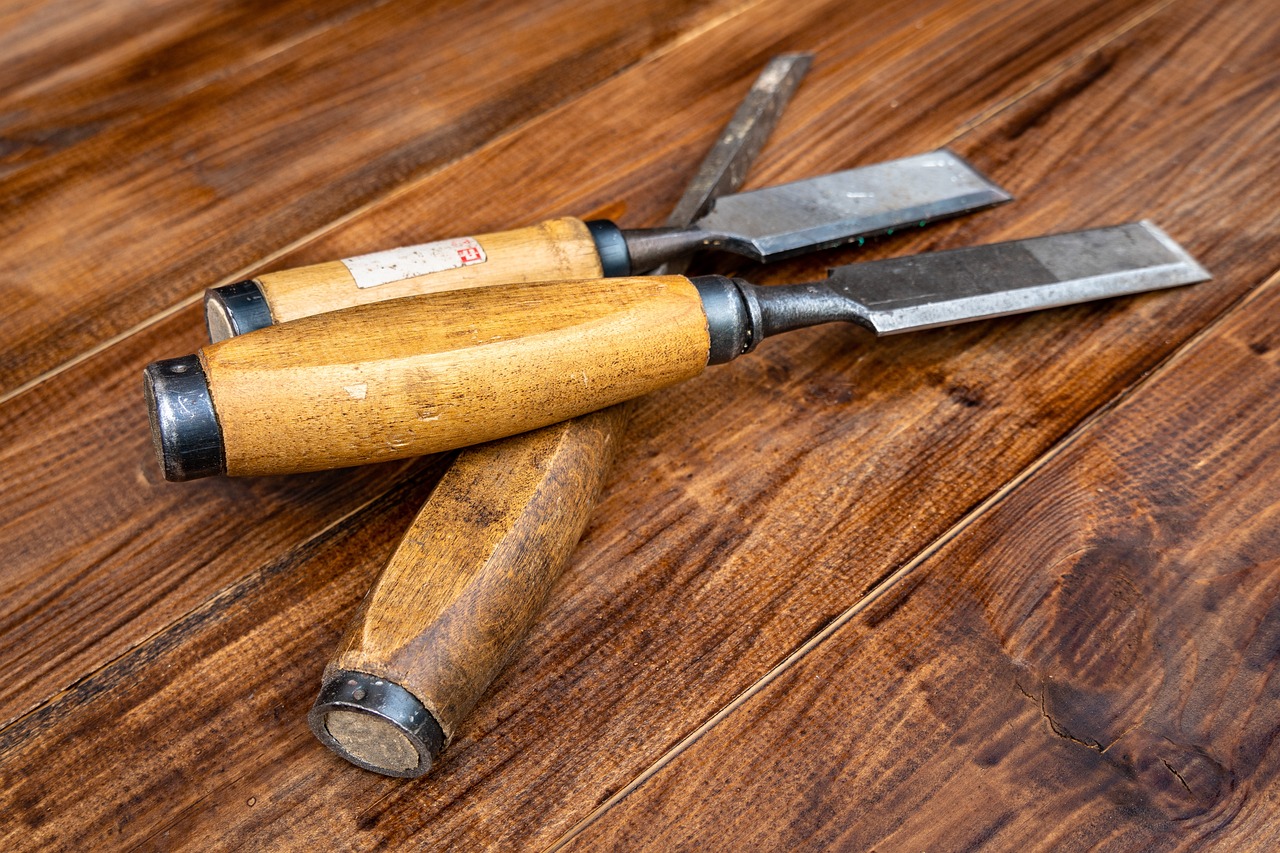
Essential Tools for Precision
When it comes to woodworking, having the right tools is like having a secret weapon in your arsenal. Precision is not just a goal; it’s a necessity that can make or break your project. Imagine trying to build a beautiful piece of furniture with a dull saw or an inaccurate measuring tape. It’s like trying to paint a masterpiece with a broken brush! Therefore, investing in high-quality tools is crucial for achieving that level of accuracy that every woodworker dreams of.
Among the essential tools for precision in woodworking are saws, measuring devices, and clamps. Each of these plays a pivotal role in ensuring that your cuts are clean, your measurements are spot-on, and your joints are tight. Let’s delve deeper into these tools and see how they can help elevate your woodworking game.
Accurate measurements are the foundation of precision woodworking. Without them, you might as well be throwing darts blindfolded! Various measuring tools can help you achieve exact dimensions, including:
- Calipers: These are fantastic for measuring the thickness of wood and ensuring that your cuts are precise.
- Squares: Essential for checking right angles, squares ensure that your joints fit together perfectly.
- Tape Measures: A classic tool that every woodworker should have on hand for quick and accurate measurements.
Understanding how to use these measuring tools effectively can significantly reduce errors and improve the overall quality of your projects. For instance, when using calipers, make sure to take multiple measurements to confirm accuracy. It’s a simple step, but it can save you from costly mistakes later on!
Calipers come in various types, including digital, dial, and vernier calipers. Each type has its unique advantages, but all serve the same fundamental purpose: to provide precise measurements. Digital calipers, for example, offer easy readability and can measure both inside and outside dimensions. This versatility makes them indispensable for woodworkers who require accuracy in their projects.
A square is one of those tools that might seem simple but is incredibly powerful. Using a square correctly can be the difference between a project that looks professional and one that looks like it was built by a novice. To use a square effectively, place it against the edge of the wood and check for gaps. If there are any, you know you need to adjust your cuts. This simple yet effective method can help ensure that your angles are always right!
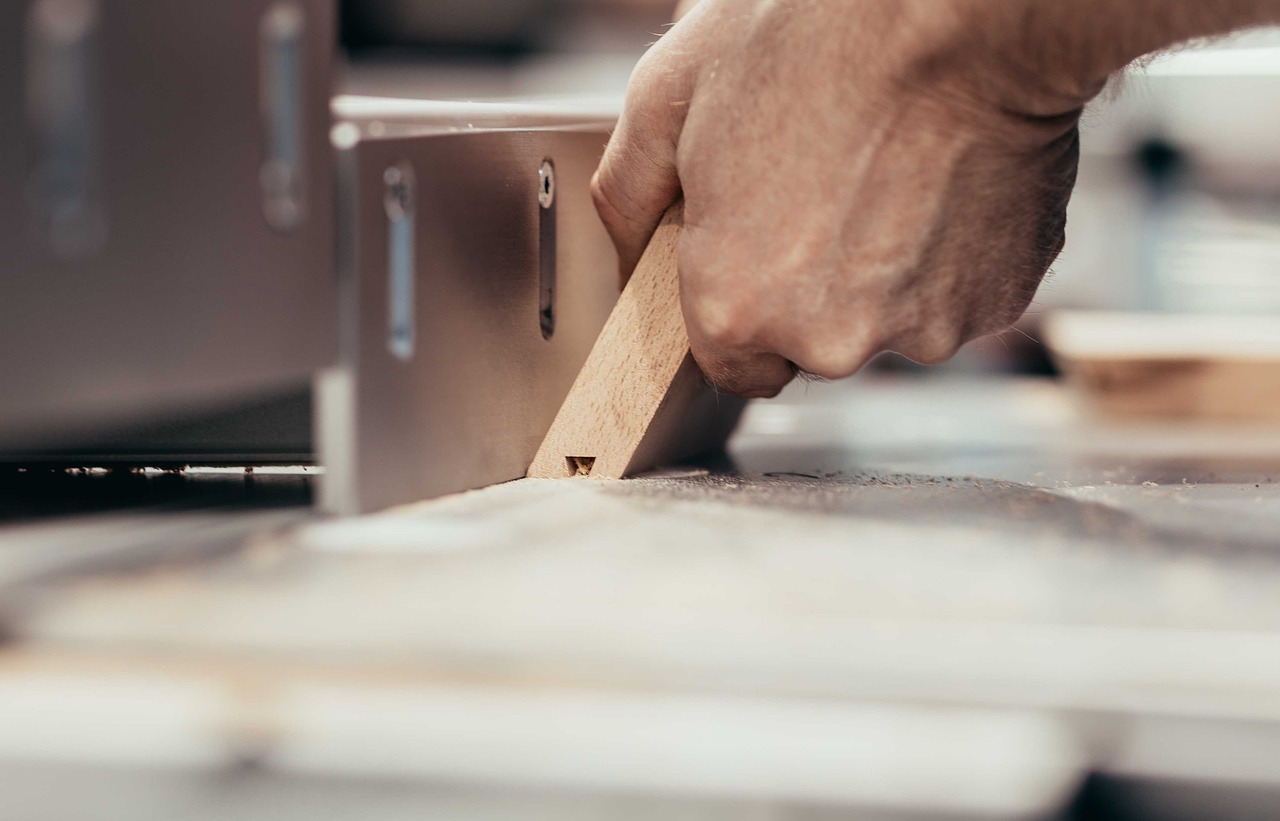
Once you have your measurements down, it’s time to cut! Proper cutting techniques are vital for achieving precision. Whether you’re making straight cuts or angled cuts, the way you handle your saw can make a world of difference. For example, when making a straight cut, always ensure that your saw blade is aligned with your marked line. A slight deviation can lead to a misfit joint, which can be frustrating and time-consuming to fix.
In summary, having the right tools is paramount for precision in woodworking. From measuring tools like calipers and squares to the essential cutting techniques, each element contributes to the final outcome of your project. So, equip yourself wisely, practice your techniques, and watch as your woodworking skills soar!
Q: What are the best tools for beginners in woodworking?
A: Beginners should start with essential tools like a tape measure, square, hand saw, and clamps. These tools provide a solid foundation for learning the craft.
Q: How can I ensure my cuts are precise?
A: Always measure twice before cutting and use a square to check your angles. Additionally, take your time and don’t rush the cutting process.
Q: Is it worth investing in high-quality tools?
A: Absolutely! High-quality tools not only last longer but also provide better accuracy and ease of use, making your woodworking experience much more enjoyable.
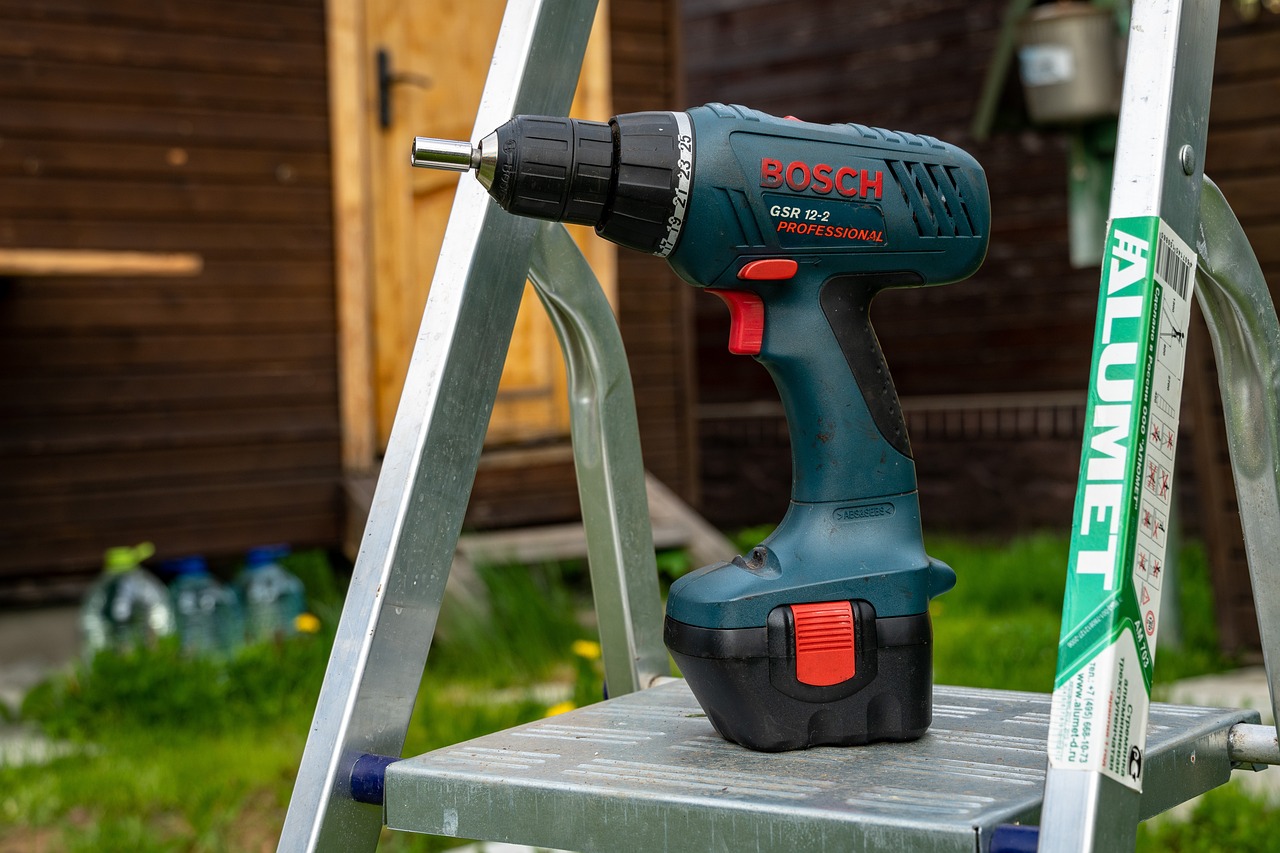
Measuring Tools
When it comes to woodworking, the phrase "measure twice, cut once" couldn't be more accurate. Having the right measuring tools is essential for achieving precision, and understanding how to use them effectively can make all the difference in your projects. Whether you're a seasoned woodworker or just starting out, mastering these tools will elevate your craftsmanship.
One of the most fundamental measuring tools in woodworking is the tape measure. This flexible measuring device is perfect for measuring long lengths and can easily be stored in your pocket or toolbox. However, don’t just whip it out and measure; ensure you’re reading it correctly. A common mistake is misreading the markings, especially when working with fractions. Take your time, and double-check your measurements to avoid costly errors.
Next up is the square, a tool that ensures your angles are spot-on. A square is indispensable for checking the accuracy of your cuts and ensuring that your joints fit together seamlessly. There are various types of squares, such as the framing square and the speed square, each serving its own purpose. When using a square, place it firmly against the edge of your workpiece and make sure it’s flush before marking your line. This simple step can save you a lot of headaches down the line.
Another essential measuring tool is the caliper. Calipers come in different forms, such as digital and dial calipers, and they are perfect for taking precise internal and external measurements. They can measure thickness with incredible accuracy, which is crucial when you’re working on intricate projects. For example, if you’re creating a dovetail joint, using a caliper to measure the thickness of your wood will help you achieve a perfect fit, enhancing both the strength and aesthetics of your project.
Here’s a quick breakdown of some measuring tools you might want to consider for your workshop:
| Tool | Purpose | Best Use |
|---|---|---|
| Tape Measure | Measuring long lengths | General measurements |
| Square | Checking angles | Ensuring cuts are accurate |
| Caliper | Precise measurements | Measuring thickness and internal dimensions |
| Marking Gauge | Making consistent marks | Setting widths for cuts |
In addition to these tools, consider investing in a marking gauge. This tool allows you to set a specific width for consistent marking, ensuring that your cuts are uniform throughout the project. By using a marking gauge, you can create a line that acts as a guide for your saw, leading to cleaner cuts and better-fitting joints.
Finally, remember that the key to precision is not just having the right tools but knowing how to use them effectively. Take the time to practice with each tool, understand their strengths and weaknesses, and don’t hesitate to seek out tutorials or guidance from experienced woodworkers. With patience and practice, you’ll be able to achieve the precision necessary to elevate your woodworking projects to the next level.
- What is the most important measuring tool for woodworking? While all measuring tools are important, the tape measure is often considered the most essential for general measurements.
- How can I improve my measuring accuracy? Always double-check your measurements, use the right tools for specific tasks, and take your time when marking and cutting.
- What is the difference between a caliper and a tape measure? A caliper provides more precise measurements, especially for thickness and internal dimensions, while a tape measure is better for longer lengths.
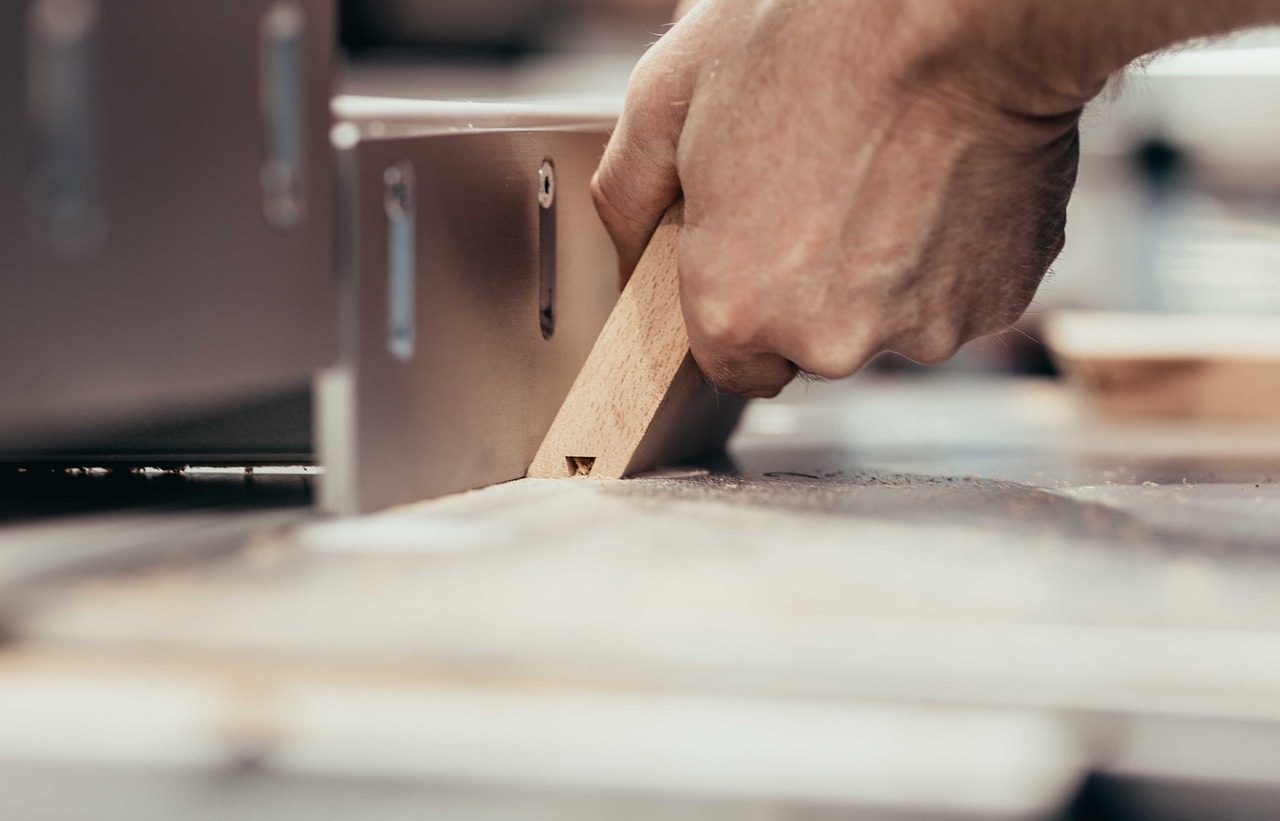
Calipers and Their Uses
When it comes to achieving precision in woodworking, calipers are your best friends. These versatile measuring tools are essential for anyone looking to elevate their craftsmanship. But what exactly makes calipers so important? Well, they allow you to measure internal and external dimensions with remarkable accuracy, which is crucial when working on intricate projects. Imagine trying to fit two pieces of wood together perfectly; without the right measurements, you might end up with gaps or overlaps that can ruin the entire piece.
There are several types of calipers, each serving specific purposes:
- Vernier Calipers: These are the most common type and are perfect for measuring both inside and outside dimensions, as well as depths. They feature a main scale and a sliding scale that allows for precise readings.
- Digital Calipers: For those who prefer technology, digital calipers provide instant readings on a digital display, making them incredibly user-friendly. They often have features like metric and imperial conversions, which can save you time.
- Dial Calipers: These offer a mechanical display and are often favored for their durability. The dial is easy to read, making them a great option for those who appreciate traditional tools.
Using calipers effectively involves a few simple steps. First, ensure that the caliper is calibrated properly. This means checking that the jaws close completely when not in use. Next, when measuring, make sure to apply gentle pressure to avoid compressing the material, which could lead to inaccurate readings. Finally, always read the measurement at eye level to avoid parallax errors, which can happen if you're looking at the scale from an angle.
In woodworking, calipers can be used in various scenarios, such as:
- Measuring the thickness of wood pieces for precise cuts.
- Checking the diameter of dowels or other cylindrical objects.
- Ensuring that mortises and tenons fit snugly together.
In conclusion, incorporating calipers into your woodworking toolkit can significantly enhance your precision. They are not just tools; they are the keys to unlocking the potential of your projects. Whether you're a seasoned woodworker or just starting, mastering the use of calipers can lead to more professional results and a deeper understanding of your craft.
Q1: What is the best type of caliper for beginners?
A1: For beginners, digital calipers are often the best choice due to their ease of use and clear display. They help eliminate the guesswork involved in reading measurements.
Q2: How do I maintain my calipers?
A2: To maintain your calipers, ensure they are kept clean and free from debris. Store them in a protective case to avoid damage and check the calibration regularly.
Q3: Can I use calipers for other materials besides wood?
A3: Absolutely! Calipers can be used to measure a variety of materials, including metal, plastic, and even some soft materials like foam, as long as you apply the appropriate pressure.
Using a Square for Accuracy
When it comes to woodworking, achieving precision is absolutely essential, and one of the best tools to help you with that is the humble square. Think of a square as your best friend in the workshop; it’s there to ensure that every angle you cut is spot-on. Whether you’re making a simple shelf or a complex piece of furniture, using a square correctly can mean the difference between a project that looks professional and one that appears haphazard.
So, how do you effectively use a square? First, it’s important to understand the different types of squares available. The most common ones are the framing square, the combination square, and the speed square. Each has its unique uses, but they all serve the same fundamental purpose: to help you check and mark right angles. For instance, the framing square is great for larger projects, allowing you to layout your cuts with ease, while the combination square is perfect for smaller, more detailed work.
To use a square, start by placing it against the edge of your material. Ensure that one leg of the square is flush against the edge while the other leg extends into the area where you want to mark your line. This is where it gets exciting! You can now draw a line along the edge of the square, giving you a perfect right angle. It’s like magic, but it’s really just good technique. Remember, accuracy is key, so take your time with this step.
Here’s a quick tip: always double-check your measurements before making any cuts. It’s easy to get caught up in the moment and rush through, but taking that extra moment can save you from making costly mistakes. If you’re working with multiple pieces that need to match, use the square to mark all of them consistently, ensuring that they’re all uniform in size. This can be particularly helpful when creating frames or cabinets where symmetry is vital.
Another fantastic use of a square is during the assembly of your project. As you fit pieces together, use the square to check that everything is aligned properly. If something seems off, adjust it before the glue dries or before you secure it with screws. A slight adjustment now can save you a world of trouble later on. Remember, the goal is to create joints that are not only strong but also visually appealing.
In summary, mastering the use of a square is a fundamental skill every woodworker should develop. It’s a simple tool, but when used correctly, it can dramatically improve the accuracy of your work. So, the next time you're in your workshop, grab that square and let it guide you to woodworking success!
- What types of squares are best for woodworking? The framing square, combination square, and speed square are all excellent choices, each serving different purposes.
- How do I ensure my square is accurate? Regularly check your square against a known straight edge to ensure it hasn’t warped or become damaged.
- Can I use a square for more than just checking angles? Absolutely! A square can also be used for marking straight lines and ensuring pieces are aligned during assembly.

Cutting Techniques
When it comes to woodworking, mastering is essential for achieving precision and ensuring that your projects turn out just as you envision. Imagine trying to build a beautiful piece of furniture, only to find that your cuts are uneven or misaligned. Frustrating, right? To avoid this scenario, it's crucial to understand the various cutting methods available and how to implement them effectively.
One of the most fundamental techniques is the straight cut. This is often the bread and butter of woodworking, serving as the basis for many projects. To execute a straight cut, you’ll want to use a high-quality saw, whether it be a table saw or a circular saw. The key here is to ensure that your saw blade is sharp and properly aligned. A dull blade can lead to jagged edges and increased effort, which can compromise the precision of your cut.
Next, we have angled cuts, which are vital for creating joints and fitting pieces together seamlessly. Achieving the correct angle can be a bit tricky, but with the right tools and techniques, you can make it look easy. A miter saw is particularly useful for this purpose, allowing you to set precise angles for crosscuts. Don’t forget to measure twice and cut once—this old adage holds true in woodworking!
Additionally, it’s important to consider the feed rate when making cuts. This refers to how quickly you move the material through the saw. A slower feed rate can lead to cleaner cuts, but if you're too slow, you risk burning the wood or damaging the blade. Finding the right balance is crucial for achieving that perfect cut.
Now, let’s not overlook the importance of safety while cutting. Always wear protective gear such as goggles and ear protection, and ensure that your workspace is free of clutter. A safe workspace not only protects you but also contributes to the precision of your cuts. Remember, a moment of carelessness can lead to accidents that could derail your project.
In conclusion, mastering cutting techniques is about more than just knowing how to use a saw; it’s about understanding the nuances that lead to precision. Whether you’re making straight cuts or angled cuts, paying attention to your tools, techniques, and safety will elevate the quality of your woodworking projects. With practice and patience, you’ll find yourself producing pieces that not only meet but exceed your expectations.
- What tools are best for making precise cuts? A table saw and a miter saw are among the best tools for achieving precision in your cuts.
- How can I ensure my cuts are straight? Use a straightedge as a guide, and ensure your saw blade is sharp and properly aligned.
- What should I do if my cuts are uneven? Check your measuring techniques, ensure your tools are calibrated, and practice your cutting technique.
- Is safety important when cutting wood? Absolutely! Always wear protective gear and keep your workspace organized to prevent accidents.
Joinery Techniques
Joinery is often considered the backbone of woodworking, as it is critical for creating strong, precise connections that hold your projects together. Whether you're crafting a simple shelf or a complex piece of furniture, understanding the various joinery techniques can significantly enhance the durability and aesthetic appeal of your work. Each joinery method has its unique characteristics, advantages, and challenges, which makes it essential to choose the right one for your specific project.
Among the most popular joinery techniques are the dovetail joints and mortise-and-tenon joints. Let's delve into these methods and explore how to execute them with precision. Dovetail joints are renowned for their strength and beauty, often used in drawers and boxes. They consist of interlocking 'tails' and 'pins' that not only provide mechanical strength but also create an attractive visual pattern. To achieve a perfect dovetail joint, careful measuring and cutting are crucial. You should start by marking your wood accurately and using a sharp chisel and saw to ensure clean cuts. The fit should be snug yet allow for wood expansion, which is vital for long-term durability.
On the other hand, mortise-and-tenon joints are a staple in traditional woodworking. This type of joint involves inserting a tenon (a projecting piece of wood) into a mortise (a cavity cut into another piece). This method is particularly effective for making strong frame structures, such as tables and chairs. To create a precise mortise-and-tenon joint, it’s essential to use the right tools, such as a chisel and a drill or a mortiser. Begin by measuring the thickness of your stock and marking out the dimensions for both the mortise and the tenon. The key to success lies in ensuring that both pieces fit together snugly without excessive force, which can weaken the joint over time.
To sum up, mastering joinery techniques can elevate your woodworking projects from amateur to professional. Whether you opt for dovetail or mortise-and-tenon joints, the attention to detail in your measurements and cuts will pay off in the strength and beauty of your finished product. Remember, practice makes perfect, so don’t hesitate to experiment with different joinery methods to find what works best for you and your projects.
- What is the best wood for joinery? Hardwoods such as oak, maple, and cherry are often preferred for their durability and ease of working.
- Can I use power tools for joinery? Yes, power tools can speed up the process, but ensure you maintain precision, especially with measurements.
- How do I ensure my joints are strong? Use proper techniques, select the right wood, and ensure tight-fitting joints for maximum strength.

Dovetail Joints
Dovetail joints are not just a technical aspect of woodworking; they are a hallmark of craftsmanship that combines strength and aesthetic appeal. Imagine your project as a beautiful puzzle where each piece fits together seamlessly. That's the beauty of dovetail joints! They are often used in drawer construction and cabinetry, providing a sturdy connection that can withstand the test of time. The interlocking design of dovetail joints distributes weight evenly, making them ideal for furniture that experiences daily use.
To create a perfect dovetail joint, you need to focus on precision in both measuring and cutting. The first step is to choose the right wood. Hardwoods like oak or maple are excellent choices due to their durability and ability to hold the joint well. Once you have your wood, you’ll want to measure and mark where the joint will be cut. It's essential to use a sharp chisel and a fine saw to ensure clean cuts. Remember, a clean cut leads to a better fit!
When marking your dovetails, consider using a marking gauge, which will help you achieve consistent depth across all joints. The key to a successful dovetail joint lies in the angles; typically, a 1:8 ratio for softwoods and a 1:6 ratio for hardwoods works best. This means that for every inch of depth, you should measure out 8 or 6 inches horizontally. Once you’ve made your cuts, it’s time to test the fit. Don’t be discouraged if it doesn’t fit perfectly on the first try; woodworking is as much about patience as it is about precision!
After you’ve achieved a snug fit, you can proceed to assemble the joint. Apply wood glue for added strength, and consider using clamps to hold everything in place while the glue dries. This step is crucial because it ensures that the joint remains tight and secure. Once the glue has cured, you can sand down any rough edges to create a smooth finish. Remember, the goal is not just functionality but also to enhance the aesthetic appeal of your project.
In summary, mastering dovetail joints is an essential skill for any woodworker looking to elevate their projects. With practice, patience, and the right techniques, you can create joints that not only hold well but also showcase your craftsmanship. So grab your tools, choose your wood, and let your creativity flow!
- What tools do I need to create dovetail joints? You will need a saw, chisels, a marking gauge, and clamps.
- Can I use dovetail joints in softwood? Absolutely! Dovetail joints work well with both hardwoods and softwoods, but the angle may vary.
- How do I ensure my dovetail joints fit snugly? Precision in measuring and cutting is key. Take your time and double-check your measurements.
- Are dovetail joints difficult to master? They can be challenging at first, but with practice, you'll become proficient.
Mortise-and-Tenon Joints
The mortise-and-tenon joint is a time-honored technique in woodworking that is celebrated for its strength and reliability. This joint consists of two main components: the mortise, which is a cavity cut into one piece of wood, and the tenon, which is a protruding piece that fits snugly into the mortise. When executed correctly, this joint creates a sturdy connection that can withstand significant stress, making it ideal for furniture construction, frame assembly, and more.
Creating a mortise-and-tenon joint requires careful planning and precision. First, you need to determine the size of the mortise and tenon based on the thickness of the wood you are working with. A common rule of thumb is that the tenon should be about one-third the thickness of the wood, ensuring a strong bond without compromising the integrity of the pieces. For example, if you are working with a 2-inch thick board, your tenon should ideally be around ⅔ of an inch wide.
To achieve precise mortises, you can use several tools, including a chisel, a router, or a mortising machine. Each tool has its advantages:
- Chisel: Offers great control and is perfect for smaller projects.
- Router: Ideal for making clean, consistent mortises quickly.
- Mortising Machine: Best for larger-scale projects where multiple joints are needed.
Once you have your mortise cut, the next step is to create the tenon. This part can be fashioned using a table saw or a hand saw, depending on your preference and the tools available. The key here is to ensure that the tenon fits snugly into the mortise without being too tight, which could lead to splitting or other issues. A good fit will allow for wood movement while maintaining a strong connection.
After cutting both the mortise and tenon, it's crucial to test the fit before applying any adhesive. This step is often overlooked, but it can save you a lot of trouble later on. If adjustments are necessary, now is the time to make them. Once you’re satisfied with the fit, apply wood glue to the tenon and insert it into the mortise. Clamping the joint for a period will help ensure a strong bond as the glue sets.
In summary, mastering the mortise-and-tenon joint can elevate your woodworking projects significantly. It's not just about strength; it's also about the craftsmanship that goes into creating such a precise connection. With practice, you’ll find that this joint can be both a functional and aesthetic element in your woodworking. So, grab your tools, and let’s get started on creating some beautiful, sturdy pieces!
Here are some common questions about mortise-and-tenon joints:
- What types of wood are best for mortise-and-tenon joints? Hardwoods like oak, maple, and cherry are ideal due to their strength and durability.
- Can I use mortise-and-tenon joints for outdoor furniture? Yes, but make sure to use weather-resistant wood and appropriate finishes to protect against the elements.
- How long should I clamp a mortise-and-tenon joint? Generally, 30 minutes to an hour is sufficient, but always refer to your glue's instructions for optimal results.

Finishing Techniques
The finishing process in woodworking is like the icing on a cake; it can make or break the overall appearance of your project. A well-executed finish not only enhances the beauty of the wood but also protects it from wear and tear. When it comes to achieving that flawless finish, there are several techniques and tips you should keep in mind. First and foremost, sanding is a crucial step that cannot be overlooked. It’s essential for creating a smooth surface that allows stains and finishes to adhere properly. But how do you choose the right grit and technique?
When sanding, start with a coarser grit to remove any imperfections or rough spots, then gradually move to finer grits for that silky smooth feel. For example, you might begin with 80-grit sandpaper to tackle rough surfaces, then progress to 120-grit and finish with 220-grit for a polished look. It's also important to sand in the direction of the grain to avoid unsightly scratches. Remember, patience is key here; rushing through the sanding process can lead to a less than perfect finish.
Once you’ve achieved that perfect smoothness, it’s time to explore staining and applying finishes. Stains can enhance the natural beauty of the wood, highlighting its grain and texture. When selecting a stain, consider the type of wood you’re using, as different woods absorb stain differently. For instance, softer woods like pine may require a pre-stain conditioner to ensure an even application. On the other hand, hardwoods like oak can often take stain more evenly without additional preparation.
Here’s a quick breakdown of the types of finishes you might consider:
- Oil-based finishes: These penetrate the wood, providing a rich color and a durable finish.
- Water-based finishes: These dry quickly and are less odorous, making them a popular choice for indoor projects.
- Lacquer: This offers a high-gloss finish and dries quickly, but it requires careful application to avoid runs.
Applying the finish is an art in itself. Use a high-quality brush or a foam applicator for an even coat. It’s best to apply multiple thin coats rather than one thick coat, as this will help avoid drips and runs. Between coats, light sanding with fine-grit sandpaper can help create a smoother surface and improve adhesion for the next layer. Always remember to read the manufacturer's instructions for drying times and application methods to achieve the best results.
Finally, let’s talk about the importance of environment while finishing your project. Ensure that your workspace is free from dust and debris, as these can ruin your finish. A clean, well-ventilated area will not only make your job easier but will also lead to a more professional-looking end product. So, whether you’re staining a beautiful oak table or sealing a pine bookshelf, taking the time to perfect your finishing techniques will pay off in the long run.
Q: How long should I wait between coats of finish?
A: It typically depends on the type of finish you are using. Water-based finishes usually dry within 1-2 hours, while oil-based finishes can take up to 24 hours. Always check the manufacturer's instructions.
Q: Can I use a power sander for finishing?
A: Yes, a power sander can speed up the sanding process, but be cautious. Use it on lower settings and keep it moving to avoid sanding too much in one spot.
Q: What should I do if my stain is blotchy?
A: If your stain appears blotchy, consider using a pre-stain conditioner next time, as it helps to even out the absorption of the stain.
Q: How can I achieve a high-gloss finish?
A: To achieve a high-gloss finish, apply several coats of lacquer or polyurethane, sanding lightly between each coat. Finish with a polishing compound for that extra shine.
Sanding for Smoothness
Sanding is one of those essential steps in woodworking that can make or break your project. Imagine spending hours crafting a beautiful piece of furniture, only to have it marred by rough edges and uneven surfaces. That’s where sanding comes in! It’s not just about making things look good; it’s about achieving that smooth finish that invites touch and admiration. The right sanding techniques can elevate your work, making it feel professional and polished.
When you think about sanding, it might seem straightforward, but there’s a bit of art to it. First off, you need to choose the right grit of sandpaper. Coarse grits (like 60 or 80) are great for removing material quickly, but they can leave deep scratches if you’re not careful. On the other hand, fine grits (like 220 or higher) are perfect for that final touch, smoothing out the surface without compromising the integrity of your work. It’s crucial to progress through the grits rather than jumping from coarse to fine, as this helps in achieving a smoother finish overall.
Another key aspect of sanding is the technique you use. It’s not just about moving the sandpaper back and forth. You should always sand with the grain of the wood to avoid scratches that can be hard to remove later. Think of it like petting a cat; you wouldn’t rub against the fur, right? You’d go with the grain for a gentle touch. Additionally, applying even pressure is vital. Too much pressure can cause uneven surfaces, while too little can lead to insufficient smoothing. A good rule of thumb is to let the sandpaper do the work—just guide it along the surface.
For larger projects, consider using a power sander. They can save you a lot of time and effort, but they come with their own set of challenges. It’s easy to get carried away and sand too much in one spot. To avoid this, keep the sander moving and don’t linger in one area. If you’re working on intricate details or smaller pieces, hand sanding may be your best bet. It gives you more control and allows you to feel the surface as you work.
Finally, after sanding, don’t forget to clean your surface thoroughly. Dust and debris can ruin the finish if they’re trapped beneath stains or sealants. A simple wipe down with a damp cloth can do wonders. For those who want to take it a step further, consider using a tack cloth to pick up any fine dust particles. It’s the little details that can set your project apart!
In summary, sanding is a vital step in achieving that smooth, professional finish in your woodworking projects. By selecting the right grit, using proper techniques, and ensuring a clean surface, you can elevate your craftsmanship to new heights. Remember, it’s the smoothness that invites people to admire your work, so take the time to sand properly!
- What grit sandpaper should I start with? It depends on the condition of your wood. For rough surfaces, start with a coarse grit (60-80) and gradually move to finer grits (220+).
- Can I sand against the grain? It’s best to sand with the grain to avoid scratches. Sanding against the grain can lead to a rough finish.
- How do I clean my surface after sanding? Use a damp cloth to wipe down the surface and remove dust. A tack cloth can be used for finer dust particles.

Applying Stains and Finishes
When it comes to woodworking, applying stains and finishes is like putting the icing on the cake; it enhances the beauty of your work and brings out the rich textures of the wood. However, this process requires a level of precision that can make or break your project. You want to ensure that each stroke of your brush or cloth is deliberate and even, so the end result is nothing short of stunning. After all, the way you finish your project can dramatically affect its overall appearance and longevity.
Before you dive into the application, it's crucial to prepare your wood surface properly. Start by sanding the wood to a smooth finish, which not only removes imperfections but also helps the stain adhere better. A good rule of thumb is to begin with a coarser grit sandpaper, like 120, and progress to a finer grit, such as 220. This two-step process ensures that the wood is not only smooth but also ready to absorb the stain evenly.
Once your wood is prepped, it’s time to choose the right stain. There are two main types: oil-based and water-based. Oil-based stains penetrate deeper into the wood, providing a richer color but taking longer to dry. Water-based stains, on the other hand, dry quickly and are easier to clean up, making them ideal for beginners. Consider your project and the look you want to achieve when selecting your stain. For example, if you’re working on a piece that will be exposed to moisture, an oil-based stain might be the better choice due to its durability.
Now, let’s talk application techniques. Here’s a simple process to follow:
- Test First: Always test your stain on a scrap piece of wood or an inconspicuous area to see how it looks once applied.
- Even Application: Use a clean, lint-free cloth or a high-quality brush to apply the stain. Work in the direction of the grain to avoid streaks.
- Wipe Off Excess: After applying the stain, wait a few minutes and then wipe off any excess with a clean cloth. This step is crucial to achieving an even finish.
- Multiple Coats: If you desire a deeper color, apply multiple coats, allowing each coat to dry completely before applying the next.
Once your stain has dried, it's time to apply a finish. Finishing products, such as polyurethane or varnish, not only protect your wood from scratches and moisture but also enhance its natural beauty. When applying a finish, you can choose between a matte, satin, or glossy sheen, depending on the look you want to achieve. Again, remember to apply in the direction of the grain and to let each coat dry thoroughly before adding another. For the best results, consider sanding lightly between coats with fine-grit sandpaper to ensure a smooth surface.
In conclusion, applying stains and finishes is a critical step in woodworking that requires attention to detail and a bit of patience. By following these techniques, you can elevate your projects and ensure they not only look great but also last for years to come. Remember, the finish is what will ultimately showcase your hard work, so take your time and enjoy the process!
1. How long should I wait between applying stain and finish?
It's generally recommended to wait at least 24 hours after staining before applying a finish, but always check the manufacturer's instructions for specific products.
2. Can I use a spray finish instead of a brush?
Absolutely! Spray finishes can provide a smooth, even coat and are particularly useful for intricate details or larger surfaces.
3. What should I do if I accidentally apply too much stain?
If you notice excess stain, simply wipe it off with a clean cloth before it dries. This will help you achieve an even finish.
4. Is it necessary to sand between coats of finish?
Yes, sanding between coats of finish helps to create a smoother surface and improves adhesion for the next coat.
Frequently Asked Questions
- What are the key properties of wood that affect precision in woodworking?
Understanding the properties of wood, such as grain direction, density, and moisture content, is essential for achieving precision. Each type of wood behaves differently when cut or shaped, so knowing these characteristics helps you select the right materials for your projects, leading to better accuracy and fewer errors.
- What essential tools should I invest in for precision woodworking?
To enhance precision in your woodworking, consider investing in high-quality tools such as measuring devices (like calipers and squares), sharp saws, and sturdy clamps. These tools are fundamental in ensuring accurate measurements and clean cuts, which are critical for achieving professional results.
- How do I use calipers effectively in my woodworking projects?
Calipers are versatile tools that allow you to measure both internal and external dimensions accurately. To use them effectively, ensure the calipers are properly calibrated, and practice measuring different sizes to get comfortable with the tool. This will help you achieve precise measurements for your cuts and joints.
- What cutting techniques can improve precision in woodworking?
Proper cutting techniques, such as using a straightedge for straight cuts and setting up jigs for angled cuts, are vital. Always ensure your saw is sharp and that you’re using the correct technique for the type of cut you’re making. This will help you achieve cleaner, more precise cuts in your projects.
- What are the benefits of using dovetail joints?
Dovetail joints are renowned for their strength and aesthetic appeal. They provide a mechanical interlock that enhances the durability of your projects. When executed correctly, they also add a beautiful visual element to your work, making them a popular choice among woodworkers.
- How can I ensure precision when applying stains and finishes?
To achieve a professional-looking finish, it's crucial to apply stains and finishes evenly. Use a high-quality brush or cloth, and work in thin layers to avoid drips and uneven application. Additionally, sanding between coats can help create a smoother surface, enhancing the final appearance of your project.


