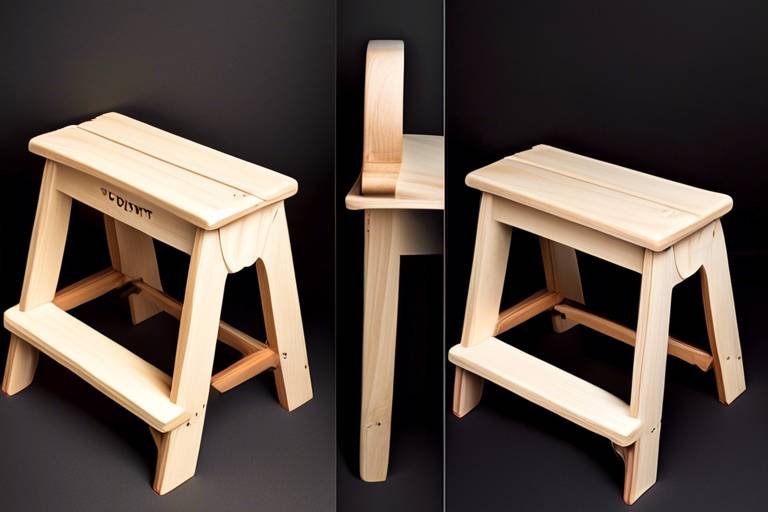
Design and Craft Precision Wooden Rulers
Creating precision wooden rulers is not just a craft; it’s an art form that combines skill, creativity, and precision. Whether you're a professional woodworker or a hobbyist, the process of designing and crafting these tools can be incredibly rewarding. Imagine holding a beautifully crafted ruler that not only serves its purpose but also showcases your craftsmanship. In this article, we’ll delve into the intricate steps involved in this process, ensuring you have all the knowledge you need to create rulers that are both functional and aesthetically pleasing.
To start, we’ll explore the importance of choosing the right materials. The wood you select can significantly affect the durability and precision of your finished product. Different types of wood offer unique characteristics, such as grain patterns and hardness, which can enhance the ruler's functionality and appearance. For instance, hardwoods like maple or oak are often preferred for their strength and resistance to wear. On the other hand, softer woods like pine may be easier to work with but could lack the longevity needed for a precision tool. Understanding these differences will help you make an informed choice that aligns with your project goals.
Once you’ve selected your wood, the next step is to gather the necessary tools and equipment. Crafting precision wooden rulers requires a variety of tools, including measuring instruments and cutting tools. From calipers that ensure accurate measurements to saws that make clean cuts, having the right equipment is crucial. In our next sections, we’ll break down the essential tools you’ll need to embark on your woodworking journey, ensuring that you’re well-equipped to achieve the best results.
But crafting a wooden ruler isn’t just about the tools; it’s also about the design. Think of your ruler as a canvas where functionality meets creativity. The design process involves considering elements such as scale, layout, and aesthetics. You want your ruler to be not only practical but also visually appealing. This is where your personal style can shine through, whether you prefer a minimalist look or something more ornate. We’ll guide you through the design principles that will help you create a ruler that stands out.
Finally, no woodworking project is complete without finishing touches. The finishing techniques you apply can enhance both the durability and appearance of your wooden ruler. From staining options that highlight the wood's natural grain to sealants that protect against moisture, the right finishing methods will ensure your ruler lasts for years to come. We’ll cover various techniques in detail, providing you with tips on how to achieve a polished look that complements your craftsmanship.
So, are you ready to dive into the world of precision wooden ruler crafting? With the right knowledge and tools, you can create stunning rulers that not only serve their purpose but also reflect your unique style. Let’s get started!
- What type of wood is best for making rulers? Hardwoods like maple and oak are recommended for their durability and precision.
- Do I need special tools to craft wooden rulers? Yes, tools such as measuring instruments, saws, and finishing tools are essential for accuracy and quality.
- How can I ensure my cuts are precise? Using a table saw and measuring tools like calipers will help you achieve accurate cuts.
- What finishing techniques should I use? Staining, sealing, and polishing are important for enhancing the ruler's appearance and longevity.

Choosing the Right Wood
When it comes to crafting precision wooden rulers, the choice of wood is not just a matter of preference; it’s a fundamental decision that can impact the durability and accuracy of your final product. Think of wood as the backbone of your ruler—without a strong, reliable foundation, the entire structure can falter. So, how do you choose the right wood? Let's delve into some of the most popular types of wood used for crafting rulers, each with its unique characteristics, benefits, and potential drawbacks.
First up, we have maple. This hardwood is a favorite among woodworkers for its exceptional strength and fine grain. Maple rulers are not only durable but also resistant to warping, making them ideal for precision measurements. The light color of maple also provides an excellent canvas for any stains or finishes you might want to apply, enhancing its aesthetic appeal.
Next on the list is birch. Similar to maple, birch is a hardwood known for its smooth texture and light color. It’s slightly softer than maple, which makes it easier to work with, especially for intricate designs. Birch is less prone to splintering, making it a safe choice for rulers that will see a lot of handling. However, it’s essential to seal birch properly, as it can absorb moisture more readily than some other woods.
Then we have oak, a classic choice that boasts a distinct grain pattern and rich color. Oak is incredibly sturdy and resistant to wear, which is why it’s often used in furniture and cabinetry. While oak may be a bit heavier than other woods, its durability makes it a worthy contender for a ruler that needs to stand the test of time. Just keep in mind that the grain can be quite pronounced, which may not suit everyone’s aesthetic preferences.
For those looking for something a bit different, consider cherry wood. Known for its warm, reddish hue, cherry wood darkens beautifully over time, giving your ruler a unique character as it ages. While it’s softer than maple and oak, cherry’s fine grain allows for precise cutting and detailing, making it a favorite among artisans. However, it’s worth noting that cherry can be more expensive than other options, so budget accordingly.
Lastly, let’s not forget about plywood. While it may not have the same aesthetic appeal as solid woods, plywood is an incredibly versatile and cost-effective option. It’s made from layers of wood veneer, which are glued together to create a strong, stable sheet. If you’re looking to make multiple rulers or experiment with different designs without breaking the bank, plywood can be a smart choice.
In summary, when selecting the right wood for your precision wooden rulers, consider the following factors:
- Durability: Will it withstand daily use?
- Grain and Appearance: Does it align with your aesthetic vision?
- Cost: Does it fit within your budget?
- Workability: How easy is it to cut and shape?
Ultimately, the right wood for your ruler will depend on your specific needs, preferences, and the intended use of the ruler itself. Take your time to explore different options, and don’t hesitate to experiment with various types until you find the perfect match for your woodworking project.
Q: What type of wood is best for beginners?
A: For beginners, birch or maple are excellent choices due to their workability and availability. They are forgiving woods that allow for easier crafting.
Q: Can I use softwood for making rulers?
A: While it’s possible, softwoods like pine may not provide the durability needed for precision rulers. They are more prone to dents and warping over time.
Q: How do I maintain my wooden ruler?
A: Regularly clean your ruler with a damp cloth and apply a wood conditioner or oil to maintain its finish and prevent drying out.

Tools and Equipment Needed
When it comes to crafting precision wooden rulers, having the right tools and equipment is absolutely essential. Think of it as assembling your secret weapon arsenal for woodworking. Each tool plays a crucial role in ensuring that your ruler not only looks great but also performs accurately. Whether you're a seasoned woodworker or just starting out, understanding the necessary tools will set you up for success.
First and foremost, you’ll need a reliable set of measuring tools. Precision is key in woodworking, especially when crafting rulers. A good set of calipers will allow you to measure thickness and dimensions with incredible accuracy, while a measuring tape will help you gauge longer lengths. It’s not just about having these tools; it’s about knowing how to use them effectively. Familiarize yourself with their functions and practice measuring different materials. The more you use them, the more skilled you’ll become.
Next up are the cutting tools. This is where the magic happens! A quality table saw can make all the difference when it comes to achieving straight, clean cuts. It’s like having a laser-guided missile for your wood! However, if you prefer a more hands-on approach, a hand saw can also do the job, albeit with a bit more effort. Whichever you choose, ensure that your blades are sharp and well-maintained to avoid splintering and uneven edges.
In addition to cutting tools, you’ll need finishing tools to give your wooden ruler that polished, professional look. Sanders, files, and various types of finishes will help you achieve a smooth surface that feels good in your hands. Imagine running your fingers over a beautifully finished ruler—smooth, sleek, and ready to measure! Don’t skimp on this step; it’s what separates a good ruler from a great one.
To give you a clearer picture, here’s a quick table summarizing the essential tools for crafting wooden rulers:
| Tool Type | Purpose |
|---|---|
| Measuring Tools | Calipers, measuring tapes for accurate dimensions |
| Cutting Tools | Table saw, hand saw for precise cuts |
| Finishing Tools | Sanders, files, and finishes for a polished look |
Lastly, don’t forget about safety equipment. Safety goggles, dust masks, and ear protection are critical when working with power tools. It's easy to get lost in the excitement of crafting, but always remember: safety first! You wouldn’t want to ruin your woodworking experience with an injury, would you?
In summary, equipping yourself with the right tools and equipment is the first step towards crafting precision wooden rulers. From measuring to cutting and finishing, each tool has its purpose and contributes to the overall quality of your project. So gear up, and let’s get crafting!
- What type of wood is best for making rulers? - Hardwoods like maple and oak are excellent choices due to their durability and aesthetic appeal.
- Do I need power tools to craft a wooden ruler? - While power tools can enhance precision and efficiency, hand tools can also produce great results if used skillfully.
- How can I ensure my measurements are accurate? - Always double-check your measurements and use high-quality measuring tools for the best results.
Measuring Tools
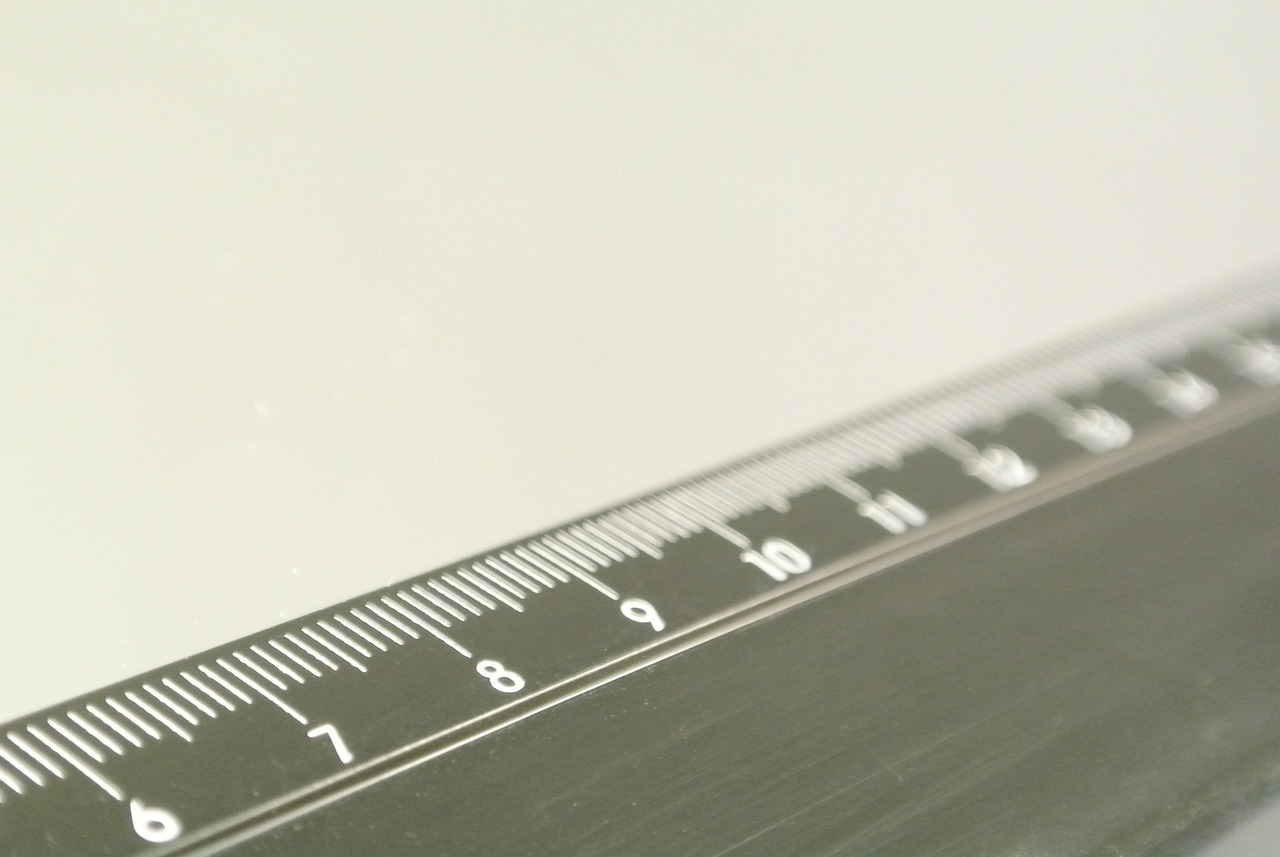
When it comes to crafting precision wooden rulers, accurate measurements are the heartbeat of your project. Without the right measuring tools, even the most exquisite pieces of wood can fall short of perfection. So, what tools should you have in your arsenal? Let's dive into the essentials that will ensure your measurements are spot on every time.
First and foremost, a good pair of calipers is indispensable. These handy tools allow you to measure both internal and external dimensions with remarkable accuracy. Whether you're gauging the thickness of wood or the width of a cut, calipers can help you achieve precision down to a fraction of a millimeter. Plus, they’re versatile enough to be used in various woodworking projects beyond just rulers.
Next up is the classic measuring tape. While it may seem simple, a high-quality measuring tape can be a game changer. Look for one that has clear markings and a sturdy case. It’s particularly useful for measuring longer lengths and can easily be stored away when not in use. Remember, accuracy is key, so always ensure your tape is fully extended and straight when taking measurements.
Additionally, a square is another essential tool that cannot be overlooked. This tool helps you ensure that your cuts are perfectly perpendicular, which is crucial for the edges of your ruler. A square can also guide you in marking straight lines, making it a must-have in your measuring toolkit.
For those who want to take their precision to the next level, consider investing in a digital measuring tool. These devices can offer instant readings and often come with features like memory storage and conversion between measurement units. While they may not be necessary for everyone, they can significantly reduce the time spent on calculations and improve accuracy.
In summary, having the right measuring tools is essential for ensuring that your wooden rulers are crafted with the utmost precision. Here’s a quick recap of the tools you should consider:
- Calipers - For detailed measurements.
- Measuring Tape - Essential for longer lengths.
- Square - Ensures straight cuts and right angles.
- Digital Measuring Tools - For enhanced accuracy and efficiency.
By equipping yourself with these measuring tools, you’re not just preparing to craft a ruler; you’re setting the stage for creating a masterpiece. Remember, precision in measurement leads to perfection in craftsmanship, and every great woodworking project starts with the right tools in hand!
Q: What is the most important measuring tool for woodworking?
A: While all measuring tools are important, calipers are often considered the most crucial for achieving high precision in measurements.
Q: Can I use a regular measuring tape for woodworking projects?
A: Yes, a regular measuring tape can be used for woodworking, but it’s best to choose one with clear markings and a sturdy design for accuracy.
Q: How do I ensure my measurements are accurate?
A: Always double-check your measurements, use a reliable measuring tool, and ensure that your tools are properly calibrated.

Cutting Tools
When it comes to crafting precision wooden rulers, the choice of cutting tools can make or break your project. Selecting the right tools is crucial, as they directly influence the quality of your cuts and, ultimately, the accuracy of your ruler. So, what cutting tools should you consider? Let's dive into some essential options that every woodworker should have in their arsenal.
First up is the table saw. This powerhouse tool is renowned for its ability to make straight, clean cuts with remarkable precision. When set up correctly, a table saw can help you achieve consistent widths and lengths for your wooden rulers. Be sure to use a high-quality blade that suits the type of wood you’re working with, as this will significantly affect the finish of your cuts. Additionally, utilizing a fence can help ensure that your cuts remain straight and true.
Next, we have hand saws, which are perfect for those who appreciate the traditional approach to woodworking. While they may require a bit more effort and skill, hand saws offer a level of control that can be beneficial for intricate cuts. They come in various types, such as crosscut saws and rip saws, each designed for specific cutting tasks. If you’re working on smaller projects or need to make detailed adjustments, a hand saw can be your best friend.
Another essential tool is the jigsaw. This versatile cutting tool is fantastic for making curved cuts and intricate designs. If your ruler design incorporates any unique shapes or patterns, a jigsaw will allow you to navigate those curves with ease. Just remember to choose the right blade for your material, as different blades are optimized for various wood types and thicknesses.
Additionally, don’t overlook the importance of knives and chisels in your toolkit. These tools are invaluable for making fine adjustments and detailing work. A sharp utility knife can help you refine edges and remove any imperfections, while chisels can assist in carving out specific designs or notches in your wooden ruler. Having a set of quality chisels can elevate your craftsmanship and provide that extra touch of finesse.
Finally, consider investing in a router. This tool can be particularly useful for adding decorative edges or grooves to your ruler. A router allows you to customize the look of your ruler, giving it a unique flair that sets it apart from standard designs. With the right bit, you can create smooth edges and intricate patterns that enhance both the functionality and aesthetic appeal of your wooden ruler.
In summary, the right cutting tools are essential for achieving precision and quality in your woodworking projects. Whether you choose power tools like table saws and routers or opt for the traditional hand saws and chisels, each tool has its unique advantages. So, what will you choose for your next project? Remember, the right tools will not only make your job easier but also help you create a ruler that you can be proud of.
- What is the best wood for making rulers? - Hardwoods like maple or oak are ideal due to their durability and smooth finish.
- Can I use power tools for detailed cuts? - Yes, tools like jigsaws and routers can be used for intricate designs.
- How do I maintain my cutting tools? - Regular cleaning, sharpening blades, and proper storage will prolong the life of your tools.
- Is it necessary to sand the edges of my ruler? - Absolutely! Sanding ensures a smooth finish and prevents splinters.

Finishing Tools
When it comes to crafting precision wooden rulers, the finishing touches are just as important as the initial cuts. Finishing tools play a vital role in achieving that polished, professional look that can make your rulers stand out. Think of these tools as the makeup artists of the woodworking world—they bring out the best features of your project while ensuring it looks stunning and lasts for years.
First on the list are sanders. These handy tools come in various forms, including orbital sanders and belt sanders, each serving a unique purpose in the finishing process. Sanders help smooth out rough edges and surfaces, making your ruler not only more visually appealing but also comfortable to handle. For instance, an orbital sander is perfect for softening the edges and ensuring a seamless finish, while a belt sander can tackle larger surfaces quickly. Remember, the smoother the surface, the better the finish will adhere, so don’t skimp on this step!
Next, we have files. These tools are indispensable for fine-tuning the details. A set of files allows you to reach those tricky spots that sanders might miss, like corners or intricate designs. They come in various shapes and sizes, so you can choose the right one for your specific needs. Using a file can feel like sculpting; it gives you the control to refine your ruler's edges and surfaces precisely. Just be sure to apply even pressure to avoid creating uneven spots.
Once you've achieved that perfect smoothness, it's time to consider the final touches—finishes. The finish not only enhances the aesthetic appeal but also protects the wood from moisture, dirt, and wear. You can choose from a variety of finishes, such as oils, varnishes, and lacquers. Each type has its own application method and drying time, so it's essential to read the instructions carefully. For example, oil finishes penetrate the wood and enhance its natural grain, giving it a warm, rich color, while varnishes create a hard, protective layer on the surface.
As you embark on the finishing process, remember to work in a well-ventilated area, especially when using chemical finishes. Safety should always be a priority. Also, consider wearing gloves and a mask to protect yourself from dust and fumes. With the right tools and a bit of patience, you can transform a simple wooden ruler into a beautiful, functional piece of art.
In summary, the finishing tools you choose can dramatically impact the final look and durability of your wooden rulers. By investing time in sanding, filing, and applying the right finish, you ensure that your rulers not only perform well but also look stunning on any desk or workspace.
- What type of sander is best for wooden rulers? An orbital sander is generally recommended for its versatility and ability to provide a smooth finish.
- How long should I let the finish dry? Drying times vary by product, so always refer to the manufacturer's instructions, but typically, allow at least 24 hours for a proper cure.
- Can I use regular wood stain on my ruler? Yes, but ensure that it is suitable for the type of wood you are using and that it is applied evenly for the best results.
Designing Your Ruler
When it comes to designing your wooden ruler, the process is not just about functionality; it’s also about creating something that is visually appealing. Imagine crafting a ruler that not only serves its purpose but also stands out as a piece of art on your desk. The first step in this creative journey is to consider the scale of your ruler. Are you aiming for a standard 12-inch ruler, or do you want something more unique, like a 24-inch ruler for larger projects? The scale you choose will impact the overall design and usability of your ruler.
Next, let’s talk about layout. A well-thought-out layout can make a significant difference in how easy it is to read measurements. You might want to consider incorporating both metric and imperial measurements for versatility. This dual measurement can cater to a wider audience, especially if you plan to gift or sell your rulers. Furthermore, think about the spacing between the markings. Consistency is key; uneven spacing can lead to confusion and inaccuracies. A good rule of thumb is to use a fine-point pencil to lightly mark your measurements before making them permanent.
Now, let’s not forget about the aesthetic appeal of your ruler. The wood grain can add character and charm, so choose a wood that not only meets your durability needs but also has a beautiful grain pattern. For example, maple offers a light, clean look, while walnut provides a rich, dark finish that can be stunning when polished. You could even consider combining different woods for a more eclectic design. This not only showcases your creativity but also adds a unique touch that can set your ruler apart from others.
In addition to the wood choice, consider adding personal touches such as engravings or custom logos. This can elevate your ruler from a simple tool to a personalized item that reflects your style. Many woodworkers use laser engraving for precision, allowing for intricate designs that can include anything from names to intricate patterns. If you’re not into engraving, even a simple hand-painted design can add a charming touch.
Lastly, don’t underestimate the power of color. While many rulers stick to natural wood finishes, a splash of color can make your ruler pop. You can use paints or stains to enhance certain features or create a gradient effect. Just remember that whatever color you choose should complement the wood and not overwhelm it. The goal is to create a harmonious balance that catches the eye without being too flashy.
In summary, designing your ruler involves a mix of functionality and creativity. By carefully considering the scale, layout, wood choice, personal touches, and color, you can create a ruler that is not only practical but also a joy to use. So, roll up your sleeves and let your imagination run wild—your perfect wooden ruler awaits!
- What type of wood is best for making rulers?
Hardwoods like maple, oak, and walnut are excellent choices due to their durability and aesthetic appeal.
- Can I use power tools for ruler crafting?
Yes, power tools can enhance precision and efficiency, especially for cutting and sanding.
- How can I ensure accurate measurements?
Using high-quality measuring tools and double-checking your markings will help maintain accuracy.
- Is it necessary to finish my wooden ruler?
Finishing is important for protecting the wood and enhancing its appearance, so it is highly recommended.
Techniques for Precision Cutting
When it comes to crafting precision wooden rulers, precision cutting techniques are absolutely fundamental. Imagine trying to measure something with a ruler that isn't straight or accurate—frustrating, right? That’s why mastering the art of cutting is essential for any woodworking enthusiast. Whether you’re a seasoned pro or a beginner, understanding the different methods available can elevate your craftsmanship to new heights.
One of the most reliable tools for achieving precise cuts is the table saw. This powerhouse of a machine allows for exceptional accuracy, especially for straight cuts. To get the most out of your table saw, it's crucial to set it up correctly. Start by ensuring that the blade is aligned with the miter gauge, and always double-check the measurements before making a cut. A well-calibrated table saw can slice through wood like butter, leaving you with clean, straight edges that are perfect for ruler crafting.
However, it's not just about power tools. Hand tools have their place in precision cutting as well. While they may require a bit more effort, hand tools like chisels and hand saws offer unparalleled control, allowing you to make intricate cuts that might be challenging with a power saw. The tactile feedback you get from using hand tools can be incredibly satisfying, almost like a dance between you and the wood. Plus, they are often more portable and easier to manage for smaller projects.
Now, you might be wondering, “Which is better: hand tools or power tools?” The answer lies in your personal crafting style and the specific requirements of your project. If you're working on larger pieces or need to make repetitive cuts, a table saw might be your best friend. On the other hand, if you’re focusing on detailed work or smaller projects, hand tools might be the way to go. Ultimately, the best approach is often a combination of both, giving you the flexibility to tackle any challenge that comes your way.
Another essential aspect of precision cutting is understanding the grain direction of the wood. Cutting along the grain can provide smoother edges, while cutting against it can lead to tear-out and an uneven finish. Always take a moment to observe the wood grain before making your cuts. This simple step can save you a lot of headaches later on, ensuring that your ruler not only looks good but also functions perfectly.
For those looking to take their cutting techniques to the next level, consider investing in jigs. Jigs are custom-made tools that hold your workpiece in place, allowing for more accurate cuts. They can be particularly useful for making repetitive cuts or ensuring that your pieces are all the same size. By using jigs, you can achieve a level of precision that can make your woodworking projects stand out.
In conclusion, mastering precision cutting techniques is a vital step in crafting wooden rulers that are not only functional but also aesthetically pleasing. Whether you choose to wield a table saw or a hand saw, the key is to practice and refine your skills. Remember, the journey of woodworking is as rewarding as the final product, so embrace the learning process and enjoy creating!
- What type of wood is best for making precision rulers? Hardwoods like maple or oak are ideal due to their durability and resistance to warping.
- Can I use a circular saw for cutting wood for rulers? Yes, a circular saw can be used, but it requires careful handling and setup to ensure precision.
- How do I maintain my cutting tools? Regularly clean and sharpen your tools to keep them in top condition, ensuring clean cuts every time.
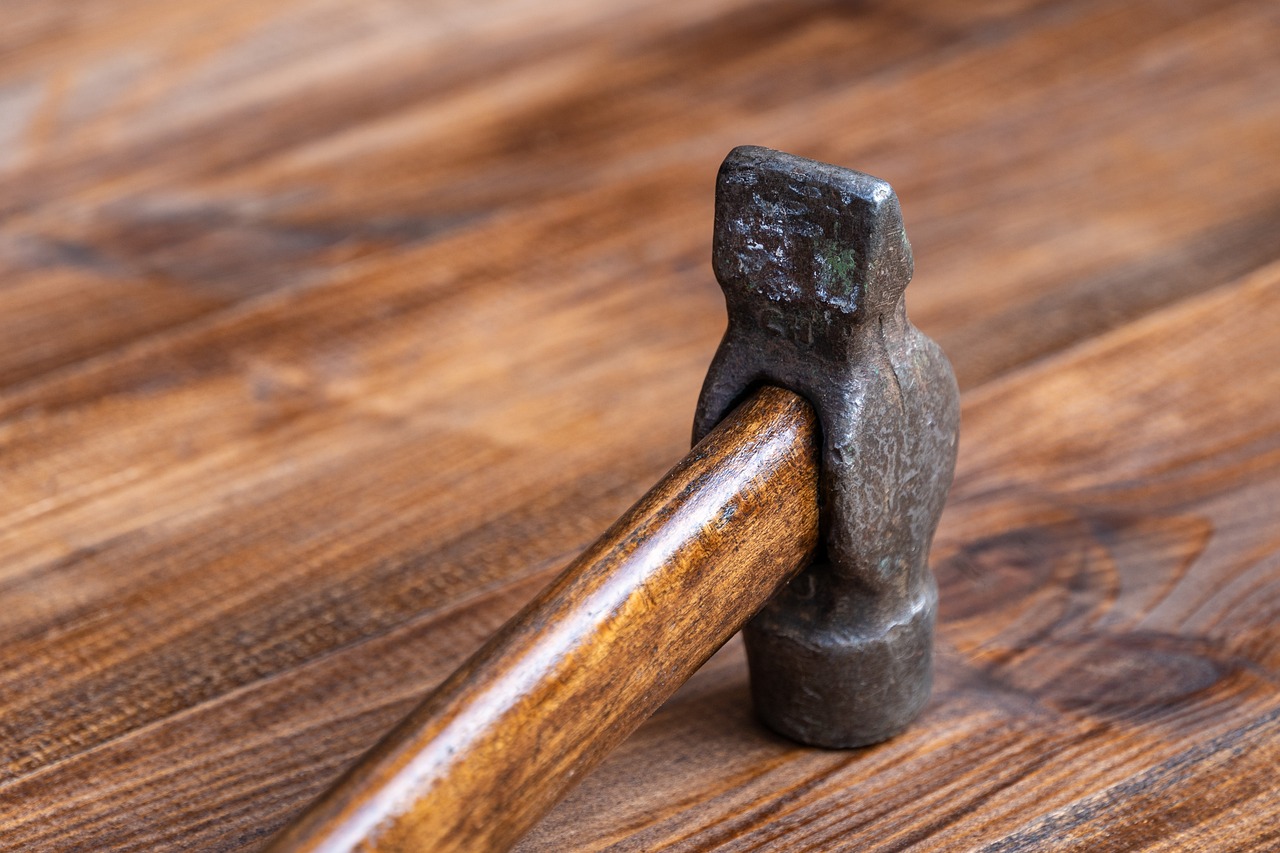
Using a Table Saw
When it comes to crafting precision wooden rulers, utilizing a table saw can make a world of difference. This powerful tool allows for exceptional accuracy in straight cuts, which is essential when you're aiming for precise measurements. Imagine trying to create a ruler with uneven edges; it would be like trying to navigate a ship with a crooked compass! So, let's dive into how to properly set up and use a table saw to maximize precision in your cuts.
First and foremost, ensuring that your table saw is correctly calibrated is crucial. A misaligned blade can lead to uneven cuts, which can compromise the integrity of your ruler. Start by checking the blade alignment with a square. Place the square against the blade and adjust until it is perfectly perpendicular to the table surface. This initial setup might seem tedious, but trust me, it pays off in the long run.
Next, consider the type of wood you’re working with. Different woods have varying densities and grain patterns that can affect how they cut. For instance, hardwoods like oak or maple may require different settings compared to softer woods like pine. Always consult your table saw’s manual for specific recommendations on blade types and settings for different materials.
When you’re ready to make your cuts, safety should be your number one priority. Always wear appropriate safety gear, including gloves and eye protection. Additionally, use the saw’s safety features, such as the blade guard and push stick, to keep your hands at a safe distance from the blade. Remember, a moment of carelessness can lead to serious accidents!
As you prepare to cut, it’s important to measure twice and cut once. Use a reliable measuring tool, like a caliper, to ensure your measurements are spot on. Mark your cut line clearly on the wood, and when you’re ready, feed the wood into the saw steadily and smoothly. Avoid forcing the wood through the blade; let the saw do the work. This will not only enhance the quality of your cut but also prolong the life of your blade.
After making your cuts, take a moment to inspect the edges. If you notice any rough spots or imperfections, don’t fret! A little sanding can go a long way in achieving that clean, professional look. Use a fine-grit sandpaper to smooth out any rough edges, ensuring that your ruler not only measures accurately but also feels good to the touch.
In conclusion, mastering the use of a table saw is a game-changer in the world of woodworking. With precision cuts, you can elevate your crafting projects to new heights. Remember, the key is in the setup, safety, and technique. So, roll up your sleeves, fire up that table saw, and get ready to create some stunning wooden rulers!
- What type of blade should I use for cutting hardwood?
For hardwood, a fine-tooth blade is recommended to ensure clean cuts without tearing the wood. - How can I ensure my table saw is safe to use?
Regularly check the blade alignment, ensure all safety guards are in place, and maintain a clean workspace to prevent accidents. - Can I use a table saw for other woodworking projects?
Absolutely! A table saw is versatile and can be used for various projects, from cutting boards to furniture pieces.

Hand Tools vs. Power Tools
When it comes to crafting precision wooden rulers, the debate between hand tools and power tools is as old as woodworking itself. Each type of tool has its own set of advantages and disadvantages, which can significantly influence your crafting experience and the quality of your final product. So, what’s the best choice for you? Let’s dive into the pros and cons of each.
Hand tools offer a level of control and finesse that many woodworkers cherish. They allow for a more intimate connection with the material, often leading to a greater appreciation of the craftsmanship involved. For instance, using a hand saw can provide you with the ability to make delicate cuts that might be difficult to achieve with a power saw. Additionally, hand tools are typically more affordable and require less maintenance. You don’t have to worry about batteries or electricity, making them perfect for crafting in remote locations or during power outages.
On the flip side, power tools are all about efficiency and speed. If you're looking to create a large number of wooden rulers, power tools can save you a considerable amount of time. With tools like table saws and routers, you can achieve precise cuts and intricate designs in a fraction of the time it would take with hand tools. However, they do come with a steeper learning curve and can be intimidating for beginners. Plus, they often require a significant upfront investment and regular maintenance.
Here’s a quick comparison to help you decide:
| Feature | Hand Tools | Power Tools |
|---|---|---|
| Control | High | Moderate |
| Speed | Slow | Fast |
| Cost | Lower | Higher |
| Maintenance | Minimal | Regular |
| Portability | Very Portable | Less Portable |
Ultimately, the decision between hand tools and power tools depends on your personal preference, skill level, and the specific requirements of your woodworking project. Some woodworkers even choose to use a combination of both, leveraging the strengths of each to achieve the best results. So, whether you’re a traditionalist who loves the feel of a hand plane or a modern maker who swears by the efficiency of a miter saw, there’s no wrong choice—just the right one for you!
- Can I use both hand tools and power tools in my woodworking projects?
Absolutely! Many woodworkers find that a combination of both types of tools works best for their needs. - Which is better for beginners: hand tools or power tools?
Hand tools are often recommended for beginners due to their simplicity and lower cost. However, power tools can also be user-friendly with the right guidance. - Are hand tools still relevant in modern woodworking?
Yes, hand tools remain highly relevant and are cherished for the craftsmanship and precision they offer.
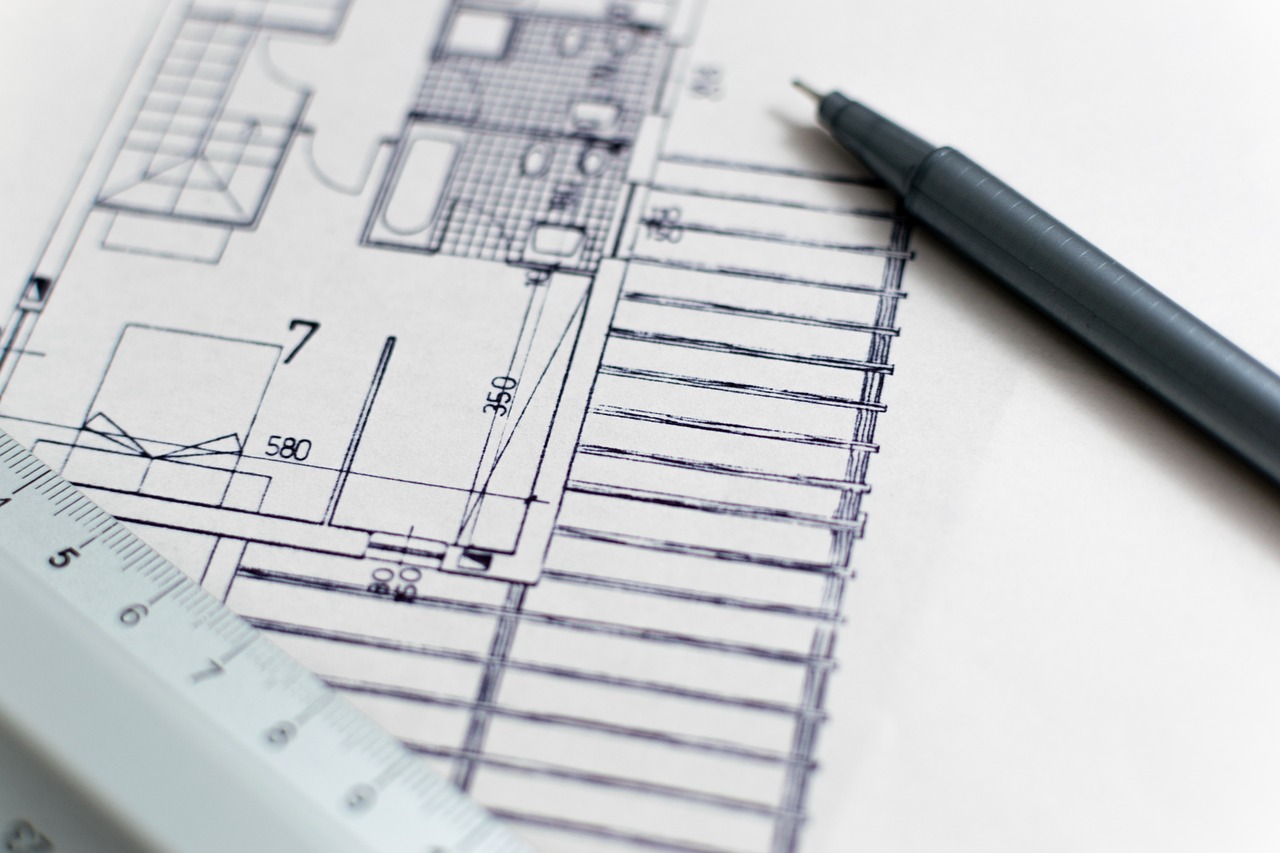
Finishing Techniques for Wooden Rulers
Finishing your wooden ruler is not just about aesthetics; it's a vital step that enhances durability and ensures that your craftsmanship stands the test of time. Think of finishing as the cherry on top of a beautifully crafted cake—it not only makes it look appealing but also adds an extra layer of protection. There are several techniques you can employ to achieve a polished look that highlights the natural beauty of the wood while providing a robust shield against wear and tear.
One of the primary finishing techniques is staining. Staining allows you to enhance the wood's grain and color, giving your ruler a unique character. Different stains can dramatically alter the appearance, transforming a plain piece of wood into a stunning piece of art. When selecting a stain, consider the type of wood you are using, as some woods absorb stains differently. For example, oak tends to take on stains beautifully, while pine might require a pre-stain conditioner to ensure an even finish.
After staining, the next step is sealing. Sealing is crucial as it protects the wood from moisture, dirt, and other environmental factors that could lead to damage. There are various sealants available, such as polyurethane, varnish, and lacquer. Each has its pros and cons:
| Sealant Type | Advantages | Disadvantages |
|---|---|---|
| Polyurethane | Durable, water-resistant | Can yellow over time |
| Varnish | Flexible, UV resistant | Long drying time |
| Lacquer | Fast drying, smooth finish | Less durable than others |
Choosing the right sealant depends on the intended use of your ruler. If it’s going to be used frequently, you might opt for polyurethane for its durability. However, if aesthetics are your primary concern, lacquer might be the way to go for a smooth finish.
Finally, polishing is the last step in the finishing process. Polishing not only enhances the shine of your ruler but also helps to smooth out any imperfections left from the previous steps. You can use a fine-grit sandpaper followed by a soft cloth to buff the surface. This gives your wooden ruler a professional touch that showcases your attention to detail.
In summary, finishing techniques are essential for crafting a wooden ruler that is both beautiful and long-lasting. By carefully selecting your stain, sealant, and polish, you can ensure that your ruler not only serves its functional purpose but also stands as a testament to your woodworking skills.
- What is the best type of wood for making rulers? Hardwoods like maple or oak are excellent choices due to their durability and fine grain.
- How long should I let the stain dry? Generally, it's recommended to let the stain dry for at least 24 hours before applying a sealant.
- Can I use food-safe finishes on my ruler? Yes, if you plan to use the ruler in a kitchen or for food-related tasks, look for finishes labeled as food-safe.
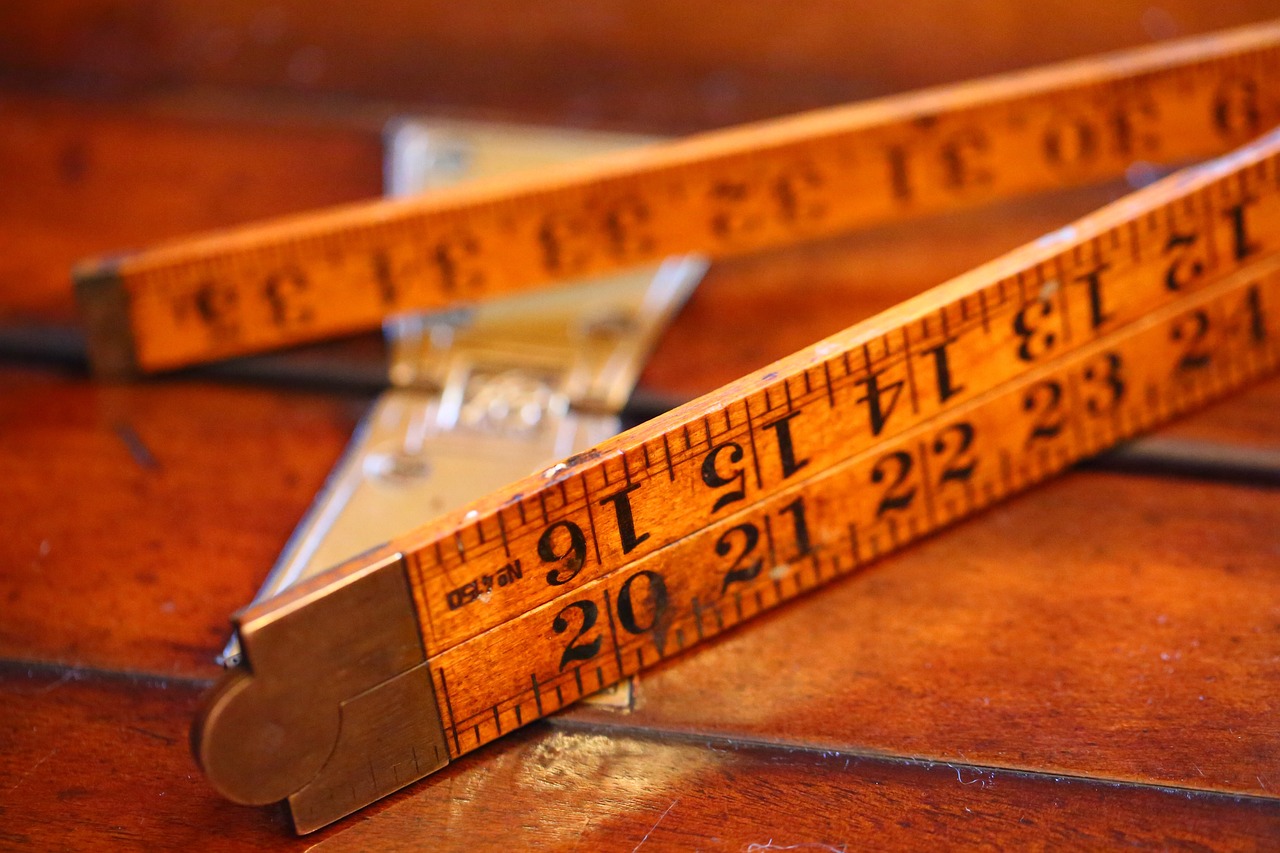
Staining Options
Choosing the right stain for your wooden ruler is like picking the perfect outfit for a special occasion; it can dramatically alter the overall look and feel of your project. The right stain not only enhances the natural beauty of the wood but also adds a layer of protection that contributes to the durability of your ruler. There are various types of stains available, and understanding how each one interacts with different wood types is crucial for achieving the desired effect.
When it comes to staining options, you generally have two main categories: oil-based stains and water-based stains. Oil-based stains penetrate deeper into the wood, providing a richer color and a more durable finish. However, they take longer to dry and can emit strong fumes, so proper ventilation is essential during application. On the other hand, water-based stains dry quickly and are easier to clean up, making them a good choice for indoor projects. They also tend to have less odor, but they may not penetrate as deeply as oil-based options.
Here’s a quick comparison table to help you understand the differences:
| Stain Type | Drying Time | Durability | Cleanup | Odor |
|---|---|---|---|---|
| Oil-Based | Longer | High | Solvent | Strong |
| Water-Based | Shorter | Moderate | Soap and Water | Low |
When applying stain, preparation is key. Start by sanding your wooden ruler to a smooth finish; this will help the stain adhere better and result in a more even application. After sanding, wipe the surface with a damp cloth to remove any dust particles. Once your ruler is prepped, use a brush or cloth to apply the stain evenly, working in the direction of the wood grain. It’s often best to apply multiple thin coats rather than one thick coat, allowing each layer to dry completely before adding the next.
Additionally, consider the color of the stain carefully. Darker stains can create a dramatic, sophisticated look, while lighter stains tend to highlight the wood's natural grain and texture. If you're unsure, test a small area or a scrap piece of wood to see how the stain interacts with your chosen wood type. This can save you from potential disappointments later on.
In summary, selecting the right stain for your wooden ruler is an important decision that can enhance both its appearance and longevity. Take your time to explore different options, and don’t hesitate to experiment with various techniques until you find the perfect finish that meets your aesthetic and functional needs.
- What is the best type of wood for making rulers? Hardwoods like maple, oak, and cherry are popular choices due to their durability and aesthetic appeal.
- Can I use water-based stains on oil-finished wood? It’s not recommended, as water-based stains may not adhere properly. Always test on a scrap piece first.
- How long should I wait between stain coats? Generally, waiting 4 to 6 hours is advisable, but always refer to the manufacturer's instructions for specific products.
- Is it necessary to seal my stained ruler? Yes, sealing your stained ruler can protect it from moisture and wear, extending its lifespan.
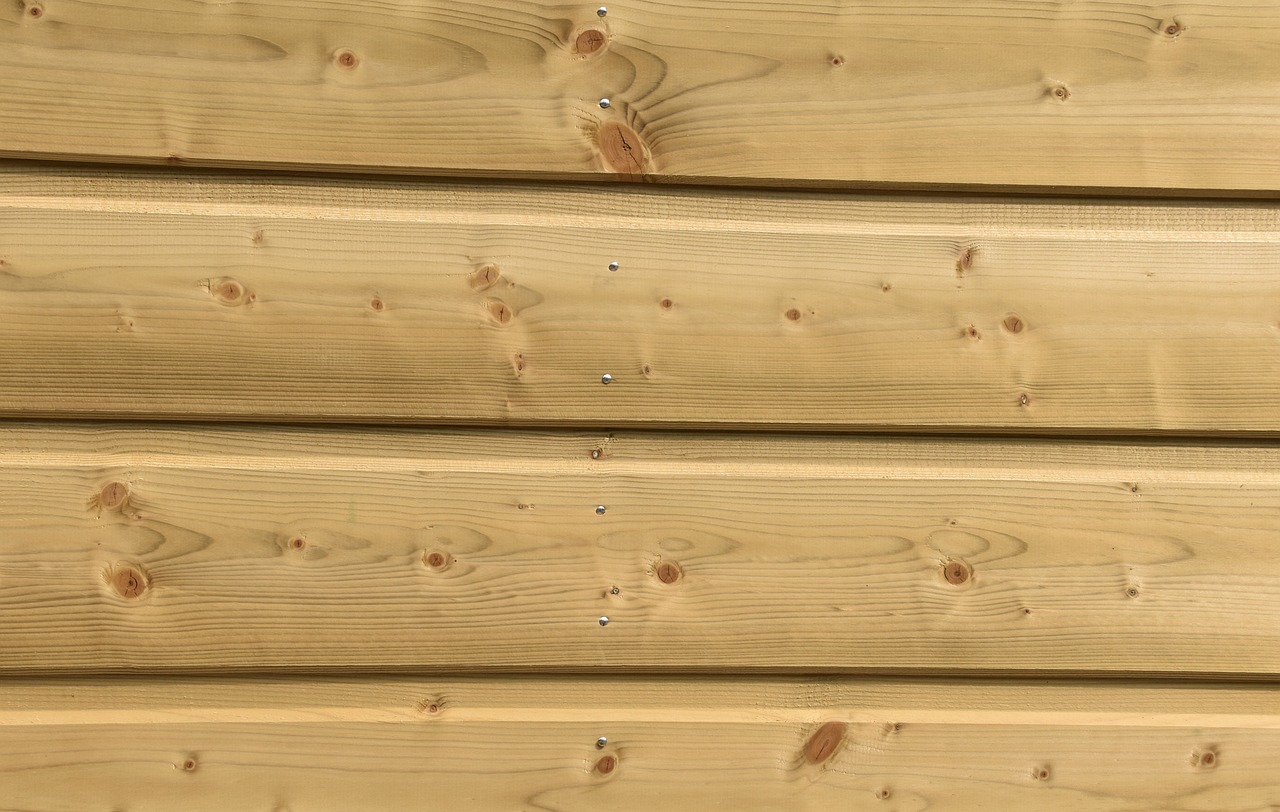
Sealing and Protecting
When it comes to crafting precision wooden rulers, your finished product is just as important as the initial design and cutting processes. A well-sealed ruler not only enhances its aesthetic appeal but also significantly prolongs its lifespan. Think of the sealant as a protective shield, safeguarding your ruler from the elements, moisture, and everyday wear and tear. Without proper sealing, the beautiful wood grain and craftsmanship you've worked so hard on can quickly deteriorate.
There are various types of sealants available, each offering different benefits. Here are some popular options you might consider:
- Polyurethane: This is a highly durable option that provides a tough protective layer. It comes in both oil-based and water-based formulations, allowing you to choose based on your preference for drying time and finish.
- Varnish: Varnish is another excellent choice that gives a glossy finish and is particularly effective in protecting against moisture.
- Shellac: If you're looking for a natural finish, shellac is a great choice. It's easy to apply and dries quickly, but it may require more frequent reapplication compared to synthetic sealants.
When applying your chosen sealant, it's crucial to follow a few key steps to ensure a smooth and effective finish. First, make sure your wooden ruler is completely clean and free from dust or debris. If needed, lightly sand the surface to create a better bond for the sealant. Once you've prepared the surface, apply the sealant using a clean brush or cloth, making sure to cover all areas evenly. Allow the first coat to dry thoroughly before applying additional coats for maximum protection.
Furthermore, consider the environment where the ruler will be used. If it’s going to be exposed to high humidity or frequent handling, opting for a more robust sealant like polyurethane might be your best bet. On the other hand, if the ruler will be used in a dry, controlled environment, a lighter finish like shellac may suffice.
In addition to sealing, protecting your wooden ruler can also involve regular maintenance. Just like any wooden object, it’s important to keep an eye on its condition over time. If you notice any signs of wear or damage, don’t hesitate to reapply your sealant. This proactive approach will ensure that your ruler remains not only functional but also visually appealing for years to come.
In summary, sealing and protecting your precision wooden ruler is an essential step in the crafting process. By choosing the right sealant, applying it properly, and maintaining your ruler, you can preserve its beauty and functionality. Remember, a little extra care goes a long way in woodworking!
- What is the best sealant for wooden rulers? The best sealant depends on your specific needs, but polyurethane is often recommended for its durability.
- How often should I reapply sealant? It varies based on usage, but inspecting your ruler regularly and reapplying when you notice wear is a good practice.
- Can I use oil-based finishes on water-based finishes? It's generally not advisable as they may not adhere properly, leading to peeling or flaking over time.
Frequently Asked Questions
- What type of wood is best for crafting precision wooden rulers?
Choosing the right wood is essential for durability and precision. Hardwoods like maple, oak, and cherry are popular choices because they offer strength and stability. Softwoods like pine can also be used, but they may not hold up as well over time.
- What tools do I need to make a wooden ruler?
To craft precision wooden rulers, you'll need a variety of tools. Essential tools include a table saw for cutting, calipers for measuring, and sanders for finishing. Depending on your design, you might also need hand saws and files to achieve the desired accuracy.
- How do I ensure accurate measurements when crafting my ruler?
Accurate measurements are vital! Always use reliable measuring tools like calipers and measuring tapes. Double-check your measurements before cutting, and consider marking your wood with a fine pencil to ensure precision.
- Can I use power tools instead of hand tools?
Absolutely! Power tools can save time and increase accuracy, especially for straight cuts. However, hand tools offer greater control for detailed work. It really depends on your comfort level and the specific requirements of your project.
- What finishing techniques should I use for my wooden ruler?
Finishing is crucial for both aesthetics and durability. You can use stains to enhance the wood's natural beauty, followed by a protective sealant to guard against moisture and wear. Don’t forget to polish your ruler for a smooth, professional look!
- How do I apply stain to my wooden ruler?
Applying stain is simple! Use a clean cloth or brush to apply the stain evenly, following the wood grain. Allow it to soak in for a few minutes, then wipe off any excess. Make sure to test the stain on a scrap piece first to see how it looks!
- What should I do if my ruler gets damaged?
If your wooden ruler gets scratched or damaged, don’t worry! Light scratches can often be sanded out, and you can reapply stain and sealant to restore its appearance. For deeper damage, you might need to re-cut that section or even start over.


