10 DIY Decor Projects Using Materials Found at Home
Are you tired of staring at the same four walls? Want to breathe new life into your home without breaking the bank? Well, you're in luck! This article explores ten creative DIY decor projects that utilize common household materials, providing step-by-step guidance for transforming your living space into a personalized sanctuary while being budget-friendly. Whether you’re an experienced crafter or just starting out, these projects are designed to inspire and ignite your creativity. So, roll up your sleeves and let’s dive into the world of DIY decor!
Transforming glass jars into decorative pieces can add charm to any room. Instead of tossing those empty jars into the recycling bin, why not give them a new purpose? You can use them for storage, as beautiful centerpieces, or even as unique candle holders. The possibilities are endless! For example, you can fill them with fairy lights for a magical glow, or paint them in vibrant colors to match your decor. Here’s a quick guide to get you started:
- Gather different sizes of glass jars.
- Clean and dry them thoroughly.
- Decide on a theme or color palette.
- Get creative with paints, twine, or embellishments!
Using leftover fabric scraps to create wall art is a fun and eco-friendly project. Instead of letting those fabric remnants collect dust, you can design unique pieces that showcase your personal style while reducing waste. This is not just about saving money; it's about expressing yourself! Imagine a vibrant collage of colors and patterns that tells your story. Here’s how to get started:
A framed fabric collage can serve as a stunning focal point in your home. To create one, gather various fabric scraps in colors and patterns that complement your existing decor. Don't be afraid to mix and match! The key is to choose fabrics that resonate with you. Once you have your materials, it’s time to get creative:
Selecting the perfect frame can enhance your fabric collage. A well-chosen frame can elevate the entire piece, making it a true work of art. Consider the style of your room: is it modern, rustic, or eclectic? Here are some tips for selecting the right frame:
- Match the frame color to your decor.
- Choose a frame style that complements the fabric.
- Consider the size of the collage and the wall space available.
Learn effective techniques for arranging fabric pieces within the frame to create a visually appealing collage. Balance is key! You want your collage to be eye-catching but not overwhelming. Think about color coordination and how the fabrics interact with each other. Here’s a tip: start with larger pieces and fill in with smaller ones to create depth and interest.
Creating fabric banners can add a festive touch to any room. They’re perfect for celebrations, or even just to brighten up your everyday space. Explore different designs and methods for making banners that reflect your personality and celebrations. You can use simple triangles, letters, or even shapes that represent your interests. The best part? You can change them out for different seasons or occasions!
Wooden pallets can be transformed into functional and stylish furniture pieces. If you have some old pallets lying around, you’re in for a treat! This section outlines various projects, from coffee tables to garden planters, that can enhance your home. The rustic charm of pallet furniture can bring a cozy vibe to any space. Here’s a sneak peek at some exciting projects you can undertake:
Building a coffee table from a wooden pallet is a rewarding project. Follow this guide for step-by-step instructions on crafting a rustic yet modern centerpiece for your living room. Start by sanding down the pallet to avoid splinters, then customize it with paint or stain to match your decor. Add some wheels for mobility or a glass top for a sleek finish!
Turn wooden pallets into unique garden planters to beautify your outdoor space. This section provides ideas for planting arrangements and maintenance tips for thriving plants. You can create vertical gardens, herb planters, or even a mini vegetable patch! Just make sure to line the pallets with landscaping fabric to retain soil and moisture.
Q: What materials do I need for these DIY projects?
A: Most projects require basic materials like glass jars, fabric scraps, wooden pallets, paint, and basic tools. Check each project for specific needs!
Q: Are these projects suitable for beginners?
A: Absolutely! Each project is designed to be accessible, with step-by-step instructions to guide you along the way.
Q: How can I personalize these projects?
A: Feel free to mix colors, patterns, and styles that resonate with you. These projects are all about expressing your unique personality!
Upcycled Glass Jars
Transforming glass jars into decorative pieces can add a touch of charm to any room in your home. These versatile containers are often overlooked, but with a little creativity, they can be turned into beautiful storage solutions or eye-catching centerpieces. Imagine walking into your kitchen and being greeted by a row of vibrant jars filled with colorful spices, or perhaps a cozy living room adorned with a cluster of jars turned into lanterns. The possibilities are endless!
First, let's talk about some of the ways you can repurpose these jars. One popular method is to use them as storage containers for small items around the house. Whether it's buttons, craft supplies, or even kitchen staples like pasta and rice, glass jars can help you organize your space while also serving as decorative elements. You can paint the lids, wrap them in twine, or even label them with chalkboard paint for a personalized touch.
Another exciting idea is to transform your glass jars into candle holders. Simply place a tealight or votive candle inside a jar, and voilà! You have an instant centerpiece that adds warmth and ambiance to any setting. For a more dramatic effect, consider filling the jar with sand or pebbles before placing the candle. This not only stabilizes the candle but also adds an interesting texture to the display.
For those who enjoy gardening, glass jars can also serve as mini planters. Succulents or small herbs thrive in glass containers, allowing you to create a lovely indoor garden. Just make sure to add some drainage by placing small rocks at the bottom of the jar before adding soil and plants. This not only keeps your plants healthy but also creates a stunning visual display.
To help you get started on your upcycling journey, here’s a simple guide to some popular projects you can try:
| Project | Description |
|---|---|
| Storage Containers | Use jars to store buttons, craft supplies, or pantry items. Decorate with paint or twine. |
| Candle Holders | Place candles inside jars for a cozy ambiance. Add sand or pebbles for stability. |
| Mini Planters | Use jars to grow small plants like succulents or herbs. Ensure proper drainage. |
As you can see, upcycling glass jars is not just a fun project; it’s a way to bring a little bit of your personality into your home. Plus, it’s an eco-friendly choice that helps reduce waste. So, gather those empty jars and let your creativity flow! Who knew that something so simple could transform your living space into a haven of style and organization?
Q: Can I use any type of glass jar for these projects?
A: Absolutely! Any glass jar can be upcycled, but consider the size and shape based on the project you choose.
Q: How do I clean glass jars before using them?
A: Simply soak them in warm soapy water to remove labels and residue, then rinse and dry thoroughly.
Q: Are there specific paints that work best for decorating glass jars?
A: Yes, acrylic paints or specialized glass paints work well for decorating glass surfaces.

Fabric Scrap Wall Art
Using leftover fabric scraps to create wall art is not only a fun activity but also an eco-friendly way to express your creativity! Imagine transforming those bits and pieces of fabric that usually end up in the trash into stunning decorations that add a splash of color and personality to your home. This project is perfect for anyone who loves to personalize their space without breaking the bank. Plus, it’s a great way to use up those odds and ends that you just can’t bear to throw away!
To get started, gather your fabric scraps. You can use anything from old clothes, curtains, or even leftover fabric from previous projects. The key is to mix and match different colors, textures, and patterns. This not only creates visual interest but also tells a story about your personal style. Think about it: each piece of fabric carries its own history, and when combined, they form a unique narrative that reflects who you are.
A framed fabric collage can serve as a stunning focal point in your home. It’s like a canvas, but instead of paint, you’re using fabric! Start by selecting a frame that complements your decor. You can choose a simple wooden frame for a rustic look or a sleek metallic one for a modern touch. The frame is more than just a border; it’s an essential part of your artwork that can enhance the overall aesthetic.
When it comes to selecting the perfect frame, consider the colors and styles already present in your room. A mismatched frame can distract from your beautiful collage, while a well-chosen one can elevate it to new heights. If you’re unsure, opt for a neutral color that will allow your fabric pieces to shine. Remember, the frame should complement, not overshadow, your fabric art!
Once you have your frame, it’s time to arrange your fabric pieces. Lay them out on a flat surface before committing to the frame. Play around with different combinations, considering balance and color coordination. You might want to group similar colors together or create a gradient effect. The goal is to create a cohesive look that draws the eye. Don't be afraid to experiment! Sometimes the most unexpected arrangements can turn out to be the most stunning.
After you’re happy with the arrangement, secure the fabric pieces in place. You can use fabric glue or a staple gun, depending on the thickness of your fabric. Once everything is secured, carefully place your collage into the frame. Hang it on your wall and watch as it transforms your space into a vibrant gallery of your own making!
Creating fabric banners can add a festive touch to any room. Whether it’s for a birthday party, a seasonal celebration, or just to brighten up your everyday decor, fabric banners are incredibly versatile. You can explore different designs, from simple triangles to intricate shapes, and customize them to reflect your personality.
To make a fabric banner, cut your fabric scraps into the desired shapes and sizes, then string them together using twine or ribbon. You can even add embellishments like beads or sequins for a little extra flair. Hang your banner in a prominent spot, and watch how it instantly lifts the mood of the room!
So, are you ready to dive into the world of fabric scrap wall art? Not only will you create something beautiful, but you’ll also be doing your part in reducing waste. It’s a win-win situation!
Q: What types of fabric can I use for my wall art?
A: You can use almost any fabric! Old clothes, curtains, or even leftover quilting fabric work great. Just make sure they’re clean and dry.
Q: Do I need special tools for this project?
A: Basic tools like scissors, fabric glue, and a frame are all you need. If you’re making a banner, you might also need twine or ribbon.
Q: How do I hang my fabric art?
A: You can use picture hooks, nails, or even adhesive strips, depending on the weight of your frame and your wall type.
Q: Can I wash my fabric wall art?
A: It’s best to keep your fabric art away from moisture. If it gets dusty, gently dust it off with a soft cloth.
Framed Fabric Collage
Creating a is not just a project; it's a journey into your creativity. Imagine walking into a room and being greeted by a vibrant explosion of colors and textures that reflect your personality. This DIY decor project allows you to showcase your unique style while also giving new life to leftover fabric scraps. It's like painting a canvas with fabric instead of paint, where each piece tells a story. So, how do you create this stunning focal point for your home? Let’s dive into the details!
First, gather your materials. You’ll need a variety of fabric scraps, a frame (which can be thrifted or repurposed), scissors, a backing board (like cardboard), and a glue gun. The beauty of this project lies in its versatility; you can use anything from old clothes to leftover upholstery fabric. Think of it as a patchwork quilt for your walls, where each piece represents a memory or a moment in time.
When selecting the fabrics, consider the color palette of the room where the collage will hang. Are you aiming for a calming effect with soft pastels, or do you want to inject some energy with bold, bright colors? Mixing patterns can also add an interesting dynamic to your piece. For instance, pairing floral prints with geometric patterns can create a delightful contrast that catches the eye. Once you have your fabrics chosen, it’s time to start arranging them.
Before you start gluing, lay out your fabric pieces on the backing board to see how they fit together. This is where the magic happens! Play around with different arrangements until you find a composition that feels right. Remember, balance is key; you want to avoid clustering all the dark colors in one corner or having too many similar patterns next to each other. Think of it as a dance where each fabric needs its space to shine.
Once you're satisfied with the arrangement, it’s time to glue them down. Use a glue gun for a strong hold, but be careful not to use too much; a little goes a long way. After gluing, place the backing board into your frame. This is the moment where your collage transforms from a collection of fabric scraps into a piece of art. Hang it on your wall and watch how it instantly elevates the room's atmosphere.
To help you visualize the process, here’s a quick table summarizing the steps:
| Step | Description |
|---|---|
| 1 | Gather materials: fabric scraps, frame, backing board, scissors, glue gun. |
| 2 | Select a color palette that complements your room. |
| 3 | Arrange fabric pieces on the backing board until satisfied. |
| 4 | Glue the fabric pieces down securely. |
| 5 | Insert the backing board into the frame and hang it up. |
Creating a framed fabric collage is not only a fun and engaging project but also a way to express yourself in your living space. Each time you walk past it, you’ll be reminded of your creativity and resourcefulness. So grab those fabric scraps and let your imagination run wild! And remember, there’s no right or wrong way to do this—just let your personal style shine through!
Q: What types of fabric can I use for my collage?
A: You can use almost any fabric! Old clothes, curtains, or upholstery fabric all work well. Just ensure the fabric is clean and in good condition.
Q: Can I add other materials to my collage?
A: Absolutely! Feel free to incorporate buttons, lace, or even paper elements for added texture and interest.
Q: How do I choose the right frame?
A: Choose a frame that complements your fabric colors and the overall decor of your room. A simple wooden frame works well for a rustic look, while a sleek metal frame can add a modern touch.
Q: How can I maintain my fabric collage?
A: Keep it dust-free by gently wiping it with a soft cloth. Avoid direct sunlight as it can fade the fabrics over time.
Choosing the Right Frame
When it comes to creating a stunning framed fabric collage, the frame you choose can make all the difference. Think of the frame as the finishing touch that pulls your entire artwork together, much like the icing on a cake. You wouldn't want to top a chocolate cake with vanilla icing, right? The same principle applies here. Selecting the right frame not only enhances the visual appeal of your collage but also complements your existing decor.
First, consider the style of your home. Are you going for a modern, minimalist look, or do you prefer something more rustic and cozy? For contemporary spaces, sleek, simple frames in black or white can provide a clean contrast to the vibrant colors of your fabric pieces. On the other hand, if your home has a more traditional or vintage vibe, ornate frames with intricate details can add a touch of elegance.
Next, think about the color of the frame. It should either match or contrast with the colors in your fabric collage. For example, if your fabric pieces are predominantly warm tones like reds and oranges, a frame in a complementary color, such as a deep blue or green, can create a striking visual effect. Alternatively, a neutral frame can help your collage stand out without overwhelming it.
Another important factor to consider is the size of the frame. A too-small frame can make your collage look cramped, while an oversized frame might overshadow the artwork itself. Measure your collage before shopping and consider how it will be displayed on your wall. A larger frame can create a bold statement, especially in a spacious room, while smaller frames can be grouped together for a gallery wall effect.
Lastly, don't forget about the material of the frame. Wood frames bring warmth and texture, while metal frames offer a sleek, modern look. If you're feeling adventurous, you could even consider painting an old frame to match your decor or adding embellishments like beads or fabric to give it a unique touch.
To help you visualize your options, here's a quick comparison table:
| Frame Material | Style | Best For |
|---|---|---|
| Wood | Rustic, Warm | Traditional, Cozy Spaces |
| Metal | Sleek, Modern | Contemporary, Industrial Spaces |
| Plastic | Versatile, Budget-Friendly | Any Style, Easy to Customize |
In conclusion, choosing the right frame for your fabric collage is a crucial step in your DIY decor project. By considering the style, color, size, and material of the frame, you can create a piece that not only showcases your creativity but also enhances the beauty of your living space. So, take your time, explore different options, and let your personality shine through your choice of frame!
- What type of fabric works best for a collage?
Any fabric can work, but consider using a mix of textures and patterns for added interest.
- How do I hang my fabric collage?
Use picture hooks or adhesive strips for lightweight frames. Ensure they are securely attached to avoid accidents.
- Can I change the fabric in my collage later?
Absolutely! If you want a fresh look, simply remove the fabric and replace it with new pieces.

Arranging Fabric Pieces
Arranging fabric pieces for your collage is like piecing together a beautiful puzzle; it requires a bit of creativity, an eye for balance, and a dash of intuition. To start, you’ll want to gather your fabric scraps and lay them out on a flat surface. This will give you a clear view of what you have to work with and allow you to play around with different combinations. Think of this stage as your brainstorming session—there are no wrong choices here!
When it comes to color coordination, consider the overall color scheme of the room where your collage will hang. If your space is filled with soft pastels, you might want to stick to similar hues for a harmonious look. On the other hand, if your decor is vibrant, feel free to mix bold colors and patterns to create a striking contrast. As you arrange the pieces, keep in mind the principle of balance. This doesn’t mean everything has to be symmetrical, but try to distribute colors and patterns evenly across the frame to avoid overwhelming one side.
Another essential factor in arranging fabric pieces is texture. Mixing different textures can add depth and interest to your collage. For example, pairing a soft cotton with a rough burlap can create a visually engaging contrast. As you experiment, don’t hesitate to layer fabrics over one another. This technique can add dimension and make your collage look more dynamic. Remember, less is often more; too many competing elements can make the piece feel chaotic.
To help you visualize your arrangement, consider creating a small mock-up on a piece of cardboard cut to the size of your frame. This allows you to play with the layout before committing to any fabric placement. Once you’re satisfied, take a photo for reference as you start gluing the pieces down. And don't forget to leave some space between the fabric pieces; this negative space can help each piece breathe and stand out.
Finally, once your collage is assembled, step back and take a look. Does it evoke the feeling you want? Does it complement your space? If something feels off, don’t hesitate to make adjustments. After all, this is your personal creation, and it should reflect your unique style and personality. Happy crafting!
- What types of fabric work best for a collage? Generally, a mix of cotton, linen, and even some synthetic fabrics can work well. Just ensure they are not too bulky.
- Can I use old clothes for fabric scraps? Absolutely! Old clothes are a fantastic source of unique fabrics, and they add a personal touch to your project.
- How do I hang my fabric collage? You can use picture hooks or adhesive strips that are suitable for the weight of your frame. Make sure to check the weight limits!
DIY Fabric Banners
Creating fabric banners is not just a fun project; it’s a fantastic way to express your personality and add a touch of festivity to any space. Whether you're celebrating a birthday, hosting a wedding, or just want to brighten up your living room, DIY fabric banners can do the trick! Imagine walking into a room filled with colorful, cheerful banners that reflect your style and creativity. Sounds delightful, right? Let’s dive into how you can make your own fabric banners using materials you probably already have at home.
First things first, gather your materials. You’ll need some fabric scraps, scissors, a sewing machine (or needle and thread if you prefer to go old-school), and some ribbon or twine for hanging. If you’re not sure where to start, look for fabrics that are vibrant and fun. Think of patterns that make you smile—florals, stripes, or even polka dots! The beauty of DIY is that you can mix and match as you please.
Once you have your fabric, the next step is to cut it into shapes. Common banner shapes include triangles, rectangles, or even quirky shapes like hearts or stars. The size of your pieces will depend on how big you want your banner to be, but a good rule of thumb is to keep them around 6 to 8 inches long. This size is easy to work with and looks great when hung up. As you cut, remember that the more variety in your shapes and colors, the more visually appealing your banner will be!
Now, let’s talk about assembly. Lay out your fabric pieces in the order you want them to appear. This is where you can get creative! Consider alternating colors or patterns to create a rhythm that draws the eye. Once you’ve got a layout you love, it’s time to attach them to your ribbon or twine. You can sew the fabric pieces directly onto the ribbon, or if you’re short on time, simply use fabric glue. If you choose to sew, a simple straight stitch will do the job. Just make sure to leave enough space between each piece so they can move freely and not get squished together.
After your fabric pieces are securely attached, it’s time to hang your banner! Choose a spot that could use a little sprucing up—above a fireplace, across a wall, or even in a child’s playroom. The beauty of fabric banners is that they can be reused for different occasions. Just think of all the celebrations you can decorate with them! Plus, they’re easy to store, so you can keep them for years to come.
In summary, DIY fabric banners are a simple yet effective way to bring a personal touch to your decor. They allow you to showcase your creativity and can be customized for any occasion. So why not gather those fabric scraps and get started? You’ll be amazed at how a few pieces of fabric can transform a space and create a festive atmosphere!
Q: Can I use any type of fabric for my banners?
A: Absolutely! You can use cotton, felt, or even old clothing. Just make sure the fabric is sturdy enough to hold its shape.
Q: How do I store my fabric banners when not in use?
A: Simply fold them neatly and store them in a drawer or a storage bin. You can also hang them on a hanger to keep them wrinkle-free!
Q: Can I wash my fabric banners?
A: Yes, but it’s best to hand wash them in cold water and hang them to dry to maintain their shape and color.
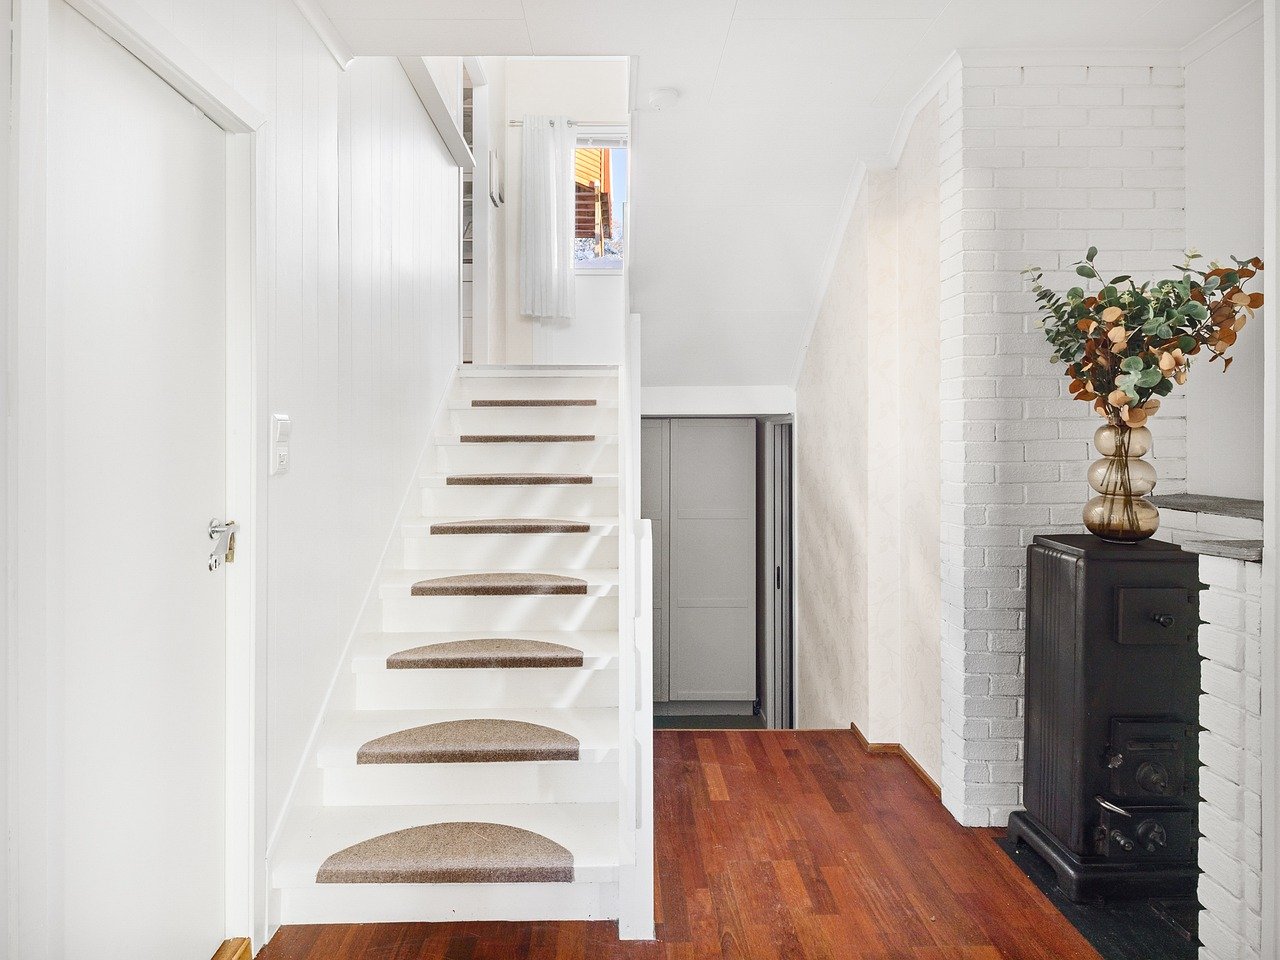
Repurposed Wooden Pallets
Wooden pallets are not just for shipping goods; they can be your canvas for creativity! These versatile structures can be repurposed into a multitude of functional and stylish furniture pieces that add character to your home. Imagine transforming a simple, rugged pallet into a chic coffee table or a charming garden planter. Not only do these projects save you money, but they also contribute to a sustainable lifestyle by reducing waste. Plus, the satisfaction of creating something beautiful from what would otherwise be discarded is truly priceless!
One of the most popular projects is crafting a pallet coffee table. This project is relatively straightforward and requires minimal tools, making it perfect for beginners and seasoned DIY enthusiasts alike. To get started, you'll need to gather a few materials: a wooden pallet, sandpaper, wood stain or paint, and some wheels if you want a mobile table. The first step is to sand down the pallet to avoid splinters. Once smooth, you can choose to leave it natural or add a pop of color with some paint. The addition of wheels can give your table a modern touch, allowing you to easily move it around your living space.
Another fantastic way to use wooden pallets is by creating garden planters. These planters can be a great addition to your outdoor space, providing a rustic charm while also being functional. You can easily cut the pallet into sections and fill them with soil to create tiered planting areas. This not only maximizes your gardening space but also adds an eye-catching element to your garden. Don't forget to line the inside of the planter with landscaping fabric to keep the soil in while allowing for drainage. With a little creativity, you can design unique arrangements that showcase your favorite flowers or vegetables!
Here’s a quick comparison of some popular pallet projects to inspire your next DIY adventure:
| Project | Materials Needed | Time Required |
|---|---|---|
| Pallet Coffee Table | Pallet, sandpaper, paint/stain, wheels (optional) | 2-4 hours |
| Pallet Garden Planters | Pallet, saw, soil, plants | 1-2 hours |
| Pallet Bench | 2 pallets, sandpaper, cushions | 3-5 hours |
In conclusion, repurposing wooden pallets is not only a fun DIY project but also a sustainable way to enhance your living space. Whether you choose to create a stunning coffee table or a charming planter, the possibilities are endless. So, gather those pallets and let your imagination run wild! In the next section, we'll dive into some tips and tricks for making the most out of your DIY projects, ensuring that your creations are both beautiful and functional.
Q: Are wooden pallets safe to use for indoor furniture?
A: Yes, as long as you ensure they are heat-treated and not chemically treated. Always check for the HT stamp on the pallet.
Q: How do I prepare a pallet for a project?
A: Start by thoroughly cleaning the pallet, removing any nails, and sanding down rough edges to prevent splinters.
Q: Can I paint or stain my pallet projects?
A: Absolutely! Using paint or stain can help protect the wood and enhance the aesthetic of your project.
Q: What tools will I need for pallet projects?
A: Basic tools like a saw, hammer, sandpaper, and a drill will cover most of your needs for these projects.
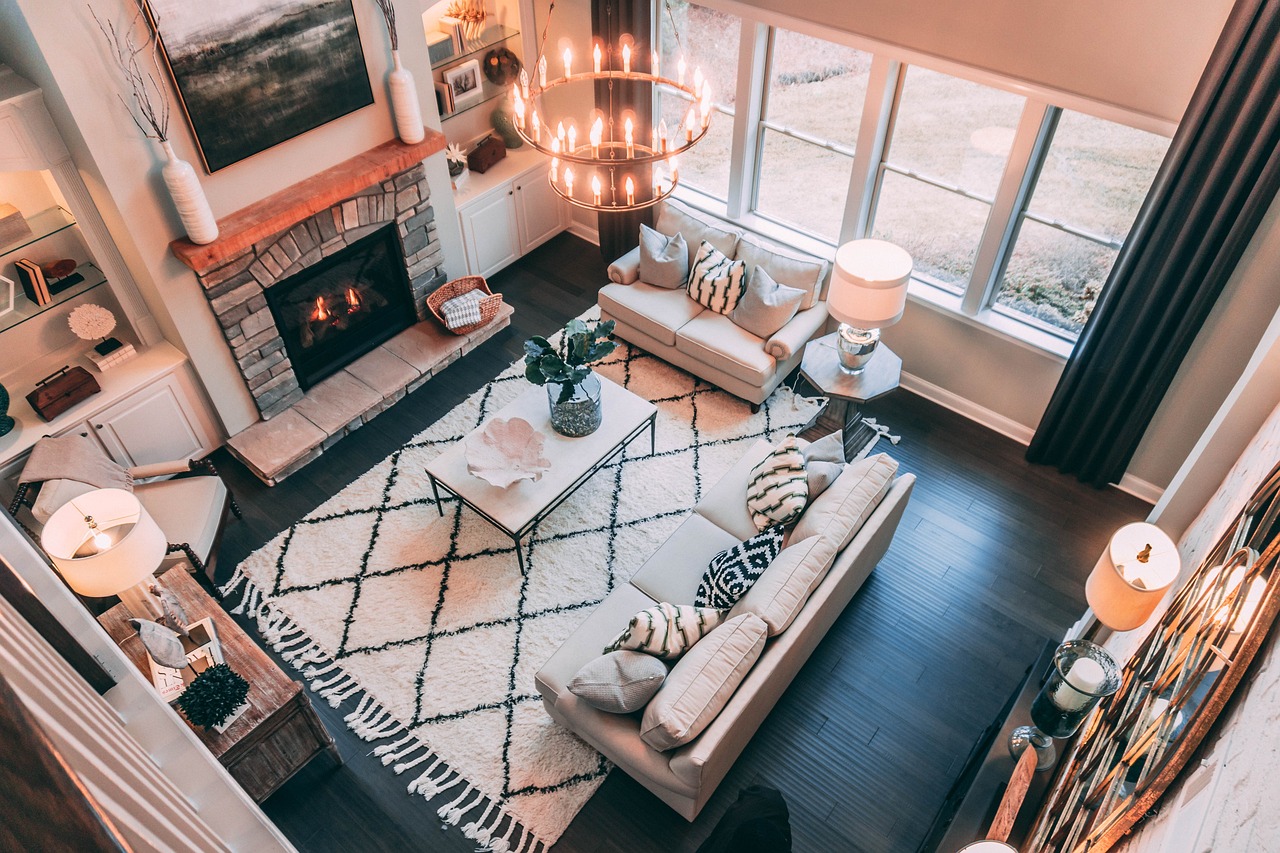
Creating a Pallet Coffee Table
Building a coffee table from a wooden pallet is not just a rewarding project; it's a fantastic way to infuse your living space with rustic charm while also being kind to your wallet. Imagine transforming a simple, discarded pallet into a stunning centerpiece that sparks conversation every time guests visit! The process is straightforward, and with a little creativity, you can design a table that reflects your personal style.
Before diving into the project, it’s essential to gather the right materials. You will need:
- One or two wooden pallets (depending on your desired size)
- Sandpaper or a power sander
- Wood screws
- A drill
- Wood stain or paint (optional)
- Furniture legs or casters (optional)
First, start by selecting the right pallet. Look for pallets that are in good condition, free from rot, and without any broken slats. Once you have your pallet, give it a thorough cleaning to remove any dirt or debris. After that, it’s time to sand it down. This step is crucial as it ensures that the surface is smooth and safe to touch, preventing any splinters from ruining your coffee table experience.
Next, you’ll want to decide on the height of your coffee table. If you prefer a standard height, you can keep the pallet as is. However, if you're looking for something a bit taller or shorter, you can stack two pallets together or trim them down. Once you’ve made your decision, use wood screws to secure the pallets together if you’re stacking them. This will provide added stability.
Now comes the fun part: finishing your table! You have the option to stain or paint the wood, which can dramatically change the look of your table. A rich walnut stain can give it a classic feel, while a bright color can add a pop of personality to your space. If you choose to paint, consider using a non-toxic paint to keep the air in your home healthy.
If you want your coffee table to be mobile, consider adding furniture legs or casters. This not only enhances the functionality of your table but also gives it a more polished look. Simply attach the legs or casters to the bottom of the pallet, and voila! You have a stylish coffee table that you can easily move around your living space.
Lastly, don’t forget to accessorize! Adding a few decorative items like a vase, some books, or a cozy throw can elevate your new coffee table even further. This is where your personal flair shines through, making the table uniquely yours.
In summary, creating a pallet coffee table is not just about functionality; it's about embracing creativity and sustainability. With just a few materials and a bit of effort, you can craft a stunning piece that brings warmth and character to your home. So, roll up your sleeves and get ready to impress your friends with your DIY skills!
Q: How long does it take to build a pallet coffee table?
A: Depending on your experience level and the complexity of your design, it can take anywhere from a couple of hours to a full day.
Q: Do I need special tools for this project?
A: Basic tools like a drill, screws, and sandpaper are sufficient. If you want a more polished look, a power sander can save time.
Q: Can I use any type of pallet?
A: It's best to use heat-treated pallets that are labeled HT. Avoid pallets that have been chemically treated as they can be harmful.
Pallet Garden Planters
Transforming wooden pallets into garden planters is not only an eco-friendly solution but also an exciting way to enhance your outdoor space. Imagine stepping into your backyard and being greeted by vibrant flowers and lush greenery, all thanks to your creativity and a few repurposed pallets! The beauty of using pallets lies in their versatility; you can create anything from vertical gardens to raised beds, depending on your space and preferences.
To get started, you'll need to gather some materials. Look around your home for old pallets that might be gathering dust in the garage or shed. Ensure they are in good condition, free from rot, and untreated if you plan to grow edible plants. Here’s a quick checklist of items you might need:
- Wooden pallets
- Sandpaper or a sander
- Wood stain or sealant (optional)
- Landscape fabric
- Soil and plants of your choice
Once you've gathered your materials, it's time to get your hands dirty! Start by sanding down the pallets to remove any rough edges or splinters. This step is crucial not only for safety but also for creating a polished look. If you want to add a personal touch, consider staining or painting the pallets to match your garden's aesthetic. A splash of color can make your planters pop and bring a playful vibe to your outdoor area.
Now, let's dive into the construction process. One popular method is to create a vertical planter. To do this, you'll need to stand the pallet upright and secure it to a wall or fence for support. Line the back with landscape fabric to hold the soil in place while allowing for drainage. Fill the pockets of the pallet with soil and plant your favorite herbs, flowers, or succulents. The end result is not only stunning but also saves space and allows you to grow a variety of plants in a compact area.
If you prefer a more traditional approach, consider making a raised bed planter. Simply lay the pallet flat on the ground, and you can either leave it as is or stack another pallet on top for added height. Fill it with nutrient-rich soil and plant away! This method is perfect for growing vegetables, as it provides ample space for roots to spread and thrive. Plus, it keeps your plants off the ground, reducing the risk of pests and weeds.
Don’t forget about maintenance! Regularly check your planters for signs of wear and tear, and make sure to water your plants according to their needs. Using a drip irrigation system can simplify watering and ensure your plants get the moisture they require without over-saturating the soil.
In conclusion, creating pallet garden planters is a fantastic way to express your creativity while contributing positively to the environment. Whether you opt for a vertical garden or a raised bed, these planters can add a touch of charm and personality to your outdoor space. So, roll up your sleeves, gather your materials, and let your garden flourish!
Q: Can I use treated pallets for growing edible plants?
A: It's best to avoid treated pallets for edible plants, as the chemicals may leach into the soil. Stick to untreated pallets for safety.
Q: How do I prevent pests in my pallet planters?
A: Regularly inspect your plants and use natural pest deterrents, such as neem oil or insecticidal soap, to keep pests at bay.
Q: What types of plants are best for pallet gardens?
A: Herbs, strawberries, and small flowering plants work well in pallet gardens due to their compact root systems and ability to thrive in limited space.
Frequently Asked Questions
- What materials do I need for upcycling glass jars?
To upcycle glass jars, all you really need are the jars themselves and some basic craft supplies. Think about using paint, twine, or even decorative paper. You can also add fairy lights or flowers to create stunning centerpieces!
- Can I use any type of fabric for the fabric scrap wall art?
Absolutely! You can use any leftover fabric scraps you have lying around. Different textures and patterns will add depth and interest to your wall art. Just make sure they’re clean and in good condition!
- How do I choose the right frame for my fabric collage?
Choosing the right frame is all about personal style! Consider the colors and textures in your fabric collage. A simple frame can let your art shine, while a more ornate frame can add an extra touch of elegance. Just make sure it complements your decor!
- What types of wood can I use for repurposed wooden pallets?
Most wooden pallets are made from pine, but you can use any untreated wood. Just make sure it’s safe for indoor use if you’re making furniture. Always check for any chemicals or treatments that may have been used on the pallets!
- Do I need special tools to create a pallet coffee table?
While you can get fancy with tools, you really only need a few basics: a saw, a hammer, and some nails or screws. If you have a drill, that’s a bonus! The key is to be creative and resourceful with what you have at home.
- How can I maintain my pallet garden planters?
Maintaining pallet garden planters is pretty straightforward! Make sure you water your plants regularly and check for drainage. You might also want to line the inside of the pallet with landscaping fabric to keep the soil in while allowing excess water to escape.
- Are these DIY projects suitable for beginners?
Definitely! Many of these projects are beginner-friendly and designed to be fun and approachable. Just take your time, follow the steps, and don’t be afraid to make it your own. It’s all about enjoying the process!


