Making Your Own DIY Leather Accents for Decor
Are you ready to transform your living space into a cozy haven that reflects your personal style? If so, DIY leather accents might just be the perfect solution for you! Leather has a unique ability to add warmth, texture, and sophistication to any room. It's like the icing on the cake of home decor. Whether you’re looking to create a rustic vibe or a sleek modern aesthetic, leather can do it all. In this article, we’ll explore a variety of creative possibilities for incorporating leather accents into your home decor. From wall art to functional items like coasters and storage solutions, we’ll provide you with practical tips, techniques, and project ideas that will inspire you to get crafting!
Imagine walking into a room adorned with beautiful leather pieces that you crafted yourself. It not only showcases your creativity but also tells a story—your story. Each leather item you make can reflect your personality and style, making your home truly unique. Plus, there’s something incredibly satisfying about creating something with your own hands. So, let’s roll up our sleeves and dive into the exciting world of DIY leather decor!
Understanding the different types of leather is essential for your DIY projects. Leather comes in various forms, each with its own characteristics and best uses. For instance, full-grain leather is the highest quality, known for its durability and natural look, making it perfect for furniture accents. On the other hand, suede offers a softer texture, ideal for decorative items like wall hangings. When selecting leather for your projects, consider what you want to achieve and how the leather’s properties will enhance your design.
Before starting your leather projects, it's important to gather the right tools and materials. Having the proper supplies will make your crafting experience smoother and more enjoyable. Here’s a quick list of essential tools you might need:
- Leather cutting mat
- Rotary cutter or utility knife
- Leather hole punch
- Needles and thread (preferably waxed)
- Ruler and measuring tape
- Leather adhesive
- Edge tools for finishing
With these tools at your disposal, you're well-equipped to tackle any leather project that comes your way!
Mastering basic leatherworking techniques is crucial for any DIY enthusiast. Knowing how to cut, stitch, and finish leather will ensure that your projects turn out beautifully. Start by practicing your cutting skills—make sure to use a sharp blade to achieve clean edges. When it comes to stitching, consider using a saddle stitch for its strength and durability. Lastly, finishing your leather properly is key to enhancing its appearance and longevity. Use edge finishers or dyes to give your items that professional touch.
Leather wall art adds a unique touch to any room. It's like having a piece of nature indoors! To create stunning leather wall pieces, start by sketching your design on paper. Once you have a clear vision, transfer it to your leather using a chalk pencil. Cut out your shapes and assemble them on a canvas or directly on the wall. You can even experiment with different colors and textures of leather to make your art pop! Remember, this is your canvas—let your creativity shine!
Practical and stylish, leather coasters and placemats are easy to make and are sure to impress your guests. To create coasters, simply cut circles or squares from your leather, and consider adding a decorative edge. For placemats, cut larger pieces and personalize them with stamps or engravings. These functional decor items not only elevate your dining experience but also protect your surfaces. Plus, they make great conversation starters!
Keep your space organized with handmade leather storage solutions. Think of leather baskets, trays, and organizers that combine functionality with aesthetic appeal. You can create a simple leather basket by cutting strips and weaving them together. This not only looks great but also provides a place to store everything from magazines to toys. The beauty of leather storage solutions is that they can seamlessly blend into any decor style while keeping your space tidy.
Incorporating leather accents into furniture can dramatically enhance its look. Whether it’s adding leather handles to drawers or upholstering a chair, these little touches can make a huge difference. Consider wrapping the legs of a stool in leather for a chic upgrade or adding a leather cushion to a bench for extra comfort. The possibilities are endless, and the results are sure to be stunning!
Proper finishing and maintenance are key to ensuring the longevity of your leather decor. After completing your projects, apply a leather conditioner to keep it supple and prevent cracking. Regularly dust and clean your leather items to maintain their appearance. With a little care, your DIY leather accents will look great for years to come, continuing to tell your story through their wear and beauty.
Q: Can I use faux leather for my projects?
A: Absolutely! Faux leather can be a great alternative, especially if you're looking for a more affordable option or if you prefer not to use animal products.
Q: How do I know which leather is best for my project?
A: Consider the item you’re creating and its intended use. For example, thicker leathers are great for furniture, while thinner ones work well for decorative items.
Q: What is the best way to clean leather?
A: Use a damp cloth for regular dusting, and for deeper cleaning, a leather cleaner is recommended. Always test a small area first to ensure compatibility.

Choosing the Right Leather
When diving into the world of DIY leather projects, one of the first and most crucial decisions you'll face is choosing the right type of leather. Just like picking the perfect fabric for a dress, the type of leather you select can make or break your project. With so many options available, understanding their characteristics can help you make informed choices that align with your decor vision.
Leather comes in various types, each with unique qualities and uses. For instance, full-grain leather is known for its durability and natural look, making it ideal for items that will see a lot of use, like coasters or bags. On the other hand, top-grain leather is slightly more processed, offering a smoother finish that's perfect for wall art or decorative accents where aesthetics are key. If you're looking for something more affordable, genuine leather can be a good choice, but keep in mind it may not have the same longevity as higher-quality options.
Another option is suede, which has a soft, velvety texture that can add a touch of elegance to your decor. However, it’s important to note that suede is more susceptible to stains and damage, so it’s better suited for decorative items that won’t be heavily used. For those who want to get creative, vegan leather made from synthetic materials can also be an excellent alternative, especially for eco-conscious crafters. It’s available in a variety of colors and textures, allowing for endless possibilities in your DIY projects.
To help you navigate through the various types of leather, here’s a quick comparison table:
| Type of Leather | Characteristics | Best For |
|---|---|---|
| Full-Grain Leather | Durable, natural look | Coasters, bags, furniture |
| Top-Grain Leather | Smooth finish, slightly processed | Wall art, decorative accents |
| Genuine Leather | More affordable, less durable | Simple projects, light use items |
| Suede | Soft, velvety texture | Decorative items, less-used pieces |
| Vegan Leather | Eco-friendly, versatile | Fashion items, trendy decor |
When selecting leather, consider not just the aesthetic appeal but also how the item will be used. Will it be a statement piece that stays pristine, or a functional item that needs to withstand daily wear and tear? Additionally, think about the color and texture that will best complement your existing decor. A rich, dark leather can add warmth and sophistication, while a lighter shade might bring a fresh, airy feel to your space.
Ultimately, the right leather choice can elevate your DIY projects from ordinary to extraordinary. So take your time, explore the options, and let your creativity flow as you choose the perfect leather to match your unique style.
- What is the best type of leather for beginners? Full-grain leather is often recommended due to its durability and versatility.
- Can I use faux leather for my DIY projects? Absolutely! Faux leather can be a great alternative, especially for those looking for eco-friendly options.
- How do I care for my leather decor items? Regularly clean and condition your leather to maintain its appearance and longevity.
Essential Tools and Supplies
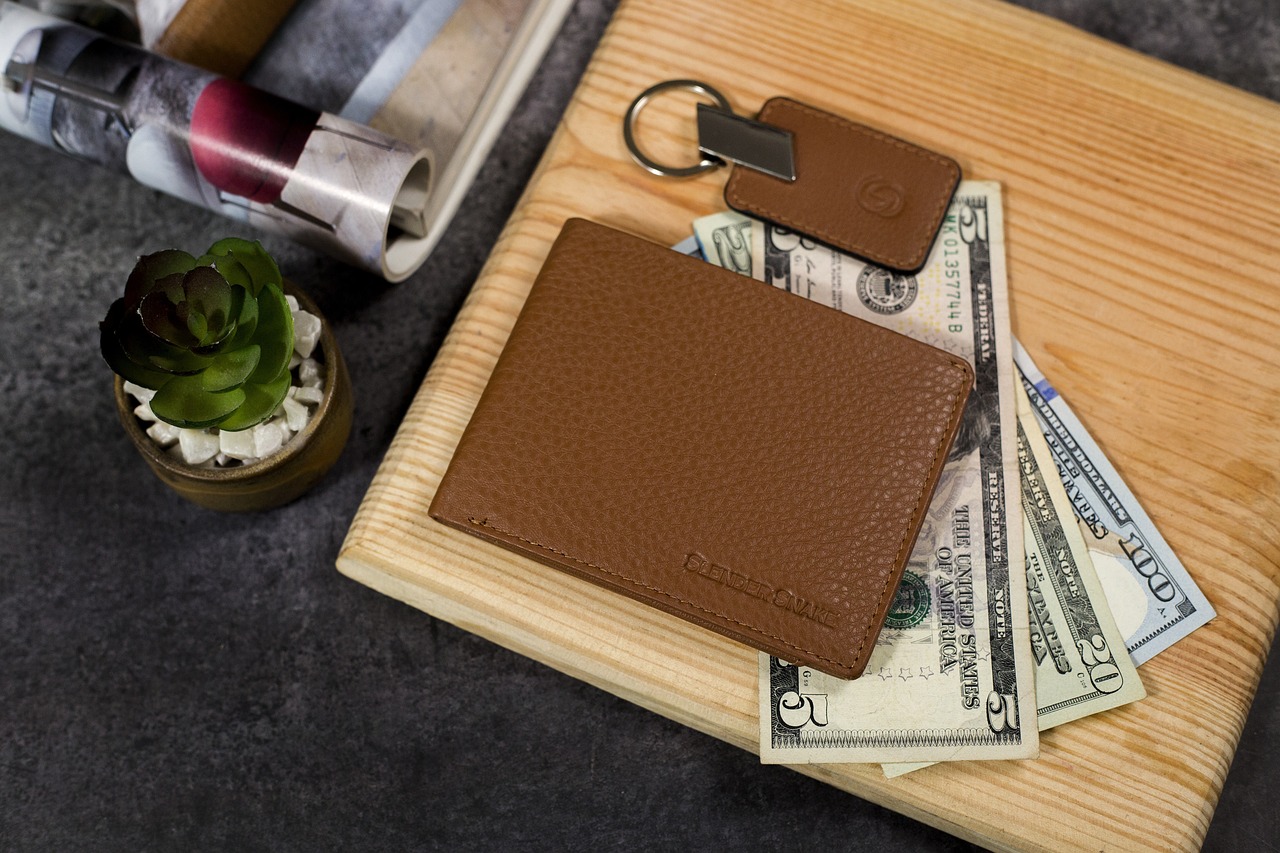
Before diving into the exciting world of DIY leather decor, it’s crucial to gather your arsenal of tools and supplies. Think of it as preparing for a grand adventure; you wouldn’t set out without your trusty gear, right? Having the right tools not only makes your projects easier but also ensures that the results are polished and professional-looking. So, let’s break down what you’ll need to get started on your leather crafting journey.
First and foremost, you’ll need a good quality leather. Different projects may require different types of leather, so it’s essential to choose wisely. For example, if you’re creating coasters, a thicker, more durable leather is ideal, while softer leather works beautifully for wall art. Along with leather, consider the following essential tools:
- Cutting Tools: A sharp utility knife or rotary cutter is essential for precise cuts. A cutting mat will protect your surfaces and ensure clean lines.
- Punches: Leather punches are indispensable for making holes for stitching or rivets. A set with various sizes will give you flexibility in your designs.
- Stitching Supplies: Look for waxed thread and needles specifically designed for leatherwork. This combination provides durability and a professional finish.
- Adhesives: Leather cement or contact adhesive will help you bond pieces together securely. Make sure to choose one that dries clear for a seamless look.
- Finishing Tools: Edge tools and burnishing tools will help you refine the edges of your leather projects, giving them that polished touch.
In addition to tools, having the right supplies on hand is equally important. Here’s a quick rundown of the materials you should stock up on:
| Supply | Purpose |
|---|---|
| Leather | Base material for your projects. |
| Thread | For stitching pieces together. |
| Rivets | For adding decorative and functional elements. |
| Finishing Products | To protect and enhance the appearance of your leather. |
Now that you have a better understanding of the tools and supplies you’ll need, remember that the quality of your materials can significantly impact the outcome of your projects. Investing in good tools not only makes your crafting experience smoother but also results in beautiful, long-lasting pieces that you’ll be proud to display in your home.
Finally, don’t forget to create a dedicated workspace. Having a clean, organized area will help you stay focused and efficient. Whether it’s a small corner of your living room or a whole workshop, make sure it’s well-lit and equipped with everything you need. With your tools, supplies, and space ready, you’re all set to unleash your creativity and craft stunning leather decor that reflects your personal style!
Q: Do I need prior experience to start working with leather?
A: Not at all! Many leatherworking projects are beginner-friendly, and with practice, you'll quickly improve your skills.
Q: What type of leather is best for beginners?
A: Vegetable-tanned leather is a great option for beginners as it's easy to work with and readily available.
Q: How do I maintain my leather items?
A: Regular cleaning and conditioning will keep your leather looking great. Avoid exposing it to excessive moisture and direct sunlight.
Q: Can I use regular sewing thread for leather projects?
A: It's recommended to use waxed thread specifically designed for leather, as it is stronger and more durable.
Basic Leatherworking Techniques
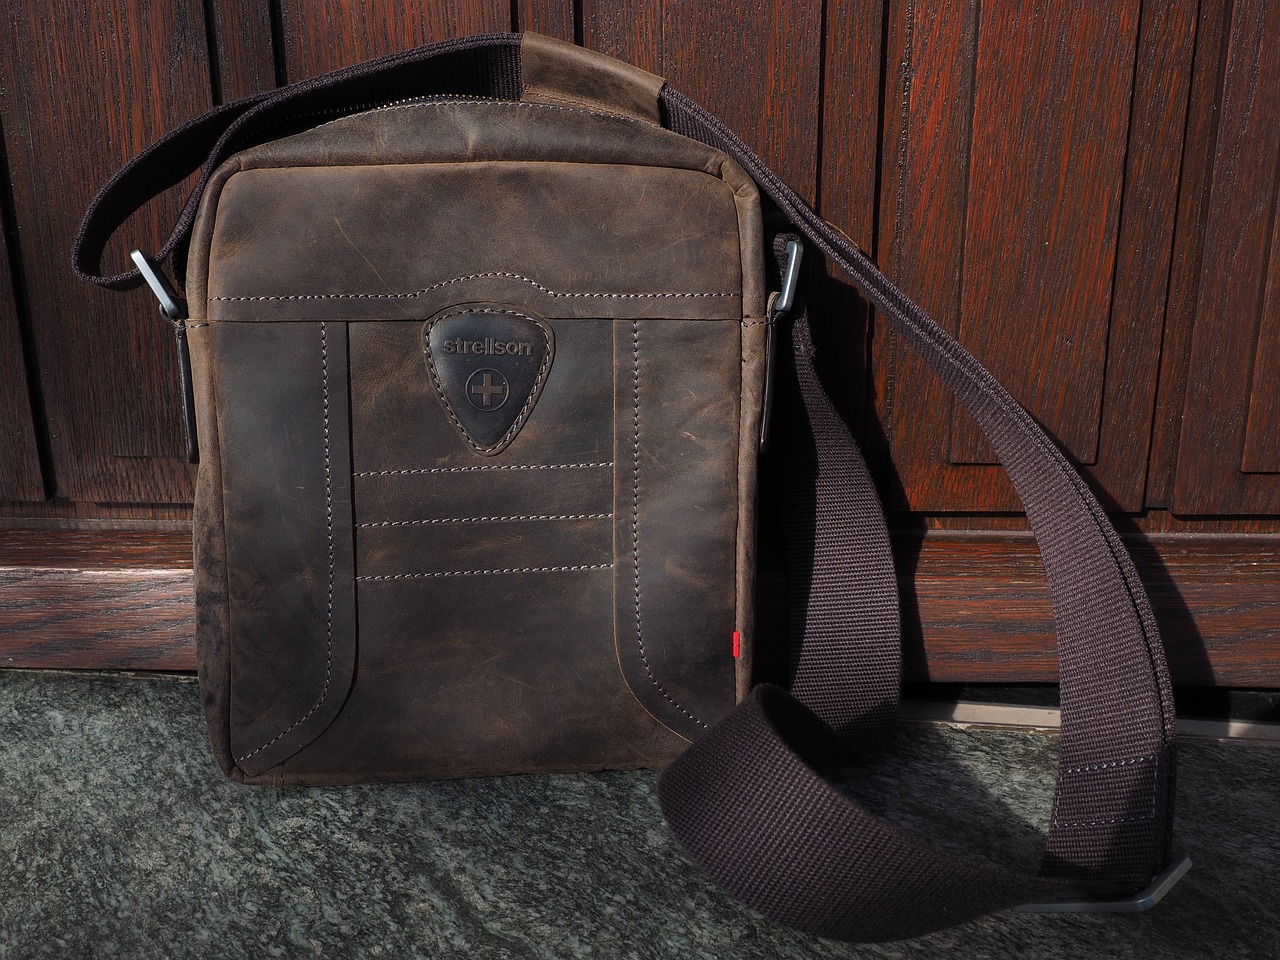
Mastering is essential for anyone looking to dive into the world of DIY leather projects. Whether you're aiming to create a stunning wall art piece or practical coasters, understanding these fundamental skills will set you up for success. Let's explore some of the core techniques that every leather enthusiast should know.
First and foremost, cutting leather accurately is crucial. You can use a rotary cutter or a sharp utility knife for clean edges. Always make sure to use a cutting mat to protect your workspace and keep your blades sharp. When cutting, remember to measure twice and cut once—this old adage rings especially true in leatherworking! A precise cut can make the difference between a professional-looking piece and one that appears haphazard.
Next, we have stitching, which is often the heart of leather projects. There are various methods for stitching leather, but the two most popular are the saddle stitch and the whip stitch. The saddle stitch is particularly strong and is perfect for seams that will endure wear and tear. To execute this stitch, you'll need two needles and a length of thread, typically made from polyester or waxed cotton. Threading both needles through the same hole and pulling them tight creates a secure bond. If you're new to stitching, practice on scrap pieces of leather until you feel comfortable.
After stitching comes the finishing process. This step is vital for ensuring your leather projects not only look great but also last longer. Edge finishing can include techniques like burnishing, where you smooth the edges with a tool, or applying an edge dye for a pop of color. Additionally, consider using leather conditioner to keep your projects supple and prevent cracking over time. Regular maintenance will ensure your handmade items remain beautiful for years.
Finally, let’s talk about the importance of tool care. Just like you wouldn’t drive a car with a flat tire, you shouldn’t work with dull tools. Regularly sharpen your knives and replace worn-out blades to maintain precision in your cuts. A well-maintained toolkit can make your leatherworking experience more enjoyable and productive.
To summarize, here are the basic techniques you should focus on:
- Cutting: Use sharp tools and a cutting mat.
- Stitching: Master the saddle stitch for durability.
- Finishing: Burnish edges and apply conditioner.
- Tool Care: Keep your tools sharp and well-maintained.
With these basic techniques under your belt, you'll be well on your way to creating beautiful leather decor items! Remember, practice makes perfect, so don't be afraid to experiment and develop your own style.
Q: Do I need special tools for leatherworking?
A: While some tools can enhance your experience, you can start with basic items like a utility knife, cutting mat, and needles. As you progress, you might invest in more specialized tools.
Q: Can I use any type of leather for my projects?
A: Not all leather is created equal! For beginners, vegetable-tanned leather is a great option due to its workability and ability to hold shape. As you gain experience, you can explore other types.
Q: How do I maintain my leather projects?
A: Regularly apply leather conditioner and store your items away from direct sunlight to prevent drying and fading.

Creating Leather Wall Art
When it comes to adding a personal touch to your living space, leather wall art is a fantastic choice that combines creativity with a touch of elegance. Imagine walking into a room and being greeted by stunning, handcrafted pieces that reflect your unique style. Not only does leather add a rich texture to your decor, but it also brings a sense of warmth that can transform any wall into a focal point. So, how do you get started on this exciting DIY journey?
First things first, you'll need to gather your materials. The beauty of leather wall art is that it can be made from various types of leather, each offering a different look and feel. You might opt for soft, supple suede for a more casual vibe, or go for the classic appeal of full-grain leather for a sophisticated touch. Regardless of your choice, make sure to select colors that complement your existing decor; earthy tones can create a calming atmosphere, while vibrant hues can add a pop of excitement.
Once you have your leather ready, it's time to unleash your creativity. You can create a variety of designs, from simple geometric shapes to intricate patterns. A great way to start is by sketching your ideas on paper. Think about the size and shape of the wall art you want to create. Will it be a large statement piece or a collection of smaller items? Here are a few ideas to inspire you:
- Abstract Shapes: Cut leather into various shapes and sizes, then arrange them in an abstract design.
- Nature-Inspired Art: Create leather leaves, flowers, or animals that can be grouped together for a nature-themed display.
- Personalized Quotes: Use leather to craft your favorite quotes or sayings, which can be framed or hung directly on the wall.
After deciding on your design, the next step is to cut your leather pieces. Use a sharp utility knife or rotary cutter to ensure clean edges. If you're feeling adventurous, consider incorporating other materials such as wood or metal to create a mixed-media piece. The contrast between leather and these materials can add depth and interest to your art.
Once your pieces are cut, it's time for assembly. You can stitch the leather together for a textured look or use a strong adhesive for a more streamlined approach. If you're stitching, remember to choose thread that complements your leather color. This is where your choice of stitching technique can really shine—whether you prefer a simple straight stitch or a more decorative whip stitch, it’s all about what fits your style.
After assembling your leather wall art, don’t forget about the finishing touches. A good leather conditioner will not only enhance the color but also protect your art from wear and tear. If you’ve used multiple materials, ensure everything is securely attached and consider adding a backing for extra support. Finally, hang your masterpiece using appropriate wall hangers, and step back to admire your work!
Creating leather wall art is not just about beautifying your space; it’s an opportunity to express your individuality and craftsmanship. Each piece you create will tell a story, whether it's a reflection of your personality or a memory captured in leather. So grab your tools, unleash your creativity, and get ready to transform your walls into a gallery of your own making!
Q: What type of leather is best for wall art?
A: The best type of leather for wall art depends on your design. Full-grain leather is durable and has a classic look, while suede offers a softer, more casual appearance. Choose based on the effect you want to achieve.
Q: How do I hang leather wall art?
A: You can use picture hangers, adhesive strips, or even nails depending on the weight of your piece. Ensure that your hanging method is secure to prevent any damage.
Q: Can I paint leather for my wall art?
A: Yes, you can paint leather! Use leather paint for best results, and always test on a small piece first to see how the leather absorbs the color.
DIY Leather Coasters and Placemats
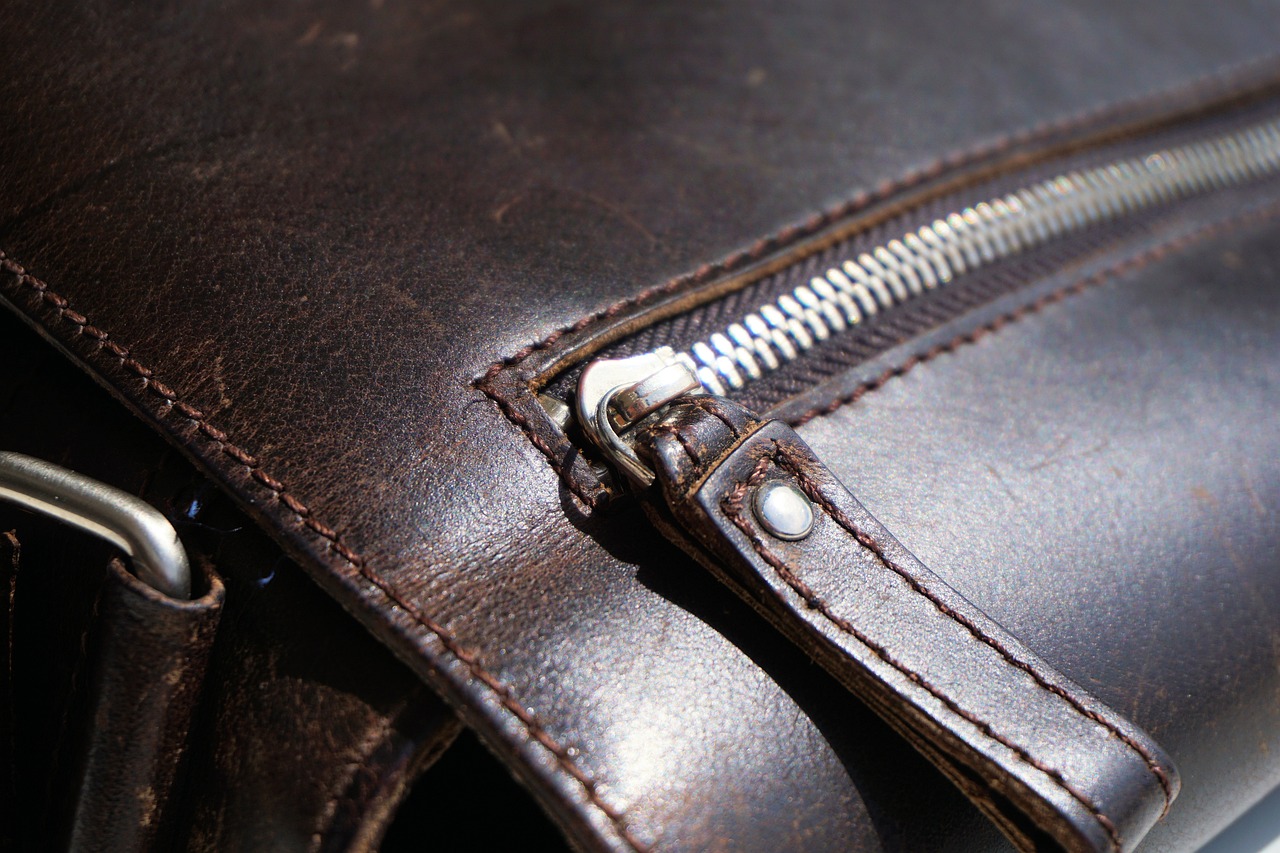
When it comes to elevating your dining experience, are a game changer. Not only do they add a touch of elegance to your table setting, but they also serve a practical purpose. Imagine hosting a dinner party where your guests are not only impressed by your culinary skills but also by the stunning leather accents adorning your table. Sounds appealing, right? Let’s dive into the world of leather crafting and explore how you can create these beautiful items with ease!
First things first, you’ll want to gather your materials. The beauty of leather is that it comes in various colors and textures, allowing you to customize your coasters and placemats to match your home decor. You might opt for a rich, brown leather for a classic look, or perhaps a vibrant colored leather that pops against your dining table. The choice is yours!
Before you start cutting and stitching, it’s essential to consider the size of your coasters and placemats. A standard coaster is usually around 4 inches in diameter, while placemats can range from 12 to 18 inches in width and length. You can create a simple template by cutting out a piece of cardboard to the desired shape and size. This will help ensure that all your pieces are uniform.
Once you have your template ready, it’s time to cut the leather. Make sure to use a sharp utility knife or rotary cutter for clean edges. If you’re feeling adventurous, you can also experiment with different shapes like circles, squares, or even fun geometric designs. Remember, the goal is to reflect your personal style!
Now, let’s talk about the finishing touches. To add a bit of flair, consider using decorative stitching or embossing techniques. For instance, you can use a contrasting thread color to make your stitching stand out. If you want to go a step further, embossing can give your leather a unique texture and character. Just imagine how fantastic it would be to have personalized coasters with your initials or a fun design!
After you’ve completed your coasters and placemats, it’s crucial to treat the leather with a protective finish. This will help prevent stains and damage from spills, ensuring that your beautiful creations last for years to come. There are various leather conditioners and finishes available, so choose one that best suits your needs.
Finally, let’s not forget about the maintenance. Keeping your leather coasters and placemats looking fresh is simple. A quick wipe with a damp cloth after use will do wonders. For deeper cleaning, a specialized leather cleaner can be used. Just remember to always follow the manufacturer's instructions for any products you decide to use.
In conclusion, crafting your own leather coasters and placemats not only enhances your dining experience but also allows you to showcase your creativity. So gather your materials, unleash your imagination, and start creating pieces that will impress your guests and elevate your home decor!
- What type of leather is best for coasters and placemats? Generally, vegetable-tanned leather is a great choice due to its durability and ability to develop a beautiful patina over time.
- How do I clean my leather coasters and placemats? Use a damp cloth for everyday cleaning and a specialized leather cleaner for more thorough cleaning.
- Can I use faux leather for my projects? Absolutely! Faux leather is a great alternative and can provide a similar aesthetic while being more budget-friendly.
Crafting Leather Storage Solutions
When it comes to keeping our living spaces organized, leather storage solutions are not only functional but also add a touch of elegance to any room. Imagine a beautifully crafted leather basket sitting in your living room, effortlessly holding your magazines, or a chic leather tray on your dresser that keeps your jewelry neatly arranged. Crafting these items can be a fulfilling project that enhances both your decor and your organizational skills.
Before diving into your project, it's essential to consider the size and purpose of the storage solution you want to create. For instance, a small leather pouch could be perfect for holding your everyday essentials like keys and wallets, while a larger leather basket can serve as a stylish catch-all for blankets or toys. The beauty of DIY leather storage solutions lies in their versatility; you can customize them to fit your specific needs and style.
To help you get started, here’s a quick overview of some popular leather storage projects you might consider:
- Leather Baskets: Perfect for storing everything from books to toys, these baskets can be made in various sizes and shapes.
- Leather Trays: Ideal for organizing small items on your desk or dresser, these trays can be both decorative and functional.
- Leather Pouches: Great for keeping smaller items organized while adding a chic touch to your bag or purse.
Now, let’s talk about the materials and tools you’ll need for your leather storage projects. Basic supplies include:
| Materials | Purpose |
|---|---|
| Leather (vegetable-tanned or suede) | Main material for crafting |
| Cutting tools (rotary cutter or scissors) | To cut leather to desired shapes |
| Ruler and marking tools | For precise measurements and markings |
| Needle and thread (heavy-duty) | For stitching pieces together |
| Leather glue | To secure edges and joints |
Once you have your materials ready, the next step is to design your storage solution. Sketching your ideas on paper can help you visualize the final product. For example, if you're making a leather basket, consider how deep you want it to be and whether you want to add handles for easy carrying. After finalizing your design, carefully cut the leather pieces according to your measurements.
Stitching is a crucial part of the process. If you're new to leatherworking, don't worry! Basic stitching techniques like the saddle stitch or whip stitch can be learned relatively easily and will provide a sturdy finish. Remember, practice makes perfect! As you stitch, take your time and ensure your seams are even and tight. This attention to detail will enhance the overall look and durability of your storage solution.
Finally, once your piece is assembled, consider adding some finishing touches. A leather conditioner can help maintain the suppleness of the leather, while a protective finish can guard against stains and wear. These steps are vital to ensuring your handmade storage solution remains beautiful and functional for years to come.
In conclusion, crafting leather storage solutions is not just about making something practical; it's about creating unique pieces that reflect your personal style and elevate your home decor. So grab your tools, unleash your creativity, and enjoy the rewarding experience of DIY leather crafting!
Q: What type of leather is best for storage solutions?
A: Vegetable-tanned leather is a great choice as it's durable and easy to work with. Suede can also be used for a softer touch.
Q: Can I use faux leather for my projects?
A: Absolutely! Faux leather can be a more affordable and animal-friendly option, and it comes in various colors and textures.
Q: How do I clean my leather storage items?
A: Use a damp cloth to wipe off dust and dirt. For deeper cleaning, consider using a leather cleaner suitable for your leather type.
Leather Accents for Furniture
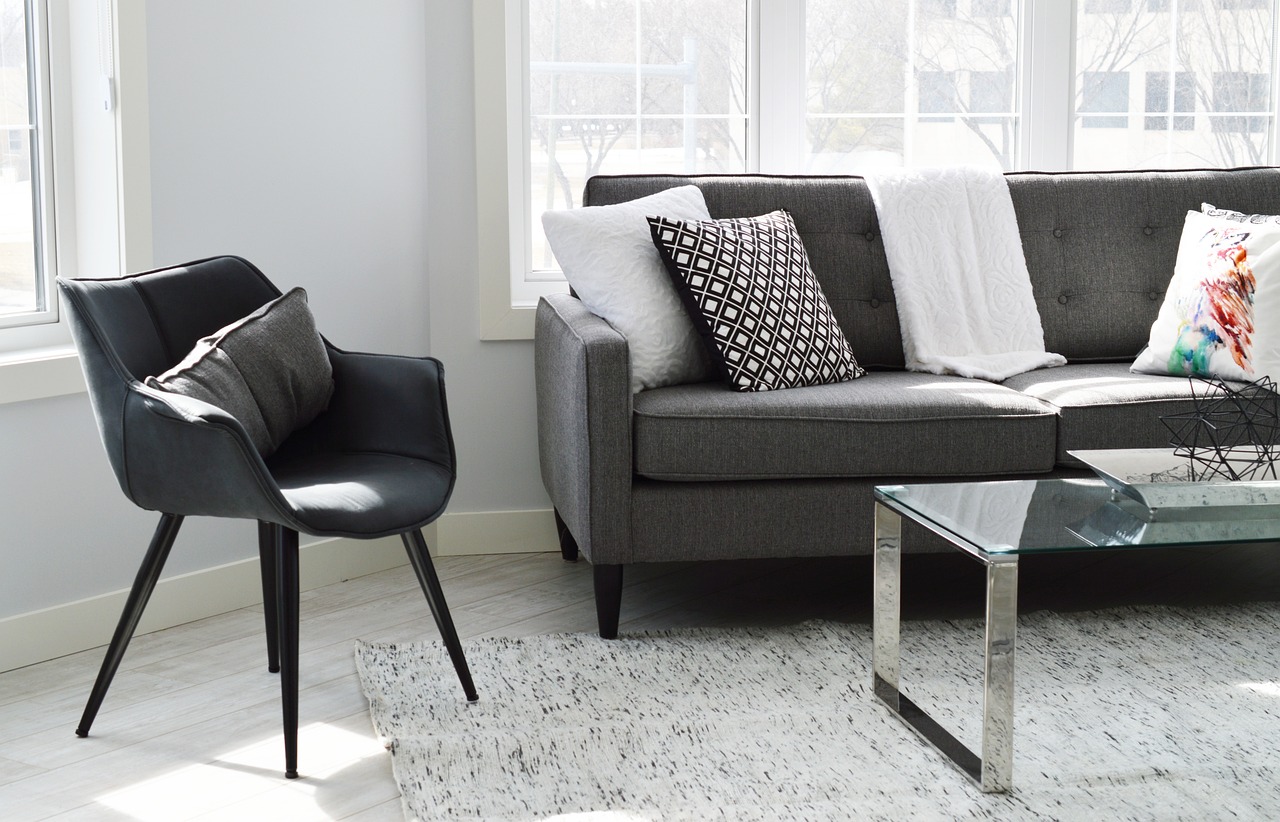
Incorporating leather accents into your furniture can transform the mundane into the extraordinary. Imagine your favorite chair, already comfortable, but with the addition of a sleek leather armrest or a stunning leather patch that adds a pop of sophistication. Leather not only elevates the visual appeal of furniture but also adds a tactile richness that can make a space feel warm and inviting. It's like wrapping your furniture in a stylish, cozy embrace!
When considering how to add leather accents, think about the areas of your furniture that could use a little extra flair. For instance, you might want to enhance the back of a wooden chair with a leather panel, or even create leather drawer pulls for a dresser. These small touches can make a big impact, turning an ordinary piece into a statement item that reflects your unique style.
Here are a few creative ideas to inspire you:
- Leather Upholstery: Reupholstering a chair or sofa with leather can be a bold move. Choose a color that complements your existing decor, whether it’s a classic black, a rich brown, or even a vibrant hue.
- Leather Straps: Use leather straps to create a modern look for shelving units. These can serve both a functional and decorative purpose, holding shelves in place while adding an industrial touch.
- Leather Accented Ottomans: Consider adding leather to the top of an ottoman or footstool. This not only enhances comfort but also adds a chic element to your living space.
Moreover, leather can be used to create unique furniture items from scratch. For example, a simple wooden table can be adorned with leather inlays or a leather runner, giving it a bespoke feel. This approach allows for personalization, ensuring that your furniture is not only functional but also a true reflection of your personality.
However, before diving into your project, it's vital to choose the right type of leather. Full-grain leather, for example, is durable and ages beautifully, while bonded leather might be more budget-friendly but less resilient. Understanding the characteristics of different leathers will help you make informed decisions and ensure your furniture accents stand the test of time.
Don’t forget about maintenance! Leather needs care to keep it looking its best. Regular cleaning and conditioning will prevent it from drying out and cracking, ensuring your furniture remains a stunning focal point for years to come. Think of it as giving your beloved furniture a little TLC—it deserves it!
Q: Can I use leather on outdoor furniture?
A: While leather can be used on outdoor furniture, it's important to choose weather-resistant leather or treat it with protective coatings to prevent damage from the elements.
Q: How do I clean leather furniture?
A: Use a soft cloth and a leather cleaner specifically designed for the type of leather you have. Avoid using harsh chemicals as they can damage the material.
Q: Is it difficult to reupholster furniture with leather?
A: Reupholstering with leather can be challenging, especially for beginners. It may be helpful to seek guidance from tutorials or consider hiring a professional for complex projects.

Finishing Touches and Maintenance
When it comes to your stunning DIY leather decor, the finishing touches and maintenance can make all the difference between a project that looks good and one that looks absolutely spectacular. After all, you’ve put in the hard work and creativity into crafting these unique pieces, so why not ensure they stay in top-notch condition? First things first, let’s talk about finishing. Properly finishing your leather items not only enhances their appearance but also extends their lifespan. A good quality leather conditioner is essential to keep the leather supple and prevent it from drying out or cracking. Simply apply a small amount to a soft cloth and gently rub it into the leather, following the grain. This will nourish the leather and give it a beautiful, rich sheen.
Moreover, if your leather project has any cuts or edges that seem a bit rough, consider using a burnishing tool. This handy little gadget smooths out those edges and gives your leather a polished look. It’s like giving your leather a spa day! And don’t forget about the stitching; a little bit of waxed thread can go a long way in making those seams not only stronger but also more visually appealing. Just think of it as the cherry on top of your leather sundae.
Now, maintenance is just as crucial as the finishing process. Leather, while durable, does require some love to keep it looking fabulous. Here are a few tips to help you maintain your leather decor:
- Keep it clean: Dust your leather items regularly with a soft, dry cloth. If you notice any stains, use a damp cloth with a little bit of mild soap, but make sure to test it on a small area first.
- Avoid direct sunlight: Prolonged exposure to sunlight can fade the color of your leather. Try to place your leather pieces in areas that don’t receive harsh sunlight.
- Store properly: If you have leather items that you won’t be using for a while, store them in a cool, dry place. Avoid folding leather to prevent creases; instead, lay them flat or hang them if possible.
Lastly, if you notice any scuffs or scratches, don’t panic! A simple leather conditioner can often help to minimize these imperfections. For deeper scratches, you might want to look into a leather repair kit, which can work wonders. Just like giving your leather a little TLC, these steps will keep your creations looking as fresh as the day you made them.
Here are some common questions that DIY enthusiasts often have regarding leather finishing and maintenance:
| Question | Answer |
|---|---|
| How often should I condition my leather items? | It’s best to condition your leather every 6 months, but if you notice it looking dry, feel free to do it more often. |
| Can I use regular soap to clean my leather? | No, it’s recommended to use a mild soap specifically designed for leather to avoid damaging the material. |
| What should I do if my leather item gets wet? | Blot the excess water with a soft cloth and let it air dry away from direct heat sources. Do not use a hairdryer! |
By following these finishing touches and maintenance tips, your DIY leather decor will not only look stunning but also stand the test of time. Remember, leather is a natural material that deserves a little extra care, so treat it right, and it will reward you with beauty and durability for years to come!
Frequently Asked Questions
- What types of leather are best for DIY decor projects?
When it comes to DIY decor, the best types of leather include vegetable-tanned leather for its versatility, chrome-tanned leather for its softness, and suede for a unique texture. Each type has its own characteristics, so consider the look and feel you want for your project!
- What essential tools do I need to start working with leather?
To kick off your leatherworking journey, you'll need a few basic tools: a sharp utility knife for cutting, a cutting mat to protect your surfaces, needles and thread for stitching, and leather cement for bonding pieces together. Don’t forget a ruler and a hole punch for precise measurements!
- Are there any beginner-friendly leatherworking techniques?
Absolutely! Start with simple techniques like cutting straight lines, basic stitching (like the saddle stitch), and applying edge finishes. These skills will serve as the foundation for more complex projects as you gain confidence and experience!
- How can I create leather wall art?
Creating leather wall art is a fun and creative process! Begin by sketching your design on paper, then transfer it to leather. Cut out your shapes, and use stitching or leather glue to assemble your pieces. Hang it up and enjoy your unique creation!
- What are some tips for making leather coasters and placemats?
For coasters and placemats, choose a thicker leather for durability. Cut your pieces to the desired size, and consider adding decorative elements like embossing or painting. Finish the edges with a burnishing tool to give them a polished look!
- How do I make leather storage solutions?
To craft leather storage solutions, start by measuring the space you want to organize. Design your pieces—like baskets or trays—using templates. Cut and stitch the leather according to your design, and you’ll have stylish storage that’s uniquely yours!
- What are some ideas for adding leather accents to furniture?
You can enhance furniture by adding leather elements like upholstered cushions, leather handles on drawers, or even leather trim on table edges. These small touches can dramatically transform the look of your furniture, making it feel fresh and modern!
- How can I maintain my leather decor items?
To keep your leather decor looking great, regularly dust it with a soft cloth and apply a leather conditioner every few months. Avoid exposing your leather to direct sunlight or moisture to prevent damage. With proper care, your leather pieces can last for years!


